Articles
How To Install A Ceiling Fan Electrical Box
Modified: October 19, 2024
Learn how to install a ceiling fan electrical box with our informative articles. Get step-by-step instructions and expert tips for a successful installation.
(Many of the links in this article redirect to a specific reviewed product. Your purchase of these products through affiliate links helps to generate commission for Storables.com, at no extra cost. Learn more)
Introduction
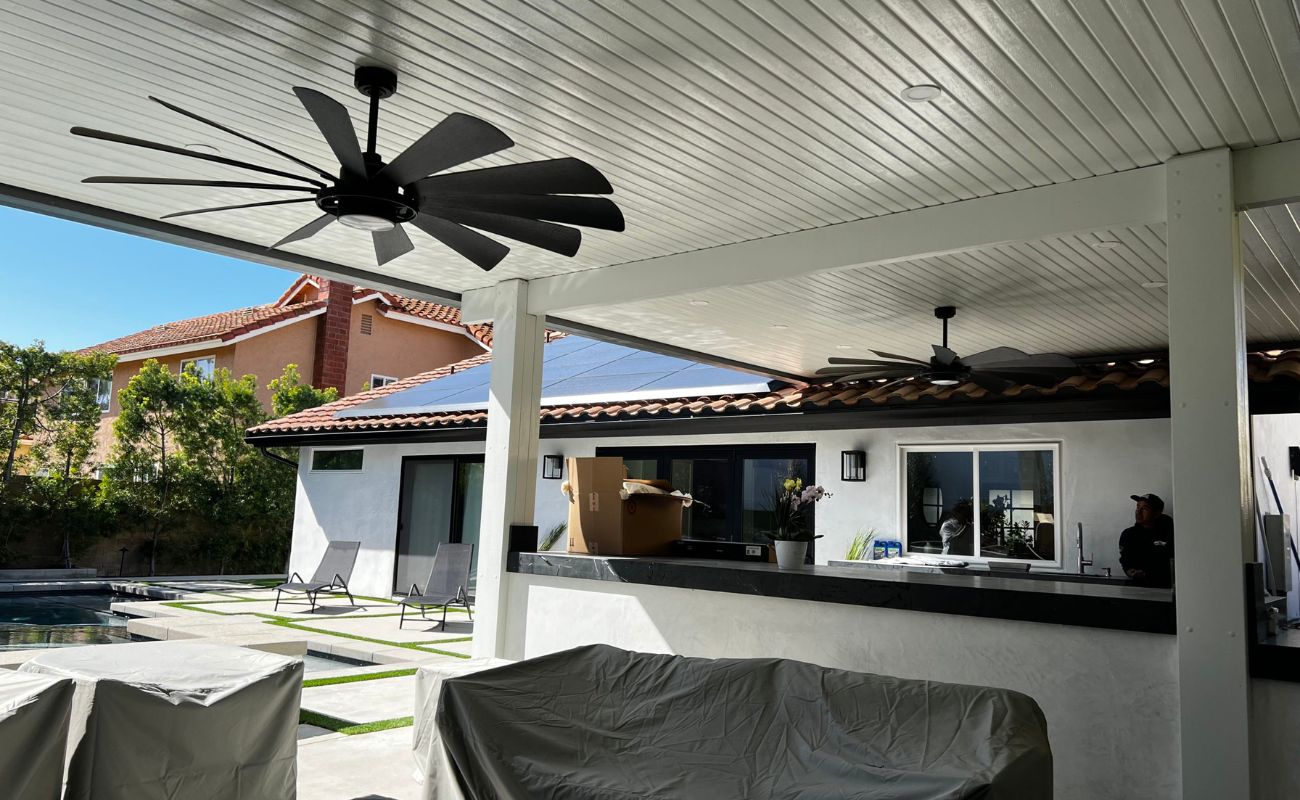
Installing a ceiling fan can be a great way to improve the comfort and functionality of any room. Not only does it provide a cool breeze in the summer, but it can also help circulate warm air during the colder months, making your space more energy-efficient. However, before you can enjoy the benefits of a ceiling fan, you need to ensure that it is properly installed, starting with the electrical box.
The electrical box is the foundation for your ceiling fan installation. It provides support and stability while also housing the necessary wires and connections. Properly installing the electrical box is crucial to ensure the safety and functionality of your ceiling fan.
In this article, we will guide you through the step-by-step process of installing a ceiling fan electrical box. We will cover everything from gathering the necessary tools and materials to testing and finishing up. By following this guide, you will be well-equipped to tackle this project with confidence.
Before we dive into the installation process, it’s important to note that electrical work should always be approached with caution. If you don’t feel comfortable working with electricity, it is recommended to hire a licensed electrician to perform the installation. Safety should always be the top priority.
Now, let’s get started on installing a ceiling fan electrical box!
Key Takeaways:
- Properly installing a ceiling fan electrical box is crucial for safety and functionality. From gathering tools to testing the fan, each step ensures a secure and reliable foundation for your ceiling fan installation.
- Prioritize safety throughout the installation process, and consider consulting a licensed electrician if unsure. Enjoy the benefits of a well-installed ceiling fan, including improved air circulation and energy efficiency.
Read more: How To Install Ceiling Electrical Box
Step 1: Gather the Necessary Tools and Materials
Before you begin installing the ceiling fan electrical box, it’s essential to gather all the tools and materials you’ll need for the project. This will help streamline the process and prevent any unnecessary delays. Here are the items you’ll need:
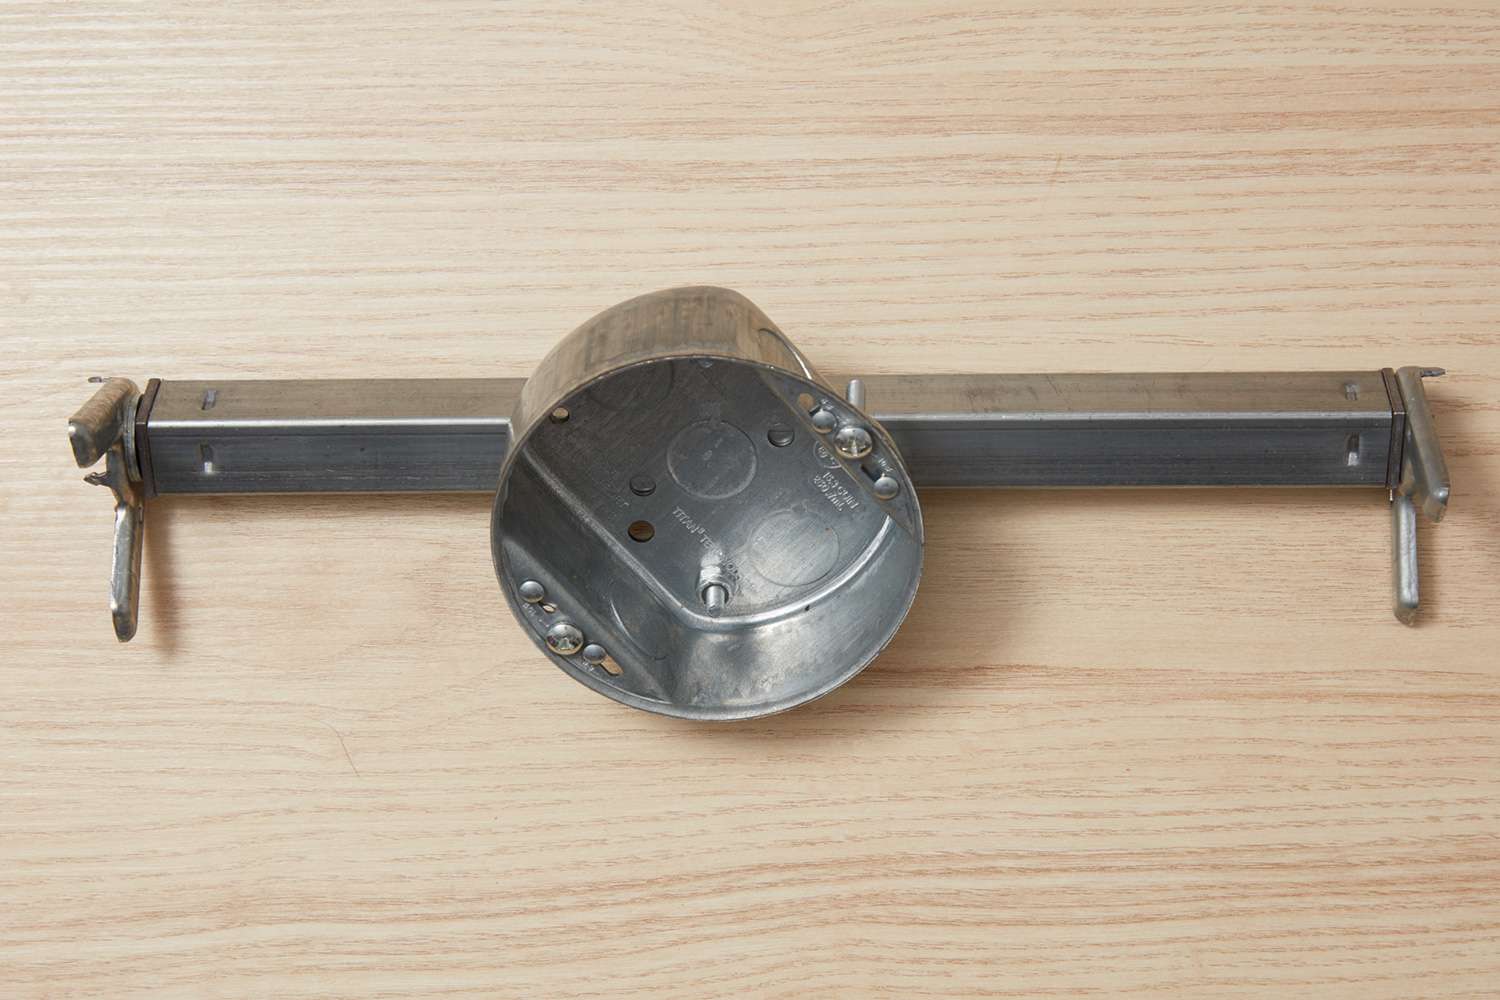
1. Electrical Box: Choose a fan-rated electrical box that can support the weight of your ceiling fan. Look for one with a UL (Underwriter Laboratories) listing for safety.
2. Screwdriver: A Phillips-head screwdriver will be needed to secure the electrical box and attachment screws.
3. Pliers: You’ll need pliers to strip and bend wires as necessary during the installation process.
4. Wire Strippers: Use wire strippers to remove the insulation from the electrical wires as needed.
5. Circuit Tester: This tool will help you ensure that the power is turned off before beginning the installation.
6. Voltage Detector: A voltage detector is essential for checking if there is any live electricity present in the wires, ensuring your safety.
7. Measuring Tape: Use a measuring tape to accurately mark the location for the electrical box.
8. Stud Finder: A stud finder is necessary to locate the ceiling joists for securely mounting the electrical box.
9. Drywall Saw: This tool is needed to cut an opening in the ceiling for the electrical box installation.
10. Wire nuts: These connectors are used to securely join wires together.
11. Wire Connectors: Wire connectors, also known as wire nuts, are used to join wires securely.
12. Ceiling Fan: Finally, you’ll need the ceiling fan itself that you plan to install.
Having all these tools and materials ready before you start will save you time and ensure a smoother installation process. It’s always better to be prepared than to have to pause the project midway to gather missing items.
Once you have gathered all the necessary tools and materials, you’re ready to move on to the next step: turning off the power.
Remember to take appropriate safety precautions throughout the installation process, such as wearing safety goggles and turning off the power at the breaker box. Now, let’s proceed to the next step to ensure a safe and successful installation.
Step 2: Turn off the Power
Before you begin any electrical work, it is absolutely crucial to turn off the power to the circuit you will be working on. This step ensures your safety and minimizes the risk of electric shock. Follow these important steps to turn off the power:
1. Locate the Circuit Breaker Box: The circuit breaker box is usually located in your basement, utility room, or garage. If you’re not sure where it is, consult your home’s electrical panel diagram or ask a professional for assistance.
2. Identify and Label the Correct Circuit: Look for the circuit breaker that controls the power supply to the room where you’ll be installing the ceiling fan. If the breakers are not labeled, you can use a circuit tester to identify the correct one. Test the switches until you find the one that cuts off power to the room.
3. Switch Off the Circuit: Once you’ve identified the correct circuit breaker, switch it to the “off” position. This will cut off power to the room and ensure your safety while you work. Double-check that the power is indeed off by testing a light switch or outlet in the area.
4. Secure the Circuit Breaker: To prevent anyone from accidentally turning the power back on while you’re working, consider putting a small lock or tag on the circuit breaker switch. This will serve as a visual reminder to others that maintenance work is in progress.
It is important to note that turning off the power at the circuit breaker box should be sufficient for most ceiling fan installations. However, if you’re unsure or uncomfortable handling electrical work, it’s always best to consult a licensed electrician for assistance.
Remember, safety should always be your top priority when working with electricity. Taking the time to turn off the power will ensure a safe working environment and protect you from potential accidents.
With the power turned off, you’re now ready to proceed to the next step: selecting an appropriate location for the electrical box. Let’s move forward and continue the installation process.
Step 3: Select an Appropriate Location for the Electrical Box
Choosing the right location for the electrical box is crucial for ensuring the stability and functionality of your ceiling fan. Here are some key factors to consider when selecting the placement:
1. Ceiling Joists: The electrical box should be anchored to a ceiling joist or a support brace. These structural components provide the necessary stability to support the weight of the fan. Use a stud finder to locate the nearest ceiling joist. Alternatively, if there is an existing light fixture in the desired location, you can position the electrical box in the same spot.
2. Ceiling Clearance: Ensure that there is sufficient clearance between the electrical box and any nearby objects, such as walls, beams, or other fixtures. As a general rule of thumb, maintain a minimum of 7 feet of clearance between the blades of the ceiling fan and the floor.
3. Room Layout: Consider the layout of the room and the function of the ceiling fan. For optimal airflow, position the ceiling fan in the center of the room. Also, ensure that it will not obstruct any doors, windows, or other pieces of furniture.
4. Electrical Wiring Accessibility: The selected location should provide easy access to the electrical wiring and connections. Make sure there is enough space to work comfortably when connecting the wires to the electrical box.
Once you have identified the appropriate location for the electrical box, it’s time to mark the spot and prepare for the installation. Use a pencil or a marker to clearly indicate the center point of the box location on the ceiling. Additionally, you can use a level and a measuring tape to ensure that the marked spot is accurately positioned.
Remember, the stability and safety of your ceiling fan depend on the proper placement of the electrical box. Taking the time to select the right location will ensure a secure installation and optimal performance.
With the location marked, you can now move on to the next step: marking the location and cutting the opening for the box. Let’s keep the momentum going and continue the installation process.
Step 4: Mark the Location and Cut the Opening for the Box
Now that you have selected the appropriate location for the electrical box, it’s time to mark the precise position on the ceiling and cut the opening for the box installation. Follow these steps to complete this crucial step:
1. Gather the Necessary Tools: Before you begin, make sure you have the required tools for this task. You will need a measuring tape, pencil or marker, a level, and a drywall saw.
2. Measure and Mark the Location: Use a measuring tape to find the center point of the previously selected location. Mark this point on the ceiling with a pencil or marker. Double-check the accuracy of the marking by measuring the distance from the surrounding walls or relevant reference points.
3. Use a Level: Place a level vertically against the wall or ceiling near the marked spot. Adjust the positioning until the bubble in the level is centered. Use the level to create a vertical line from the marked center point down to the cutting area.
4. Outline the Box Opening: Measure the dimensions of the electrical box and use a pencil or marker to trace the outline of the box on the ceiling. Make sure the traced rectangle aligns with the vertical line you created in the previous step.
5. Cut the Opening: Using a drywall saw or a keyhole saw, carefully cut along the marked outline. Start with a small pilot hole and gradually extend the cut until you have completely removed the portion of the ceiling for the electrical box. Take your time and proceed cautiously to avoid damaging the surrounding drywall or other materials.
6. Check the Opening Size: After cutting the opening, ensure that the dimensions are correct and that the electrical box fits securely. Make any necessary adjustments or refinements to the cutout as needed.
It’s important to handle the drywall saw with care during the cutting process. Use steady, consistent pressure and follow the marked outline to achieve a clean and precise opening. Be mindful of any electrical wiring and other obstructions that may be present in the ceiling while cutting.
Once you have successfully marked the location and cut the opening for the electrical box, you’re ready to move on to the next step: installing a support bar for the ceiling fan. Let’s continue our installation journey with confidence and precision.
Read also: 11 Best Ceiling Fan Electrical Box for 2025
Step 5: Install a Support Bar for the Ceiling Fan
After cutting the opening for the electrical box, the next step in installing a ceiling fan is to install a support bar. This support bar provides stability and ensures that the weight of the fan is properly distributed. Here’s how you can install a support bar:
1. Assess the Ceiling Joists: Before installing the support bar, locate the ceiling joists near the opening. You can use a stud finder or tap the ceiling lightly to identify the solid areas.
2. Measure and Cut the Support Bar: Measure the distance between the two nearest ceiling joists. Use a hacksaw or a reciprocating saw to cut the support bar to fit this distance. Make sure to follow the manufacturer’s instructions for the specific support bar you are using.
3. Insert the Support Bar: Insert the support bar into the opening created for the electrical box. Extend the bar until it reaches both ceiling joists. Rotate the bar to engage any locking mechanisms on the ends of the bar, ensuring it is securely held in place.
4. Secure the Support Bar: Use a screwdriver or drill to secure the support bar to the ceiling joists. Follow the manufacturer’s instructions for the specific support bar you have chosen. Typically, this involves driving the provided screws through the pre-drilled holes in the support bar and into the joists.
5. Confirm Stability: Once the support bar is securely fastened, gently apply pressure to ensure it is stable. There should be no movement or sagging. If the support bar feels loose, double-check the installation and tighten the screws as needed.
Installing a support bar is a crucial step in ensuring the safety and stability of your ceiling fan. It provides a solid foundation for the fan to be attached to, preventing any wobbling or unsafe conditions.
Remember, it is essential to follow the manufacturer’s instructions for both the support bar and the ceiling fan. Each manufacturer may have specific guidelines and requirements for installation.
With the support bar securely in place, you are now ready to move on to the next step: connecting the electrical wiring. Let’s continue our installation process with caution and attention to detail.
Make sure to turn off the power to the existing electrical box before installing the new ceiling fan box. Use a voltage tester to double-check that the power is off before beginning the installation.
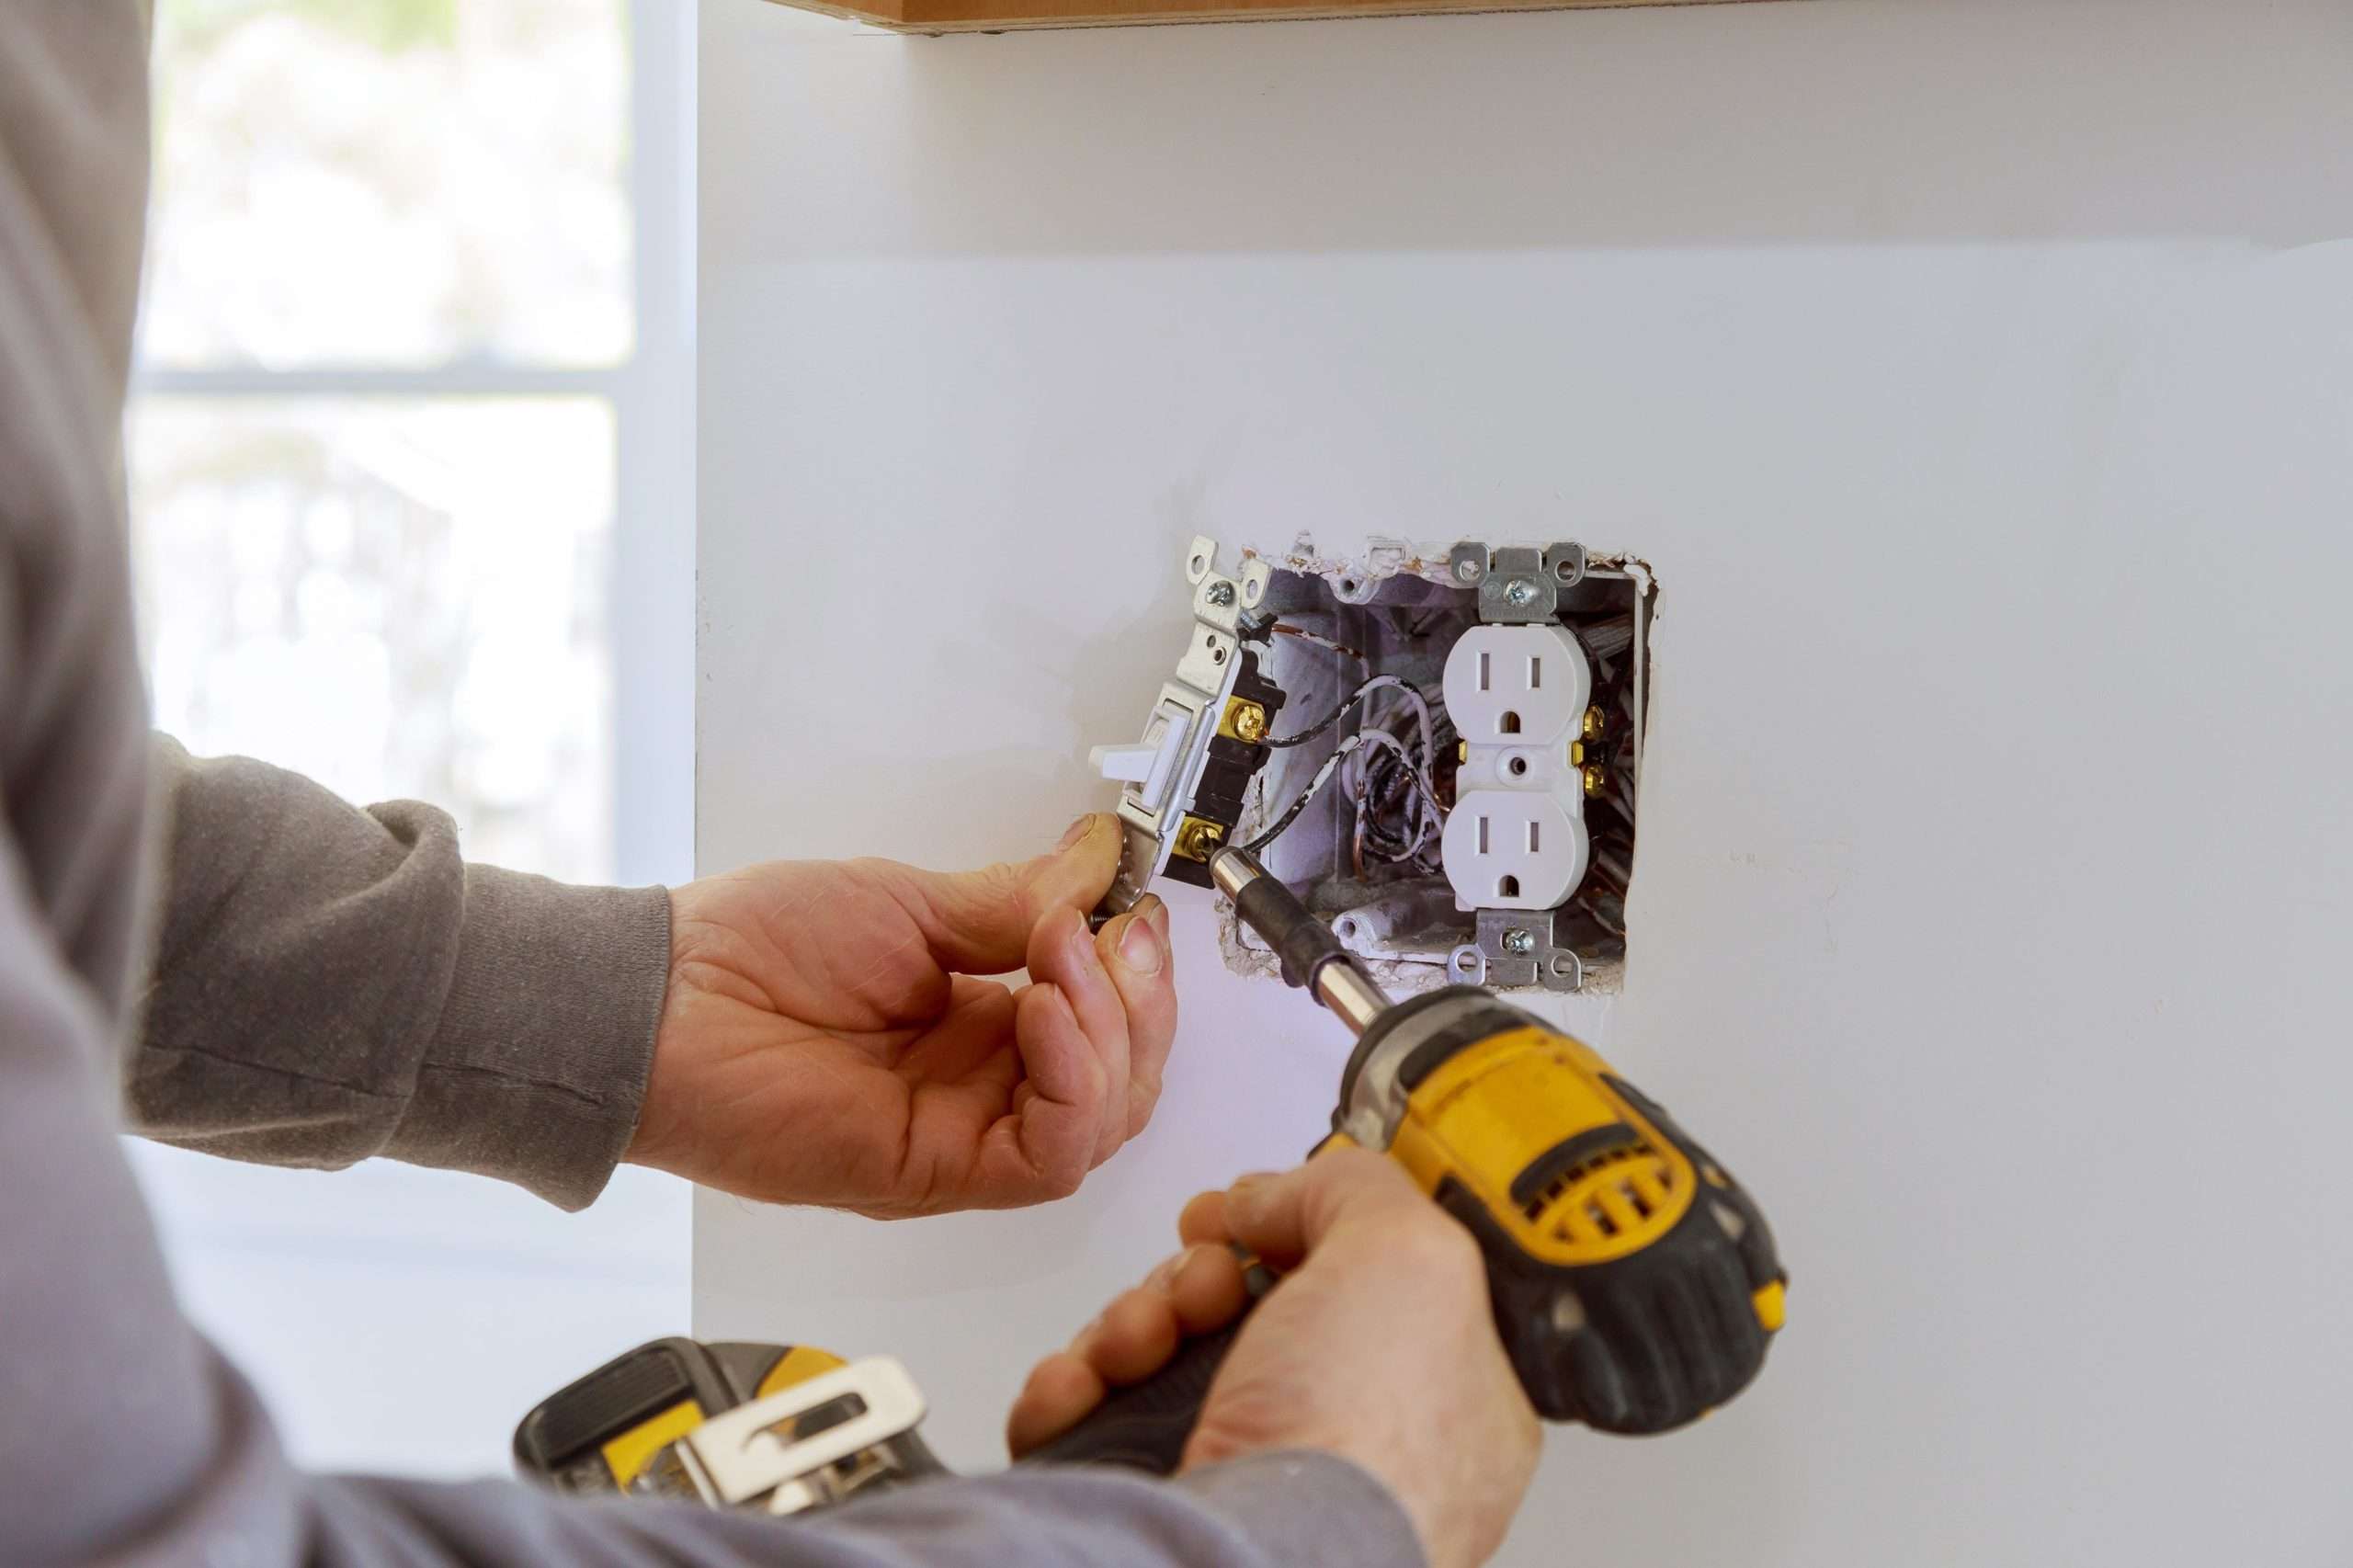
Step 6: Connect the Electrical Wiring
Now that the support bar is installed, it’s time to connect the electrical wiring for your ceiling fan. This step involves safely wiring the fan to your home’s electrical system. Here’s a step-by-step guide to help you through the process:
1. Turn Off the Power: Before you begin any electrical work, ensure that the power to the circuit you’ll be working on is turned off. Double-check by testing the wires with a voltage detector to ensure they are not live.
2. Gather the Necessary Tools: For this step, you’ll need wire strippers, wire nuts, pliers, and a screwdriver.
3. Examine the Wires: Take a close look at the wires coming out of the ceiling and those included in your ceiling fan kit. The typical wiring colors are black (hot wire), white (neutral wire), and green or bare copper (ground wire).
4. Match the Wires: Match the colors of the wires coming out of the ceiling to the corresponding wires provided by the fan kit. Connect the black wire from the ceiling to the black or blue wire from the fan (depending on whether it has a light kit). Connect the white wire from the ceiling to the white wire from the fan, and secure these connections with wire nuts.
5. Grounding Wire: If there is a grounding wire included in your fan kit, connect it to the green or bare copper wire from the ceiling. If there is no grounding wire, connect the green or bare copper wire from the fan directly to the grounding screw on the support bar.
6. Secure the Connections: After connecting the wires, use pliers to twist the wire nuts in a clockwise direction, ensuring a tight and secure connection. Give the wires a gentle tug to ensure they are firmly attached.
7. Conceal the Wiring: Tuck the connected wires carefully into the electrical box, ensuring they are not pinched or strained. This will allow for a clean and organized installation.
8. Check the Connections: Once the wiring is complete, double-check all the connections to ensure they are secure and properly aligned. Take a moment to inspect for any loose wires or exposed copper.
Always refer to the manufacturer’s instructions that come with your fan kit for specific wiring details and precautions. If you are unsure about any part of the process, it is best to consult a licensed electrician.
Connecting the electrical wiring is a vital step in the installation process, as it ensures that your ceiling fan functions safely and effectively. With the wiring complete, you can now move on to the next step: mounting the ceiling fan electrical box. Let’s keep up the momentum and continue our installation journey.
Step 7: Mount the Ceiling Fan Electrical Box
With the electrical wiring connected, the next step is to mount the ceiling fan electrical box. This box provides a secure housing for the fan and is essential for supporting its weight. Follow these steps to properly mount the electrical box:
1. Position the Electrical Box: Hold the electrical box up to the opening in the ceiling and align it with the support bar. Make sure the box is level and centered with the opening.
2. Mark the Mounting Holes: Once the box is in the desired position, use a pencil or marker to mark the locations of the mounting holes on the ceiling. Most electrical boxes have pre-drilled holes for this purpose.
3. Pre-drill the Holes: Remove the electrical box and use an appropriate drill bit to pre-drill holes on the marked spots. The size of the drill bit should match the size of the screws provided with the electrical box.
4. Attach the Mounting Bracket: Place the mounting bracket onto the support bar and align it with the pre-drilled holes. Secure the bracket to the support bar using the screws provided. Ensure that the bracket is tightly fastened and does not wobble or move.
5. Install the Electrical Box: With the mounting bracket in place, reposition the electrical box over the opening and align it with the bracket. Insert the screws through the holes in the box and tighten them to secure the box to the bracket. Make sure the box is stable and securely attached to the ceiling.
6. Double-check Stability: Once the electrical box is mounted, give it a gentle shake to ensure it is securely fastened. There should be no movement or looseness. If needed, tighten the screws further or make any necessary adjustments to ensure stability.
By correctly mounting the electrical box, you provide a solid anchor for your ceiling fan, ensuring its safety and stability. Always refer to the manufacturer’s instructions for specific mounting guidelines and recommendations.
With the electrical box securely mounted, you’re one step closer to completing the installation. The next step is to secure the box and attach the fan bracket. Let’s continue our installation process with confidence and precision.
Step 8: Secure the Box and Attach the Fan Bracket
After mounting the ceiling fan electrical box, the next step is to secure the box and attach the fan bracket. This process ensures that the box is tightly secured and provides a stable foundation for mounting the ceiling fan. Follow these steps to complete this step:
1. Tighten the Box Screws: Check the screws that secure the electrical box to the mounting bracket. Using a screwdriver, ensure that these screws are properly tightened. This will help keep the box securely fastened to the bracket.
2. Attach the Fan Bracket: Locate the fan bracket included in your ceiling fan kit. Align the holes on the bracket with the corresponding holes on the electrical box. Insert the provided screws through the bracket and into the box, and tighten them using a screwdriver. Ensure that the bracket is securely attached and properly aligned with the box.
3. Confirm Stability: Once the fan bracket is attached, give it a gentle shake to ensure that it is firmly secured. There should be minimal to no movement or wobbling. If needed, adjust the screws or make any necessary modifications to achieve stability.
4. Follow Manufacturer’s Instructions: It’s crucial to follow the manufacturer’s instructions specific to your ceiling fan model. Refer to the provided manual for any additional steps or recommendations for securing the box and attaching the fan bracket.
By securely fastening the electrical box and attaching the fan bracket, you create a stable base for installing the ceiling fan. This step is essential in ensuring the safety and proper functioning of the fan. As always, take your time and be mindful of the connections and hardware during the process.
With the box securely fastened and the fan bracket attached, you’re ready to move on to the next step: installing the ceiling fan. Let’s proceed and bring the installation to its exciting final stage.
Read more: How Install Ceiling Fan
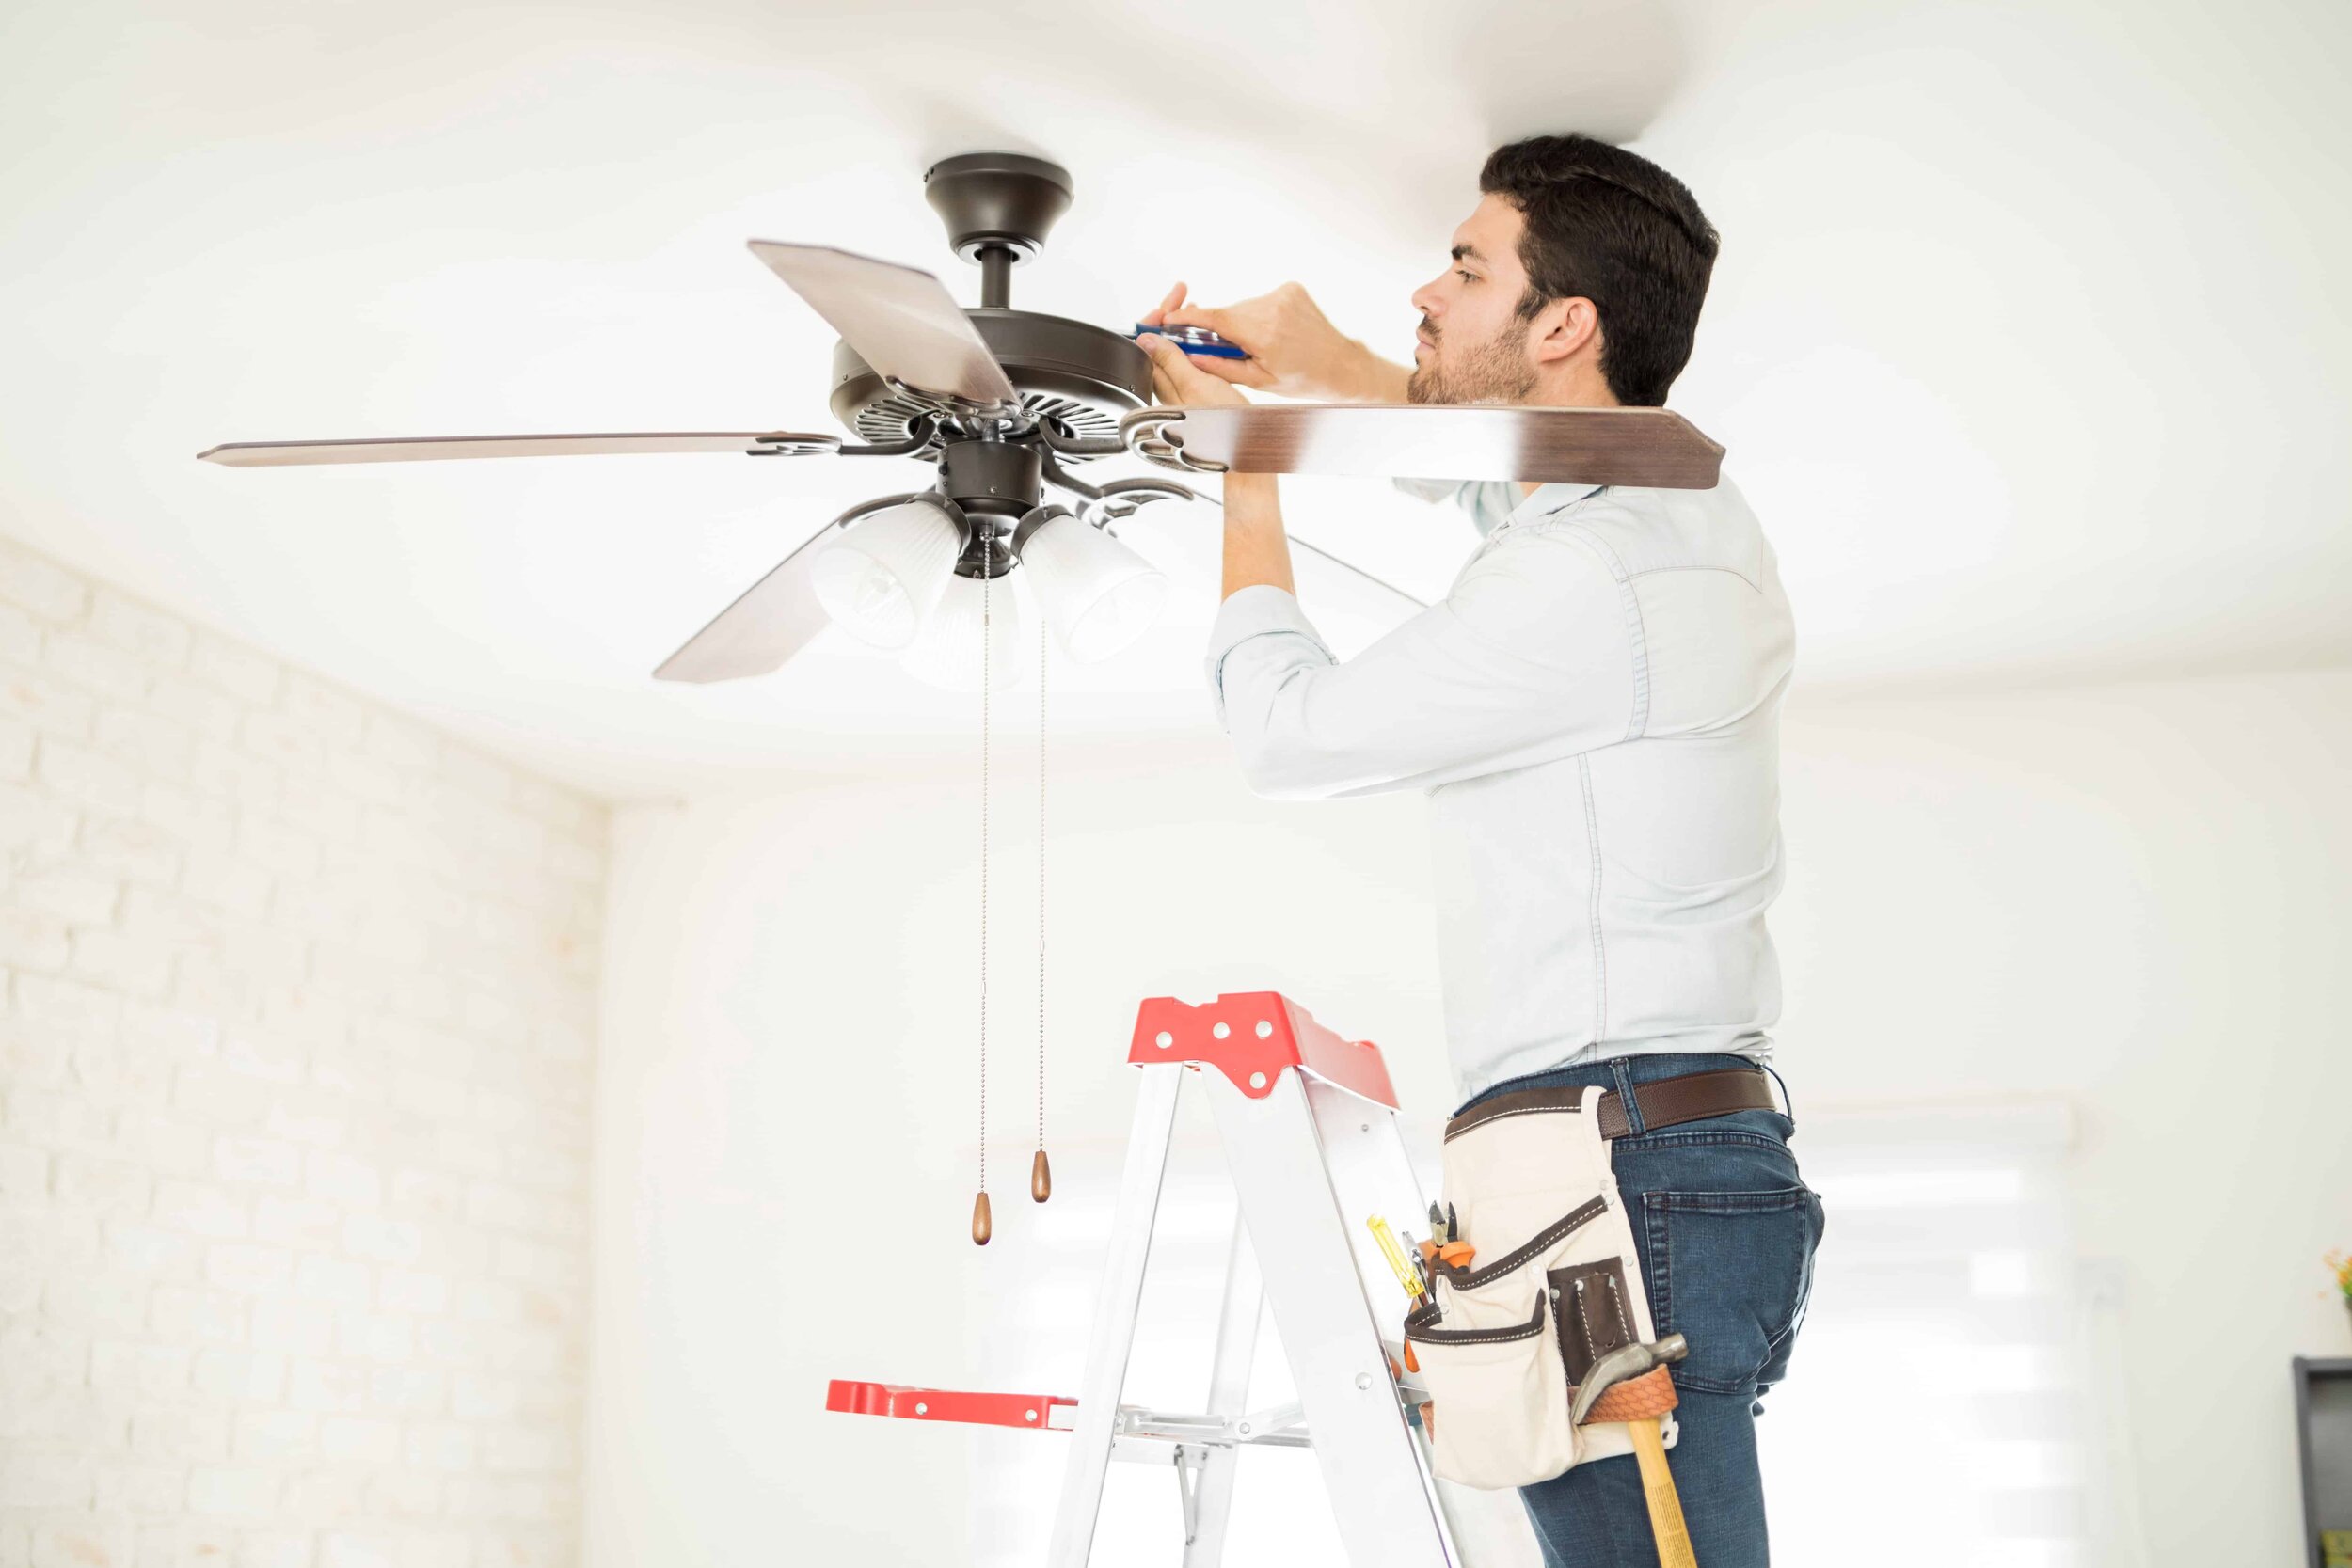
Step 9: Install the Ceiling Fan
Now that the electrical box is secure and the fan bracket is attached, it’s time to install the ceiling fan itself. Follow these steps to complete the installation:
1. Unpack the Ceiling Fan: Begin by unpacking the ceiling fan from its packaging. Ensure that all the necessary components, such as the fan blades, motor, downrod, and hardware, are included and in good condition.
2. Attach the Fan Mounting Bracket: Locate the fan mounting bracket in your ceiling fan kit. Align the bracket with the holes on the fan motor and securely fasten it using the provided screws and a screwdriver. Make sure the bracket is centered and level.
3. Attach the Fan Blades: Attach the fan blades to the motor assembly according to the manufacturer’s instructions. Typically, this involves aligning the blade arm with the pre-drilled holes on the motor housing and securing them with the provided screws. Repeat this step for each fan blade, ensuring they are evenly spaced.
4. Connect the Wiring: Carefully take the wiring from the electrical box and connect it to the corresponding wiring on the fan. Most ceiling fans have labeled wires for easy identification. Match the colors (black to black, white to white, and ground to ground) and secure them tightly using wire nuts. Gently tuck the connected wires back into the electrical box.
5. Attach the Canopy: Slide the canopy provided with the fan up to the ceiling and over the downrod, covering the electrical box and wiring. Secure the canopy to the mounting bracket using the provided screws, ensuring it is snug against the ceiling.
6. Install the Fan Canopy: Fit the decorative fan canopy over the top of the motor housing and secure it using the screws provided. This step adds an aesthetic finishing touch to your ceiling fan.
7. Install the Fan Blades: Attach the fan blades to the blade arms, securing them with the provided screws. Ensure the blades are properly aligned and balanced for optimal performance.
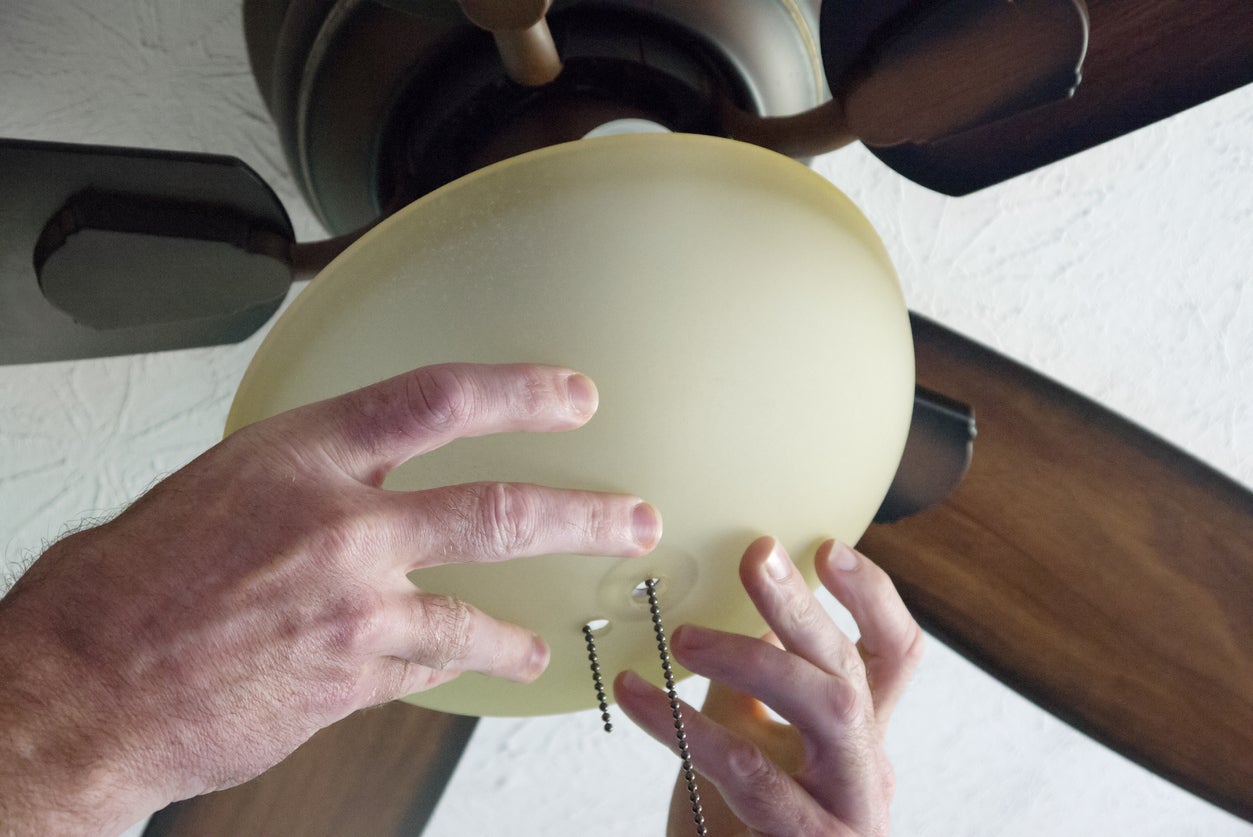
8. Install the Light Kit (Optional): If your ceiling fan has a light kit, follow the manufacturer’s instructions to attach and wire it. Make sure the light kit is securely fixed to the fan.
9. Test and Adjust: Double-check all the connections and ensure that the fan is securely mounted. Turn the power back on at the breaker box and test the fan and any included features, such as the lights or remote control. Ensure that the fan operates smoothly and without any noise or wobbling.
Always refer to the manufacturer’s instructions for any specific guidelines or precautions during the installation process. If you are unsure about any step, it is best to consult the manual or seek the assistance of a professional.
With the ceiling fan successfully installed, you can now move on to the final step: testing and finishing up. Let’s ensure everything is in order and enjoy the benefits of your newly installed ceiling fan.
Step 10: Test and Finish Up
After installing the ceiling fan, it’s crucial to test it for functionality and ensure everything is in working order. Follow these steps to test your fan and complete the installation process:
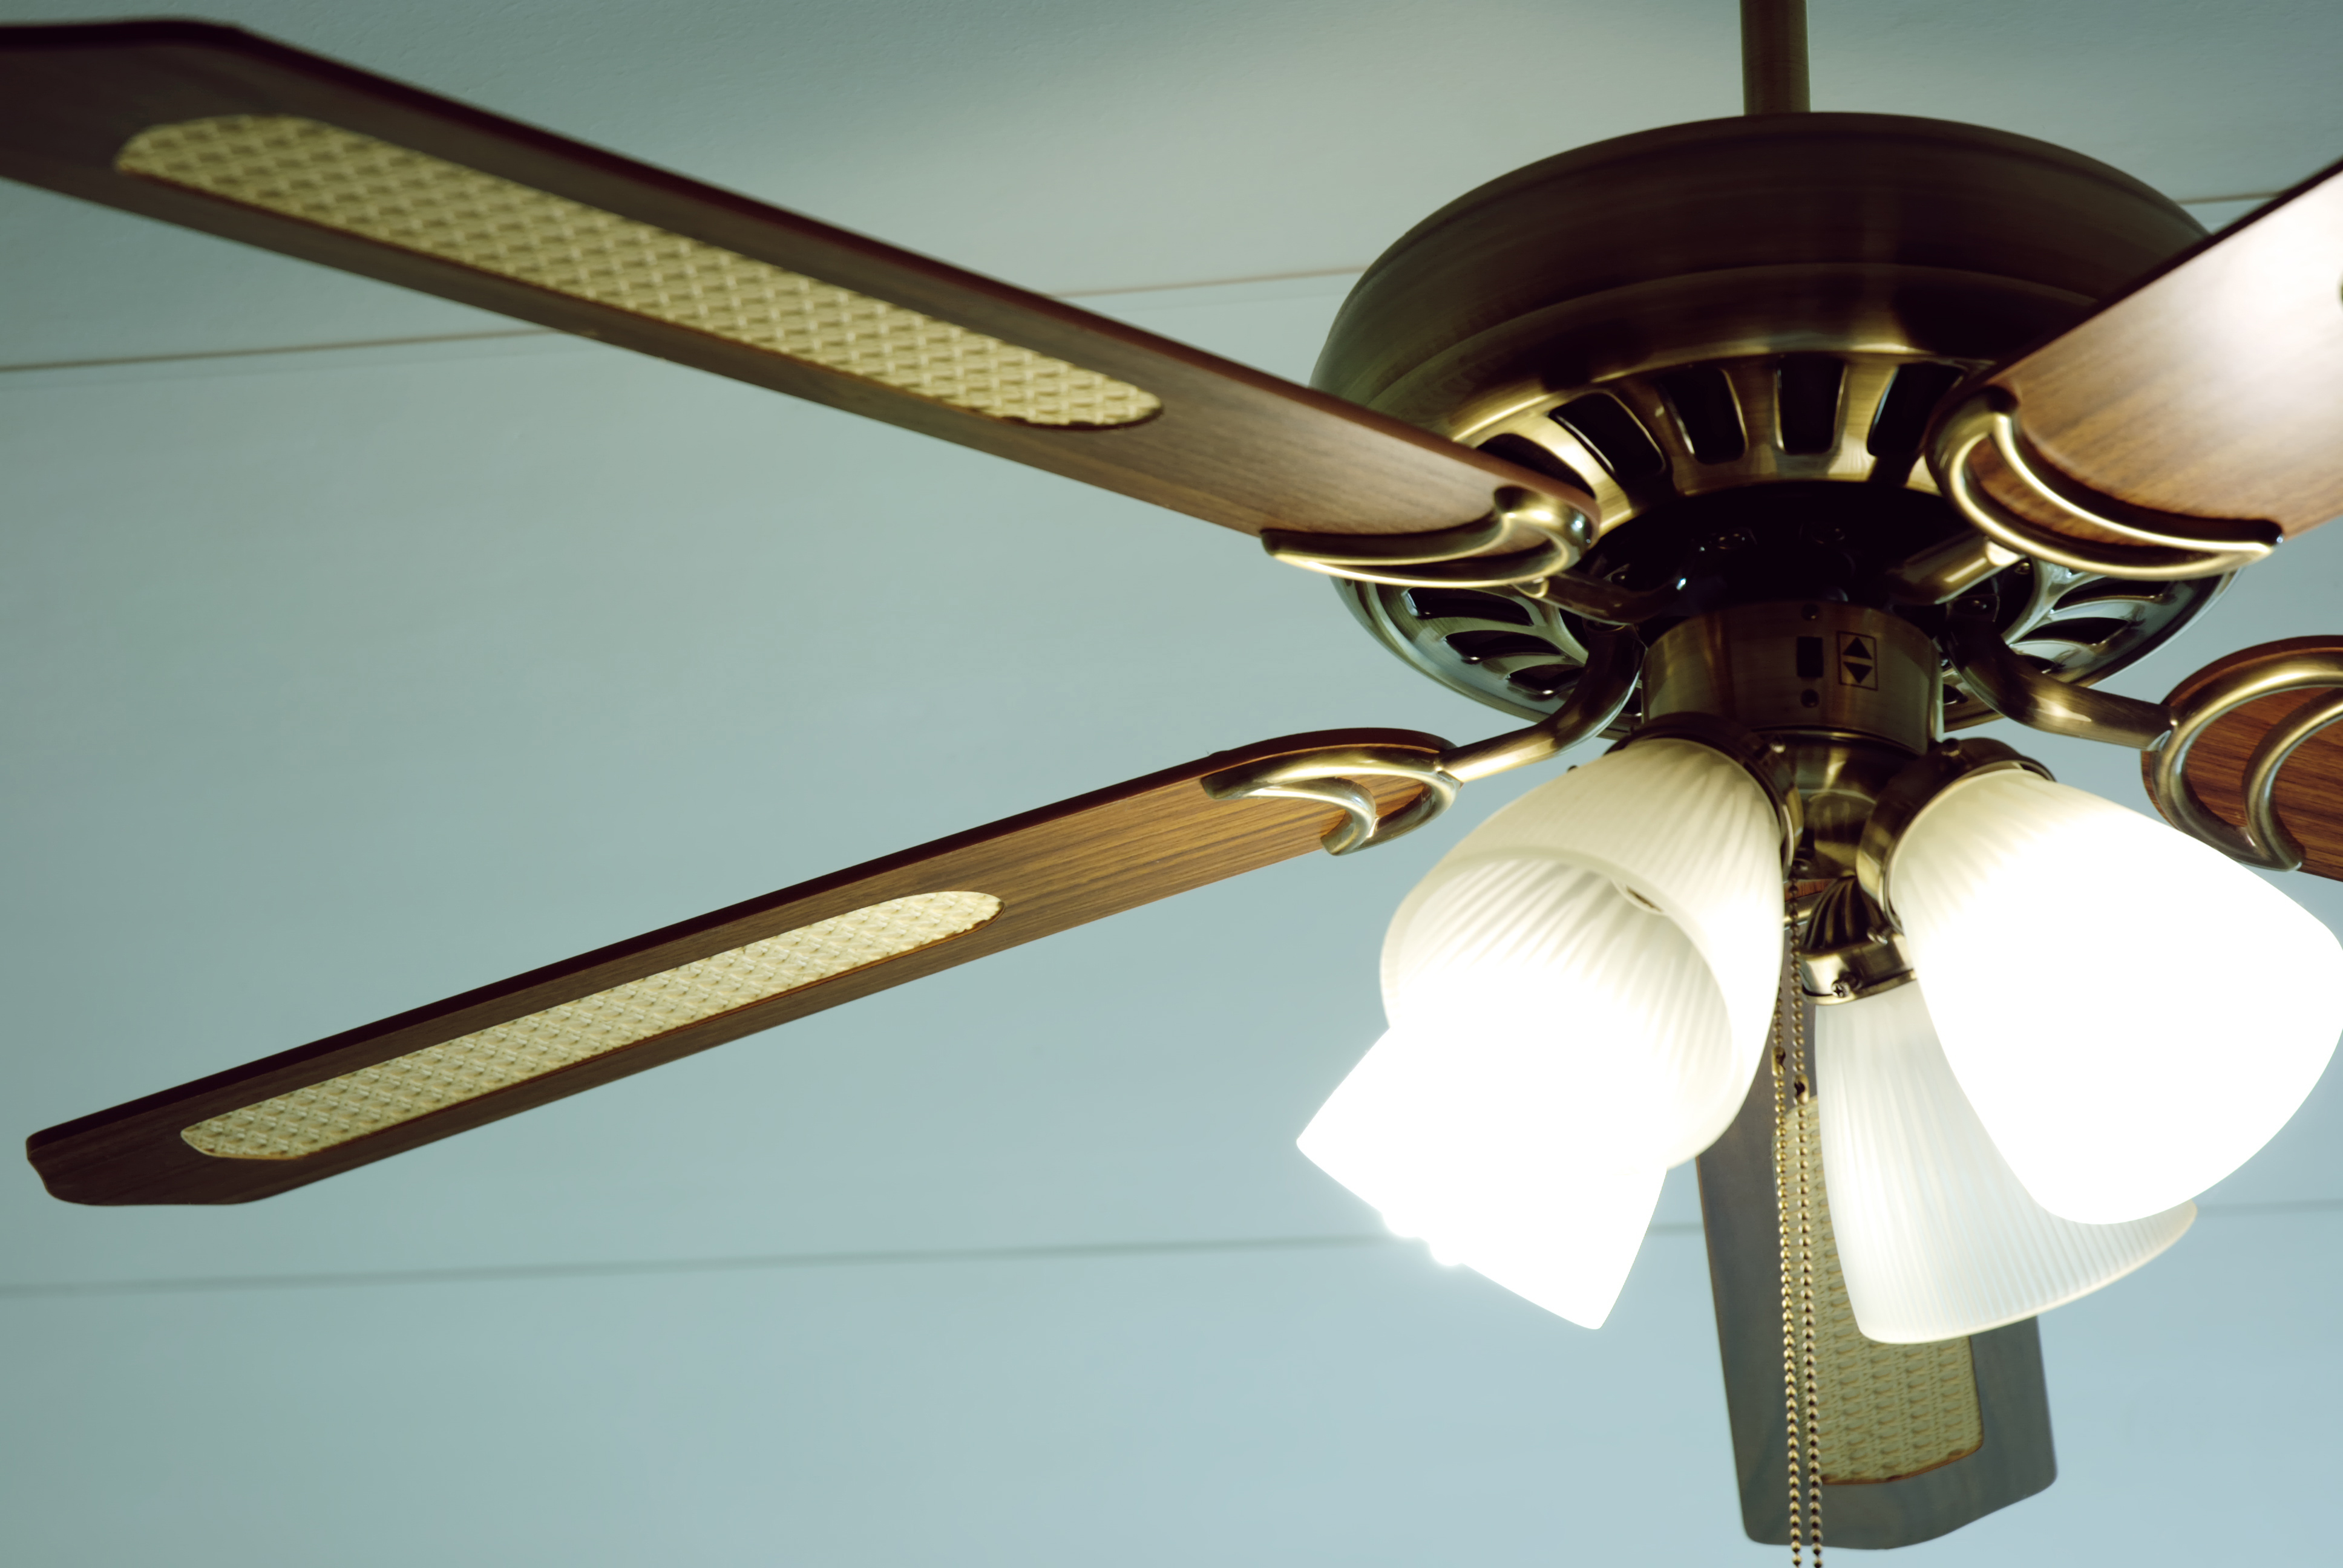
1. Power On the Fan: Make sure the power is turned on at the breaker box. Use the fan’s pull chains or remote control (if applicable) to turn on the fan motor. Ensure that the fan blades are spinning in the desired direction, typically counterclockwise for cooling airflow.
2. Check for Proper Airflow: Stand beneath the fan and feel the airflow to ensure that it is circulating properly. Adjust the fan speed settings as needed using the pull chains or remote control. If there is inadequate airflow or any unusual noises, double-check the fan’s balance and make any necessary adjustments.
3. Test the Light Kit (if applicable): If your ceiling fan has a light kit, turn on the light and check for proper illumination. Make sure the light switch and any dimming features are working correctly. Replace any faulty bulbs if needed.
4. Secure Loose Screws or Components: Take a final inspection of the fan and tighten any loose screws or components if necessary. Pay attention to the blades, motor assembly, and mounting hardware. This ensures the stability and durability of your ceiling fan.
5. Clean Up and Organize: Once you are satisfied with the functionality of your ceiling fan, clean up any debris from the installation process. Remove any protective coverings from the fan blades or motor and organize any leftover hardware or materials for future use or disposal.
6. Enjoy Your New Ceiling Fan: Congratulations! You have successfully installed a ceiling fan. Now, sit back, relax, and enjoy the cooling breeze and energy efficiency it provides. Take advantage of the various fan speed settings and lighting options to create a comfortable and inviting atmosphere in your space.
Remember, regular maintenance and cleaning will help prolong the lifespan of your ceiling fan. Refer to the manufacturer’s instructions for detailed guidelines on cleaning and caring for your specific fan model.
By testing and finishing up the installation process, you can ensure that your ceiling fan is properly functioning and ready to enhance your comfort and style. Enjoy the benefits of your newly installed ceiling fan for years to come.
Conclusion
Installing a ceiling fan electrical box may seem like a daunting task, but with the right tools, materials, and guidance, it can be a manageable project that enhances both the functionality and aesthetics of your space. By following the step-by-step process outlined in this article, you can confidently install a ceiling fan electrical box, ensuring a safe and reliable foundation for your ceiling fan installation.
Throughout the installation process, remember to prioritize safety. Turn off the power at the breaker box, use caution when working with electrical wiring, and consider consulting a licensed electrician if you are unsure or uncomfortable with any aspect of the installation.
From gathering the necessary tools and materials to testing and perfecting the final installation, each step plays a critical role in the overall success of your ceiling fan project. Take the time to ensure proper alignment, secure connections, and stability for long-lasting performance.
A properly installed ceiling fan not only improves air circulation and adds comfort to your living space but can also help reduce energy costs by supplementing or even replacing the use of air conditioning and heating systems. This sustainable and cost-effective solution can have a positive impact on both your comfort and your utility bills.
As you enjoy the benefits of your new ceiling fan, remember to perform regular maintenance and cleaning to keep it running smoothly. Dust the fan blades regularly and check for any loose screws or components. This will help prolong the lifespan of your ceiling fan and ensure optimal performance.
Whether you’re installing a ceiling fan in your living room, bedroom, or any other area of your home, the process outlined in this article provides a solid foundation for a successful installation. Stay diligent, follow the manufacturer’s instructions, and embrace the cooling comfort and enhanced ambiance that your new ceiling fan brings to your space.
By combining functionality, style, and energy efficiency, a properly installed ceiling fan can be a valuable addition to any room. So go ahead, embrace the transformation, and enjoy the cool breeze and improved comfort that your ceiling fan provides.
Frequently Asked Questions about How To Install A Ceiling Fan Electrical Box
Was this page helpful?
At Storables.com, we guarantee accurate and reliable information. Our content, validated by Expert Board Contributors, is crafted following stringent Editorial Policies. We're committed to providing you with well-researched, expert-backed insights for all your informational needs.

0 thoughts on “How To Install A Ceiling Fan Electrical Box”