
Articles
How To Install Heat Tape In Gutters
Modified: October 28, 2024
Learn how to install heat tape in your gutters with this informative article. Discover the step-by-step process and ensure your gutters are protected from freezing temperatures.
(Many of the links in this article redirect to a specific reviewed product. Your purchase of these products through affiliate links helps to generate commission for Storables.com, at no extra cost. Learn more)
Introduction
Welcome to this comprehensive guide on how to install heat tape in gutters. If you live in an area that experiences cold winters, you may be familiar with the issue of ice dams forming in your gutters. Ice dams can cause significant damage to your roof, gutters, and even the interior of your home if not addressed properly. Fortunately, by installing heat tape, you can mitigate this problem and protect your home from potential water damage.
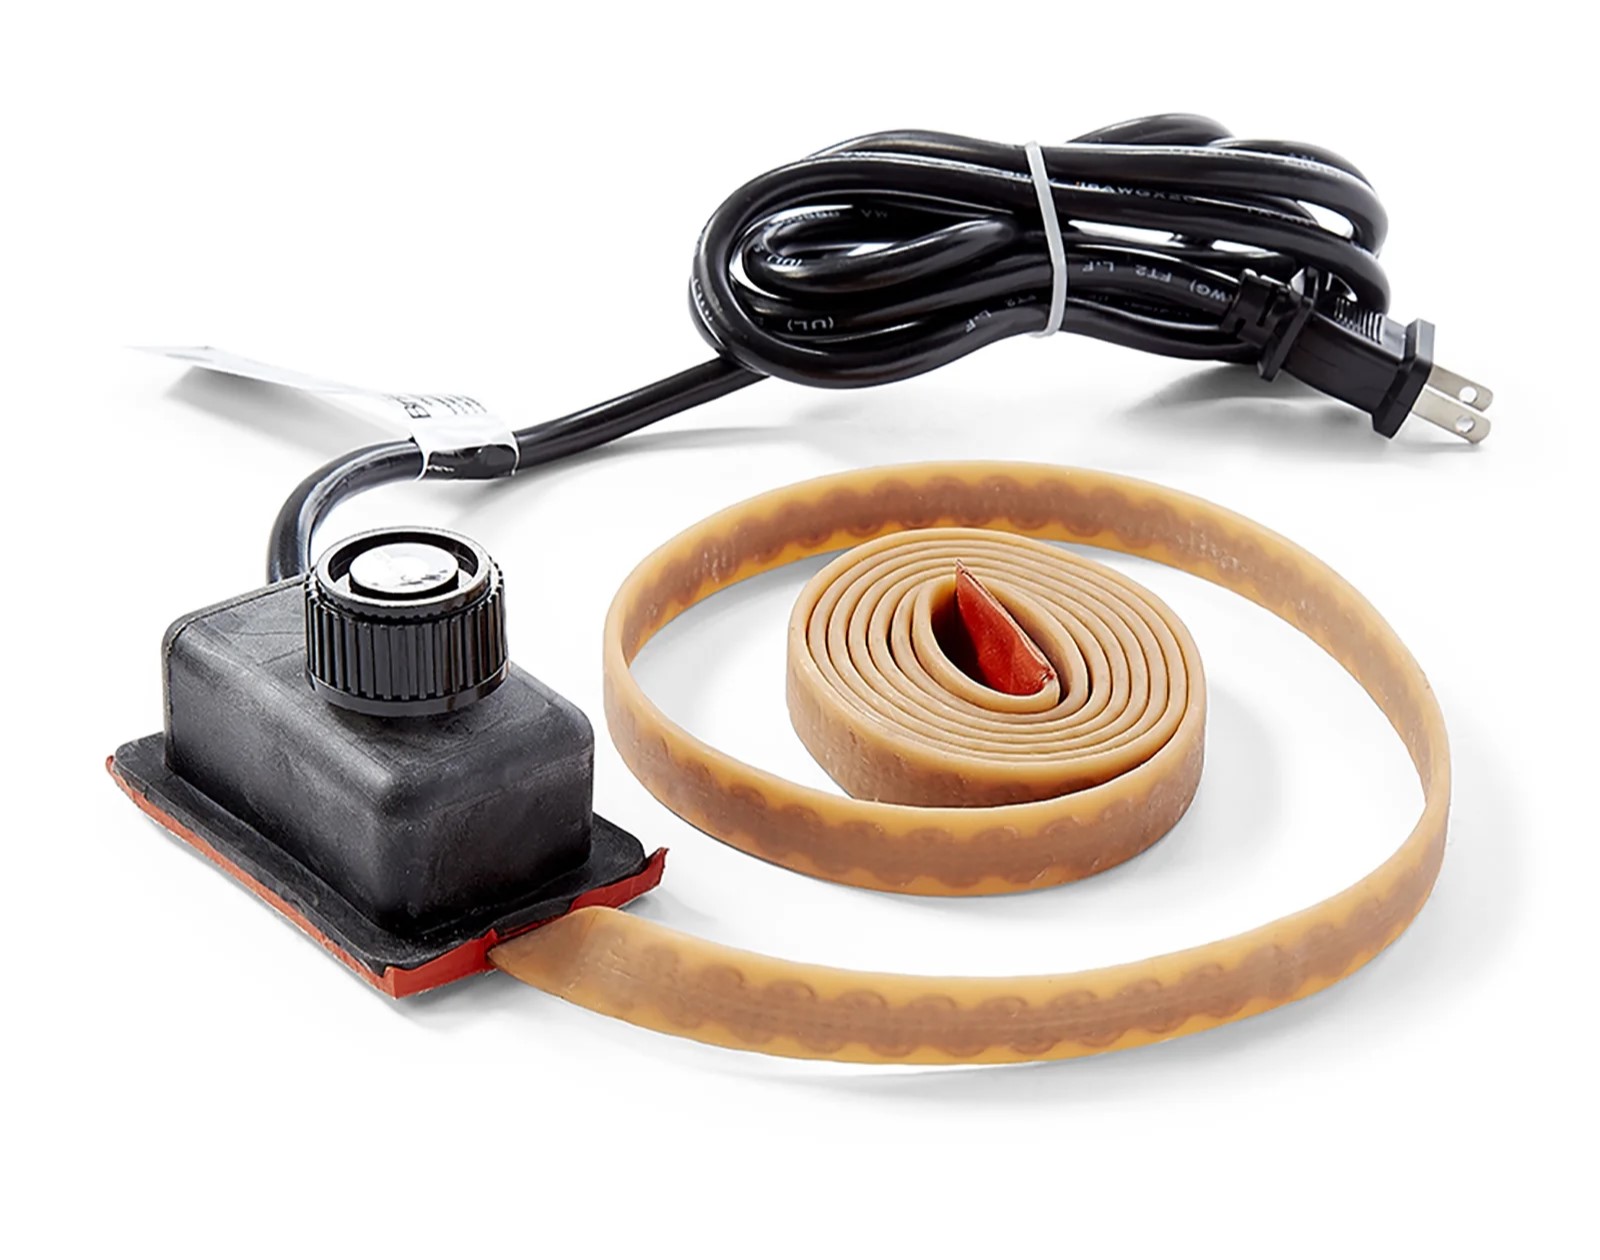
Heat tape, also known as heat cable or gutter heating cable, is a heating element that is designed to melt snow and ice buildup in gutters and downspouts. It is an effective solution for preventing ice dams from forming and allows water to flow freely through your gutter system. Installing heat tape in your gutters is a relatively simple process that can be done by most homeowners.
In this guide, we will walk you through the step-by-step process of installing heat tape in gutters. We will also cover the benefits of using heat tape, provide a list of tools and materials needed, and offer some tips to ensure a successful installation. Whether you are a seasoned DIY enthusiast or a beginner, this guide will equip you with the knowledge and skills to protect your gutters from ice dams.
Before we dive into the installation process, let’s explore the benefits of using heat tape in gutters.
Key Takeaways:
- Protect your home from ice dams and water damage by installing heat tape in your gutters. Ensure proper preparation, precise installation, and regular maintenance for a worry-free winter season.
- Enjoy peace of mind and a watertight home with a well-installed heat tape system. Prevent ice dams, protect your gutters and roof, and stay warm and safe during cold weather.
Read also: 9 Incredible Heat Tape For Gutters For 2025
Benefits of Using Heat Tape in Gutters
Using heat tape in gutters offers several advantages that can help protect your home and prevent costly damage. Let’s take a closer look at the benefits:
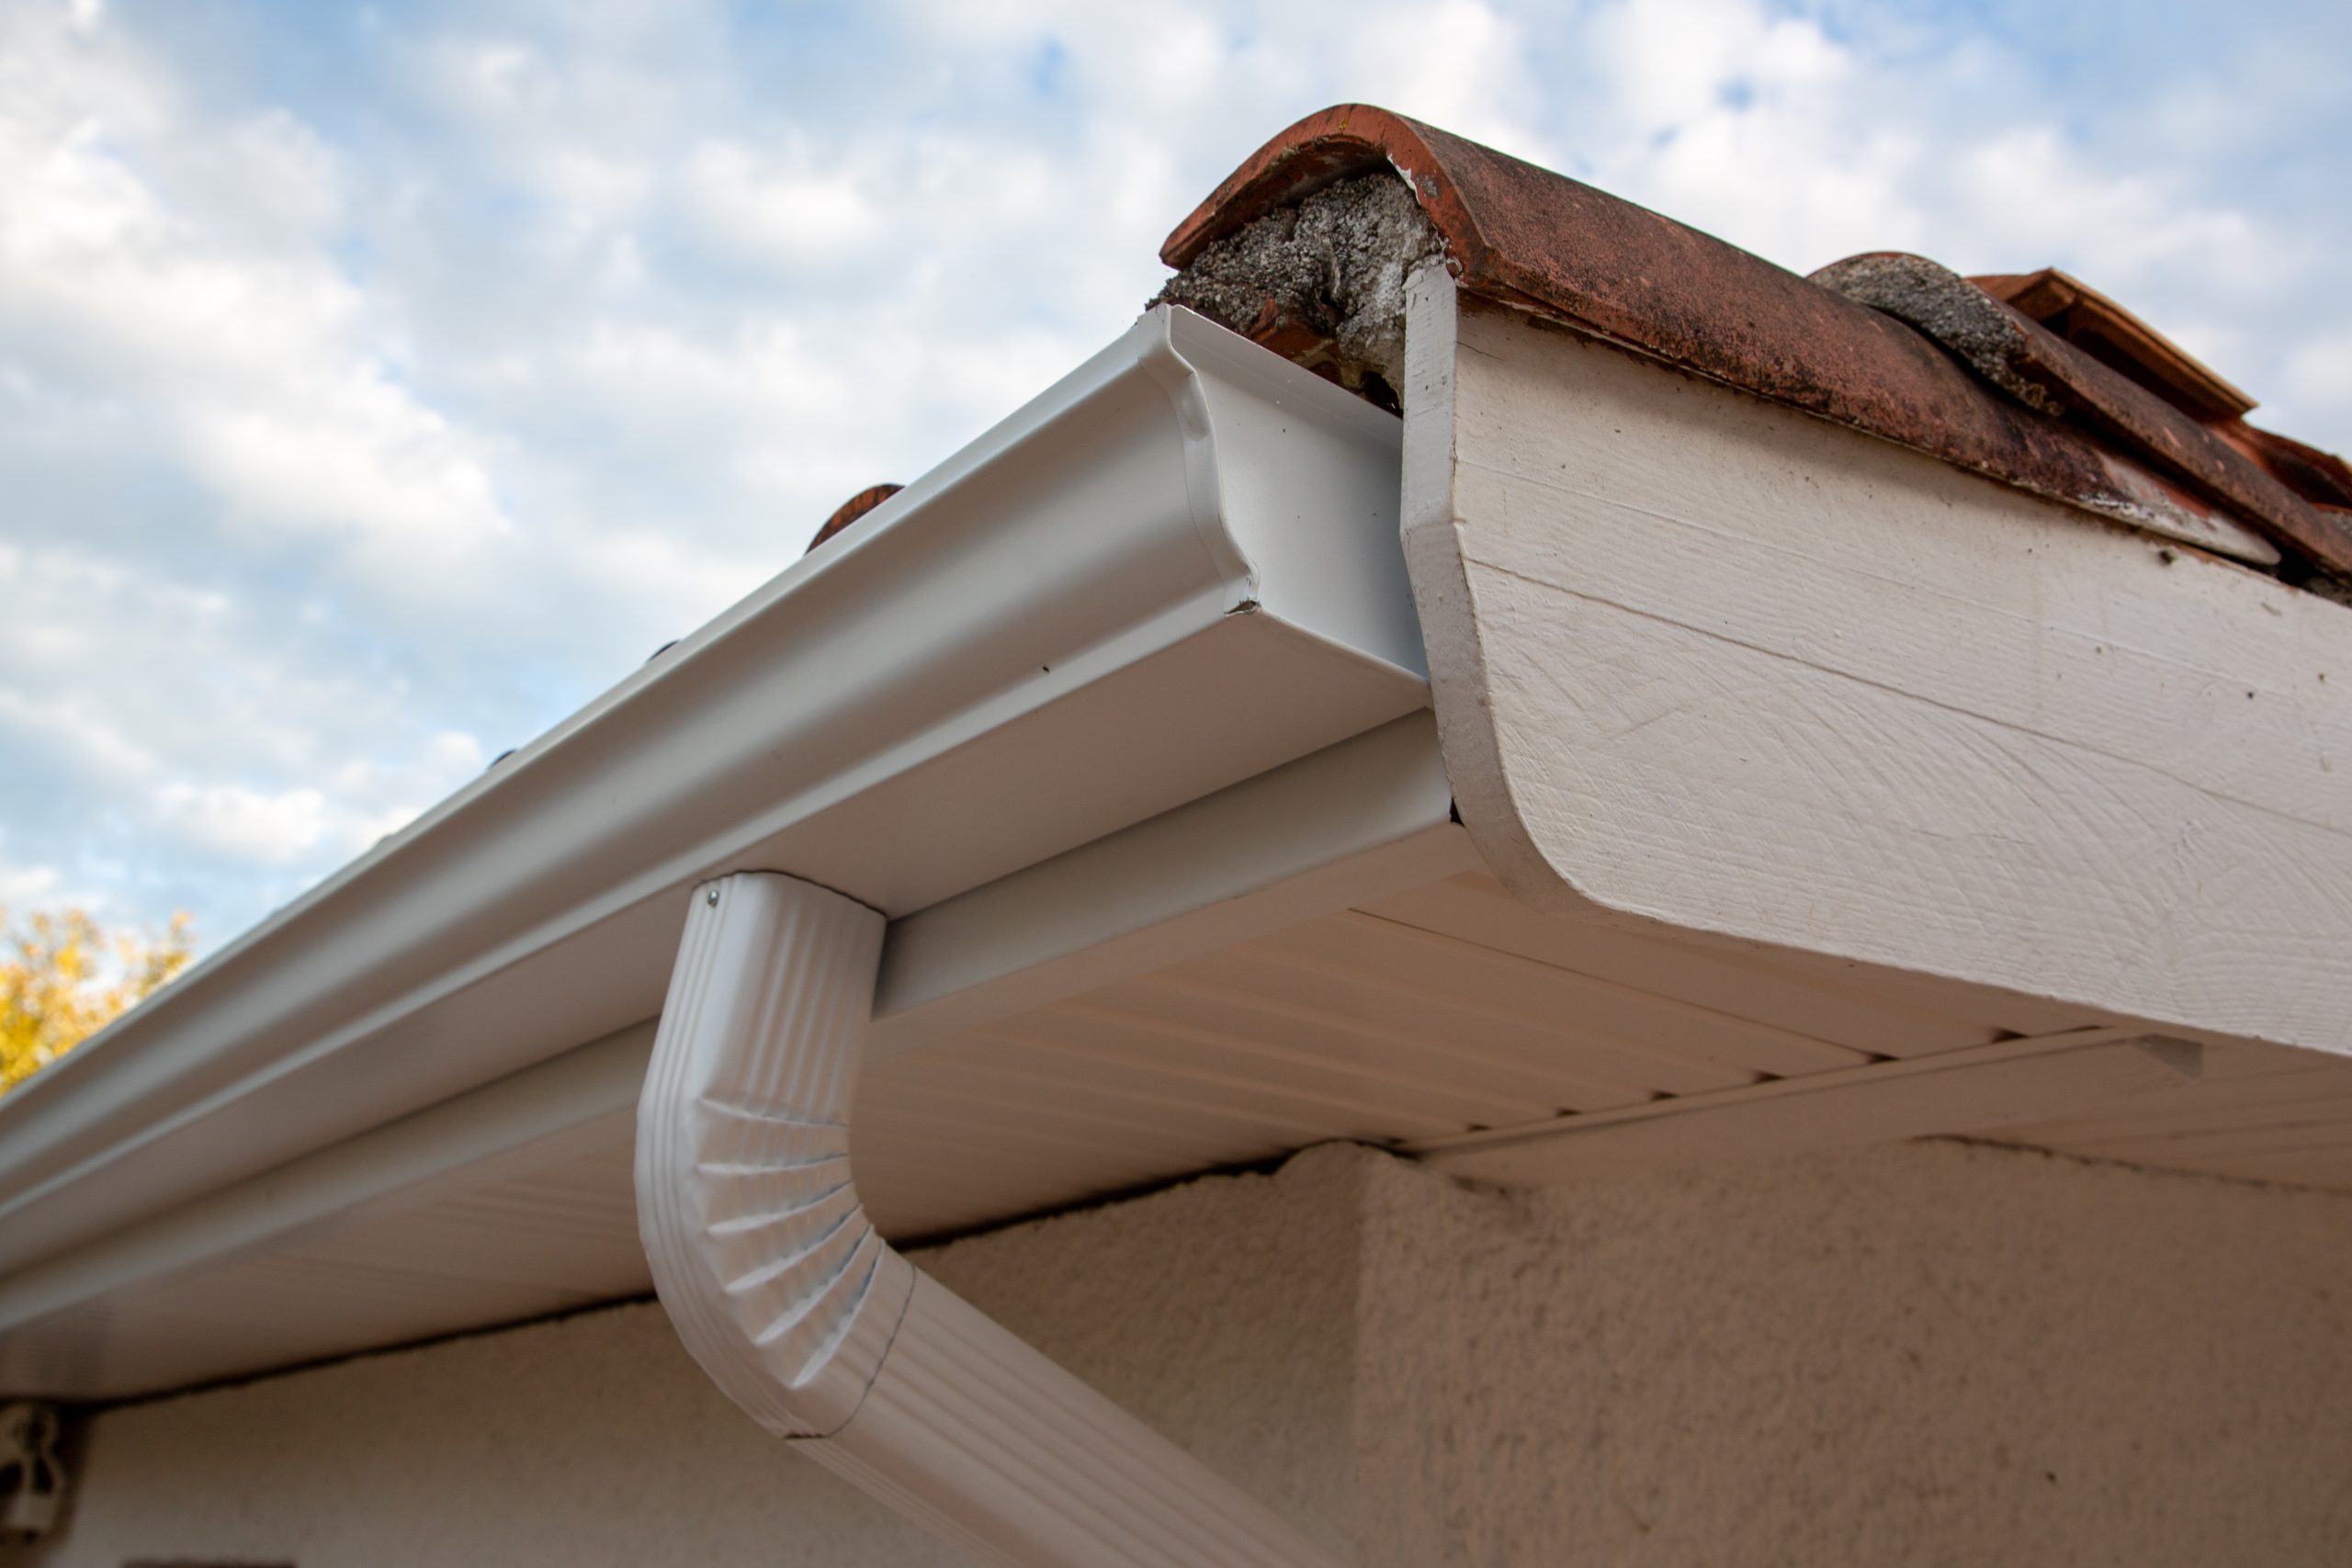
- Prevents ice dams: The primary benefit of heat tape is its ability to prevent ice dams from forming in your gutters. Ice dams occur when snow on your roof melts and refreezes along the edges of your roof, creating a barrier that prevents water from properly draining through your gutters. This can lead to water seeping under your shingles, causing leaks and structural damage. Heat tape keeps the areas around your gutters warm, preventing snow and ice buildup.
- Protects against gutter damage: Ice dams can put a lot of stress on your gutters, leading to sagging, cracking, and even detachment from your home. By installing heat tape, you can significantly reduce the risk of gutter damage caused by the weight of snow and ice. This helps extend the lifespan of your gutters and avoids costly repairs or replacements.
- Prevents water damage: When ice dams form, water can back up under your roof shingles and seep into your home. This can result in water stains, mold growth, damaged insulation, and even structural issues. With heat tape in place, you can ensure that water flows freely through your gutters and downspouts, reducing the risk of water damage to your home’s interior.
- Preserves roof integrity: Ice dams not only damage your gutters but can also compromise the integrity of your roof. The constant freezing and thawing of snow and ice can lead to shingle damage and deterioration over time. By melting the snow and ice before it has a chance to accumulate, heat tape helps preserve the lifespan and condition of your roof.
- Reduces maintenance: Removing ice dams manually can be a time-consuming and physically demanding task. With heat tape installed in your gutters, you can minimize the need for frequent ice dam removal, making maintenance a much simpler and more manageable process.
Now that you understand the benefits of using heat tape in gutters, let’s move on to the tools and materials you’ll need for the installation process.
Tools and Materials Needed
Before you begin the installation process, it’s important to gather the necessary tools and materials. Here’s a list of what you’ll need:
Tools:
- Measuring tape
- Utility knife
- Wire cutters
- Screwdriver or drill
- Pliers
- Ladder or scaffolding (if needed)
- Electrical tape
Materials:
- Heat tape
- Junction boxes
- Mounting clips or brackets
- Screws or nails
- Waterproof silicone sealant
- Electrical wire
- Weatherproof electrical outlet or junction box cover
Make sure to choose heat tape specifically designed for gutter installation. It should be rated for outdoor use and have a built-in thermostat to regulate the temperature. Measure the length of your gutters to determine how much heat tape you’ll need.
Additionally, check the manufacturer’s instructions for any specific tools or materials they recommend for their heat tape product.
Now that you have all the necessary tools and materials, let’s move on to the step-by-step installation process.
Step 1: Prepare the Gutters
Before installing the heat tape, it’s important to prepare your gutters to ensure a successful installation. Follow these steps:
- Clean the gutters: Remove any debris, leaves, or other obstructions from your gutters. Use a scoop or a gloved hand to clear out any accumulated debris. This will help ensure that the heat tape makes direct contact with the gutter surface.
- Inspect for damage: Check your gutters for any signs of damage or wear. Look for cracks, loose or missing parts, and sagging sections. Repair or replace any damaged components before proceeding with the installation.
- Check for proper drainage: Make sure your gutters are properly sloped so that water can flow freely towards the downspouts. If you notice any sections where water is pooling or not draining properly, adjust the slope by carefully bending the gutter brackets.
- Ensure proper electrical access: Identify the nearest electrical outlet or junction box where you can connect the heat tape. Make sure it is easily accessible and meets all electrical code requirements.
By preparing your gutters beforehand, you’ll ensure a clean and smooth surface for the heat tape installation. With the gutters ready, you can now move on to measuring and cutting the heat tape in the next step.
Step 2: Measure and Cut the Heat Tape
Once you have prepared your gutters, it’s time to measure and cut the heat tape to the appropriate length. Follow these steps:
- Measure the gutters: Use a measuring tape to determine the length of your gutters that will require heat tape. Measure each section individually to ensure accuracy.
- Account for downspouts: Take note of any downspouts or other obstacles along the gutters. You’ll need to cut the heat tape around these areas to ensure proper installation.
- Add extra length: To allow for proper connection and routing of the heat tape, add an additional 1-2 feet of length to each section you measured.
- Cut the heat tape: Using a utility knife or wire cutters, carefully cut the heat tape to the appropriate length for each gutter section. Follow the manufacturer’s instructions for cutting the heat tape, as some models may have specific guidelines.
It’s important to note that you should never overlap or cross the heat tape on itself when installing. Overlapping can cause damage and uneven heating. If you have any excess heat tape after cutting, it’s better to trim it off rather than trying to use it on a different section.
With the heat tape measured and cut to size, we can now move on to attaching it to the gutters in the next step.
Step 3: Attach the Heat Tape to the Gutters
With the heat tape cut to the appropriate length, it’s time to attach it to your gutters. Follow these steps:
- Start at the downspout: Begin by positioning the heat tape at the downspout end of the gutter section. Make sure the connection end of the heat tape is facing the nearest electrical access point.
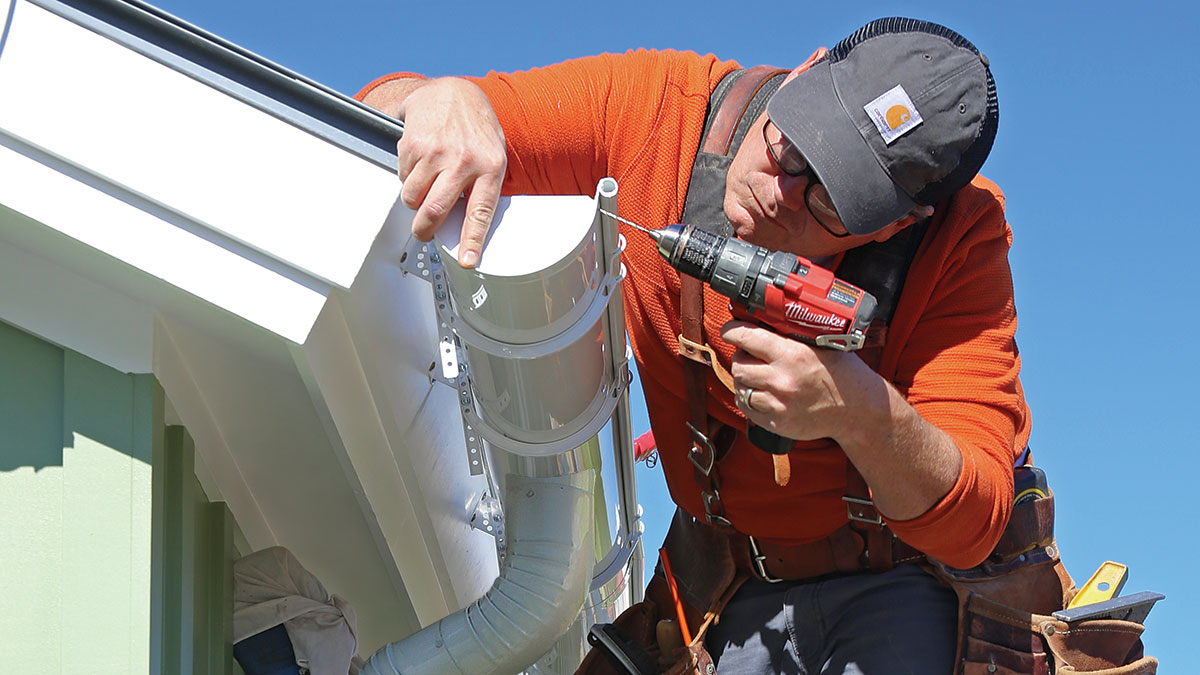
- Secure the heat tape: Attach the heat tape to the inside of the gutter using mounting clips or brackets. These will hold the heat tape in place and ensure it is in direct contact with the gutter surface.
- Follow the manufacturer’s guidelines: Refer to the manufacturer’s instructions for the recommended spacing between mounting clips or brackets. Typically, they should be placed every 2-4 feet along the length of the heat tape.
- Route the heat tape: Continue to route and secure the heat tape along the length of the gutter, ensuring it follows the bottom of the gutter and any turns or corners. Avoid stretching or pulling the heat tape too tightly.
- Cut and splice sections: If you have multiple gutter sections or need to navigate around obstacles, cut the heat tape as necessary and use junction boxes to splice the sections together. Follow the manufacturer’s instructions for proper splicing techniques.
- Secure loose ends: Secure any loose ends of the heat tape to the gutters to prevent them from hanging or coming undone. Use mounting clips or brackets to hold the ends in place.
Make sure the heat tape is evenly distributed along the length of the gutters and follows the contours of the gutter system. This will ensure effective snow and ice melting throughout the entire gutter system.
Now that the heat tape is securely attached to the gutters, we can move on to the next step, which involves securing the heat tape with clips or brackets.
Make sure to clean your gutters before installing heat tape to ensure proper adhesion and performance. Use clips or hangers to secure the heat tape in place and follow the manufacturer’s instructions carefully.
Step 4: Secure the Heat Tape with Clips or Brackets
Once the heat tape is properly routed along your gutters, it’s time to secure it in place with mounting clips or brackets. This will ensure that the heat tape maintains direct contact with the gutter surface for effective snow and ice melting. Follow these steps:
- Ensure proper spacing: Refer to the manufacturer’s instructions to determine the recommended spacing between mounting clips or brackets. Typically, they should be placed every 2-4 feet along the length of the heat tape.
- Attach the mounting clips or brackets: Position the mounting clips or brackets over the heat tape, aligning them with the marked spacing intervals. Use screws or nails to secure them to the gutter, ensuring a tight fit. This will prevent the heat tape from moving or sagging.
- Check for secure attachment: Gently tug on the heat tape to ensure that it is securely held in place by the mounting clips or brackets. This will help avoid any potential damage or loosening of the heat tape during extreme weather conditions.
- Continue securing along the gutters: Repeat the process of attaching mounting clips or brackets along the entire length of the heat tape, making sure they are evenly spaced and firmly attached.
Properly securing the heat tape with mounting clips or brackets is crucial to its effectiveness. This will ensure that the heat tape remains in the correct position and maintains consistent contact with the gutter surface.
With the heat tape securely fastened, we can move on to the next step, which involves connecting the heat tape to a power source.
Read more: How To Install Gutters Yourself
Step 5: Connect the Heat Tape to Power Source
Now that the heat tape is securely attached to the gutters, it’s time to connect it to a power source. Follow these steps to ensure a proper connection:
- Locate the nearest electrical outlet or junction box: Identify the nearest electrical outlet or junction box that you’ll be using to power the heat tape. Make sure it is easily accessible and meets all electrical code requirements.
- Prepare the electrical wire: Cut a length of electrical wire that will reach from the heat tape to the electrical outlet or junction box. Strip about 1 inch of insulation from each end of the wire using wire cutters or a utility knife.
- Make the connections: Connect one end of the electrical wire to the heat tape’s connection end according to the manufacturer’s instructions. Typically, this involves twisting the wires together and covering them with electrical tape for added protection.
- Connect the other end of the wire: At the electrical outlet or junction box, connect the other end of the electrical wire. Again, follow the appropriate connection method as per electrical code guidelines. This may involve using wire nuts or terminal blocks.
- Secure the connections: Once the connections are made, wrap them with electrical tape to ensure they are well insulated and protected from moisture or other weather elements.
- Test the connection: Before turning on the power, double-check all the connections to ensure they are secure. Test the heat tape to confirm that it is receiving power and heating up properly. Monitor the tape for a sufficient amount of time to ensure consistent and even heating throughout.
It’s important to follow all local electrical codes and guidelines when making connections. If you are unsure or uncomfortable working with electricity, it is recommended to consult a licensed electrician to ensure a safe installation.
With the heat tape connected to a power source and functioning properly, we can move on to the final step: testing the heat tape.
Step 6: Test the Heat Tape
After the heat tape is properly connected to a power source, it’s important to test it to ensure it is functioning effectively. Follow these steps to test the heat tape:
- Wait for cold weather conditions: Ideally, wait for a cold day or night when there is a chance of snow and ice forming in your gutters. This will allow you to observe the heat tape in action.
- Observe the melting process: Once the temperature drops and snow or ice begins to accumulate in your gutters, carefully observe the heat tape in action. Look for any areas where the snow or ice is melting and water is flowing freely through the gutters.
- Ensure even heating: Check to see if the heat tape is evenly heating the gutters along their entire length. There should be no areas where the snow or ice is not melting. If you notice any uneven heating, inspect the installation and connections for any potential issues or gaps in coverage.
- Monitor energy consumption: During the testing phase, keep an eye on your energy consumption. If you notice a significant increase in your energy bills, it may be an indication of inefficient heat tape operation or potential problems with the installation. In such cases, it’s best to consult a professional to address any issues.
- Record any observations: Take note of any observations or concerns during the testing phase. This will help you identify any potential adjustments or maintenance tasks that may be required in the future.
By testing the heat tape, you can ensure that it is functioning properly and effectively preventing ice dams in your gutters. If you notice any issues during the testing process, it’s important to address them promptly to maintain the efficiency of the heat tape.
Congratulations! You have successfully installed and tested the heat tape in your gutters. By taking these steps, you have greatly reduced the risk of ice dams and potential damage to your home during cold weather. Regular maintenance and inspections will help ensure the continued effectiveness of the heat tape system.
If you have any further questions or concerns, don’t hesitate to consult a professional or reach out to the manufacturer for additional guidance. Stay warm and worry-free during the winter months with your newly installed heat tape!
Conclusion
Congratulations! You’ve reached the end of this comprehensive guide on how to install heat tape in gutters. By following the step-by-step process outlined in this article, you have learned how to protect your home from potential damage caused by ice dams. Here are the key points to remember:
Heat tape is a valuable tool for preventing ice dams and maintaining the proper flow of water through your gutters. By melting snow and ice buildup, it helps protect your gutters, roof, and home from water damage.
When installing heat tape, it’s important to prepare your gutters by cleaning them and checking for any damage. Proper measurement and cutting of the heat tape ensures a precise fit. Securing the heat tape along the gutters with mounting clips or brackets ensures optimal contact with the gutter surface for effective snow and ice melting.
Connecting the heat tape to a power source should be done following electrical code guidelines. Testing the heat tape in cold weather conditions allows you to confirm its functionality and efficiency in preventing ice dams. Regular maintenance and monitoring of energy consumption will help identify any issues that may arise.
Remember, if you are unsure about any part of the installation process or working with electricity, it’s always best to consult a professional for assistance. Your safety and the proper functioning of the heat tape system are of utmost importance.
By installing heat tape in your gutters, you are taking a proactive approach to protecting your home from potential damage. Say goodbye to worry about ice dams and the potential havoc they can wreak on your gutters, roof, and interior. Enjoy the peace of mind that comes with a well-installed and properly functioning heat tape system.
Thank you for reading this guide, and we hope it has been informative and helpful in your quest to maintain a safe and watertight home during the winter months. Stay warm, stay safe, and may your gutters remain ice dam-free!
Frequently Asked Questions about How To Install Heat Tape In Gutters
Was this page helpful?
At Storables.com, we guarantee accurate and reliable information. Our content, validated by Expert Board Contributors, is crafted following stringent Editorial Policies. We're committed to providing you with well-researched, expert-backed insights for all your informational needs.


0 thoughts on “How To Install Heat Tape In Gutters”