
Articles
How To Paint Ikea Laminate Furniture
Modified: January 19, 2024
Learn how to easily paint your Ikea laminate furniture and transform your space with our step-by-step guide. Elevate your decor with a fresh new look for your furniture.
(Many of the links in this article redirect to a specific reviewed product. Your purchase of these products through affiliate links helps to generate commission for Storables.com, at no extra cost. Learn more)
Introduction
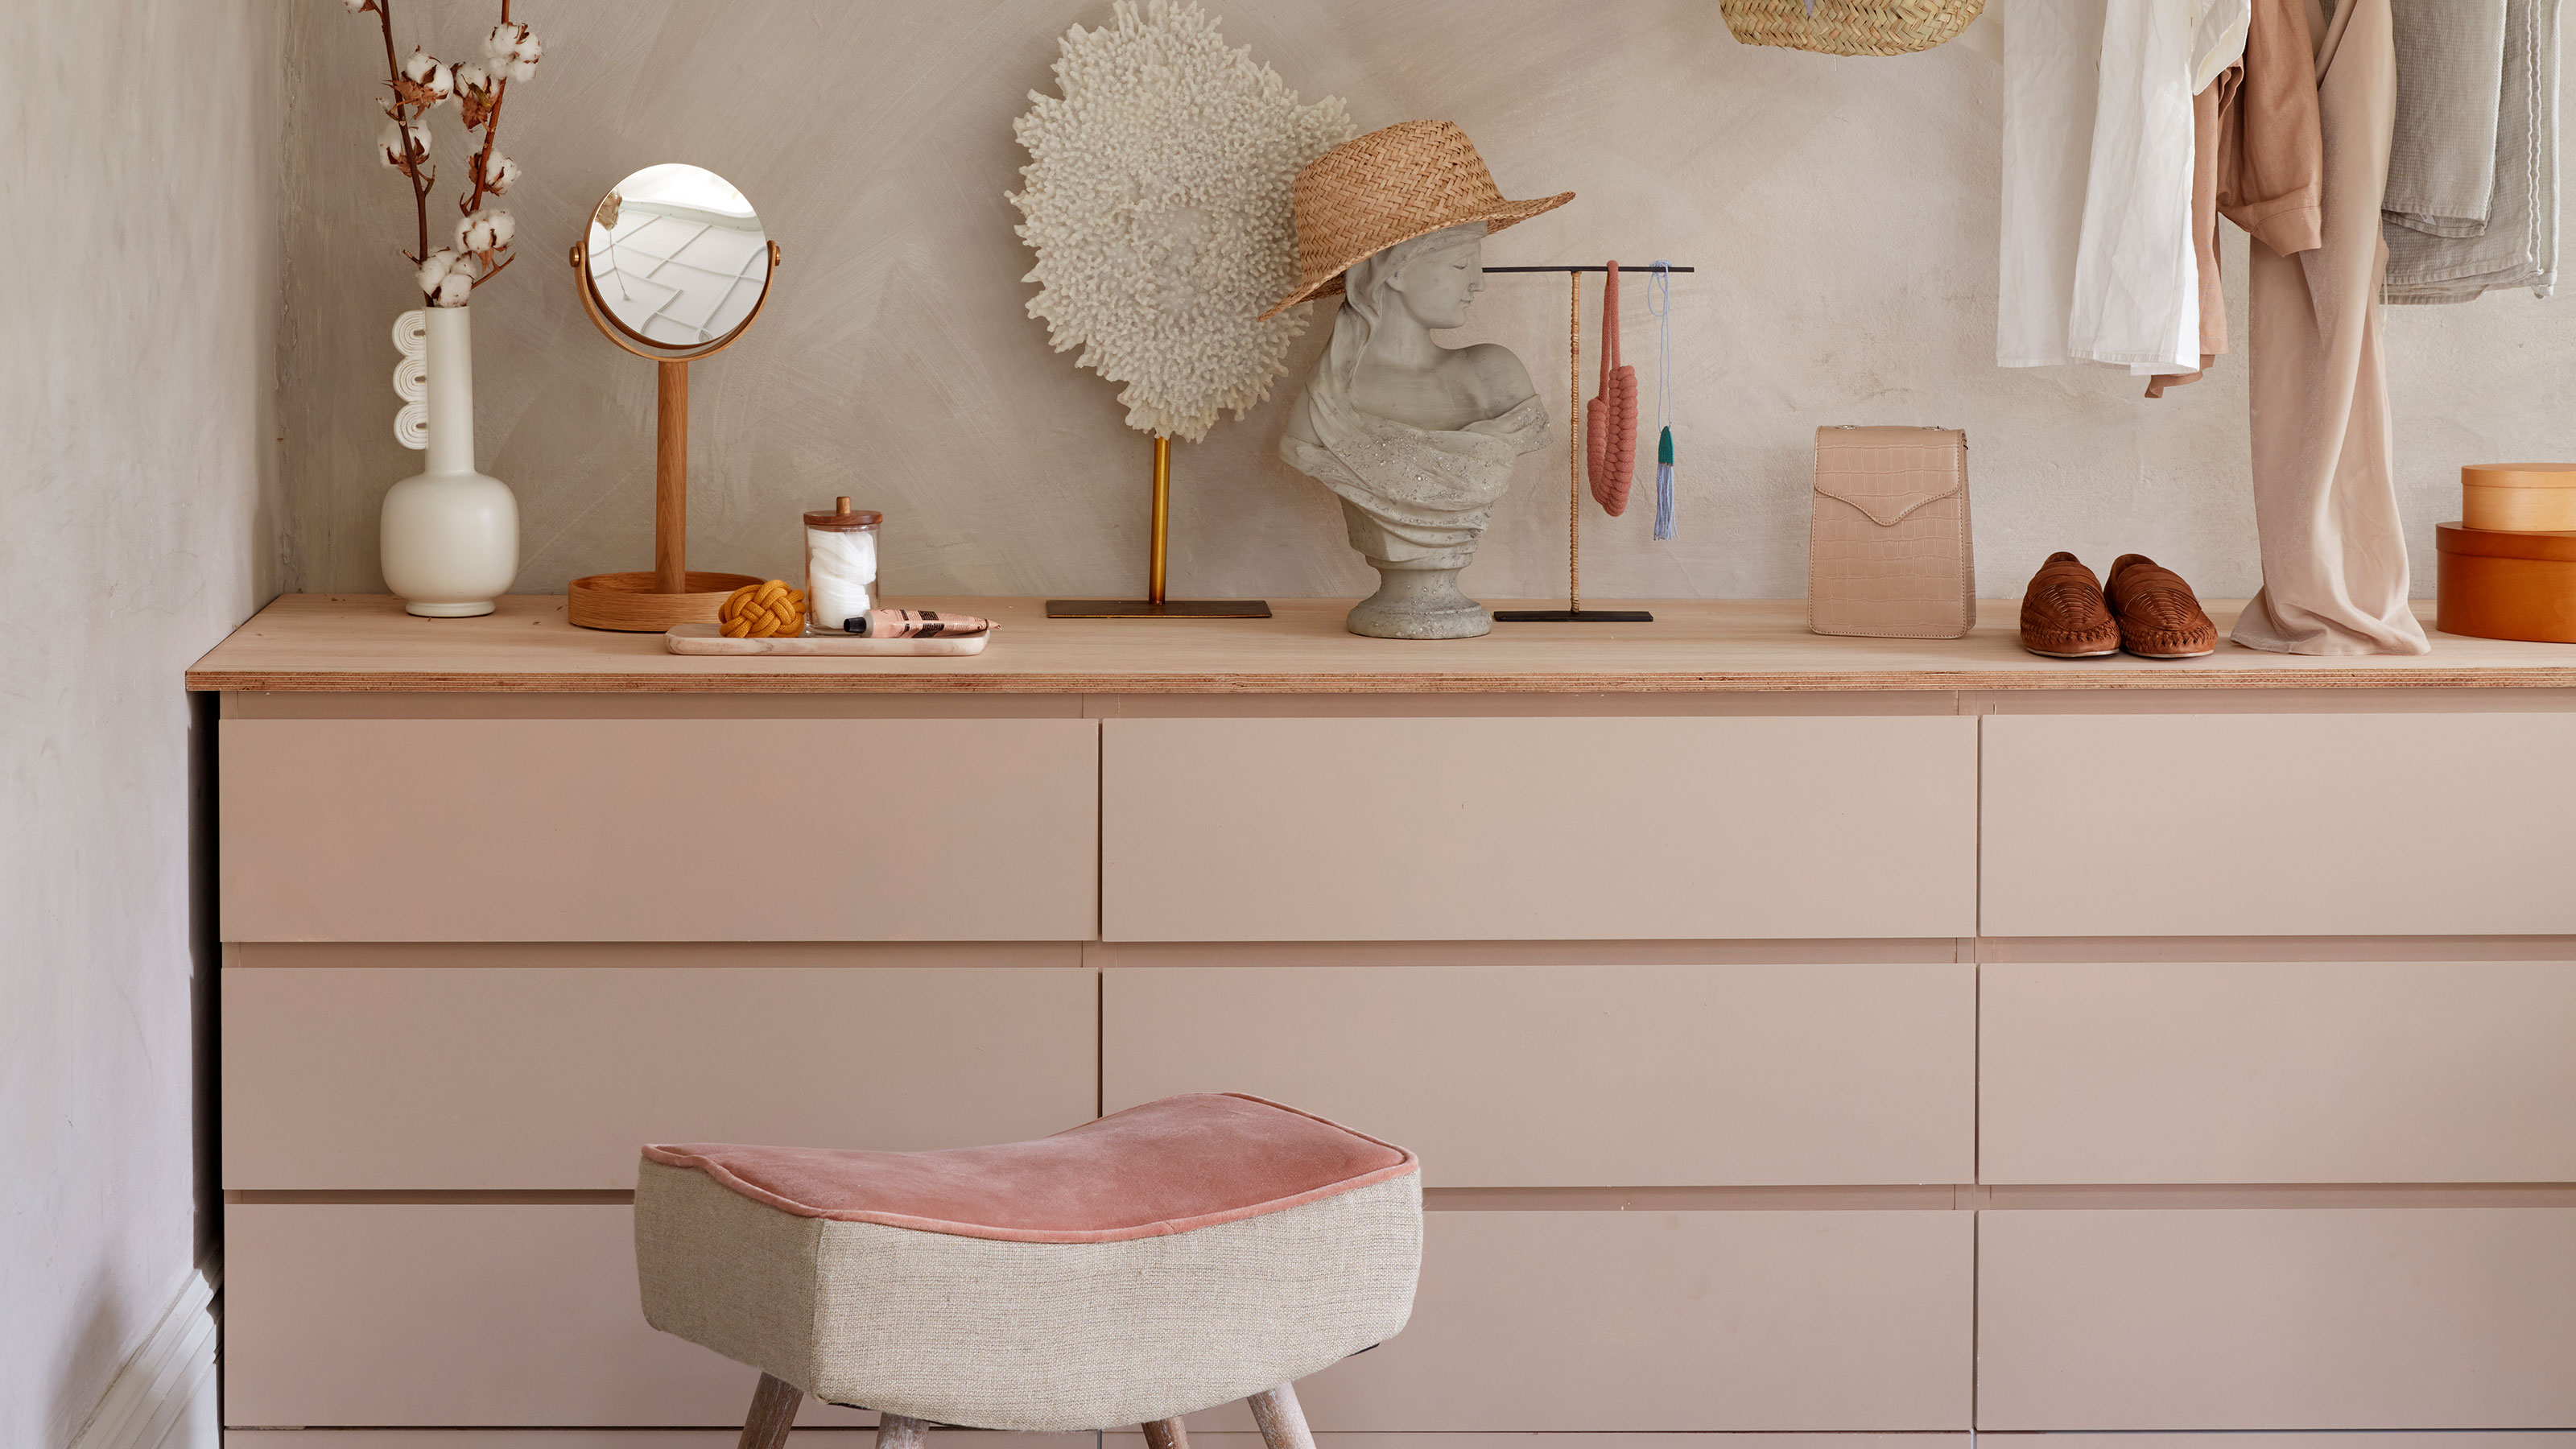
When it comes to furniture, Ikea is a popular choice for its affordability and sleek designs. However, if you have Ikea laminate furniture and are looking to give it a fresh new look, painting is a great option. Painting laminated furniture can transform its appearance and make it more personalized to your style.
In this article, we will guide you through the process of painting Ikea laminate furniture. From preparing the furniture to choosing the right materials and applying the paint, we will cover all the steps you need to take to achieve a professional-looking finish. So, grab your paintbrush and let’s get started!
Key Takeaways:
- Transform your Ikea laminate furniture with a fresh new look by following these steps for a professional paint job. From preparation to sealing, create a personalized and durable finish that reflects your style.
- Elevate your Ikea laminate furniture with decorative touches like stencils, patterned tape, or hand-painted details. Seal the paint for added durability and enjoy a standout piece in your home for years to come.
Read more: How To Paint Cheap Laminate Furniture
Materials Needed
Before you begin painting your Ikea laminate furniture, it’s important to gather all the necessary materials. Here are the items you’ll need:
- Soap or detergent
- Water
- Microfiber cloth
- Fine-grit sandpaper
- Primer suitable for laminate surfaces
- Latex or acrylic paint
- Paintbrushes (both small and large)
- Roller and tray
- Painter’s tape
- Optional: Decorative elements such as stencils or patterned tape
- Clear polyurethane sealer (optional, for added durability)
Having all these materials ready will ensure that you can complete the project without any interruptions. Take the time to gather everything you need before starting, making your painting process much smoother.
Preparing the Furniture
Before you start painting your Ikea laminate furniture, it’s essential to properly prepare the surface to ensure the paint adheres well and provides a smooth finish. Follow these steps to prepare the furniture:
- Clear the furniture: Remove any accessories, hardware, or removable parts from the furniture, such as drawers or shelves. This will make the painting process easier and ensure that you don’t accidentally paint over these areas.
- Clean the surface: Use a mixture of soap or detergent and water to clean the furniture thoroughly. Wipe down the entire surface using a microfiber cloth to remove any dirt, grime, or grease. Make sure the surface is completely clean and dry before proceeding to the next step.
- Protect surrounding areas: If you’re painting the furniture indoors, cover the surrounding area with drop cloths or plastic sheets to protect it from any paint splatters or spills. This will make your cleanup process much easier.
By clearing the furniture, cleaning the surface, and protecting the surrounding areas, you’re setting the stage for a successful painting project. Take the time to properly prepare the furniture, as it will make a significant difference in the final result.
Sanding the Surface
Once you have prepared the Ikea laminate furniture, the next step is to sand the surface. Sanding is essential because it creates a rough texture that allows the paint to adhere better and provides a smoother finish.
Here’s how you can sand the surface of your furniture:
- Select a fine-grit sandpaper: Choose a fine-grit sandpaper, such as 220-grit, which is suitable for laminate surfaces. Avoid using rougher sandpapers as they can damage the laminate.
- Sand in a circular motion: Lightly sand the entire surface of the furniture in a circular motion. Focus on roughening up the laminate without applying too much pressure. This will help the paint adhere better to the surface.
- Wipe away the dust: Use a clean microfiber cloth to wipe away any dust or debris left from sanding. Ensure that the surface is completely clean before moving on to the next step. This will ensure a smooth and even application of paint.
Keep in mind that sanding may not be necessary if your laminate furniture has a glossy finish. In such cases, it is recommended to use a liquid deglosser to prepare the surface for painting.
By sanding the surface of the furniture, you are creating a suitable foundation for the paint to adhere to. This step is vital in ensuring that the paint results in a long-lasting and professional-looking finish.
Priming the Furniture
After sanding the surface, the next step in painting Ikea laminate furniture is to apply a primer. Priming is important as it provides a base coat that helps the paint adhere better and ensures a more even and long-lasting finish.
Here’s how you can prime the furniture:
- Select a primer suitable for laminate surfaces: Choose a primer specifically designed for laminate surfaces. Look for a product that is labeled as “bonding” or “adhesion” primer, as these formulations are designed to adhere well to smooth surfaces.
- Apply the primer: Using a brush or roller, apply the primer to the entire surface of the furniture. Make sure to cover all areas evenly, including corners and edges. Follow the manufacturer’s instructions regarding drying time and number of coats required.
- Sand between coats (optional): If you notice any imperfections or rough spots after the first coat of primer has dried, you can lightly sand the surface with a fine-grit sandpaper and then apply a second coat of primer for a smoother finish.
- Allow the primer to dry: Give the primer enough time to dry completely. This will vary depending on the specific product you are using, so refer to the instructions on the primer’s label.
Priming the furniture is a crucial step in achieving a professional-looking result. It helps the paint adhere better to the laminate surface, ensures a more even coverage, and improves the durability of the paint job.
Before painting Ikea laminate furniture, make sure to clean the surface thoroughly with a degreaser and lightly sand it to create a better bond for the paint. Use a high-quality primer designed for laminate surfaces to ensure the paint adheres properly.
Choosing the Right Paint
Choosing the right paint for your Ikea laminate furniture is essential to achieve a beautiful and long-lasting finish. It’s important to select a type of paint that is formulated to adhere well to smooth surfaces like laminate and offers durability and easy maintenance.
Consider the following factors when choosing the right paint:
- Latex or acrylic paint: Latex and acrylic paints are ideal choices for painting laminate furniture. They offer excellent adhesion, durability, and a wide range of colors to choose from.
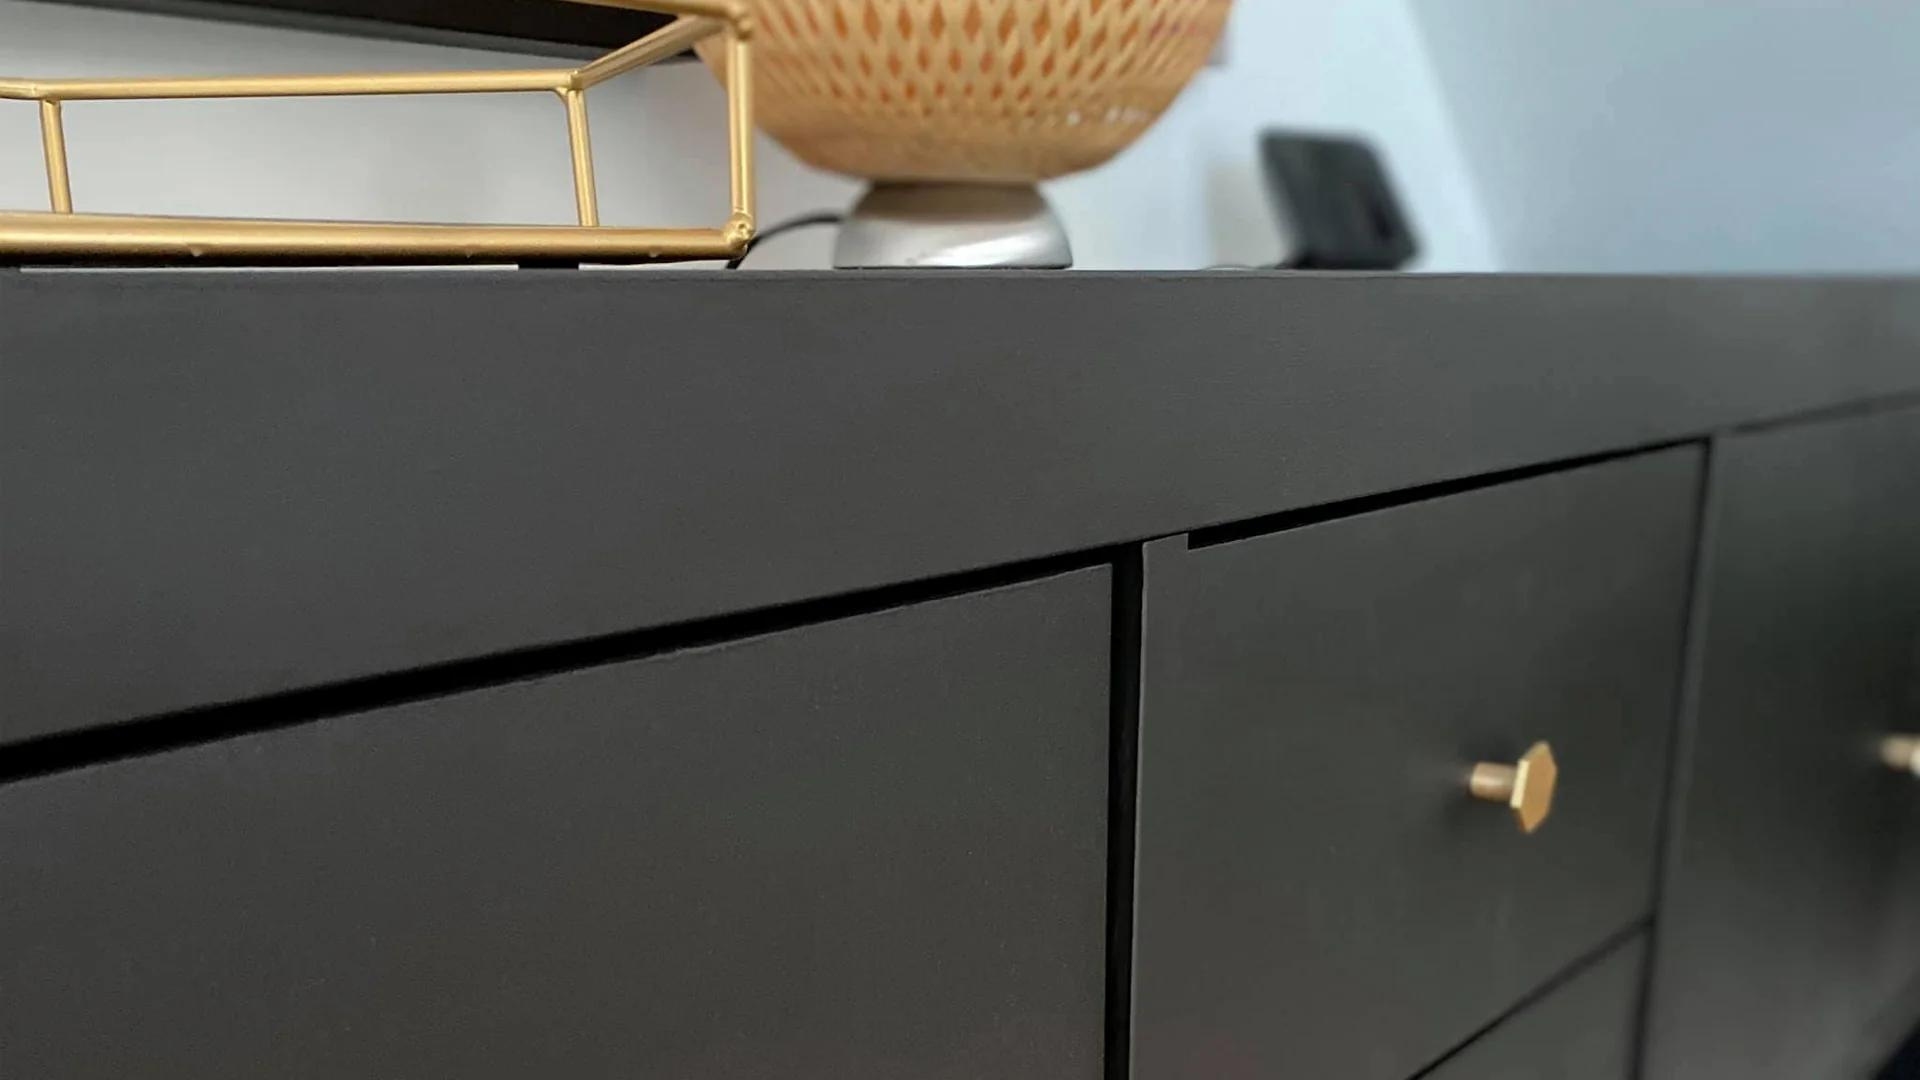
- Finish: Decide on the desired finish for your furniture, such as matte, satin, or gloss. Keep in mind that a glossy finish may highlight surface imperfections, while a matte finish can provide a more forgiving look.
- Brand and quality: Opt for a reputable paint brand known for its quality and durability. Investing in a higher-quality paint will ensure better coverage, longevity, and easier maintenance.
- Color selection: Choose a color that complements your overall interior design scheme and personal preference. Consider the existing color palette and style of your space, as well as any future design changes you may have in mind.
It’s also worth noting that some paints come with built-in primers, which can save you time and effort. However, if you opt for a paint without a built-in primer, make sure to apply a separate primer coat before painting.
Take your time to research different paint options, read customer reviews, and consult with professionals if needed. By choosing the right paint, you’ll ensure a beautiful and durable finish for your Ikea laminate furniture.
Applying the Paint
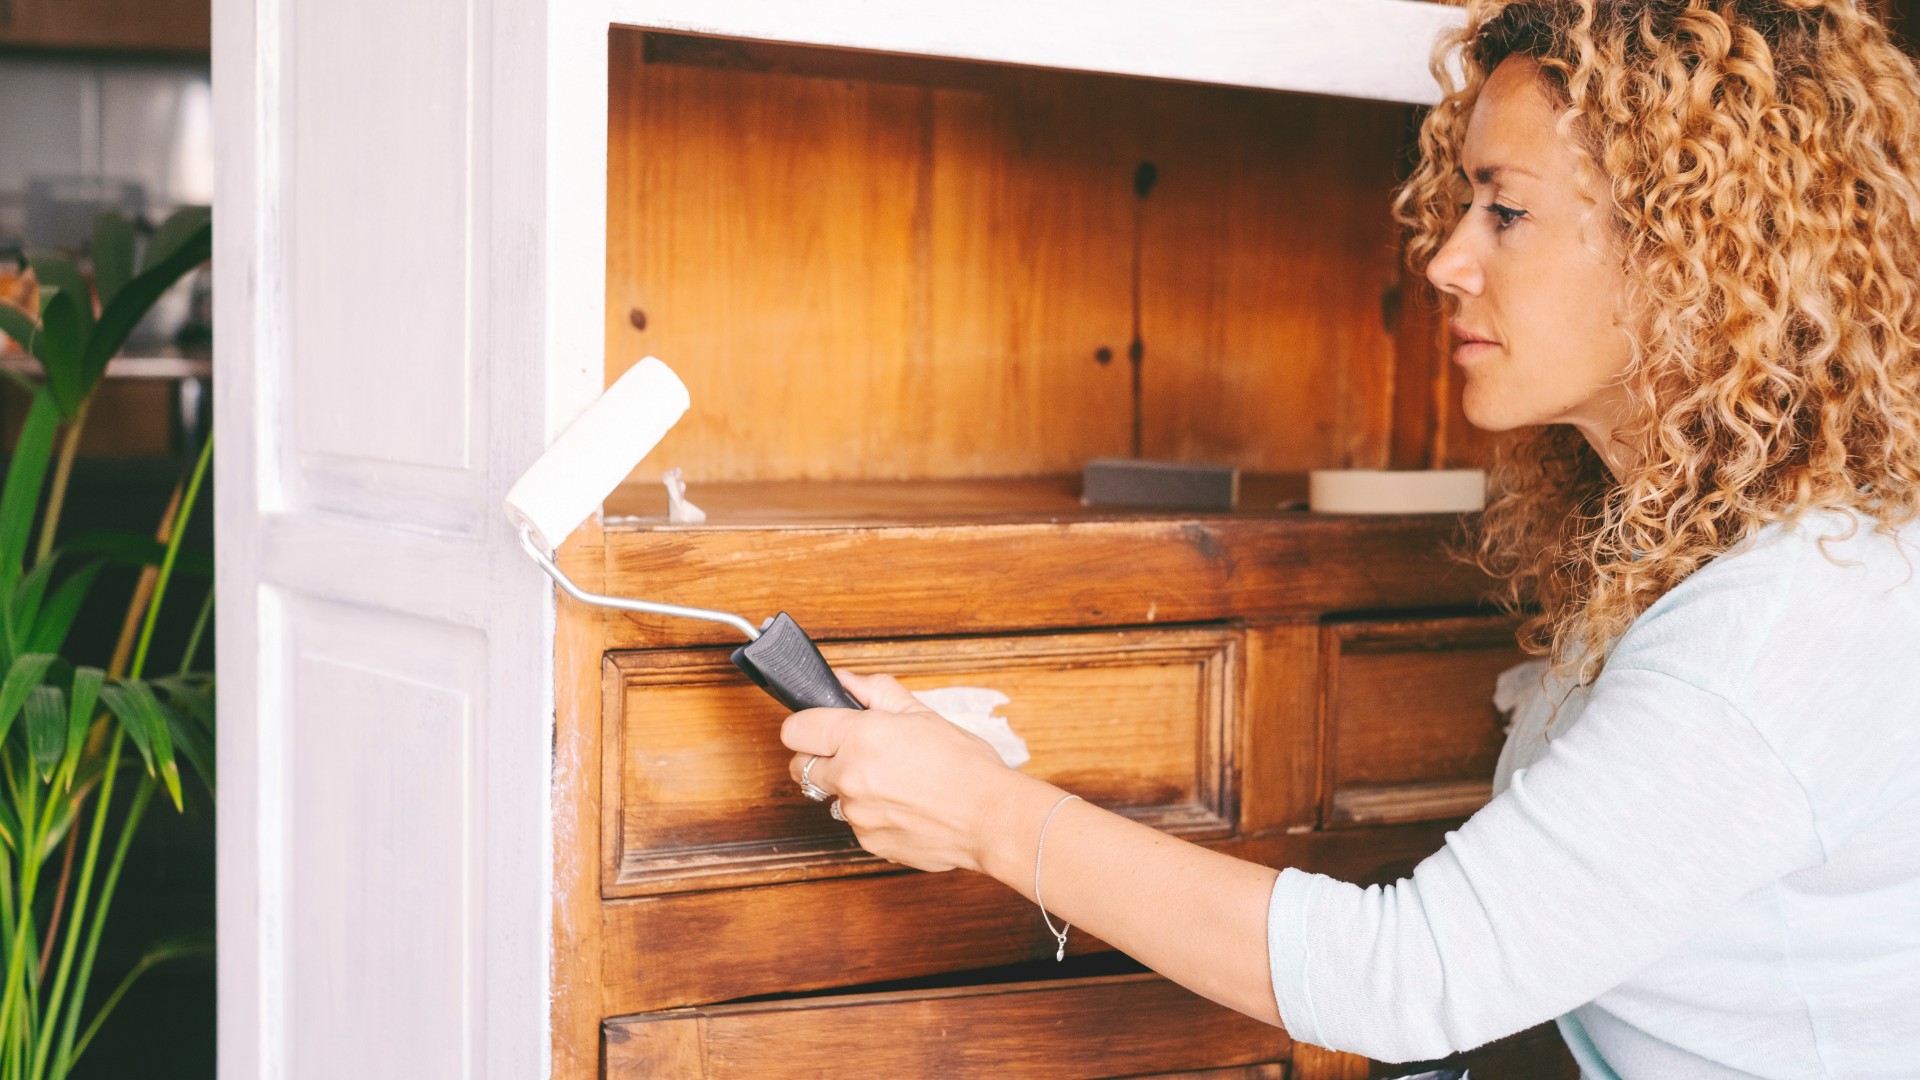
Now that you have prepared the furniture and selected the right paint, it’s time to apply the paint to your Ikea laminate furniture. Follow these steps to achieve a smooth and professional finish:
- Stir the paint: Before you begin, give the paint a good stir to ensure an even consistency. This will help achieve a consistent color and finish.
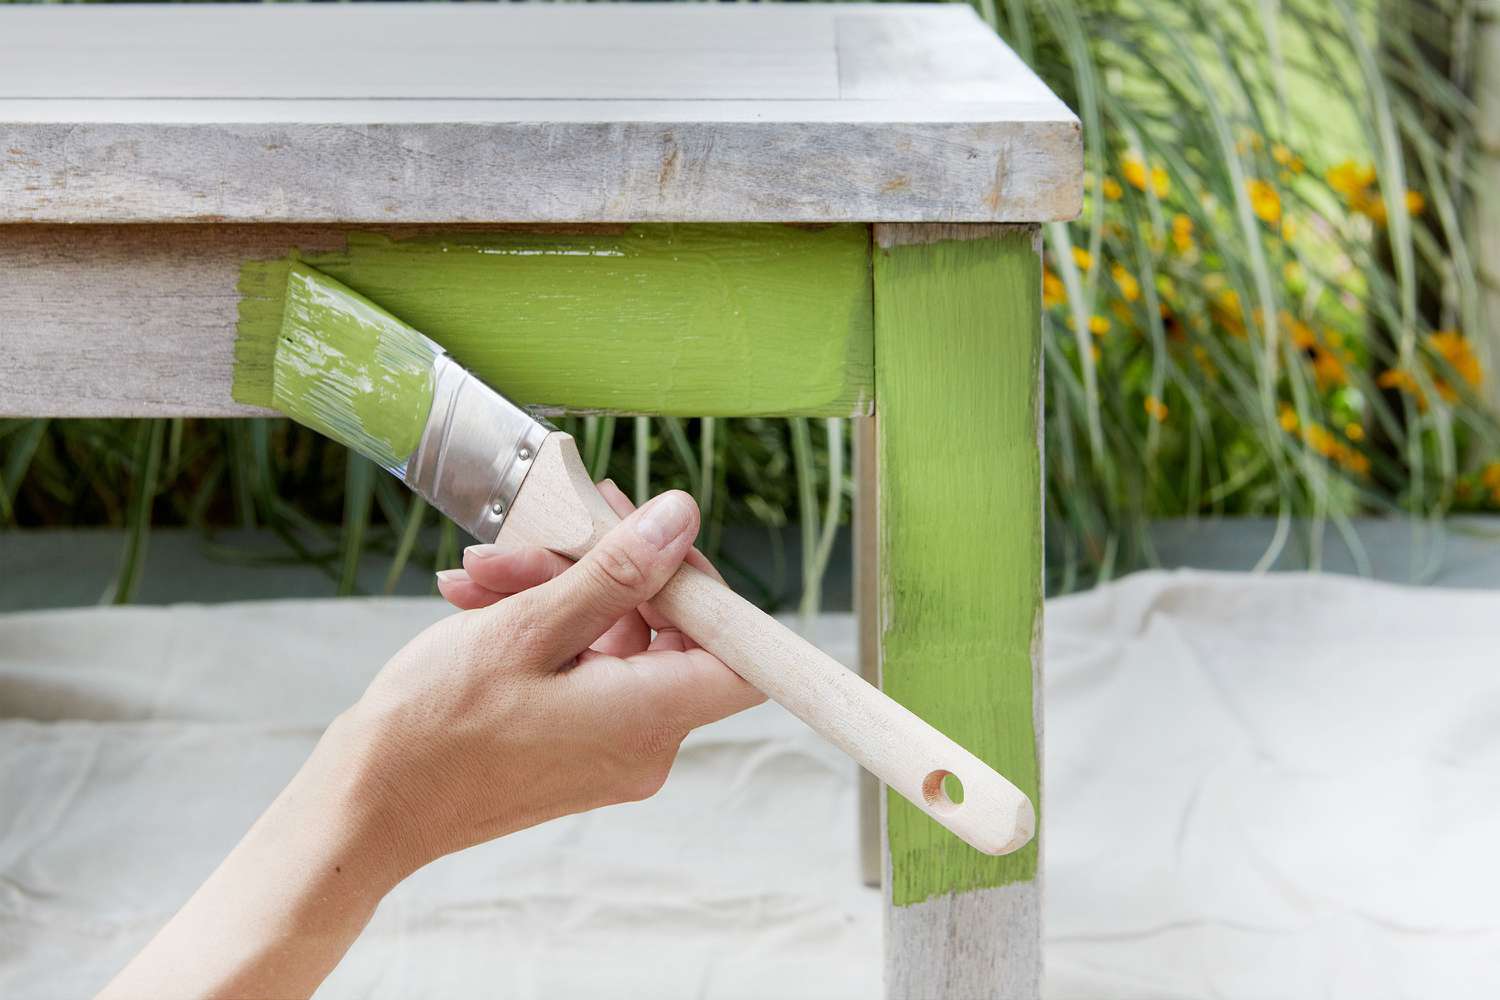
- Start with a small brush: Begin by using a small brush to paint the corners, edges, and other hard-to-reach areas. This will ensure that you have maximum control and can reach all the nooks and crannies of the furniture.
- Use a roller for larger areas: Switch to a roller for painting the larger surfaces of the furniture. A foam or high-density foam roller is ideal for achieving smooth and even coverage.
- Apply thin and even coats: When painting, apply thin and even coats rather than thick layers. This will help prevent drips, uneven drying, and a tacky finish.
- Allow drying time between coats: Follow the drying time instructions provided by the paint manufacturer. It’s important to allow each coat to dry completely before applying the next coat.
- Apply multiple coats if needed: Depending on the color and coverage you desire, you may need to apply multiple coats of paint. Allow each coat to dry and evaluate the coverage before deciding if another coat is necessary.
Remember to maintain a consistent brush or roller direction to achieve a smooth finish. Working in a well-ventilated area can also promote faster drying and reduce the risk of paint fumes.
By following these steps and taking your time with the application process, you’ll be able to achieve a professional-looking finish on your Ikea laminate furniture.
Adding Decorative Touches
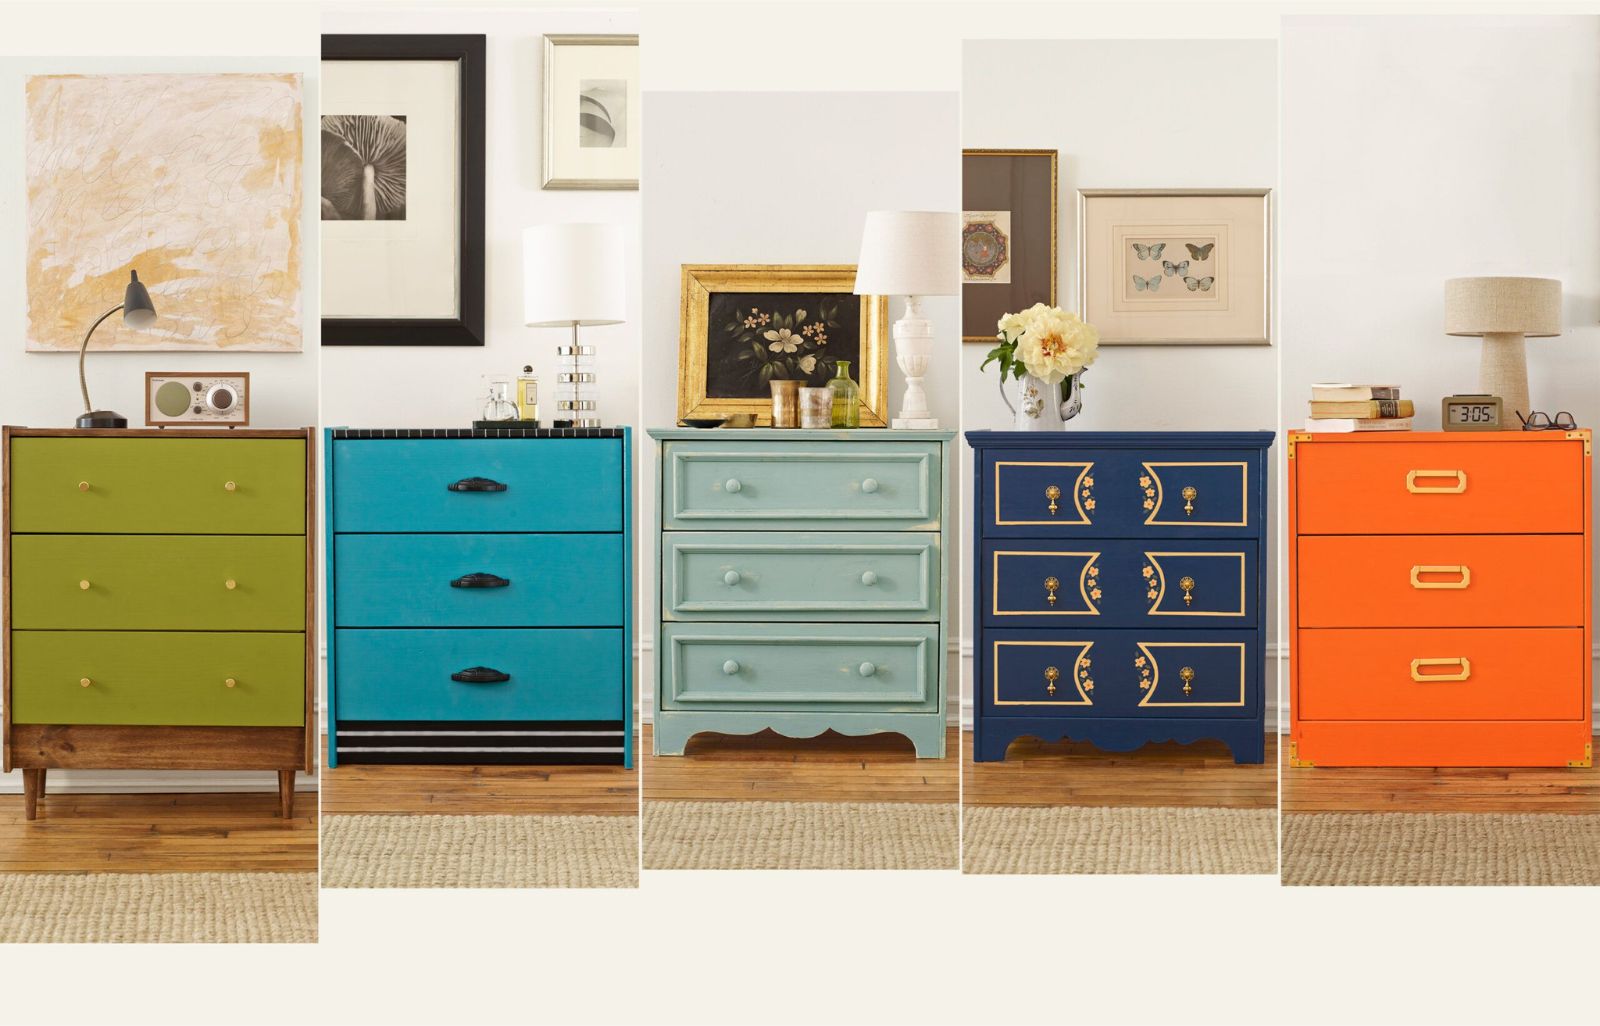
Once you have finished applying the paint to your Ikea laminate furniture, you can take your design a step further by adding decorative touches. These embellishments can enhance the overall look of the furniture and make it truly unique.
Here are a few ideas to consider when adding decorative touches:
- Stencils: Use stencils to create intricate patterns or designs on the furniture. You can stencil on the top surface, sides, or even drawer fronts for a customized look.
- Patterned tape: Apply patterned or decorative tape along the edges or surfaces of the furniture to add a pop of color and visual interest.
- Decals or stickers: Decorative decals or stickers can be a fun and easy way to personalize your furniture. They come in various designs, allowing you to showcase your personal style.
- Hand-painted details: If you have artistic skills, consider adding hand-painted details to your furniture. Whether it’s florals, geometric shapes, or abstract designs, this personal touch can make your furniture truly one-of-a-kind.
Remember to plan and sketch out your design ideas beforehand to ensure a cohesive and aesthetically pleasing outcome. Take your time during this step and pay attention to the details. It’s these small decorative touches that can elevate the overall look of your Ikea laminate furniture.
Experiment with different techniques and materials to find the ones that best suit your style and vision for the furniture piece.
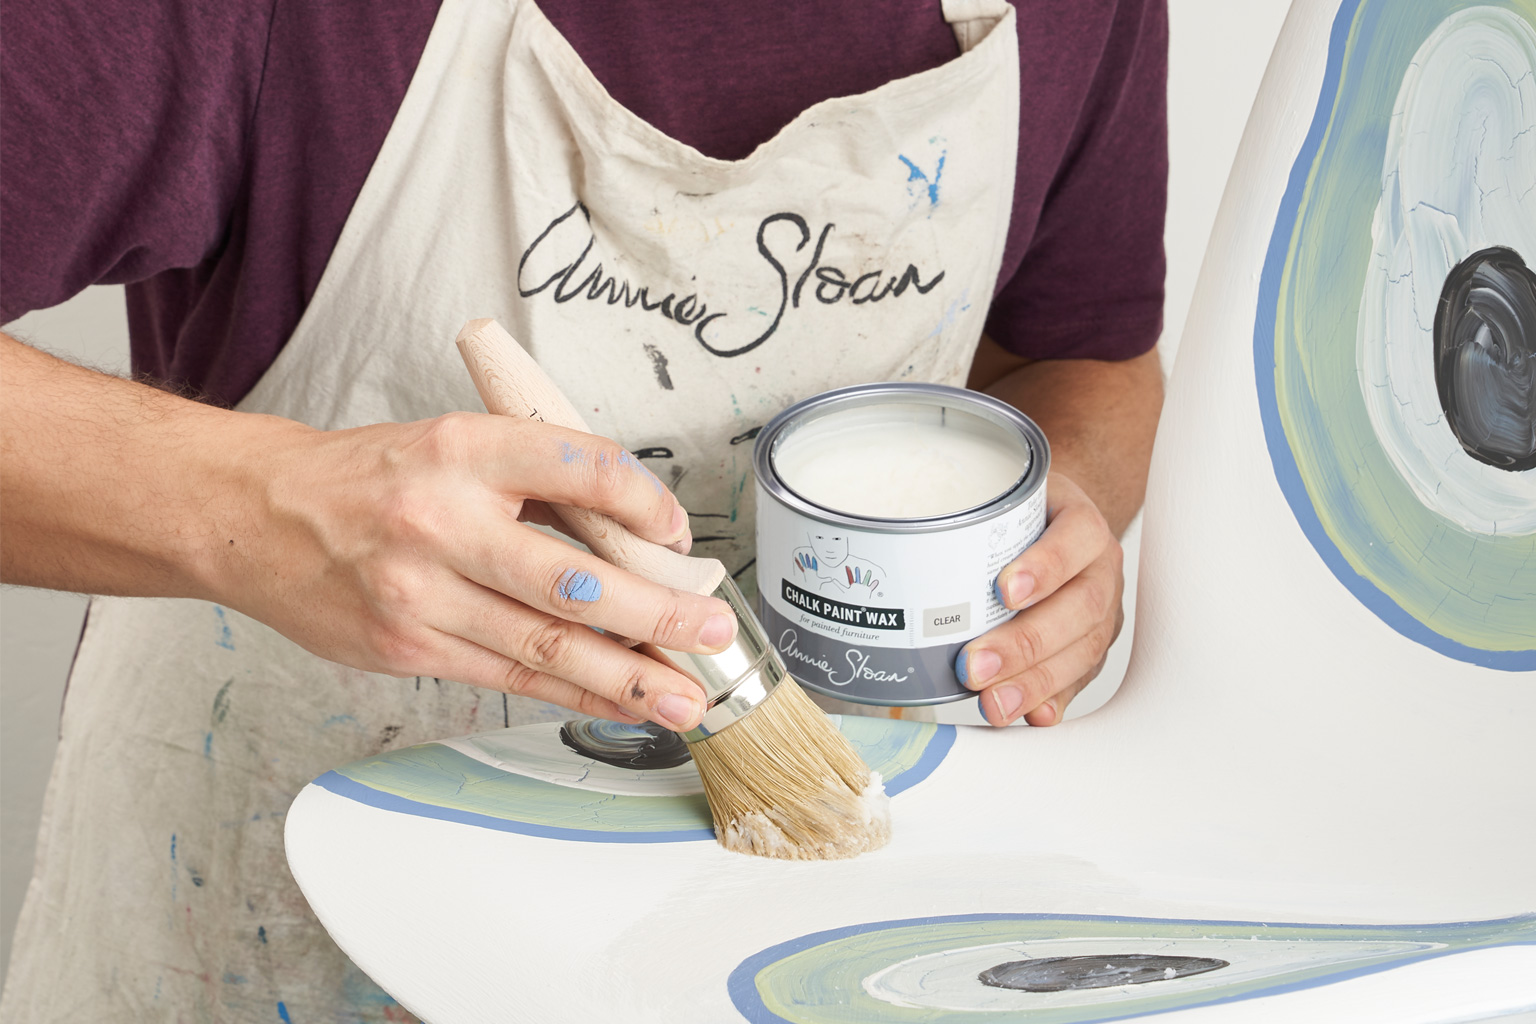
Sealing the Paint
After you have finished painting and adding decorative touches to your Ikea laminate furniture, it’s important to seal the paint to protect the surface and ensure its longevity. Sealing the paint adds an extra layer of durability, making the furniture more resistant to scratches, moisture, and stains.
Here are the steps to properly seal the painted surface:
- Allow the paint to fully cure: Before applying the sealant, make sure the paint has had enough time to cure. This can take anywhere from a few days to a couple of weeks, depending on the specific paint product used. Refer to the paint manufacturer’s instructions for the recommended curing time.
- Choose a clear polyurethane sealer: Look for a clear polyurethane sealer that is suitable for use on painted surfaces. This type of sealer creates a protective barrier that helps guard the paint against daily wear and tear.
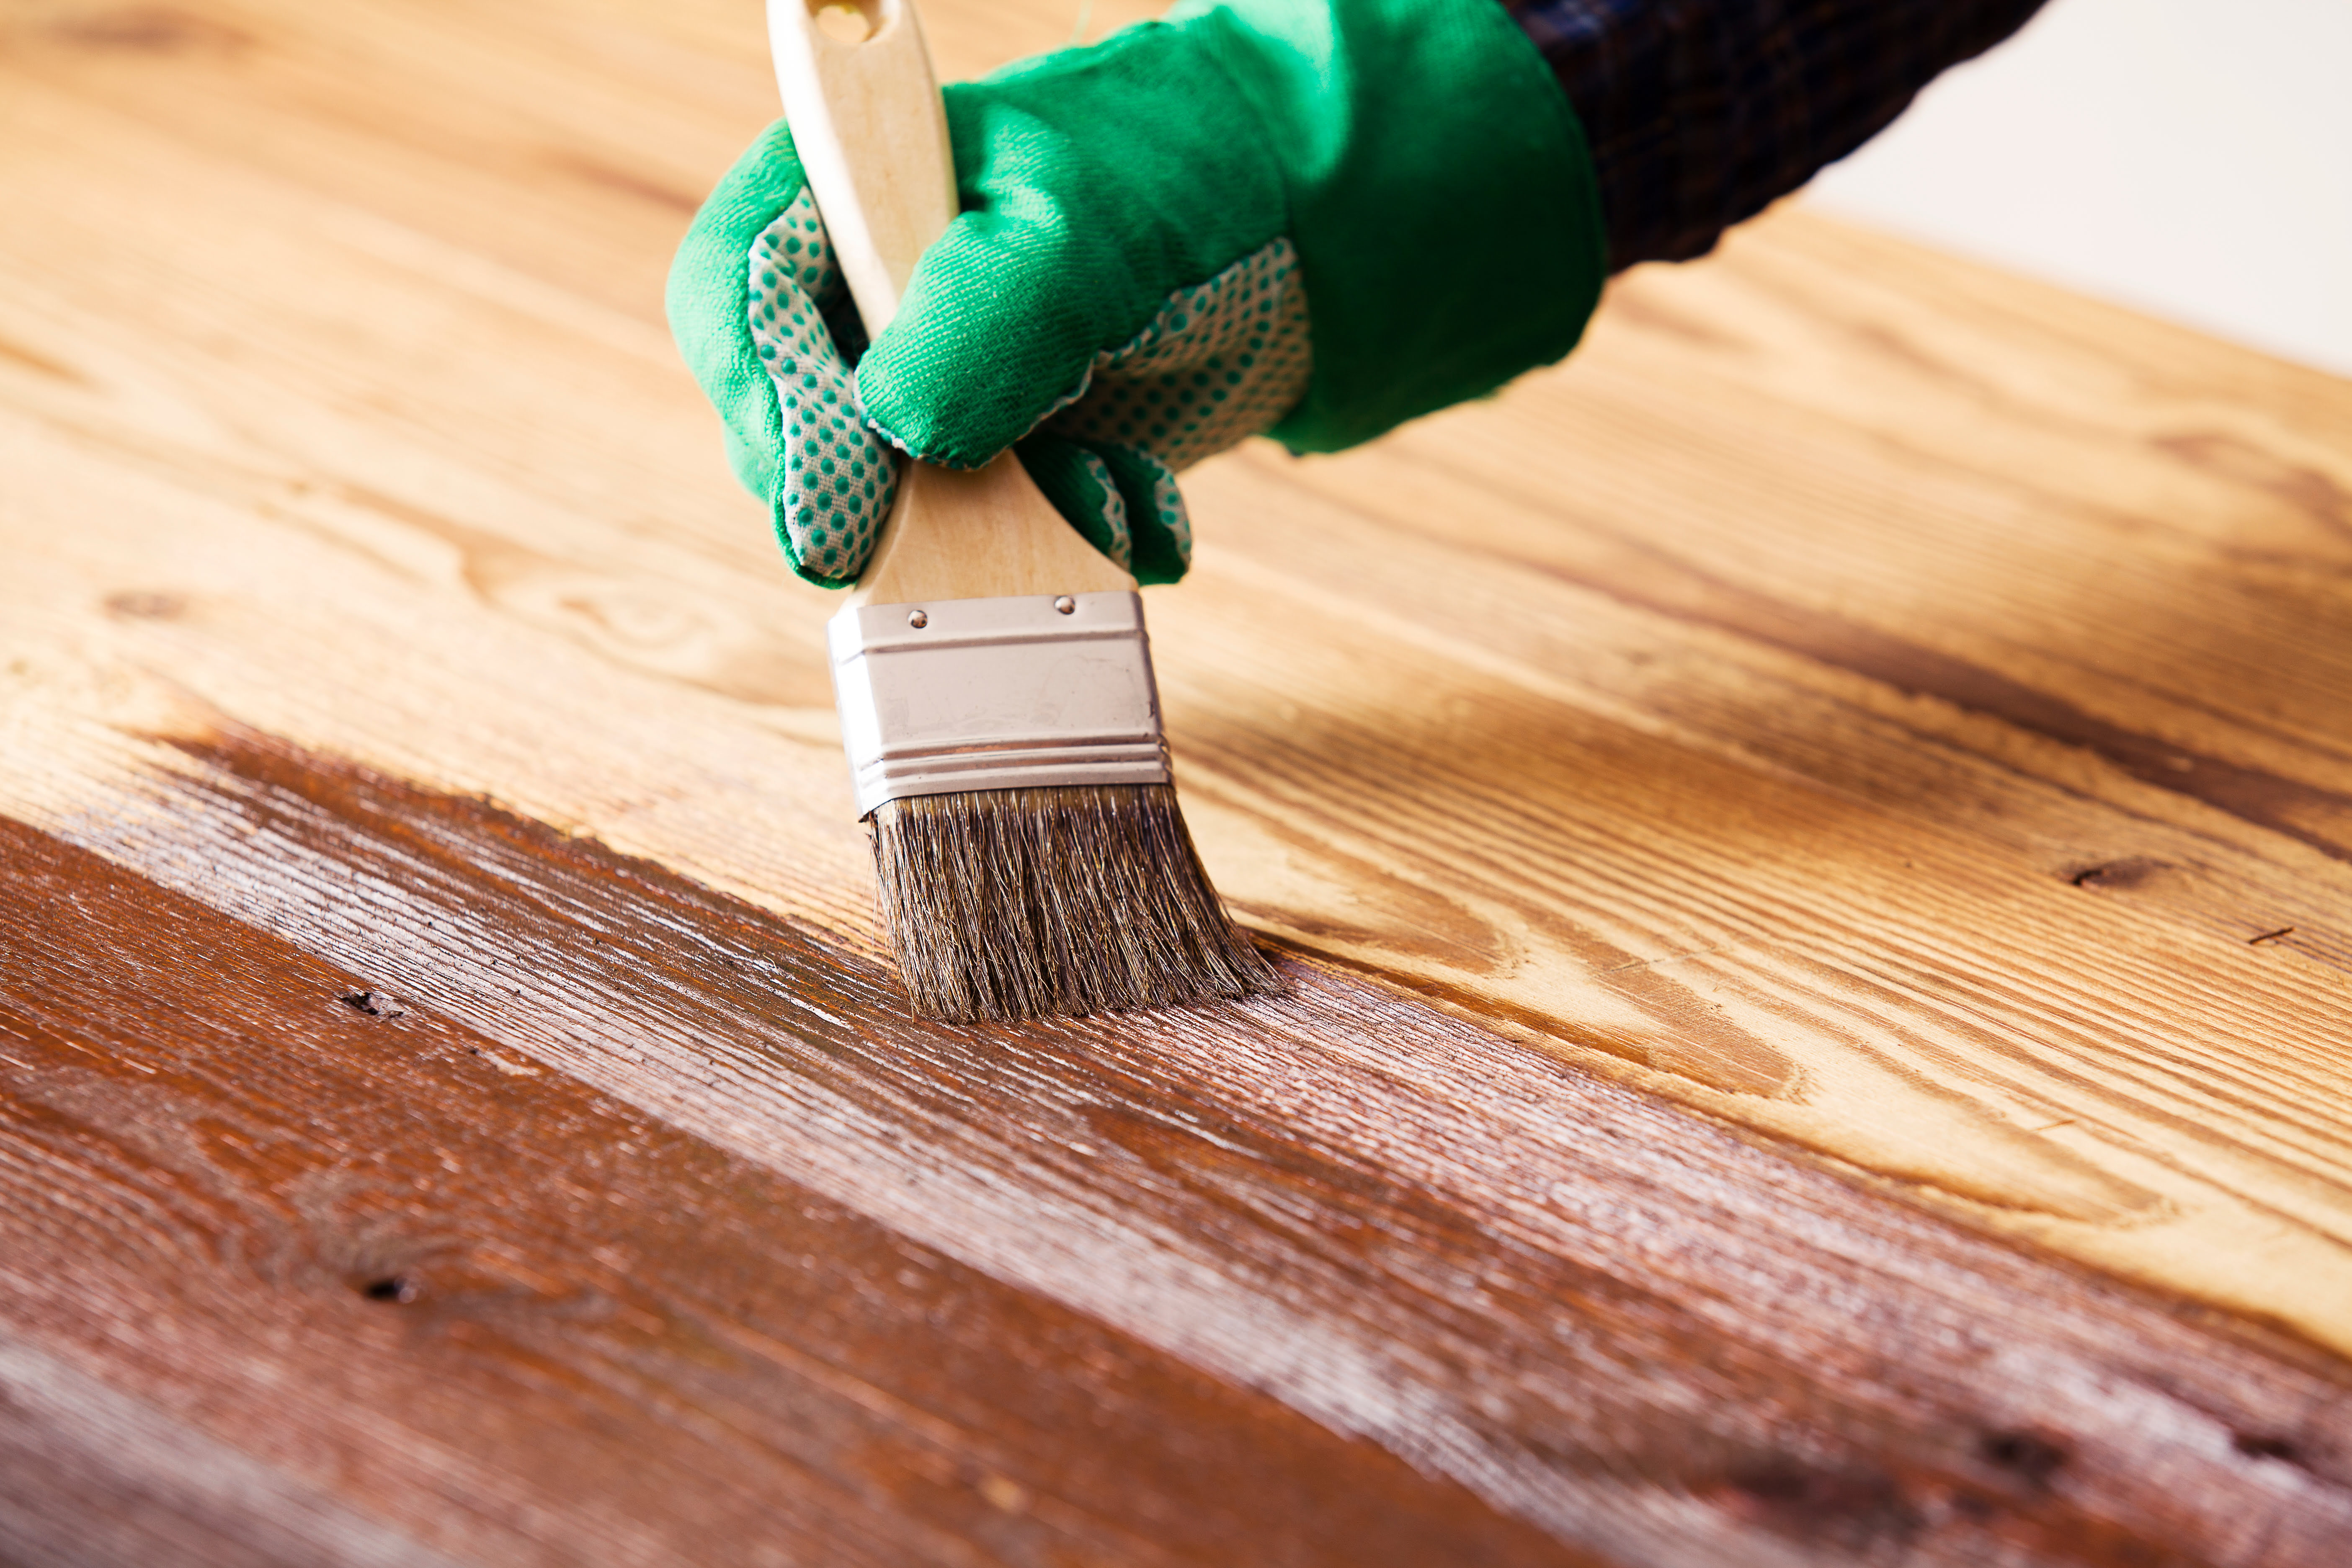
- Apply the sealer: Use a brush or roller to apply an even coat of the polyurethane sealer to the entire painted surface. Follow the manufacturer’s instructions regarding the drying time and the number of coats required.
- Sand between coats (optional): If desired, you can lightly sand the surface in between coats of the sealer to ensure a smoother finish. This will help remove any imperfections or brush strokes, resulting in a more polished look.
- Allow the sealer to dry: Give the sealer enough time to dry completely before using the furniture. This typically takes around 24 hours, but it’s best to check the sealer’s label for specific drying times.
Note that applying a sealer is optional but highly recommended. It adds an extra layer of protection to the painted surface, making it more resistant to damage and extending the life of your newly painted Ikea laminate furniture.
By sealing the paint, you can enjoy your refurbished furniture for years to come while ensuring it maintains its beautiful finish.
Read more: How To Install Ikea Laminate Countertops
Conclusion
Painting Ikea laminate furniture is a fantastic way to give it a fresh new look and make it more personalized to your style. With the right materials, proper preparation, and careful application, you can achieve a professional-looking finish that will transform your furniture piece into a standout feature in your home.
Remember to gather all the necessary materials before you begin, including soap or detergent for cleaning, sandpaper for surface preparation, primer for better adhesion, and high-quality latex or acrylic paint for a durable and beautiful finish. Taking the time to properly prepare the furniture by cleaning and sanding the surface is crucial for achieving a smooth and long-lasting result.
When it comes to painting, choose the right paint color and type that suits your interior design scheme and personal preference. Apply thin and even coats of paint, allowing each coat to dry before applying the next. Don’t forget to add decorative touches if desired, such as stencils, patterned tape, decals, or hand-painted details, to make your furniture piece truly unique.
After the paint has dried and you’re satisfied with the color and finish, consider sealing the paint with a clear polyurethane sealer. This step adds an extra layer of protection and durability, ensuring that your newly painted furniture will withstand daily use and maintain its beauty for years to come.
By following these steps and techniques, you’ll be able to transform your Ikea laminate furniture into a stunning piece that reflects your personal style and enhances your living space. So, get your creative juices flowing, put on your painting attire, and have fun bringing new life to your furniture!
Frequently Asked Questions about How To Paint Ikea Laminate Furniture
Was this page helpful?
At Storables.com, we guarantee accurate and reliable information. Our content, validated by Expert Board Contributors, is crafted following stringent Editorial Policies. We're committed to providing you with well-researched, expert-backed insights for all your informational needs.


0 thoughts on “How To Paint Ikea Laminate Furniture”