Home>Articles>How To Install The DreamSpa Rainfall Showerhead
Articles
How To Install The DreamSpa Rainfall Showerhead
Modified: August 27, 2024
Discover step-by-step instructions and expert tips on how to install the Dreamspa Rainfall Showerhead in our informative articles. Enhance your shower experience today!
(Many of the links in this article redirect to a specific reviewed product. Your purchase of these products through affiliate links helps to generate commission for Storables.com, at no extra cost. Learn more)
Introduction
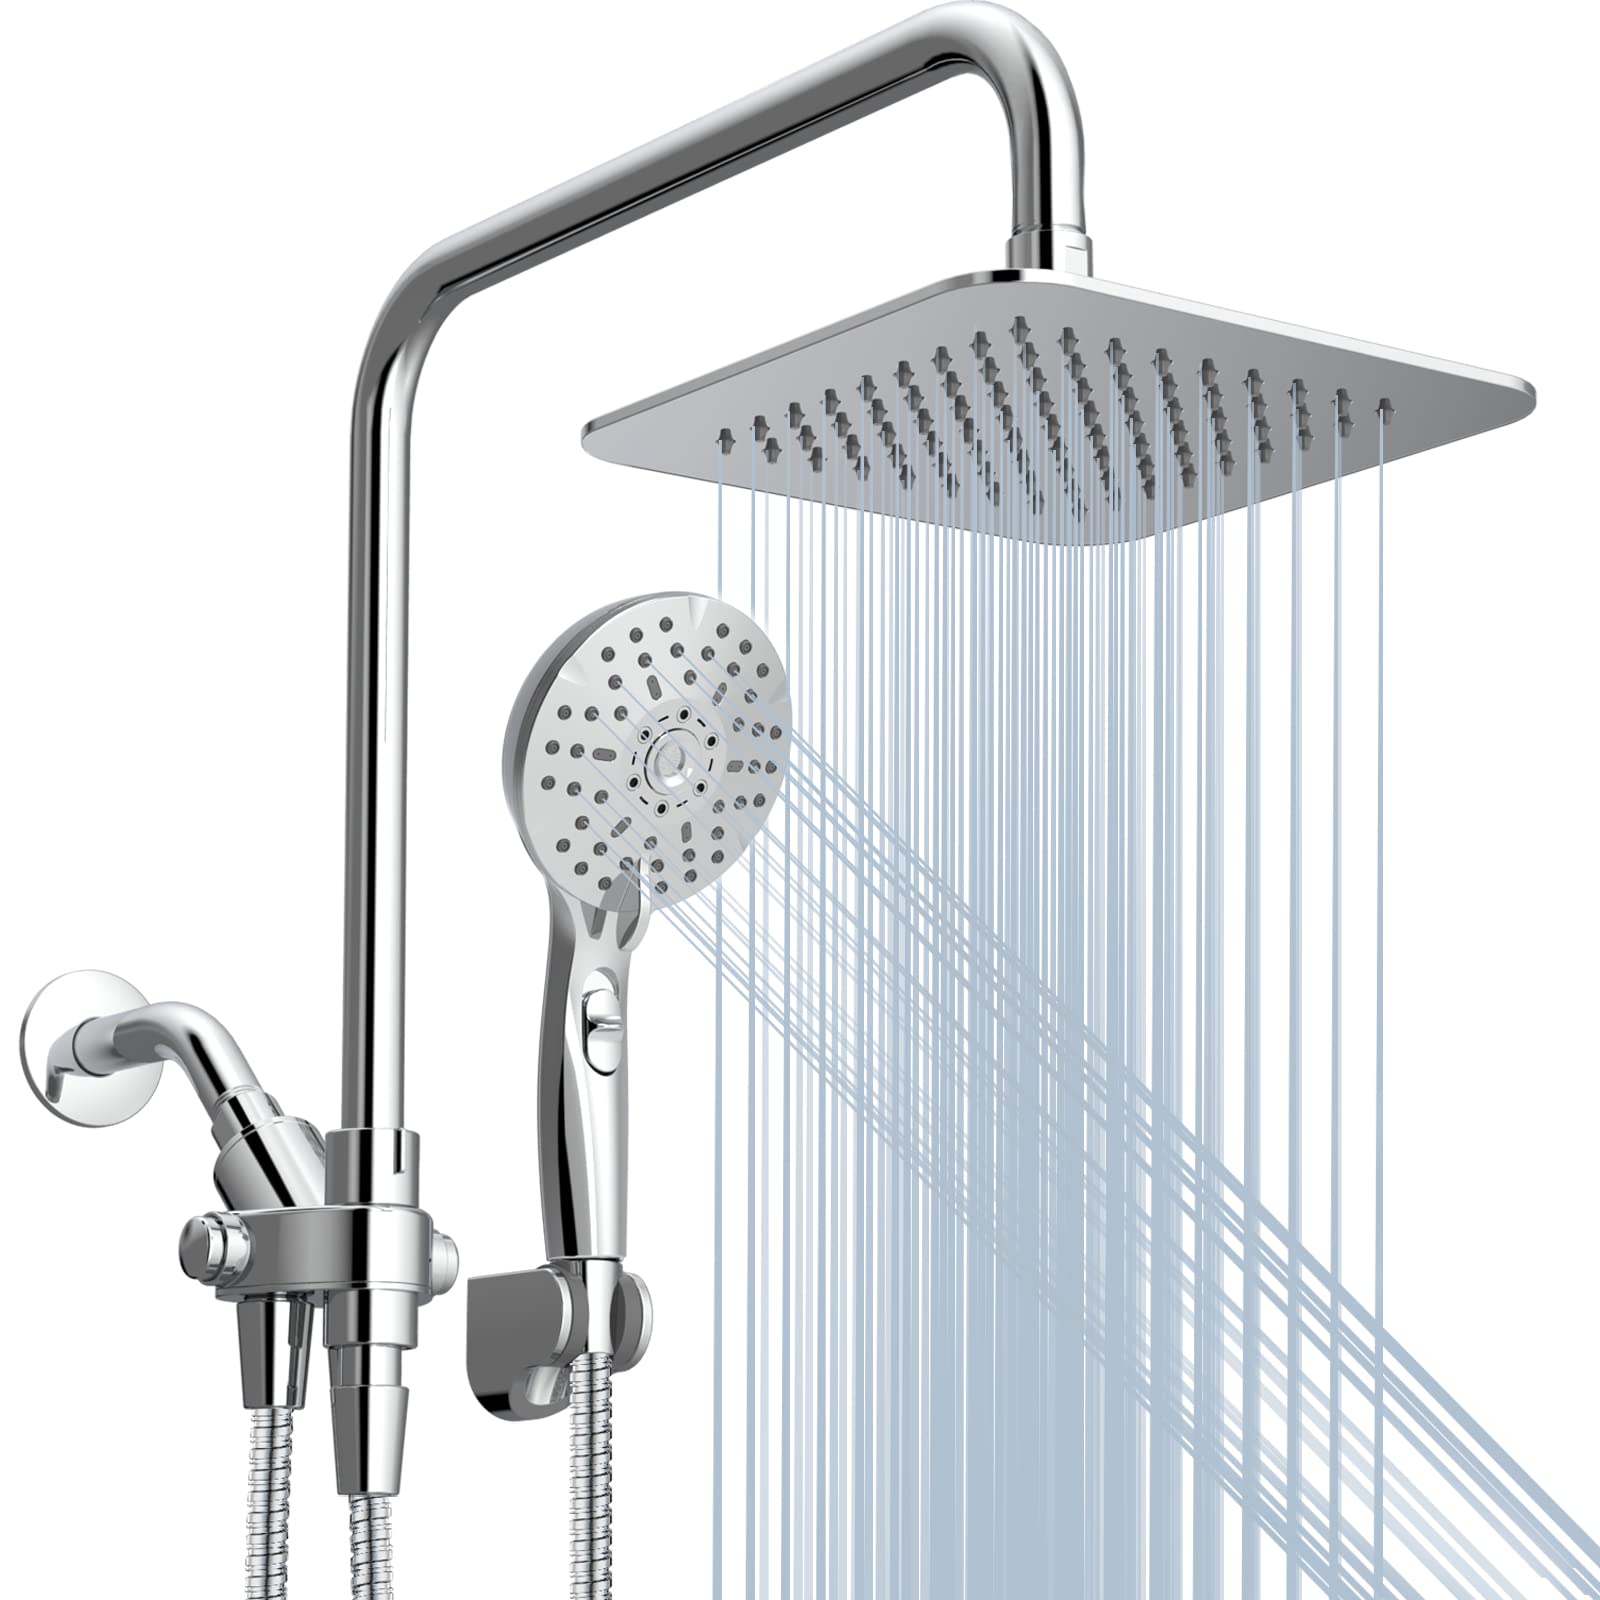
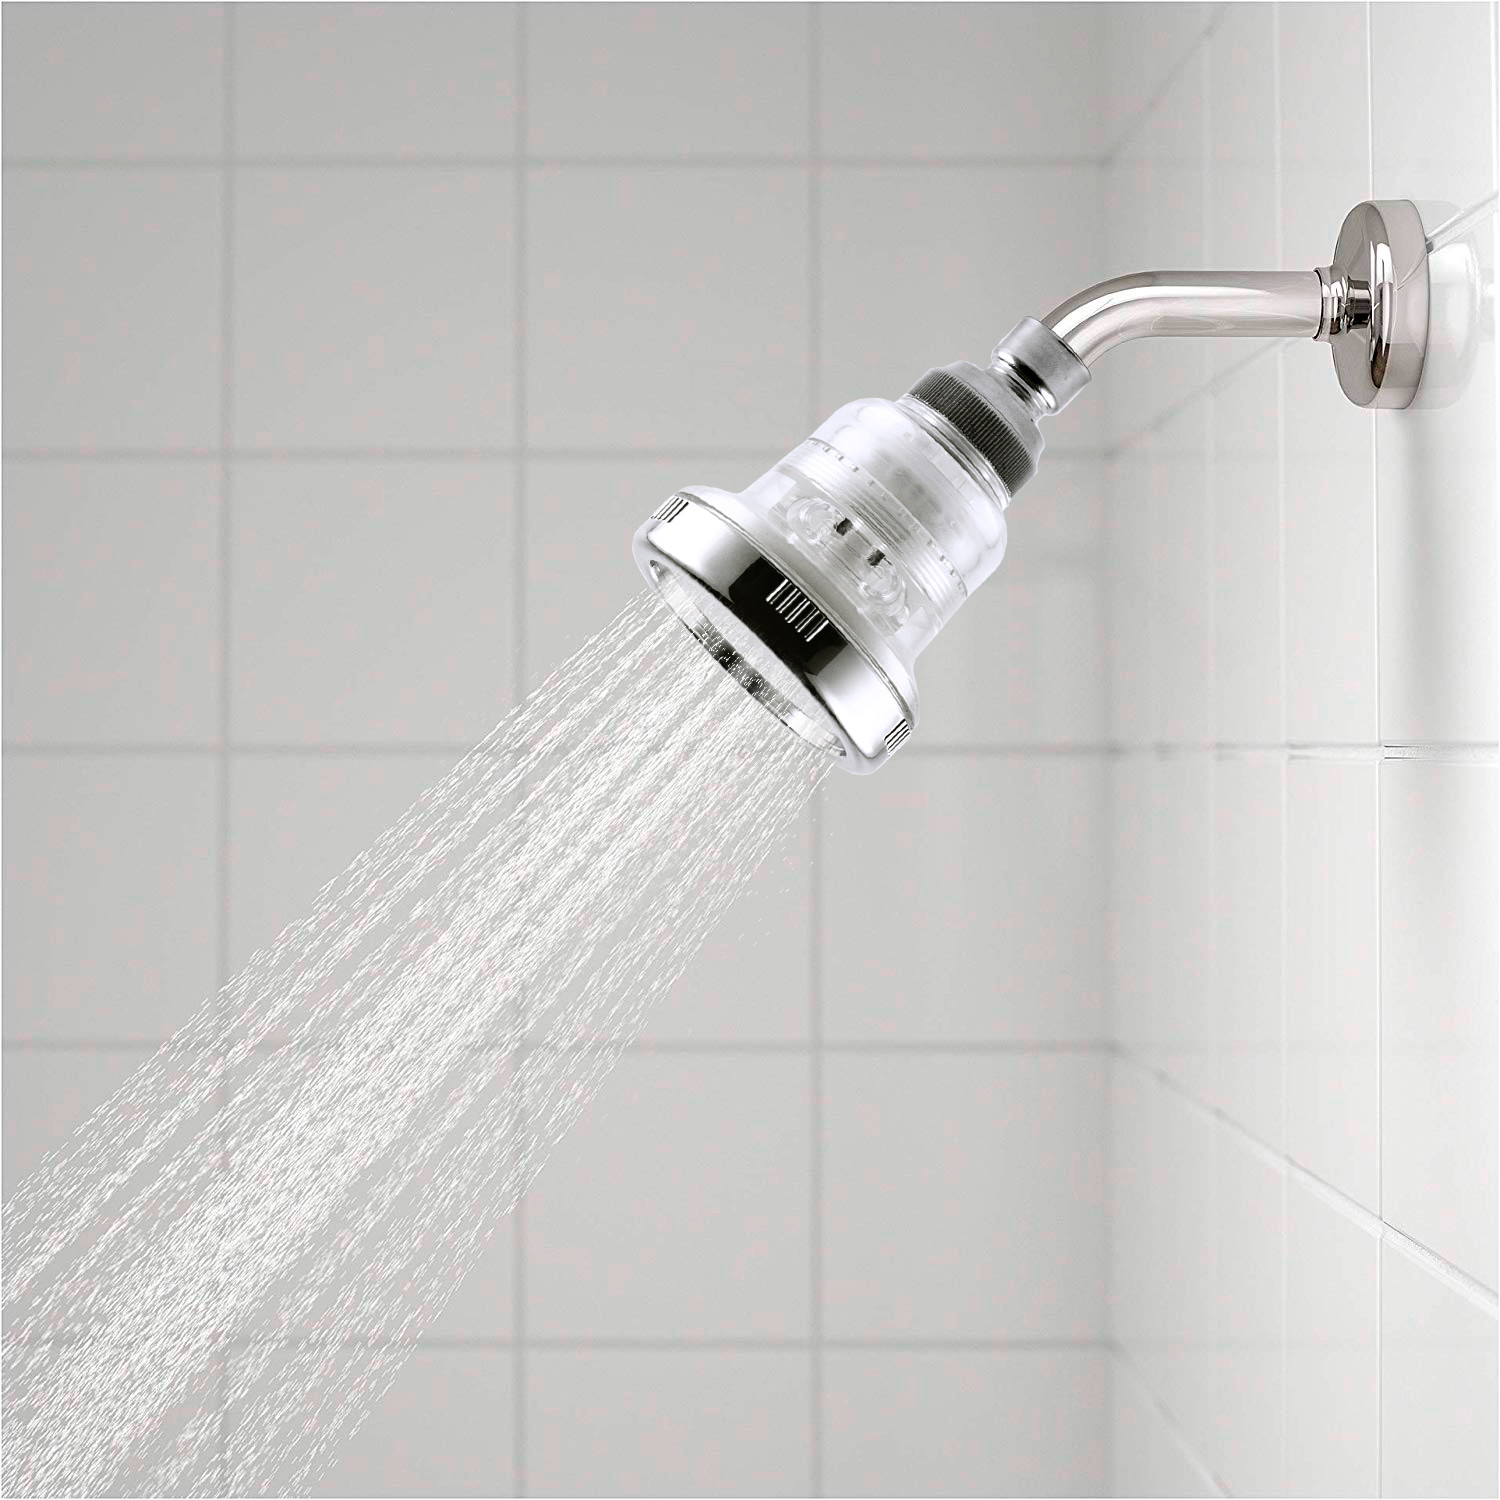
Are you tired of your lackluster shower experience? Do you dream of indulging in a luxurious rainfall shower right in the comfort of your own bathroom? Look no further, as the Dreamspa Rainfall Showerhead is here to transform your daily shower routine.
Nothing beats the feeling of standing under a gentle and invigorating shower that mimics the sensation of raindrops cascading down on you. With its innovative design and superior functionality, the Dreamspa Rainfall Showerhead provides a spa-like experience that will leave you feeling refreshed and rejuvenated every time.
In this step-by-step guide, we will walk you through the process of installing the Dreamspa Rainfall Showerhead in your bathroom. Whether you are a seasoned DIY enthusiast or a beginner, this installation is simple and straightforward, requiring only basic tools and materials.
So, say goodbye to your old and ordinary showerhead and get ready to elevate your shower experience to new heights. Let’s dive in and learn how to install the Dreamspa Rainfall Showerhead!
Key Takeaways:
- Elevate your shower experience with the Dreamspa Rainfall Showerhead, a DIY-friendly installation that brings luxury and relaxation to your daily routine. Enjoy the spa-like sensation of gentle rainfall right in your own bathroom!
- Say goodbye to mundane showers and hello to blissful relaxation. The Dreamspa Rainfall Showerhead offers a rejuvenating experience, transforming your bathroom into a personal sanctuary of indulgence and comfort.
Read more: How To Build A Rainfall Showerhead
Step 1: Gather Necessary Tools and Materials
The first step in installing the Dreamspa Rainfall Showerhead is to gather all the necessary tools and materials. Before you begin, make sure you have the following items on hand:
- Adjustable wrench
- Plumber’s tape (Teflon tape)
- Bucket or towel
The adjustable wrench will be used to remove the existing showerhead and attach the new one. Plumber’s tape, also known as Teflon tape, is essential for creating a watertight seal between the shower arm and the Dreamspa Rainfall Showerhead. Finally, a bucket or towel will come in handy to catch any water that may spill during the installation process.
Before you proceed to the next step, double-check that you have all the required tools and materials to ensure a smooth and hassle-free installation.
Step 2: Remove the Existing Showerhead
Now that you have gathered all the necessary tools and materials, it’s time to remove the existing showerhead. Follow these steps:
- Turn off the water supply to your shower. Look for the shut-off valve near your shower or use the main water supply valve for the entire house.
- Place a bucket or towel beneath the showerhead to catch any water that may remain in the pipes.
- Using an adjustable wrench, grip the showerhead firmly and turn it counterclockwise to loosen it. If the showerhead is old or tightly secured, you may need to use some force, but be careful not to damage the shower arm.
- Continue unscrewing the showerhead until it is fully detached from the shower arm. Set the old showerhead aside.
Once you have successfully removed the old showerhead, take a moment to inspect the shower arm for any signs of damage or debris. Clear any obstructions and ensure that the shower arm is clean and ready for the installation of the Dreamspa Rainfall Showerhead.
With the old showerhead removed, you are now ready to move on to the next step of the installation process.
Step 3: Clean and Prepare the Shower Arm
After removing the old showerhead, it’s important to clean and prepare the shower arm before installing the Dreamspa Rainfall Showerhead. Follow these simple steps:
- Inspect the shower arm for any visible dirt, grime, or residue. If you notice any buildup, use a mild cleaning solution and a soft cloth to gently clean the surface of the shower arm.
- Rinse the shower arm thoroughly with water to remove any cleaning solution and residue.
- Check the threads of the shower arm for any signs of damage or corrosion. If the threads are worn or damaged, it’s recommended to replace the shower arm before continuing with the installation.
- Dry the shower arm completely using a clean towel or let it air dry before proceeding to the next step. It’s important to ensure that the shower arm is dry to create a proper seal with the Dreamspa Rainfall Showerhead.
By cleaning and preparing the shower arm, you are ensuring optimal performance and longevity of the Dreamspa Rainfall Showerhead. It also helps to prevent any potential leaks or issues during the installation process.
Now that the shower arm is clean and ready, it’s time to move on to the next step and apply Teflon tape to create a watertight seal.
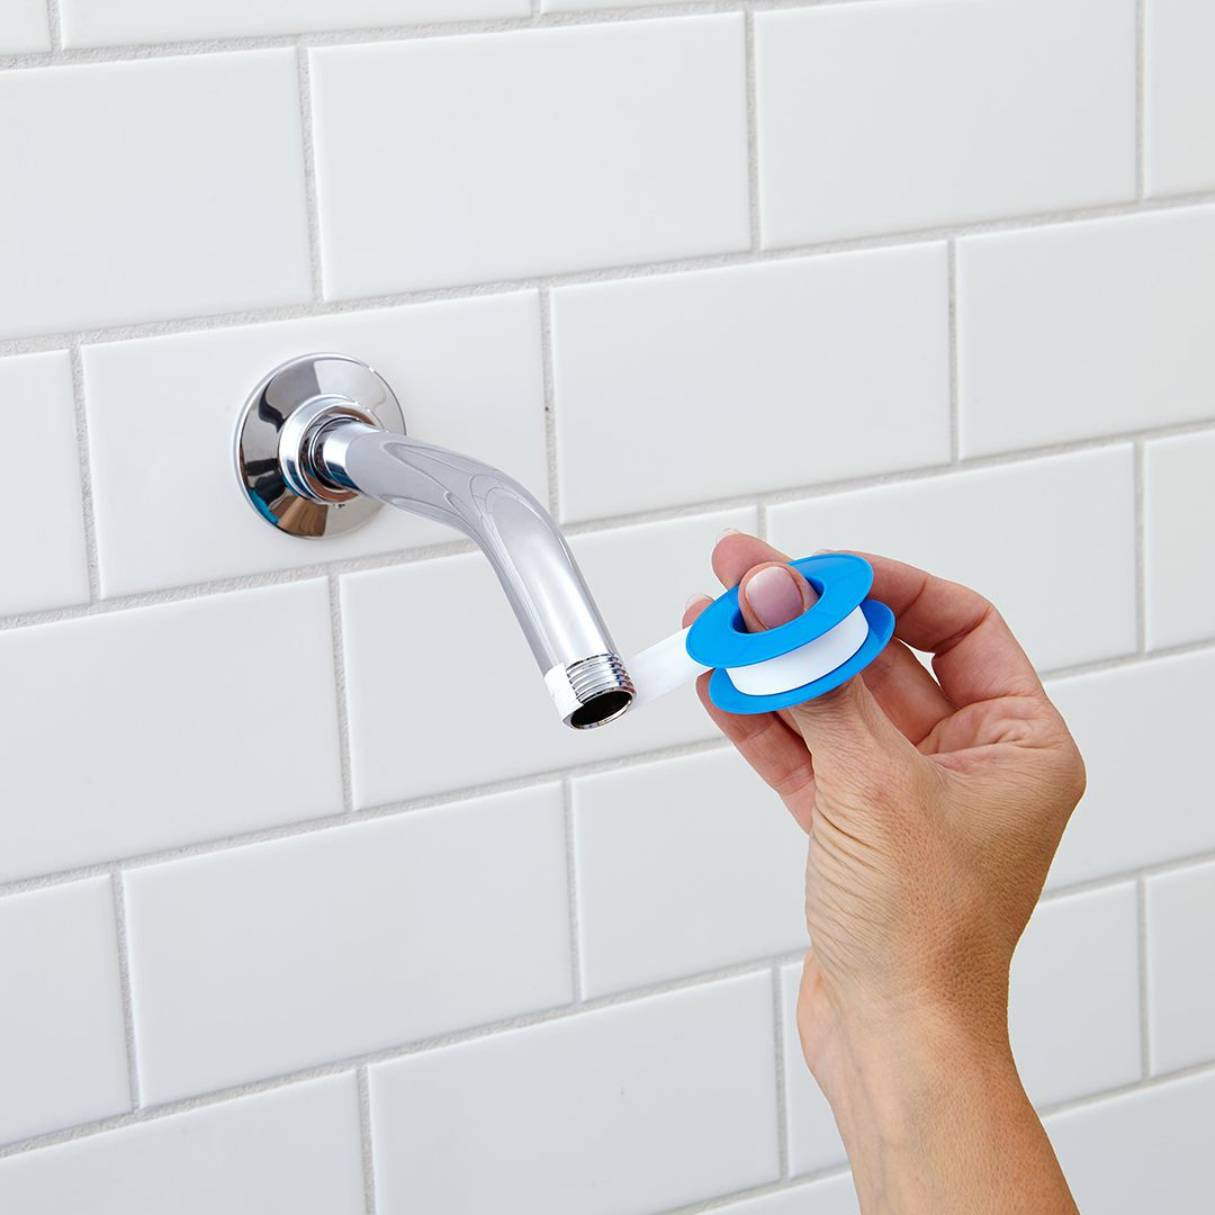
Step 4: Apply Teflon Tape to the Shower Arm
Applying Teflon tape to the shower arm is a crucial step to ensure a watertight seal between the arm and the Dreamspa Rainfall Showerhead. Follow these simple instructions:
- Take the Teflon tape and unwind a small portion from the roll.
- Hold the end of the tape against the threads of the shower arm and begin wrapping it in a clockwise direction.
- Wrap the Teflon tape around the threads of the shower arm, overlapping each layer slightly, until the entire threaded area is covered. Aim for about three to five revolutions of tape.
- Ensure that the Teflon tape is snugly applied and that it does not extend beyond the end of the threads. If there is excess tape, trim it with scissors or a utility knife.
The purpose of Teflon tape is to create a tight seal between the shower arm and the Dreamspa Rainfall Showerhead, preventing any water from leaking out. The tape fills in any gaps or irregularities in the threads and provides an extra layer of protection against leaks.
Once the Teflon tape is applied, you are ready to move on to the next step and attach the Dreamspa Rainfall Showerhead to the shower arm.
Before installing the Dreamspa Rainfall Showerhead, make sure to thoroughly clean the shower arm and apply plumber’s tape to ensure a tight, leak-free connection.
Read also: 12 Best Rainfall Showerhead for 2024
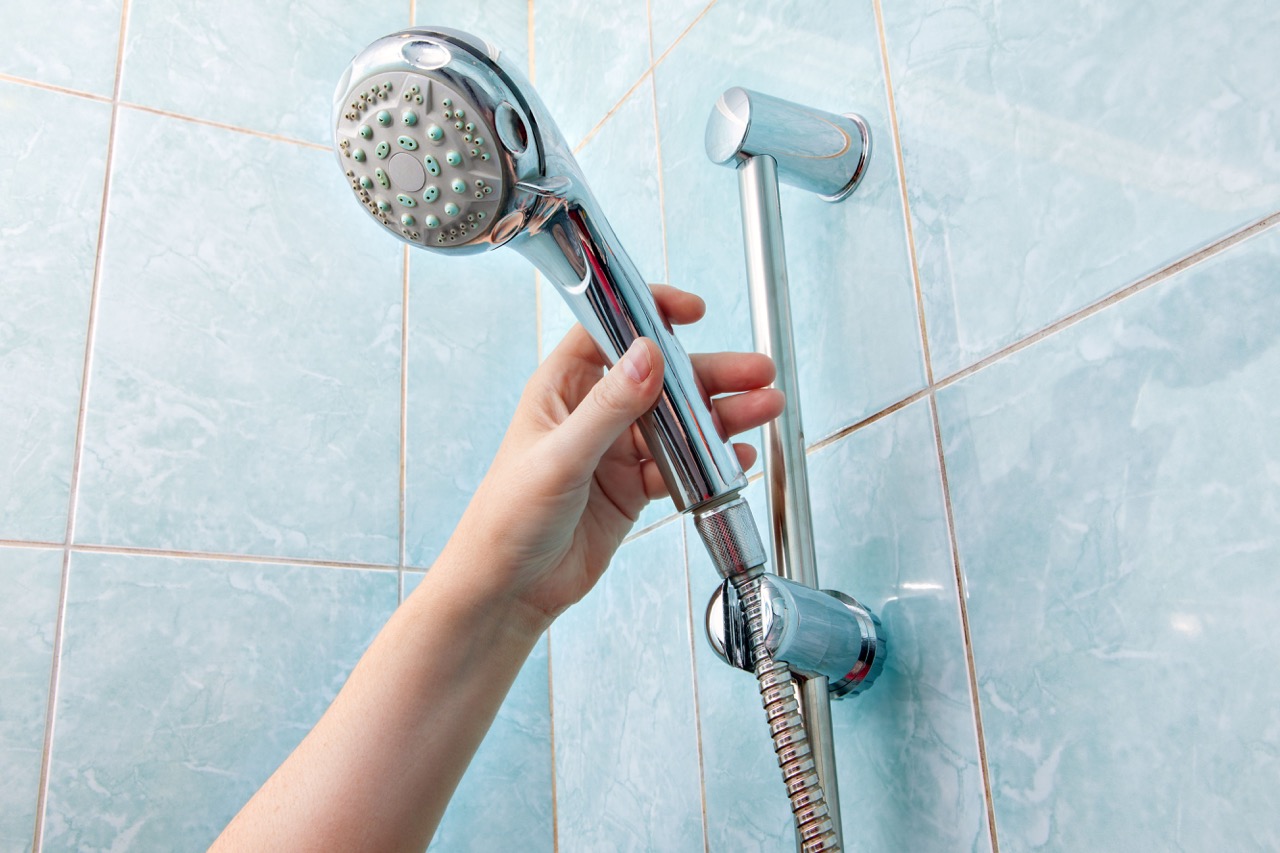
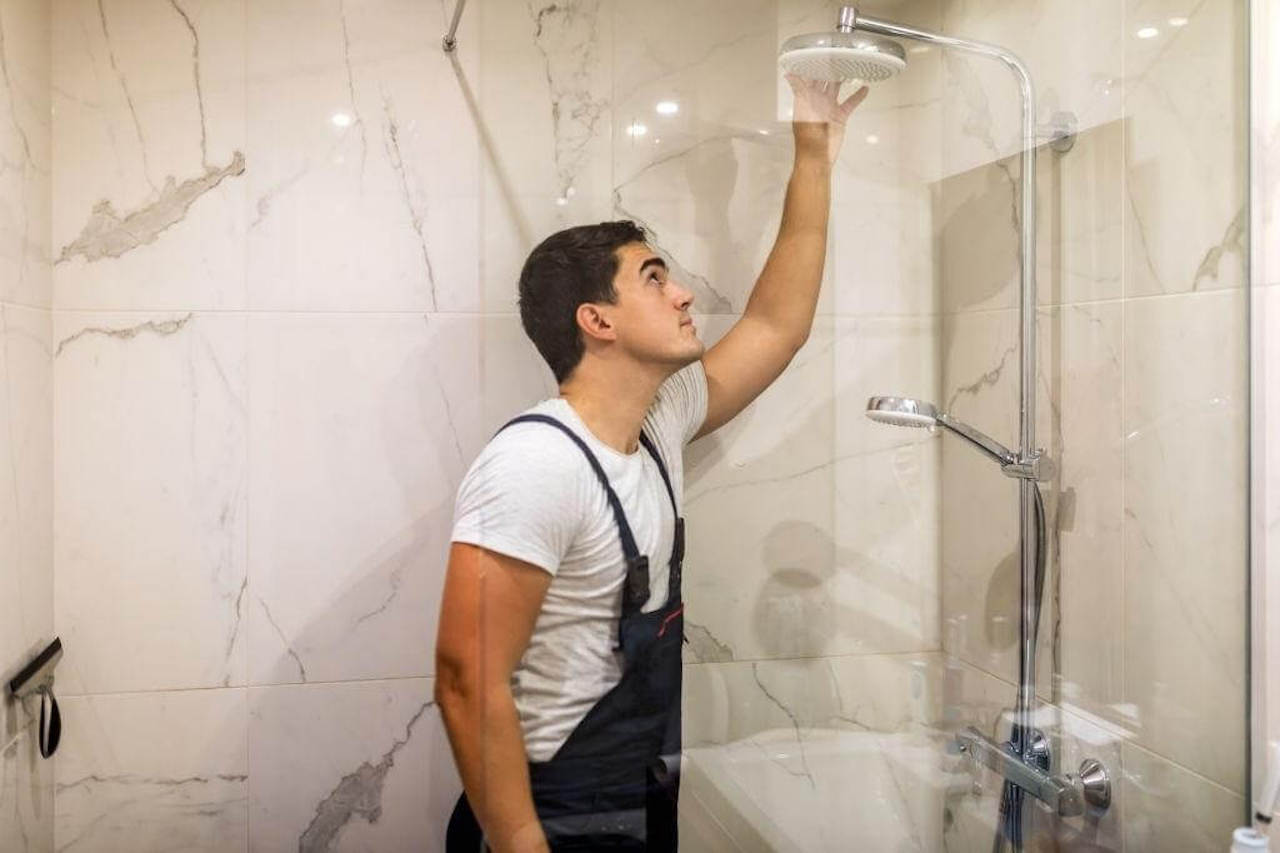
Step 5: Attach the Dreamspa Rainfall Showerhead
Now that you have prepared the shower arm with Teflon tape, it’s time to attach the Dreamspa Rainfall Showerhead. Follow these simple steps:
- Take the Dreamspa Rainfall Showerhead and locate the threaded end.
- Hold the showerhead by the body and align the threaded end with the Teflon-taped shower arm.
- Gently twist the showerhead in a clockwise direction onto the shower arm. Use your hands initially to start the threading process.
- Once it is snugly threaded, use an adjustable wrench to firmly tighten the showerhead onto the shower arm. Be careful not to overtighten, as it may cause damage to the showerhead or the shower arm.
As you attach the Dreamspa Rainfall Showerhead, you should feel resistance as the threads connect. This indicates that the showerhead is securely attached to the shower arm.
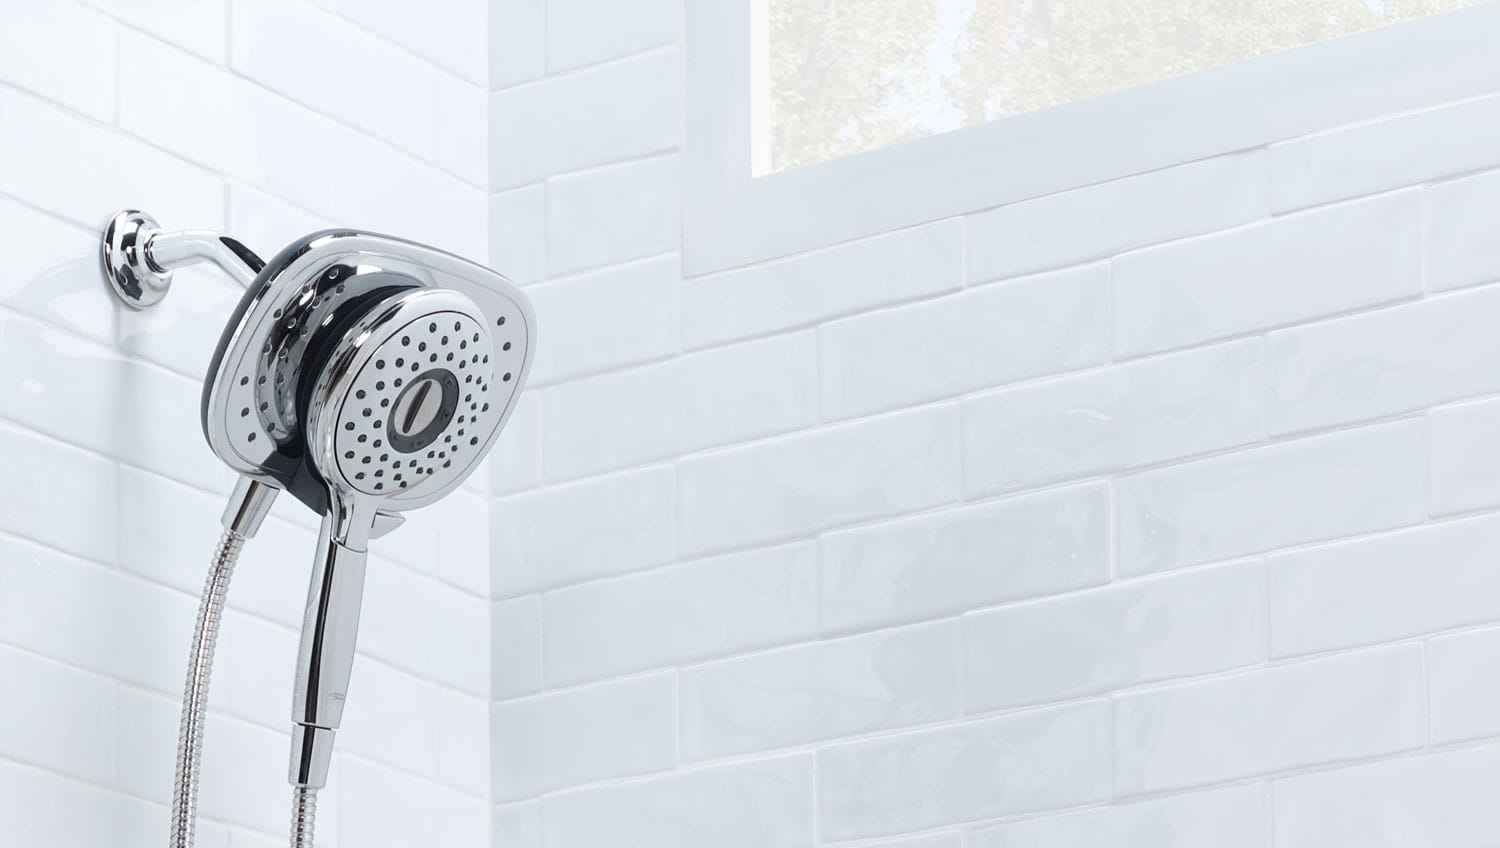
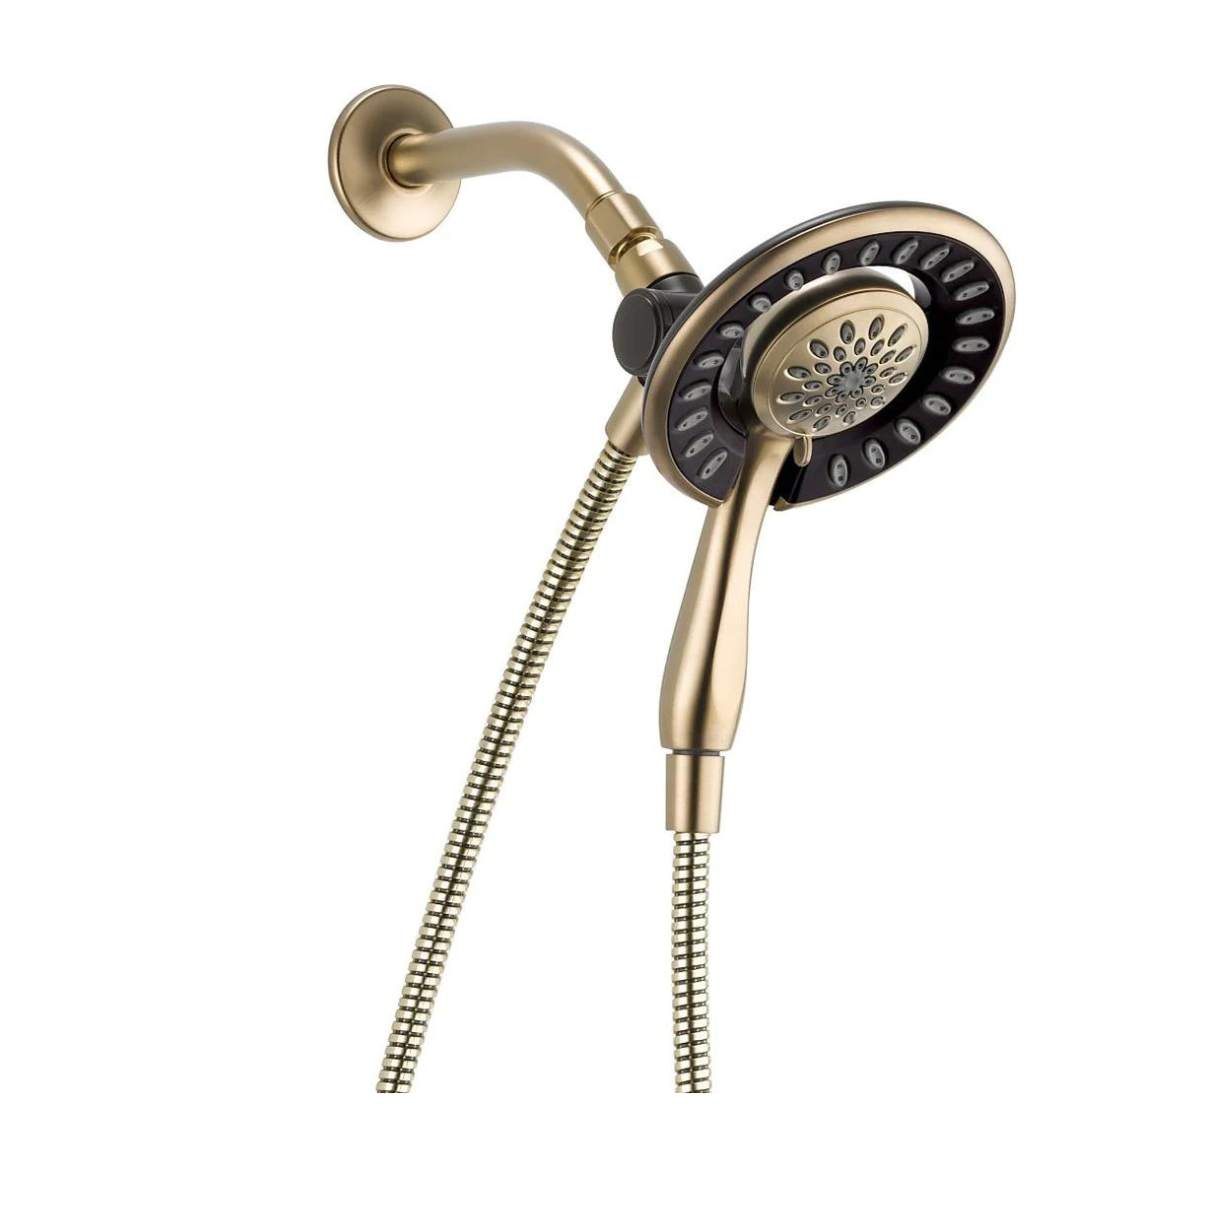
It’s important to note that the Dreamspa Rainfall Showerhead may come with a swivel feature, allowing you to adjust the angle of the showerhead for optimal positioning. Take advantage of this functionality to customize your shower experience.
With the Dreamspa Rainfall Showerhead securely attached, you can now move on to the next step and test for leaks.
Step 6: Test for Leaks
After installing the Dreamspa Rainfall Showerhead, it’s essential to test for any leaks before fully enjoying your new shower experience. Follow these steps to ensure a watertight seal:
- Turn on the water supply to your shower at the shut-off valve or the main water supply valve.
- Inspect the area around the Dreamspa Rainfall Showerhead and the shower arm for any signs of leakage. Pay close attention to the connection points and the threads.
- If you notice any leaks, first try tightening the showerhead a bit more using an adjustable wrench. Be careful not to overtighten, as it may cause damage.
- If the leak persists, you may need to remove the Dreamspa Rainfall Showerhead and reapply Teflon tape to the shower arm. Make sure to clean and dry the shower arm before applying new tape.
- Once you have addressed any leaks, test the showerhead again by turning on the water and observing for any signs of leakage. Repeat the process until no leaks are detected.
It’s important to take the time to thoroughly test for leaks to ensure a seamless shower experience without any issues. A properly installed Dreamspa Rainfall Showerhead will provide you with a luxurious and leak-free shower experience.
Once you have confirmed that there are no leaks, you are ready to move on to the next step and adjust the position of the showerhead.
Step 7: Adjust the Showerhead Position
Now that you have confirmed that the Dreamspa Rainfall Showerhead is installed securely and without any leaks, it’s time to adjust its position to your desired angle. Follow these steps:
- Stand in the shower and turn on the water to allow it to flow through the Dreamspa Rainfall Showerhead.
- While the water is running, reach up and grip the showerhead firmly.
- Rotate the showerhead in the desired direction to adjust the angle of the water spray. Experiment with different positions to find the perfect angle that suits your preference.
- Once you have found the ideal position, hold the showerhead in place and tighten the swivel mechanism, if applicable, to secure it in position.
By adjusting the position of the Dreamspa Rainfall Showerhead, you can tailor your shower experience to your liking. Whether you prefer a direct overhead rainfall effect or a gentle angled spray, finding the right position will enhance your shower enjoyment.
Take your time to experiment with different angles and find the perfect position that provides maximum comfort and relaxation during your showers.
With the showerhead position adjusted to perfection, you are now ready to move on to the final step and start enjoying your new Dreamspa Rainfall Showerhead.
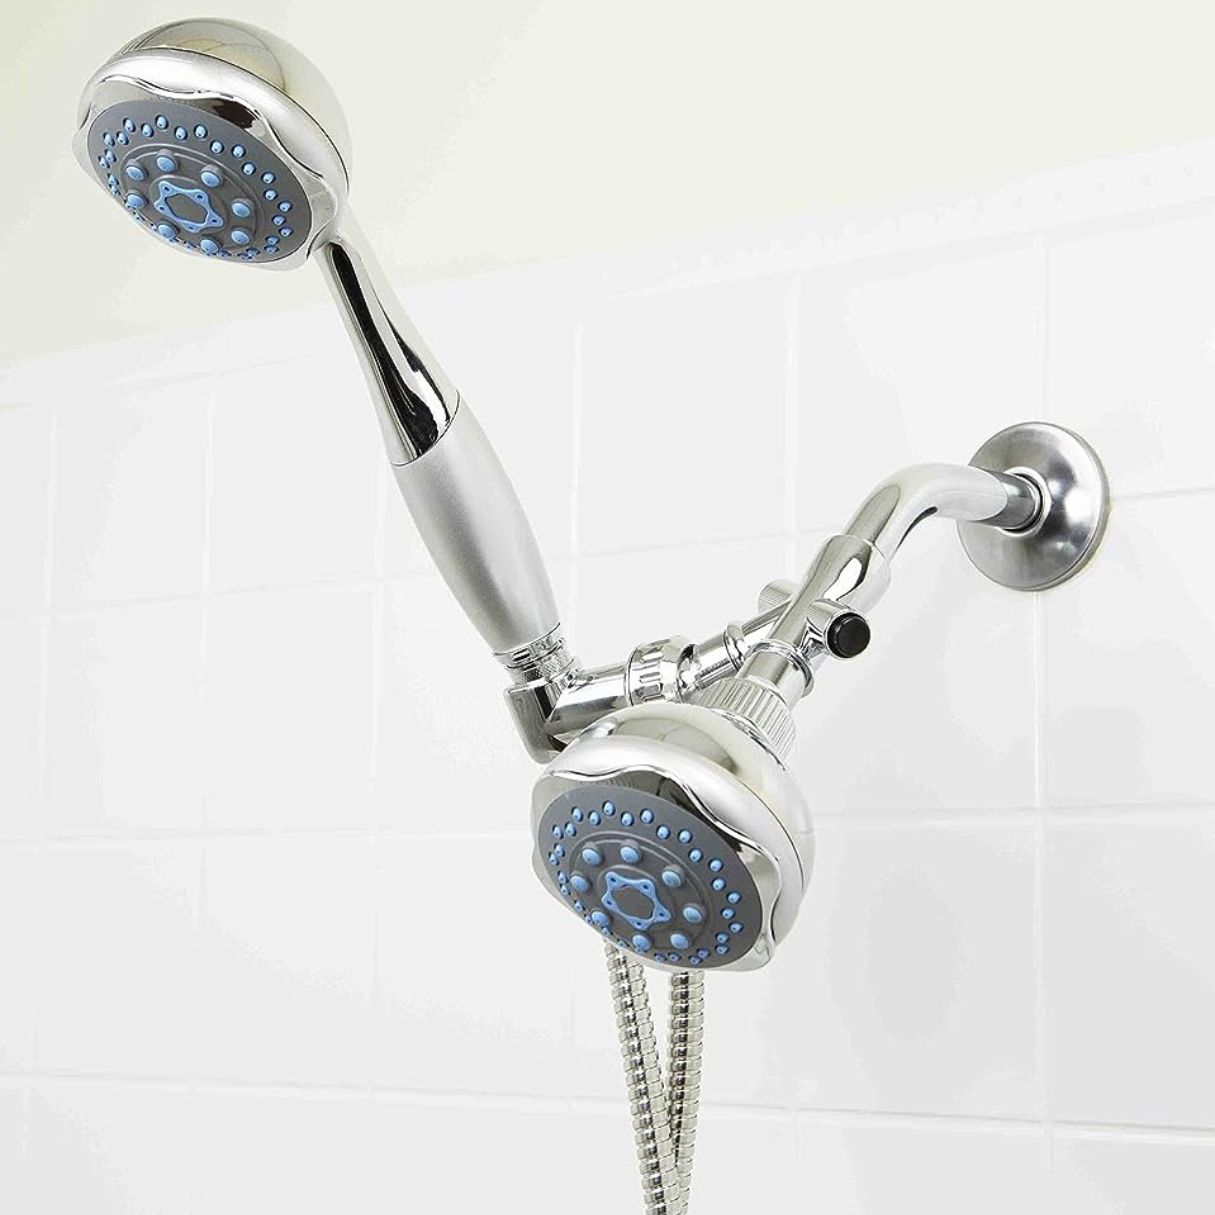
Step 8: Enjoy Your New Dreamspa Rainfall Showerhead
Congratulations! You have successfully installed the Dreamspa Rainfall Showerhead and completed all the necessary steps. Now, it’s time to indulge in the ultimate shower experience and enjoy the benefits of your new showerhead.
Step into your shower and turn on the water to experience the luxurious rainfall sensation provided by the Dreamspa Rainfall Showerhead. Feel the gentle streams of water cascade over your body, creating a spa-like atmosphere right in your own bathroom.
Take a moment to appreciate the sleek design and superior functionality of the Dreamspa Rainfall Showerhead. The generously sized showerhead ensures that water is distributed evenly, providing full coverage and a truly immersive shower experience.
As you lather up with your favorite shower products, allow the relaxing water droplets to wash away your stress and rejuvenate your body and mind. The Dreamspa Rainfall Showerhead will transform your daily routine into a refreshing and revitalizing experience.
Remember to adjust the temperature and water pressure to your comfort and customize your shower experience. Take advantage of the swivel feature, if applicable, to change the direction of the water spray and find your perfect angle.
Now that you have installed and experienced the Dreamspa Rainfall Showerhead, you can look forward to enjoying many blissful showers ahead. With its remarkable performance and luxurious features, you’ll wonder how you ever settled for an ordinary showerhead.
So go ahead, relax, and pamper yourself with the Dreamspa Rainfall Showerhead. Elevate your daily shower routine to new heights and indulge in the comfort and luxury that this exceptional showerhead provides.
Thank you for following this installation guide. We hope you enjoy your new Dreamspa Rainfall Showerhead to the fullest!
Conclusion
Installing the Dreamspa Rainfall Showerhead is a simple and rewarding DIY project that can transform your shower experience. With its innovative design, superior functionality, and luxurious rainfall sensation, this showerhead brings a touch of luxury and relaxation into your daily routine.
In this comprehensive guide, we have provided step-by-step instructions on how to install the Dreamspa Rainfall Showerhead. From gathering necessary tools and materials, to removing the existing showerhead, preparing the shower arm, and attaching the new showerhead, we have covered every aspect of the installation process.
We also emphasized the importance of testing for leaks after installation and adjusting the showerhead’s position to achieve your desired angle. Finally, we encourage you to thoroughly enjoy your new Dreamspa Rainfall Showerhead, savoring the rejuvenating experience it offers.
Say goodbye to mundane showers and embrace the soothing cascade of water that mimics the feeling of a gentle rainfall. The Dreamspa Rainfall Showerhead will elevate your shower experience, providing you with moments of relaxation and indulgence every time you step into the shower.
We hope this guide has been helpful in guiding you through the installation process. Now it’s time to immerse yourself in the blissful realm of the Dreamspa Rainfall Showerhead and enjoy the luxurious showers it promises.
Thank you for choosing the Dreamspa Rainfall Showerhead and transforming your bathroom into a personal sanctuary of relaxation and rejuvenation.
Frequently Asked Questions about How To Install The DreamSpa Rainfall Showerhead
Was this page helpful?
At Storables.com, we guarantee accurate and reliable information. Our content, validated by Expert Board Contributors, is crafted following stringent Editorial Policies. We're committed to providing you with well-researched, expert-backed insights for all your informational needs.


0 thoughts on “How To Install The DreamSpa Rainfall Showerhead”