Articles
How To Take Apart My Moen Showerhead
Modified: August 26, 2024
Looking for step-by-step articles on how to disassemble your Moen showerhead? Find all the guidance you need to take apart your showerhead and troubleshoot any issues.
(Many of the links in this article redirect to a specific reviewed product. Your purchase of these products through affiliate links helps to generate commission for Storables.com, at no extra cost. Learn more)
Introduction
Taking apart a Moen showerhead may seem like a daunting task, especially for those who are not familiar with plumbing or DIY projects. However, with the right tools and a step-by-step guide, it can be a relatively simple and rewarding process. Whether you need to clean a clogged showerhead or replace a worn-out part, disassembling your Moen showerhead is an essential skill that can save you time and money.
In this article, we will provide you with a comprehensive guide on how to take apart your Moen showerhead. We will walk you through each step of the process, from turning off the water supply to reassembling the showerhead. By following these instructions, you will be able to successfully disassemble, clean, and maintain your Moen showerhead, ensuring optimal performance and longevity.
Key Takeaways:
- Save time and money by learning to disassemble and clean your Moen showerhead with simple tools and a step-by-step guide. Regular maintenance ensures optimal performance and longevity.
- Turn off the water supply, carefully disassemble, clean, and reassemble your Moen showerhead to prevent leaks and maintain a pleasant showering experience. Regular maintenance extends the lifespan of your showerhead.
Tools and Materials Needed
Before you begin taking apart your Moen showerhead, gather the following tools and materials:
- Adjustable wrench
- Plumber’s tape
- Bucket or basin
- White vinegar or mild cleaner
- Soft-bristle brush
- Clean cloth or sponge
Make sure you have these items on hand before you start disassembling your showerhead. These tools and materials will help you complete the process smoothly and efficiently.
Step 1: Turn off Water Supply
Before you begin disassembling your Moen showerhead, it is crucial to turn off the water supply to prevent any water leakage or damage. Follow these steps to safely turn off the water supply:
- Locate the shut-off valve: Look for the shut-off valve near your shower area. It is typically located in the bathroom or basement.
- Turn off the valve: Rotate the valve clockwise until it is fully closed. This will stop the flow of water to the showerhead.
- Check for water flow: After closing the valve, turn on the shower faucet to ensure that the water supply has been successfully shut off. If no water comes out, you can proceed to the next step.
By turning off the water supply, you eliminate the risk of water leakage during the disassembling process and ensure a safe working environment.
Step 2: Remove the Showerhead Cover
With the water supply turned off, you can now proceed to remove the showerhead cover. Follow these steps to remove the cover safely:
- Inspect the showerhead: Take a close look at your Moen showerhead to identify the type of cover it has. It could be a round cover, a square cover, or a cover with decorative elements.
- Locate the cover screw: Look for a small screw holding the cover in place. The screw is usually located near the bottom of the cover.
- Loosen the screw: Using an adjustable wrench or a screwdriver, gently loosen the screw in a counterclockwise direction. Be careful not to strip the screw or cause any damage to the cover.
- Remove the cover: Once the screw is loose, carefully slide the cover off the showerhead arm. If there are any decorative elements or additional screws, remove them as well.
By removing the showerhead cover, you gain access to the inner components of the showerhead, making it easier to disassemble and clean.
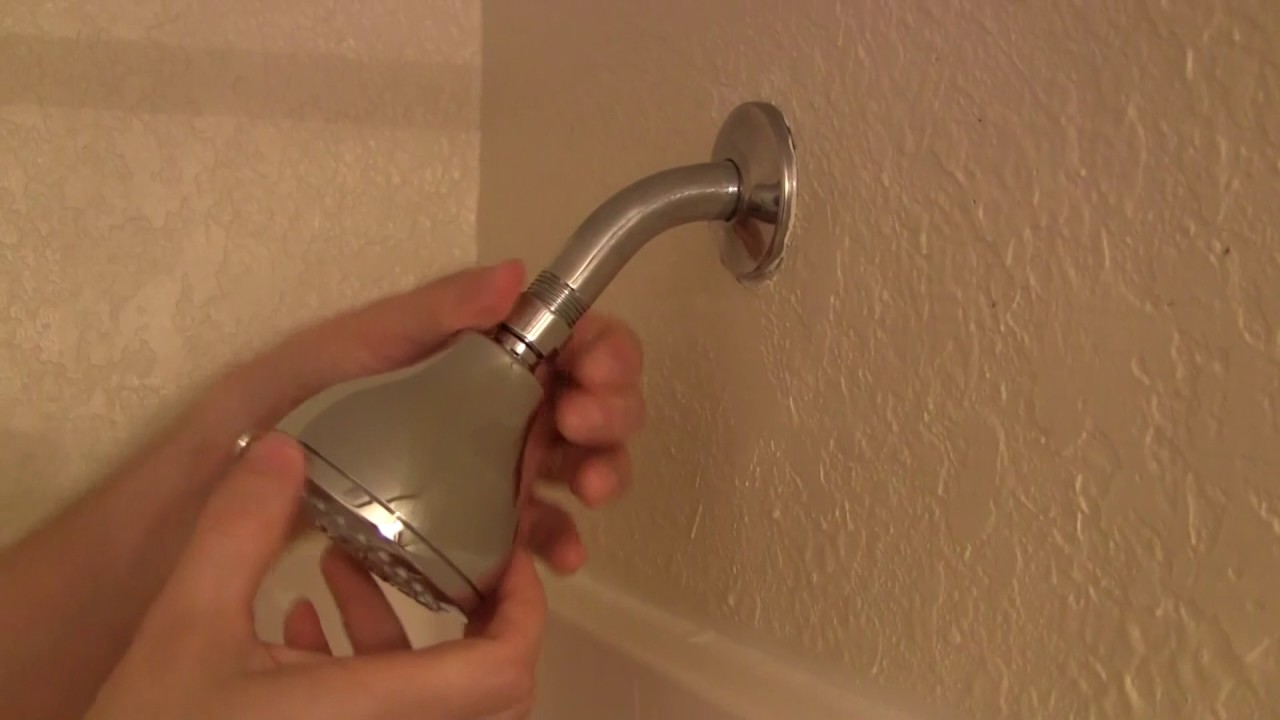
Step 3: Detach the Showerhead Arm
After removing the showerhead cover, the next step is to detach the showerhead arm. This will allow you to separate the showerhead from the plumbing. Follow these steps to detach the showerhead arm:
- Locate the connection point: Look for the point where the showerhead arm is connected to the plumbing. It is typically a threaded connection.
- Protect the showerhead: Before proceeding, wrap a cloth or towel around the showerhead to prevent scratches or damage during the detachment process.
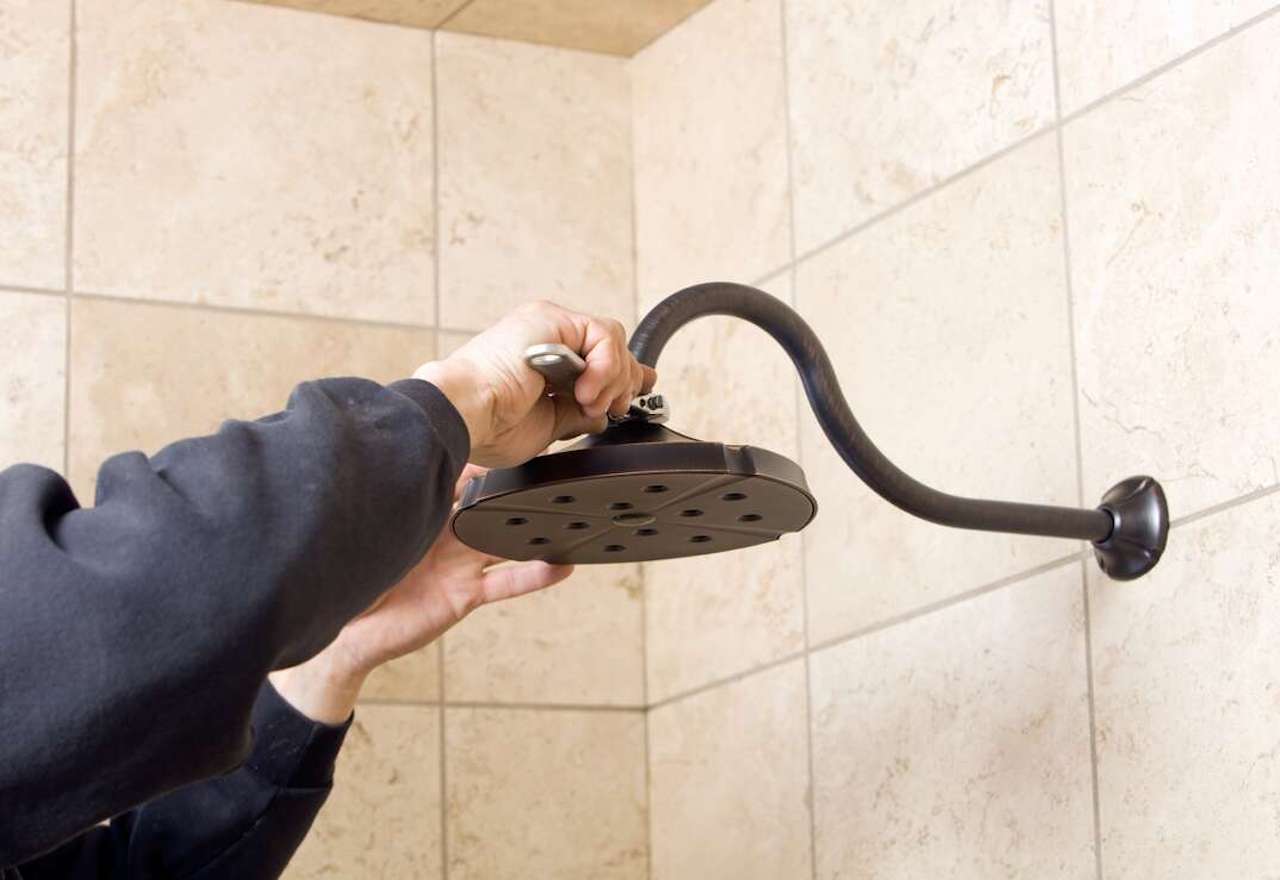
- Use an adjustable wrench: Grab the showerhead arm with one hand and use an adjustable wrench with the other hand to unscrew the connection in a counterclockwise motion.
- Detach the arm: Continue unscrewing until the showerhead arm is completely detached from the plumbing. Carefully remove the arm from the wall or fixture.
By detaching the showerhead arm, you can easily access the inner components of the showerhead for cleaning or replacement. Remember to be gentle when unscrewing to avoid any damage to the plumbing connections.
Use a strap wrench to grip the showerhead and twist it counterclockwise to remove. If it’s stuck, use penetrating oil and let it sit for a few hours before trying again.
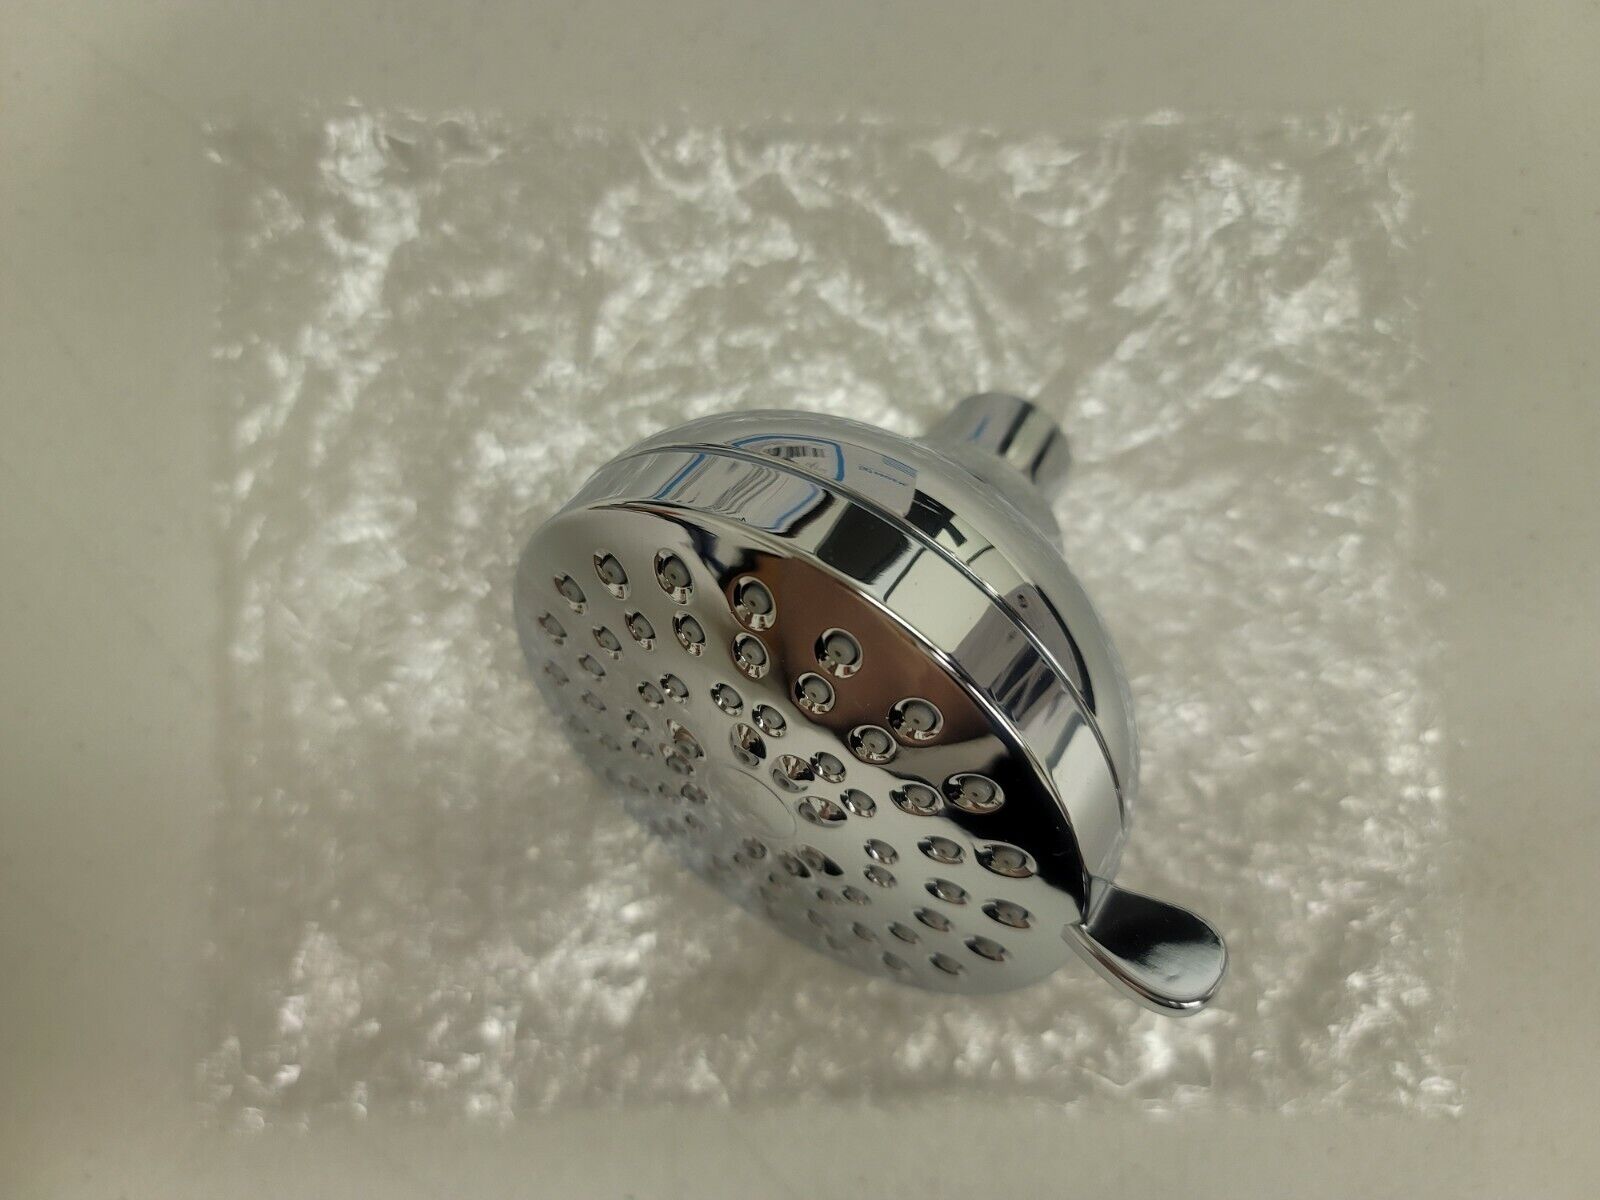
Step 4: Disassemble the Showerhead
Now that you have detached the showerhead arm, it is time to disassemble the showerhead itself. This process will allow you to access and clean the individual components. Follow these steps to disassemble your Moen showerhead:
- Inspect the showerhead: Take a close look at your Moen showerhead to identify its design and construction. Most showerheads can be disassembled by unscrewing or popping off the different parts.
- Separate the parts: Depending on the design, you may have different components such as the faceplate, mixing valve, or flow restrictor. Gently twist or pull apart the different parts to separate them.
- Pay attention to the order: As you separate the parts, take note of their order and how they fit together. This will make reassembling the showerhead easier later on.
- Remove any filters or obstructions: Some showerheads have built-in filters or flow restrictors that may need cleaning or replacement. Carefully remove these components and set them aside.
By disassembling your Moen showerhead, you can access the individual components that may have accumulated mineral buildup or debris. This will allow for thorough cleaning and maintenance to ensure optimal performance.
Step 5: Cleaning the Showerhead Parts
Once you have disassembled the showerhead, it’s time to clean the individual parts to remove any buildup or debris that may affect its performance. Follow these steps to clean your Moen showerhead parts:
- Prepare a cleaning solution: Fill a basin or bucket with equal parts of white vinegar and water. Alternatively, you can use a mild cleaner recommended for use on showerheads.
- Submerge the parts: Place the disassembled showerhead parts into the cleaning solution, ensuring that they are fully submerged.
- Let it soak: Allow the parts to soak for at least 30 minutes to loosen any mineral deposits or debris.
- Scrub with a brush: Use a soft-bristle brush to gently scrub the parts, removing any remaining buildup or residue. Pay special attention to the nozzles and crevices where debris tends to accumulate.
- Rinse thoroughly: After scrubbing, rinse each part thoroughly with clean water to remove any cleaning solution or loosened debris.
- Inspect for any clogs: Check the individual parts for any remaining clogs or blockages. Use a toothpick or small pin to clear any stubborn debris from the nozzles or other openings.
- Dry the parts: Before reassembling the showerhead, make sure all the parts are completely dry. Use a clean cloth or sponge to dry each component.
Cleaning your Moen showerhead parts is essential to maintain a steady and uninterrupted flow of water. Regular cleaning helps prevent clogs and ensures optimal water pressure and spray patterns.
Step 6: Reassembling the Showerhead
Now that you have cleaned the showerhead parts, it’s time to reassemble your Moen showerhead. Follow these steps to ensure proper reassembly:
- Refer to your notes: If you took notes or pictures during the disassembly process, use them as a reference to help you remember the correct order and orientation of the parts.
- Insert filters or flow restrictors: If your showerhead has filters or flow restrictors, reinsert them into their designated positions. Make sure they are securely in place.
- Align the parts: Align the faceplate or mixing valve with the showerhead body, ensuring that all the screw holes and connections line up properly.
- Screw or clip the parts together: Depending on the design of your showerhead, use the appropriate method (screwing or clipping) to reattach the parts together.
- Tighten with care: Use an adjustable wrench or screwdriver to gently tighten any screws or connections. Avoid over-tightening to prevent damage to the parts.
By carefully reassembling your Moen showerhead, you ensure proper alignment and stability of the components, resulting in an efficient and leak-free showerhead.
Step 7: Check for Leaks
After reassembling your Moen showerhead, it is important to check for any leaks to ensure proper functionality. Follow these steps to check for leaks:
- Turn on the water supply: Carefully turn on the water supply to the showerhead by reopening the shut-off valve.
- Check for leaks at connections: Inspect the connections between the showerhead arm and the plumbing for any signs of water leakage. If you notice any leaks, tighten the connections further.
- Inspect the showerhead: While the water is running, observe the showerhead itself for any leaks. Pay close attention to the areas where the parts were reassembled.
- Address any leaks: If you notice any leaks, try tightening the connections or adjusting the position of the parts. If the leaks persist, you may need to disassemble and reassemble the showerhead again to ensure a proper seal.
Checking for leaks is an important final step to ensure that your Moen showerhead is functioning correctly. By addressing any leaks immediately, you can prevent water wastage and potential damage to your bathroom.
Read also: 12 Best Moen Showerhead for 2025
Conclusion
Taking apart your Moen showerhead may initially seem like a daunting task, but with the right tools and a systematic approach, it can be a straightforward process. By following the step-by-step guide outlined in this article, you can easily disassemble, clean, and maintain your showerhead, ensuring optimal performance and a long lifespan.
Remember to turn off the water supply before starting the disassembly process and take your time to carefully remove the showerhead cover and detach the showerhead arm. Once disassembled, clean the individual parts using a mild cleaner or white vinegar solution to remove mineral buildup and debris. Thoroughly dry the parts before proceeding with the reassembly.
During the reassembly process, refer to your notes or reference images to ensure that the parts are correctly aligned and securely fastened. Take care not to overtighten connections as it may result in damage. Once reassembled, turn on the water supply and check for any leaks at the connections and the showerhead itself. Address any leaks promptly to prevent water wastage and potential damage.
Regular cleaning and maintenance of your Moen showerhead will help maintain its functionality and ensure a pleasant showering experience. By following these steps, you can confidently perform the necessary maintenance tasks and extend the lifespan of your showerhead.
Taking apart your Moen showerhead is a valuable skill that can save you time and money. With just a few simple steps, you can keep your showerhead in top condition for years to come.
Frequently Asked Questions about How To Take Apart My Moen Showerhead
Was this page helpful?
At Storables.com, we guarantee accurate and reliable information. Our content, validated by Expert Board Contributors, is crafted following stringent Editorial Policies. We're committed to providing you with well-researched, expert-backed insights for all your informational needs.


0 thoughts on “How To Take Apart My Moen Showerhead”