Articles
How To Install Pantry Cabinet
Modified: October 28, 2024
Learn how to install a pantry cabinet with our informative articles. Step-by-step instructions and helpful tips to make your installation process a breeze.
(Many of the links in this article redirect to a specific reviewed product. Your purchase of these products through affiliate links helps to generate commission for Storables.com, at no extra cost. Learn more)
Introduction
Welcome to this comprehensive guide on how to install a pantry cabinet. A pantry cabinet is a fantastic addition to any kitchen, providing you with ample storage space and helping to keep your kitchen organized. Whether you’re a seasoned DIY enthusiast or a beginner, this step-by-step tutorial will walk you through the process of installing a pantry cabinet in your kitchen.
A pantry cabinet is not only functional but also adds aesthetic appeal to your kitchen. It’s an excellent solution for storing food items, groceries, small appliances, and other kitchen essentials. With a well-installed pantry cabinet, you can optimize your kitchen space and create a more efficient cooking environment.
Before we dive into the installation process, make sure you have all the necessary tools and materials. These may include a tape measure, drill, screws, level, stud finder, and of course, the pantry cabinet itself. Once you have everything ready, let’s get started!
Key Takeaways:
- Proper preparation, accurate measurements, and careful assembly are crucial for successfully installing a pantry cabinet. Organizing the interior space optimally maximizes its storage potential and functionality.
- Adding final touches and maintaining the organization of the pantry cabinet enhances its visual appeal and long-term usability. Enjoy the improved functionality and aesthetics it brings to your kitchen!
Read more: How To Install A Cabinet Pantry Toe Kick
Step 1: Measure the Space
The first step in installing a pantry cabinet is to accurately measure the space where you plan to install it. This will ensure that you choose the right size cabinet and that it fits perfectly in the designated area.
Start by measuring the height, width, and depth of the space. Use a tape measure and take precise measurements, accounting for any baseboards, trim, or other obstacles that may affect the dimensions.
When measuring the height, measure from the floor to the ceiling or the bottom of any cabinets that may be installed above the pantry cabinet. Make sure to allow for enough clearance space so that the cabinet doors can open and close freely.
For the width, measure the distance between the adjacent walls or other cabinets. Again, consider any obstructions such as windows or doors that may impact the available space.
Lastly, measure the depth of the space. This will determine how far the pantry cabinet can protrude into the room without causing any obstructions or hindering movement within the kitchen.
Once you have all the measurements, write them down and double-check their accuracy. It’s always a good idea to measure twice to ensure you’re getting the most precise measurements possible. These measurements will be crucial when selecting the appropriate pantry cabinet for your kitchen.
Now that you have your measurements, you’re ready to move on to the next step: purchasing the pantry cabinet.
Step 2: Purchase the Pantry Cabinet
After measuring the space, the next step is to purchase the pantry cabinet that will fit perfectly in your kitchen. With so many options available, it’s important to consider your specific needs and preferences.
Start by determining the style and design of the pantry cabinet that will complement your kitchen’s overall aesthetic. Consider the materials, color, and finish of the cabinet, ensuring it matches your existing cabinetry or creates a cohesive look if you’re planning a kitchen remodel.
Take your measurements with you when shopping for the pantry cabinet. Compare the dimensions of the available cabinets with your measurements to find one that fits snugly in the allocated space. Pay close attention to the height, width, and depth, ensuring there is enough clearance for the doors to open and close without obstruction.
In addition to the size and style, consider the storage features and organization capabilities of the pantry cabinet. Look for adjustable shelves, pull-out drawers, and other accessories that will enhance its functionality and help you stay organized.
When purchasing the pantry cabinet, it’s also important to consider your budget. Determine how much you are willing to spend and look for options within that price range. Remember that investing in a high-quality pantry cabinet will pay off in the long run, as it will last longer and provide better durability.
Once you have selected the ideal pantry cabinet, make the purchase and arrange for delivery or pick-up. Be sure to inspect the cabinet upon arrival to ensure there are no damages or missing parts.
With the pantry cabinet in your possession, it’s time to move on to the next step: preparing the area for installation.
Step 3: Prepare the Area
Before you begin installing the pantry cabinet, it’s essential to prepare the area properly. This step will help ensure a smooth and successful installation process.
Start by clearing out the space where the pantry cabinet will be installed. Remove any furniture, appliances, or other items that may obstruct the installation process or be damaged during the process. If there are existing cabinets or shelves in the area, take the time to remove them as well.
Next, thoroughly clean the space to ensure it’s free from dust, debris, and any other substances that may interfere with the installation or affect the adherence of the cabinet. Use a vacuum cleaner or a broom to sweep the area and a damp cloth to wipe down surfaces.
If needed, consider making any necessary repairs or adjustments to the walls or flooring in the installation area. This can include patching up holes, fixing loose tiles, or addressing any uneven surfaces. Ensuring a stable and level foundation will contribute to the overall stability and longevity of the pantry cabinet.
During the preparation phase, it’s also important to locate the studs in the wall. Use a stud finder to identify the vertical wooden beams behind the drywall. Mark the locations of the studs on the wall with a pencil or masking tape as these will be the anchor points for securing the pantry cabinet.
Lastly, gather all the necessary tools and materials you’ll need for the installation process. This may include a drill, screws, a level, a measuring tape, and any additional hardware that comes with the pantry cabinet.
Once you have completed all the necessary preparations, you’re ready to move on to the next step: assembling the pantry cabinet.
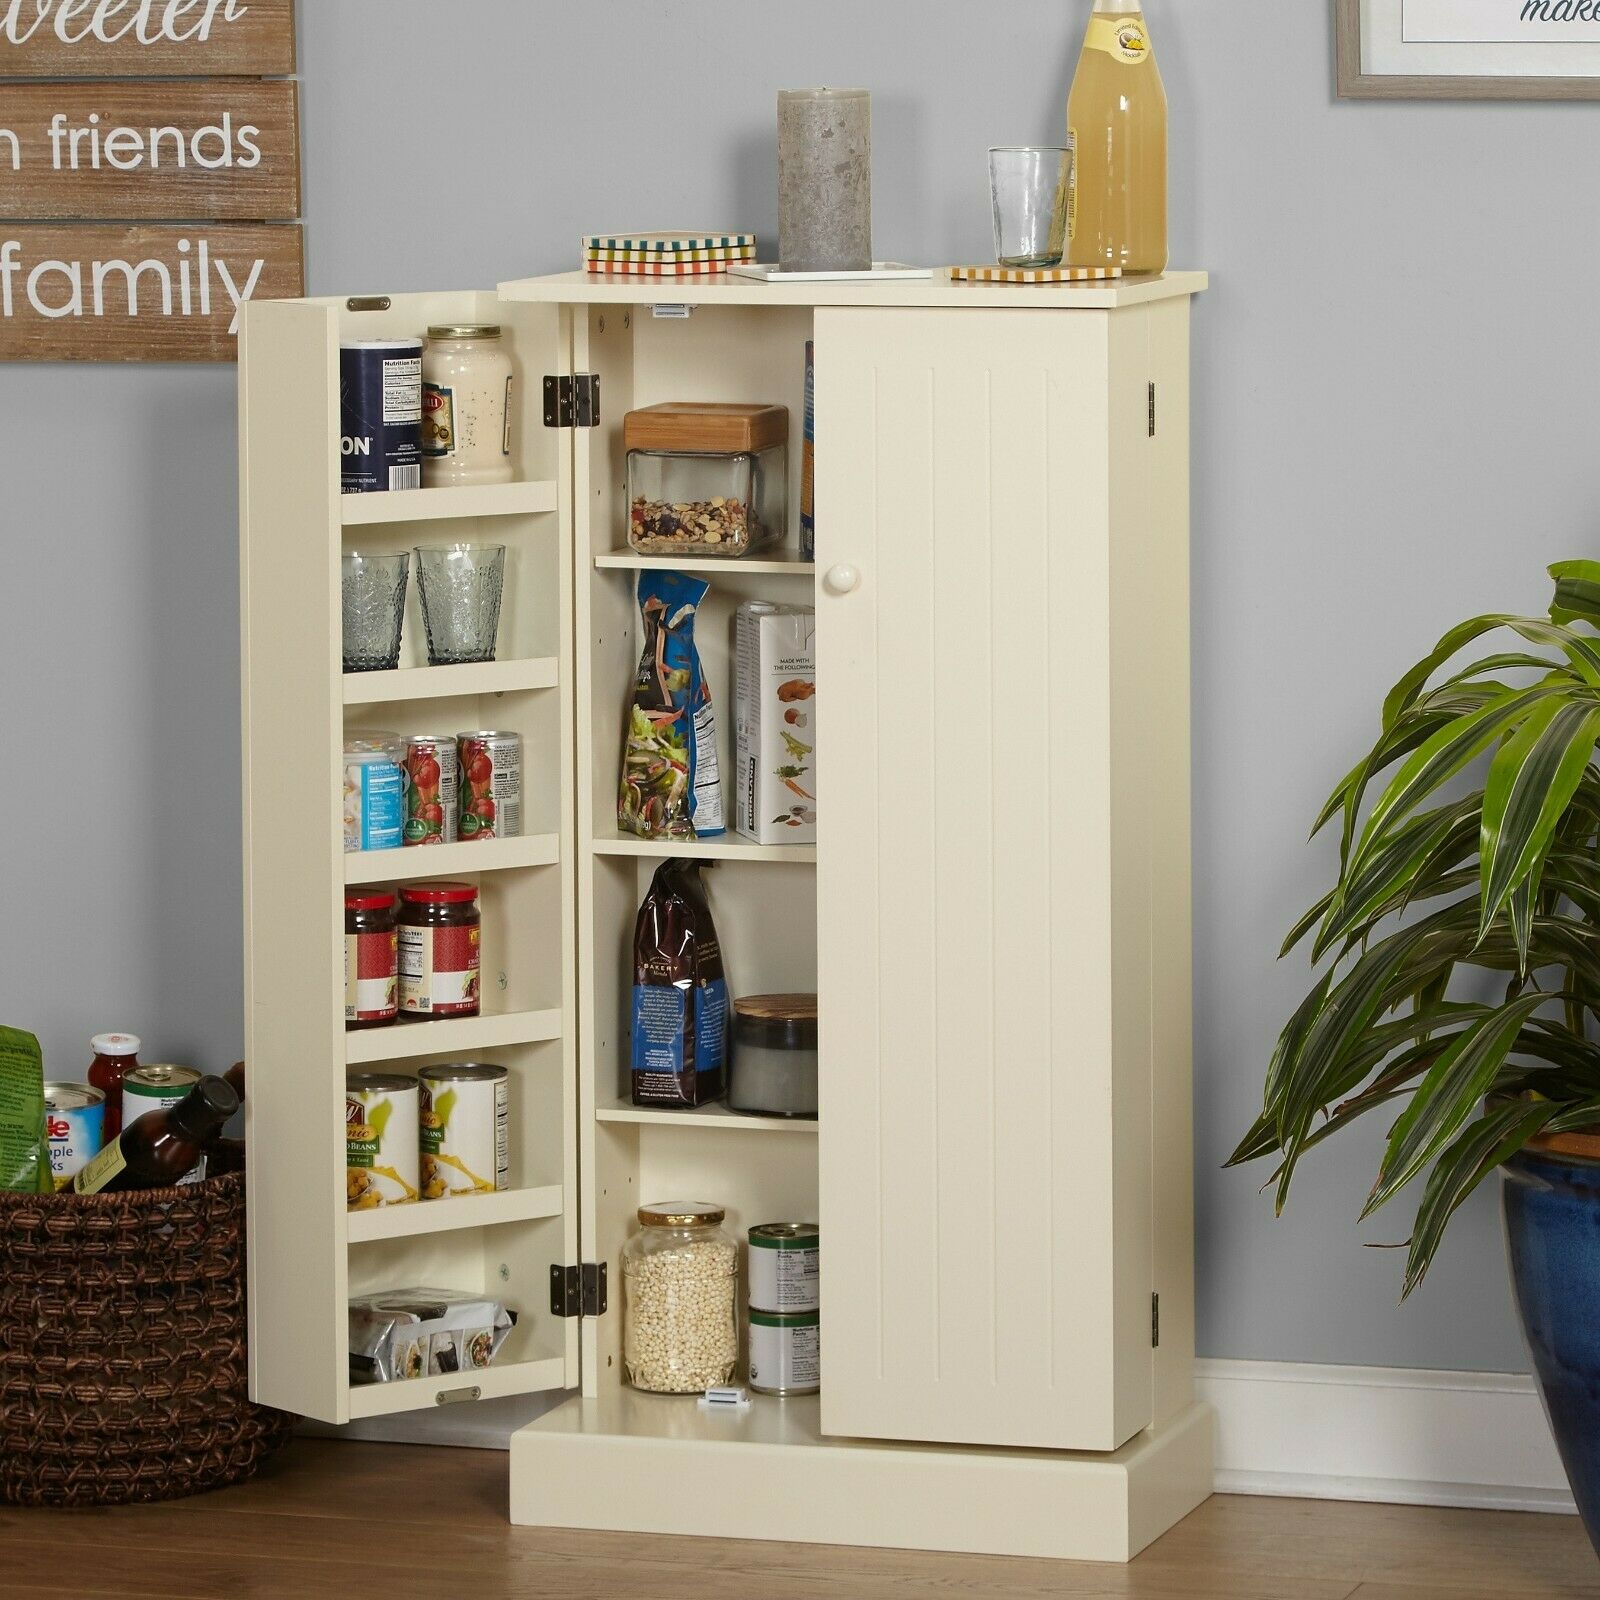
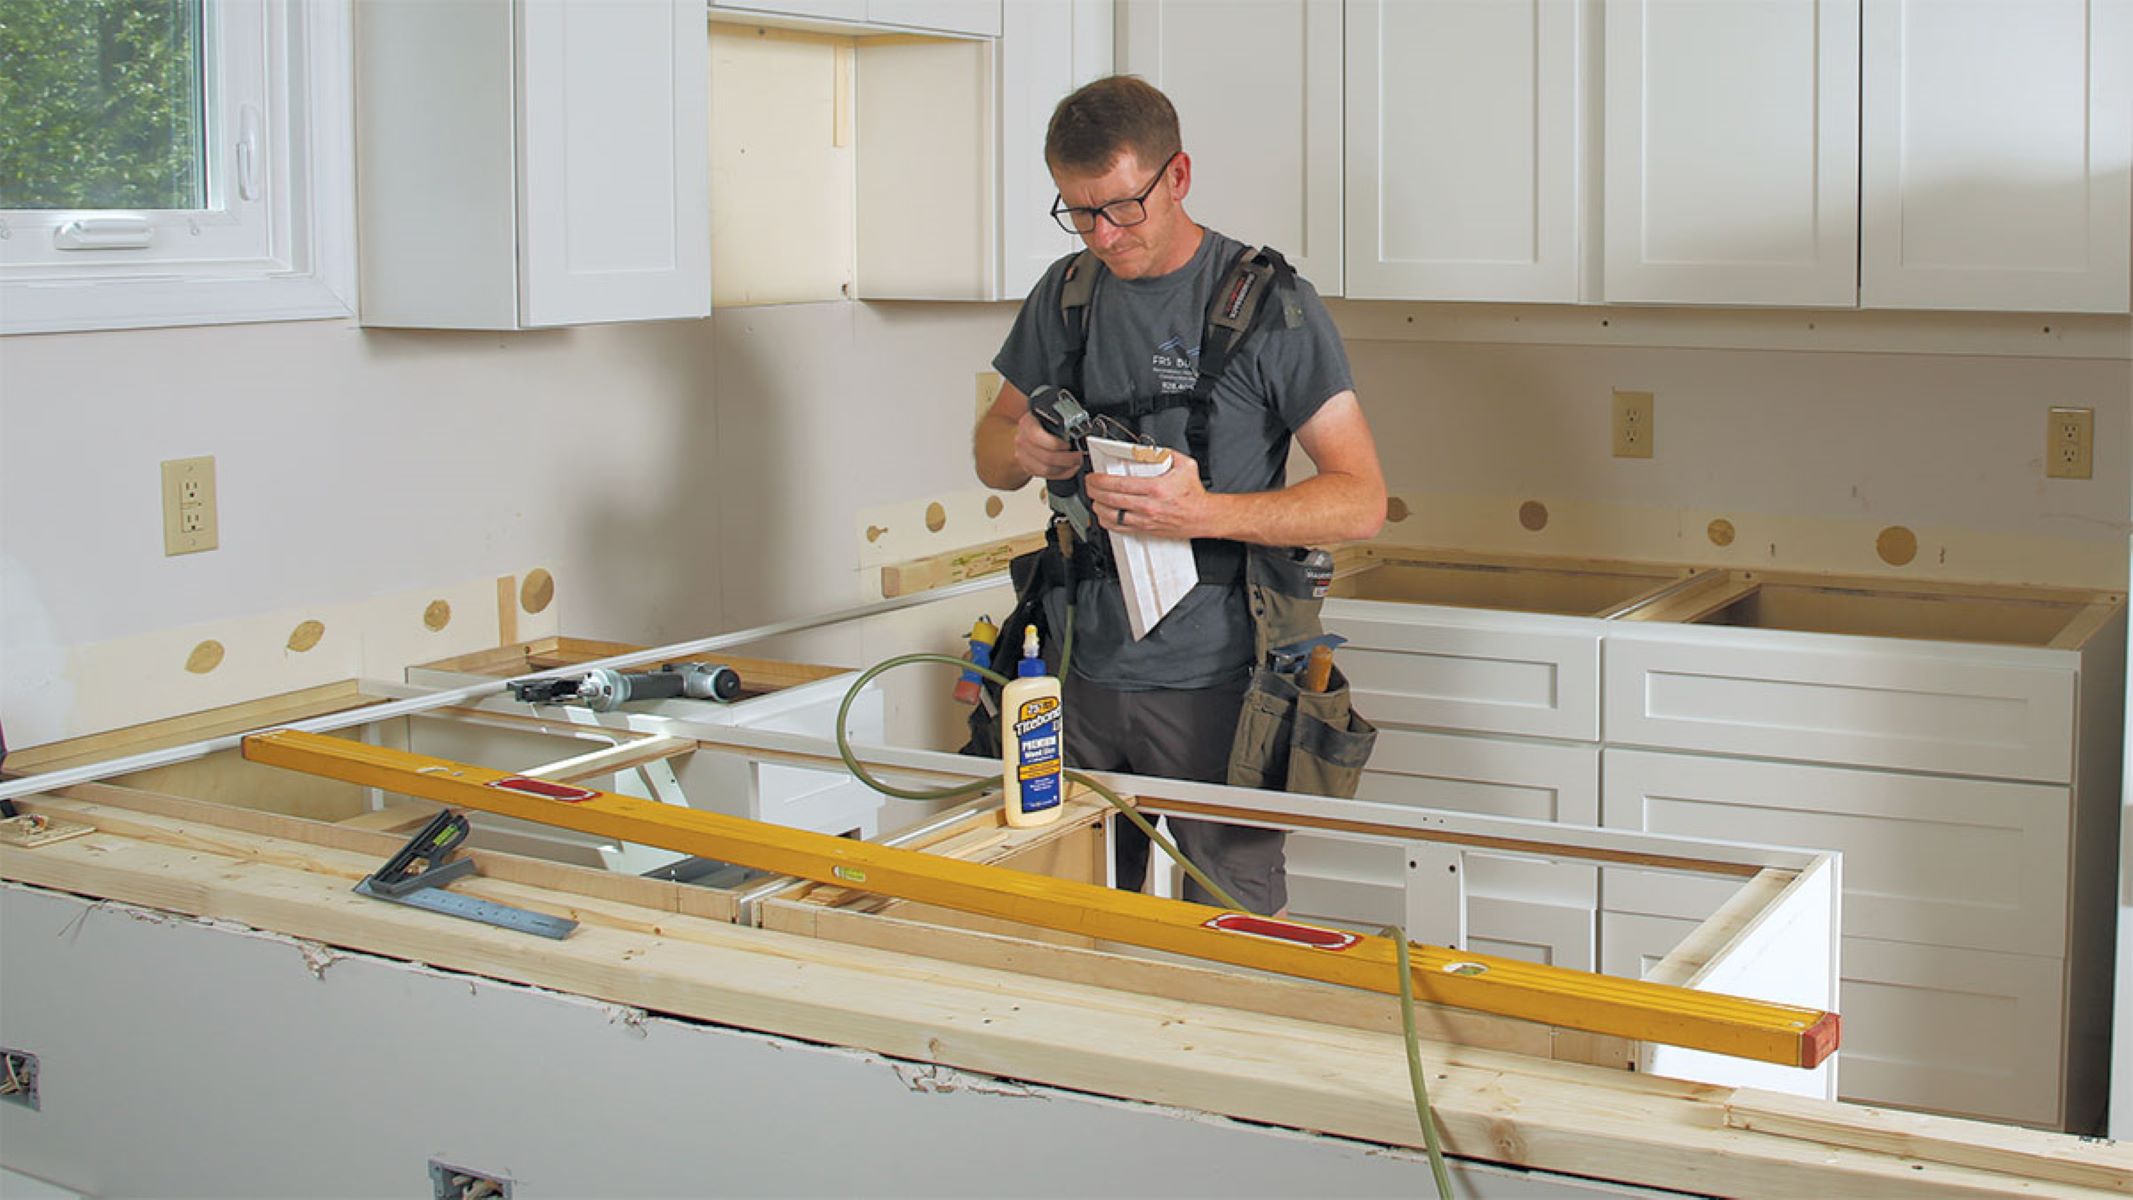
Step 4: Assemble the Pantry Cabinet
With the area prepared, it’s time to start assembling the pantry cabinet. This step involves following the manufacturer’s instructions and using the provided hardware to put the cabinet together.
Begin by unpacking all the components of the pantry cabinet and organizing them in a clear and accessible workspace. Take care to protect any delicate finishes or surfaces from scratches or damage while handling the parts.
Refer to the assembly instructions provided by the manufacturer. Familiarize yourself with the steps and ensure you have all the necessary tools ready for the process. Some pantry cabinets may require simple assembly with screws and dowels, while others may have more complex instructions.
Start by assembling the basic structure of the cabinet, following the step-by-step instructions. This typically involves attaching the sides, back, and base of the cabinet together using the supplied hardware. Make sure to tighten all the screws securely, but be careful not to overtighten and damage the material.
Next, you’ll likely install the adjustable shelves or other internal components of the pantry cabinet. Pay close attention to the specified heights and positions for each shelf, ensuring they are level and secure within the cabinet frame.
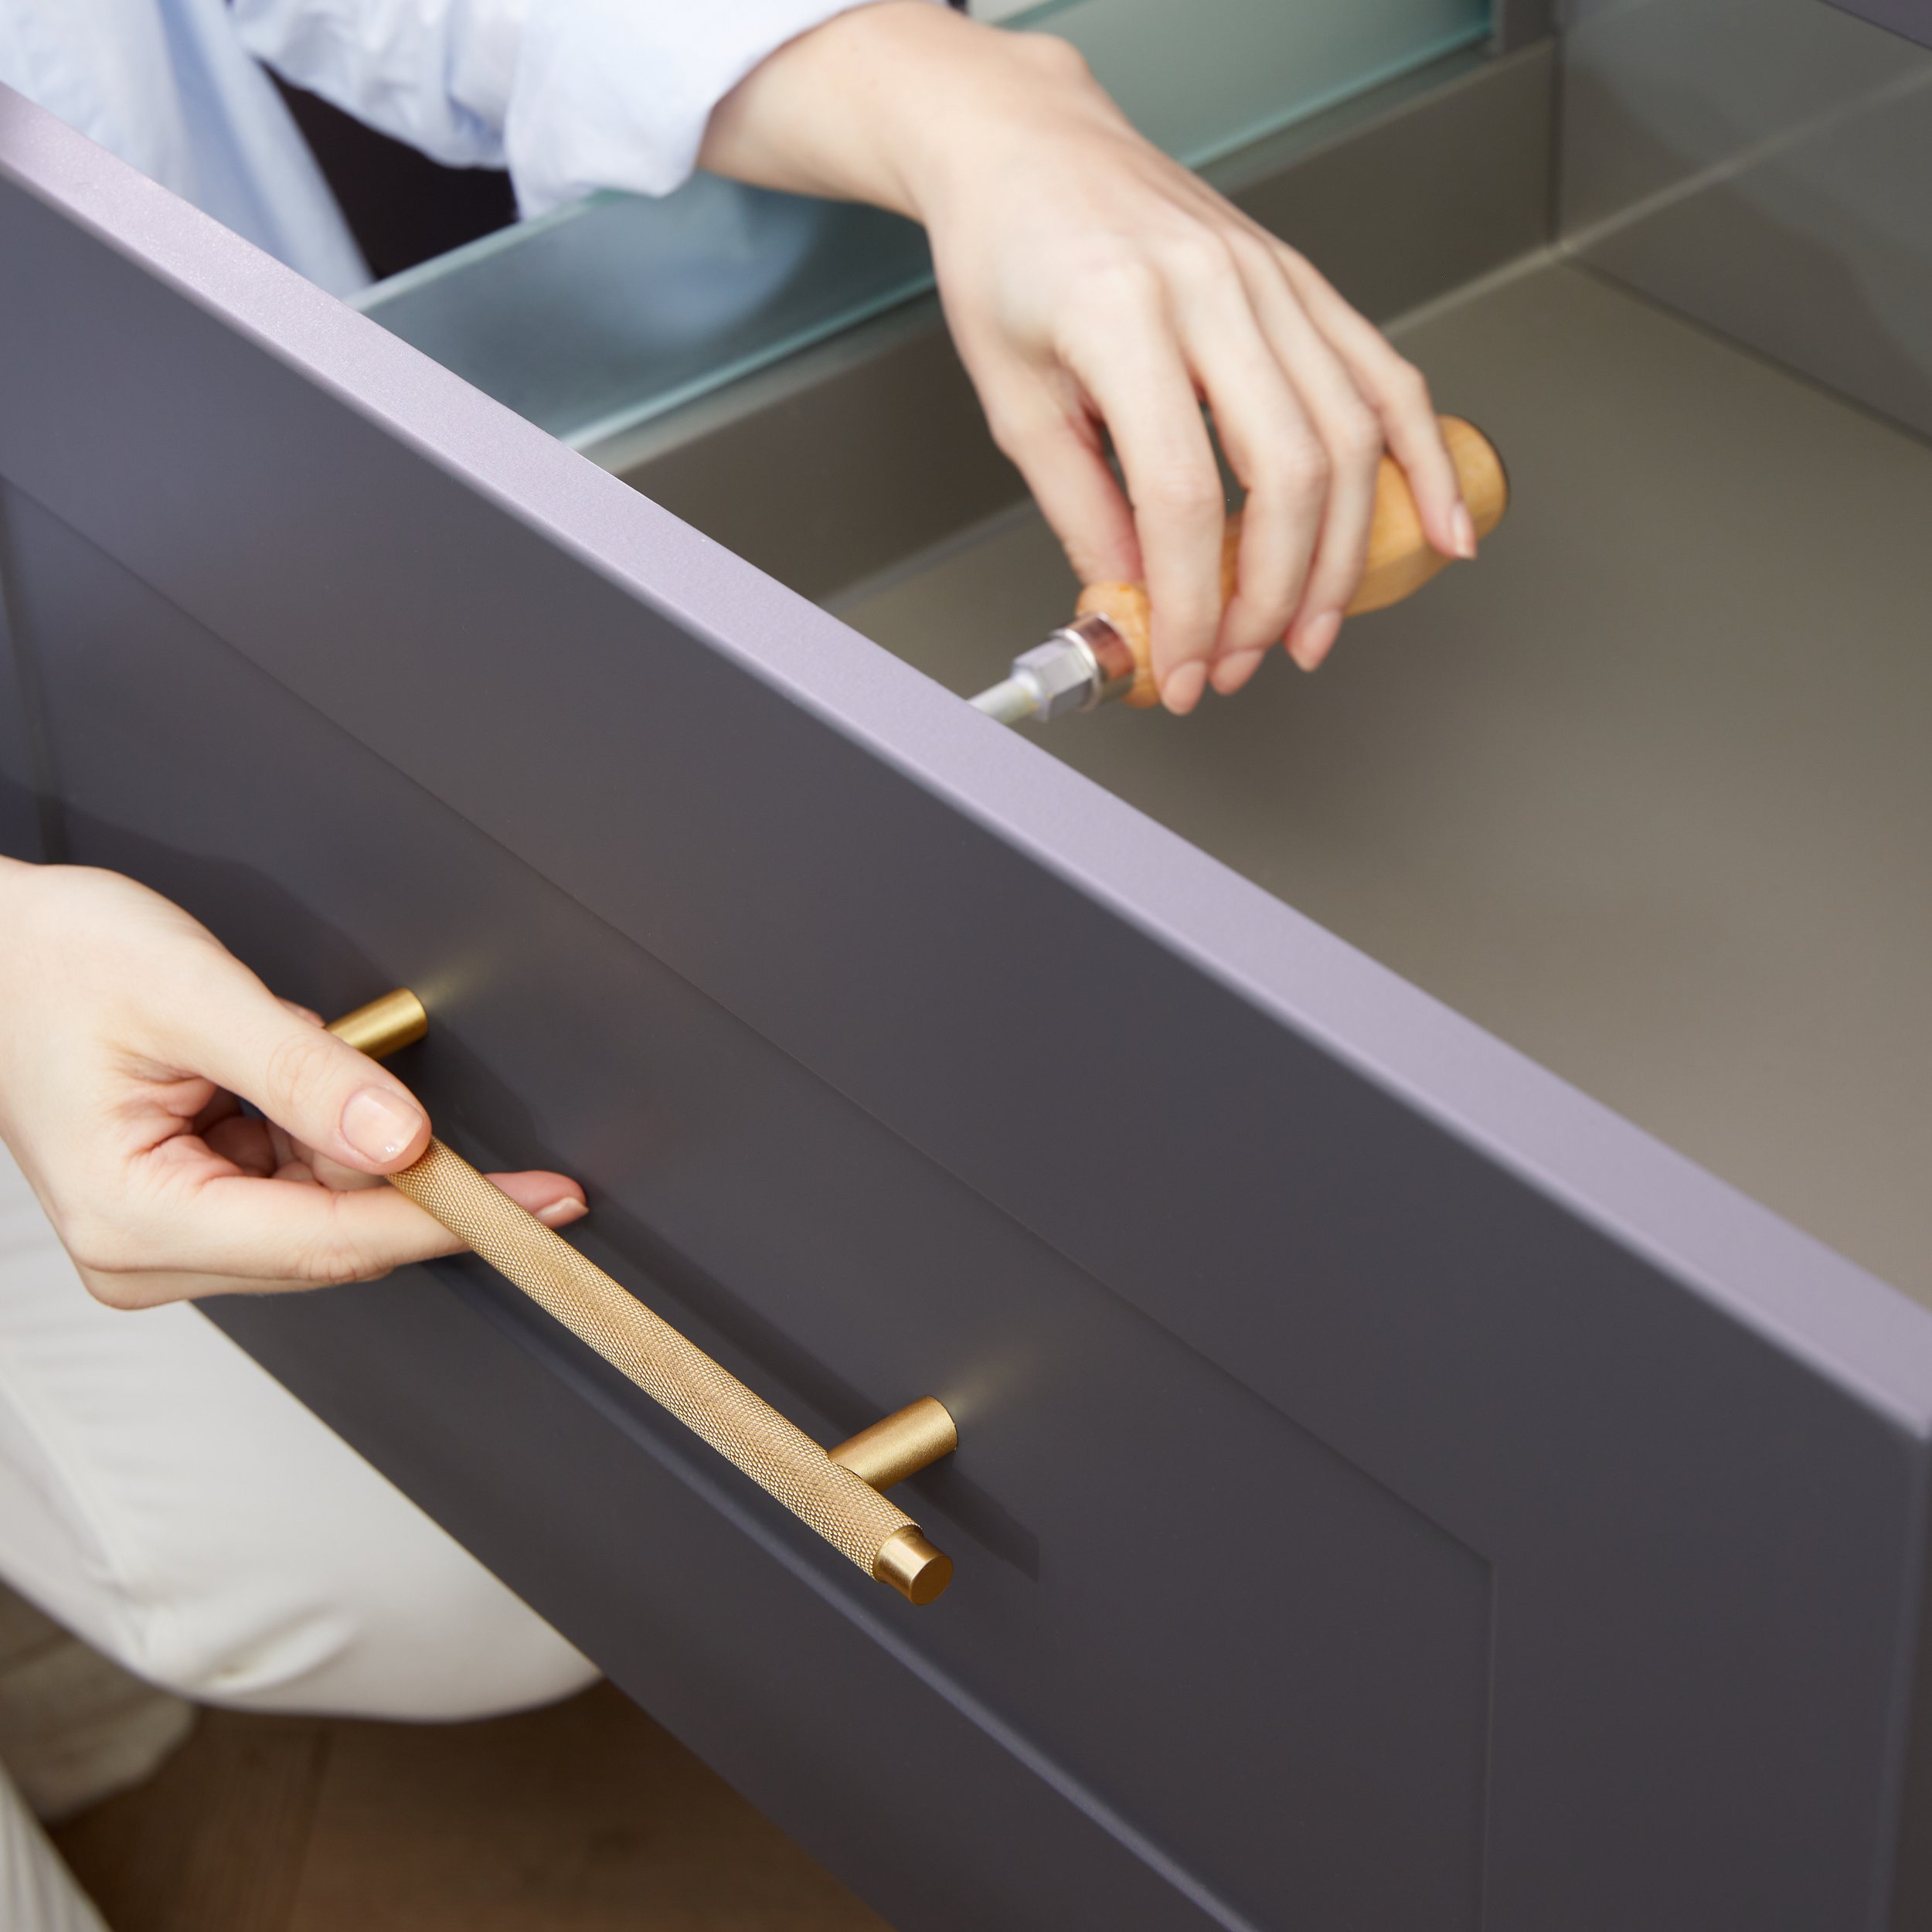
Follow the instructions to attach any doors, handles, or additional features to the pantry cabinet. Take your time with this step to ensure proper alignment and smooth operation of the doors or drawers.
As you assemble the pantry cabinet, periodically check for any signs of misalignment, loose screws, or other issues. Make adjustments as needed to ensure the cabinet is sturdy and properly put together.
Once you have successfully assembled the pantry cabinet, take a moment to step back and admire your handiwork. You’re now ready to move on to the next step: positioning the pantry cabinet in the designated area.
When installing a pantry cabinet, make sure to measure the space accurately before purchasing the cabinet. Also, check for any obstacles such as pipes or electrical outlets that may affect the installation process.
Step 5: Position the Pantry Cabinet
Now that the pantry cabinet is fully assembled, it’s time to position it in the designated area of your kitchen. Proper positioning is crucial for ensuring that the cabinet fits seamlessly and functions optimally within the space.
Begin by carefully lifting the pantry cabinet and placing it in the desired location. Enlist the help of a friend or family member to assist you in maneuvering the cabinet, especially if it is heavy or large in size.
Ensure that the cabinet is centered within the space and aligned with the adjacent walls or cabinets. Use a tape measure or a level to check for even distances and straight lines. This will help create a visually pleasing and symmetrical appearance.
At this stage, it’s important to consider any clearance requirements. Leave enough space around the pantry cabinet to allow for the doors to open fully without obstruction. Additionally, ensure that there is enough space between the cabinet and any adjacent appliances or fixtures to allow for smooth operation and accessibility.
Take your time to make any necessary adjustments to the position of the pantry cabinet. Once you are satisfied with its placement, mark the outline of the cabinet using a pencil or masking tape on the floor. This will serve as a guide when securing the cabinet to the wall in the next step.
If the pantry cabinet has adjustable legs or a leveling mechanism, adjust them accordingly to ensure that the cabinet is level and stable. This will prevent any wobbling or tilting once it is secured in place.
Now that the pantry cabinet is properly positioned, you are ready to move on to the next step: securing the cabinet to the wall to ensure stability.
Step 6: Secure the Cabinet to the Wall
Securing the pantry cabinet to the wall is an essential step to ensure its stability and safety. By properly anchoring the cabinet, you can prevent it from tipping or shifting, especially when fully loaded with items.
Start by locating the marked outline on the floor that indicates the placement of the cabinet. From there, use a measuring tape and level to transfer the markings onto the wall. This will help you identify the precise location where the cabinet should be attached.
Using a drill and appropriate screws, attach brackets or brackets supplied with the cabinet to the wall at the marked locations. Make sure to drill into the studs behind the drywall for maximum stability. This will provide a secure anchor point for the cabinet.
After attaching the brackets, carefully lift the pantry cabinet and position it against the wall, aligning it with the brackets. With the help of a friend or family member, hold the cabinet in place while inserting screws through the pre-drilled holes in the cabinet and into the brackets on the wall.
Tighten the screws securely, making sure not to overtighten and damage the cabinet or the wall. Check for any wobbling or instability and adjust the screws as necessary to achieve a solid and secure attachment.
Once the cabinet is securely attached to the wall, give it a gentle shake to ensure that it is stable and doesn’t move. If there is any excessive movement, recheck the screws and brackets to make sure they are properly tightened.
Take a moment to step back and observe the installed pantry cabinet. Confirm that it is level and flush against the wall, and ensure that the doors open and close smoothly without any hindrance.
With the cabinet securely fastened, you can now move on to the next step: organizing the pantry cabinet to maximize its storage potential.
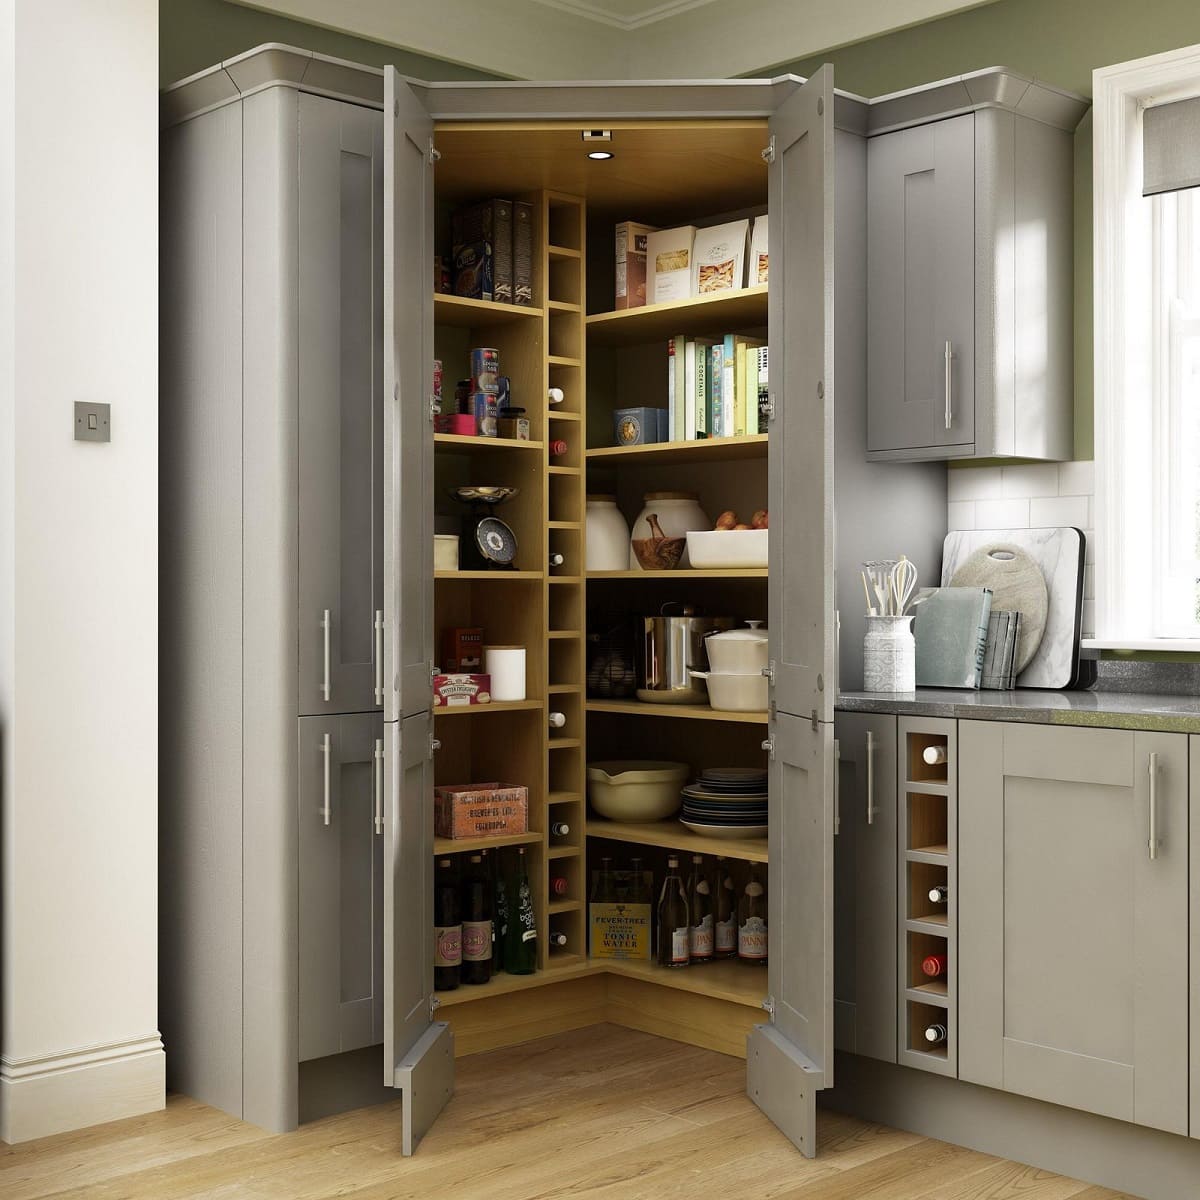
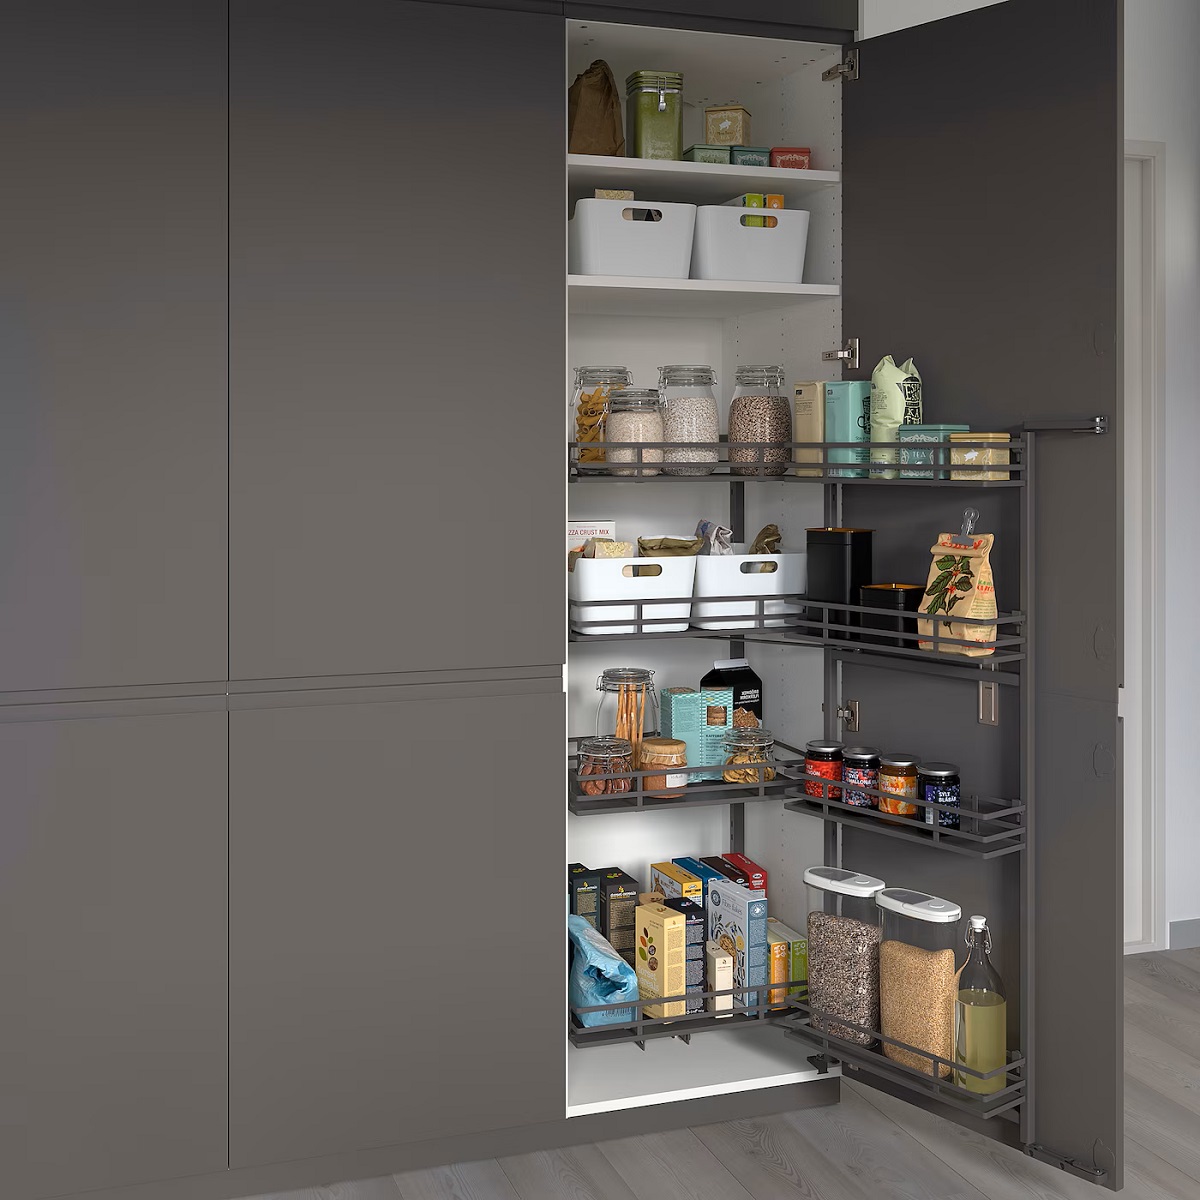
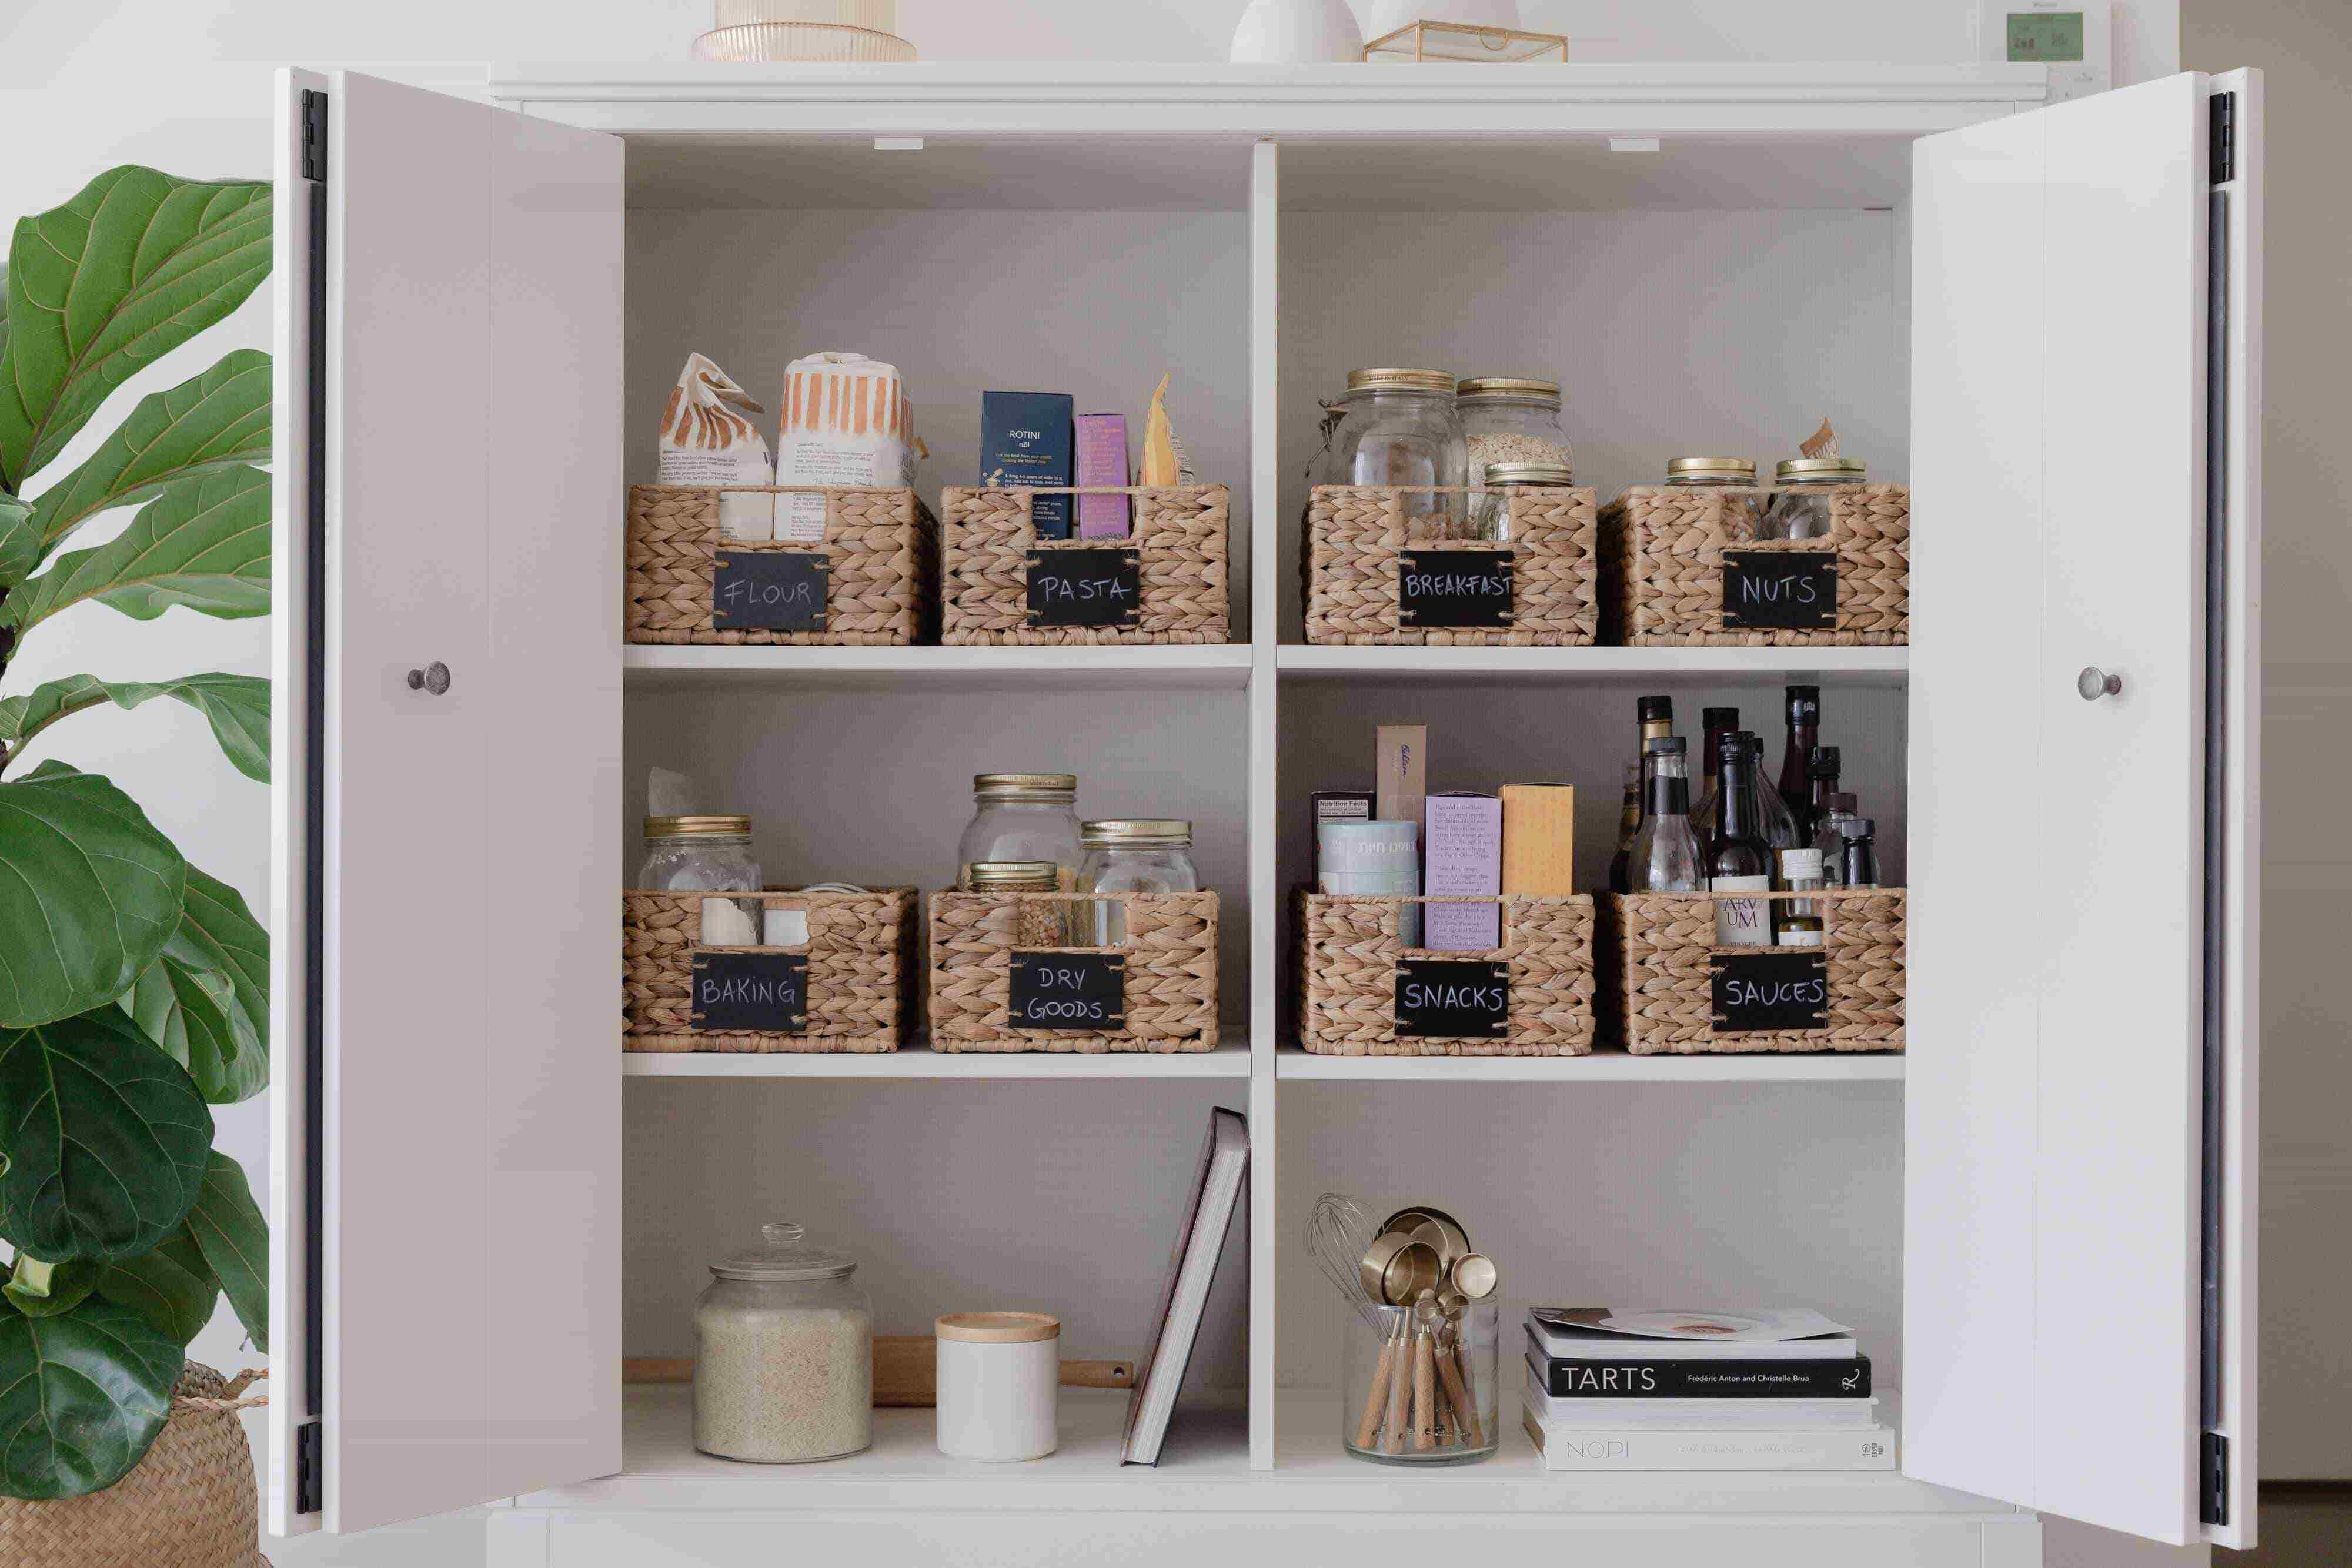
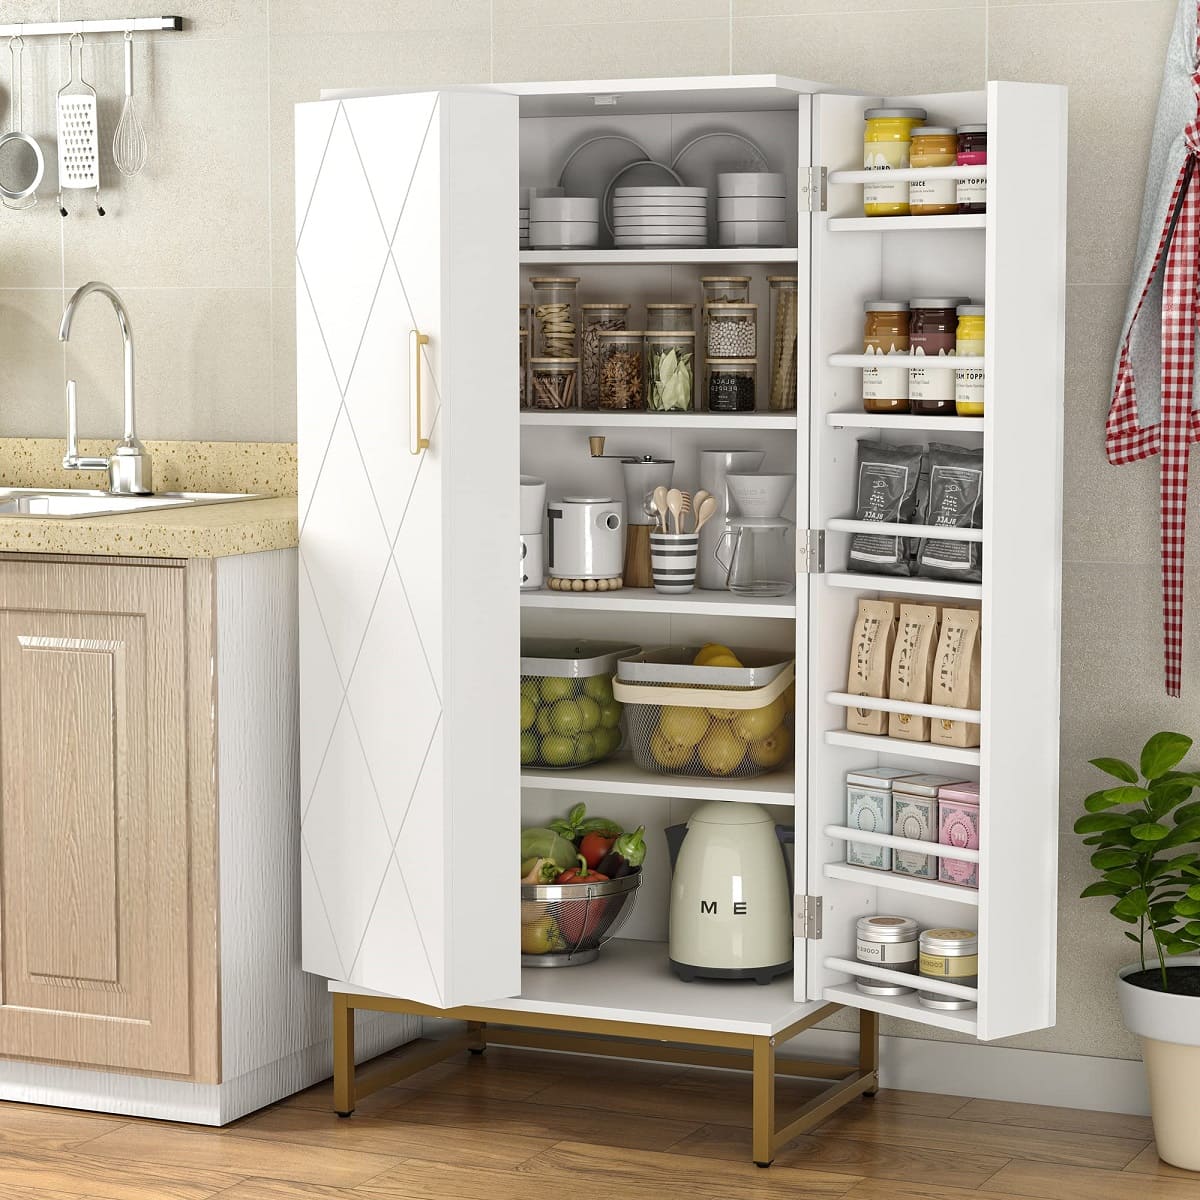
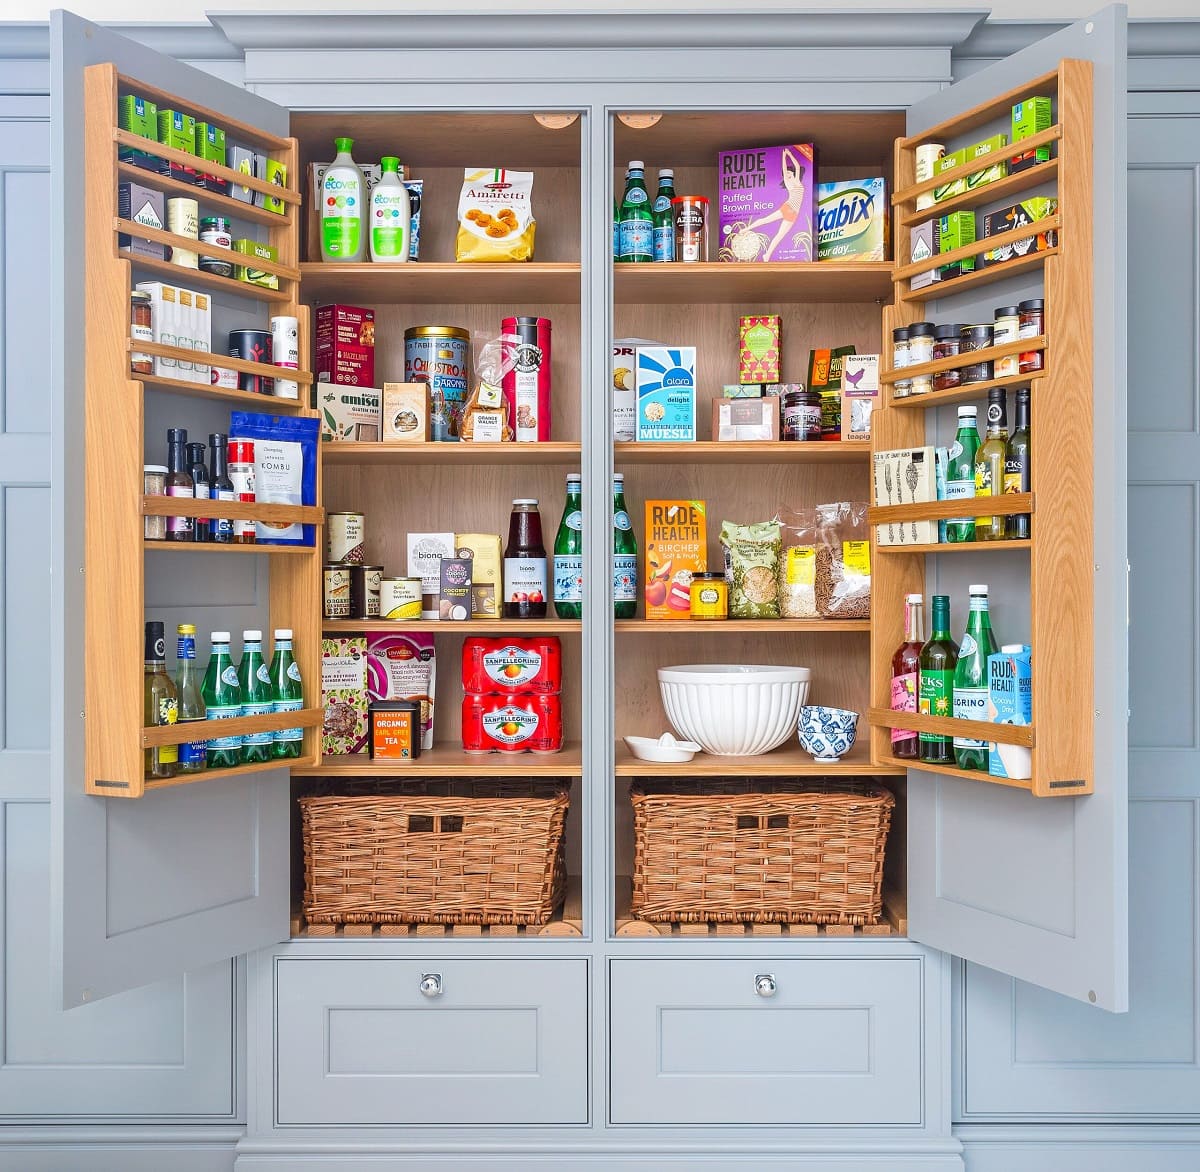
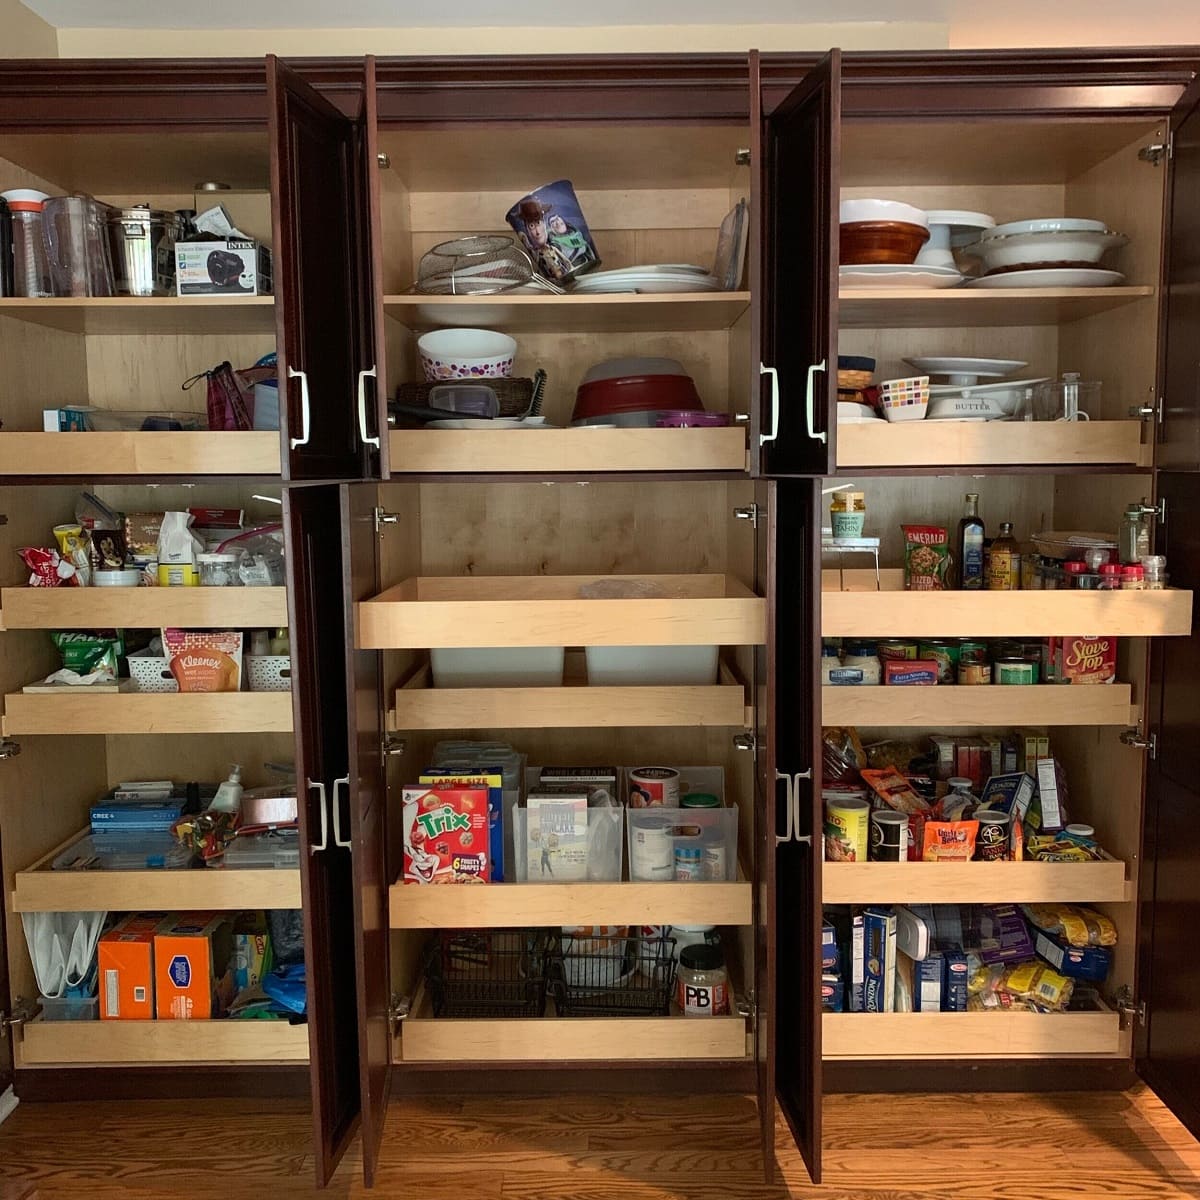
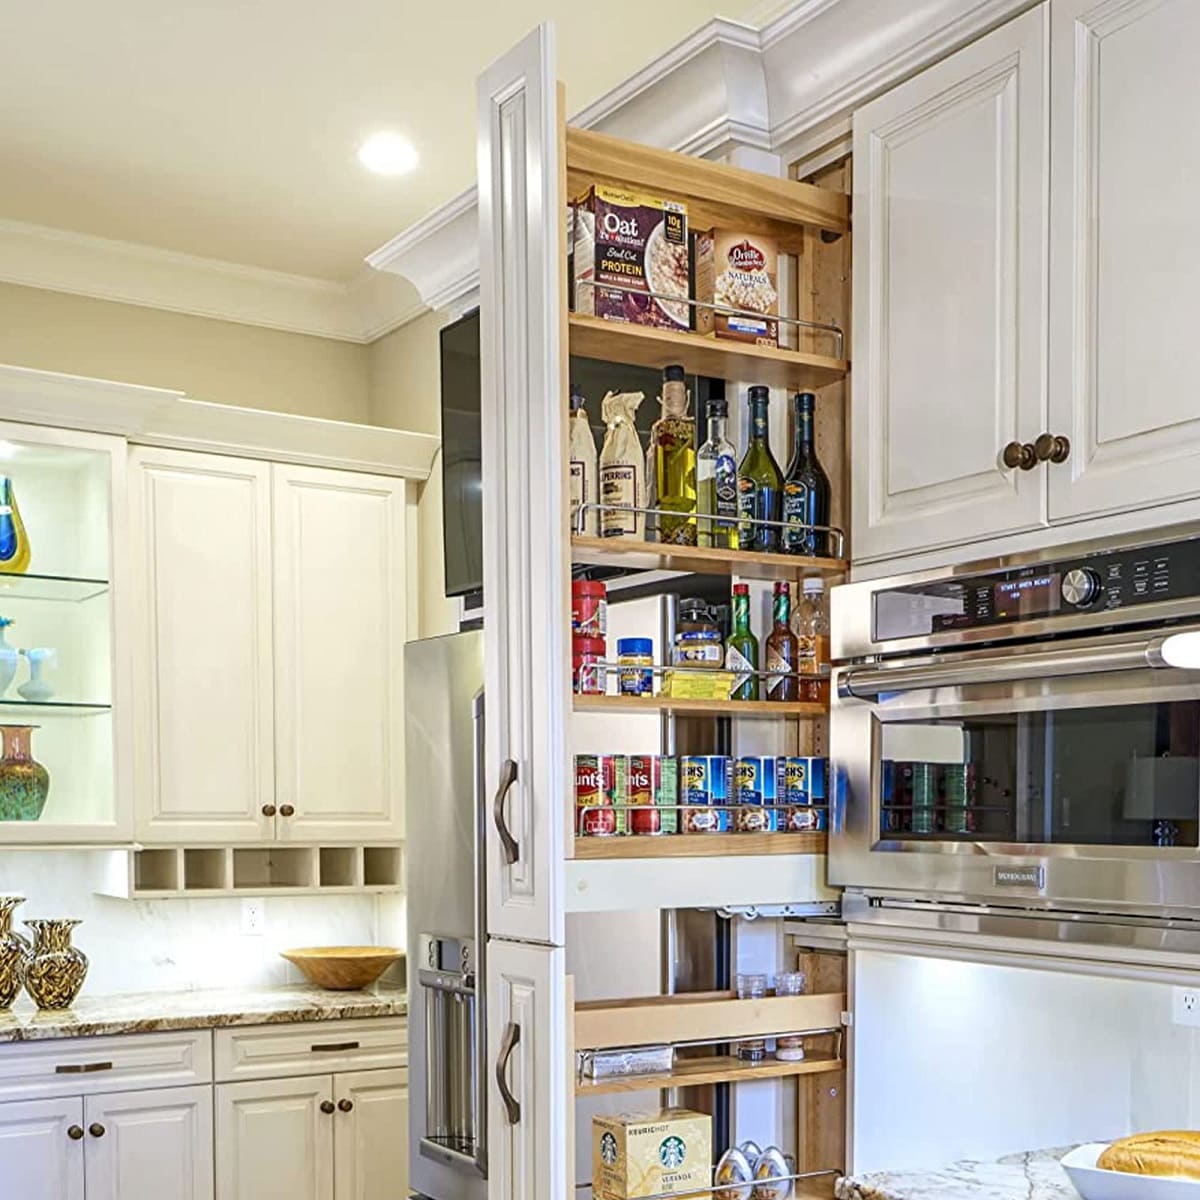
Step 7: Organize the Pantry Cabinet
Now that the pantry cabinet is installed and secured, it’s time to organize the interior space to maximize its storage potential. An organized pantry cabinet will not only enhance the functionality of your kitchen but also make it easier to find and access items.
Start by assessing your storage needs and determining how you want to utilize the space. Consider the types of items you plan to store in the pantry cabinet, such as canned goods, dry goods, snacks, or small appliances. By categorizing and grouping similar items together, you can create a more efficient and organized layout.
Use adjustable shelves or additional organizers, if available, to customize the interior space of the pantry cabinet. Adjust the shelves to accommodate different heights of items and create multiple levels for optimal storage capacity.
Consider using storage containers, bins, or baskets to further enhance organization within the pantry cabinet. These can help keep small items together, prevent spills or messes, and make it easier to access and locate specific items.
Labeling is another helpful technique to keep the pantry cabinet organized. Use adhesive labels or chalkboard labels to clearly mark the contents of each shelf or container. This will make it easier for everyone in the household to find what they need and ensure items are returned to their proper places.
Arrange the items in a logical order, with frequently used items within easy reach and less frequently used items towards the back or higher shelves. This will save you time and effort when retrieving items and help maintain the organization over time.
Regularly declutter and reorganize the pantry cabinet to keep it tidy and efficient. Remove expired or unused items and rearrange items as necessary to make the most of the available space.
By following these organization tips, you can optimize the functionality of your pantry cabinet and create a well-organized and visually pleasing storage solution in your kitchen.
With the pantry cabinet fully organized, it’s time to move on to the final step: adding final touches and cleaning up.
Step 8: Final Touches and Cleanup
Congratulations! You’re in the final step of installing your pantry cabinet. Now it’s time to add those final touches and give your kitchen a polished look.
Start by inspecting the pantry cabinet for any fingerprints, smudges, or leftover debris from the installation process. Use a gentle cleanser or furniture cleaner suitable for the cabinet’s material to clean the surfaces inside and out. This will ensure a clean and fresh appearance.
After cleaning, step back and review the overall aesthetics of the pantry cabinet. Consider adding decorative elements, such as a vase of flowers, small plants, or decorative accents, on top of the cabinet or on nearby shelves. This will add a personal touch and enhance the visual appeal of your kitchen.
Additionally, take this opportunity to adjust any doors or hinges that may need fine-tuning. If any doors are not closing properly or seem misaligned, use a screwdriver to make necessary adjustments to ensure smooth operation.
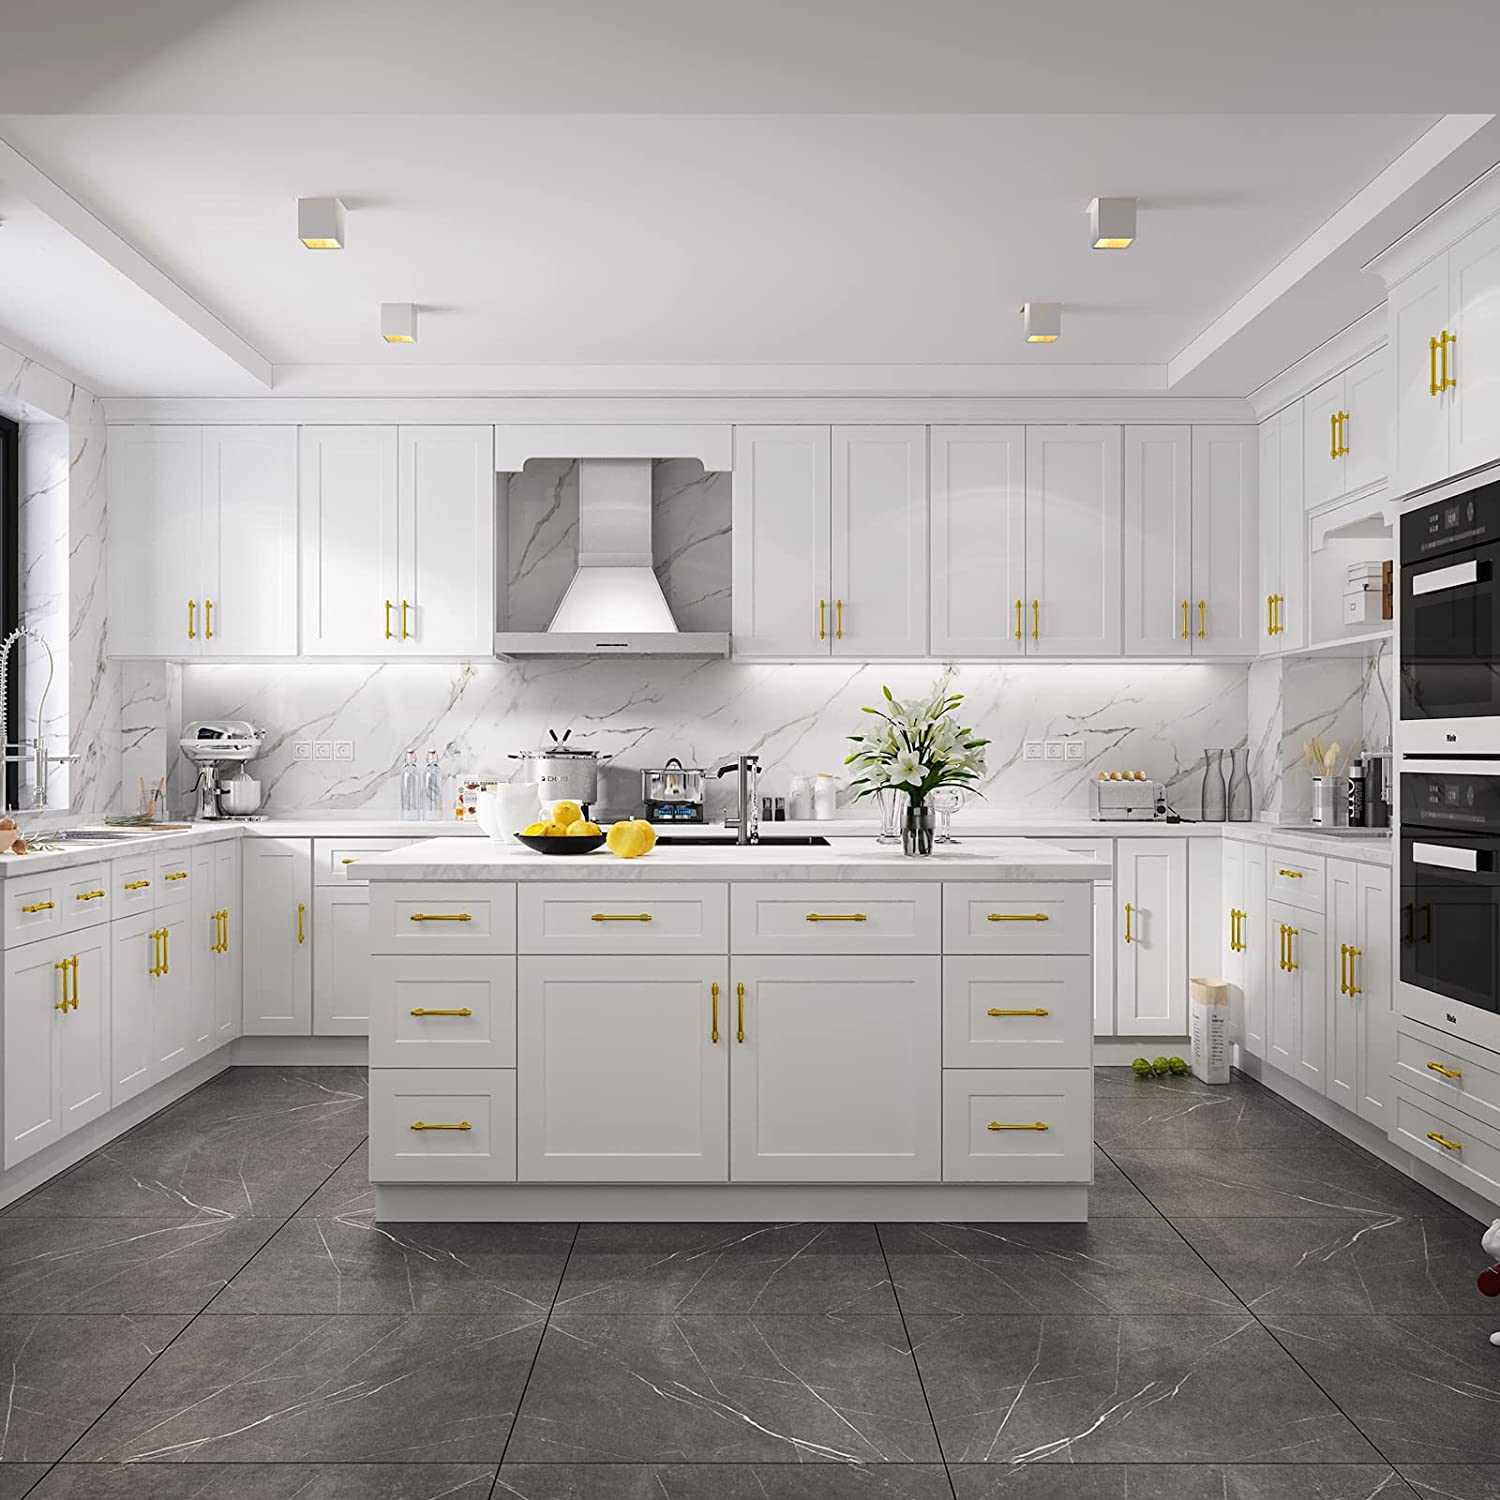
Finally, take a moment to appreciate your newly installed and organized pantry cabinet. Stand back and admire the functionality and beauty it brings to your kitchen space.
Throughout the installation process, it’s important to stay organized and maintain a clean workspace. Dispose of any packaging materials, leftover screws, or other debris appropriately.
Now that your pantry cabinet is fully installed, organized, and cleaned, it’s time to enjoy its benefits. Take pleasure in the ample storage space and enhanced functionality it brings to your kitchen. Use it to store and organize your food items, small appliances, and other kitchen essentials.
Remember to periodically review and maintain the organization of your pantry cabinet. This will ensure it continues to serve its purpose effectively and keep your kitchen well-organized for years to come.
Thank you for following this step-by-step guide on how to install a pantry cabinet. We hope this has been a helpful resource for your DIY project. Enjoy your new pantry cabinet and the improved functionality it brings to your kitchen!
Read more: What Is A Pantry Cabinet
Conclusion
Installing a pantry cabinet in your kitchen can greatly enhance both the functionality and aesthetics of the space. By following this comprehensive guide, you’ve learned the step-by-step process of installing a pantry cabinet, from measuring the space to securing it to the wall. Throughout the installation process, we’ve emphasized the importance of proper preparation, organization, and attention to detail to ensure a successful outcome.
By accurately measuring the space and selecting the right pantry cabinet, you’ve set the foundation for a seamless installation. Preparing the area and assembling the cabinet with care ensures its stability and longevity. Positioning it properly and securing it to the wall guarantees its safety and functionality. Organizing the interior space optimally allows for efficient storage and easy access to your kitchen essentials. And finally, adding final touches and cleaning up completes the installation process, leaving you with a visually appealing and functional pantry cabinet.
Remember, maintaining the organization of your pantry cabinet is key to maximizing its potential. Regularly decluttering, rearranging items, and keeping it clean will help you make the most of the storage space and keep your kitchen organized.
We hope this guide has empowered you to confidently install a pantry cabinet in your kitchen. Whether you’re a seasoned DIY enthusiast or a beginner, this step-by-step process can be followed by anyone willing to put in the time and effort. A well-installed and organized pantry cabinet can transform your kitchen into a more efficient and enjoyable space to cook and entertain.
Thank you for joining us on this journey. We wish you the best of luck with your pantry cabinet installation and hope that it brings you years of satisfaction and convenience in your kitchen!
Frequently Asked Questions about How To Install Pantry Cabinet
Was this page helpful?
At Storables.com, we guarantee accurate and reliable information. Our content, validated by Expert Board Contributors, is crafted following stringent Editorial Policies. We're committed to providing you with well-researched, expert-backed insights for all your informational needs.


0 thoughts on “How To Install Pantry Cabinet”