Articles
How To Install Insulation Under Metal Roofing
Modified: January 8, 2024
Learn how to properly install insulation under metal roofing with our informative articles. Improve energy efficiency and protect your home from the elements.
(Many of the links in this article redirect to a specific reviewed product. Your purchase of these products through affiliate links helps to generate commission for Storables.com, at no extra cost. Learn more)
Introduction
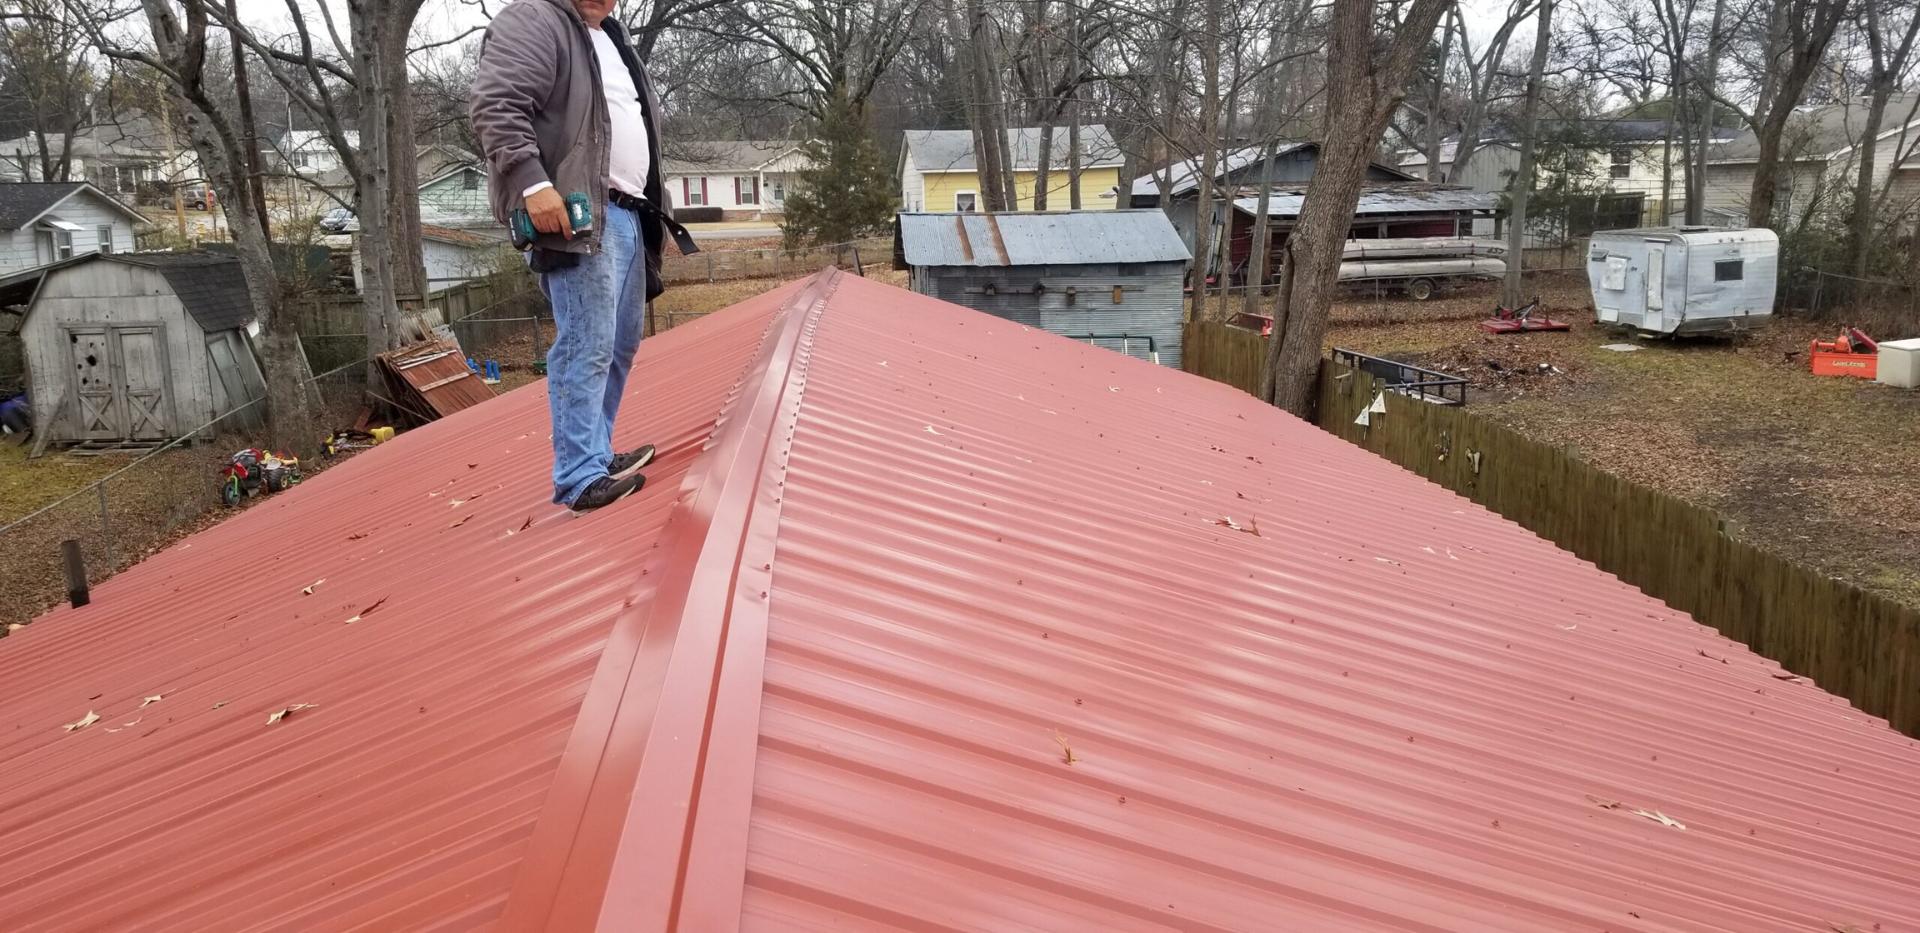
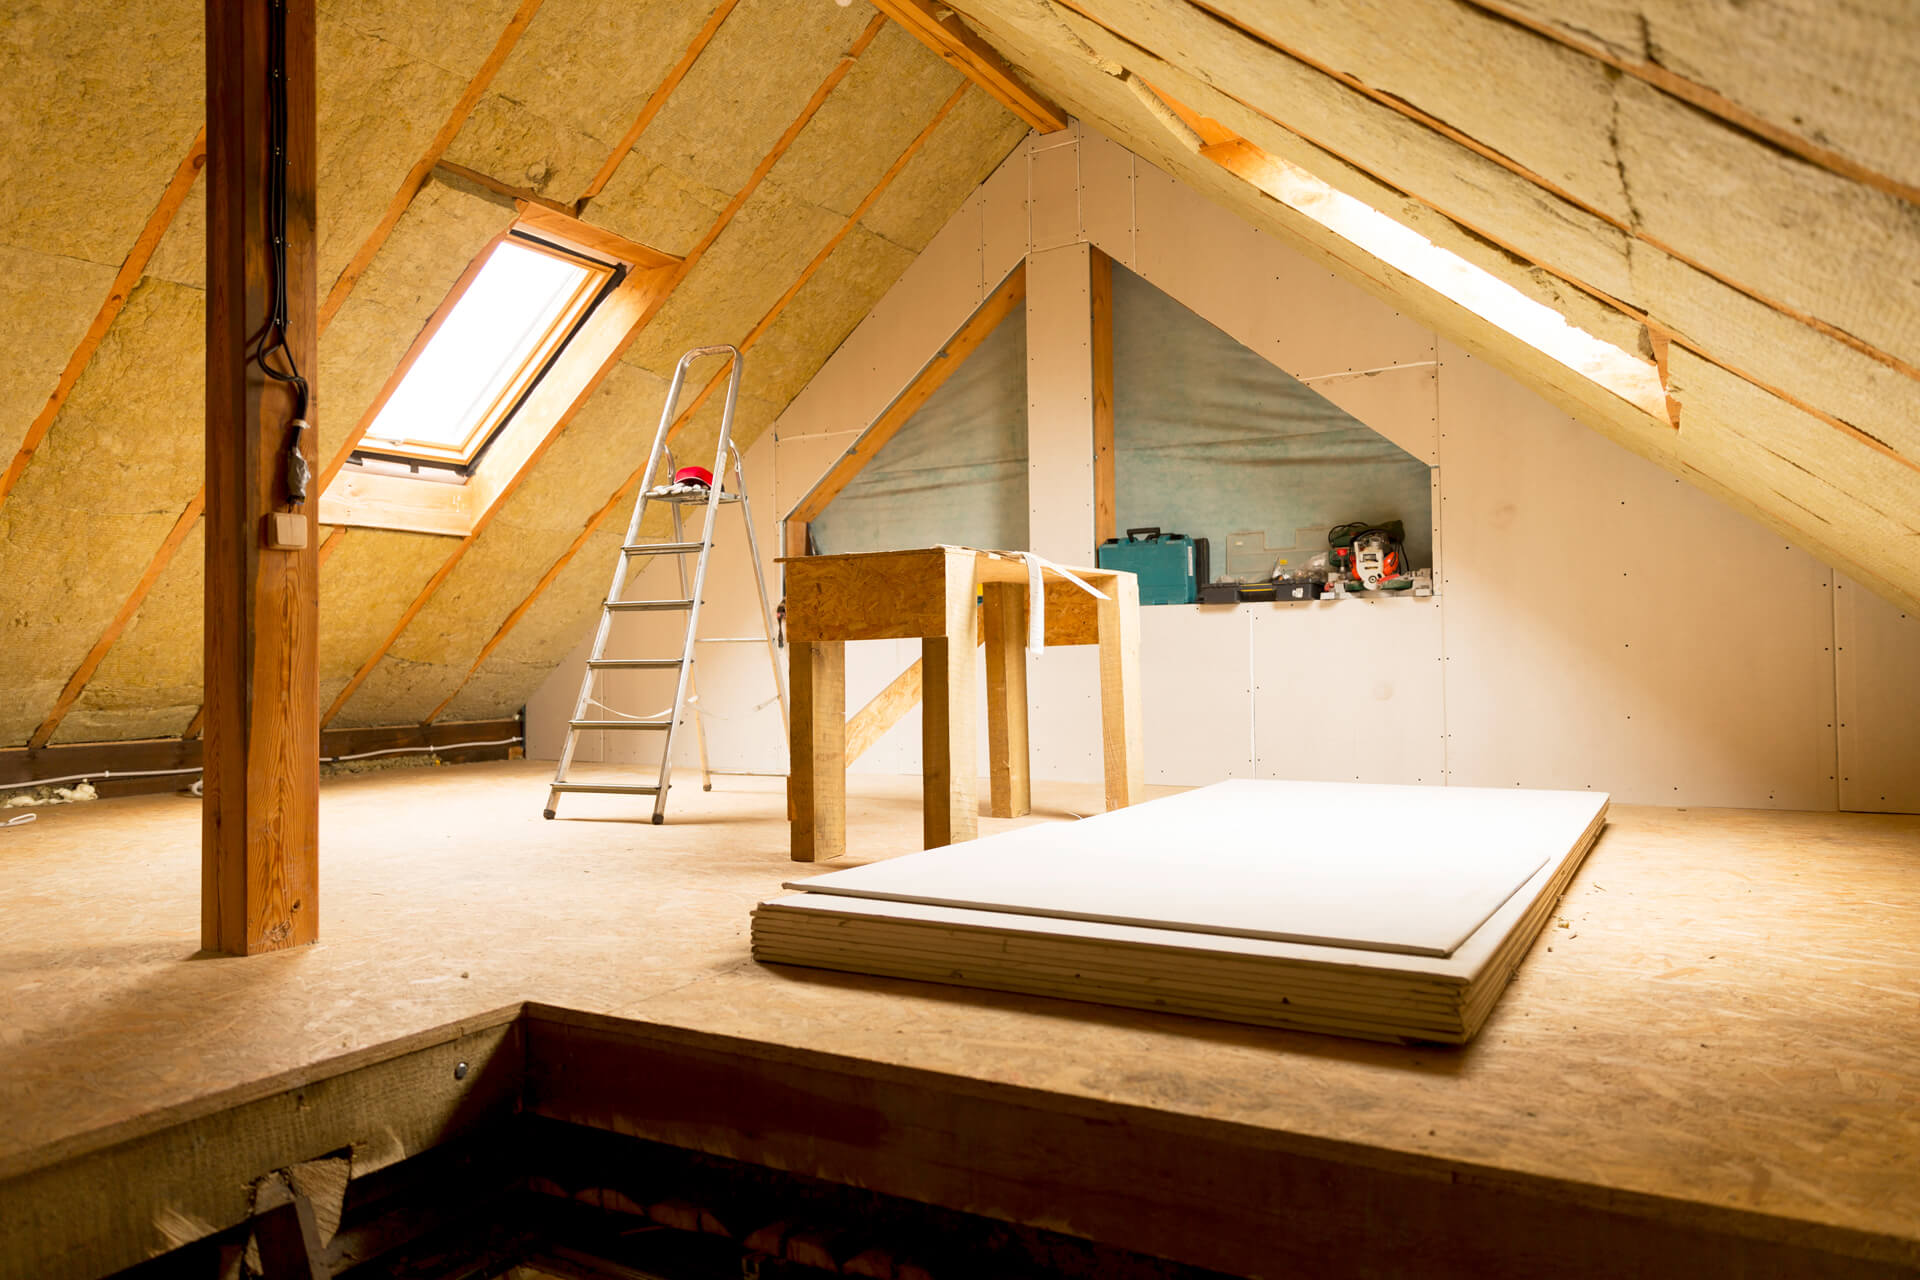
Installing insulation under a metal roof is a crucial step in creating an energy-efficient and comfortable living or working space. Whether you are constructing a new building or renovating an existing one, proper insulation plays a significant role in maintaining temperature, reducing energy consumption, and preventing condensation. In this article, we will walk you through the process of installing insulation under metal roofing, covering everything from materials needed to common mistakes to avoid. By the end of this guide, you will have the knowledge and confidence to tackle this project on your own.
Before we dive into the installation process, it’s important to understand why insulation is essential when it comes to metal roofing. Metal roofs have many advantages, such as durability, longevity, and low maintenance. However, they can also conduct heat or cold quickly, making them susceptible to temperature fluctuations. Without proper insulation, this can result in uncomfortable indoor temperatures, higher energy bills, and potential moisture issues.
To mitigate these problems, installing insulation beneath the metal roof is crucial. Insulation acts as a barrier, preventing heat transfer and providing thermal resistance. It helps keep the indoor temperature stable, reduces the load on heating or cooling systems, and prevents condensation from forming on the roof’s surface.
Now that we understand the importance of insulation in metal roofing, let’s move on to the materials needed to get started.
Key Takeaways:
- Proper insulation under metal roofing is essential for maintaining a comfortable indoor temperature, reducing energy consumption, and preventing condensation issues. It’s crucial to choose the right type of insulation, prepare the roof, and avoid common installation mistakes.
- By following the step-by-step process of insulation installation and being mindful of common errors, you can achieve enhanced energy efficiency, improved comfort, and potential cost savings on heating and cooling expenses. Consulting with a professional for specific expertise is always a good idea.
Read more: How To Insulate A Metal Roof
Materials Needed
Before you begin the insulation installation process, it’s essential to gather all the necessary materials. Having everything on hand will save you time and ensure a smooth installation process. Here are the materials you’ll need:
- Insulation: Choose the type of insulation that best suits your needs. Common options include batt insulation, foam board insulation, or spray foam insulation. Make sure to calculate the required amount based on the dimensions of your roof.
- Tape measure: Used for measuring the dimensions of the roof and cutting the insulation to size.
- Utility knife: Required for cutting the insulation to fit around obstructions, such as vents or skylights.
- Stapler or adhesive: Depending on the type of insulation you choose, you’ll need either a stapler or adhesive to secure the insulation to the roof.
- Protective gear: Safety should always be a priority. Wear gloves, protective eyewear, and a mask to protect yourself from any potential hazards.
- Ladder or scaffolding: Depending on the height and accessibility of your roof, you may need a ladder or scaffolding to safely reach the installation area.
Make sure to gather all these materials before starting the installation process. This will ensure that you have everything you need to complete the job efficiently and without interruptions.
Now that you have all the necessary materials, let’s move on to preparing the roof for insulation.
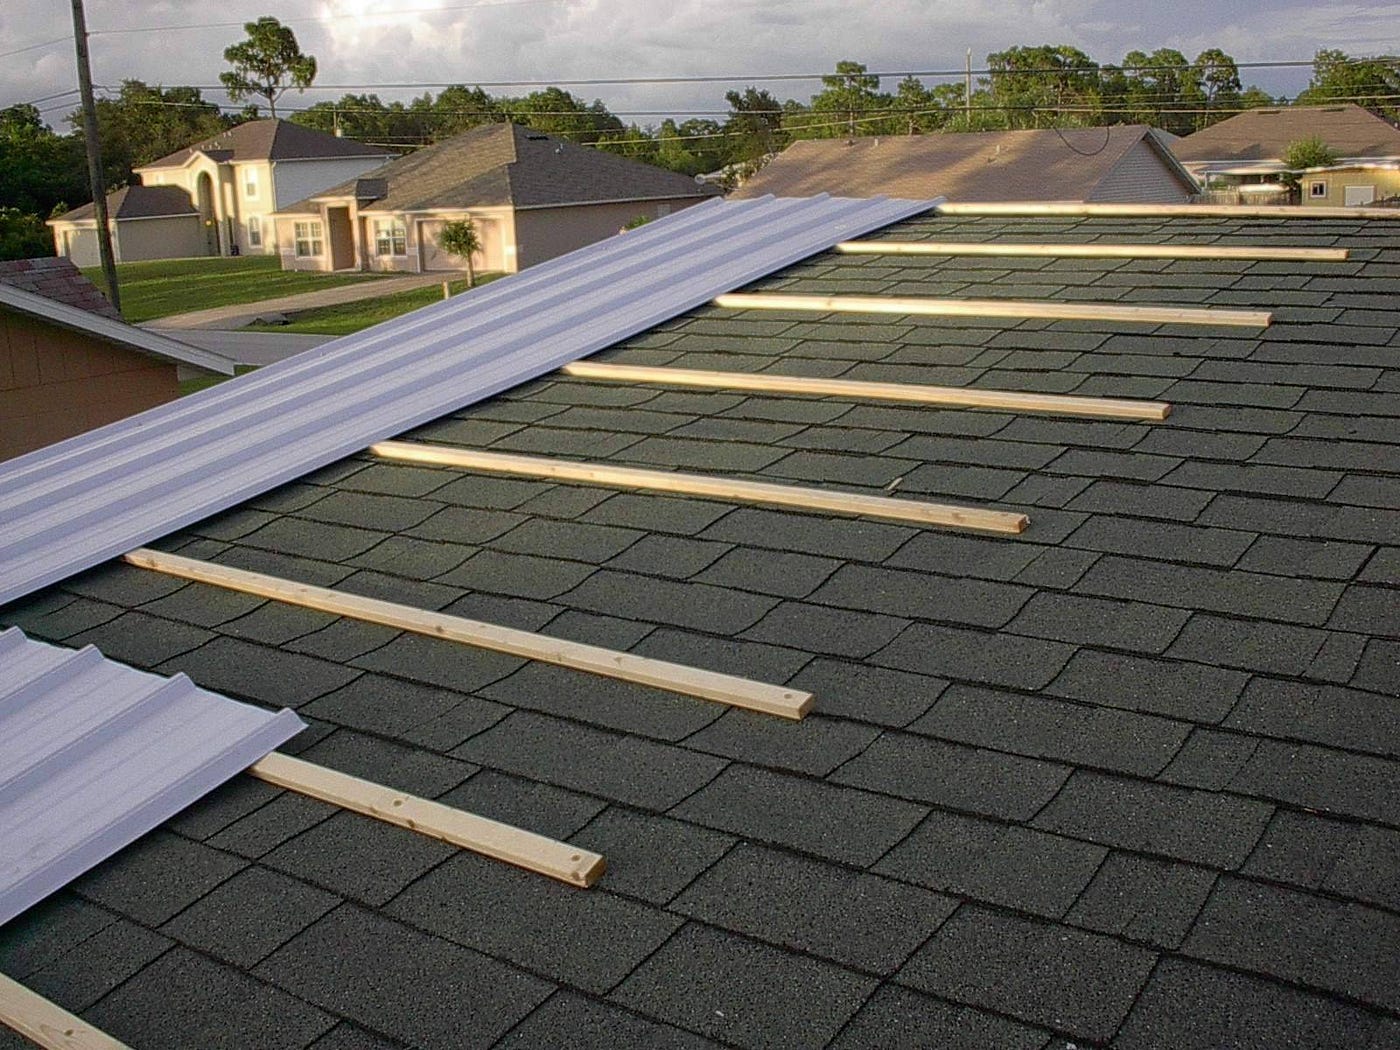
Preparing the Roof
Before you can start installing the insulation, it’s essential to properly prepare the roof. This involves cleaning the surface, checking for any damage or leaks, and ensuring that the area is free from debris. Follow these steps to prepare the roof:
- Clear the roof: Remove any debris, such as leaves, branches, or dirt, from the surface of the roof. This will provide a clean working area and prevent any obstructions during the insulation installation.
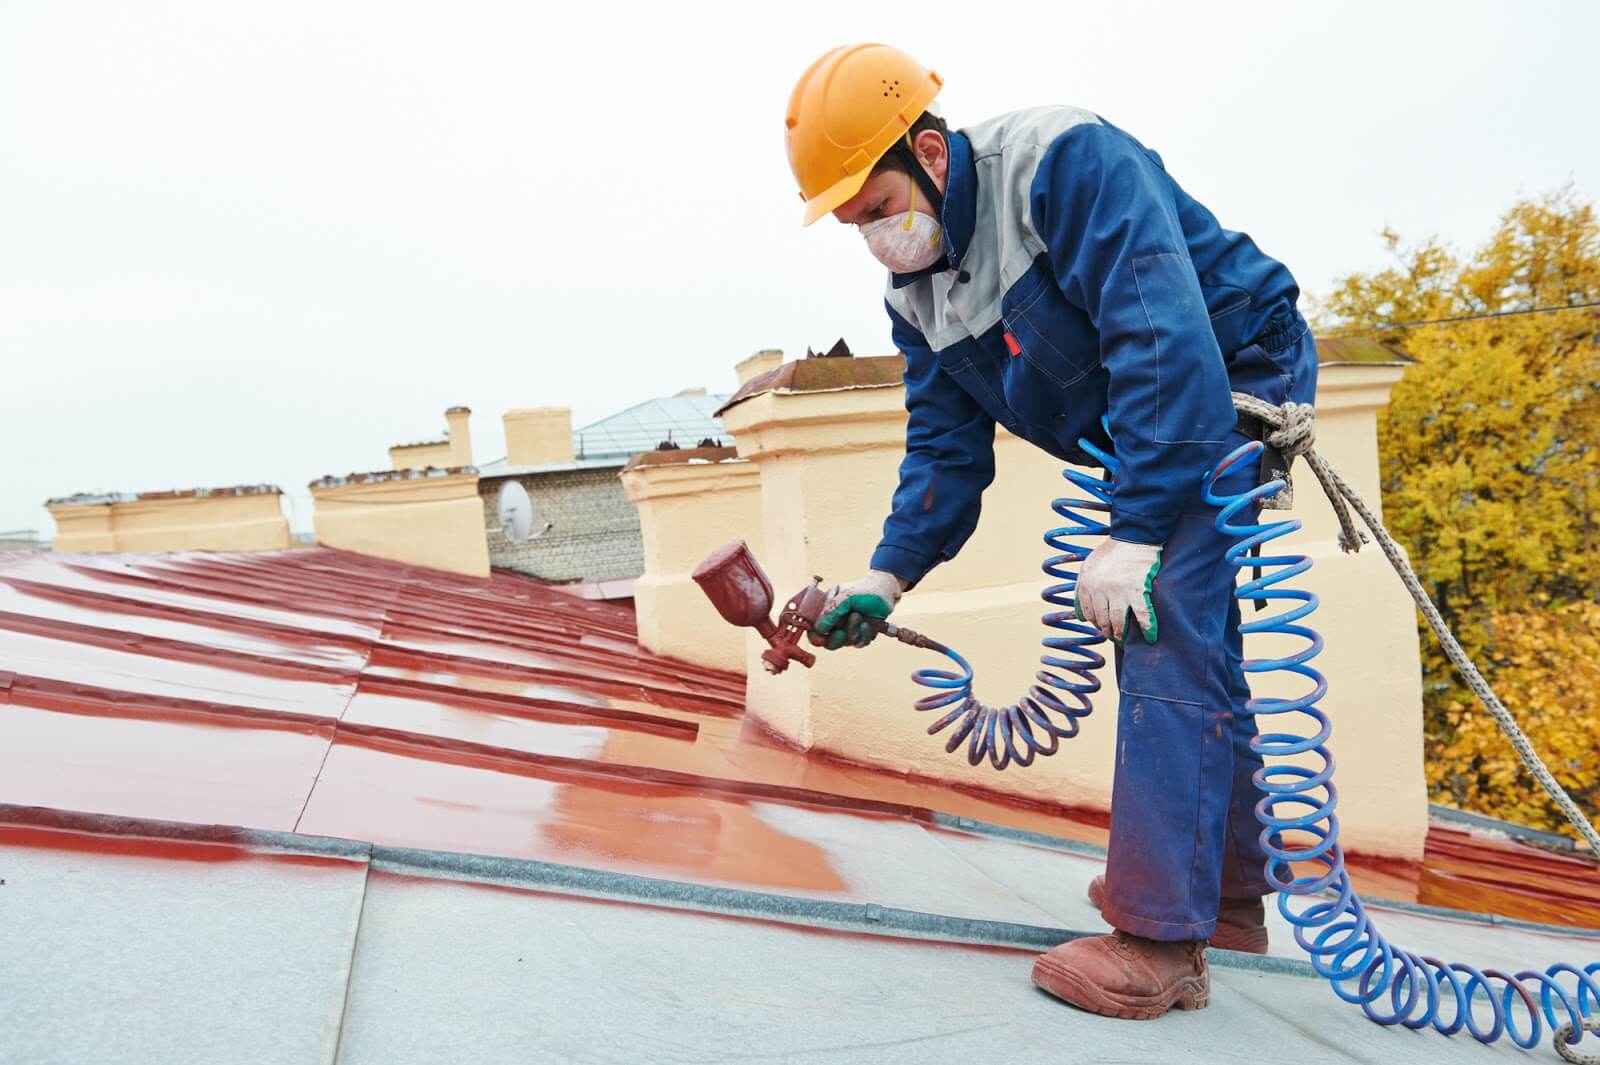
- Inspect for damage: Carefully examine the roof for any signs of damage or leaks. Look for loose or damaged panels, rust, or gaps between the seams. Repair any issues before proceeding with the insulation installation to ensure a watertight and durable roof.
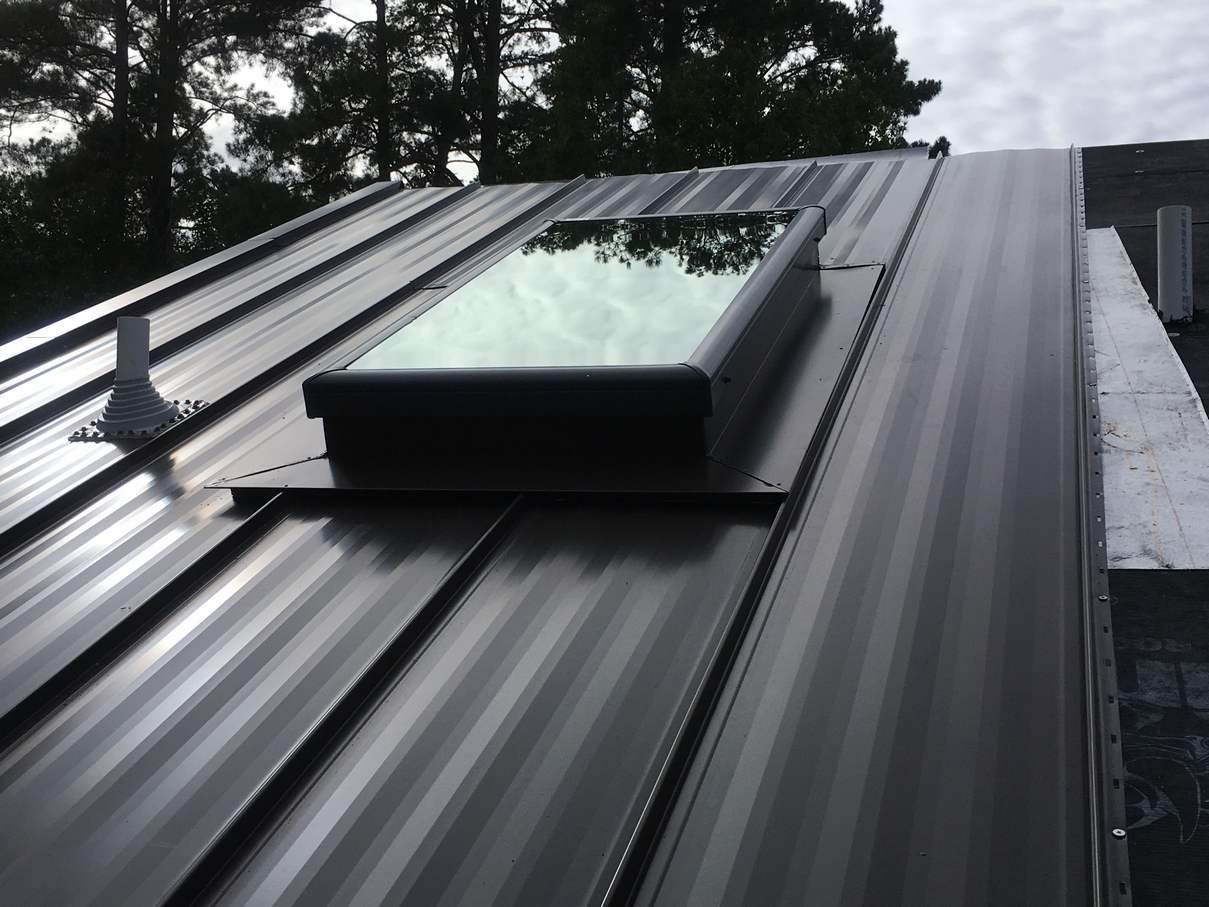
- Seal penetrations: Check for any penetrations, such as vents, chimneys, or skylights. Seal them properly to prevent air leakage and ensure the insulation’s effectiveness. Use appropriate sealants or flashing materials recommended for metal roofs.
- Address ventilation needs: Adequate ventilation is crucial for a healthy and sustainable roof system. Evaluate the ventilation requirements of your building and make necessary arrangements to ensure proper airflow.
By taking these steps to prepare the roof, you’ll create a solid foundation for the insulation installation. It will also help identify any underlying issues that need to be addressed before proceeding with the project. Once the roof is prepared, you can move on to measuring and cutting the insulation.
Measuring and Cutting Insulation
Accurate measurements and proper cutting of the insulation are crucial for a successful installation. Follow these steps to measure and cut the insulation for your metal roof:
- Measure the roof area: Use a tape measure to determine the dimensions of the roof surface where the insulation will be installed. Measure both the length and width, and multiply them to calculate the total square footage.
- Account for obstructions: Note any obstructions, such as vents or skylights, that will require the insulation to be cut around. Measure and mark these areas separately to ensure a precise fit.
- Transfer measurements to the insulation: Transfer your measurements onto the insulation material using a pencil or marker. Double-check the measurements to avoid any errors.
- Cut the insulation: Use a utility knife or insulation cutter to carefully cut the insulation along the marked lines. Make smooth, straight cuts to ensure proper alignment and coverage.
- Trim around obstructions: For areas with obstructions, carefully cut out the required shape or angle to accommodate them. Take your time to achieve a neat and accurate fit.
Remember to follow the manufacturer’s instructions for cutting the specific type of insulation you’re using. Some materials may require specific cutting techniques or tools.
By taking precise measurements and making accurate cuts, you’ll ensure that the insulation fits snugly and covers the entire roof surface. Once the insulation is cut to size, it’s time to move on to the installation process.
When installing insulation under metal roofing, make sure to use a vapor barrier to prevent moisture buildup. This will help maintain the effectiveness of the insulation and protect the metal roof from potential damage.
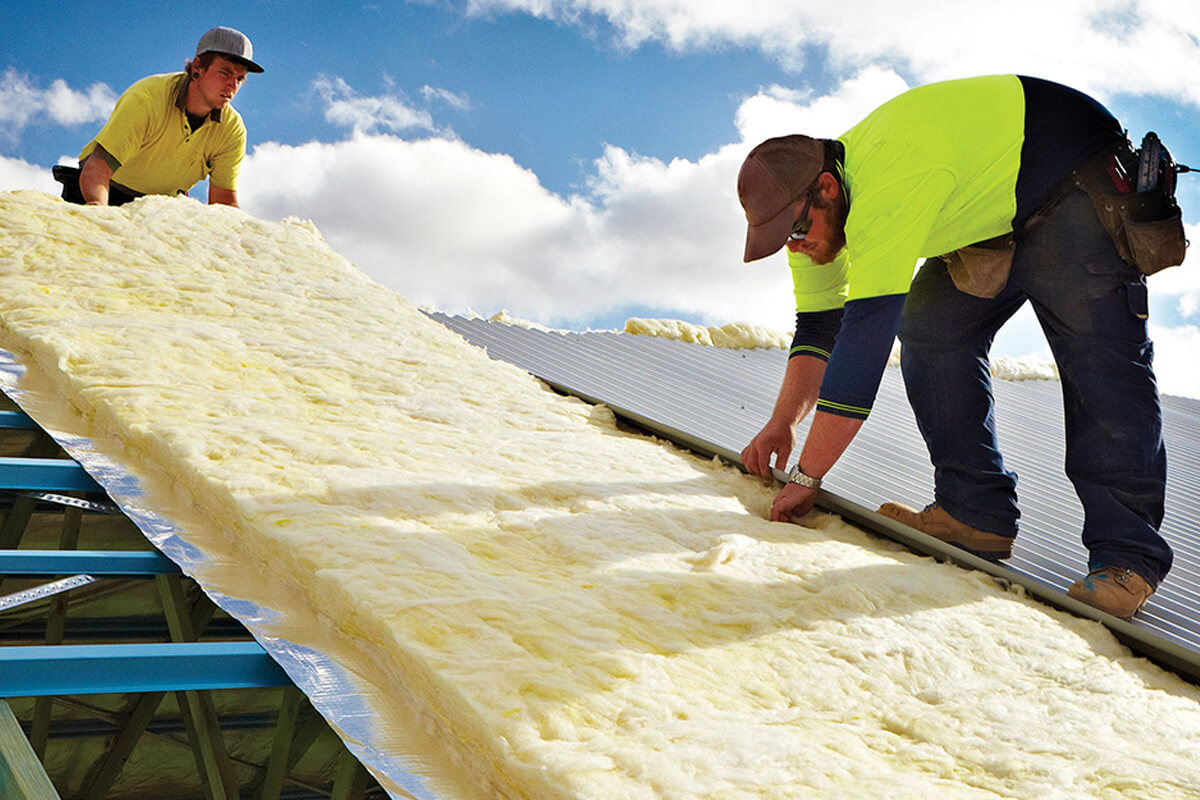
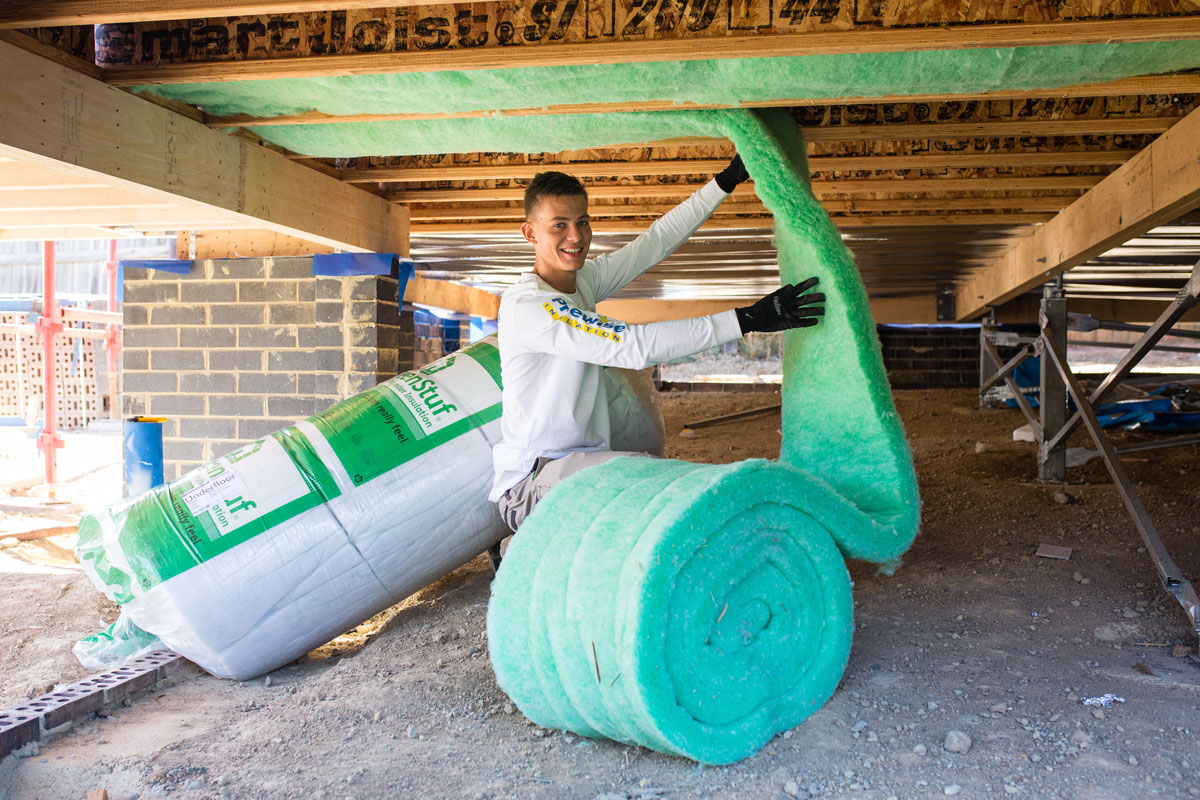
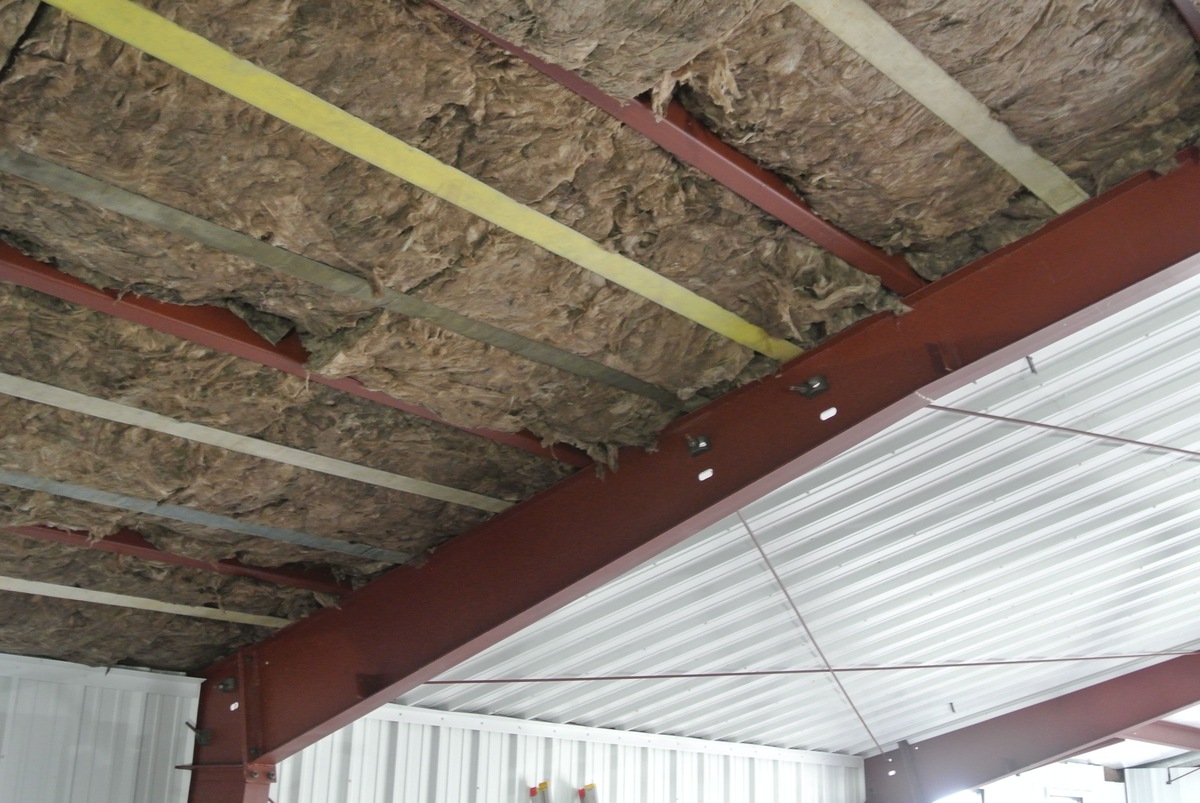
Installing the Insulation
Now that you have measured and cut the insulation, it’s time to start the installation process. Follow these steps to properly install the insulation under your metal roof:
- Starting at one corner of the roof, position the first piece of insulation. Make sure it aligns with the edges and covers the entire surface. Depending on the type of insulation you’re using, you may need to secure it with adhesive or staples.
- Continue installing the insulation, working your way across the roof in rows. Overlap each piece of insulation slightly to ensure complete coverage and minimize any gaps where heat transfer can occur.
- If using batt insulation, ensure that it is unfurled and pressed tightly between the roof’s joists or support beams. This will prevent any sagging or gaps that can compromise the insulation’s effectiveness.
- If using foam board insulation, secure it to the roof using the recommended adhesive or fasteners. Make sure the fasteners penetrate into the roof’s support structure for a secure installation.
- For spray foam insulation, follow the manufacturer’s instructions to apply it evenly across the underside of the metal roof. Pay attention to any areas that require extra coverage or sealing around openings.
- Smooth out any wrinkles or bulges in the insulation as you install it. This will help maintain a uniform layer and maximize its thermal resistance.
Take your time during the installation process to ensure proper alignment and coverage. It’s important to create a continuous layer of insulation without any gaps or areas of weakness.
Once you have finished installing the insulation, it’s time to move on to securing it in place.
Read more: How To Install A Metal Roof On A Shed
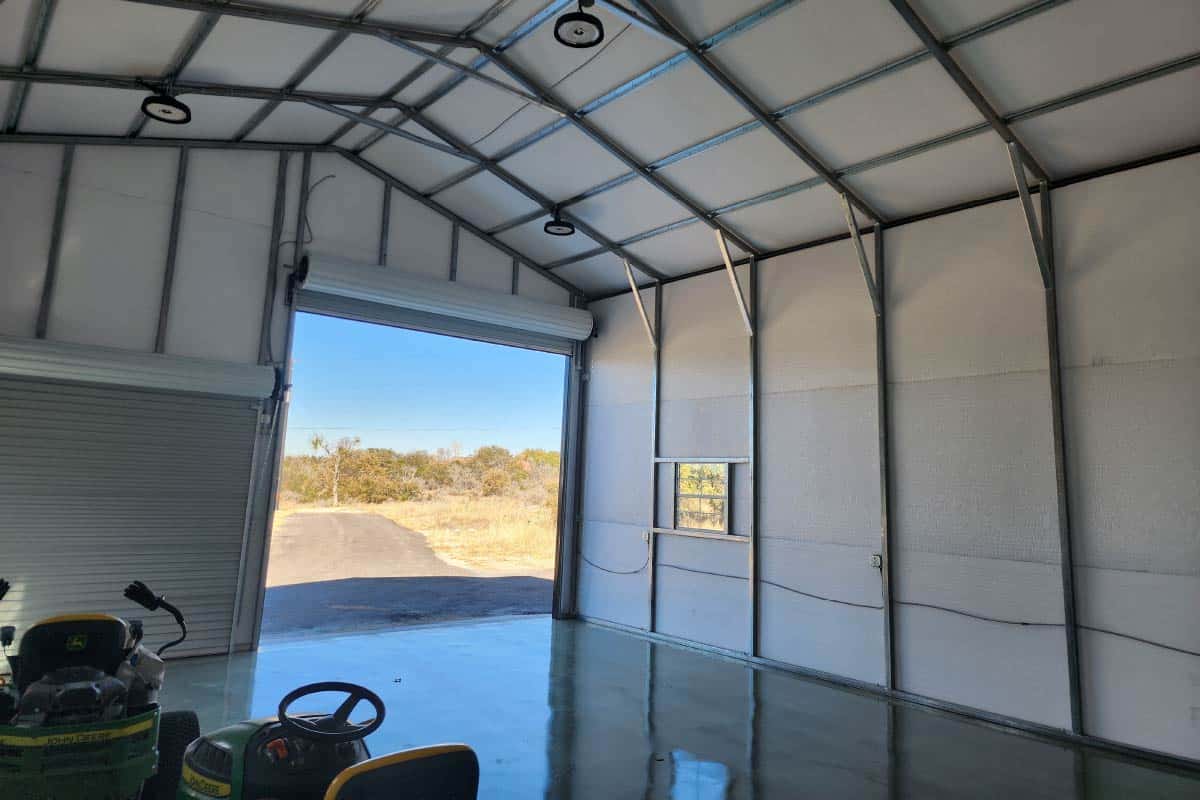
Securing the Insulation
Securing the insulation in place is essential to prevent shifting, sagging, or gaps that can compromise its effectiveness. Follow these steps to properly secure the insulation under your metal roof:
- If you’re using batt insulation, staple it in place along the edges and at regular intervals between the joists or support beams. This will ensure a secure fit and prevent any movement.
- For foam board insulation, use the recommended adhesive or fasteners to securely attach it to the roof. Follow the manufacturer’s instructions for proper installation techniques.
- If you’ve chosen spray foam insulation, allow it to cure according to the manufacturer’s instructions. This will provide a firm and secure bond between the insulation and the underside of the metal roof.
- Ensure that all seams and joints are properly sealed to prevent any air leakage. Use appropriate sealants or tapes recommended for your specific type of insulation.
- Inspect the installed insulation to ensure that it is evenly secured and there are no loose or damaged areas. Address any issues immediately to maintain the integrity of the insulation layer.
- Consider adding a vapor barrier if necessary. This can help prevent condensation from forming between the insulation and the metal roof.
Properly securing the insulation is crucial for its long-term effectiveness. It will ensure that the insulation remains in place and provides optimal thermal resistance, energy efficiency, and comfort.
Now that you’ve successfully secured the insulation, let’s take a moment to discuss some common mistakes to avoid during the installation process.
Common Mistakes to Avoid
When installing insulation under a metal roof, it’s important to be aware of common mistakes that can compromise the effectiveness and performance of the insulation. By avoiding these mistakes, you can ensure a successful installation. Here are some common errors to watch out for:
- Inadequate insulation thickness: Insufficient insulation thickness can lead to reduced thermal resistance and lower energy efficiency. Make sure to follow the recommended insulation thickness for your specific climate and building requirements.
- Leaving gaps or overlaps: Gaps or overlaps in the insulation can create thermal bridges and allow heat transfer. Ensure that the insulation is installed tightly, without any gaps or overlaps.
- Not sealing air leaks: Air leaks can compromise the insulation’s effectiveness and lead to energy loss. Seal any gaps, joints, or penetrations in the insulation to prevent air leakage and maintain the desired indoor temperature.
- Incorrect installation of vapor barriers: If using a vapor barrier, ensure that it is properly installed on the warm side of the insulation. This will prevent moisture buildup and condensation within the insulation layer.
- Ignoring proper ventilation: Inadequate ventilation can lead to moisture buildup, mold growth, and decreased insulation performance. Ensure proper ventilation to maintain a healthy and efficient roofing system.
- Failure to address obstructions: Obstructions such as vents or skylights need to be properly accounted for during the insulation installation process. Ensure that insulation is cut and fitted correctly around these obstructions to maintain consistent coverage.
By avoiding these common mistakes, you can maximize the effectiveness of your insulation and enjoy the benefits of an energy-efficient and comfortable living or working space.
Now that you’re aware of these common pitfalls, it’s time to conclude our guide to installing insulation under metal roofing.
Conclusion
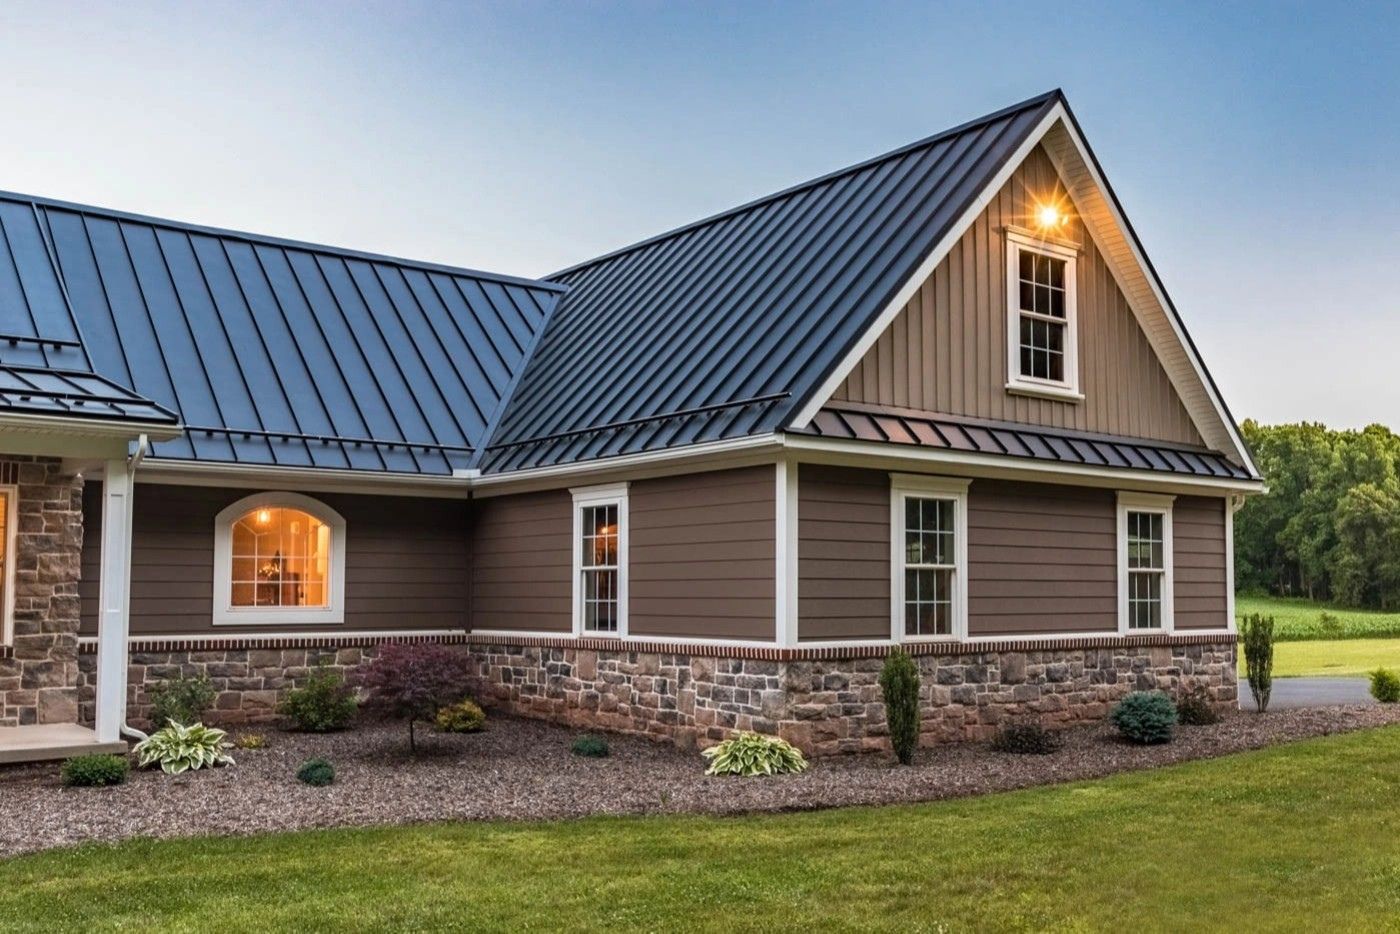
Installing insulation under a metal roof is a crucial step in creating an energy-efficient and comfortable living or working space. By properly insulating your roof, you can maintain a stable indoor temperature, reduce energy consumption, and prevent condensation issues. Throughout this guide, we have covered the materials needed, the process of preparing the roof, measuring and cutting the insulation, installing it properly, and securing it in place.
When installing insulation, it’s important to remember a few key points. Firstly, choose the right type of insulation for your needs and calculate the required amount accurately. Next, prepare the roof by cleaning the surface, addressing any damage or leaks, and ensuring proper ventilation. Measure and cut the insulation precisely, accounting for any obstructions. During installation, ensure complete coverage and secure the insulation tightly. Finally, avoid common mistakes such as inadequate insulation thickness, gaps or overlaps, ignoring air leaks, incorrect vapor barrier installation, poor ventilation, and neglecting obstructions.
By following these steps and avoiding common mistakes, you can achieve a successful insulation installation under your metal roof. Your efforts will result in enhanced energy efficiency, improved comfort, and potential cost savings on heating and cooling expenses.
Remember, if you feel unsure about any step of the process or if your project requires specific expertise, it’s always a good idea to consult with a professional roofing contractor or insulation specialist. They can provide guidance and ensure the best results for your specific needs.
With the knowledge gained from this guide, you now have the confidence to embark on your insulation installation journey. Enjoy the benefits of a well-insulated metal roof and the comfort it brings to your living or working space.
Frequently Asked Questions about How To Install Insulation Under Metal Roofing
Was this page helpful?
At Storables.com, we guarantee accurate and reliable information. Our content, validated by Expert Board Contributors, is crafted following stringent Editorial Policies. We're committed to providing you with well-researched, expert-backed insights for all your informational needs.


0 thoughts on “How To Install Insulation Under Metal Roofing”