Articles
How To Install Flashing Under Siding
Modified: August 31, 2024
Learn the step-by-step process of installing flashing under siding with our comprehensive articles. Ensure proper protection and durability for your home.
(Many of the links in this article redirect to a specific reviewed product. Your purchase of these products through affiliate links helps to generate commission for Storables.com, at no extra cost. Learn more)
Introduction
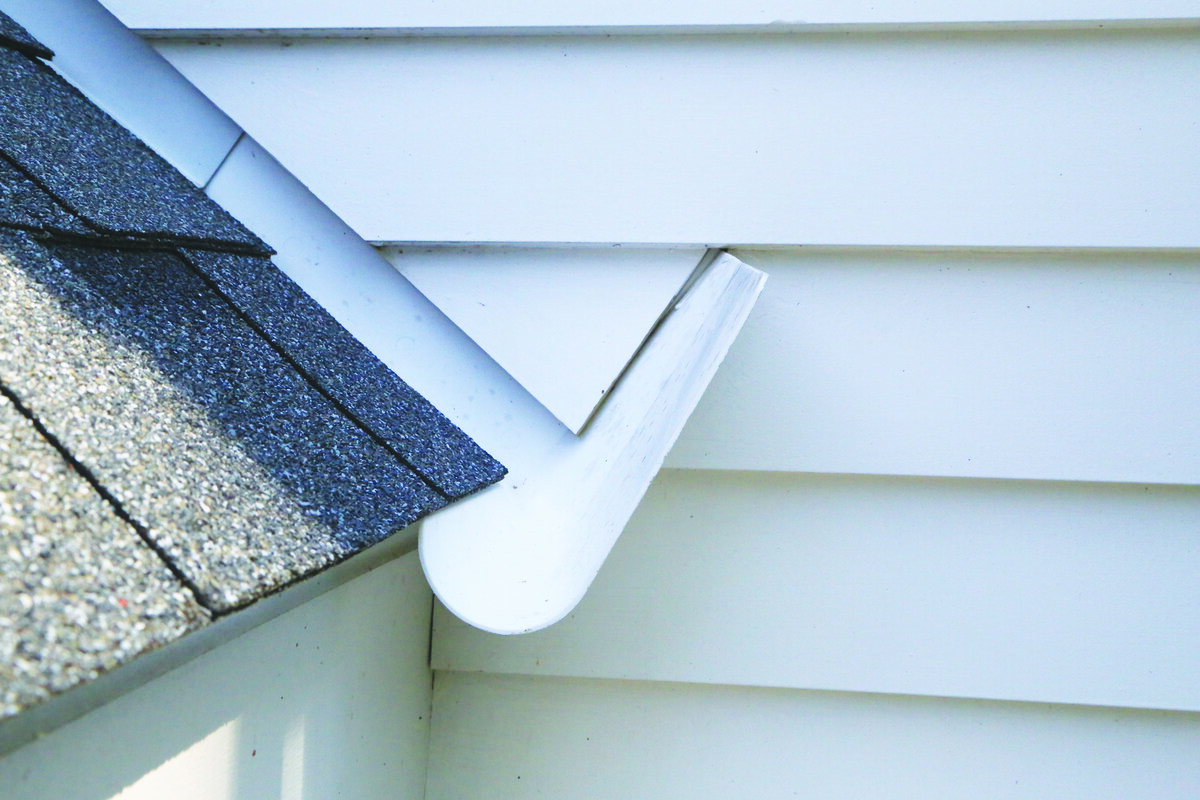
Installing flashing under siding is a crucial step in protecting your home from water damage and improving its overall durability. Flashing acts as a barrier, preventing water from seeping into the gaps between the siding and the walls. By installing flashing correctly, you can ensure that your siding remains intact and your home’s structure remains unaffected by moisture.
In this article, we will guide you through the process of installing flashing under siding. We will provide step-by-step instructions and tips to make the task easier, even for those with limited DIY experience. So, gather your tools, roll up your sleeves, and let’s get started!
Key Takeaways:
- Proper installation of flashing under siding is essential for protecting your home from water damage. From gathering tools to sealing the flashing, each step contributes to long-term structural integrity.
- Taking the time to install flashing under siding is an investment in your home’s longevity. By following the step-by-step guide and ensuring a watertight seal, you can safeguard your property from potential water damage.
Read more: How To Install Z-Flashing On T1-11 Siding
Step 1: Gather the Necessary Tools and Materials
Before starting the installation process, it’s important to gather all the tools and materials you’ll need. Here is a list of essential tools:
- Measuring tape
- Utility knife
- Tin snips
- Caulking gun
- Screwdriver
- Hammer
- Stapler
- Level
Additionally, you will need the following materials:
- Flashing material (such as aluminum or vinyl)
- Roofing nails
- Screws
- Waterproof sealant
Make sure to gather all the tools and materials before you start the installation process. This will save you time and ensure a smoother workflow.
Step 2: Prepare the Work Area
Before you begin installing the flashing, it’s important to prepare the work area properly. This involves clearing the area and taking necessary safety precautions.
First, clear the area around the siding where you will be installing the flashing. Remove any furniture, decorations, or obstacles that may hinder your work. This will provide you with a clear and unobstructed workspace.
Next, take the following safety precautions:
- Wear appropriate safety gear, such as gloves and safety glasses, to protect yourself from any potential injuries.
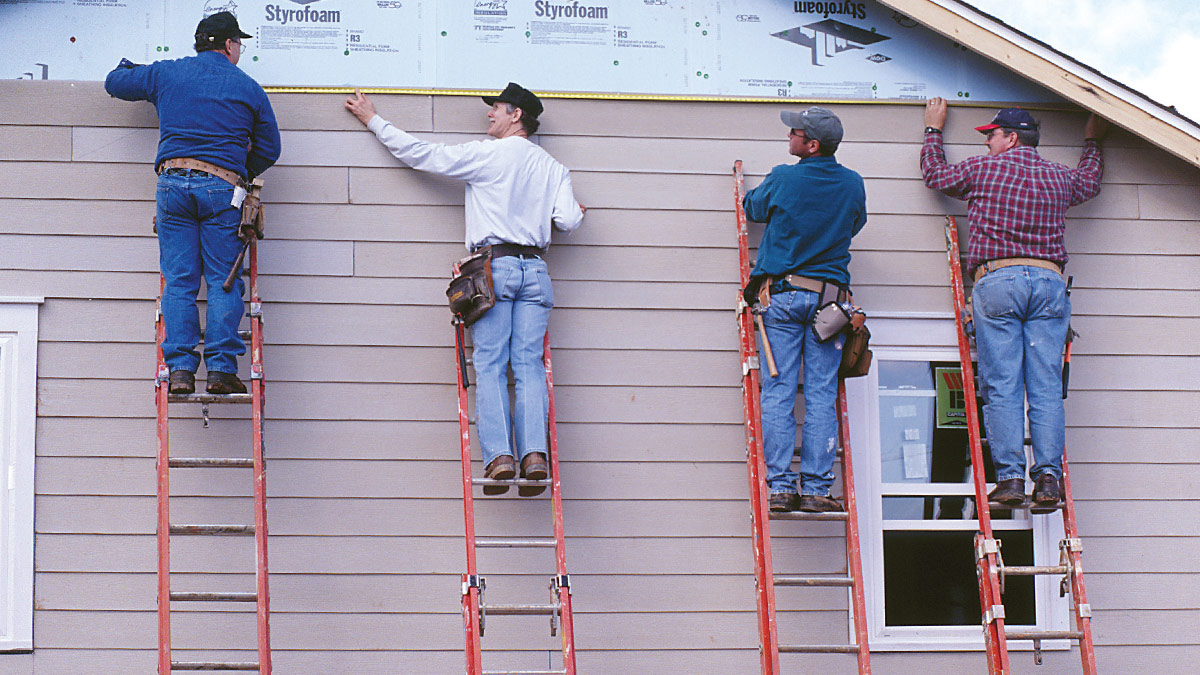
- If you are working at a height, use a sturdy ladder or scaffolding and make sure it is properly stabilized to prevent accidents.
- Be cautious of electrical wires or any other hazards that may be present near the work area. Take necessary measures to ensure your safety.
By clearing the area and taking safety precautions, you can minimize the risk of accidents and create a safe working environment.
Step 3: Measure and Cut the Flashing
Once you have prepared the work area, it’s time to measure and cut the flashing to the appropriate size. This will ensure a proper fit and effective water protection.
Start by determining the measurements of the area where the flashing will be installed. Use a measuring tape to accurately measure the length and width of the space. Take into consideration any angles or corners that may affect the dimensions.
Transfer the measurements onto the flashing material and use a utility knife or tin snips to cut the flashing to the desired size. Make sure to wear safety gloves when handling sharp tools.
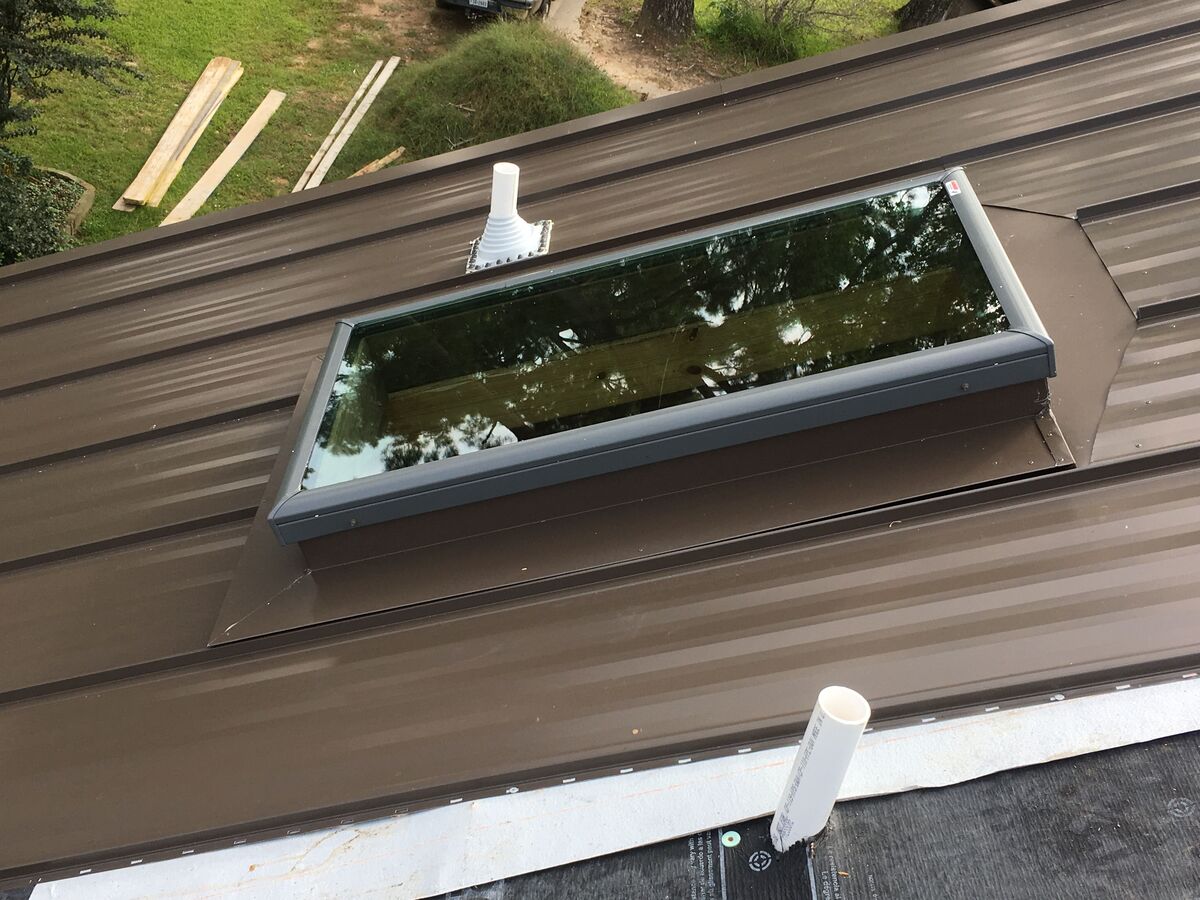
If the flashing needs to be installed around windows or other obstacles, make precise cuts to accommodate for these features. This will ensure a seamless and snug fit.
Remember, it’s better to measure and cut the flashing slightly larger than necessary, as you can always trim it down later for a perfect fit.
Once you have accurately measured and cut the flashing, you’re ready to move on to the next step: installing the flashing under the siding.
When installing flashing under siding, make sure to use corrosion-resistant flashing material and overlap the pieces to prevent water infiltration. Fasten the flashing securely to the wall to ensure proper protection.
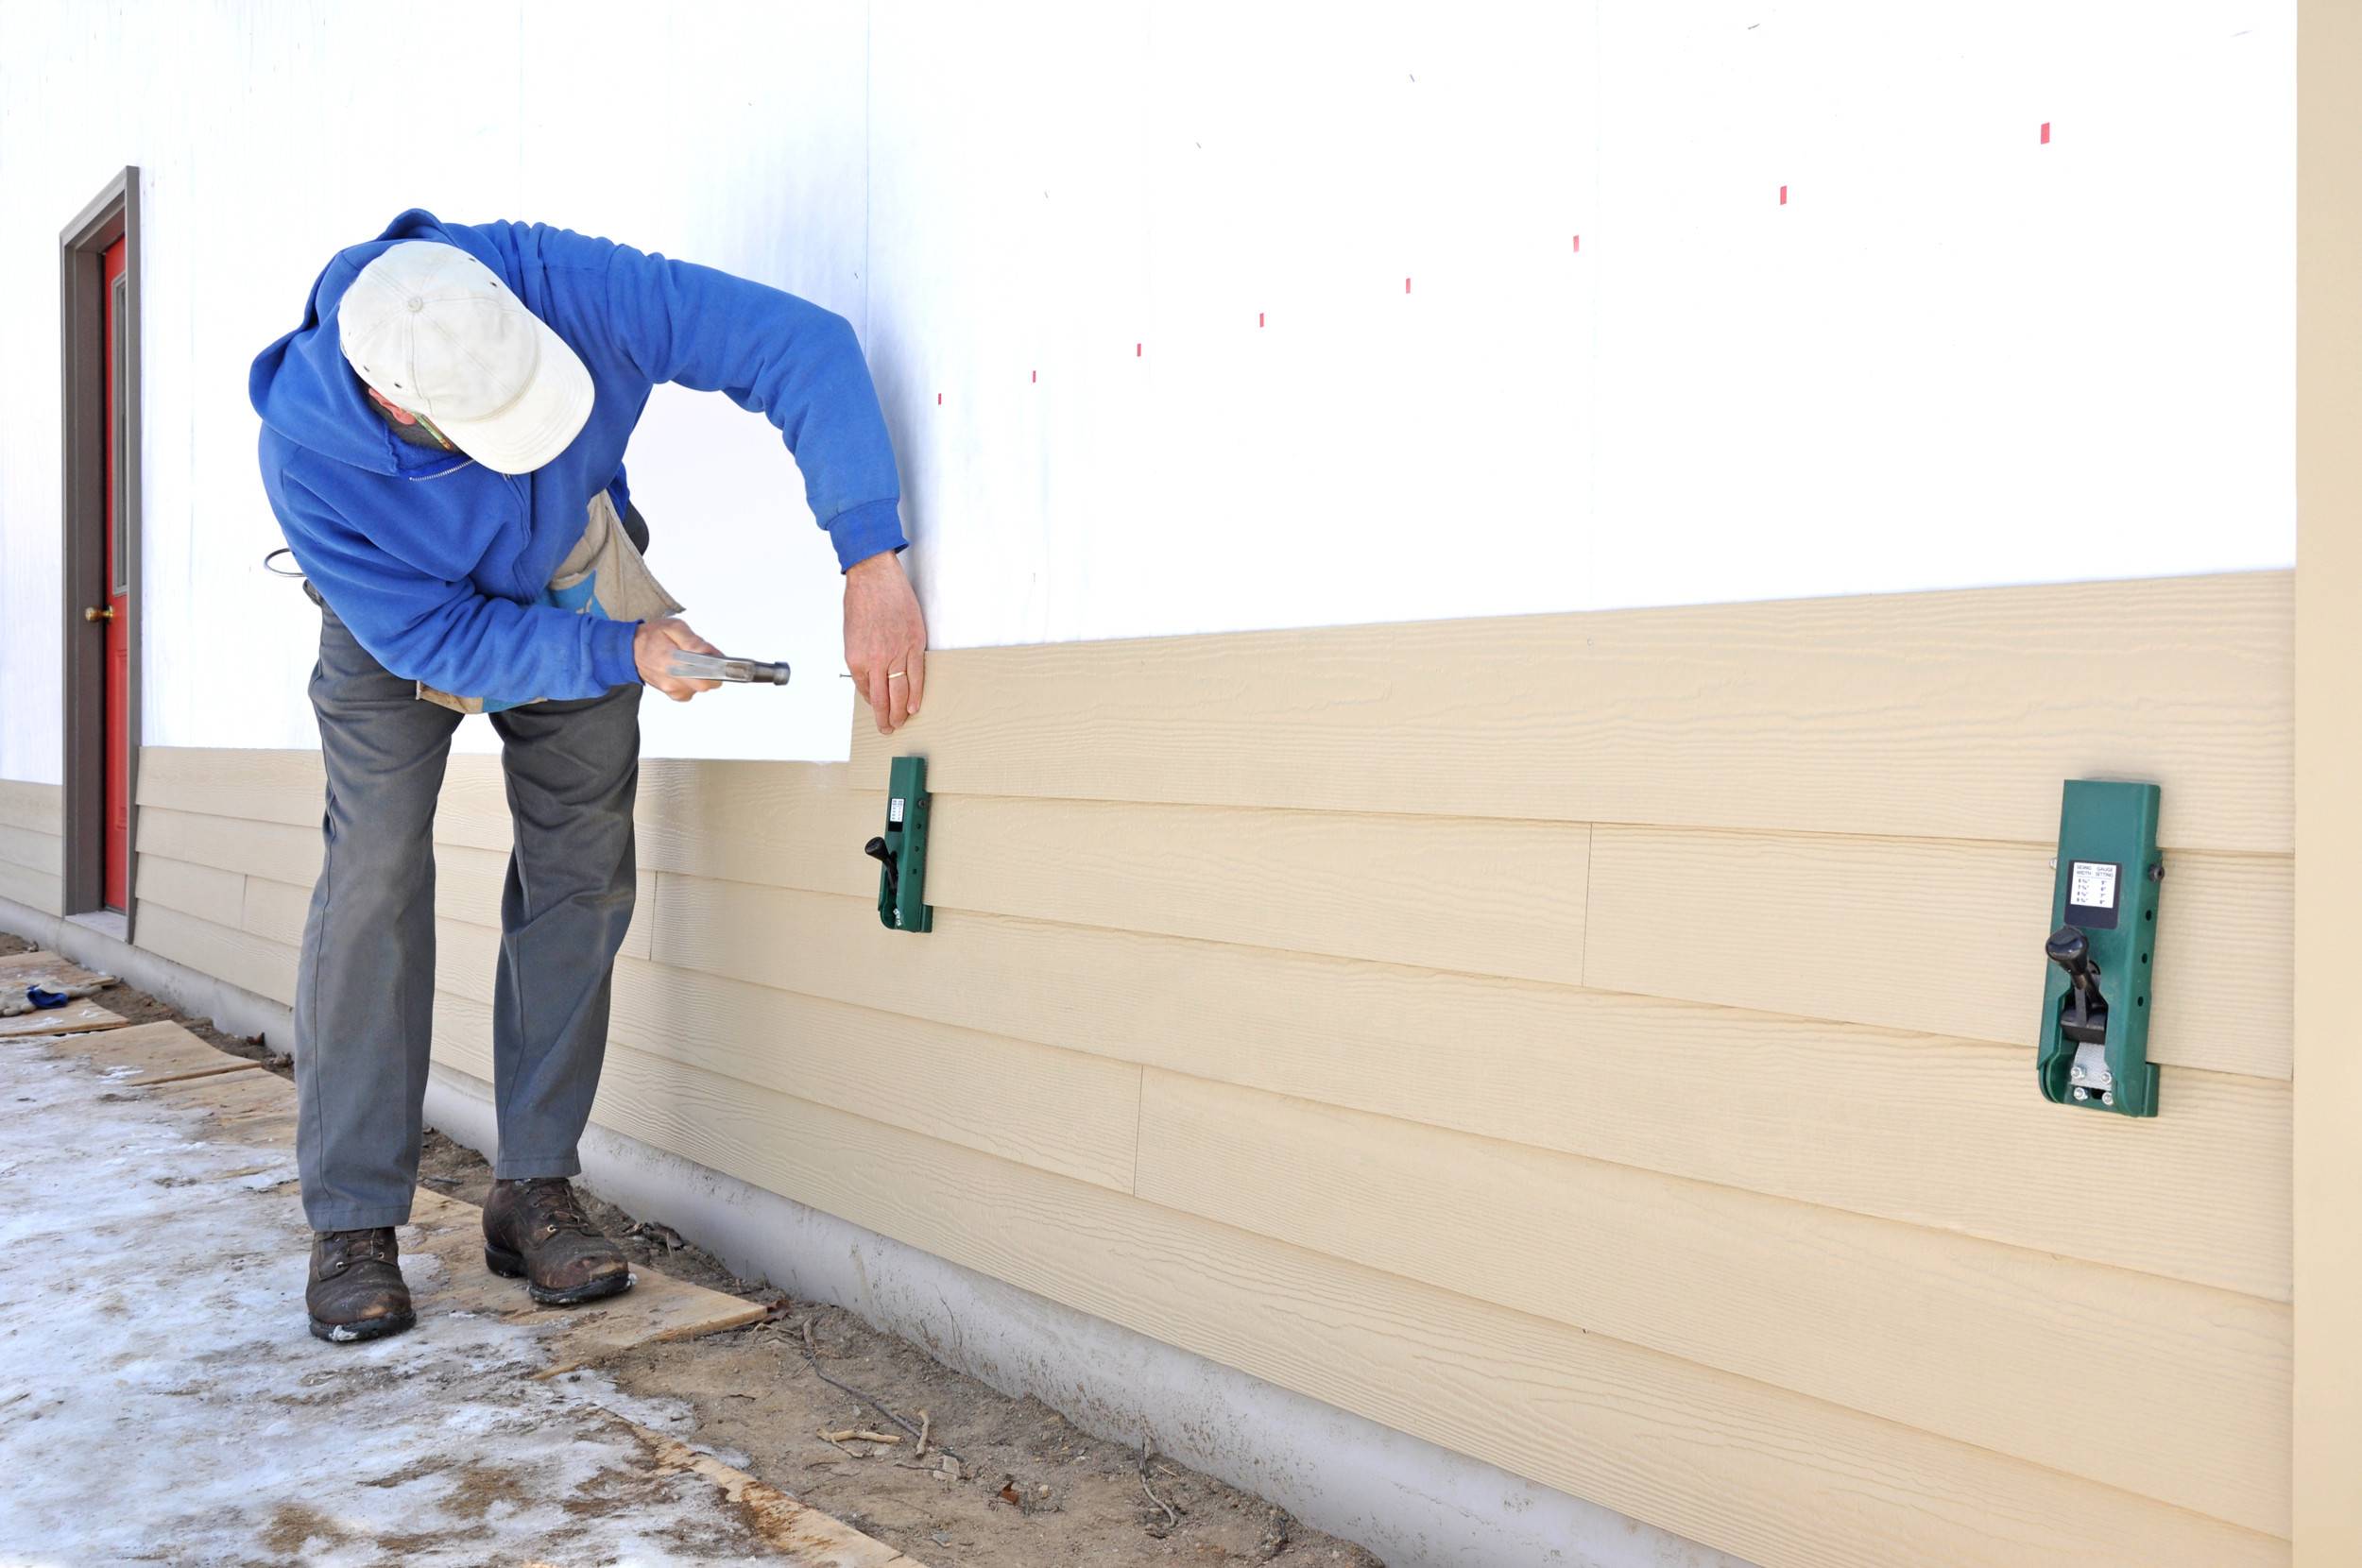
Step 4: Install the Flashing under the Siding
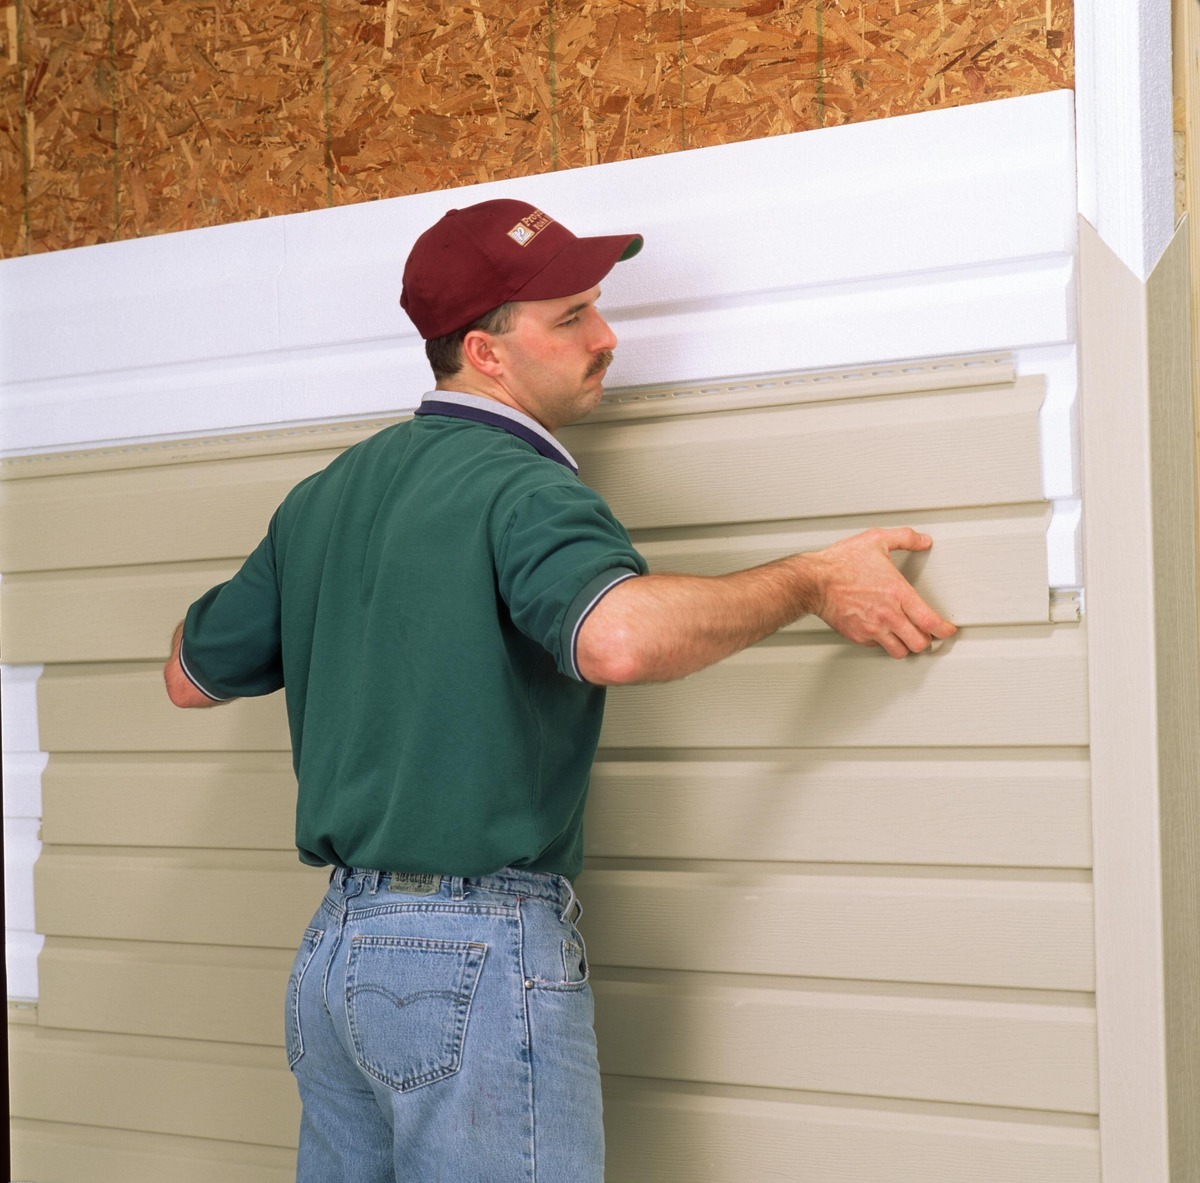
With the flashing cut to size, it’s time to install it under the siding. Proper positioning and securing of the flashing are crucial for ensuring its effectiveness.
Start by positioning the flashing along the bottom edge of the siding. Make sure it extends past the edge of the siding by a few inches to provide adequate coverage.
Use a level to ensure that the flashing is straight and aligned properly. Adjust as needed to ensure a perfect fit.
Once the flashing is in position, you can start securing it. Depending on the type of siding and the material of the flashing, you can use roofing nails or screws to attach it to the wall. Place the fasteners at regular intervals, staggering them for optimal strength.
When securing the flashing, be careful not to overtighten the fasteners, as this may cause damage to the siding or the flashing itself. Use the appropriate level of pressure to ensure a secure hold.
If you encounter any obstacles or corners during the installation process, make precise cuts or folds in the flashing to fit around them. This will maintain the integrity of the flashing and provide complete coverage.
Continue installing the flashing along the entire length of the siding, ensuring a tight and secure fit. Take your time and be meticulous in your work to achieve the best results.
Once you have installed the flashing, you can proceed to the final step: inspecting and sealing the flashing.
Read more: How To Install Dormer Flashing
Step 5: Inspect and Seal the Flashing
After installing the flashing, it’s important to inspect it for proper installation and ensure a watertight seal. This will help prevent any potential leaks or water damage in the future.
Start by checking the flashing for any signs of damage or improper installation. Look for any gaps, loose edges, or areas where the flashing may not be securely fastened. These issues should be addressed and corrected before proceeding.
Next, inspect the flashing’s alignment. Make sure it is evenly placed along the bottom edge of the siding and properly aligned with the rest of the building’s structure.
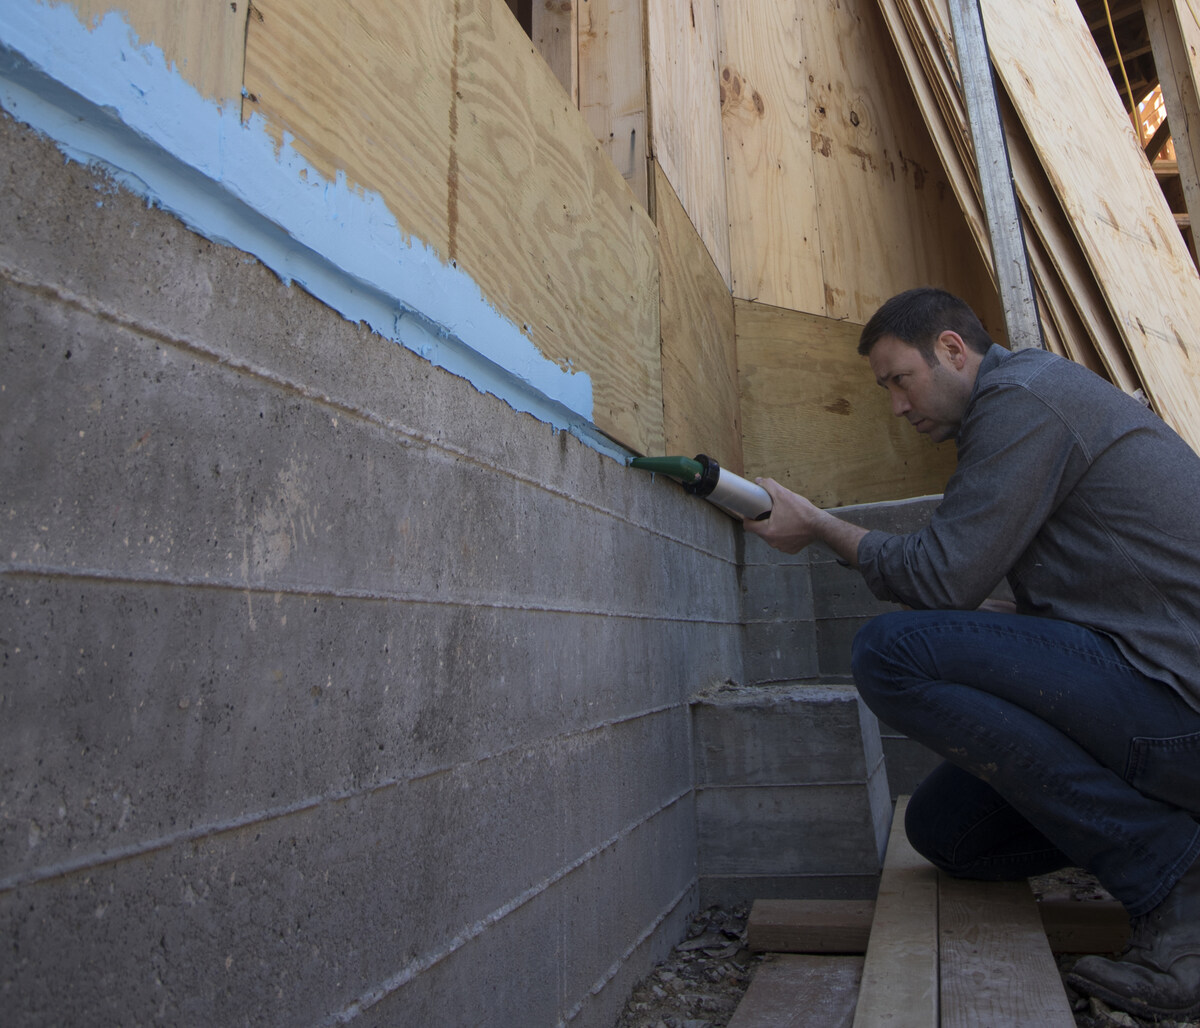
If you notice any areas where the flashing isn’t tightly sealed against the siding, use a waterproof sealant to fill in the gaps. Apply the sealant along the edges of the flashing, ensuring a complete and continuous seal. This will further enhance the water protection provided by the flashing.
When applying the sealant, follow the manufacturer’s instructions and use a caulk gun for precise application. Smooth out the sealant with a caulking tool or your finger to create a neat and seamless finish.
Once the sealant has been applied, give it ample time to dry and cure according to the manufacturer’s instructions. This will ensure maximum effectiveness and durability.
After the sealant has cured, perform a final inspection to ensure that the flashing is properly installed and fully sealed. Check for any areas that may still need attention and address them before completing the project.
By carefully inspecting and sealing the flashing, you can provide long-lasting protection for your siding and safeguard your home against water damage.
Congratulations! You have successfully completed the installation of flashing under the siding. Your home is now better protected from moisture and potential water damage.
Conclusion
Installing flashing under siding is a crucial step in maintaining the integrity and durability of your home. It provides a protective barrier against water infiltration and helps prevent moisture-related issues such as rot, mold, and structural damage.
Throughout this article, we have provided a step-by-step guide on how to install flashing under siding. From gathering the necessary tools and materials to inspecting and sealing the flashing, each step plays a vital role in ensuring a successful installation.
Remember to take your time and follow the instructions carefully. Proper measurement, cutting, positioning, and securing of the flashing are key to its effectiveness. Additionally, inspecting and sealing the flashing will further enhance its performance and protect your home from water damage.
By taking the time to install flashing under your siding, you are investing in the long-term protection and maintenance of your home. The added layer of defense against moisture will contribute to the longevity and structural stability of your property.
If you have any doubts or concerns during the installation process, don’t hesitate to consult with a professional or seek assistance from a reputable contractor. They can provide expert guidance and ensure that the flashing is installed correctly.
Remember, proper installation and maintenance of flashing under siding are essential for a watertight and durable home. By following the steps outlined in this article, you can confidently take on the task of installing flashing and protect your home from potential water damage.
So, grab your tools, prepare your work area, and get started on securing the longevity and integrity of your home by installing flashing under the siding.
Frequently Asked Questions about How To Install Flashing Under Siding
Was this page helpful?
At Storables.com, we guarantee accurate and reliable information. Our content, validated by Expert Board Contributors, is crafted following stringent Editorial Policies. We're committed to providing you with well-researched, expert-backed insights for all your informational needs.


0 thoughts on “How To Install Flashing Under Siding”