Articles
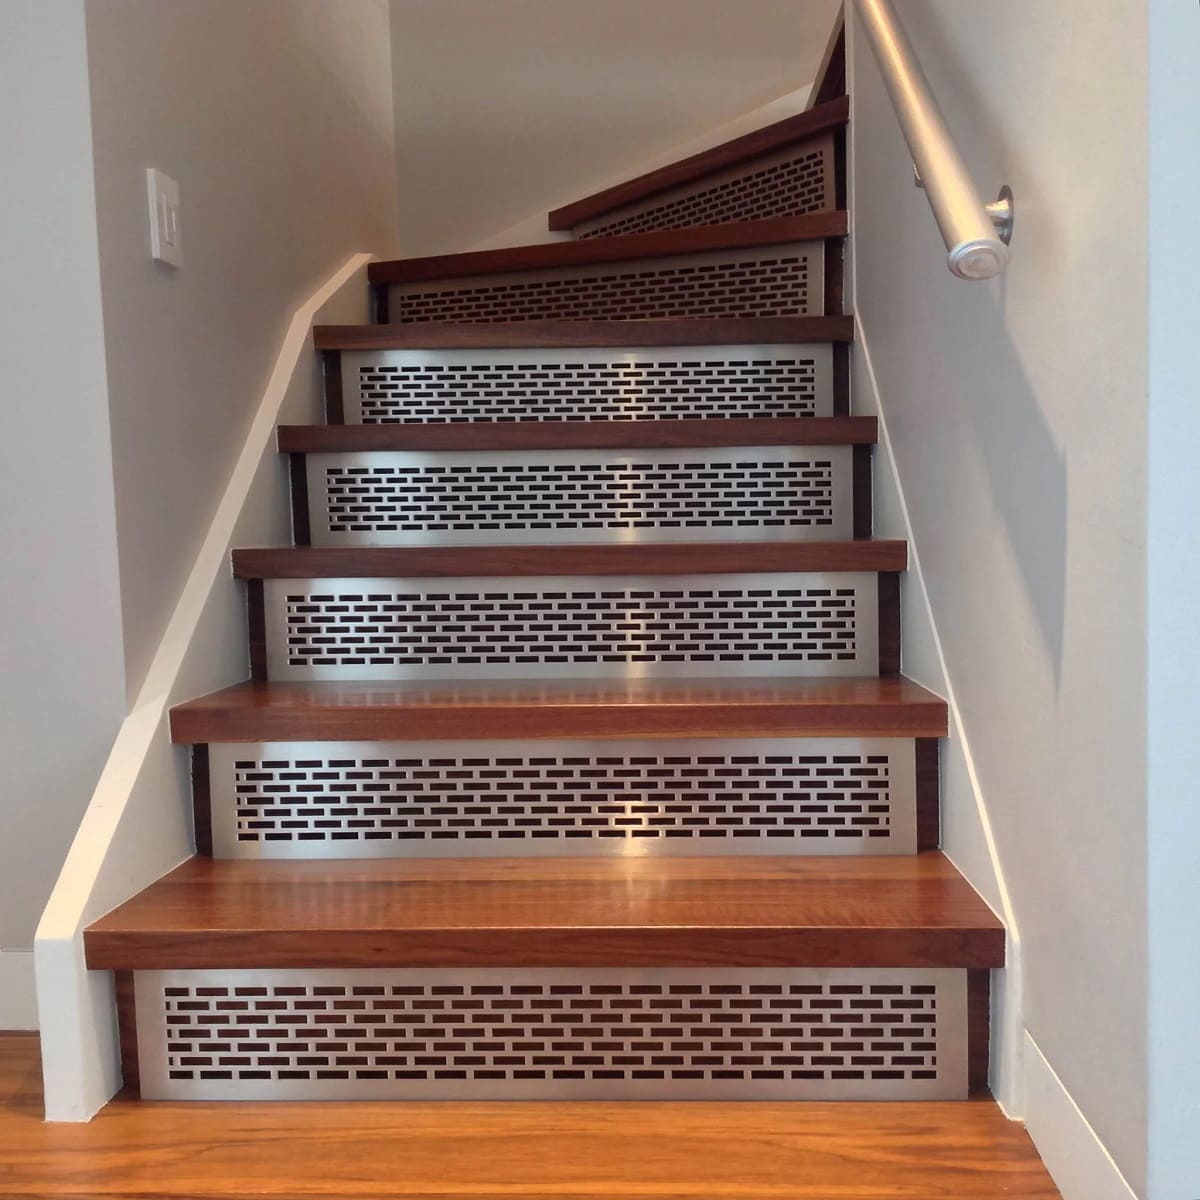
How To Install Handrails On Stairs
Modified: January 6, 2024
Learn how to install handrails on stairs with our comprehensive articles. Step-by-step instructions and expert tips to ensure safety and stability.
(Many of the links in this article redirect to a specific reviewed product. Your purchase of these products through affiliate links helps to generate commission for Storables.com, at no extra cost. Learn more)
Introduction
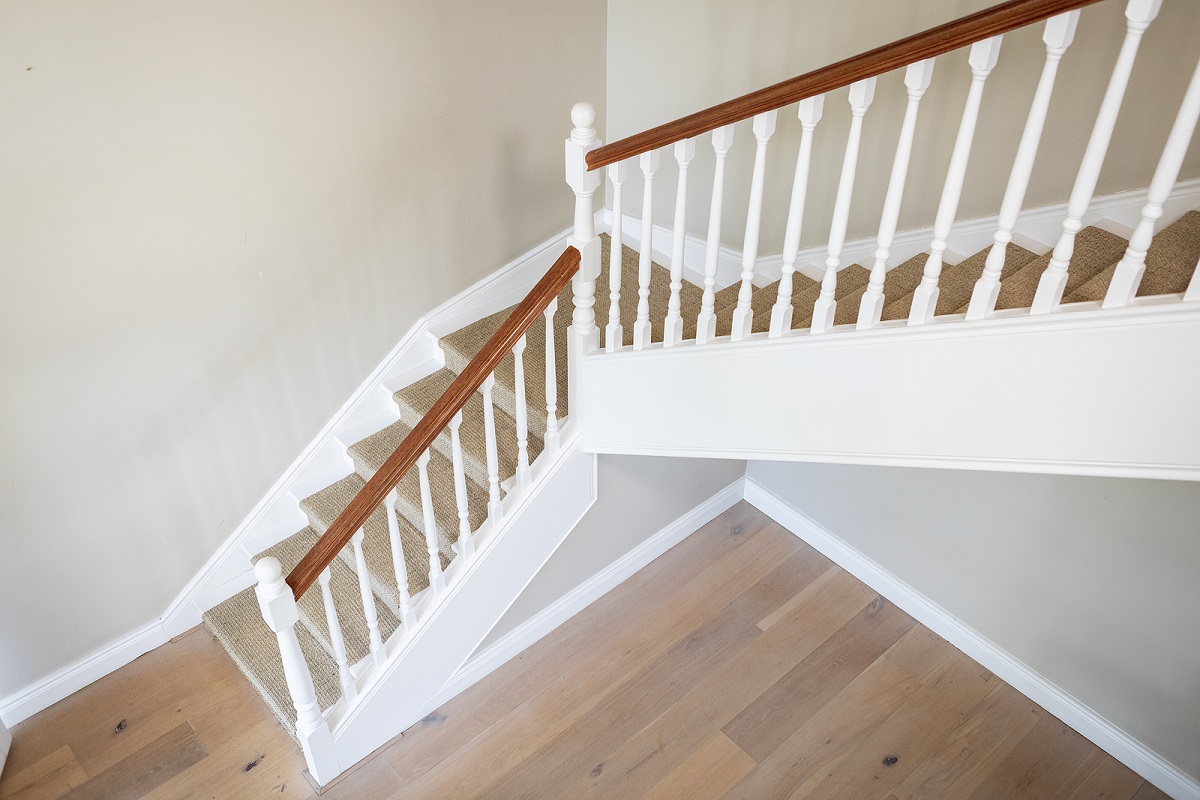
Installing handrails on stairs is an important safety measure that can greatly enhance the accessibility and security of your home. Whether you are retrofitting an existing staircase or building a new one, properly installing handrails is a crucial step in ensuring the well-being of everyone using the stairs, especially those with mobility challenges or balance issues.
In this comprehensive guide, we will walk you through the step-by-step process of installing handrails on stairs. From gathering the necessary tools and materials to securing the handrail brackets and attaching the handrail itself, we will provide you with all the information you need to complete this project successfully.
Before we dive into the installation process, let’s highlight the importance of handrails. Handrails not only serve as a support for individuals ascending or descending stairs but also provide stability and prevent accidents, especially in environments where stairs are exposed to slippery or uneven surfaces.
Additionally, handrails are essential for compliance with building codes and regulations. Many municipalities require handrails to be installed on stairs above a certain height or in commercial buildings to ensure safety and accessibility for all individuals.
Now that we’ve established the significance of handrails, let’s move on to the installation process. Grab your tools and get ready to transform your staircase into a safer and more functional space for you and your loved ones.
Key Takeaways:
- Ensure safety and accessibility by installing handrails on stairs. Follow step-by-step instructions, gather high-quality tools, and test for stability to create a secure and reliable handrail installation.
- Prioritize the well-being of your household with a properly installed handrail. From accurate measurements to regular maintenance, invest in safety and peace of mind for years to come.
Read more: When Are Handrails Required On Stairs
Step 1: Gather the necessary tools and materials
Before you begin installing the handrails on your stairs, it’s important to gather all the necessary tools and materials. Having everything you need at hand will streamline the installation process and prevent delays. Here’s a list of the tools and materials you’ll need:
- Measuring tape: To accurately measure the dimensions of your stairs and determine the placement of the handrail.
- Pencil or marker: To mark the spots where the handrail brackets will be installed.
- Level: To ensure that the handrail is installed straight and level.
- Drill: To pre-drill holes for the handrail brackets and screws.
- Screwdriver or drill with a screwdriver bit: To drive the screws into the wall and secure the handrail brackets.
- Handrail brackets: These are the brackets that will hold the handrail in place. Make sure you choose sturdy brackets that can support the weight of the handrail and provide proper stability.
- Screws: To attach the handrail brackets to the wall. Use screws that are appropriate for the type of wall material you have.
- Handrail: The handrail itself, which can be made of wood, metal, or another suitable material. Make sure the handrail is long enough to cover the entire length of the stairs and extends beyond the top and bottom steps.
- Wall anchors (if necessary): If you are installing the handrail on drywall or a hollow wall, you may need to use wall anchors to provide extra support and stability.
- Safety goggles and gloves: To protect your eyes and hands while drilling and handling materials.
It’s important to acquire high-quality tools and materials to ensure the durability and stability of your handrail installation. Taking the time to gather all the necessary items before you begin will save you the frustration of having to pause the project halfway through because you’re missing a crucial tool or component.
With your tools and materials ready, you’re now prepared to move on to the next step: measuring and marking the placement of the handrail on your stairs.
Step 2: Measure and mark the placement of the handrail
Now that you have all the necessary tools and materials, it’s time to measure and mark the placement of the handrail on your stairs. This step is crucial for ensuring that the handrail is installed at the proper height and position, providing optimal support and safety. Here’s how to do it:
- Start by determining the height at which you want the handrail to be installed. The standard height for residential handrails is typically between 34 and 38 inches.
- Using a measuring tape, measure the distance between the top of the bottom step and the desired height of the handrail. Mark this measurement on the wall with a pencil or marker.
- Next, measure the length of the stairs to determine how long the handrail will be. Subtract a few inches from the total length to allow for overhang at the top and bottom of the stairs.
- Once you have these measurements, use a level to draw a straight line on the wall, connecting the marks you made for the height and length of the handrail. This line will serve as a guide for installing the handrail brackets.
- If your stairs have a landing or a change in direction, make sure to measure and mark the appropriate locations for the handrail brackets.
It’s important to ensure that the handrail is installed at a comfortable and accessible height for everyone who will be using the stairs. Consider the needs of individuals with different heights and physical abilities when determining the placement of the handrail.
Remember to double-check your measurements before moving on to the next step. Accuracy is key to a successful handrail installation.
Now that you’ve measured and marked the placement of the handrail, it’s time to move on to the next step: pre-drilling the holes for the handrail brackets.
Step 3: Pre-drill the holes for the handrail brackets
With the placement of the handrail marked on the wall, it’s time to pre-drill the holes for the handrail brackets. Pre-drilling the holes ensures that the brackets are securely attached to the wall and helps prevent any damage to the wall surface. Follow these steps for successful pre-drilling:
- Using an appropriate drill bit, select a size slightly smaller than the diameter of the screws that will be used to attach the brackets.
- Align the drill bit with the marks you made for the handrail brackets and begin drilling at a perpendicular angle to the wall. Apply steady pressure, but avoid exerting too much force to prevent any splintering or damage.
- Drill the holes to a depth that is suitable for the length of the screws and the type of wall material you have. It’s important to ensure that the holes are deep enough to securely hold the brackets.
- Repeat this process for each marked location where the handrail brackets will be installed.
Make sure to clean up any debris or dust that may have accumulated from the drilling process. This will ensure a clean surface for attaching the handrail brackets.
If you are installing the handrail on a concrete wall or a wall with tile or stone, you may need to use a masonry or tile drill bit specifically designed for these materials.
Pre-drilling the holes will prepare the wall for the installation of the handrail brackets in the next step. It’s an important step to ensure the stability and longevity of the handrail installation.
With the holes pre-drilled, you’re now ready to move on to the next step: attaching the handrail brackets to the wall.
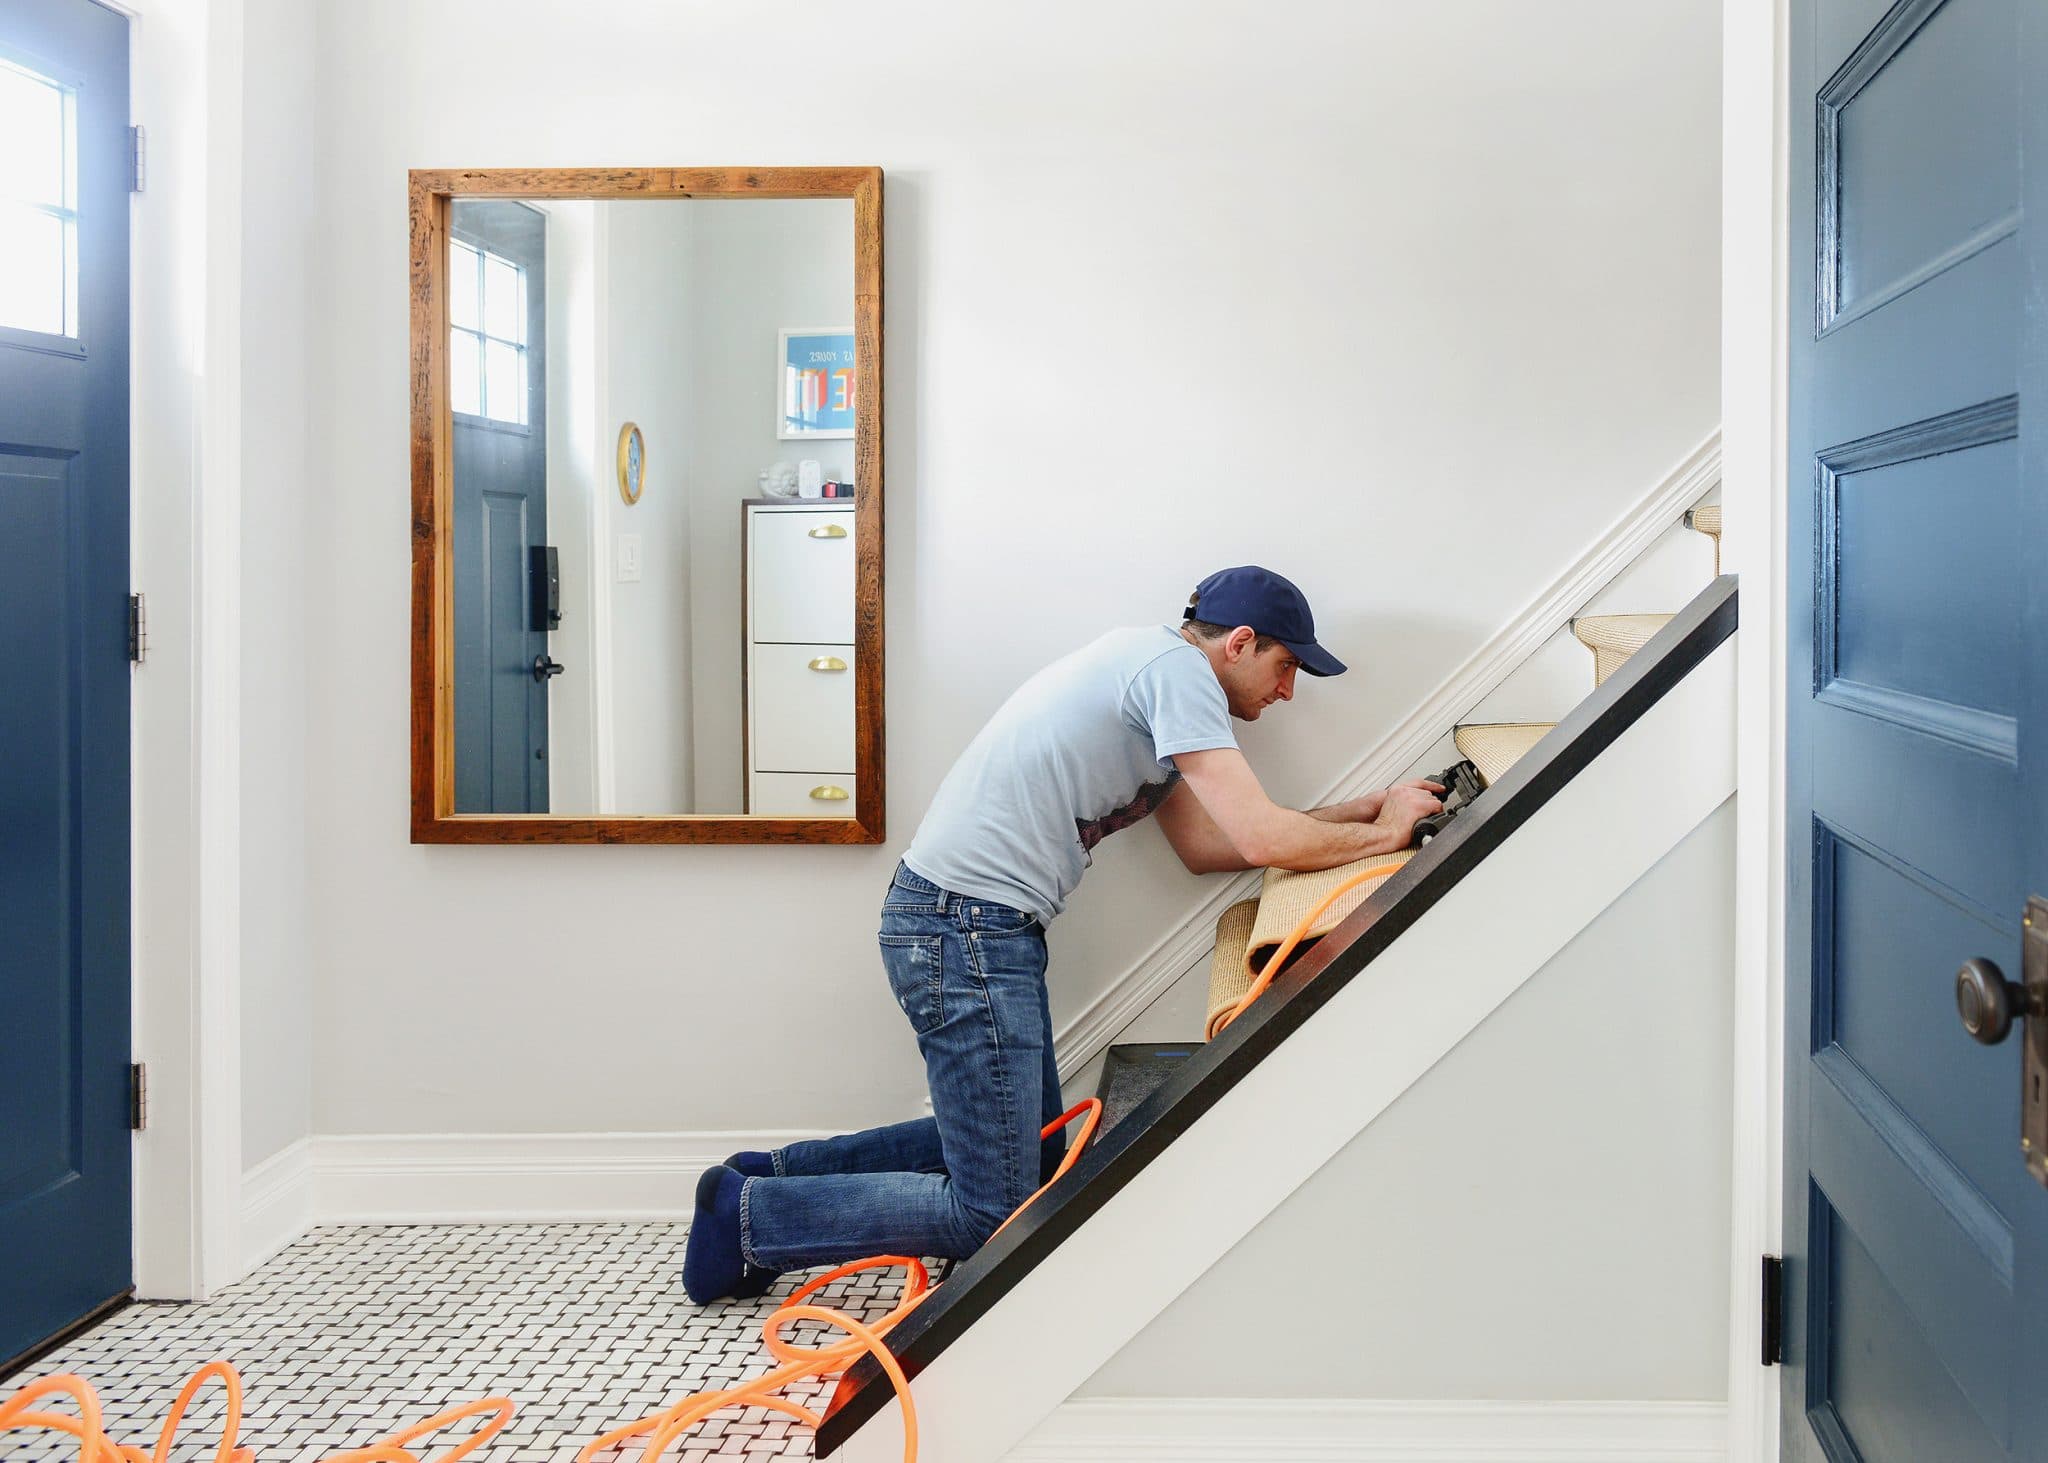
Step 4: Attach the handrail brackets to the wall
Now that you have pre-drilled the holes for the handrail brackets, it’s time to attach them securely to the wall. The brackets will serve as the support system for the handrail, so it’s important to ensure they are properly installed. Follow these steps to attach the handrail brackets:
- Take one of the handrail brackets and align it with one of the pre-drilled holes on the wall. Ensure that the bracket is level and centered on the mark you made for the handrail placement.
- Using a screwdriver or drill with a screwdriver bit, insert the screws provided with the handrail bracket into the pre-drilled holes. Drive the screws into the wall, but avoid over-tightening them to prevent damage to the bracket or wall surface.
- Repeat this process for each handrail bracket, ensuring that they are evenly spaced along the length of the handrail.
Make sure to check the levelness and alignment of the brackets as you go, adjusting them if necessary. It’s important to have the brackets installed in a straight line to ensure the stability of the handrail.
If you are installing the handrail on a drywall or a hollow wall, you may need to use wall anchors in conjunction with the screws for added support. Follow the manufacturer’s instructions for installing the wall anchors and ensure they are securely in place before attaching the brackets.
Once all the handrail brackets are securely attached to the wall, give them a gentle tug to test their stability. They should feel solid and firmly anchored to the wall.
With the handrail brackets in place, you’re now ready to move on to the next step: installing the handrail onto the brackets.
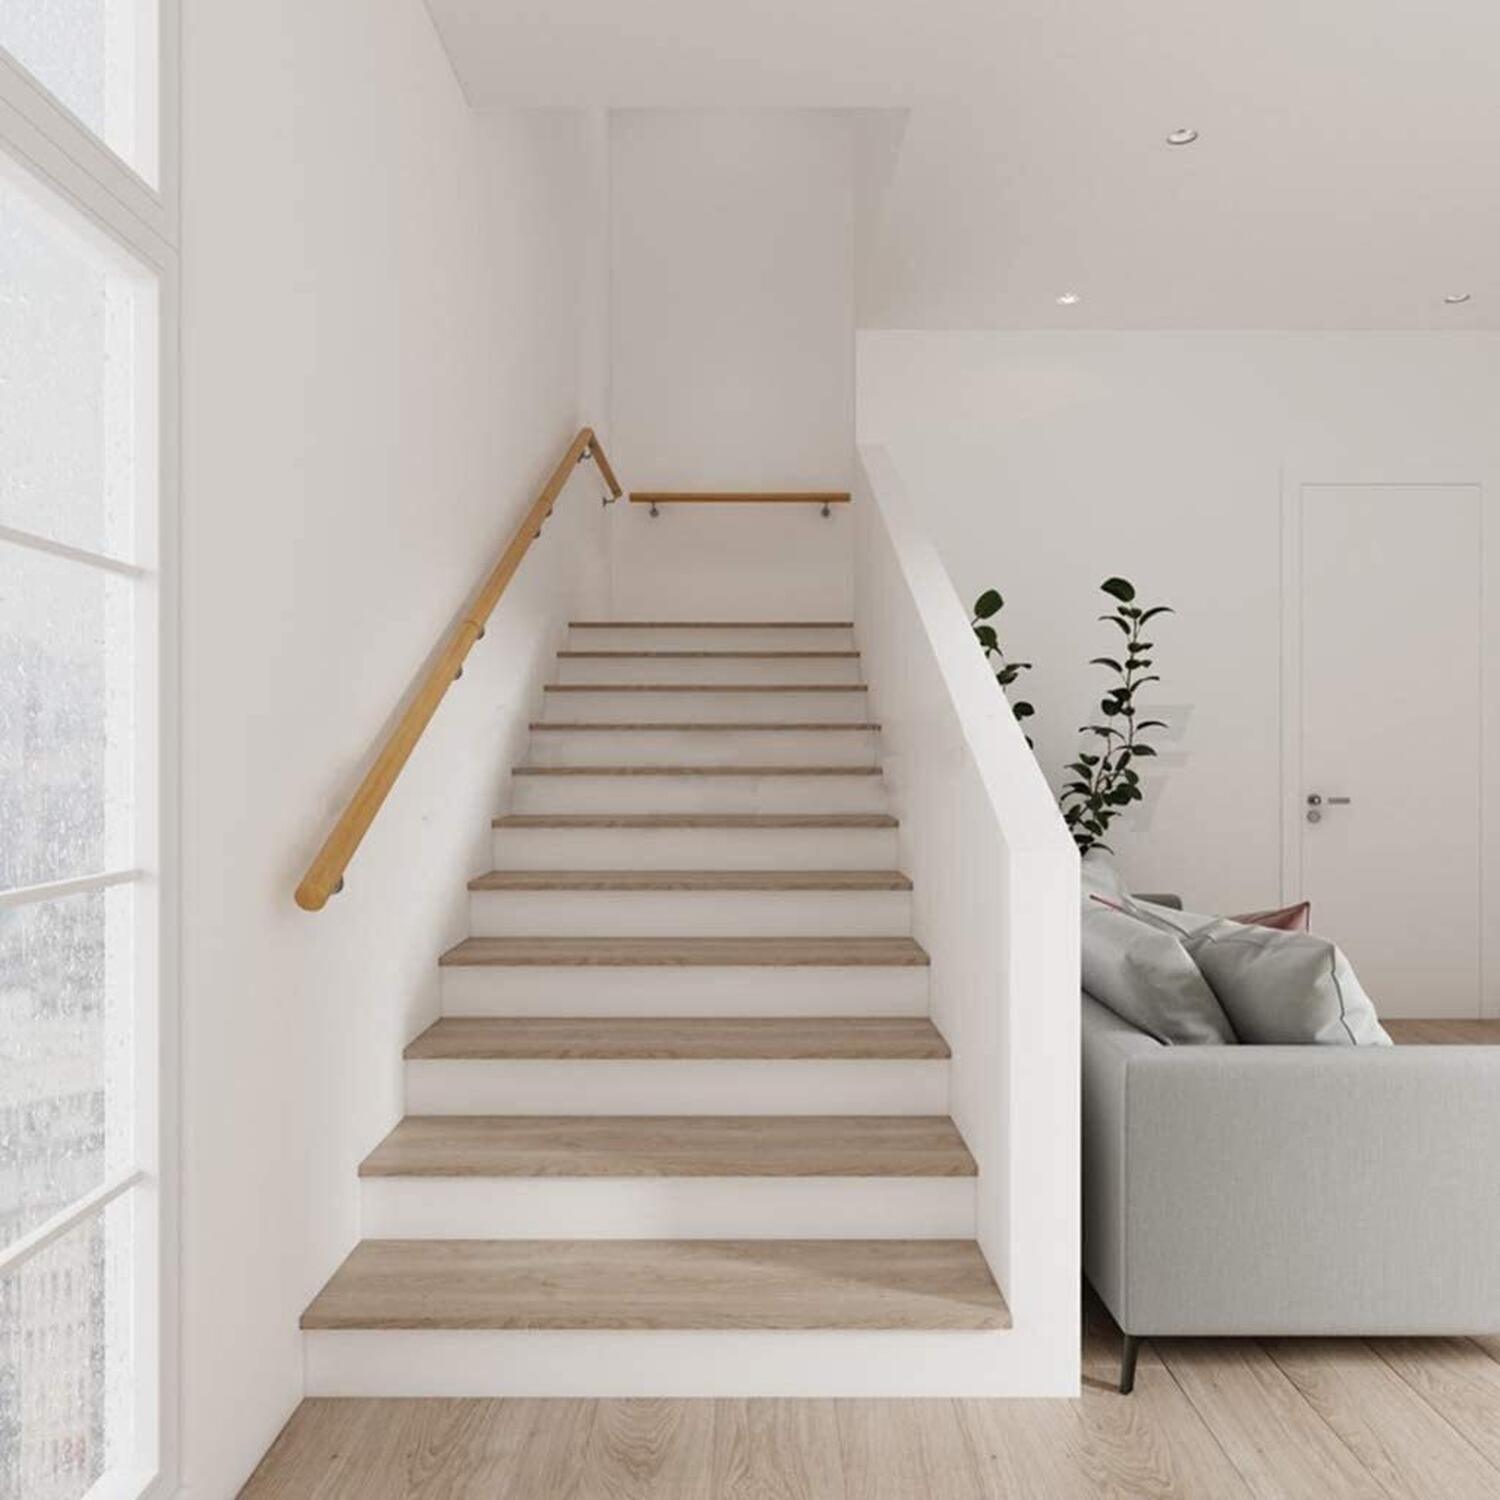
When installing handrails on stairs, make sure to use a level to ensure they are straight and secure. It’s important to follow local building codes for proper height and spacing.
Read more: How To Make Handrails For Stairs
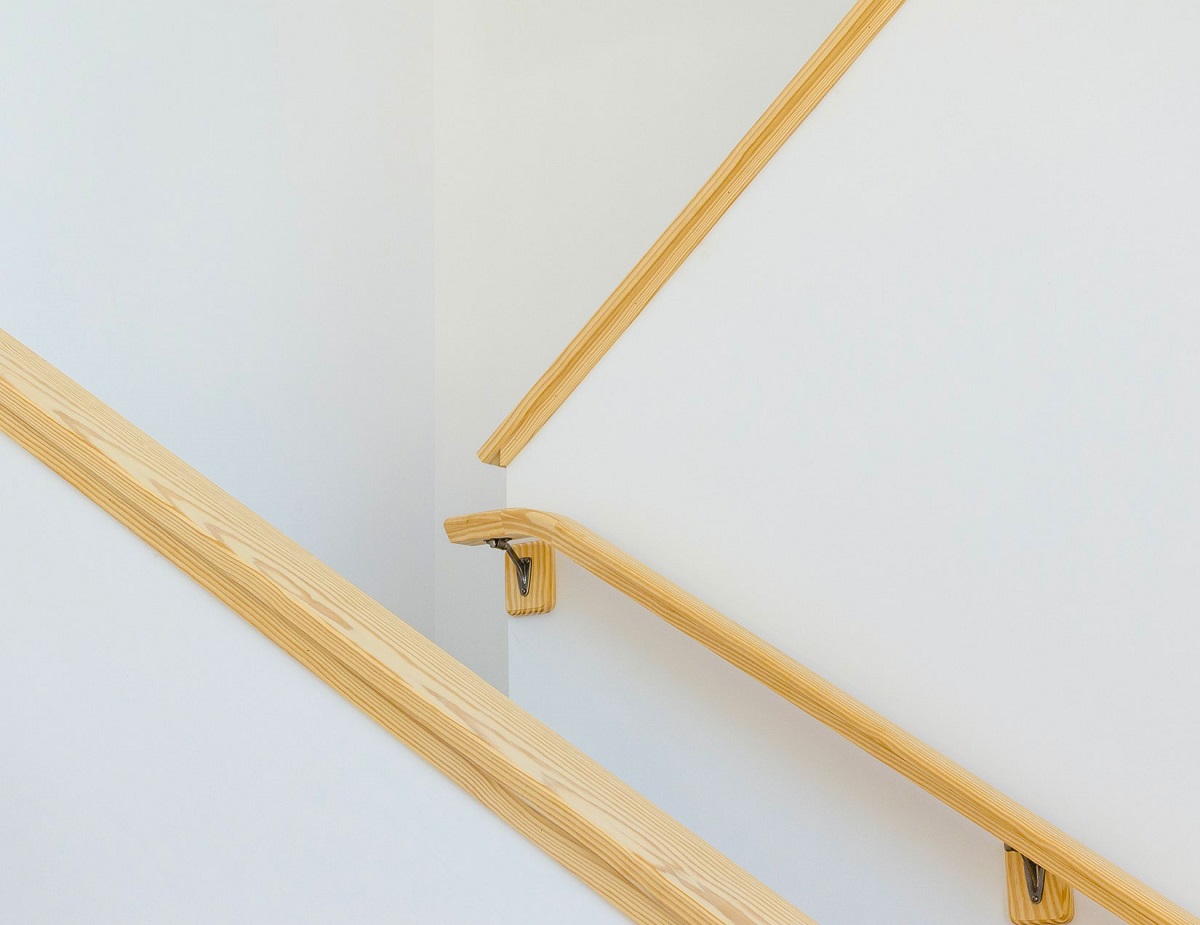
Step 5: Install the handrail onto the brackets
With the handrail brackets securely attached to the wall, it’s now time to install the actual handrail onto the brackets. This step will bring your stair railing to life and provide crucial support and stability. Follow these steps to install the handrail:
- Take the handrail and slide it onto the installed brackets. Ensure that the handrail is centered and fits securely onto the brackets.
- If necessary, use a rubber mallet or a block of wood and a hammer to tap the handrail gently into place. Be cautious not to damage the handrail or brackets during this process.
- Check the levelness of the handrail as you go. Use a level to ensure it is straight and adjust if needed.
- If the handrail is too long for your staircase, you may need to trim it to fit. Measure and mark the desired length, then use a saw suitable for the material of the handrail to make the cut.
- Once the handrail is in place and properly fitted, double-check its stability by applying gentle pressure and ensuring it does not wobble or shift.
Take your time during this step to ensure that the handrail is installed securely and provides the necessary stability for those using the stairs. The handrail should feel solid and firmly attached to the brackets.
It’s important to note that different handrail materials may require different installation techniques. For instance, if you’re installing a wooden handrail, you may need to use wood screws or adhesive to secure it to the brackets. Follow the manufacturer’s instructions and consider the specific requirements of your handrail material.
With the handrail successfully installed onto the brackets, you’re now ready to move on to the next step: securing the handrail to the brackets.
Step 6: Secure the handrail to the brackets
Now that you have installed the handrail onto the brackets, it’s time to secure it in place to ensure maximum stability and safety. This step will ensure that the handrail remains securely attached to the brackets, providing reliable support for anyone using the stairs. Follow these steps to secure the handrail to the brackets:
- Using a screwdriver or drill with a screwdriver bit, insert screws into the pre-drilled holes on the underside of the handrail brackets.
- Drive the screws through the holes and into the handrail. Ensure that the screws are tight enough to hold the handrail in place, but be careful not to overtighten them to avoid damaging the handrail or brackets.
- Repeat this process for each handrail bracket, ensuring that the handrail is securely fastened to all brackets along its length.
- Once all the screws are in place, give the handrail a gentle tug to test its stability. It should feel firmly attached and should not wobble or shift.
It’s crucial to use the appropriate size and type of screws for securing the handrail. Refer to the manufacturer’s instructions or consult with a professional to ensure you are using the correct screws for your specific handrail and bracket materials.
Additionally, if you are using adhesive to secure the handrail to the brackets, follow the manufacturer’s instructions and allow sufficient time for the adhesive to dry and set before testing the stability of the handrail.
Securing the handrail to the brackets is the final step in ensuring that your handrail installation is stable and long-lasting. Once the handrail is securely attached, you can move on to the final step of testing its stability.
With the handrail secured, we are now ready to move on to the last step: testing the handrail for stability.
Step 7: Test the handrail for stability
After completing the installation process, it is crucial to test the handrail for stability to ensure it can safely support individuals using the stairs. This step will give you peace of mind knowing that the handrail is securely installed and ready to provide the necessary support. Follow these steps to test the handrail for stability:
- Apply pressure to the handrail at various points along its length. This mimics the pressure that may be applied when someone is using the handrail while ascending or descending the stairs.
- Gently shake and wiggle the handrail to test its sturdiness. The handrail should remain firmly in place and not move or sway excessively.
- Ensure that the handrail is at a comfortable height for all users and adjust if necessary.
- Encourage family members or friends to test the handrail as well, applying pressure and simulating regular usage. Observe any feedback or concerns they may have.
- Check all the screws and brackets to ensure they are still securely fastened. If any screws or brackets become loose, tighten them as needed.
If any issues arise during the stability test, such as excessive movement or looseness, it is essential to address them immediately. This may involve tightening screws, adjusting brackets, or seeking professional assistance if necessary.
Regularly inspect the handrail and its components for any signs of wear or damage. Over time, screws may loosen or brackets may shift, compromising the stability of the handrail. Performing periodic maintenance and making any necessary adjustments will help maintain the handrail’s stability and longevity.
Once you are confident in the stability of the handrail and it passes the test, you can consider your handrail installation complete.
Congratulations! You have successfully installed handrails on your stairs, enhancing the safety and accessibility of your home. Remember, proper maintenance and periodic inspections are key to ensuring the continued functionality and stability of your handrail.
By following these step-by-step instructions, you have created a secure and reliable handrail that will provide support for years to come.
Thank you for following along with our comprehensive guide. We hope you found it helpful and that your handrail installation was a success!
Conclusion
Installing handrails on stairs is an important safety measure and a valuable addition to any home. By following the step-by-step process outlined in this guide, you can enhance the accessibility and security of your staircase while ensuring the well-being of those using it. From gathering the necessary tools and materials to testing the handrail for stability, each step is crucial in creating a secure and reliable handrail installation.
Remember, handrails provide crucial support and stability, especially for individuals with mobility challenges or balance issues. They also help prevent accidents and ensure compliance with building codes and regulations. Taking the time to properly install handrails is an investment in the safety and well-being of you and your loved ones.
Throughout this guide, we have emphasized the importance of accuracy, proper measurements, and using high-quality tools and materials. By following these guidelines, you can ensure a successful handrail installation that will provide long-lasting support and peace of mind.
Regularly inspect your handrail for any signs of wear or damage. Perform routine maintenance, such as tightening screws and checking brackets, to maintain the stability and functionality of the handrail. If any issues arise, address them promptly to prevent further damage and potential safety hazards.
We hope this comprehensive guide has provided you with the knowledge and confidence to install handrails on your stairs. Remember, if you have any doubts or concerns during the installation process, it is always wise to consult with a professional for guidance.
Thank you for using this guide to improve the safety and accessibility of your staircase. Enjoy the peace of mind and enhanced functionality that your newly installed handrail brings, knowing that you have taken an important step in ensuring the well-being of your household.
Frequently Asked Questions about How To Install Handrails On Stairs
Was this page helpful?
At Storables.com, we guarantee accurate and reliable information. Our content, validated by Expert Board Contributors, is crafted following stringent Editorial Policies. We're committed to providing you with well-researched, expert-backed insights for all your informational needs.


0 thoughts on “How To Install Handrails On Stairs”