Home>Articles>How To Install Wall Sconces For A Quick Room Refresh
Articles
How To Install Wall Sconces For A Quick Room Refresh
Modified: January 6, 2024
Want to give your room a quick refresh? Learn how to install wall sconces with these helpful articles. Transform your space in no time!
(Many of the links in this article redirect to a specific reviewed product. Your purchase of these products through affiliate links helps to generate commission for Storables.com, at no extra cost. Learn more)
Introduction
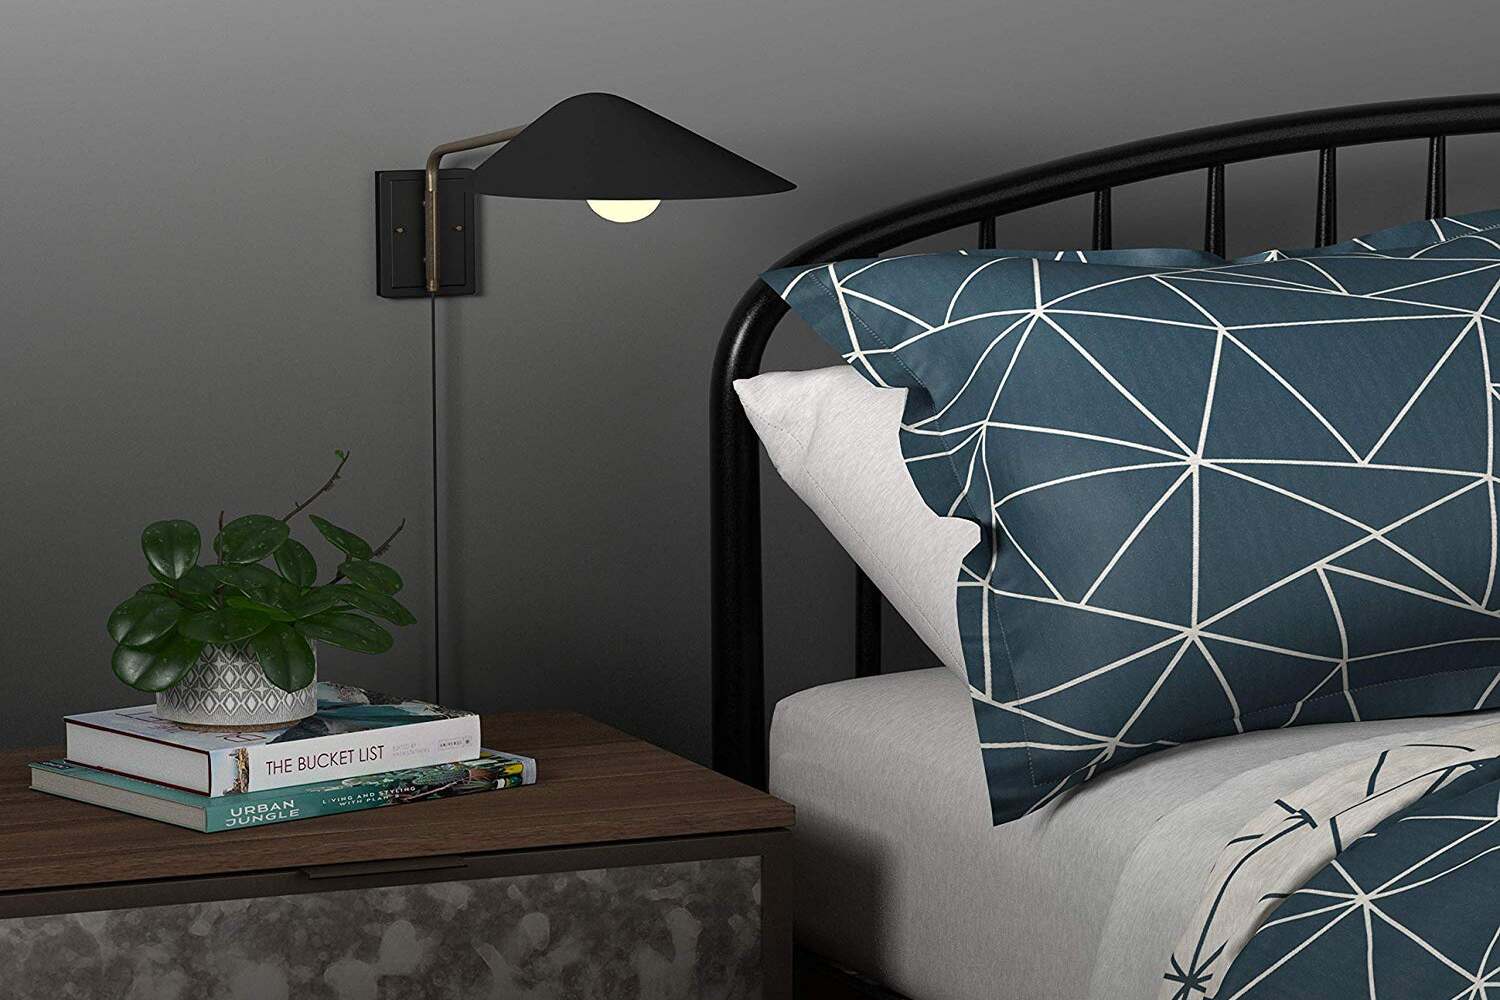
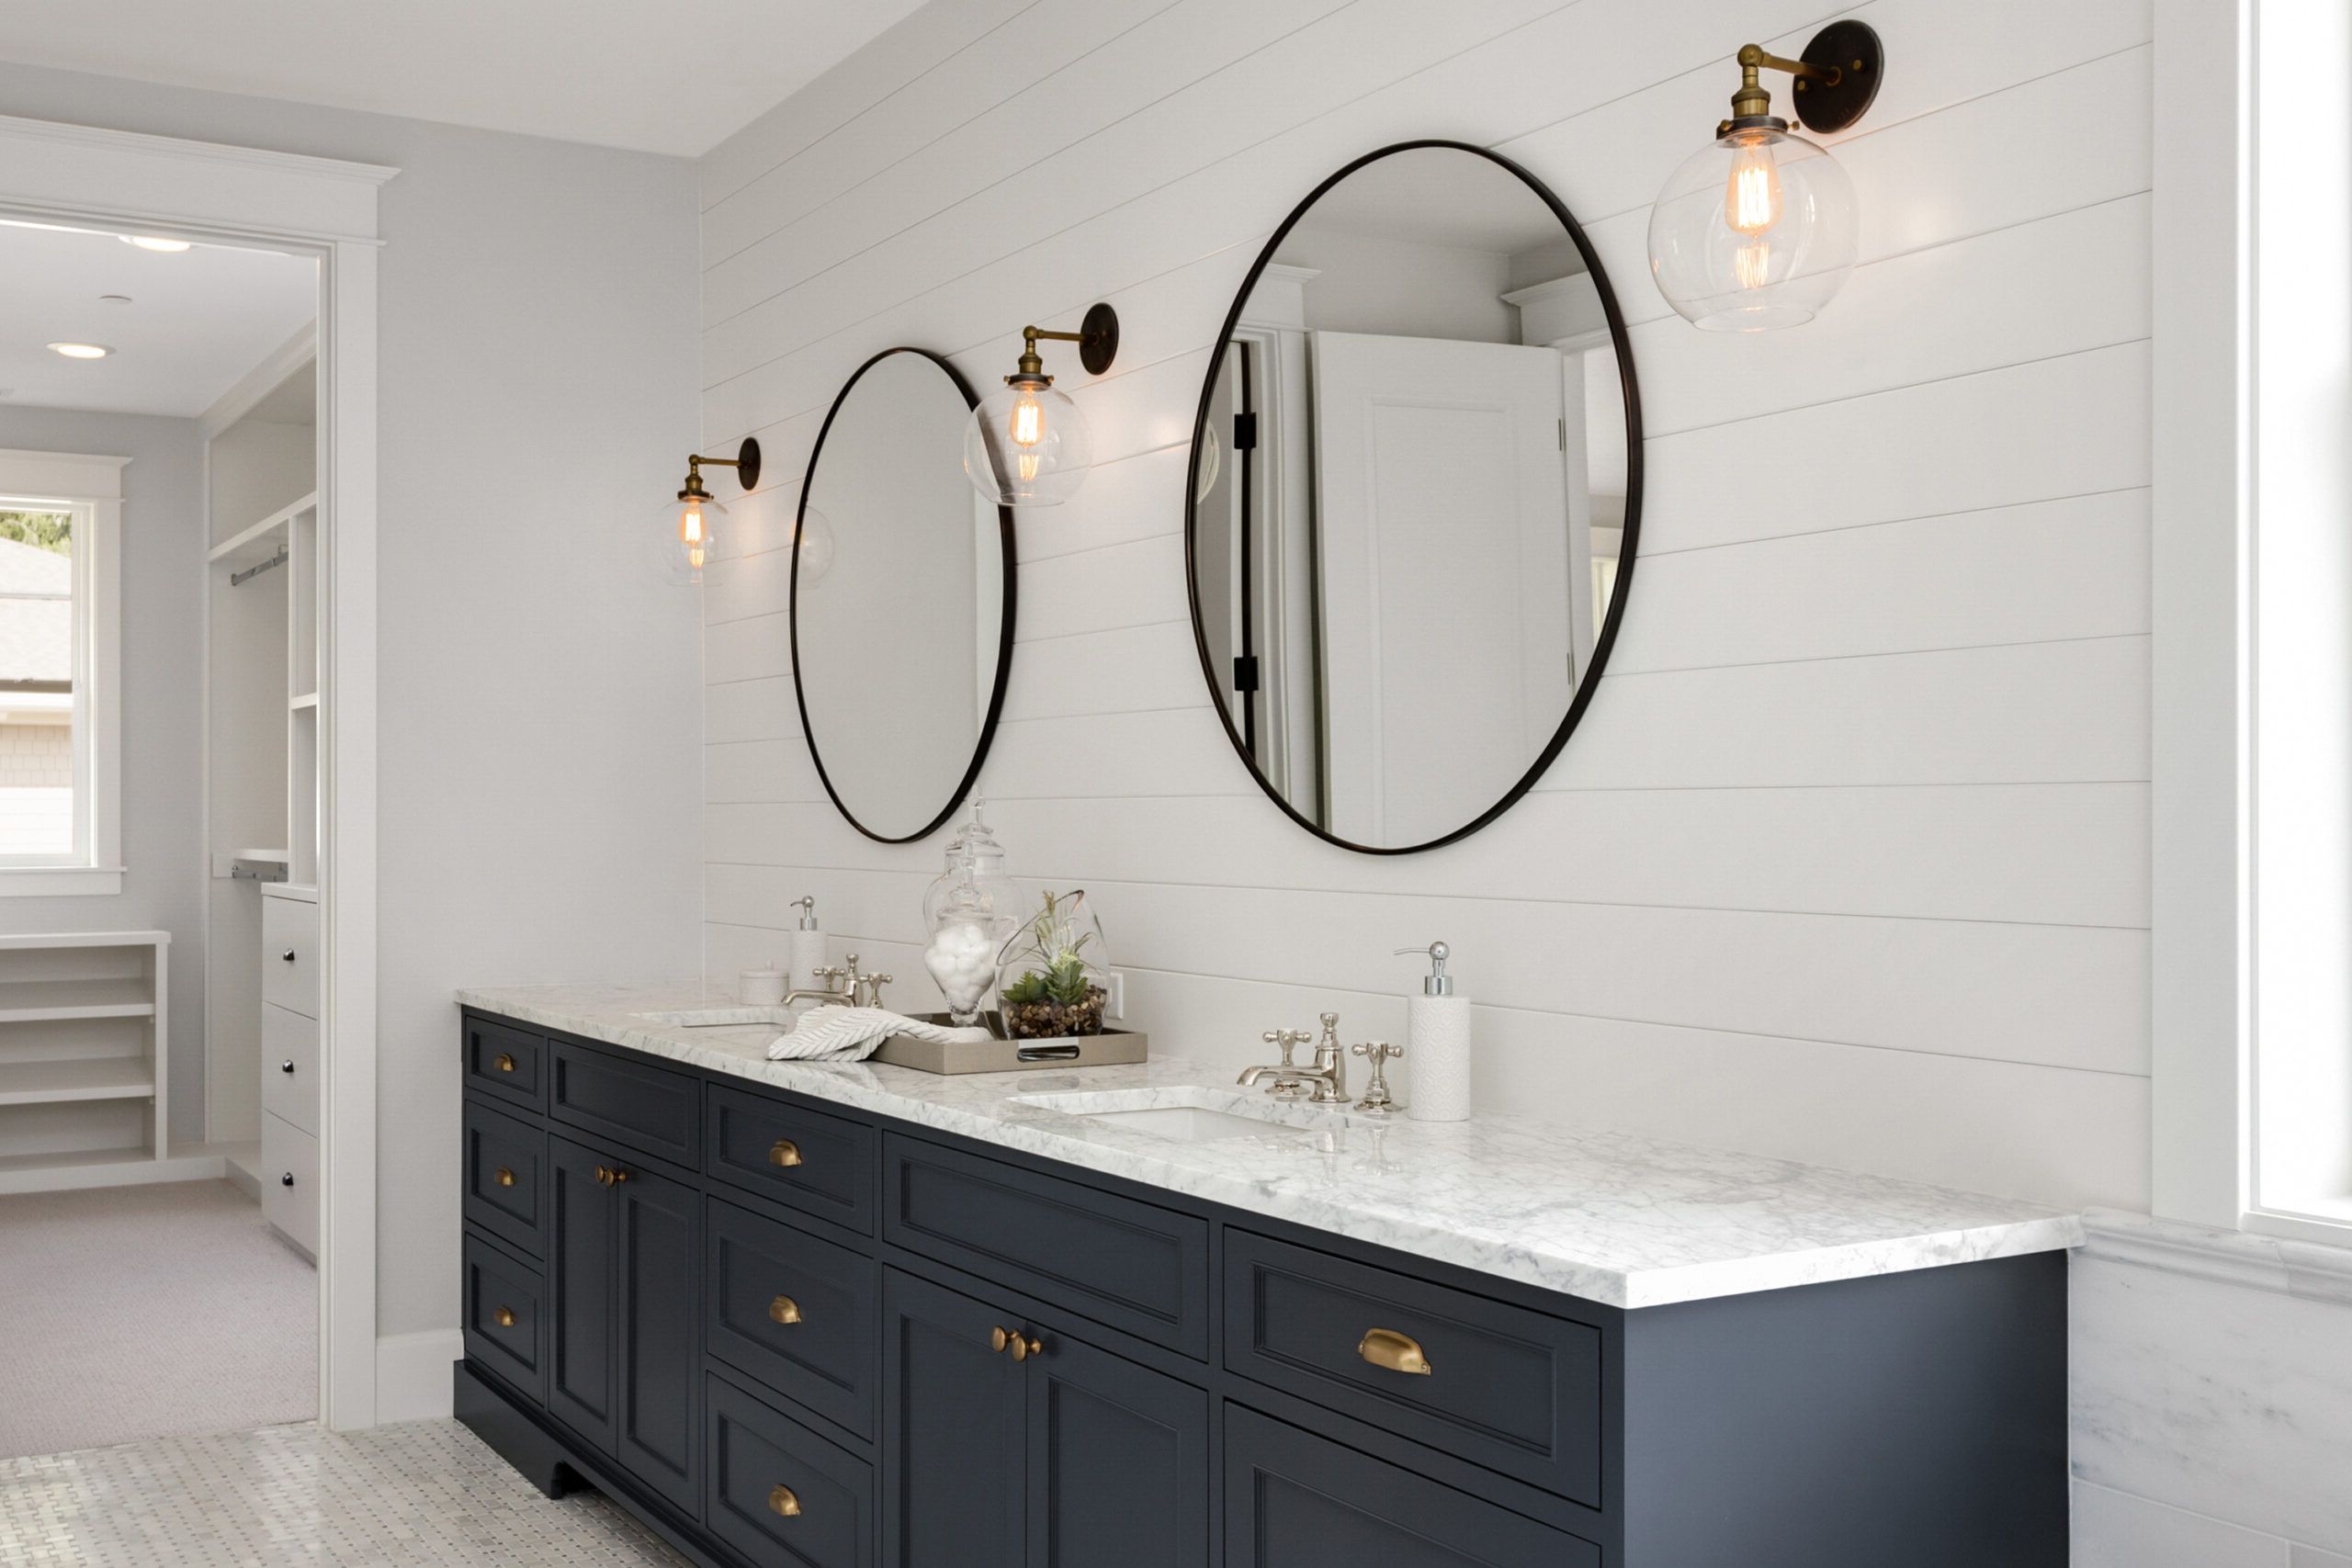
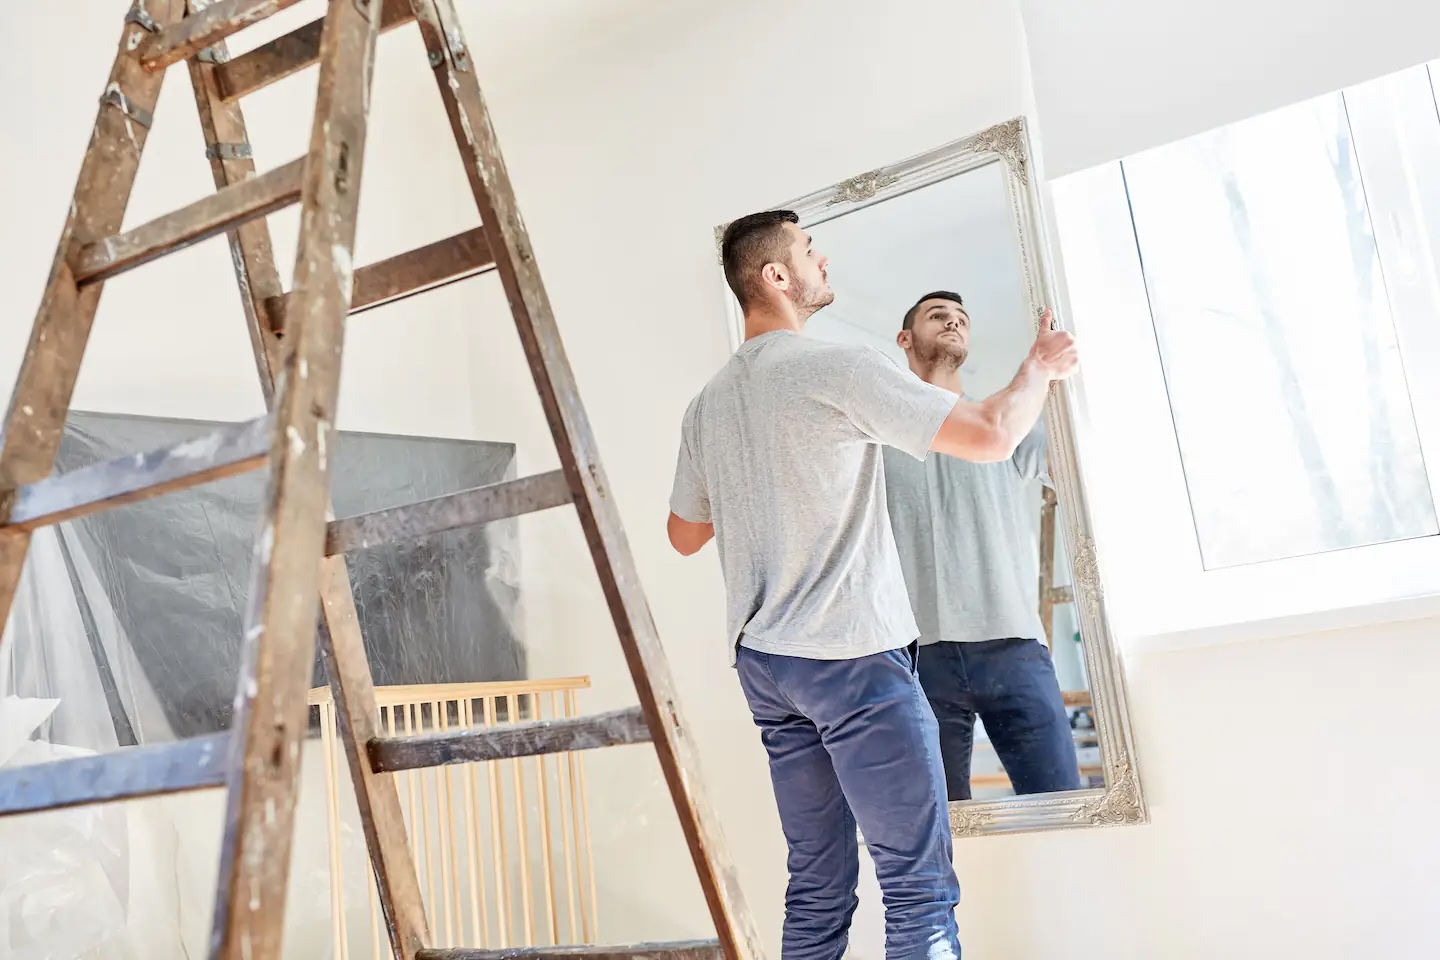
Wall sconces are a beautiful and functional lighting option that can instantly transform the look and ambiance of a room. Whether you want to add a touch of elegance to your living room or create a cozy atmosphere in your bedroom, installing wall sconces is a quick and effective way to refresh your space.
In this article, we will guide you through the step-by-step process of installing wall sconces. From gathering the necessary tools and materials to turning on the power and testing the sconce, we will cover all the essential steps to ensure a successful installation.
Before we dive into the installation process, it’s important to note that working with electricity can be dangerous. If you’re not comfortable or experienced in dealing with electrical wiring, it’s recommended to hire a professional electrician. Safety should always be the top priority.
That being said, if you’re confident in your DIY skills and want to embark on this project, let’s get started!
Key Takeaways:
- Elevate your space with wall sconces, transforming ambiance and aesthetics. Prioritize safety and follow step-by-step installation for a successful and visually pleasing outcome.
- Wall sconces offer stylish and functional lighting solutions. From choosing the perfect location to testing the sconce, enjoy the process of enhancing your space with elegant illumination.
Read also: 11 Best Exterior Wall Sconce For 2025
Step 1: Gather Necessary Tools and Materials
Before you begin installing the wall sconces, it’s crucial to gather all the necessary tools and materials. Having everything ready will ensure a smooth and uninterrupted installation process. Here are the tools and materials you’ll need:
- Wall sconces: Choose the style and design that best suits your taste and complements your existing decor.
- Mounting brackets: These are used to attach the wall sconces to the wall securely.
- Wire cutters and strippers: These tools are essential for cutting and stripping the electrical wires.
- Electrical tape: Use electrical tape to secure the wire connections and prevent any fraying.
- Wire nuts: These connectors are used to join and insulate the electrical wires.
- Screwdriver: Select the appropriate screwdriver for the mounting bracket and electrical box screws.
- Drill and drill bits: If necessary, use a drill and drill bits to create holes in the wall for mounting.
- Wire connectors: These connectors are used to join the sconce wires to the electrical supply wires.
- Wire fish tape: This tool is used to guide the electrical wires through tight spaces in the wall.
- Voltage tester: Use a voltage tester to ensure the power is switched off before working with the wires.
- Stud finder: Use a stud finder to locate the studs in the wall to secure the mounting brackets.
- Safety goggles and gloves: Always prioritize safety by wearing goggles and gloves to protect yourself during installation.
- Pencil: Use a pencil to mark the desired location for the sconces on the wall.
- Level: Ensure the sconces are straight by using a level to guide your installation.
Make sure you have all the above tools and materials handy before starting the installation process. This will save you time and prevent any unnecessary interruptions during the installation. Once you have everything ready, you can move on to choosing the perfect location for your wall sconces.
Step 2: Choose the Perfect Location
Choosing the right location for your wall sconces is crucial to ensure they provide the desired lighting effect and complement the overall aesthetics of the room. Here are some important factors to consider when selecting the perfect location:
1. Functionality: Think about the purpose of the wall sconces in the room. Are they primarily for task lighting, mood lighting, or decorative purposes? This will help determine the optimal placement for the sconces.
2. Height: Consider the height at which you want to install the sconces. As a general rule, sconces should be installed at eye level or slightly above eye level for optimal visibility and functionality.
3. Spacing: Determine the spacing between the wall sconces based on the size of the room and the desired lighting effect. Generally, sconces should be placed around 6 to 8 feet apart to evenly distribute the light.
4. Existing Electrical Box: If you’re replacing an existing light fixture, you’ll likely have an electrical box in place. Ensure that the location of the sconces aligns with the existing electrical box for a hassle-free installation.
5. Style and Aesthetics: Consider the overall style and aesthetics of the room. Choose a location that enhances and complements the existing decor. You may also want to consider any architectural features or focal points in the room that can be highlighted with the placement of the sconces.
6. Accessibility: Take into account the accessibility of the location. Ensure that the sconces are easily accessible for cleaning, maintenance, and changing light bulbs.
Once you’ve taken these factors into consideration, use a pencil to mark the desired location on the wall. Use a level to ensure that the marks are straight and aligned. This will help you achieve a visually pleasing and symmetrical placement of the wall sconces.
Once you’ve chosen the perfect location and marked it on the wall, you’re ready to move on to the next step: turning off the power.
Step 3: Turn off the Power
Before you begin working with electrical wiring, it’s crucial to ensure your safety by turning off the power to the area where you’ll be installing the wall sconces. Here’s how you can turn off the power:
- Locate the electrical panel in your home. This is usually located in the basement, garage, or utility room.
- Open the panel door and locate the circuit breaker that controls the power to the area where you’ll be working. Look for labels or markings indicating which circuit corresponds to the specific area.
- Flip the switch to the “off” position for the corresponding circuit. This will cut off power to the area and ensure your safety while you work on the wall sconces. To be extra cautious, you can also switch off the main power if needed.
- Use a voltage tester to double-check that the power is indeed switched off. Place the voltage tester on each wire or electrical connection to verify that there is no live electricity running through them.
It’s important to ensure that the power is completely turned off before proceeding with any electrical work. This will prevent the risk of electrical shock or injury while working with the wires.
Once you’ve confirmed that the power is switched off, you can move on to the next step: removing the existing light fixture (if applicable). If there is no existing fixture, you can proceed to the next step of installing the mounting bracket.
Step 4: Remove Existing Light Fixture (if applicable)
If you already have a light fixture in the area where you plan to install the wall sconces, you’ll need to remove it before proceeding with the installation. Here’s how you can remove the existing light fixture:
- Locate the screws or fasteners that are holding the existing light fixture in place. These are usually located at the top and bottom of the fixture, or on the sides.
- Using a screwdriver, carefully remove the screws or fasteners to detach the fixture from the mounting bracket or electrical box.
- Once the screws are removed, gently lower the fixture and disconnect the wiring. Take note of how the wires are connected and use a camera or take pictures for reference, as this will be helpful when connecting the new sconces.
- If there is a mounting bracket or electrical box, remove it by unscrewing the screws that are securing it to the wall.
- Once you’ve removed the existing fixture and any associated components, inspect the area to ensure it is clean and free from any debris or residue.
Removing the existing light fixture may require some care and attention to avoid damaging the electrical wiring or the wall surface. If you’re unsure about the process or if the wiring seems complicated, it’s best to consult with a licensed electrician for assistance.
If there was no existing fixture in the area, you can skip this step and move on to the next step of installing the mounting bracket.
With the existing light fixture removed, you’re now ready to install the mounting bracket, which will securely hold the wall sconces in place.
When installing wall sconces, make sure to turn off the power to the area where you will be working to avoid any electrical accidents. Always use the appropriate tools and follow the manufacturer’s instructions for a safe and successful installation.
Read also: 9 Best Interior Wall Sconce For 2025
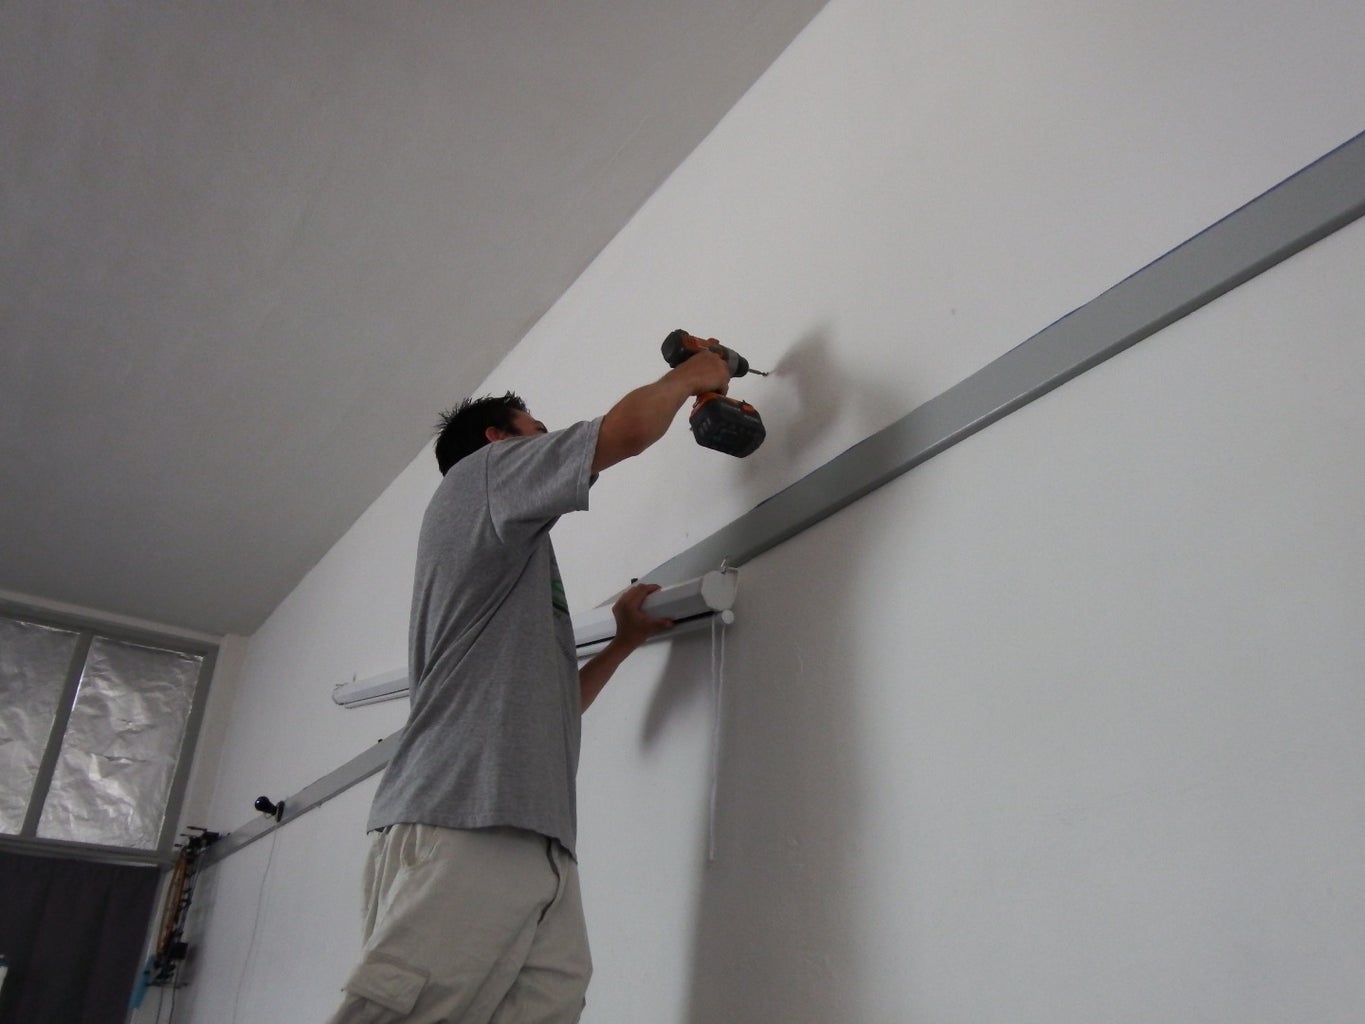
Step 5: Install Mounting Bracket
Now that you’ve removed the existing light fixture (if applicable), it’s time to install the mounting bracket for your wall sconces. The mounting bracket provides a secure base for the sconces to be attached to the wall. Follow these steps to install the mounting bracket:
- Take the mounting bracket that came with your sconces and hold it against the wall at the marked location. Ensure that it is level and aligned with the marks.
- Using a pencil, mark the screw holes on the wall through the mounting bracket’s holes.
- If the wall has studs, use a stud finder to locate them. Ideally, you want to attach the mounting bracket to the studs for maximum stability.
- Once you’ve determined the location of the studs, place the mounting bracket against the wall and align the screw holes with the marked spots.
- Using a drill and the appropriate drill bit, create pilot holes in the wall at the marked screw hole locations. If you’re drilling into a stud, use a wood drill bit slightly smaller than the screws.
- Place the mounting bracket back against the wall and align the pilot holes with the screw holes in the bracket.
- Secure the mounting bracket to the wall by inserting screws through the bracket’s holes and into the pilot holes. Tighten the screws using a screwdriver or a drill with the appropriate screwdriver bit.
- Double-check that the mounting bracket is securely fastened to the wall and doesn’t wobble or sway.
By properly installing the mounting bracket, you ensure a stable and secure base for your wall sconces. The bracket will provide the necessary support for the sconces and ensure that they stay securely attached to the wall.
With the mounting bracket installed, you’re ready to move on to the next step: connecting the wiring and securing the wall sconces.
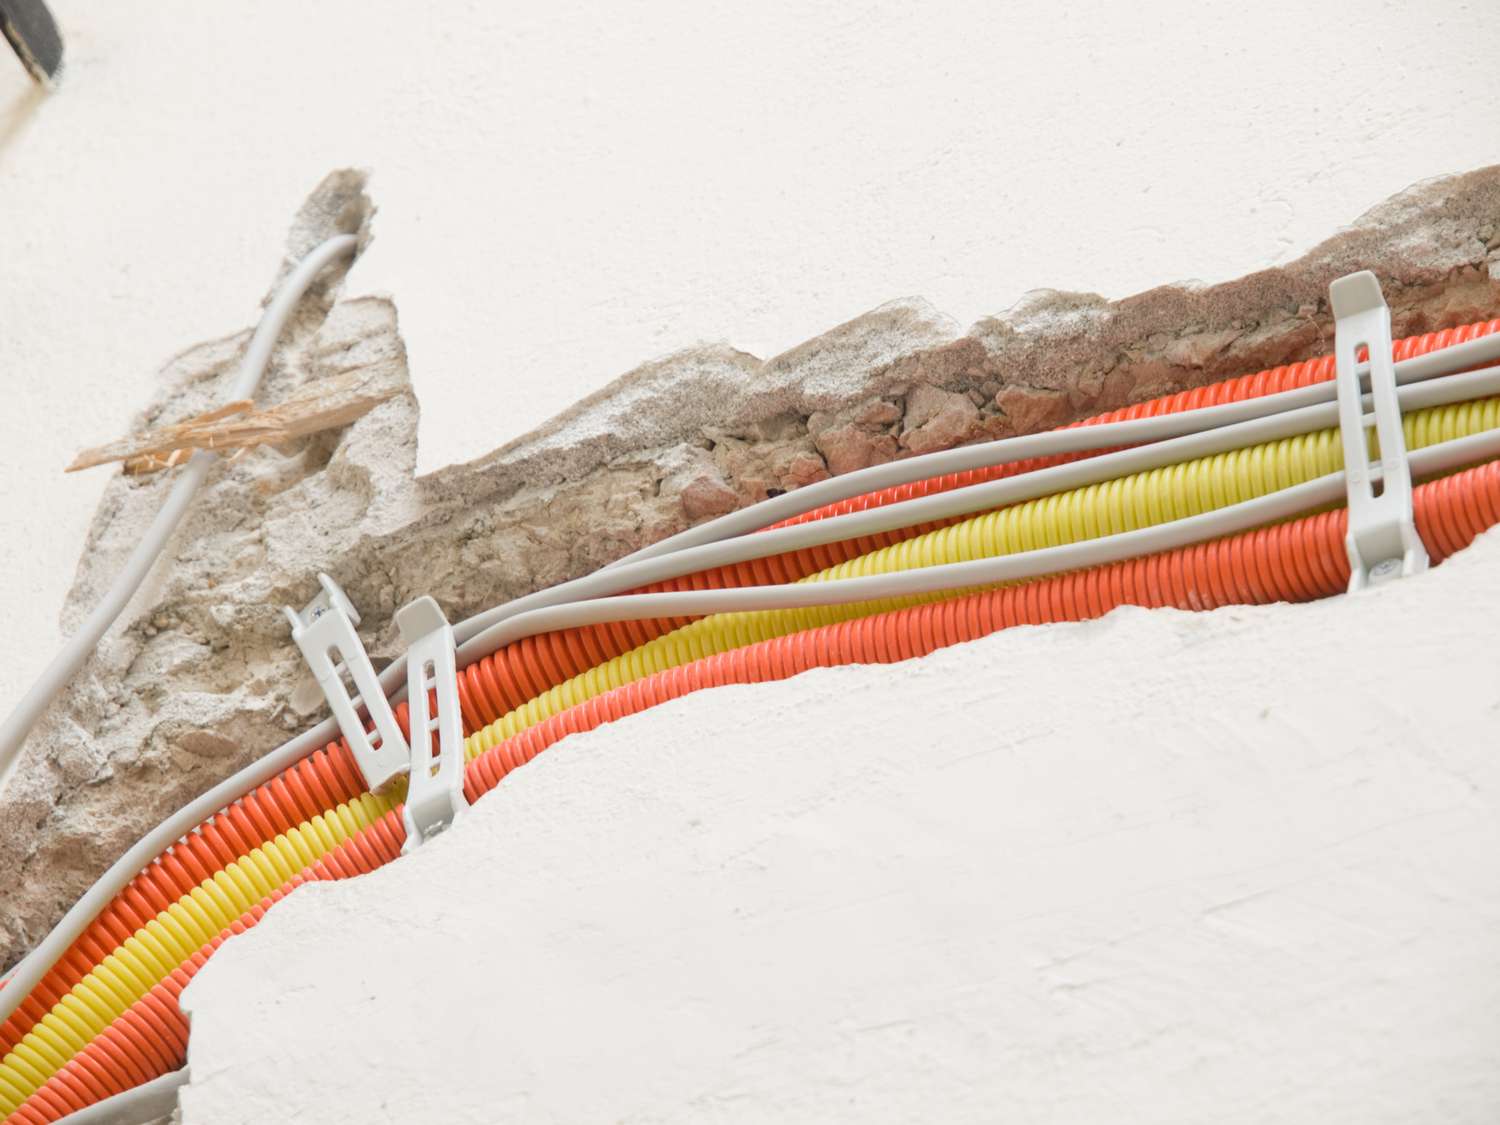
Step 6: Connect Wiring and Secure Sconce
With the mounting bracket in place, it’s time to connect the wiring and securely attach the wall sconce to the bracket. Follow these steps to properly connect the wiring and secure the sconce:
- Start by turning off the power at the electrical panel to ensure your safety.
- Locate the electrical box on the wall where the mounting bracket is installed.
- Identify the electrical wires coming out of the box. Typically, you’ll have a black (hot) wire, a white (neutral) wire, and a bare or green (ground) wire.
- Retrieve the sconce’s electrical wires. These wires will typically consist of a black wire, a white wire, and a bare or green wire, or they may be color-coded.
- Strip about 1/2 inch of insulation from the end of each wire using wire strippers.
- Twist the black wires from the sconce and the electrical box together and secure them with a wire nut. Repeat this step with the white wires and the bare or green wires.
- Wrap electrical tape around the wire nut connections to provide additional insulation and secure them in place.
- Gently tuck the connected wires into the electrical box, ensuring they are not crimped or pinched.
- Position the wall sconce over the mounting bracket, aligning the screw holes on the sconce with the screws on the bracket.
- Secure the sconce to the bracket by inserting and tightening the screws provided with the sconce.
- Check that the sconce is securely attached and does not wobble or shift.
Take a moment to carefully inspect the wiring connections to ensure they’re properly secured and that there are no exposed or loose wires. If everything looks secure, you can proceed to the next step of installing the light bulb and shade.
Remember to exercise caution while working with electrical wiring, and if you have any doubts or uncertainties, it’s best to consult a professional electrician.
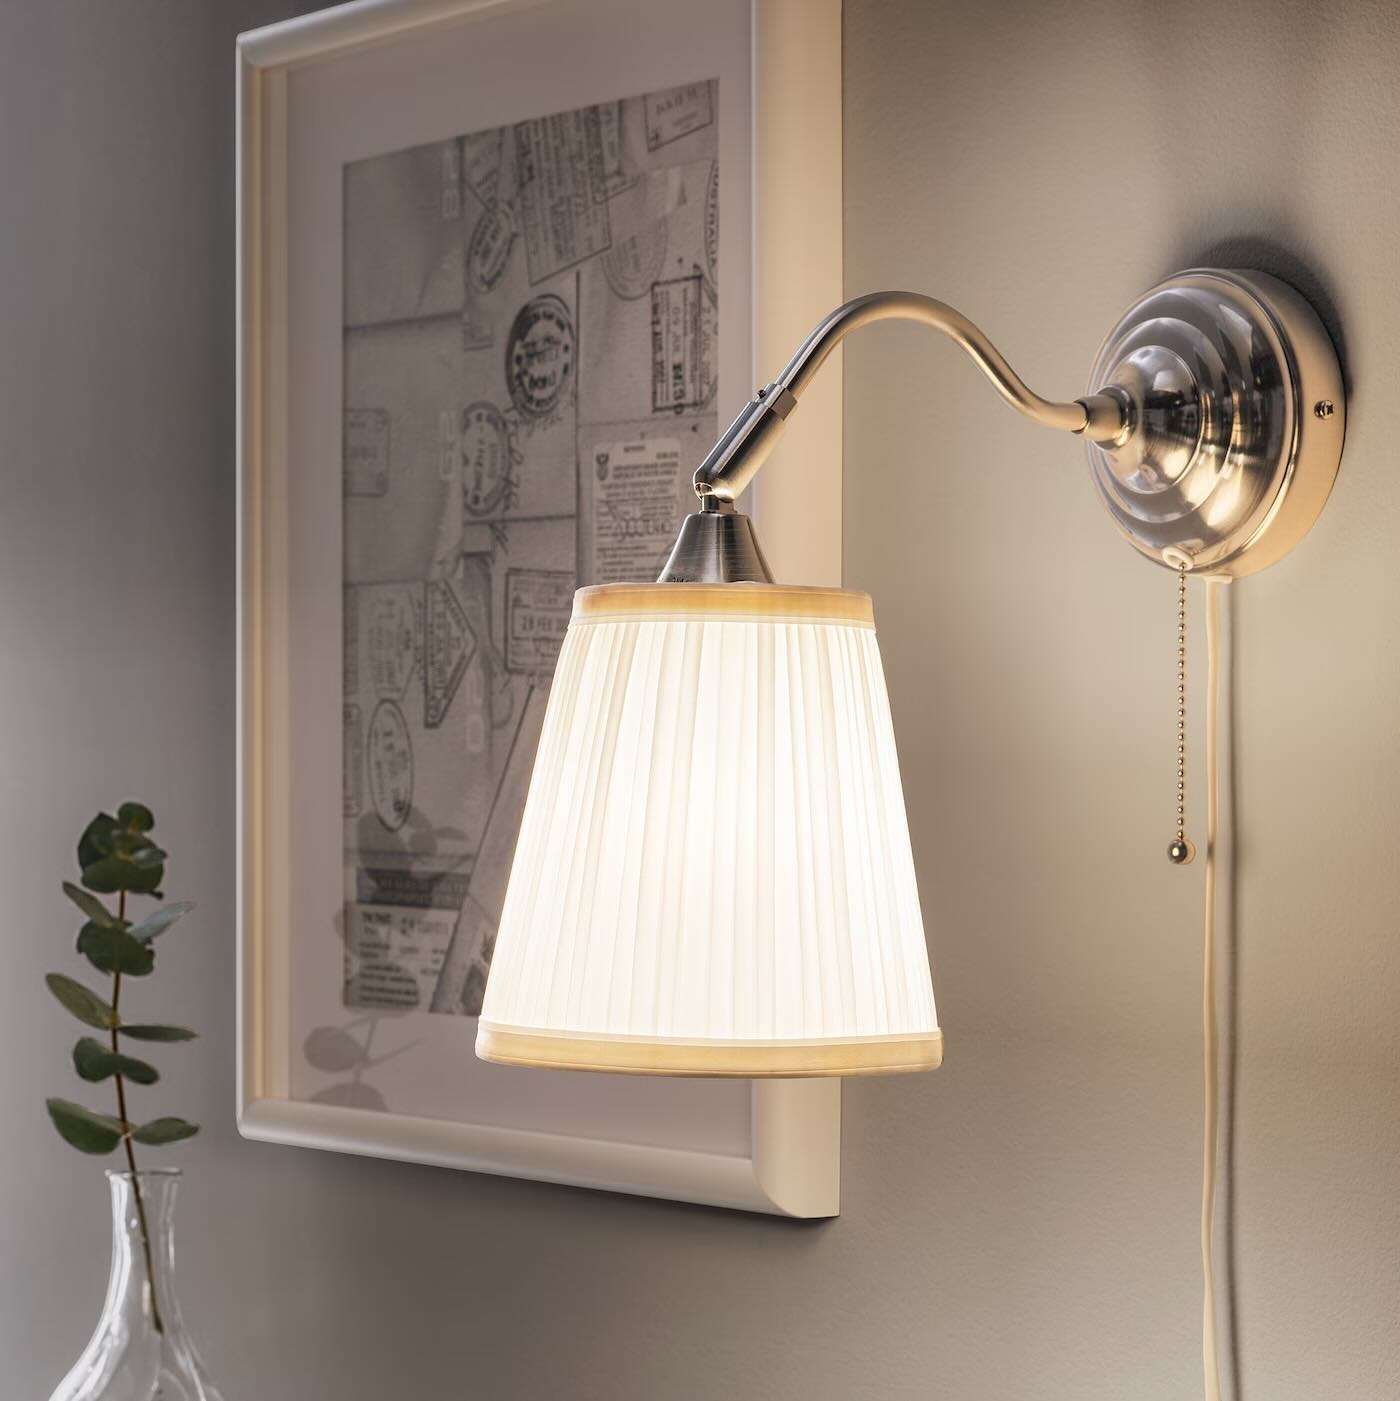
Step 7: Install Light Bulb and Shade
Now that the wiring is properly connected and the sconce is securely attached, it’s time to install the light bulb and shade. Follow these steps to complete this final stage of the installation:
- First, check the specifications of your wall sconces to determine the appropriate type and wattage of light bulbs to use. This information is typically found in the sconce’s instruction manual or on the packaging.
- Make sure the power is still switched off at the electrical panel for added safety.
- Remove any packaging or protective covering from the light bulb and shade.
- Screw the light bulb into the socket of the wall sconce, ensuring it is fully inserted and securely in place.
- Attach the shade to the sconce according to the manufacturer’s instructions. This may involve twisting, sliding, or securing it with screws, depending on the design of your sconce.
- Ensure that the shade is properly aligned and centered, and adjust it if necessary.
- If your wall sconces have any additional decorative elements, such as crystals or accents, make sure that they are properly attached and secured.
Now that the light bulb and shade are installed, take a moment to step back and admire your work. Flip the power switch back on at the electrical panel to test the lights. If everything is functioning properly, you can move on to the final step of the installation process: turning on the power and testing the sconce.
Keep in mind that some wall sconces may require specific assembly or installation instructions that are unique to their design. Consult the manufacturer’s instructions to ensure you follow any additional steps or considerations.
With the light bulb and shade in place, your wall sconces are now ready to illuminate your space and create a beautiful ambiance.
Step 8: Turn on the Power and Test the Sconce
After completing the installation of your wall sconces, it’s time to turn on the power and test the functionality of the sconce. Here’s what you need to do:
- Ensure that the light switch or dimmer controlling the sconce is in the “off” position.
- Go to the electrical panel and switch on the power to the area where the sconce is installed.
- Return to the room and flip the light switch or dimmer to the “on” position.
- Observe the wall sconce to see if it lights up properly.
- If the sconce does not turn on, double-check the wiring connections to ensure they are secure.
- Make sure the light bulb is properly inserted and functioning. If necessary, try replacing the light bulb.
- If the sconce still doesn’t work, turn off the power, remove the shade, and inspect the wiring for any loose connections, frayed wires, or other issues. Correct any problems as needed.
- Once the sconce is functioning as expected, take note of any adjustments you’d like to make to the positioning, angle, or brightness of the light.
Testing the sconce ensures that all the electrical connections are working correctly and that the sconce is providing the desired lighting effect. It’s important to pay attention to any potential issues and address them promptly to ensure safety and functionality.
If you encounter any difficulties during the testing process or if the sconce does not function properly, it’s best to consult a licensed electrician for assistance. They can help diagnose and troubleshoot any electrical issues that may arise.
Congratulations! With the power turned on and the sconce successfully tested, you’ve completed the installation process. Enjoy the beautiful illumination and ambiance that your new wall sconces bring to your space.
Read more: What Type Of Electrical Box For Wall Sconce
Conclusion
Installing wall sconces is a fantastic way to refresh the look and feel of any room. By following the step-by-step guide in this article, you can successfully install wall sconces and elevate the ambiance of your space.
Remember to always prioritize safety when working with electrical wiring. If you’re not comfortable or experienced in handling electrical connections, it’s best to seek the assistance of a professional electrician.
Throughout the installation process, we covered various essential steps, including gathering the necessary tools and materials, choosing the perfect location, turning off the power, removing existing light fixtures (if applicable), installing the mounting bracket, connecting the wiring, securing the sconce, installing the light bulb and shade, and finally turning on the power and testing the sconce.
By carefully following these steps, you can ensure a successful and visually pleasing installation of your wall sconces. The proper positioning, correct wiring connections, and functional light bulbs will contribute to a captivating and well-lit space.
Whether you’re aiming for elegant task lighting or setting a cozy or dramatic mood, wall sconces provide a stylish and practical lighting solution. They can enhance the aesthetic appeal of your home while also serving a functional purpose.
Now that you have the confidence and knowledge to install wall sconces, it’s time to let your creativity shine. Choose the perfect style and design that complements your existing decor, and enjoy the beautiful and inviting atmosphere that wall sconces bring to your space.
Remember, always prioritize safety, consult professional help if needed, and enjoy the process of transforming your room with the installation of wall sconces.
Frequently Asked Questions about How To Install Wall Sconces For A Quick Room Refresh
Was this page helpful?
At Storables.com, we guarantee accurate and reliable information. Our content, validated by Expert Board Contributors, is crafted following stringent Editorial Policies. We're committed to providing you with well-researched, expert-backed insights for all your informational needs.


0 thoughts on “How To Install Wall Sconces For A Quick Room Refresh”