Home>Gardening & Outdoor>Landscaping Ideas>How To Install Artificial Grass On Wall
Landscaping Ideas
How To Install Artificial Grass On Wall
Modified: August 16, 2024
Learn how to enhance your outdoor space with our step-by-step guide on installing artificial grass on a wall. Get creative landscaping ideas today!
(Many of the links in this article redirect to a specific reviewed product. Your purchase of these products through affiliate links helps to generate commission for Storables.com, at no extra cost. Learn more)
Introduction
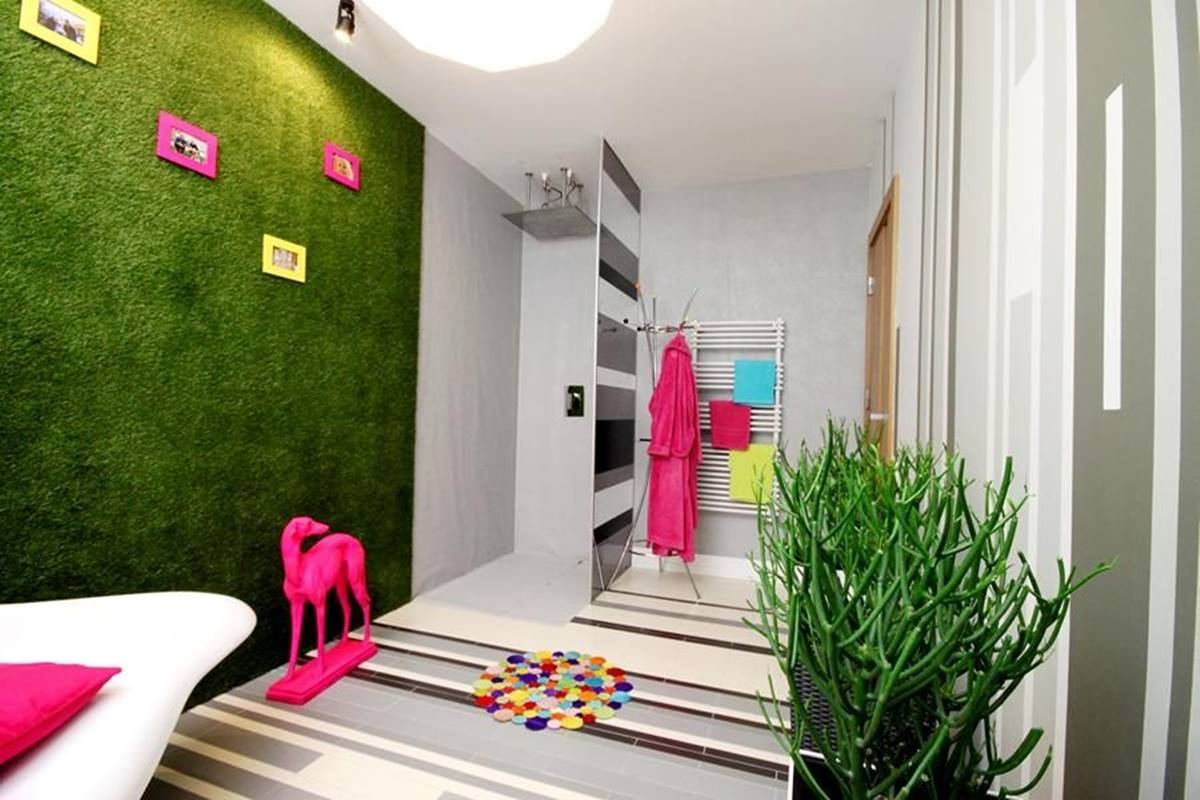
Welcome to the innovative world of vertical landscaping! If you’re looking to add a touch of greenery to your indoor or outdoor space, installing artificial grass on a wall can be a game-changer. This creative and visually appealing technique allows you to bring the beauty of nature to areas where traditional gardening may not be feasible.
Whether you want to create a lush accent wall in your living room, revamp a plain exterior facade, or introduce a natural element to a commercial space, this DIY project offers endless possibilities. With the right tools, materials, and know-how, you can transform a blank wall into a stunning vertical garden that requires minimal maintenance.
In this guide, we’ll walk you through the step-by-step process of installing artificial grass on a wall. From preparing the wall surface to adding the finishing touches, you’ll gain valuable insights and practical tips to help you achieve professional-looking results. So, roll up your sleeves, unleash your creativity, and get ready to elevate your space with this exciting and unique landscaping endeavor!
Key Takeaways:
- Transform a dull wall into a vibrant vertical garden by following simple steps to install artificial grass. Elevate your space with nature-inspired beauty and minimal maintenance for a stunning result.
- Unleash your creativity and bring the outdoors indoors with artificial grass on a wall. Enjoy the endless possibilities of vertical landscaping to revitalize any space with lush greenery.
Read more: How To Install A Grass Wall
Tools and Materials
Before diving into the installation process, it’s essential to gather the necessary tools and materials to ensure a smooth and efficient workflow. Here’s a comprehensive list of items you’ll need for this project:
Tools:
- Measuring tape
- Pencil or chalk
- Utility knife
- Paint roller or brush
- Staple gun
- Level
- Scissors
- Power drill
- Paint scraper or putty knife
- Bucket and sponge
Materials:
- Artificial grass panels or rolls
- Adhesive suitable for outdoor or indoor use, depending on the installation location
- Primer (if the wall surface requires priming)
- Staples or nails
- Outdoor-rated screws and anchors (for exterior installations)
- Optional: Weed barrier fabric (for outdoor installations)
- Cleaner or mild detergent for surface preparation
- Protective gloves
- Eye protection
By having these tools and materials on hand, you’ll be well-equipped to tackle each phase of the installation process with confidence. Additionally, ensuring that your workspace is organized and all items are readily accessible will streamline the project and contribute to a successful outcome.
Preparing the Wall Surface
Before embarking on the installation of artificial grass, it’s crucial to prepare the wall surface to ensure proper adhesion and a polished end result. Here’s a step-by-step guide to preparing the wall surface for the application of artificial grass:
Read more: How To Hang A Greenery Wall
1. Clean the Wall:
Begin by thoroughly cleaning the wall surface to remove any dirt, dust, or debris. Use a mild detergent or specialized cleaner, along with a bucket of water and a sponge, to wash the wall. This step is essential for promoting strong adhesion and preventing imperfections under the artificial grass.
2. Repair Imperfections:
Inspect the wall for any cracks, holes, or uneven areas. Repair any imperfections using a suitable filler or patching compound. Once the repairs are complete, allow sufficient time for the filler to dry and cure according to the manufacturer’s instructions.
3. Prime the Surface (If Necessary):
Depending on the wall material and condition, you may need to apply a primer before installing the artificial grass. The primer will help create a uniform surface and enhance the adhesion of the adhesive or fasteners. Be sure to select a primer that is compatible with both the wall material and the adhesive you’ll be using.
4. Measure and Mark:
Use a measuring tape and pencil to mark the area where the artificial grass will be installed. Ensure that the measurements are accurate and that the marked area aligns with your design vision. Using a level, confirm that the marked lines are straight and even, especially if you plan to install multiple panels or rolls of artificial grass.
Read more: How To Build A Greenery Wall
5. Protect Surrounding Areas:
If you’re working in an indoor space, consider using painter’s tape and drop cloths to protect adjacent surfaces and flooring from accidental spills or adhesive splatter. For outdoor installations, take precautions to shield surrounding landscaping features or outdoor furniture from potential damage during the installation process.
By diligently preparing the wall surface, you’ll create a solid foundation for the artificial grass installation, setting the stage for a professional and visually striking outcome. This meticulous approach ensures that the artificial grass adheres securely and that the final display exudes quality and durability.
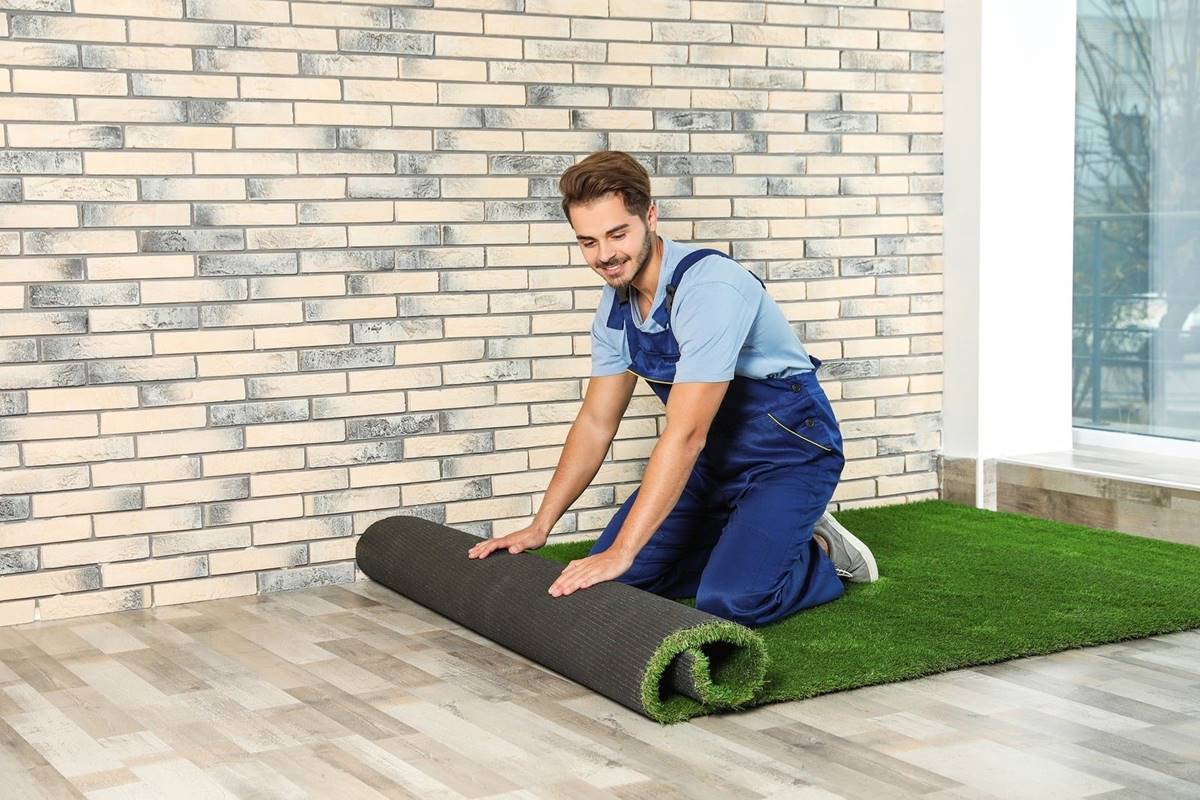
Installing the Artificial Grass
With the wall surface primed and prepared, it’s time to embark on the exciting phase of installing the artificial grass. This transformative step will bring your vertical landscaping vision to life, infusing your space with a vibrant and natural aesthetic. Here’s a detailed guide to help you navigate the installation process with confidence:
1. Apply Adhesive:
If you’re using adhesive to secure the artificial grass to the wall, carefully follow the manufacturer’s instructions for application. Using a paint roller or brush, evenly apply the adhesive to the prepared wall surface within the marked area. Ensure that the adhesive layer is smooth and consistent, as this will directly impact the adherence of the artificial grass.
2. Position the Grass:
Gently position the artificial grass panels or rolls onto the adhesive-covered wall surface, starting from the top and working your way down. Take care to align the edges and seams accurately, maintaining a uniform appearance throughout the installation. If you’re installing multiple panels or rolls, ensure that the patterns and textures blend seamlessly for a cohesive look.
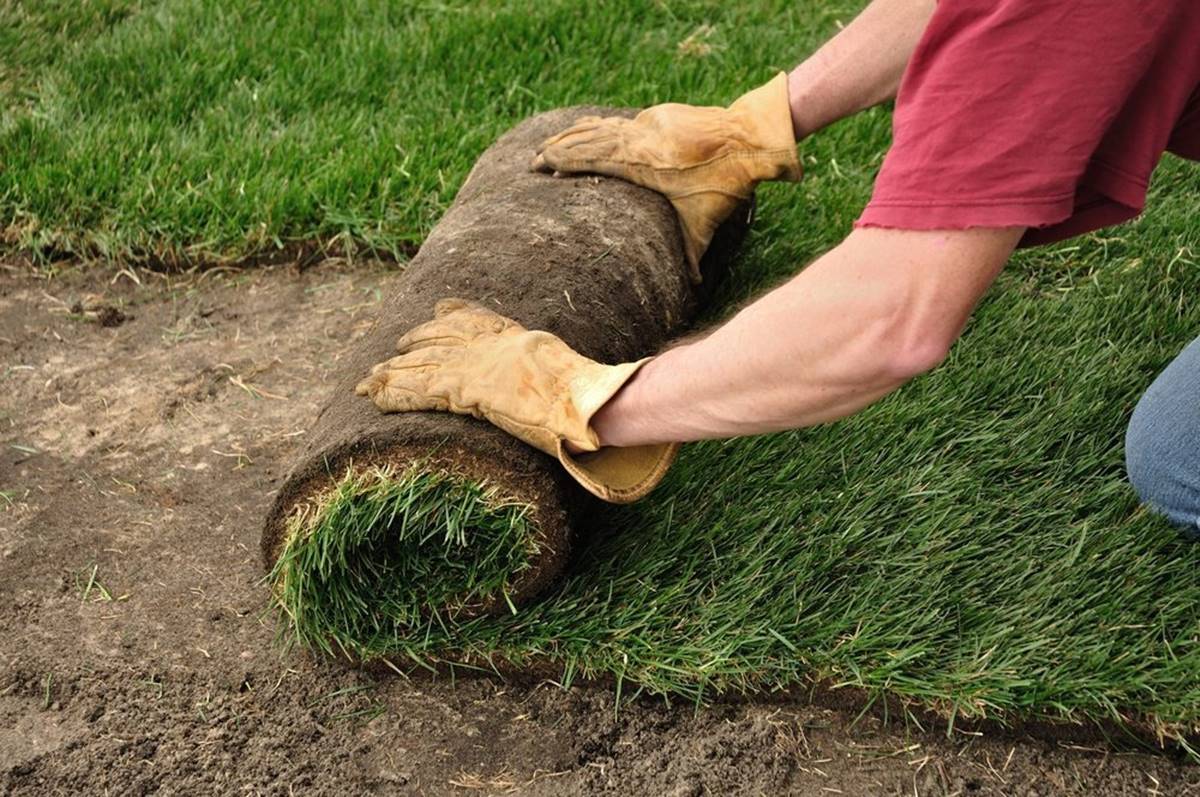
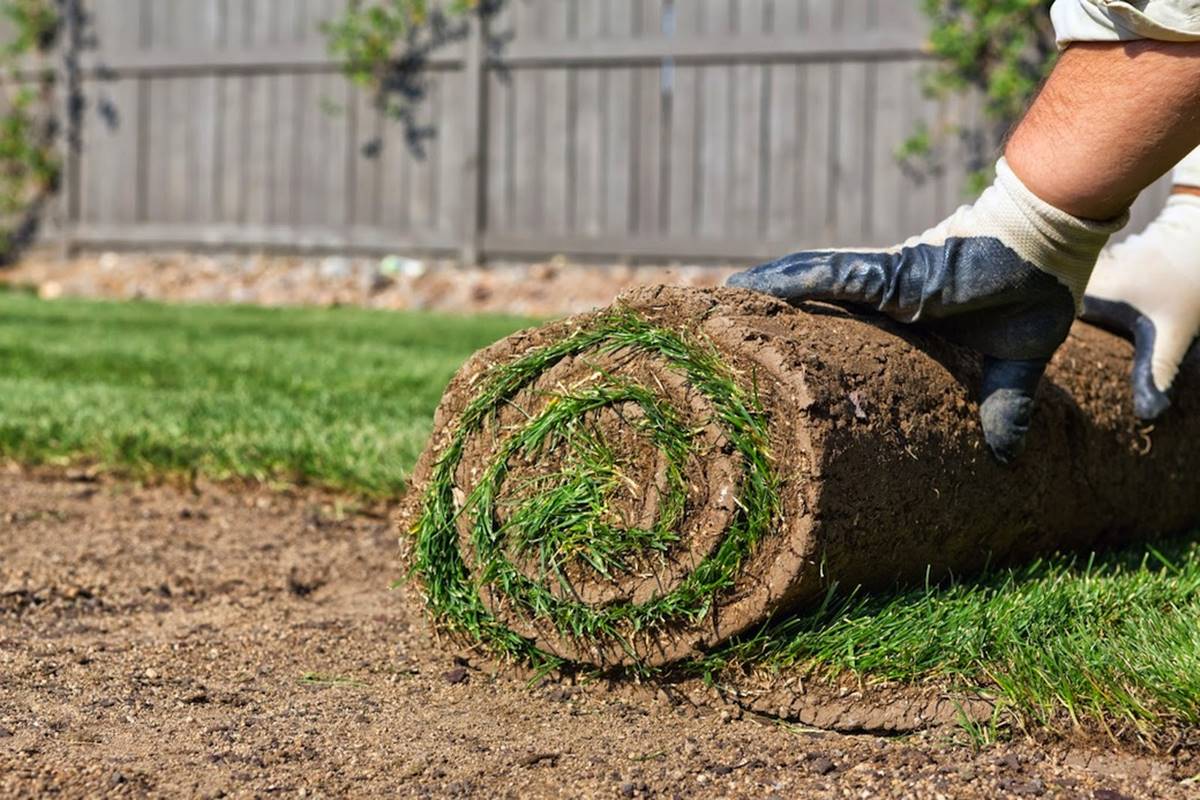
Read more: How To Install Fake Turf
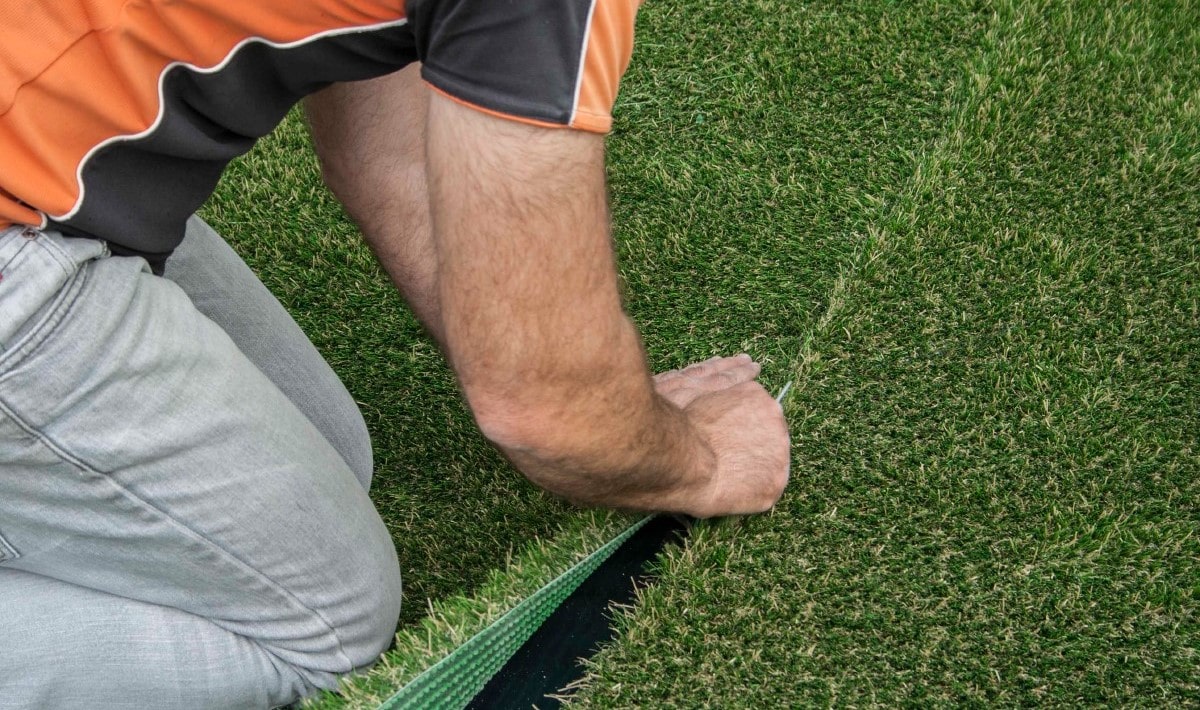
3. Secure in Place:
Once the artificial grass is in position, use a staple gun or suitable fasteners to secure the edges and corners to the wall. If you’re working with panels, ensure that each one is securely fastened to prevent shifting or peeling over time. For added stability, consider using outdoor-rated screws and anchors for exterior installations, especially in areas exposed to the elements.
4. Trim Excess Material:
Using a sharp utility knife, carefully trim any excess artificial grass along the edges and around obstacles such as outlets or fixtures. Take your time to achieve clean and precise cuts, allowing the artificial grass to seamlessly blend with the surrounding architecture and design elements.
5. Smooth Out Wrinkles:
If any wrinkles or ripples appear during the installation, gently smooth them out by hand to ensure a flat and uniform surface. This step is crucial for achieving a professional finish and enhancing the visual appeal of the artificial grass installation.
By meticulously following these steps, you’ll successfully install the artificial grass on the wall, bringing your creative vision to fruition. The end result will be a captivating display of lush greenery that adds character and charm to your indoor or outdoor space, elevating the ambiance and delighting all who encounter it.
Trimming and Finishing Touches
As the installation of artificial grass nears completion, attention to detail during the trimming and finishing touches will ensure a polished and professional outcome. This phase allows you to refine the appearance of the vertical garden, address any remaining imperfections, and add subtle enhancements to elevate the overall aesthetic. Here’s a comprehensive guide to the trimming and finishing touches:
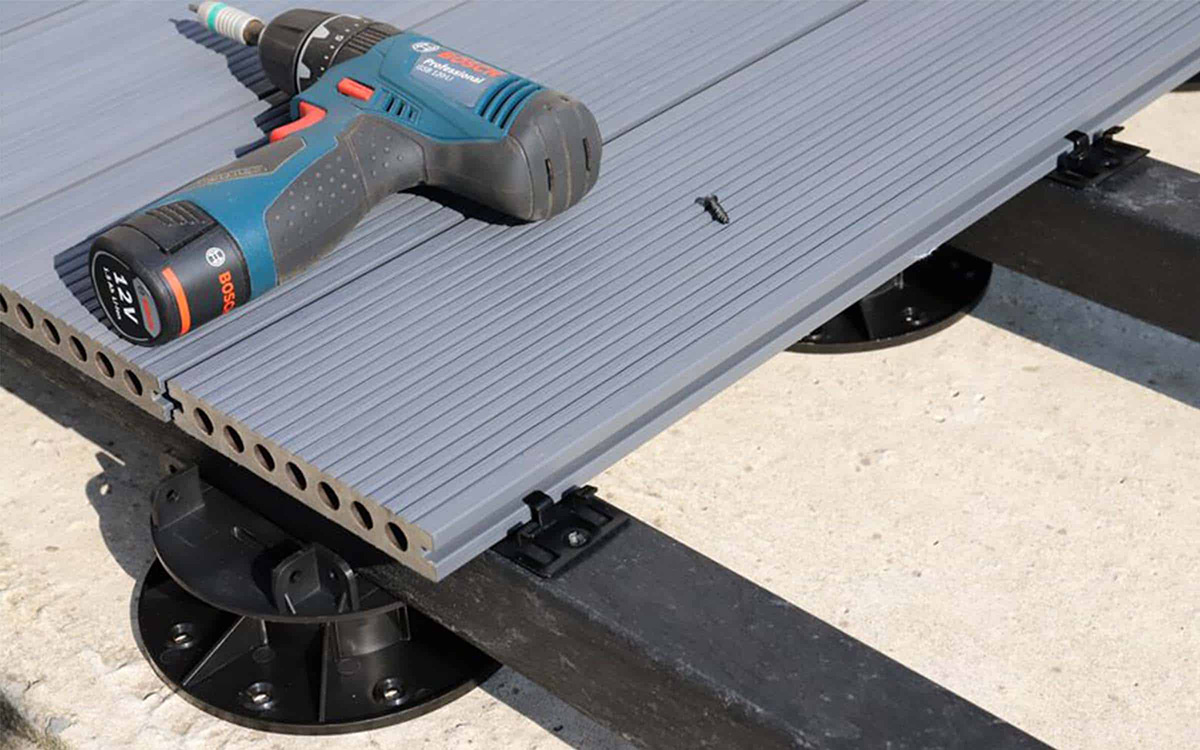
Read more: How To Install Turf On Deck
1. Refine Edges and Corners:
Use scissors or a precision utility knife to carefully trim and shape the edges and corners of the artificial grass. Pay close attention to achieving clean and precise cuts, ensuring that the grass seamlessly meets the surrounding surfaces without any overhang or gaps. This meticulous trimming will contribute to a seamless and natural-looking installation.
2. Inspect and Adjust:
Take a step back to inspect the entire installation, identifying any areas that may require further adjustment or refinement. Address any visible seams, wrinkles, or irregularities by gently adjusting the position of the artificial grass and smoothing out any imperfections for a flawless finish.
3. Add Decorative Elements (Optional):
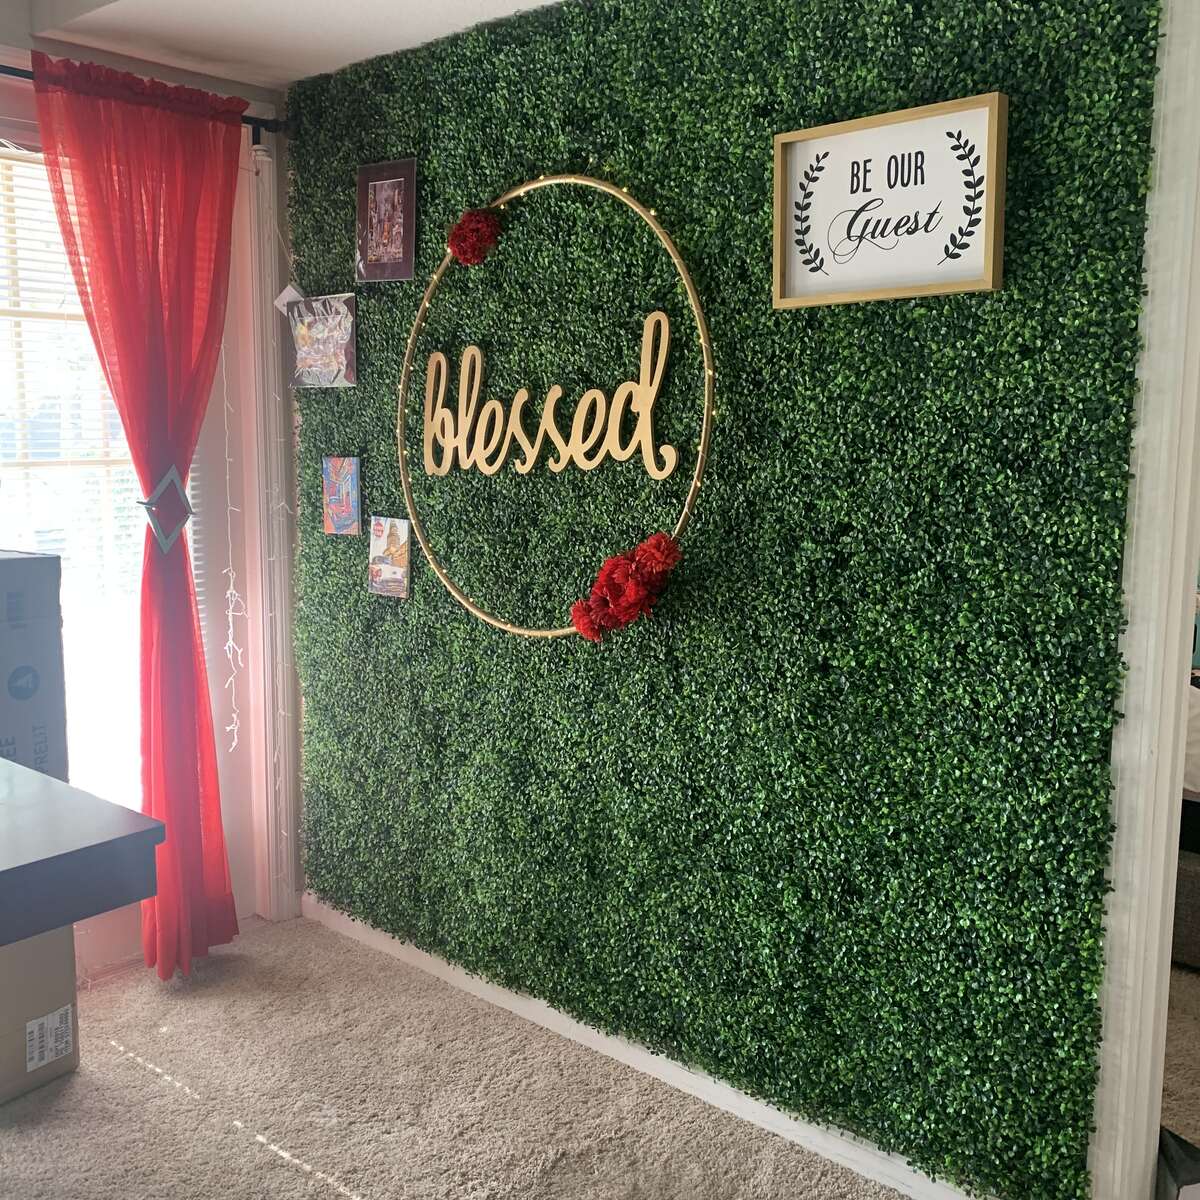
Enhance the visual impact of the vertical garden by incorporating decorative elements such as artificial flowers, vines, or small planters. These additions can infuse personality and charm into the display, creating a captivating focal point within your living space or outdoor environment.
4. Clean and Maintain:
Once the installation is complete, gently brush or rinse the artificial grass to remove any residual debris or particles. This step will help restore the lush appearance of the grass and ensure that it remains vibrant and inviting over time. Additionally, familiarize yourself with the recommended maintenance practices to preserve the beauty of the vertical garden for the long term.
Read more: How To Install Plastic Decking
5. Step Back and Admire:
With the trimming and finishing touches complete, take a moment to step back and admire the stunning transformation. Revel in the beauty of your newly installed artificial grass wall, appreciating the harmonious blend of nature and design that has enriched your space with its captivating allure.
By meticulously attending to the trimming and finishing touches, you’ll elevate the overall impact of the artificial grass installation, ensuring that every detail contributes to a visually striking and harmonious display. The culmination of these efforts will result in a captivating vertical garden that captivates the senses and infuses your environment with a touch of natural splendor.
Conclusion
Congratulations on successfully completing the installation of artificial grass on your wall! By embarking on this creative endeavor, you’ve unlocked a world of possibilities for adding greenery and visual interest to your indoor or outdoor space. The transformational power of vertical landscaping has not only enhanced the aesthetic appeal of your environment but has also introduced a refreshing and nature-inspired element that enriches the ambiance.
As you reflect on the journey from a blank wall to a vibrant vertical garden, it’s important to appreciate the fusion of artistry and practicality that this project embodies. The installation of artificial grass on a wall has not only brought a touch of nature indoors but has also offered a low-maintenance and visually captivating solution for spaces that may not accommodate traditional gardening.
Furthermore, the versatility of this technique enables you to unleash your creativity, whether you’re aiming to create a serene indoor oasis, enliven a commercial setting, or revitalize an outdoor facade. The seamless integration of artificial grass into your design vision has redefined the potential of vertical surfaces, opening the door to endless opportunities for personal expression and environmental enhancement.
As you bask in the allure of your newly transformed space, remember that the installation of artificial grass on a wall is just the beginning of a journey filled with possibilities for innovation and exploration. Embrace the joy of nurturing and customizing your vertical garden, and take pride in the unique statement it makes within your surroundings.
With each glance at your flourishing vertical garden, may you find inspiration, tranquility, and a profound connection to the beauty of nature. Let this endeavor serve as a testament to your ingenuity and as a reminder that the fusion of imagination and practicality can yield remarkable results that enrich the lives of those who experience them.
So, as you savor the enchanting allure of your artificial grass-adorned wall, may it continue to inspire and delight, infusing your space with the timeless charm of a verdant sanctuary suspended in mid-air.
Frequently Asked Questions about How To Install Artificial Grass On Wall
Was this page helpful?
At Storables.com, we guarantee accurate and reliable information. Our content, validated by Expert Board Contributors, is crafted following stringent Editorial Policies. We're committed to providing you with well-researched, expert-backed insights for all your informational needs.
0 thoughts on “How To Install Artificial Grass On Wall”