Articles
How To Make A Mosaic Walkway
Modified: May 6, 2024
Learn how to create stunning mosaic walkways with our step-by-step articles. Get inspired and transform your outdoor space with beautiful designs.
(Many of the links in this article redirect to a specific reviewed product. Your purchase of these products through affiliate links helps to generate commission for Storables.com, at no extra cost. Learn more)
Introduction
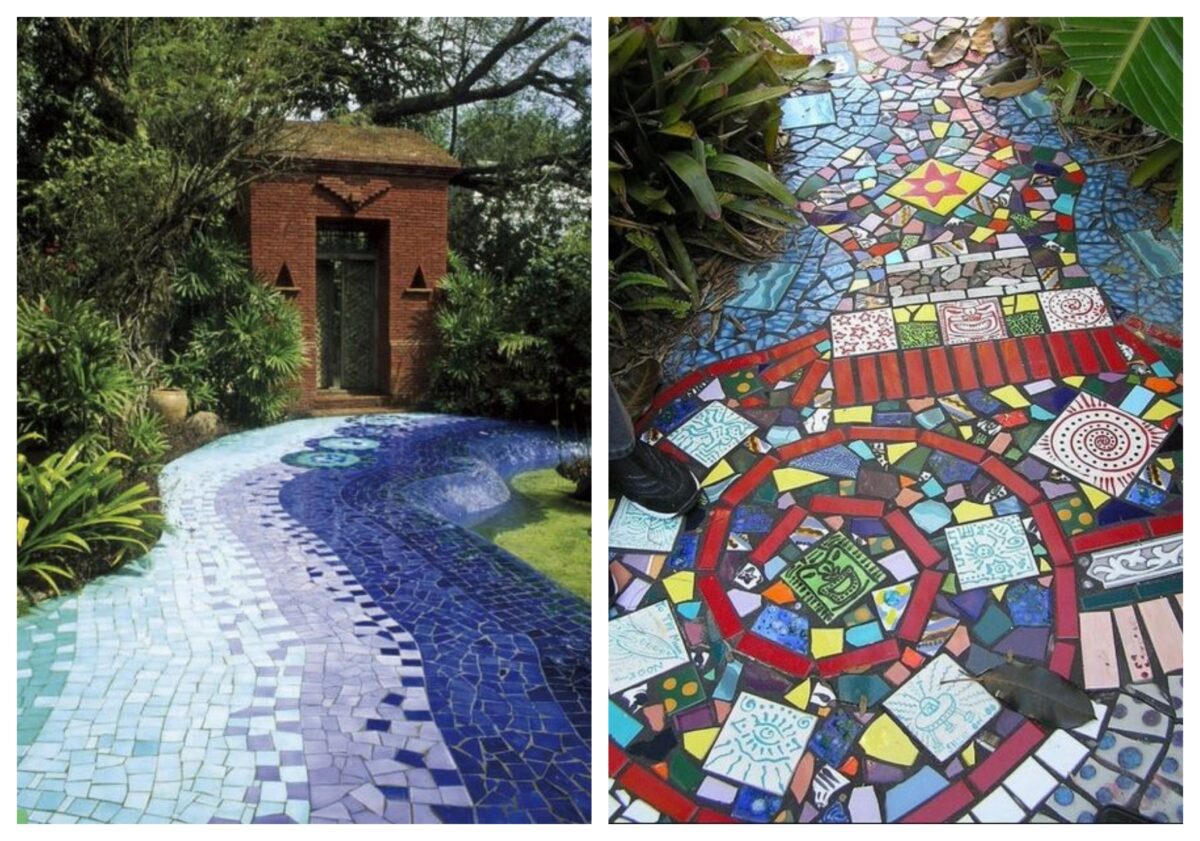
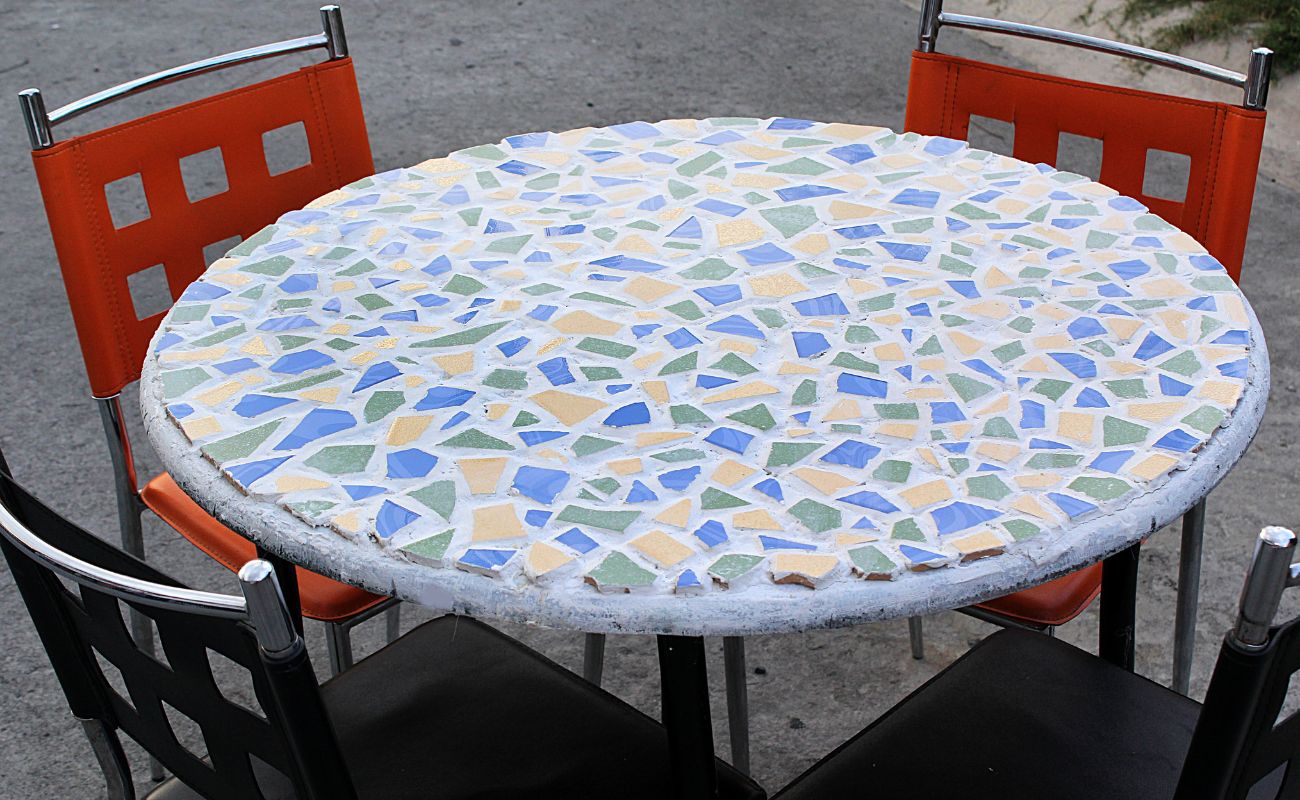
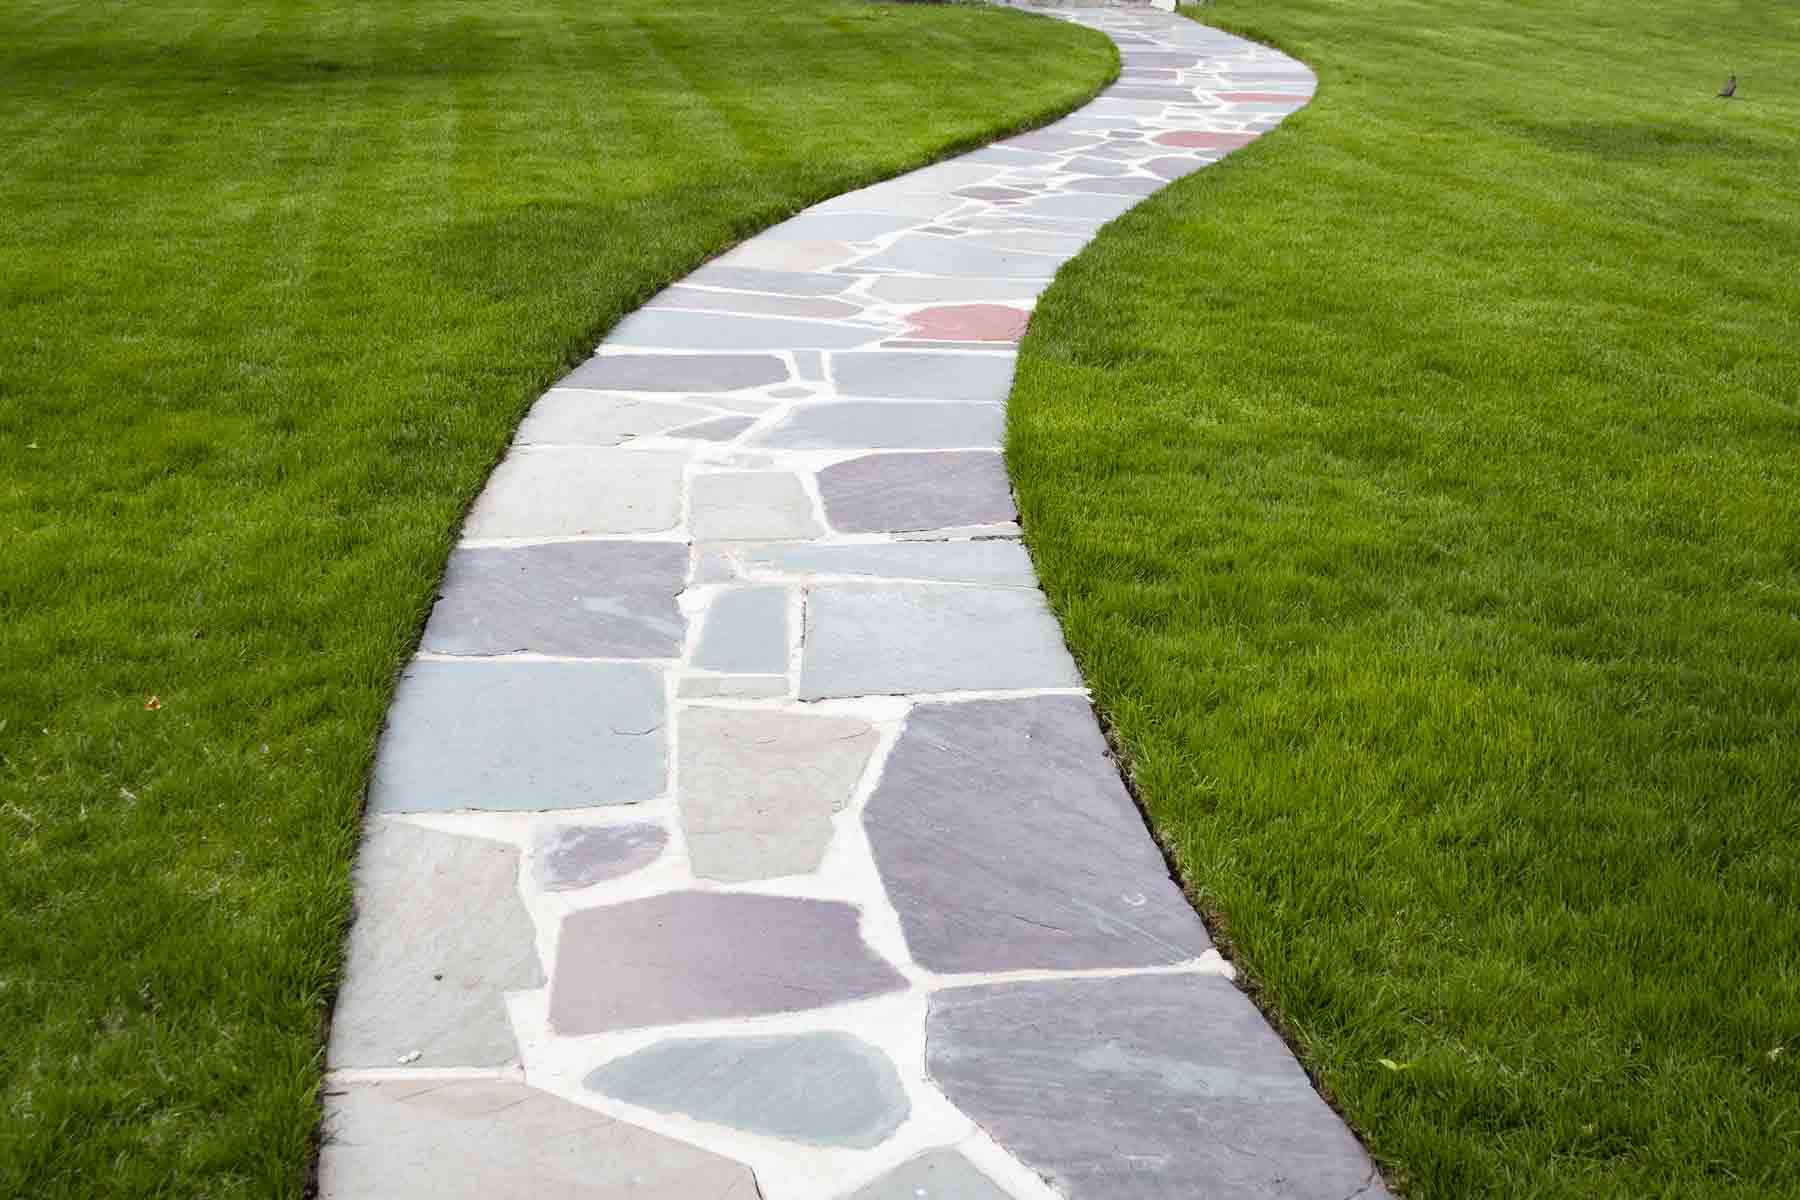
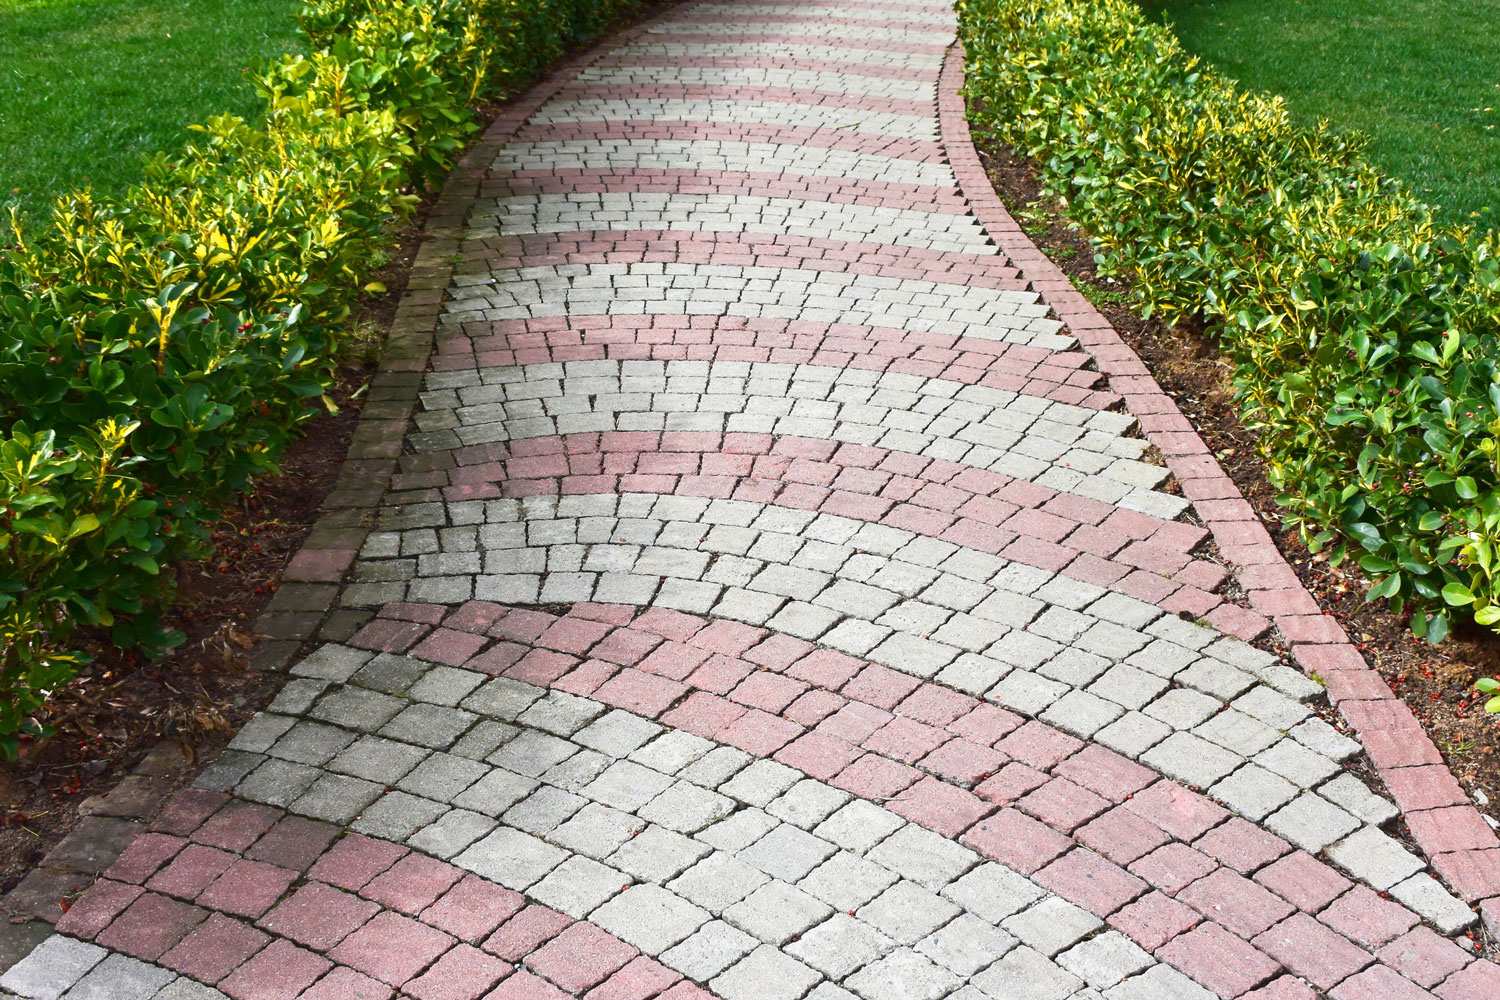
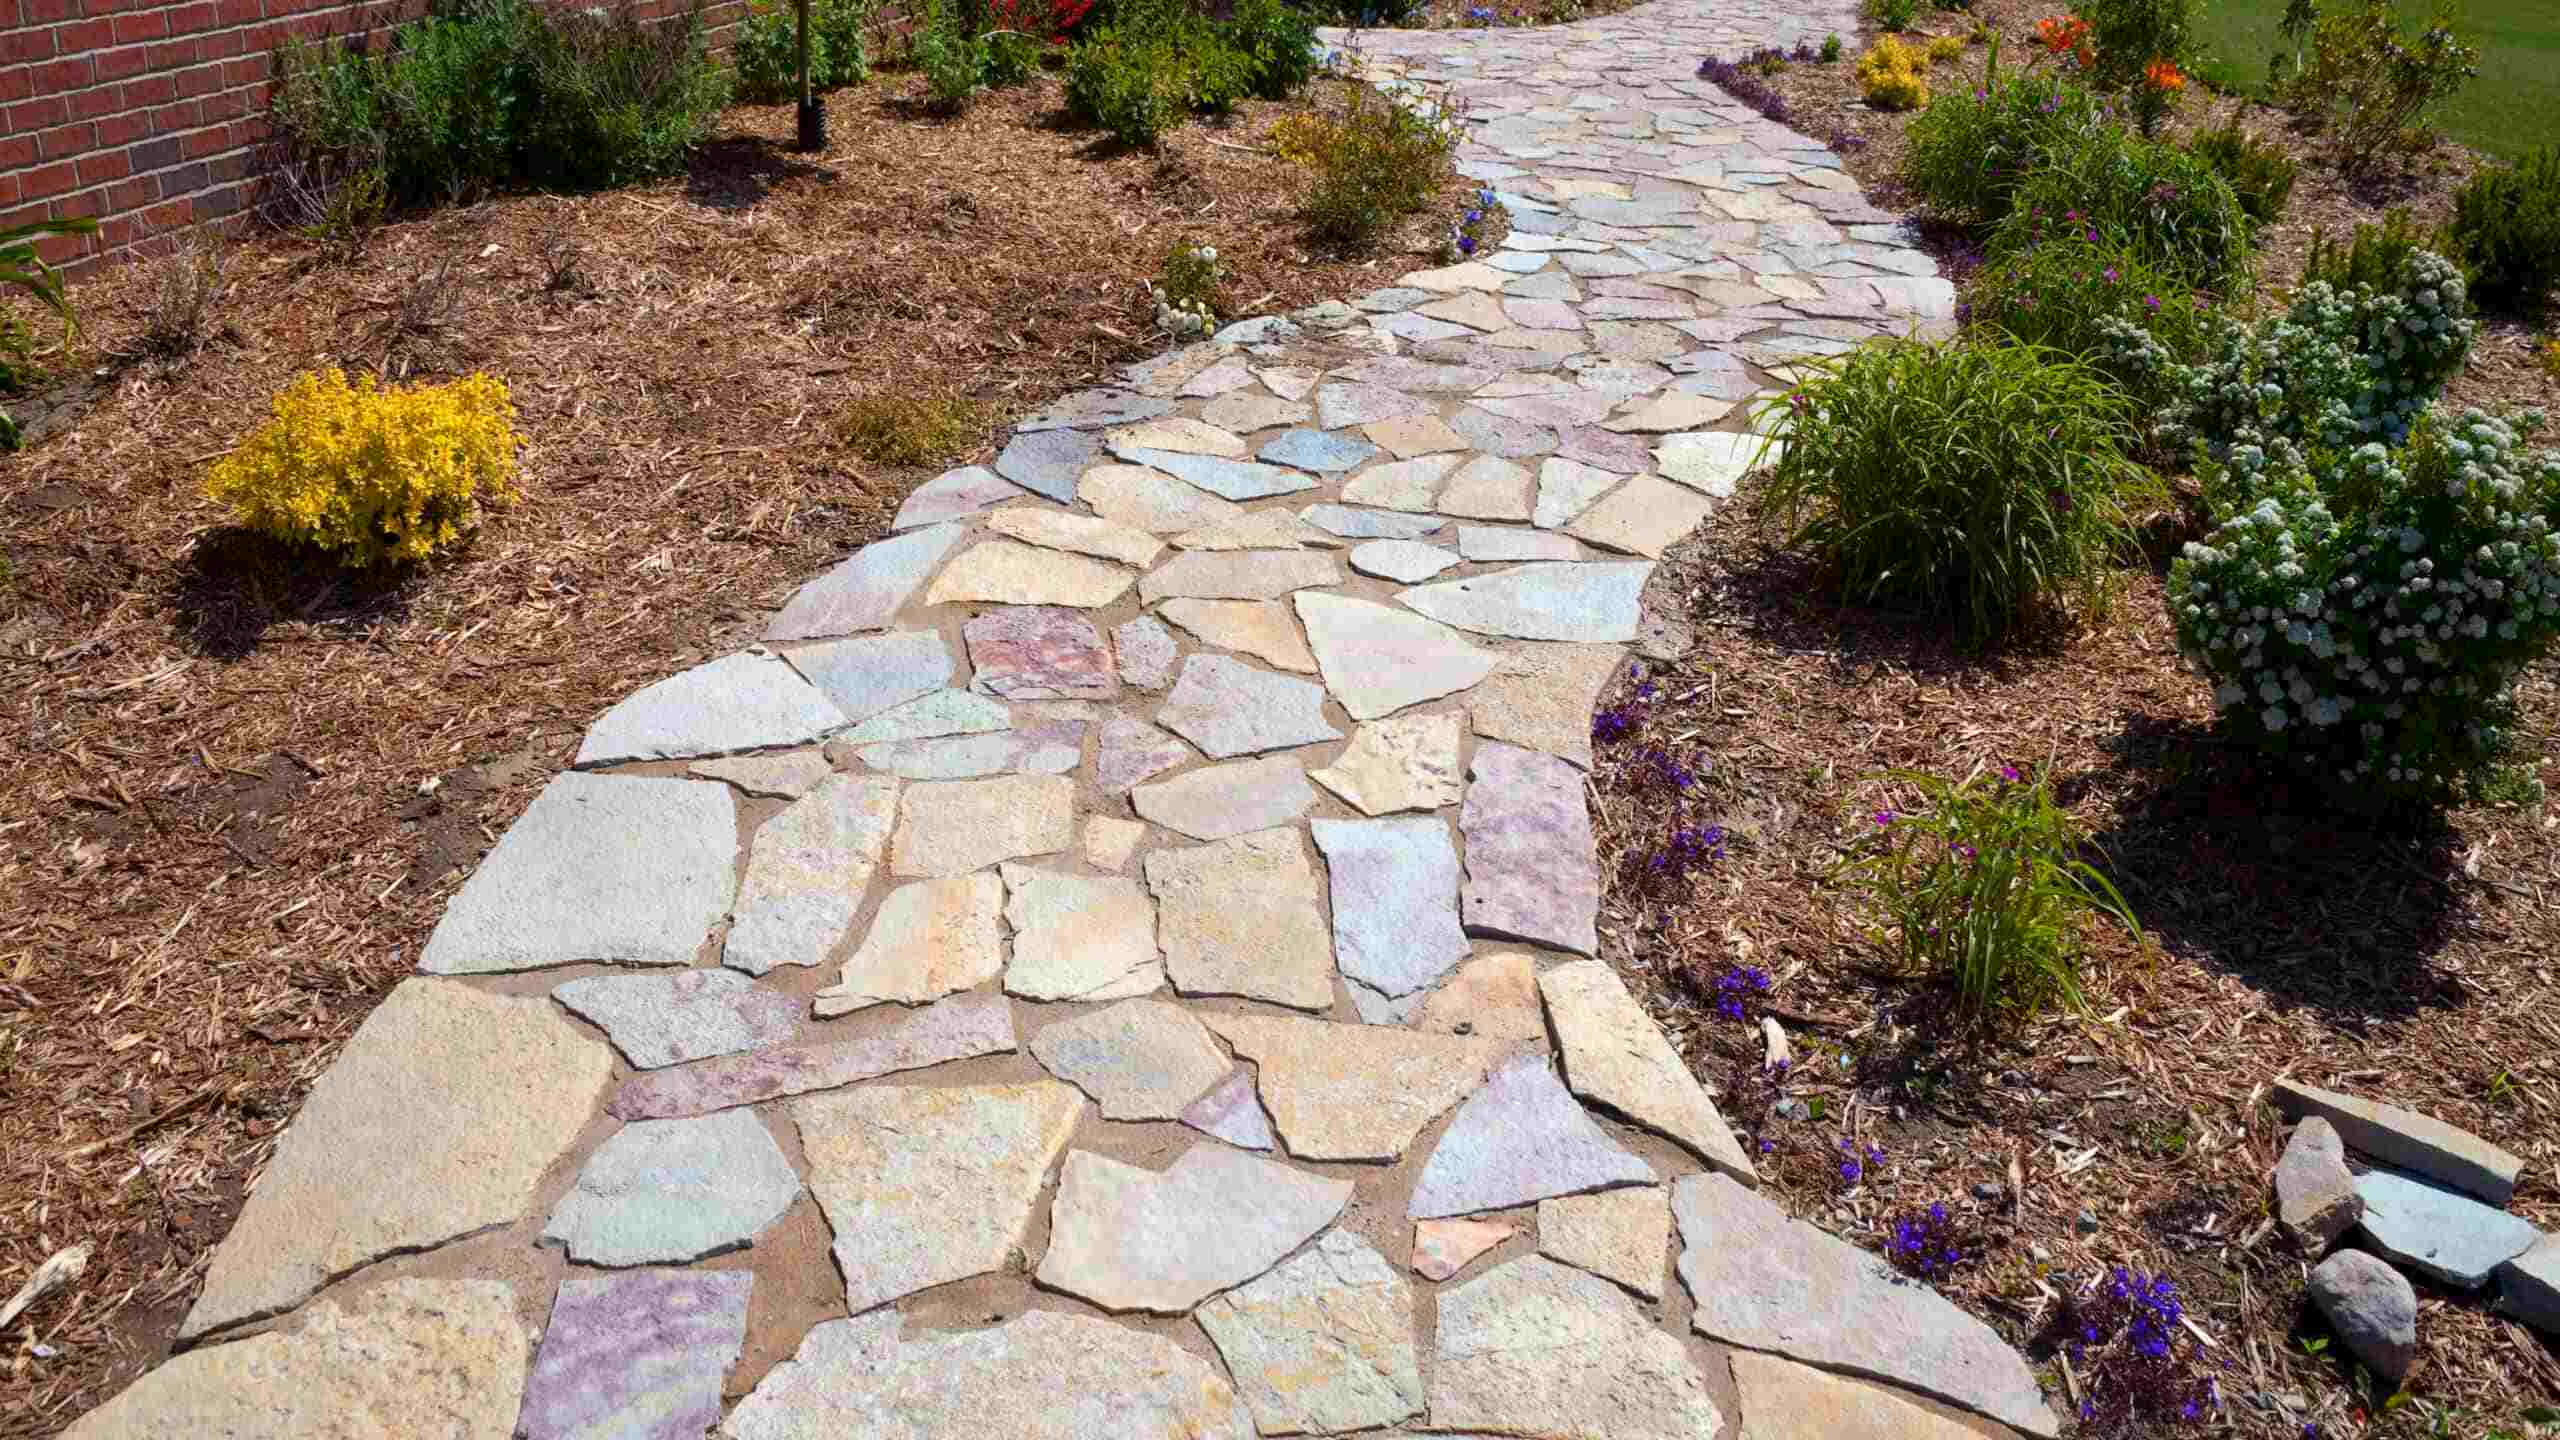
A mosaic walkway can add a touch of elegance, creativity, and personality to any outdoor space. Whether you have a garden path, a patio, or a backyard, a mosaic walkway can transform a dull and ordinary area into a vibrant and visually appealing oasis. The art of creating a mosaic walkway involves arranging small colored pieces of glass, tiles, stones, or other materials in a pattern or design on a hard surface. Not only does it serve as a functional walkway, but it also becomes a work of art.
In this article, we will guide you through the step-by-step process of making a mosaic walkway. You don’t need to be an experienced artist or craftsman to create a stunning mosaic walkway; all you need is some creativity, patience, and a few supplies.
Before we dive into the details, it’s essential to consider the overall design and purpose of your mosaic walkway. Take some time to think about the colors, patterns, and theme that you want to incorporate. This will help you plan and execute the project more efficiently.
Now, let’s explore the various steps involved in creating a beautiful and durable mosaic walkway.
Key Takeaways:
- Creating a mosaic walkway involves careful planning, preparation, and attention to detail. From designing the layout to placing the mosaic pieces, each step contributes to a visually stunning and durable end result.
- Personalization and maintenance are key to a vibrant and long-lasting mosaic walkway. Adding finishing touches, such as lighting and landscaping, and regular upkeep ensure the walkway remains a standout feature in any outdoor space.
Read more: How To Make Outdoor Mosaic
Step 1: Planning and Design
The first step in creating a mosaic walkway is to plan and design your project. This step is crucial as it will determine the overall look and feel of your walkway. Here are a few key points to consider:
- Location: Decide where you want to install the mosaic walkway. Consider factors such as foot traffic, sunlight exposure, and the overall aesthetic of your outdoor space. Measure the area and sketch out a rough layout on paper to help visualize the design.
- Inspiration: Gather inspiration from various sources such as magazines, websites, or even nature itself. Look for patterns, colors, and designs that resonate with your style and complement your outdoor environment.
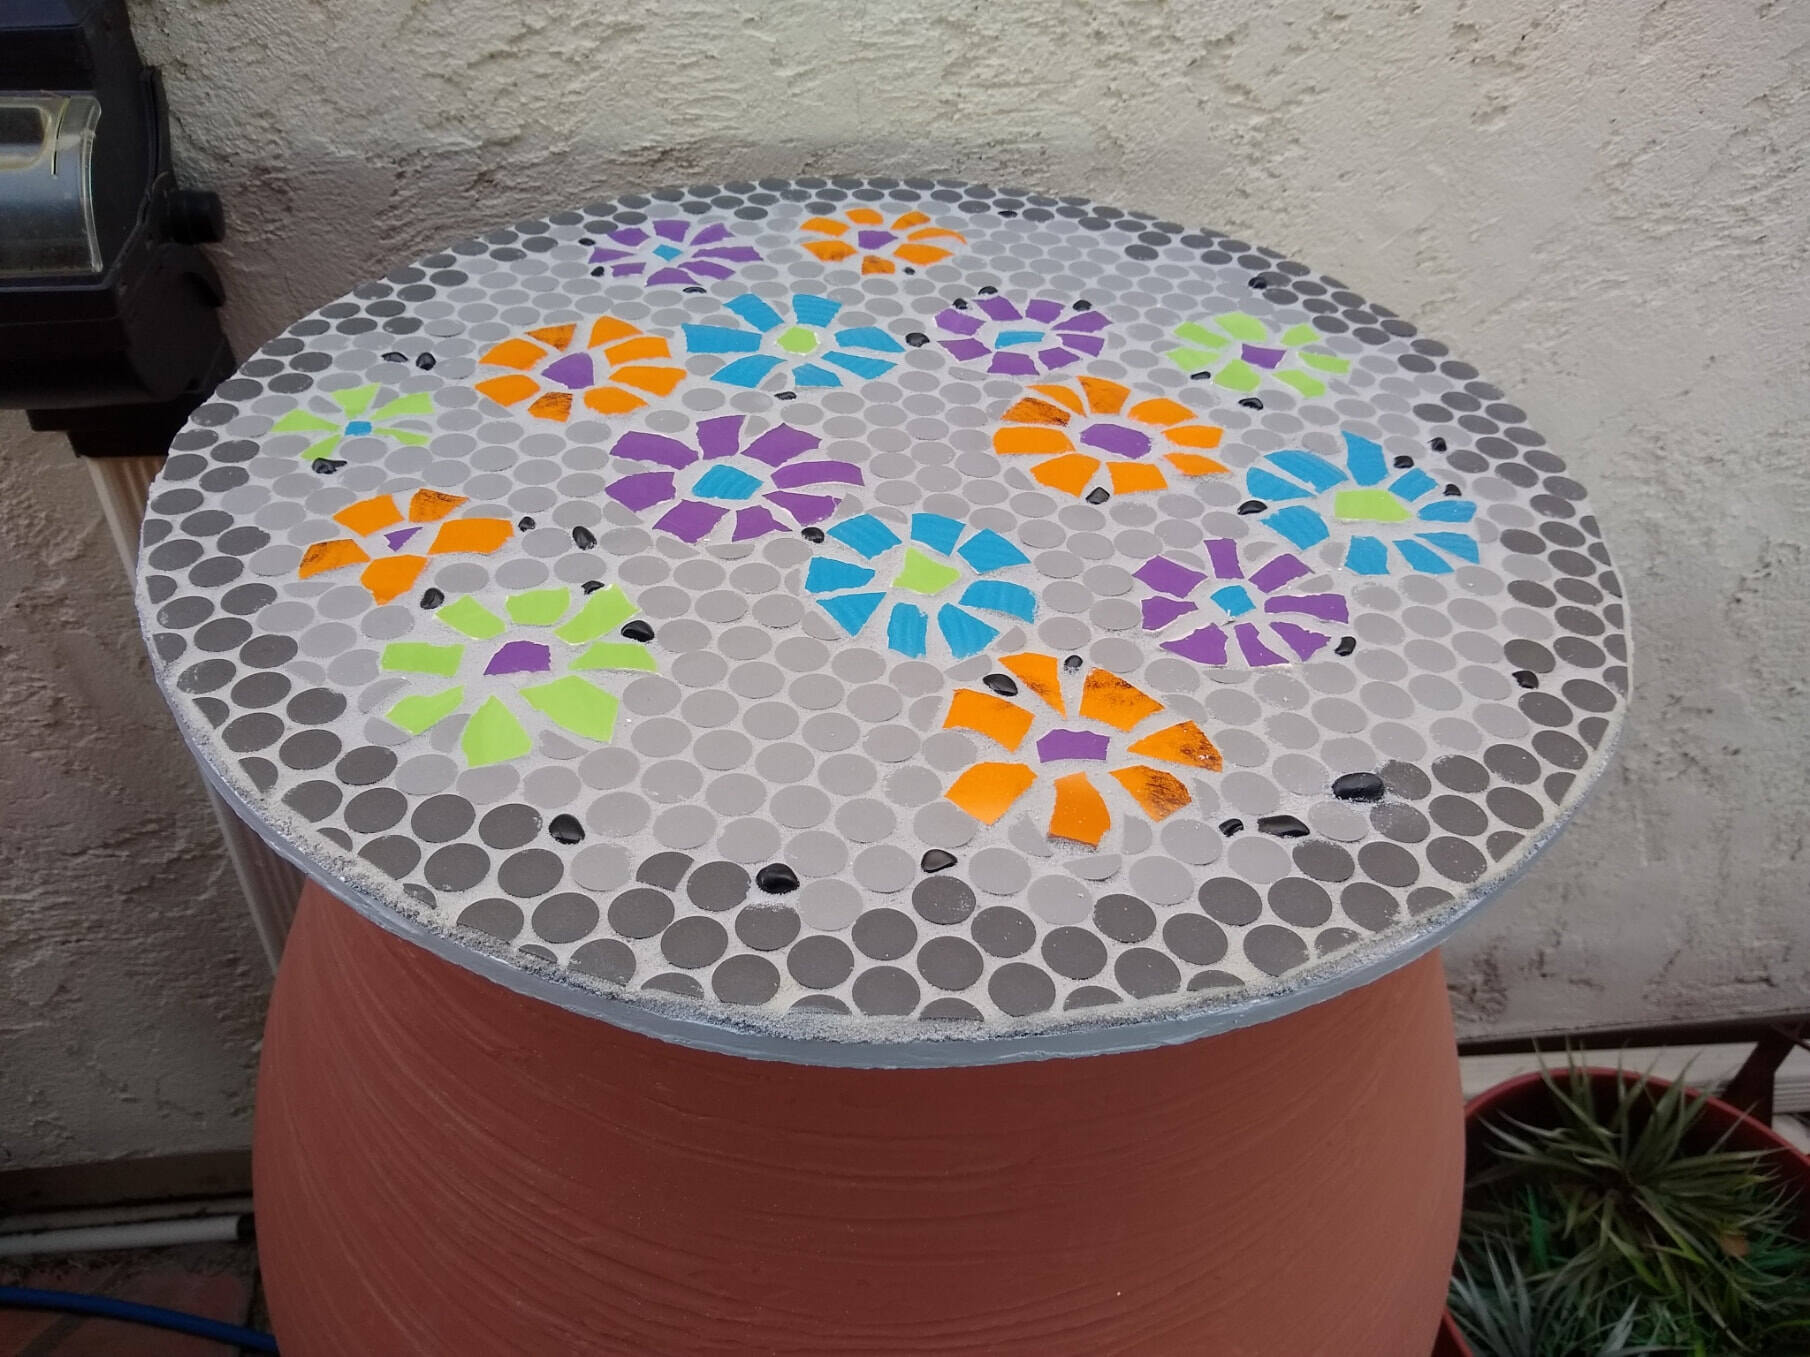
- Materials: Determine the type of materials you want to use for your mosaic walkway. Options include glass tiles, ceramic tiles, stones, or even recycled materials. Consider the durability and weather resistance of the chosen materials to ensure they can withstand outdoor conditions.
- Pattern and Design: Sketch out different mosaic patterns and designs on paper. Experiment with different color combinations and arrangements to find the best fit for your walkway. Think about whether you want a specific theme or a more abstract design.
- Budget: Set a budget for your project. Research the prices of materials and tools to ensure they align with your budget. Remember to account for any additional costs such as adhesive, grout, and sealer.
- Safety Measures: Ensure that the design and layout of the walkway are safe and practical. Take into consideration any uneven terrain, slopes, or potential tripping hazards. It’s essential to provide a smooth and comfortable walking surface.
By taking the time to plan and design your mosaic walkway, you will have a clear vision of what you want to achieve. This will make the construction process more streamlined and enjoyable. Once you have finalized your design, you can move on to the next step: preparing the pathway.
Step 2: Preparing the Pathway
Before you can start creating your mosaic walkway, you need to prepare the pathway where the mosaic will be installed. Proper preparation ensures a smooth and long-lasting installation. Here are the steps to follow:
- Clearing the area: Remove any existing plants, debris, or obstructions from the pathway. Trim any grass or vegetation along the edges to create a clean working area. If needed, use a shovel or a garden rake to level the ground.
- Marking the pathway: Use stakes and string to mark the edges of the pathway. This will help you visualize the shape and size of the walkway and maintain a consistent width throughout the installation.
- Excavation: If the pathway sits above ground level, you may need to excavate the area to create a level surface. Use a shovel or a garden spade to remove the top layer of soil and create a slight slope to allow for water drainage.
- Edging: Install edging materials along the sides of the pathway to create a boundary and hold the mosaic tiles in place. This can be done using plastic or metal edging, bricks, or stones. Make sure the edging is firmly secured and level.
- Compact the soil: Use a tamper or a hand compactor to compact the soil. This will create a stable and firm base for your mosaic walkway. Compact the soil in layers, working from one end of the pathway to the other, ensuring even compaction throughout.
- Laying a weed barrier: To prevent weed growth and ensure a cleaner installation, lay a weed barrier fabric over the compacted soil. This will help maintain the integrity and appearance of your mosaic walkway over time.
Once you have completed the preparation of the pathway, you are ready to move on to the next step: gathering the materials and tools needed for your mosaic walkway.
Step 3: Gather Materials and Tools
Now that you have prepared the pathway, it’s time to gather the necessary materials and tools for creating your mosaic walkway. Having everything you need beforehand will make the installation process smoother and more efficient. Here are the essential materials and tools you will need:
- Mosaic Tiles: Choose tiles that are suitable for outdoor use, such as glass tiles, ceramic tiles, or natural stone tiles. Consider the color, size, and texture that will best complement your design. Purchase enough tiles to cover the entire pathway, allowing for some extra in case of breakage or future repairs.
- Adhesive: Use a recommended outdoor adhesive specifically designed for mosaic projects. Ensure that the adhesive is suitable for the type of tiles you are using. It’s best to choose a waterproof adhesive for longevity.
- Grout: Select a grout color that will enhance the appearance of your mosaic walkway. Consider a darker grout color to hide possible dirt or stains. Make sure to choose a grout that is suitable for outdoor use and can withstand weather conditions.
- Grout Float: A grout float is a rubber or foam tool used to apply grout. It helps spread the grout evenly and fill in the gaps between the mosaic tiles.
- Trowel: A trowel is used to apply adhesive to the pathway. Choose a trowel with a notched edge to ensure proper adhesive coverage.
- Bucket and Sponge: You will need a bucket for mixing grout and a sponge for cleaning excess grout off the tiles. Opt for a large sponge that can hold enough water for efficient cleaning.
- Safety Equipment: Don’t forget to prioritize your safety. Wear protective gloves, safety glasses, and a dust mask when handling adhesive and grout.
Before you begin the installation, ensure that you have all the necessary materials and tools readily available. This will save you time and allow you to work without interruptions. With the materials and tools in hand, you can move on to the next step: creating the base for your mosaic walkway.
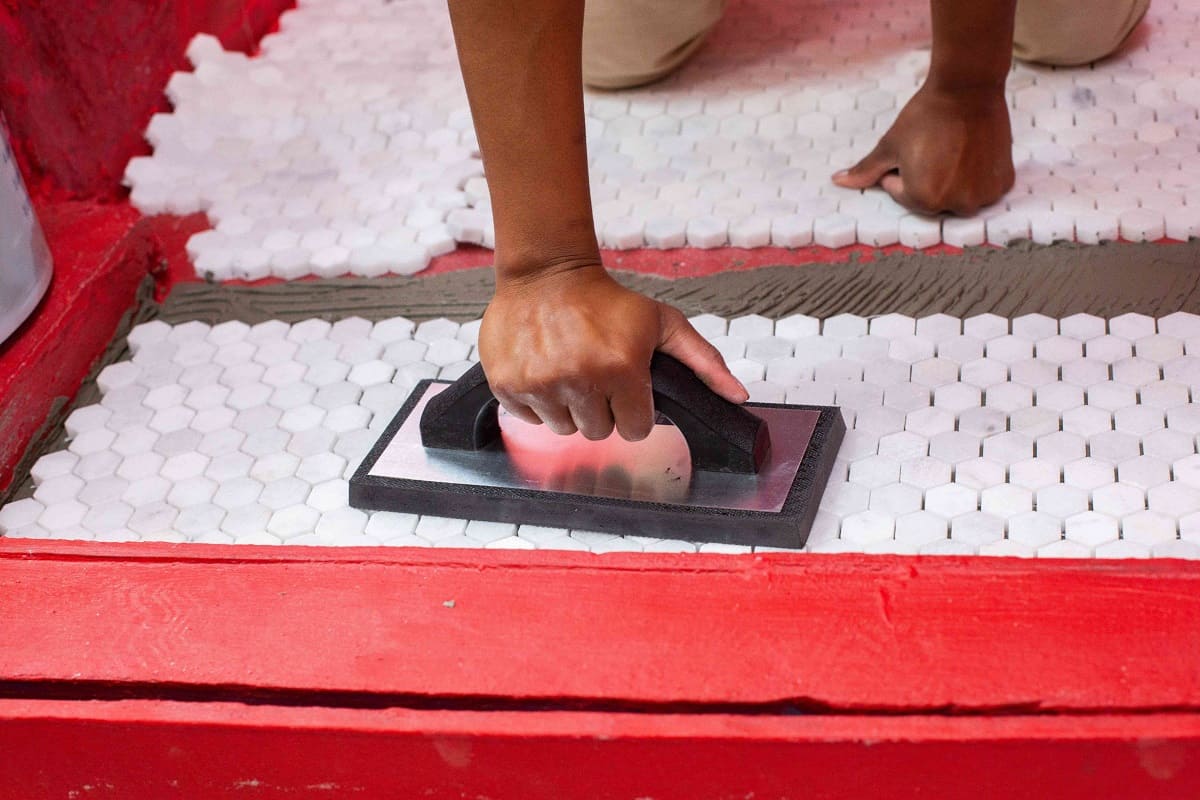
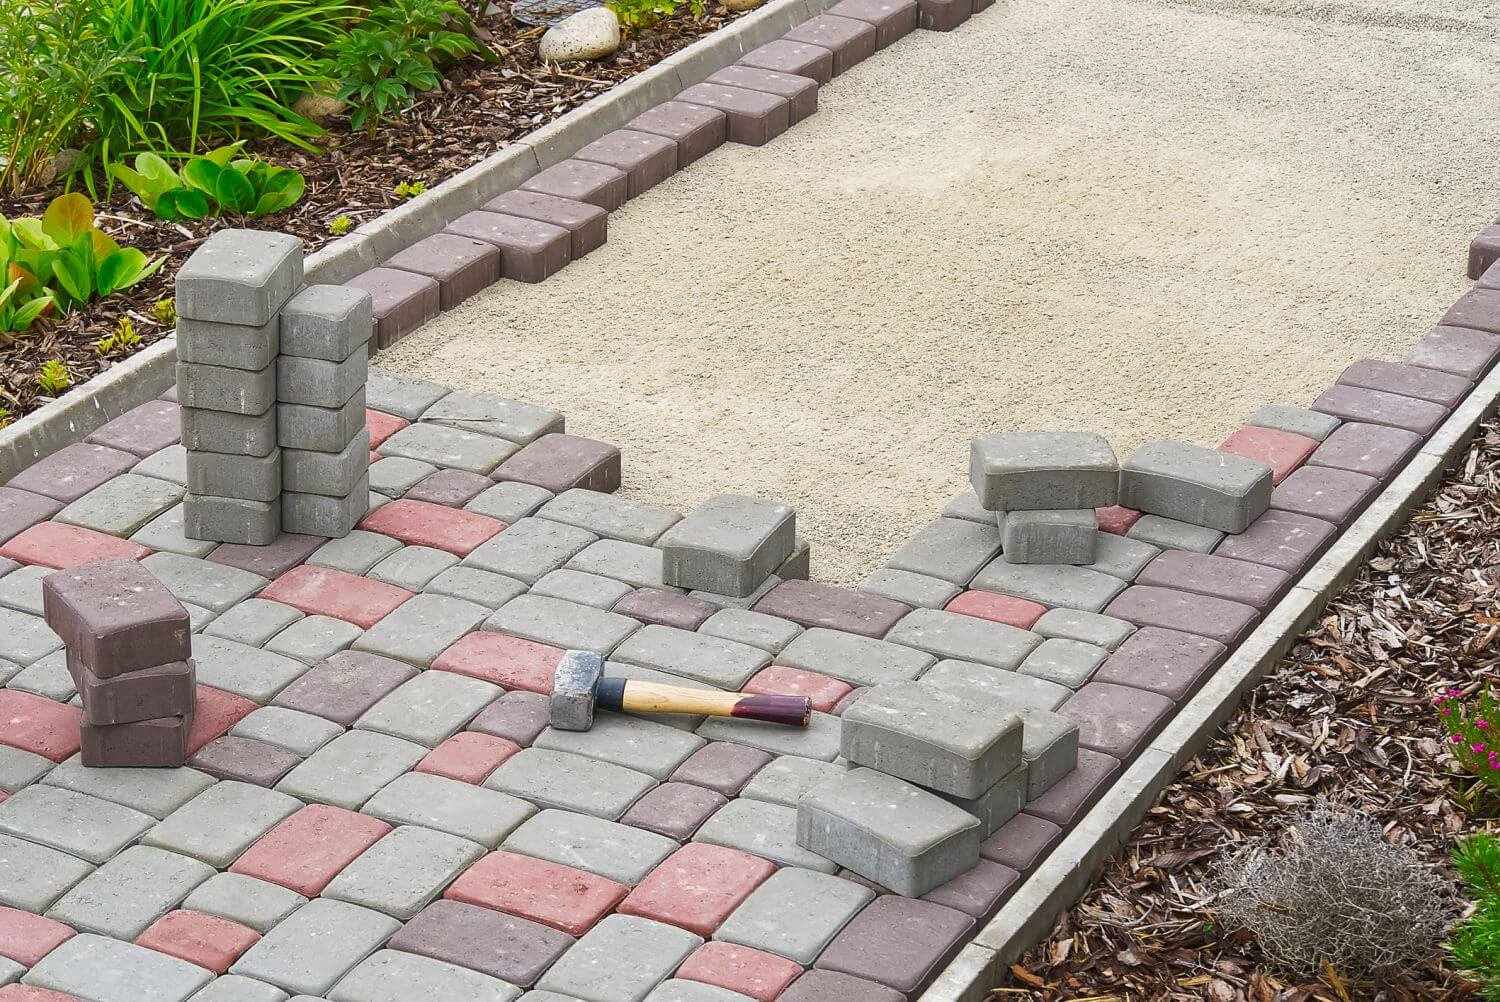
Step 4: Creating the Base
Creating a solid and stable base is crucial for the longevity of your mosaic walkway. The base provides a sturdy foundation for the mosaic tiles and ensures a flat and even surface. Here’s how you can create the base for your mosaic walkway:
- Apply a layer of adhesive: Using a trowel, apply a layer of adhesive to a small section of the pathway. Work in small manageable areas to prevent the adhesive from drying out too quickly.
- Spread the adhesive: Use the notched edge of the trowel to spread the adhesive evenly over the section. Make sure to create ridges in the adhesive to ensure proper tile adhesion.
- Place mosaic tiles: Carefully place the mosaic tiles onto the adhesive, pressing them down firmly. Follow the design and pattern you have planned, ensuring that the tiles are properly aligned.
- Continue with the next section: Repeat the process of applying adhesive, spreading it evenly, and placing tiles onto the remaining sections of the pathway. Work in small sections to ensure that the adhesive does not dry out before placing the tiles.
- Check for levelness: Periodically check the levelness of the tiles using a level or straight edge. Make any necessary adjustments before the adhesive sets. This will ensure that your mosaic walkway is flat and even.
- Allow the adhesive to dry: Follow the manufacturer’s instructions for drying time. It is crucial to allow the adhesive to fully cure before moving on to the next step. This will ensure that the tiles are securely bonded to the base.
Remember to work methodically and systematically, ensuring that each section of the pathway is well-prepared and secured with tiles. Take your time with this step, as it forms the foundation of your mosaic walkway. Once the adhesive has dried, you are ready to move on to the next step: applying adhesive to the tiles and placing the mosaic pieces.
Read more: How To Make Mosaic Backsplash
Step 5: Applying Adhesive
Now that the mosaic tiles are securely placed on the base, it’s time to apply adhesive to the tiles themselves. This step helps to bond the mosaic pieces together and ensures a durable and long-lasting walkway. Here’s how you can apply adhesive to your mosaic walkway:
- Mix the adhesive: Follow the manufacturer’s instructions to mix the adhesive. Use a clean bucket and a mixing tool to create a smooth and consistent mixture. It’s important to only mix the amount of adhesive you will need for the given section.
- Apply the adhesive: Using a grout float, scoop up a small amount of adhesive and spread it evenly over the mosaic tiles. Work in small sections to prevent the adhesive from drying out before placing the mosaic pieces.
- Press the mosaic pieces: Carefully place the mosaic pieces onto the adhesive, pressing them down firmly. Make sure the pieces are sitting flush with each other and the mosaic tiles beneath. This step helps to create a seamless and visually appealing mosaic pattern.
- Continue with the next section: Repeat the process of mixing adhesive, applying it to the tiles, and placing the mosaic pieces onto the remaining sections of the pathway. Take your time and ensure that each section is properly covered with adhesive.
- Remove excess adhesive: As you work, periodically check for any excess adhesive that may have squeezed out between the mosaic tiles. Use a damp sponge to gently wipe away the excess adhesive before it dries. This will help create clean and defined grout lines.
- Allow the adhesive to dry: Give the adhesive ample time to dry and set. Follow the manufacturer’s instructions for the recommended drying time. Avoid walking on the walkway until the adhesive is fully dried to prevent any shifting or dislodging of the mosaic pieces.
By applying adhesive to the mosaic tiles, you are ensuring that the pieces are securely bonded together, creating a cohesive and visually stunning mosaic walkway. Take your time with this step and ensure that each section receives the proper application of adhesive. Once the adhesive has fully dried, you are ready to move on to the next step: placing and arranging the grout.
When creating a mosaic walkway, be sure to use a strong adhesive to secure the tiles or stones in place. This will ensure that your walkway is durable and long-lasting.
Step 6: Placing the Mosaic Pieces
Now that the adhesive has dried and the mosaic tiles are securely in place, it’s time to bring your mosaic walkway to life by filling in the gaps with mosaic pieces. This step adds depth and texture to the design and helps create a visually stunning finished look. Here’s how you can place the mosaic pieces on your walkway:
- Prepare the mosaic pieces: If you’re using pre-cut mosaic pieces, ensure they are clean and free from any dust or debris. If you’re cutting your own mosaic pieces, make sure they are cut to the desired size and shape before starting this step.
- Apply adhesive to the mosaic pieces: Using a small paintbrush or a toothpick, apply adhesive to the back of each mosaic piece. Make sure to cover the entire back surface to ensure a strong bond.
- Place the mosaic pieces: Carefully place the adhesive-covered mosaic pieces into the gaps between the larger mosaic tiles. Press them down firmly to ensure they sit flush with the surrounding tiles. Continue this process, filling in the gaps with the mosaic pieces until the entire walkway is complete.
- Arrange the mosaic pieces: As you place the mosaic pieces, take the opportunity to arrange them in a visually pleasing pattern or design. Experiment with different combinations and orientations to create interesting and eye-catching arrangements.
- Allow the adhesive to dry: Once all the mosaic pieces are in place, allow the adhesive to dry completely. Follow the manufacturer’s instructions for the recommended drying time. Avoid walking on the walkway until the adhesive is fully dried to prevent any shifting or dislodging of the mosaic pieces.
Placing the mosaic pieces is where your creativity can truly shine. By carefully selecting and arranging the mosaic pieces, you can add unique and personal touches to your walkway. Take your time with this step, ensuring that each mosaic piece is securely adhered and aligned with the surrounding tiles. Once the adhesive has dried, it’s time to move on to the next step: grouting the walkway.
Step 7: Grouting the Walkway
Grouting is a crucial step in creating a professional and finished look for your mosaic walkway. Grout helps to fill the gaps between the mosaic tiles, providing stability and a cohesive appearance. Here’s how you can grout your walkway:
- Prepare the grout: Follow the instructions on the grout packaging to mix the grout to the desired consistency. Use a clean bucket and a grout mixing tool to create a smooth and even mixture.
- Apply the grout: Use a grout float to scoop up a generous amount of grout and apply it to the surface of the mosaic walkway. Hold the grout float at a 45-degree angle and spread the grout diagonally across the tiles, ensuring that the gaps are completely filled.
- Work in sections: As you apply the grout, work in small, manageable sections. This will prevent the grout from drying out before you have a chance to clean it off the tiles.
- Remove excess grout: After applying the grout to a section, use the grout float or a grout sponge to remove any excess grout from the surface of the tiles. Hold the float at a 90-degree angle and make diagonal strokes across the tiles to scrape off the excess grout.
- Clean the tiles: Once you have removed the excess grout, use a damp sponge to gently clean the tiles and remove any grout haze. Rinse the sponge frequently and change the water as needed to ensure effective cleaning. Avoid pressing too hard on the tiles to prevent dislodging the grout.
- Allow the grout to cure: Follow the manufacturer’s instructions for the recommended curing time of the grout. It is important to allow the grout to fully cure before subjecting the walkway to heavy foot traffic or exposing it to water.
Grouting adds the final touch to your mosaic walkway, giving it a polished and professional appearance. Take your time with this step, ensuring that each section of the walkway is properly grouted and cleaned. Once the grout has cured, you can move on to the next step: cleaning and sealing the walkway.
Step 8: Cleaning and Sealing
After grouting the walkway, it’s important to clean and seal the mosaic tiles to preserve their appearance and protect them from the elements. Cleaning removes any grout residue or stains, while sealing helps to enhance the colors and durability of the mosaic. Follow these steps to clean and seal your mosaic walkway:
- Clean the tiles: Begin by using a damp sponge or cloth to wipe away any remaining grout residue or haze on the mosaic tiles. Gently scrub the surface to ensure a thorough cleaning, but be careful not to dislodge any grout.
- Apply a sealer: Once the tiles are clean and dry, apply a layer of sealer to protect the mosaic. Choose a sealer that is suitable for outdoor use and compatible with the type of tiles you have. Follow the manufacturer’s instructions for proper application.
- Use a brush or roller: Apply the sealer evenly using a brush or roller, working in small sections. Ensure that the sealer covers the entire surface of the tiles, including the grout lines.
- Allow the sealer to dry: Give the sealer sufficient drying time as indicated by the manufacturer. Avoid walking on the walkway or exposing it to water until the sealer has fully cured.
- Apply a second coat (optional): Depending on the type of sealer used, you may opt to apply a second coat for extra protection and longevity. Follow the manufacturer’s instructions and allow the second coat to dry and cure.
Cleaning and sealing your mosaic walkway not only enhances its appearance but also helps to prolong its lifespan. Regular cleaning and periodic resealing will keep your mosaic looking vibrant and protected from the wear and tear of outdoor elements. With the walkway now cleaned and sealed, you are ready for the final step: adding the finishing touches.
Read more: How To Make A Wooden Walkway
Step 9: Finishing Touches
Now that your mosaic walkway is complete, it’s time to add the finishing touches that will truly elevate its visual appeal. These final touches will enhance the overall look and make your walkway a standout feature in your outdoor space. Here are some ideas for adding those finishing touches:
- Accent lighting: Install low-voltage outdoor lighting along the sides of the walkway to highlight the mosaic design, especially for nighttime enjoyment. This will create a stunning visual effect and add a touch of ambiance to your outdoor area.
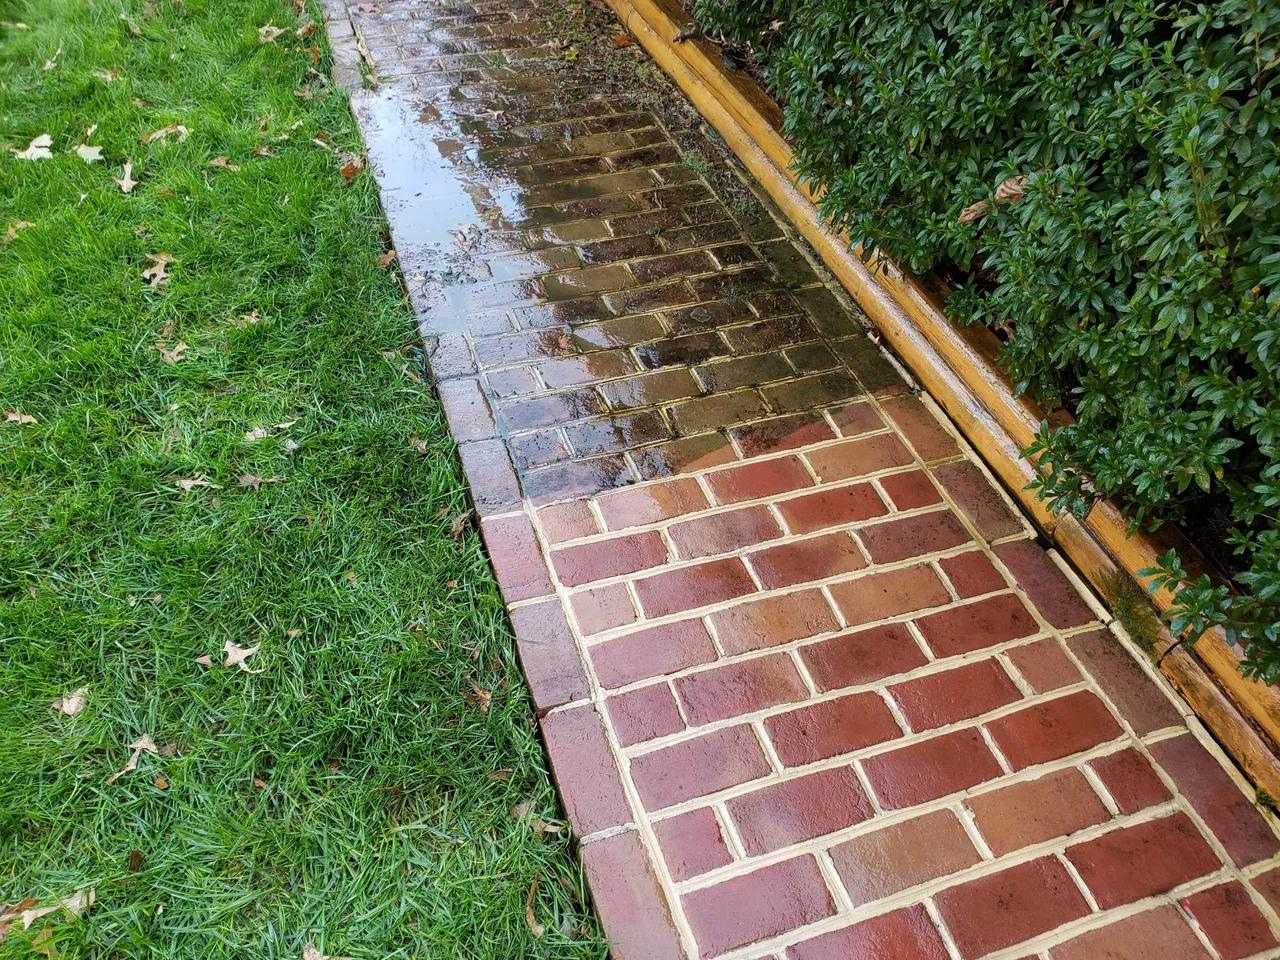
- Decorative borders: Consider adding decorative borders or edging materials to further enhance the design of your mosaic walkway. This could involve using contrasting tiles, stones, or bricks for a visually appealing border.
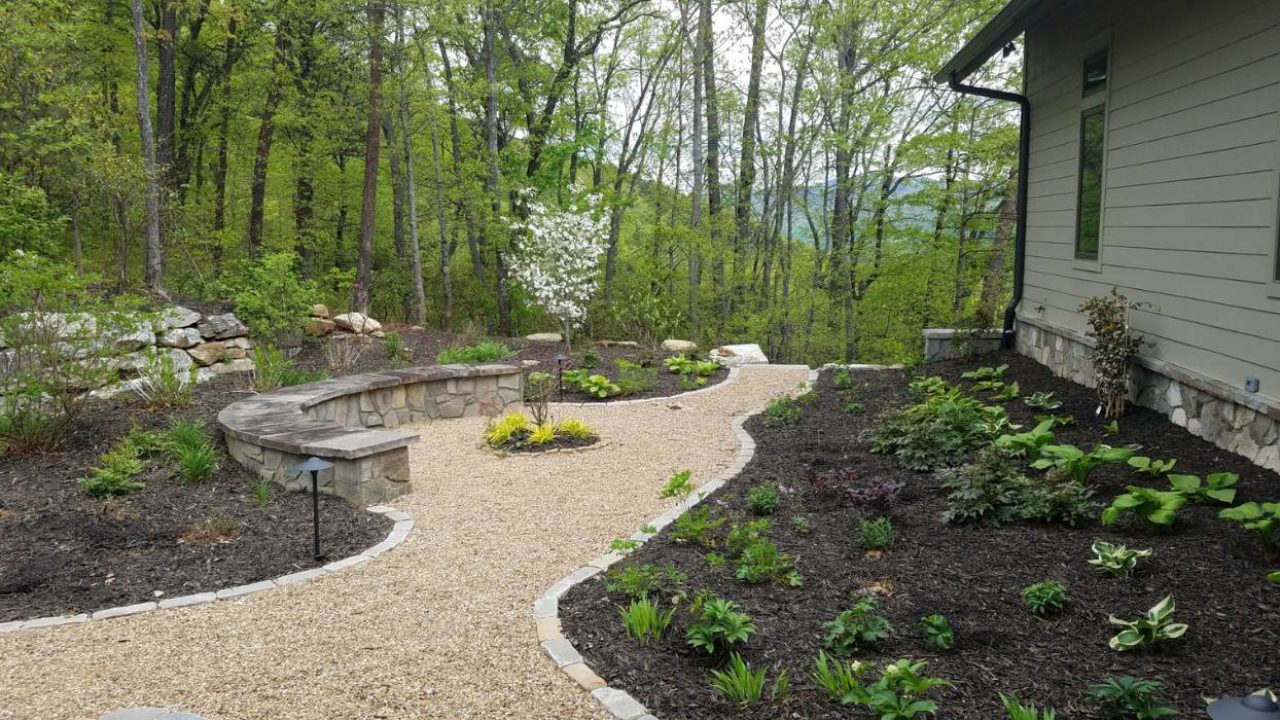
- Plants and landscaping: Surround the walkway with beautiful plants, flowers, or landscaping elements that complement the color scheme or theme of your mosaic design. This will help create a seamless integration between the walkway and its surrounding environment.
- Seating area: If space allows, create a seating area near the walkway where you and your guests can relax and appreciate the beauty of the mosaic. Add seating, such as benches or chairs, and incorporate a small table or a garden feature for added functionality.
- Personalized touches: Incorporate personalized elements into the walkway by adding mosaic initials, symbols, or meaningful designs that hold significance to you or your family. This will make the walkway even more special and unique.
- Maintenance and upkeep: Regularly maintain and clean the walkway to ensure its longevity and pristine condition. Sweep away debris, remove any weeds or moss, and periodically reapply sealer as needed.
By adding these finishing touches, your mosaic walkway will become a focal point in your outdoor space, offering both functional and aesthetic value. Take the time to personalize and maintain your walkway to keep it looking beautiful for years to come.
Congratulations! You have now successfully completed all the steps to create your own stunning mosaic walkway. Enjoy the fruits of your labor and take pride in your artistic creation.
Conclusion
Creating a mosaic walkway is an exciting and rewarding project that can transform any outdoor space into a work of art. By following the step-by-step process outlined in this guide, you can bring your creative vision to life and construct a beautiful and durable mosaic walkway.
From the initial planning and design phase to the final finishing touches, each step plays a crucial role in the overall success of your project. Taking the time to properly prepare the pathway, gather the necessary materials and tools, and place the mosaic pieces with care will result in a visually stunning walkway that you can be proud of.
Throughout the process, it’s important to let your creativity shine. Experiment with different patterns, colors, and arrangements to create a walkway that reflects your unique style and personality. The possibilities are endless, and the end result will surely be a conversation starter for your outdoor space.
Remember to prioritize safety when handling the materials and tools, and take proper care of your walkway by regularly cleaning and sealing it. Maintaining your mosaic walkway will ensure its longevity and keep it looking vibrant and fresh for years to come.
Whether you choose to create a mosaic walkway in your garden, patio, or backyard, it is sure to become a focal point and a source of joy and inspiration. So gather your materials, let your creativity flow, and embark on the journey of creating a stunning mosaic walkway that will truly elevate your outdoor space.
Enjoy the process and the satisfaction of seeing your artistic vision come to life as you step onto your very own mosaic walkway.
Feeling inspired after crafting your mosaic walkway? Don't stop there! Dive into our treasure of ideas perfect for enhancing your outdoor space. From simple fixtures to more elaborate setups, our guide on outdoor projects offers you plenty of creative solutions. Whether you're looking to add a touch of personal flair or planning a full backyard makeover, we've got just the inspiration you need to keep those hands busy and your garden looking great. Ready to transform your outdoor area into a personal oasis? Check out our detailed guide.
Frequently Asked Questions about How To Make A Mosaic Walkway
Was this page helpful?
At Storables.com, we guarantee accurate and reliable information. Our content, validated by Expert Board Contributors, is crafted following stringent Editorial Policies. We're committed to providing you with well-researched, expert-backed insights for all your informational needs.

0 thoughts on “How To Make A Mosaic Walkway”