Home>Furniture>Outdoor Furniture>How To Level Out A Concrete Patio
Outdoor Furniture
How To Level Out A Concrete Patio
Modified: March 7, 2024
Learn how to level out your concrete patio for a smooth and even surface, perfect for outdoor furniture. Enhance your outdoor space with this simple DIY project!
(Many of the links in this article redirect to a specific reviewed product. Your purchase of these products through affiliate links helps to generate commission for Storables.com, at no extra cost. Learn more)
Introduction
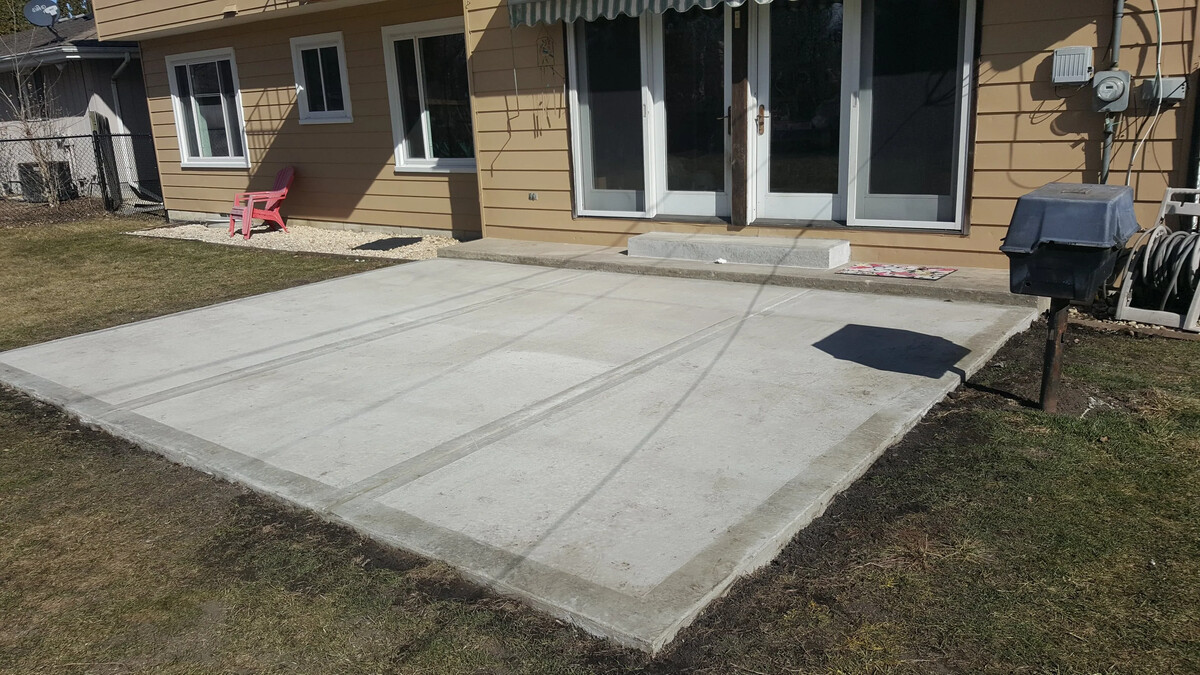
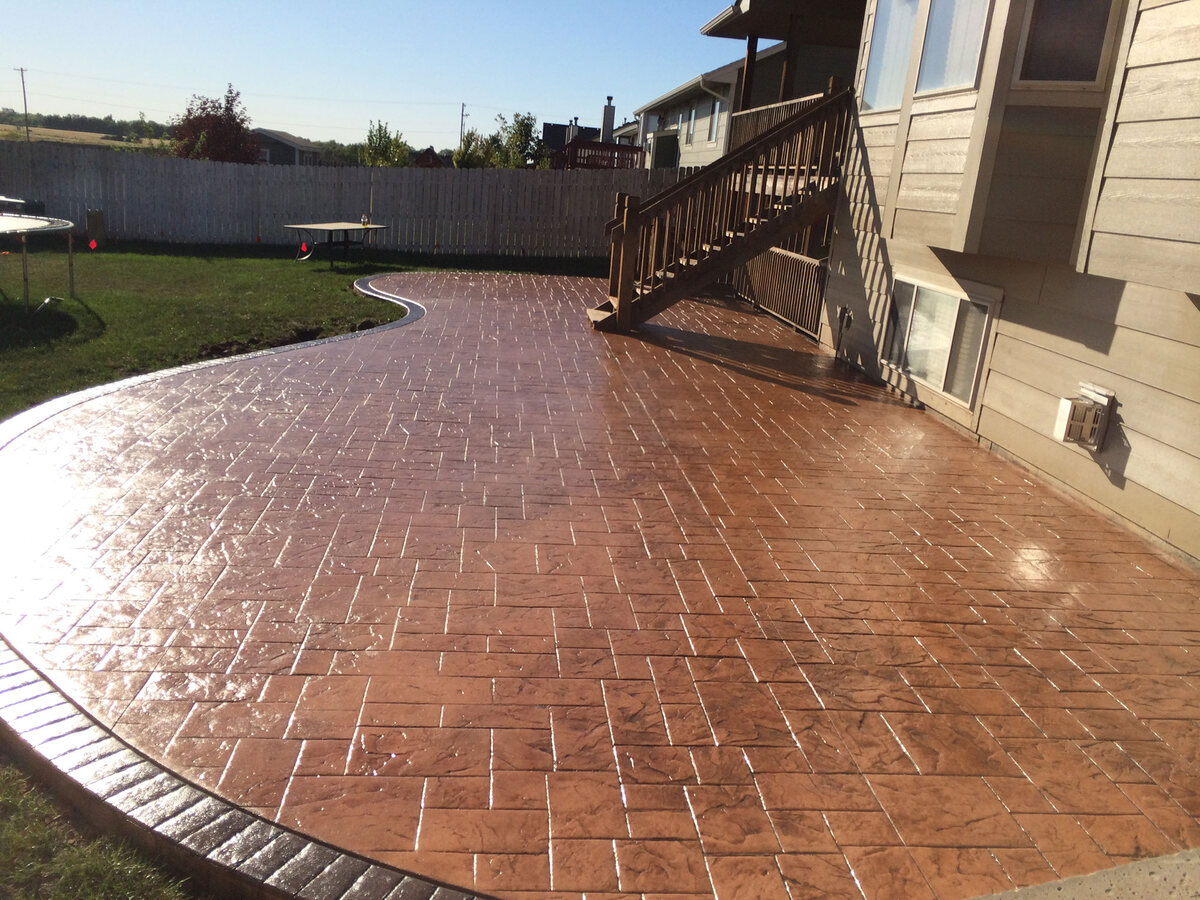
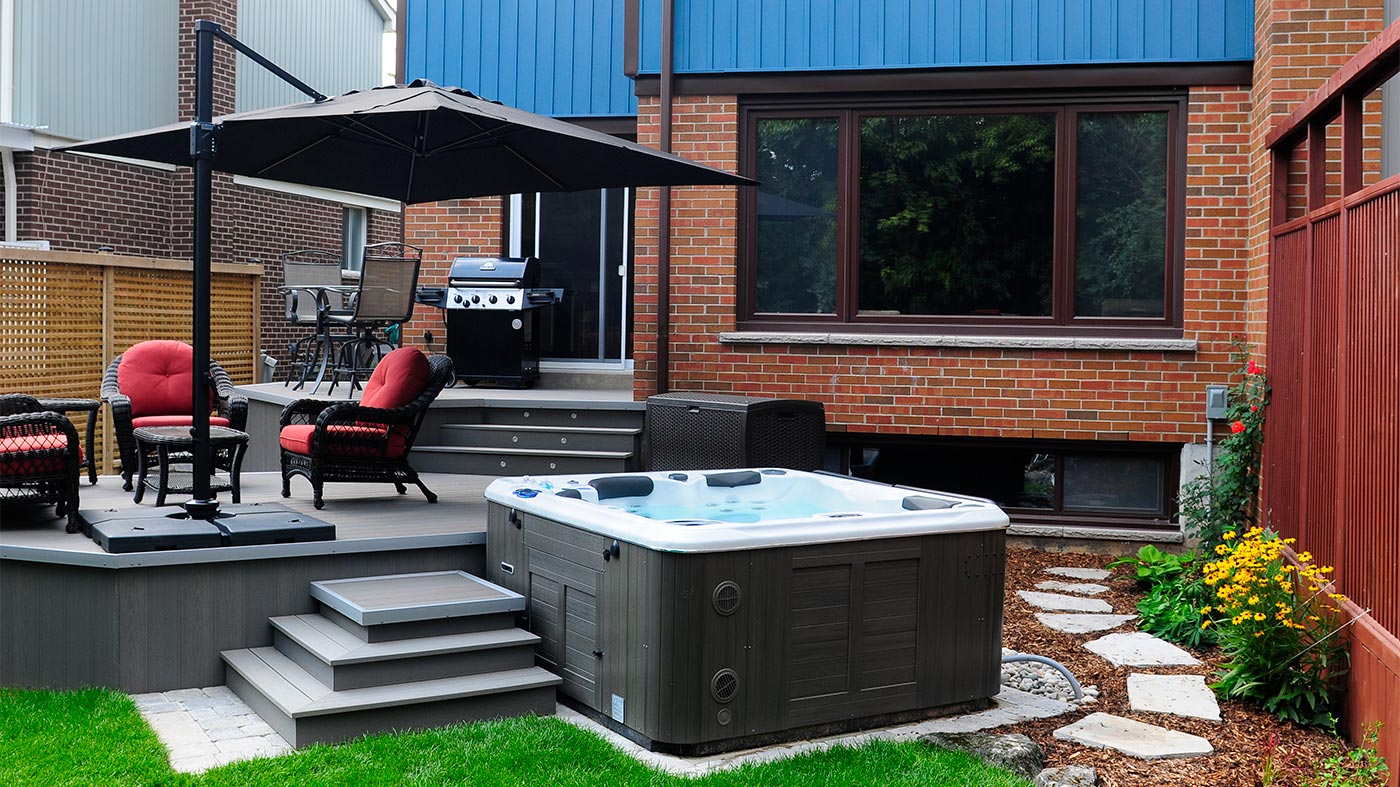
Having a concrete patio is a fantastic addition to any outdoor space. It provides a durable and functional area for relaxation, entertaining, and enjoying the great outdoors. However, over time, concrete patios can develop uneven surfaces due to factors such as settling, ground shifting, or improper installation.
An uneven patio not only detracts from the overall aesthetic appeal of your outdoor area but can also create safety hazards and cause water to pool in certain areas. Fortunately, with the help of self-leveling concrete overlay, you can easily restore the flatness and smoothness of your concrete patio.
In this guide, we will walk you through the step-by-step process of leveling out a concrete patio, ensuring that you have all the necessary materials and tools, and providing helpful tips along the way.
Key Takeaways:
- Leveling a concrete patio is a DIY project that requires thorough assessment, proper preparation, and careful application of self-leveling concrete overlay. It’s essential to follow instructions, pay attention to detail, and allow for complete curing to achieve a smooth and safe outdoor space.
- Inspecting the leveled patio surface and making necessary adjustments ensures a professional finish. Consider enhancing the appearance and durability with a concrete sealer or decorative options. Prioritize safety and consult professionals for complex projects or structural issues.
Read more: How To Level A Concrete Patio
Materials and Tools Needed
Before you begin leveling out your concrete patio, it’s essential to gather all the necessary materials and tools. Here’s a comprehensive list to help you get started:
- Self-leveling concrete overlay: This is the main material you’ll use to level out the surface of your patio. Make sure to choose a high-quality self-leveling product that is suitable for outdoor use.
- Cleaner/degreaser: To ensure proper adhesion, you’ll need a cleaner or degreaser to thoroughly clean the surface of your patio before applying the self-leveling compound.
- Water: You’ll need clean water for mixing the self-leveling compound to the right consistency.
- Mixing bucket: A sturdy and large mixing bucket or tub is necessary for mixing the self-leveling compound and water.
- Drill with mixing paddle: Using a drill with a mixing paddle attachment will make it easier to mix the self-leveling compound thoroughly.
- Trowel: A trowel will come in handy for spreading and smoothing the self-leveling compound over the patio surface.
- Level: To ensure an even and level surface, you’ll need a level tool to check for any high or low spots as you work.
- Tape measure: A tape measure will help you accurately measure the area and determine the amount of self-leveling compound needed.
- Broom or brush: Before applying the self-leveling compound, use a broom or brush to sweep away any debris or loose particles from the patio surface.
- Protective gear: It’s important to prioritize safety while working with self-leveling concrete. Wear gloves, safety goggles, and a dust mask to protect your skin, eyes, and lungs.
Having these materials and tools prepared and easily accessible will make the leveling process much smoother and more efficient.
Step 1: Assess the Current State of the Concrete Patio
Before you begin leveling out your concrete patio, it’s important to assess its current state to determine the extent of the unevenness and any underlying issues that may need to be addressed.
Start by thoroughly inspecting the patio surface for any visible cracks, chips, or areas of significant unevenness. Take note of any specific areas that need attention or repairs.
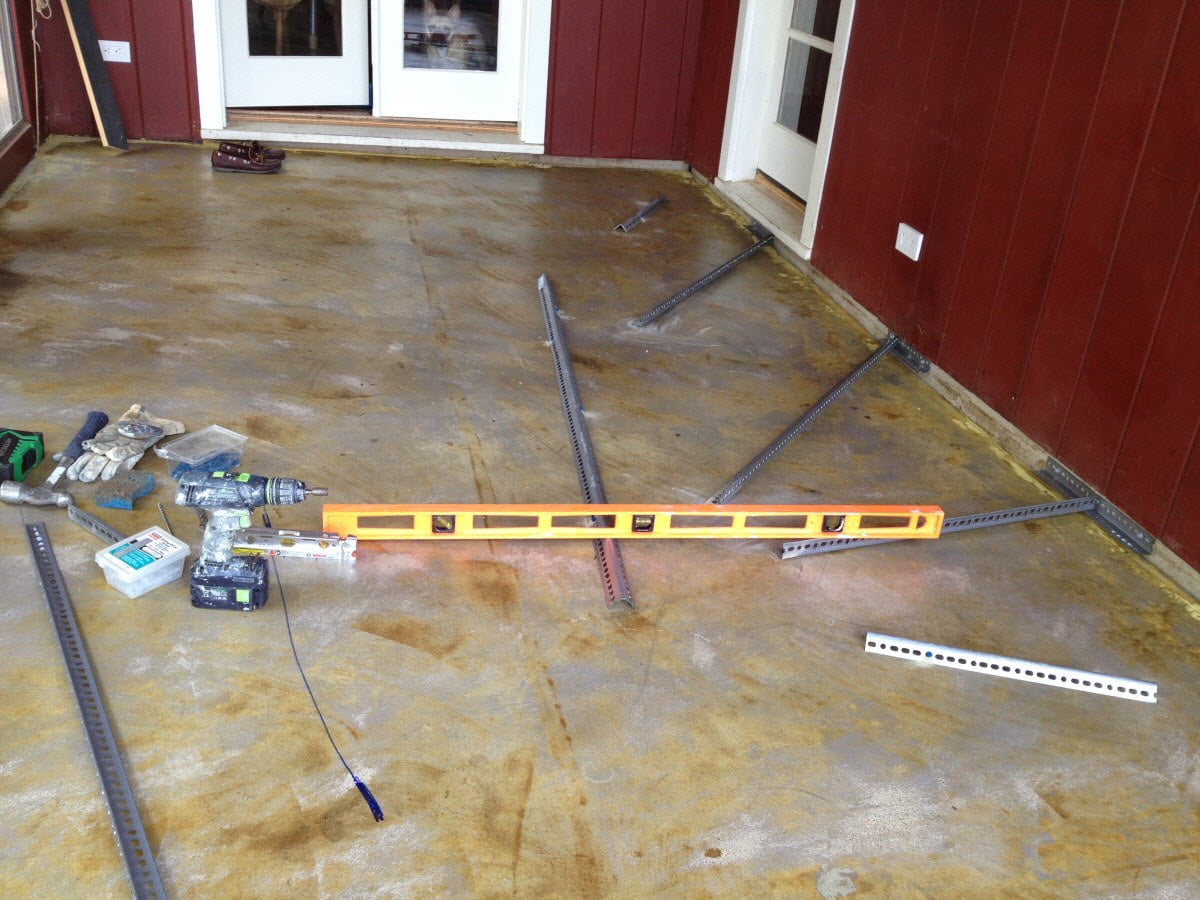
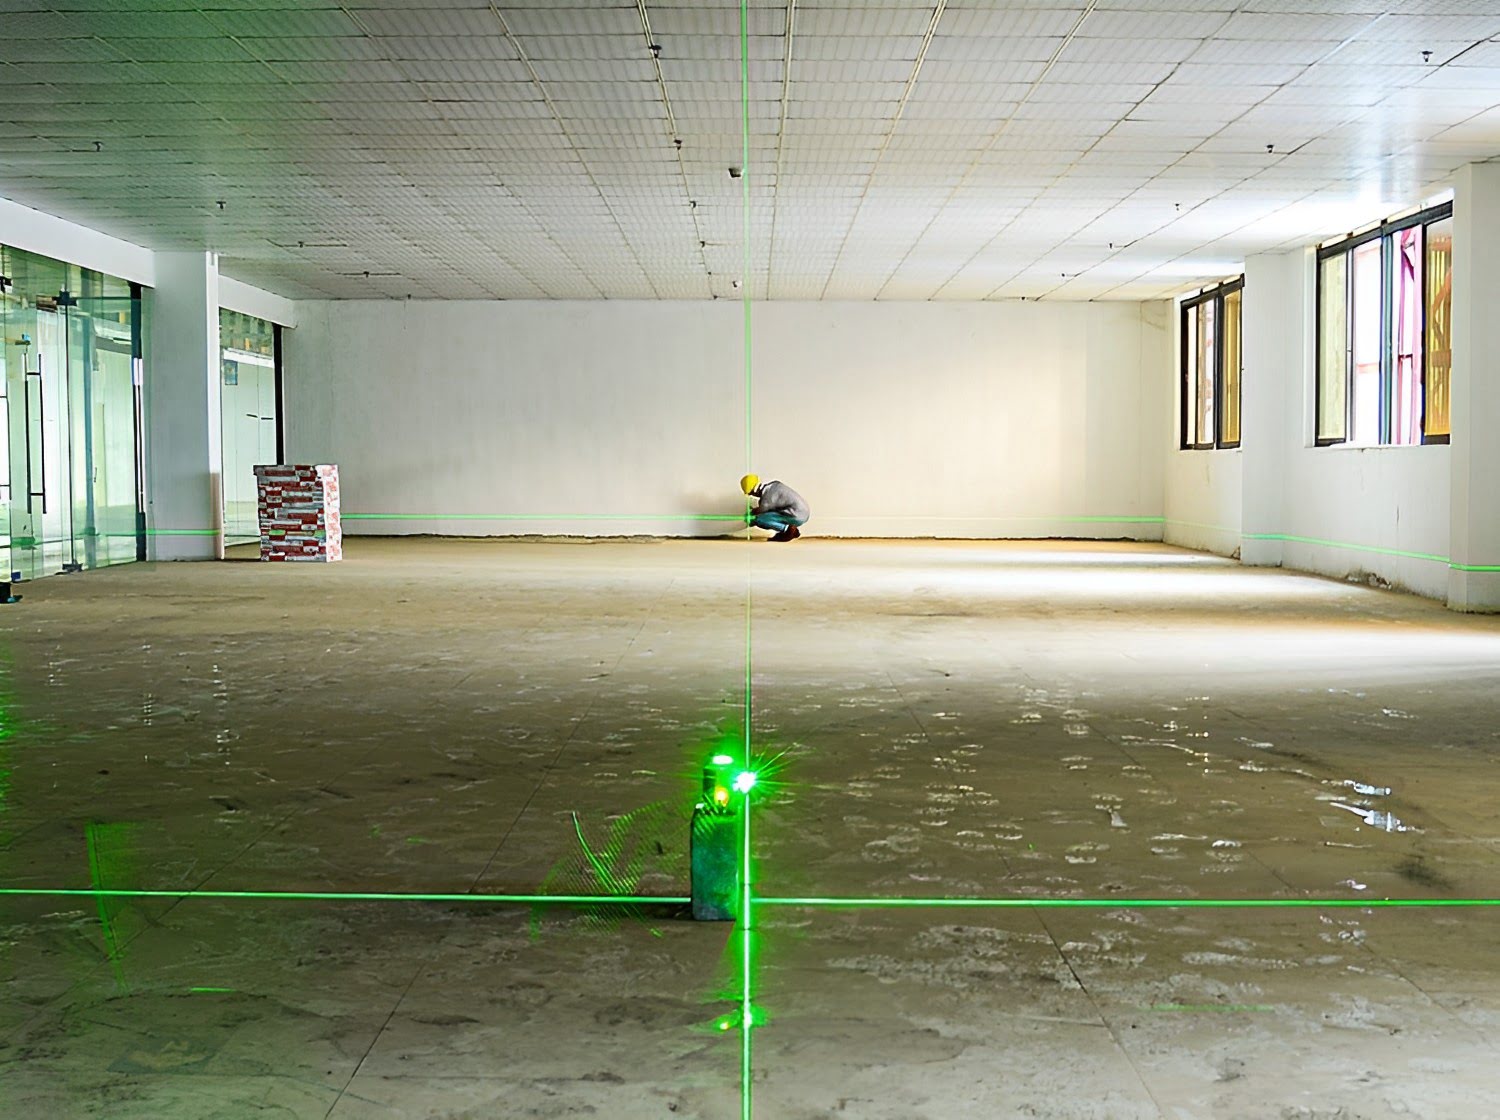
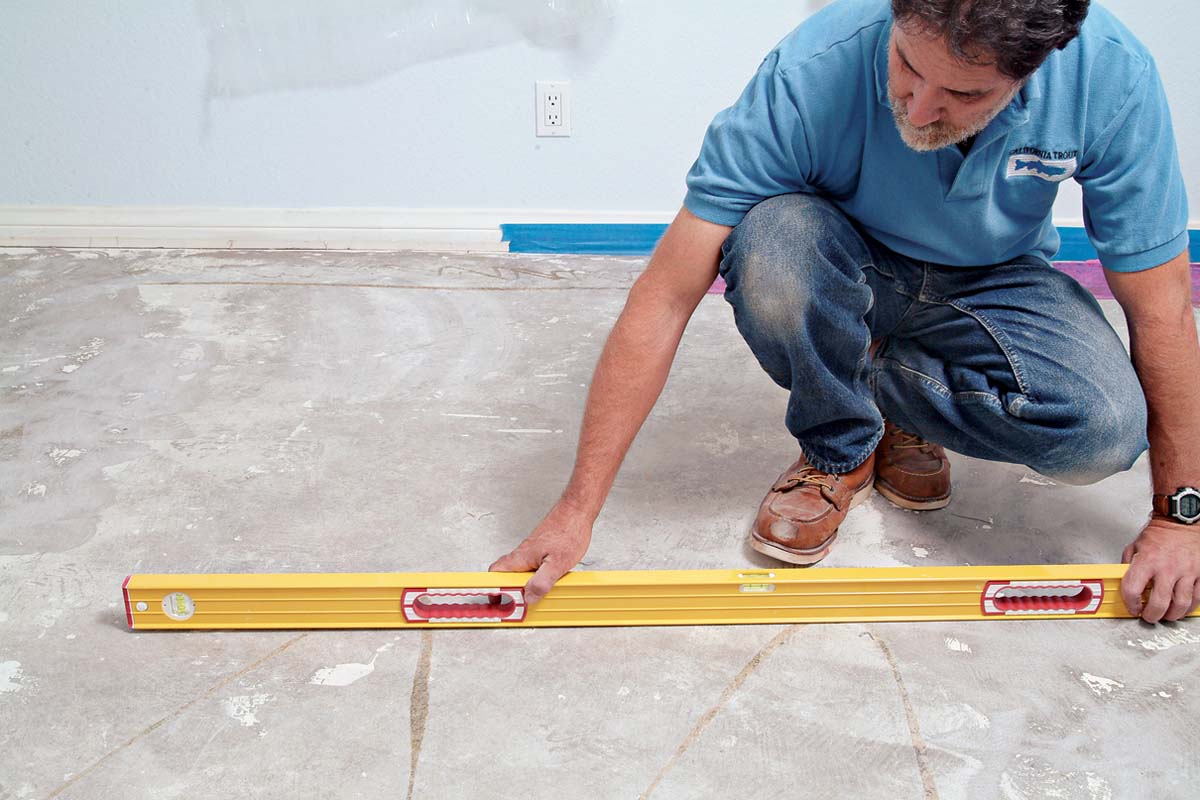
Next, use a level tool to check for any high or low spots on the patio. Place the level in various locations across the surface, both lengthwise and widthwise, and observe if it sits evenly or if there are any obvious deviations.
If you notice only minor imperfections, such as small dips or bumps, you may be able to proceed with leveling the patio using a self-leveling concrete overlay. However, if you encounter major structural issues, such as large cracks or severe and extensive unevenness, it may be necessary to consult with a professional to address these underlying issues before attempting any leveling work.
Additionally, consider the drainage of your patio. Ensure that it slopes away from your house or any other structures to prevent water pooling and potential water damage in the future.
By thoroughly assessing the current state of your concrete patio, you’ll have a better understanding of the specific areas that require attention and can plan accordingly for the leveling process.
Step 2: Prepare the Patio Surface
Preparing the patio surface is a crucial step in the leveling process as it ensures proper adhesion of the self-leveling concrete overlay and helps to achieve a smooth and durable finish. Follow these steps to prepare the patio surface:
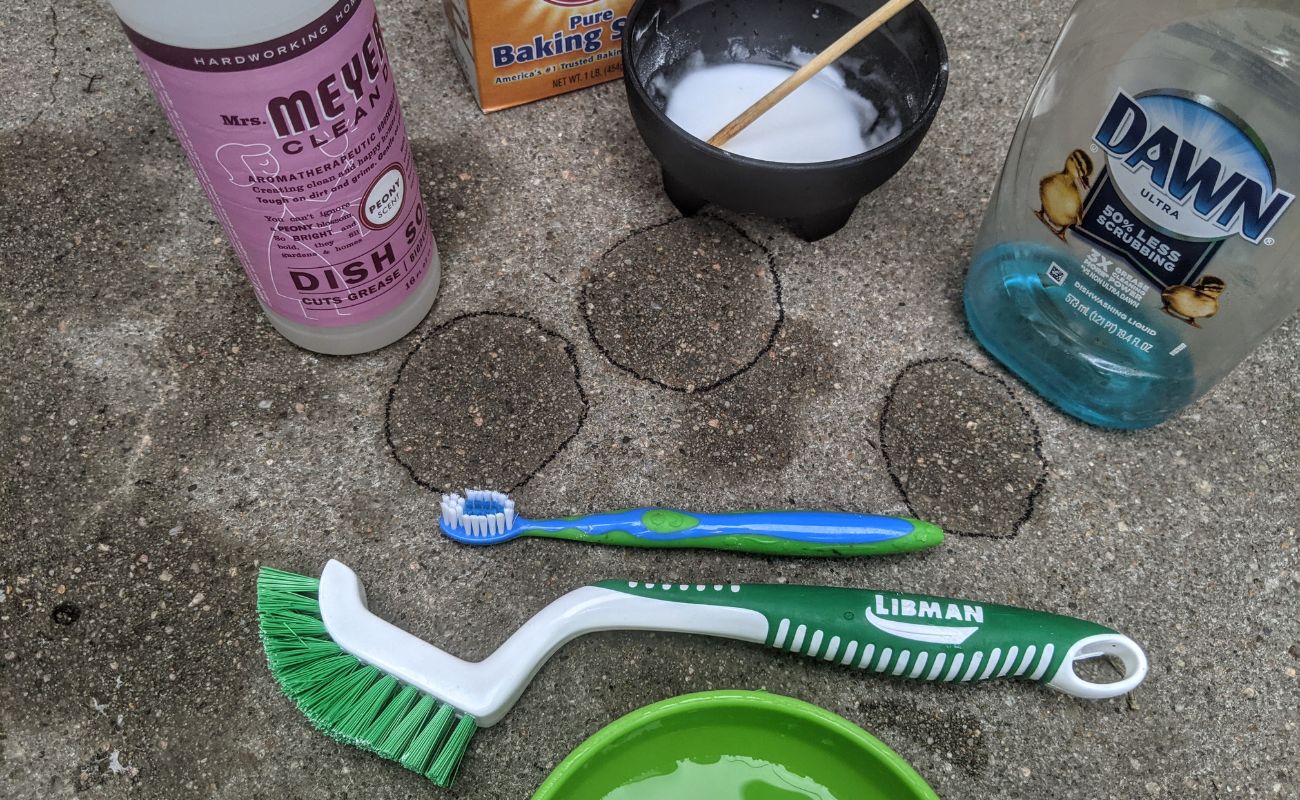
- Clean the surface: Start by thoroughly cleaning the entire patio surface to remove any dirt, debris, grease, or stains. Use a cleaner or degreaser appropriate for concrete surfaces and follow the manufacturer’s instructions. This step is essential to ensure proper adhesion of the self-leveling compound.
- Repair cracks and chips: If you noticed any cracks, chips, or small imperfections during the assessment, now is the time to repair them. Use a concrete patching compound to fill in any cracks or holes and smooth them out with a trowel. Allow the patches to dry and cure fully before proceeding.
- Scuff the surface: To create a better surface for the self-leveling compound to adhere to, scuff the patio surface using a floor sander or a rough abrasive pad. This will help remove any smooth or glossy areas and promote better bonding.
- Clean again: Once you have scuffed the surface, sweep away any dust or debris. Then, dampen the surface with water and use a stiff brush or broom to scrub the entire patio surface. This step will help remove any remaining loose particles and ensure a clean and prepped surface for the self-leveling compound.
Properly preparing the patio surface sets the foundation for a successful leveling job. By ensuring a clean, repaired, and scuffed surface, you’ll maximize the effectiveness and longevity of the self-leveling concrete overlay.
Step 3: Mix and Apply Self-Leveling Concrete Overlay
With the patio surface prepared, it’s time to mix and apply the self-leveling concrete overlay. Follow these steps to achieve a smooth and level surface:
- Read the instructions: Start by carefully reading and following the manufacturer’s instructions on the packaging of the self-leveling concrete overlay product. Each product may have specific mixing ratios and application guidelines that you need to adhere to.
- Mix the self-leveling compound: In a mixing bucket, combine the self-leveling compound powder with water according to the manufacturer’s instructions. Use a drill with a mixing paddle attachment to thoroughly mix the compound until it reaches a smooth and pourable consistency.
- Begin pouring: Start pouring the self-leveling compound onto the patio surface in small sections. Pour the compound in thin lines in a back-and-forth motion, covering the entire surface area of the patio.
- Spread the compound: Using a trowel or a long-handled squeegee, spread the self-leveling compound evenly across the patio surface. Work quickly and carefully to ensure a smooth and consistent layer of the compound. Try to maintain a consistent thickness throughout the application process.
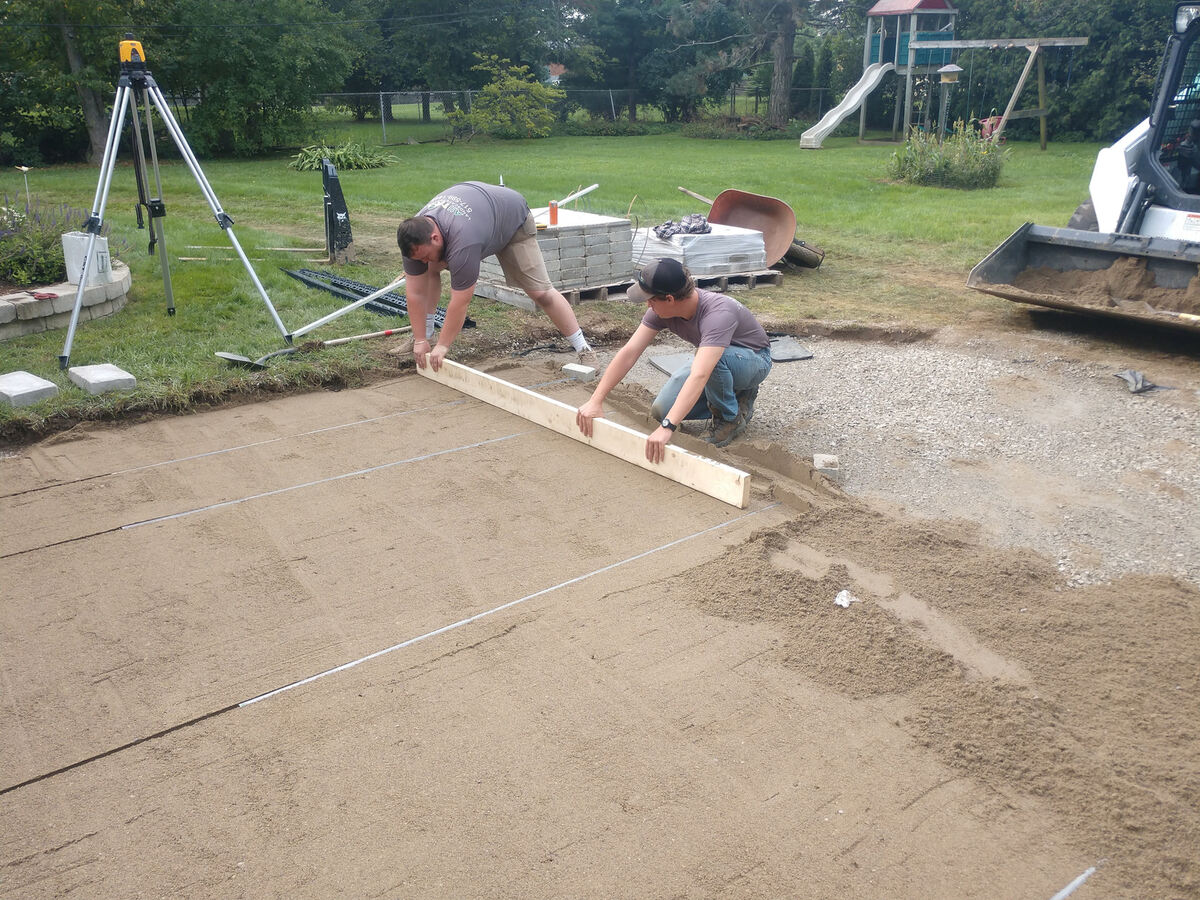
- Level the surface: Once you have spread the compound, use a straightedge or a leveling tool to ensure that the surface is level. Gently drag the straightedge over the compound in a sweeping motion, adjusting any high or low spots as needed to achieve a level surface.
Remember to work efficiently, as the self-leveling compound starts to set and level within a limited time frame. It’s important to complete the application and leveling process before the compound completely sets.
Keep in mind that the drying time of the self-leveling compound will vary depending on the product and environmental conditions. Follow the manufacturer’s instructions for the recommended drying time before proceeding to the next step.
By properly mixing and applying the self-leveling concrete overlay, you’ll be one step closer to a beautifully level and smooth patio surface.
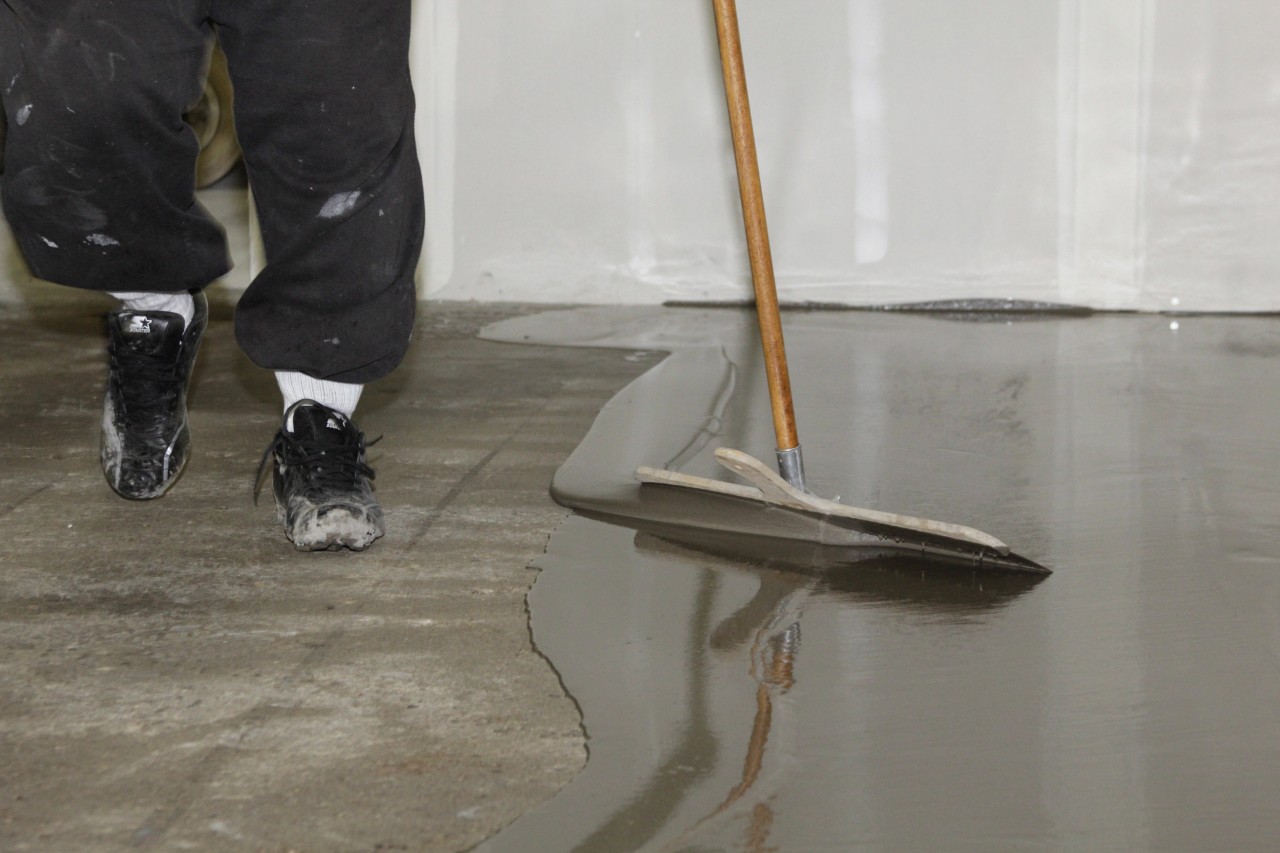
Use a self-leveling compound to fill in any low spots on the concrete patio. Follow the manufacturer’s instructions for mixing and application to ensure a smooth and level surface.
Read more: How To Smooth Out A Rough Concrete Patio
Step 4: Spread and Smooth the Self-Leveling Concrete
After applying the self-leveling concrete overlay in Step 3, it’s time to spread and smooth the compound to achieve a flawless and even surface. Follow these steps to ensure a professional finish:
- Spread the compound: Use a trowel or a long-handled squeegee to spread the self-leveling concrete evenly across the patio surface. Work in small sections to ensure that the mixture is spread uniformly. Pay close attention to any low spots or uneven areas, spreading additional compound to level them out.
- Smooth the surface: Once you have spread the compound, use a finishing trowel or a flat-edged trowel to smooth and level the surface. Hold the trowel at a slight angle and gently glide it across the compound in a back-and-forth motion. This will help create a smooth and even finish.
- Remove air bubbles: While smoothing the surface, you may notice some air bubbles trapped in the compound. Use a bubble-buster tool or gently tap the trowel against the surface to release any air bubbles and ensure a consistent and solid finish.
- Clean up the edges: Pay attention to the edges of the patio and ensure that the self-leveling compound is evenly distributed and smoothly blended with the existing concrete. Use a trowel or a putty knife to clean up any excess compound and create clean, defined edges.
It’s important to work efficiently and be mindful of the drying time of the self-leveling compound. As the compound begins to set, adjustments and smoothing become more challenging. Complete the spreading and smoothing process before the compound fully sets to achieve the best results.
Allow the self-leveling concrete to cure according to the manufacturer’s instructions. This typically takes anywhere from a few hours to a couple of days, depending on the product and environmental conditions. Avoid walking or placing any weight on the surface during the curing process.
By spreading and smoothing the self-leveling concrete with attention to detail, you’ll be rewarded with a beautifully level and professional-looking patio surface.
Step 5: Allow the Self-Leveling Concrete to Cure
After spreading and smoothing the self-leveling concrete in step 4, it’s essential to allow the compound to cure properly. This step ensures that the concrete overlay sets and hardens, providing a durable and long-lasting surface. Follow these guidelines to allow for optimal curing:
- Read the manufacturer’s instructions: Refer to the product packaging or manufacturer’s instructions to determine the recommended curing time for the specific self-leveling concrete overlay you used. Curing times can vary depending on factors such as temperature and humidity, so it’s crucial to follow the instructions for the best results.
- Keep foot traffic off the surface: During the curing process, it’s crucial to keep foot traffic off the self-leveling concrete surface to avoid potential damage or disruptions. Place barricades or caution tape around the patio area to prevent any accidental stepping or traffic.
- Avoid placing heavy objects: Similarly, avoid placing heavy furniture, equipment, or any other objects on the newly leveled patio surface until it has fully cured. Heavy items can leave indentations or damage the compound before it has fully hardened.
- Protect from moisture: While allowing the self-leveling concrete to cure, it’s important to protect it from moisture. Avoid any water exposure or activities that may introduce moisture to the surface. This includes avoiding rain, sprinklers, or any other water sources during the curing period.
- Provide proper ventilation: Ensure that the patio area is well-ventilated during the curing process. Good air circulation helps promote optimal curing and drying of the self-leveling concrete overlay.
The curing time for self-leveling concrete overlays typically ranges from 24 to 72 hours, but it’s crucial to consult the manufacturer’s instructions for precise guidelines. Rushing the curing process can lead to poor results or damage to the newly leveled surface.
By following these guidelines and allowing the self-leveling concrete to cure completely, you’ll ensure a strong and resilient patio surface that is ready for regular use.
Step 6: Inspect and Make Adjustments if Needed
Once the self-leveling concrete has fully cured, it’s time to inspect the patio surface and make any necessary adjustments to ensure a perfect finish. Follow these steps to evaluate the results of the leveling process:
- Check for any imperfections: Carefully examine the entire patio surface for any visible imperfections, such as uneven areas, ridges, or rough spots. Use both your eyes and hands to detect any irregularities in texture or levelness.
- Address any issues: If you notice any imperfections, consider the severity and scope of the problem. Minor imperfections can often be rectified by lightly sanding or using a grinding tool to smooth out the surface. For more significant issues, consult with a professional concrete contractor for advice on how to address them effectively.
- Make necessary adjustments: If you encounter any low spots or uneven areas, you may be able to make adjustments by applying a thin layer of self-leveling concrete overlay specifically to those areas. Follow the manufacturer’s instructions for preparing and applying the additional compound, ensuring a seamless blend with the rest of the patio surface.
- Consider surface enhancement: If desired, you can further enhance the appearance and durability of the leveled patio surface. Consider applying a concrete sealer to protect the concrete overlay from staining, water damage, and UV exposure. Additionally, you can explore decorative options such as staining or stamping to add color and texture to the patio.
Remember, the goal is to achieve a smooth, level, and aesthetically pleasing patio surface. Take the time to thoroughly inspect the area and make any necessary adjustments or enhancements to ensure the best possible outcome.
Once you are satisfied with the results and any additional adjustments or enhancements have been made, your leveled concrete patio is ready to be enjoyed for years to come.
Conclusion
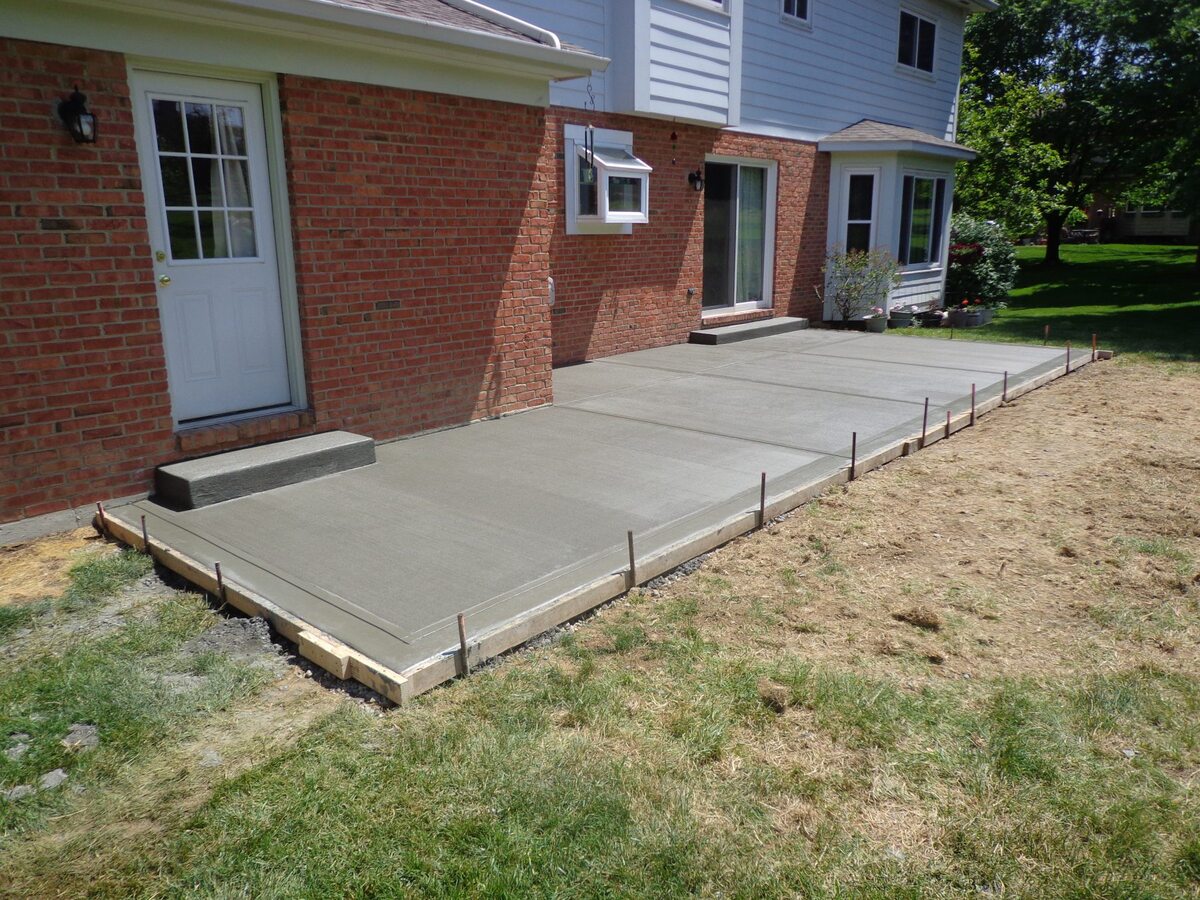
Leveling out a concrete patio is a rewarding project that rejuvenates the appearance and functionality of your outdoor space. By following the steps outlined in this guide and using self-leveling concrete overlay, you can achieve a smooth and even surface that enhances the beauty and usability of your patio.
Remember, proper assessment of the current state of your patio, thorough preparation of the surface, and careful application of the self-leveling compound are key to achieving a successful outcome. Take your time, follow the manufacturer’s instructions, and pay attention to detail throughout the process.
By allowing the self-leveling concrete to cure fully and inspecting the results, you can ensure a professionally leveled patio surface. If you encounter any imperfections, don’t hesitate to make adjustments and enhancements to achieve the desired finish.
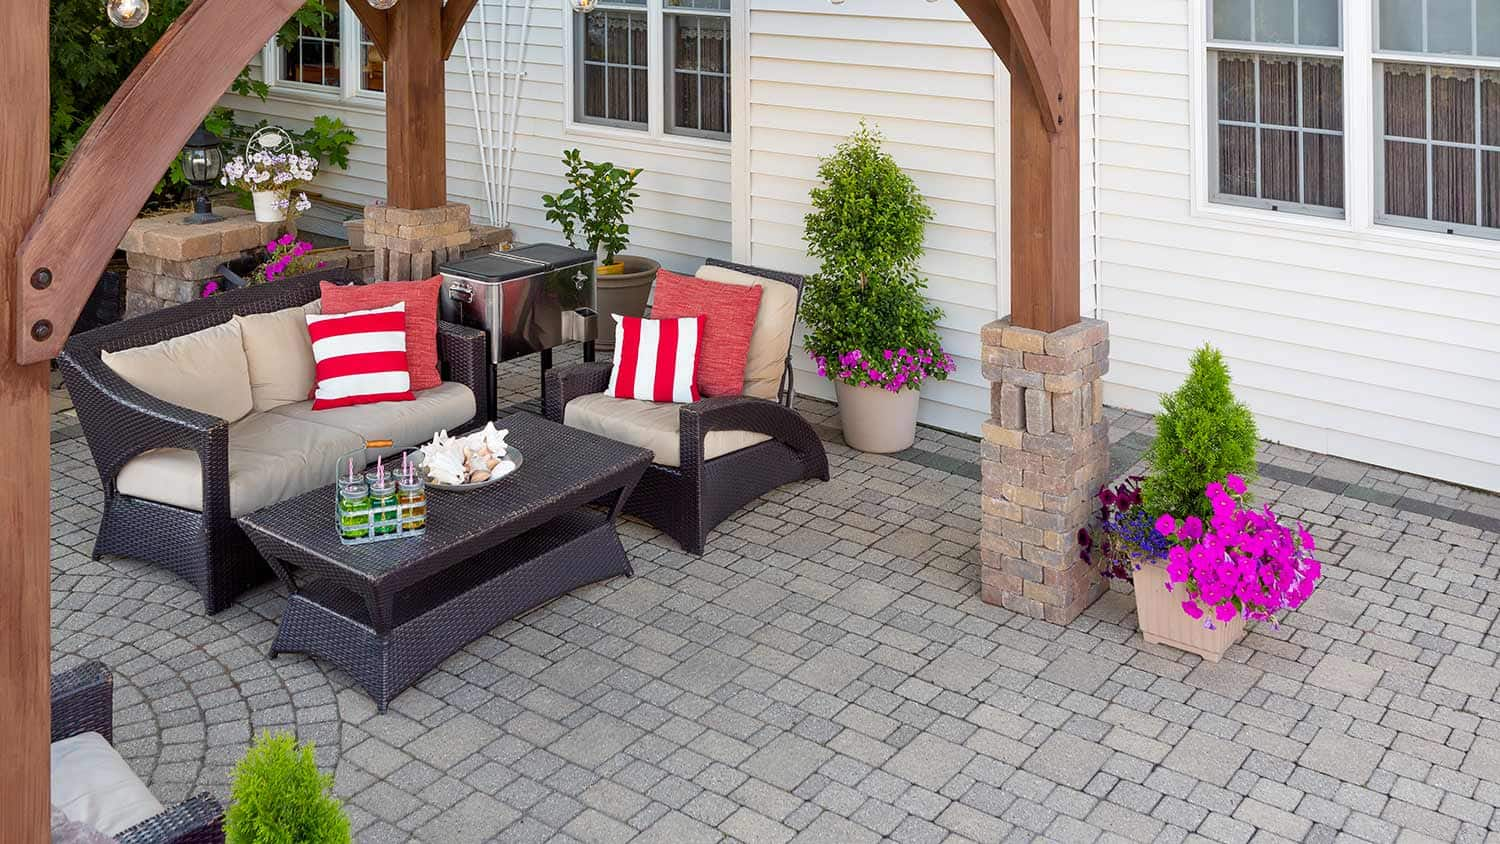
With your newly leveled concrete patio, you will not only enjoy a visually appealing outdoor area but also eliminate safety hazards and water pooling issues. Take pride in your outdoor space and make lasting memories with family and friends on your perfectly level patio.
Remember to consult with professionals for more complex leveling projects or if you encounter structural issues with your patio. Safety and the longevity of the surface should always be top priorities throughout the patio leveling process.
Now, grab your materials and tools, get ready to transform your uneven concrete patio into a fantastic outdoor oasis that you can relax and entertain on for years to come!
Frequently Asked Questions about How To Level Out A Concrete Patio
Was this page helpful?
At Storables.com, we guarantee accurate and reliable information. Our content, validated by Expert Board Contributors, is crafted following stringent Editorial Policies. We're committed to providing you with well-researched, expert-backed insights for all your informational needs.


0 thoughts on “How To Level Out A Concrete Patio”