
Articles
How To Make A Fan Quiet
Modified: October 28, 2024
Learn how to make a noisy fan quiet with these helpful articles. Discover tips and tricks to reduce fan noise and enjoy a peaceful environment.
(Many of the links in this article redirect to a specific reviewed product. Your purchase of these products through affiliate links helps to generate commission for Storables.com, at no extra cost. Learn more)
Introduction
Having a fan can be a lifesaver during hot summer months or stuffy days. However, a noisy fan can quickly become a source of irritation and disruption, affecting your comfort and peace of mind. The constant humming, rattling, or whirring can make it difficult to concentrate, relax, or even get a good night’s sleep. Fortunately, there are several techniques and adjustments you can make to quiet down your fan and restore a peaceful environment. In this article, we will explore various methods to tackle the noise issue and help you enjoy the benefits of a quiet fan.
Before diving into the solutions, it’s important to understand the potential causes of fan noise. Over time, dust and dirt can accumulate on the blades and motor, resulting in a sluggish and noisy fan. Inadequate lubrication may cause friction and squeaking sounds. Poor fan placement can also contribute to noise, as vibrations can be transmitted to nearby surfaces. By identifying the source of the noise, you will be better equipped to address the problem effectively.
Assessing the Noise Issue
The first step in resolving a noisy fan is to identify the root cause of the problem. Start by listening carefully to determine the type and intensity of the noise. Is it a constant hum, a rattling sound, or a high-pitched squeak? Next, visually inspect the fan’s components, particularly the blades and motor, for any visible signs of debris or damage. If the noise appears to be coming from the motor, it may indicate a more significant issue that might require professional assistance.
Cleaning and Maintenance
One of the most common causes of fan noise is the accumulation of dust and dirt on the blades and motor. Regular maintenance and cleaning can go a long way in preventing this issue and keeping your fan running smoothly. To clean the fan, first, ensure it is unplugged and turned off. Use a soft cloth or brush to gently wipe down the blades, removing any visible dirt or dust. For more thorough cleaning, you can use a mild detergent mixed with water to clean the blades, making sure to dry them thoroughly before reassembly. Additionally, you can use a vacuum cleaner or compressed air to remove dust from hard-to-reach areas.
Lubricating the Fan
If your fan is making a squeaking or grinding sound, it may be due to insufficient lubrication of the motor or bearing. Lubricating the fan can help reduce friction and eliminate these noise issues. Refer to the manufacturer’s instructions or user manual to identify the specific areas that require lubrication. Generally, a few drops of lubricating oil, such as sewing machine oil or motor oil, should be applied to the motor’s moving parts. Be careful not to over-lubricate, as excessive oil can attract more dust and dirt.
Key Takeaways:
- Regular maintenance, cleaning, and lubrication are essential for reducing fan noise. Identifying and addressing the root cause of the noise can restore a peaceful environment and ensure optimal fan performance.
- Adjusting fan placement, using soundproofing techniques, and installing a fan speed controller offer effective solutions for minimizing fan noise. Replacing noisy components when necessary can further enhance the fan’s quiet operation.
Read more: How To Make Hand Fan
Assessing the Noise Issue
When dealing with a noisy fan, it’s important to first identify the source of the noise. Understanding the cause will help you determine the appropriate solution or adjustment needed to resolve the issue. Here are some steps you can take to assess the noise problem:
1. Listen Carefully: Start by sitting close to the fan and listening attentively. Pay attention to the type and intensity of the noise. Is it a constant humming sound, a rattling noise, or a high-pitched squeak? Jotting down these details can help you narrow down the potential sources of the noise.
2. Visual Inspection: After listening to the fan, carefully examine its components. Look for any obvious signs of damage, loose parts, or debris. Check the blades, motor housing, and any other accessible areas for dust or dirt buildup. Dust and debris on the blades can cause unbalanced spinning and create noise.
3. Motor Check: If you suspect that the noise is originating from the motor, you may need to further investigate. Ensure the fan is unplugged and turn the blades manually. If you feel any resistance or hear grinding noises, it could indicate a problem with the motor bearings or other internal components.
4. Fan Stability: Next, check the stability of the fan. Make sure it is securely mounted or placed on a stable surface. Sometimes, loose screws or unstable positioning can cause vibrations that result in noise. Tighten any loose screws or bolts and ensure the fan is properly balanced.
5. Remote Control or Switches: If your fan has a remote control or switches for different speed settings, test them to see if the noise changes or stops at lower speeds. In some cases, the noise may be more prominent at higher speeds due to increased airflow or motor strain.
By systematically assessing the noise issue and taking note of your observations, you will have a better idea of the potential causes and can proceed to address the problem accordingly.
Cleaning and Maintenance
Regular cleaning and maintenance are essential for keeping your fan running smoothly and quietly. Over time, dust, dirt, and debris can accumulate on the blades and motor, causing the fan to become noisy and less efficient. By following these steps, you can effectively clean and maintain your fan:
1. Turn Off and Unplug: Before cleaning your fan, ensure it is turned off and unplugged from the power source. This will prevent any accidents or electrical shocks.
2. Dusting the Blades: Use a soft cloth or a feather duster to gently wipe away any visible dust or dirt from the fan blades. Start from the base and work your way towards the tips of the blades. If the dust is stubborn or hard to remove, you can dampen the cloth slightly with water or a mild cleaning solution. However, make sure the blades are completely dry before turning the fan back on.
3. Vacuuming or Compressed Air: For a more thorough cleaning, you can use a vacuum cleaner with a soft brush attachment or compressed air to remove dust and debris from the fan grille, motor housing, and other hard-to-reach areas. Be careful not to apply too much pressure or get too close to the components to avoid damaging them.
4. Cleaning the Grille or Mesh: If your fan has a removable grille or mesh covering, take it off and clean it separately. You can wash it with mild soap and water, ensuring it is completely dry before reattaching it to the fan.
5. Motor Maintenance: While cleaning the blades and grille, be mindful of the motor. It is important to keep the motor free from dust and debris as it can affect its performance. You can use a small brush or a compressed air canister to gently remove any accumulated dirt from the motor housing.
6. Regular Maintenance Schedule: To prevent excessive dust buildup and maintain a quiet fan, establish a regular cleaning schedule. Depending on your environment and usage, aim to clean your fan every couple of weeks or at least once a month.
Keeping your fan clean not only helps reduce noise but also improves its overall efficiency and prolongs its lifespan. Regular maintenance ensures that the fan runs smoothly and provides optimal airflow while keeping noise levels to a minimum.
Lubricating the Fan
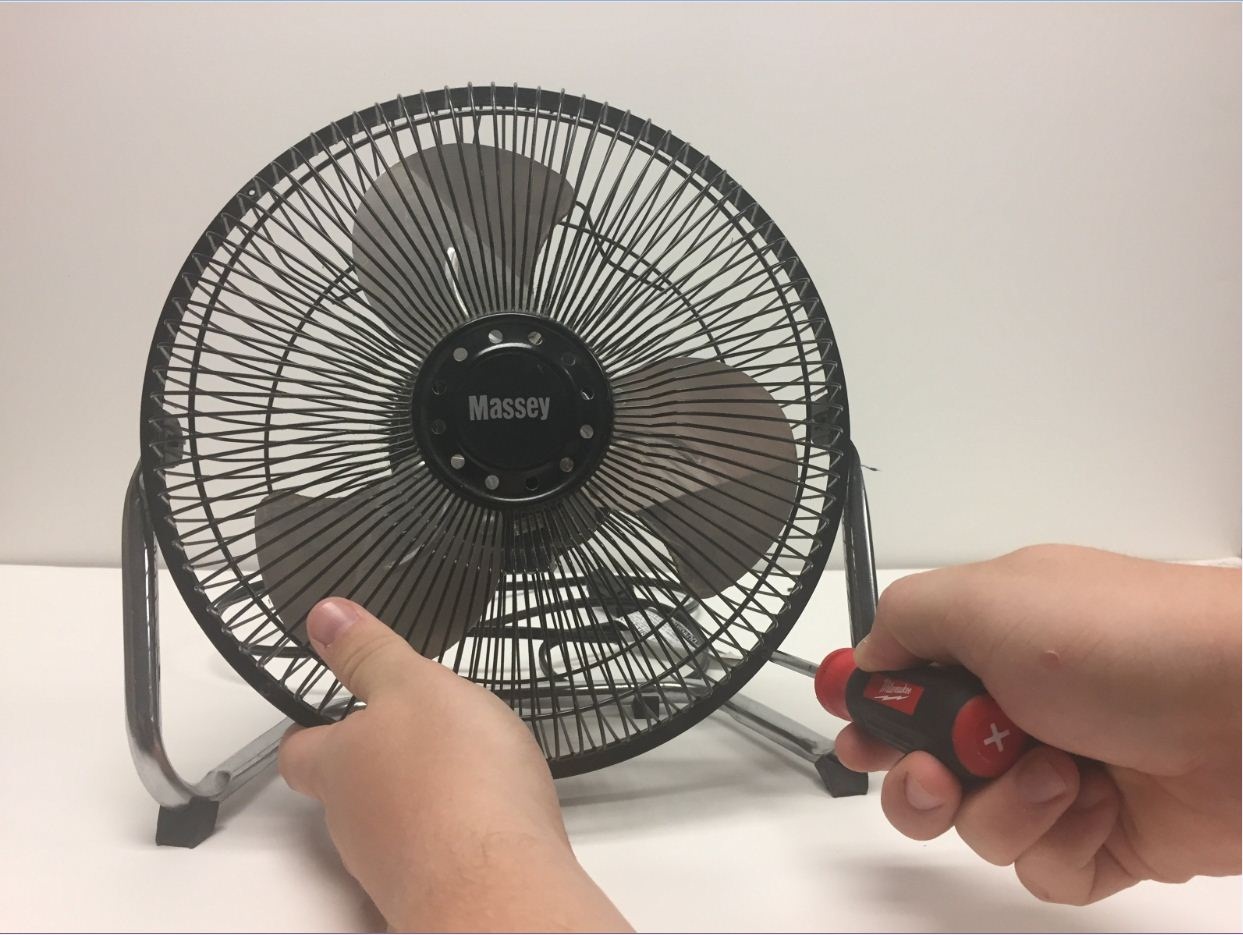
If your fan is making squeaking or grinding noises, it is likely due to inadequate lubrication of its moving parts. Lubricating the fan can help reduce friction, eliminate noise, and ensure smooth operation. Here’s how you can effectively lubricate your fan:
1. Read the Manual: Before proceeding with lubrication, refer to the manufacturer’s instructions or user manual. Different types and models of fans may require specific lubrication methods or oils. Following the recommended guidelines will help avoid any potential damage or adverse effects.
2. Gather Supplies: Ensure you have the necessary supplies for lubricating the fan. Typically, you will need a suitable lubricating oil, such as sewing machine oil, motor oil, or specific fan lubricant. Avoid using WD-40 or other types of penetrating oils, as they are not designed for long-term lubrication and may damage the fan components.
3. Identify Lubrication Points: Locate the lubrication points on your fan. These are usually found on the motor or where the moving parts come into contact. Common lubrication points include the motor shaft, bearings, and any other rotating or sliding mechanisms.
4. Apply Lubricant: Use a few drops of the recommended lubricant onto the identified lubrication points. Be careful not to over-lubricate, as excess oil can attract dirt and cause further issues. If necessary, wipe away any excess oil using a clean cloth or paper towel.
5. Rotate the Blades: After applying the lubricant, manually rotate the blades or turn on the fan briefly to distribute the oil evenly. This helps ensure that the lubricant reaches all the necessary areas and reduces friction effectively.
6. Monitor Performance: Once you have lubricated the fan, pay attention to any changes in noise level and smoothness of operation. The lubrication should help reduce any squeaking or grinding sounds. However, if the noise persists or becomes worse, it may indicate a more significant underlying issue that requires professional attention.
It’s worth noting that not all fans require regular lubrication. Some modern fan models come with permanently sealed bearings or self-lubricating mechanisms. In such cases, lubrication may not be necessary or even possible. Consult the manufacturer’s instructions or research the specific model to determine if lubrication is recommended for your fan.
By properly lubricating your fan at the designated points, you can enjoy a smoother and quieter operation, prolong the fan’s lifespan, and maintain its efficiency.
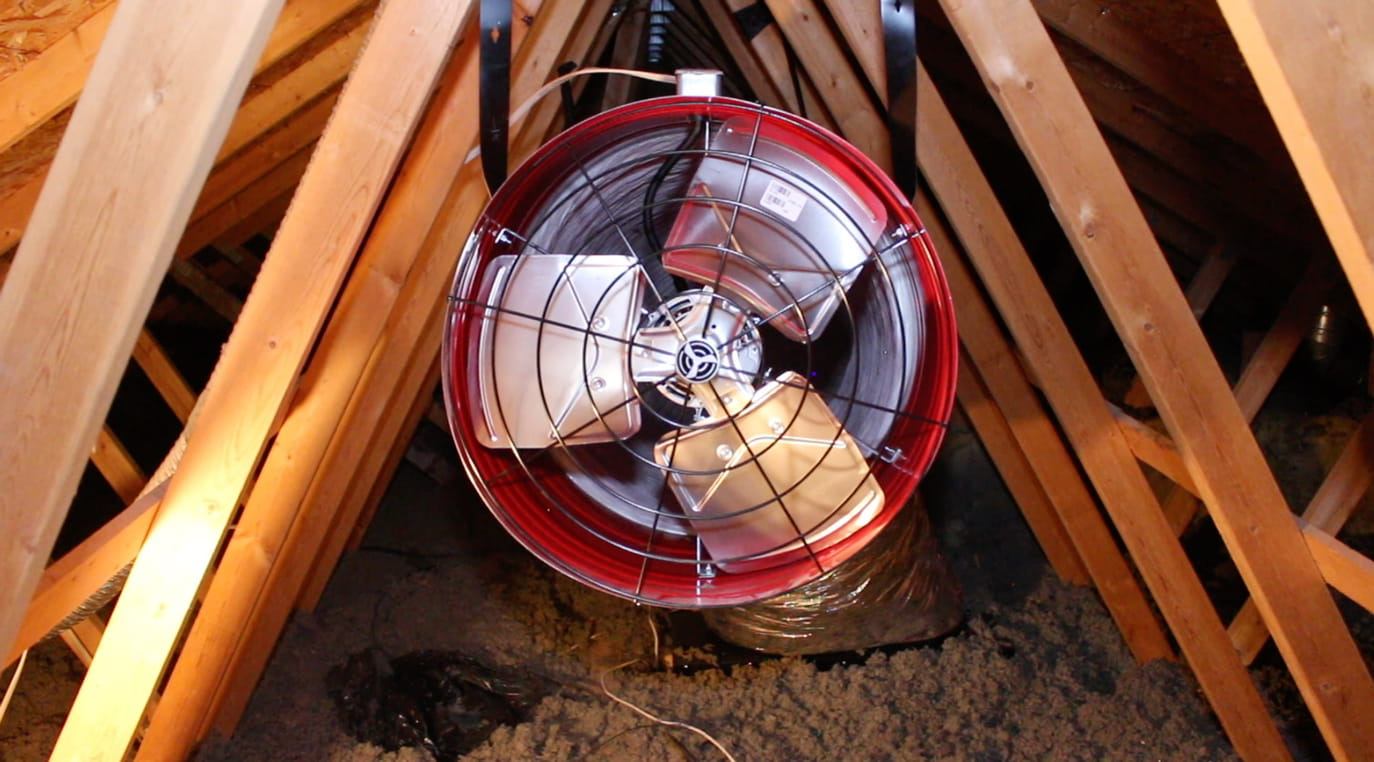
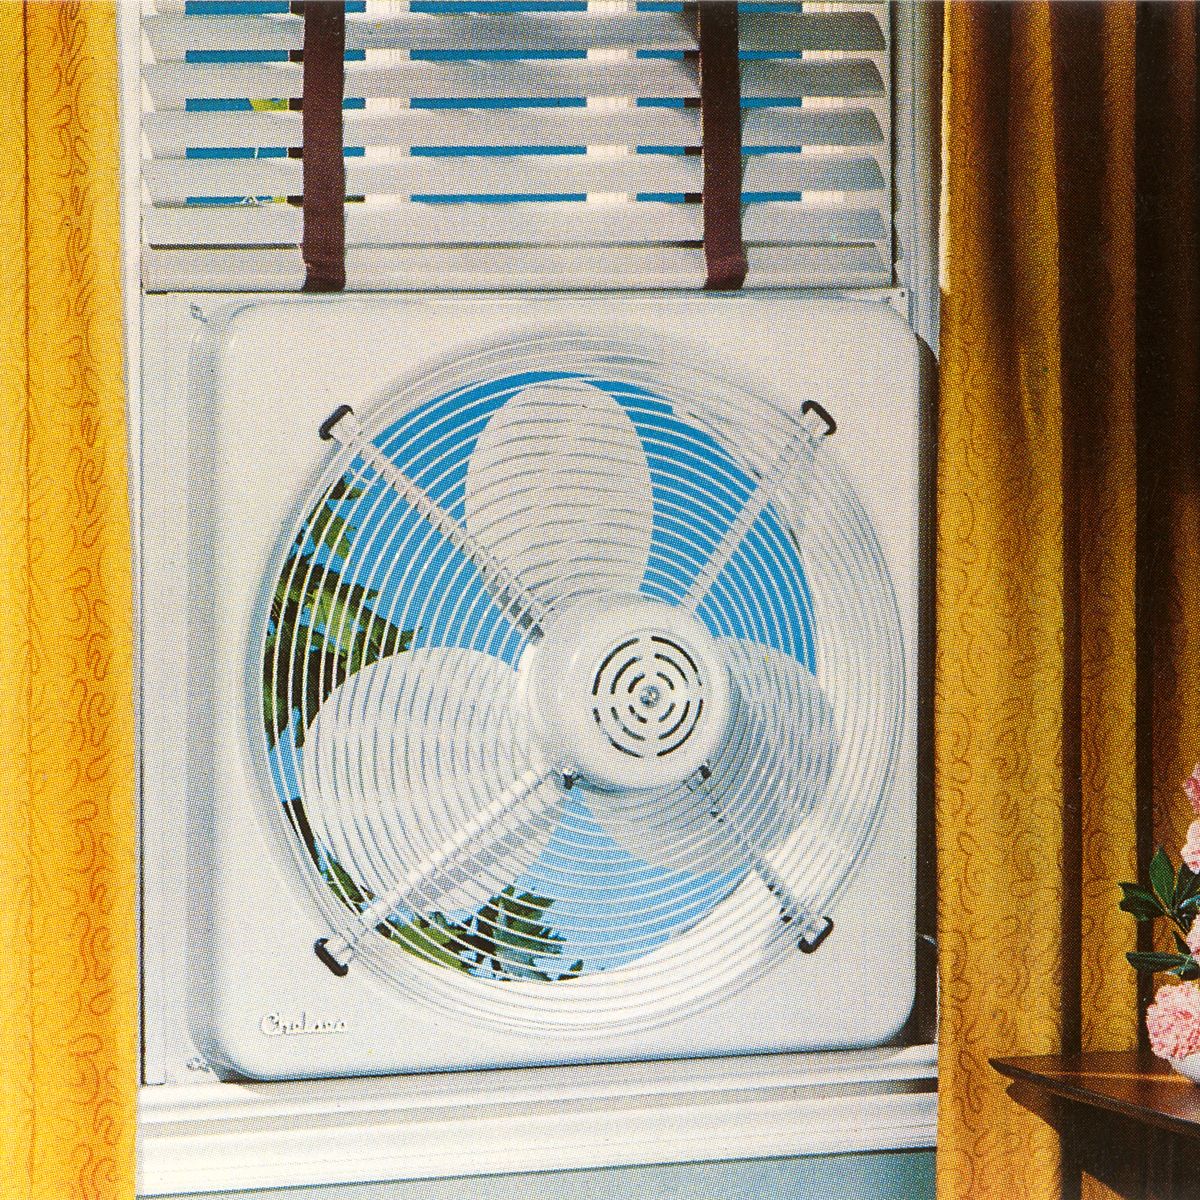
Adjusting Fan Placement
The placement of your fan can significantly impact its noise levels. Improper fan placement can lead to vibrations that are transmitted to nearby surfaces, causing noise and discomfort. By adjusting the fan’s position and taking certain precautions, you can minimize vibrations and enjoy a quieter environment. Here are some tips for adjusting fan placement:
1. Stable Surface: Ensure that your fan is placed on a stable and level surface. This could be a desk, table, or dedicated fan stand. Avoid placing the fan on uneven or wobbly surfaces, as it can amplify vibrations and create noise. If necessary, use rubber mats or pads underneath the fan’s base to dampen vibrations and provide stability.
2. Ideal Distance: Consider the recommended distance between the fan and nearby objects. Maintaining a proper distance can help minimize the transfer of vibrations. Typically, it is advisable to keep at least two feet of clearance between the fan and walls, furniture, or other objects.
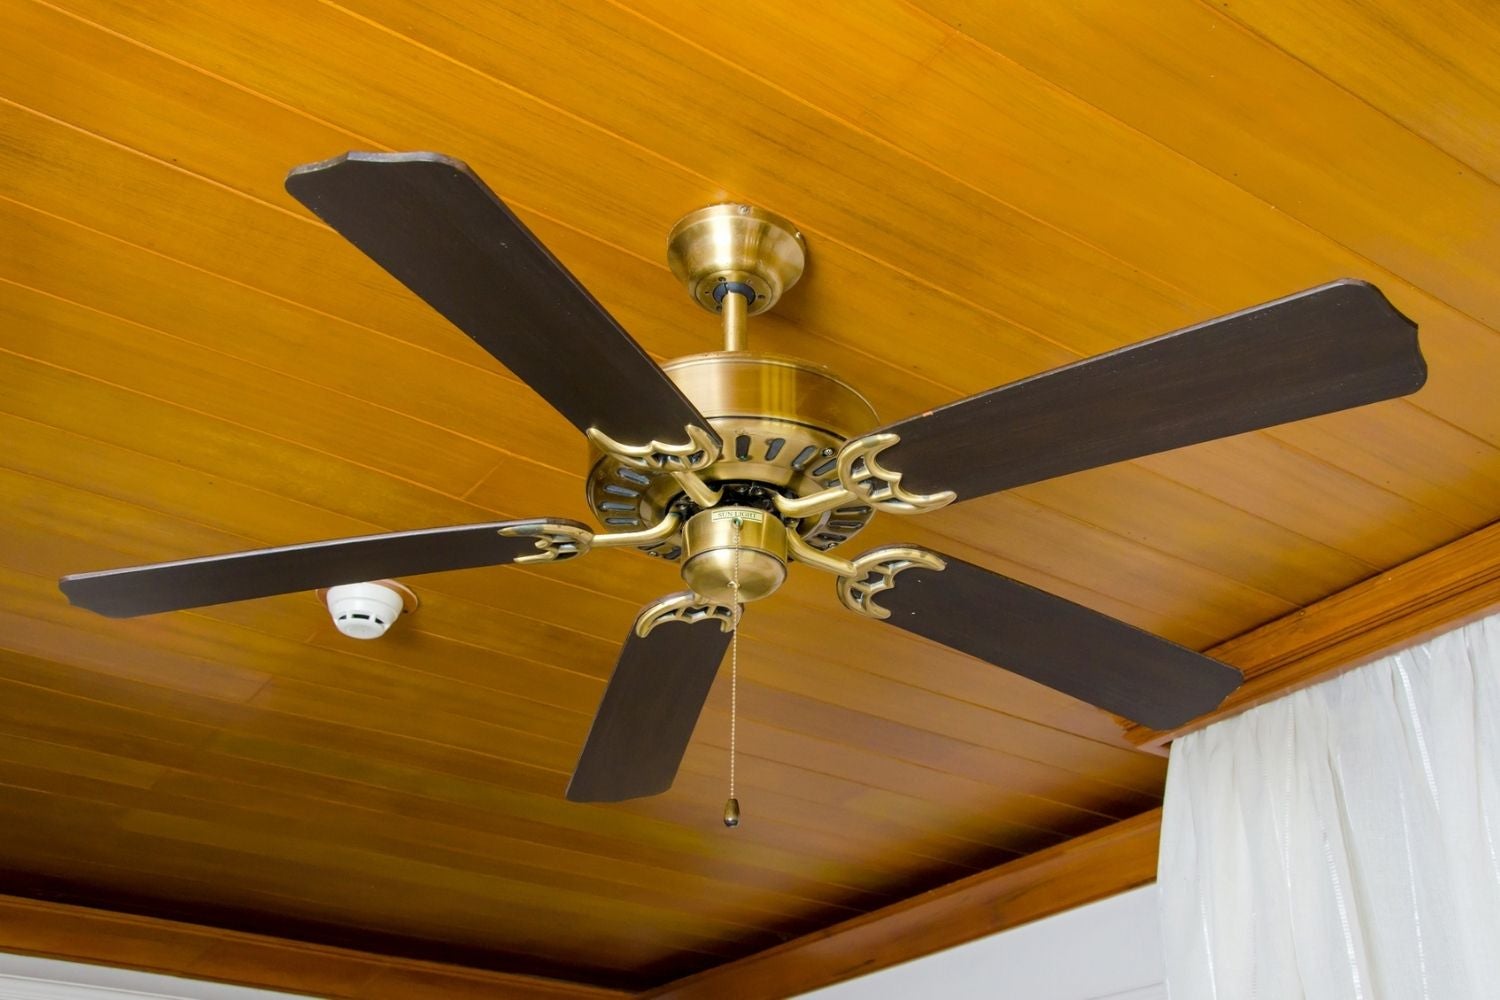
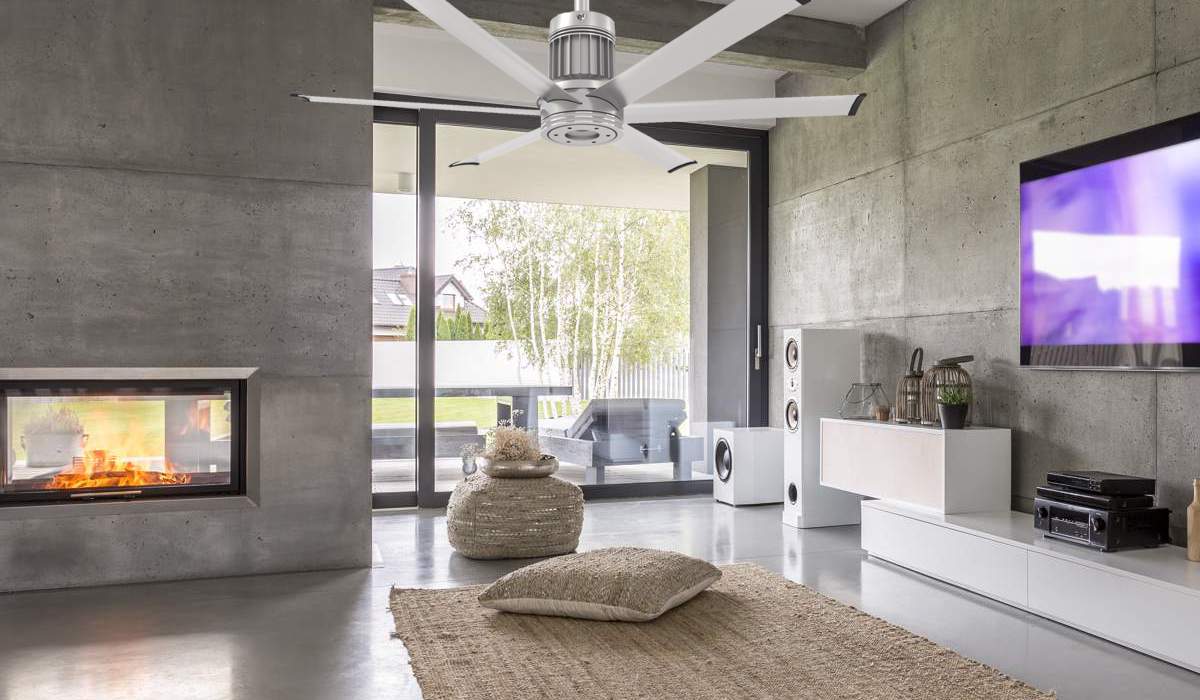
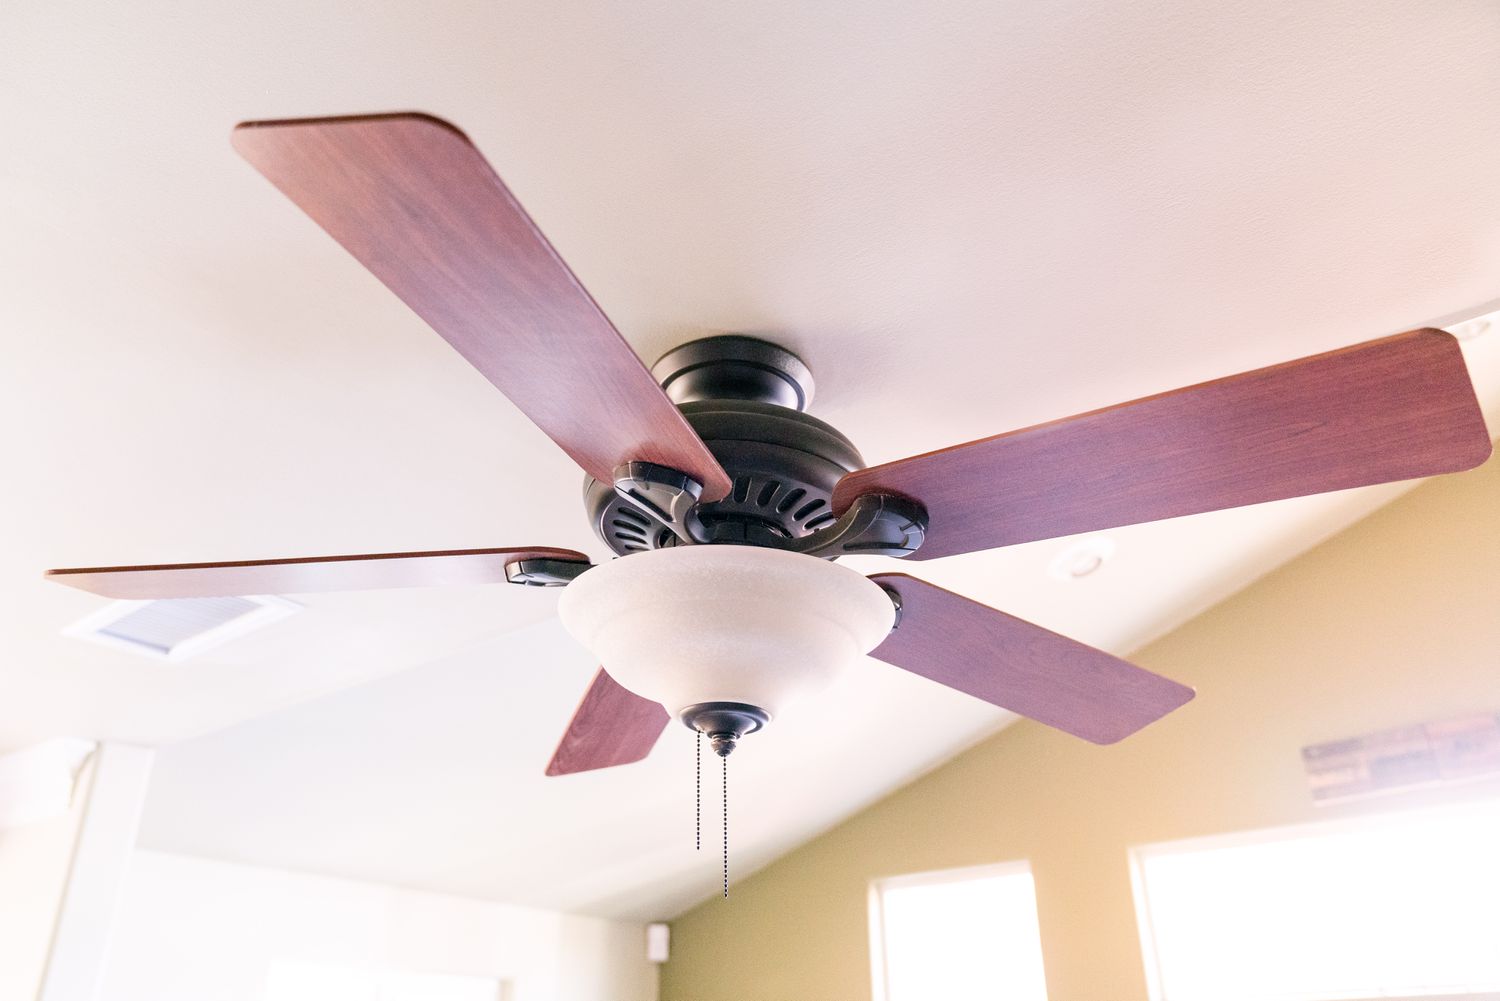
3. Wall or Ceiling Mounting: If you have a ceiling or wall-mounted fan, ensure it is securely installed following the manufacturer’s instructions. Loose or improperly mounted fans can create additional noise due to vibrations. If necessary, tighten any screws or brackets to eliminate any potential sources of wobbling or shaking.
4. Isolate Vibrations: To further reduce noise caused by vibrations, you can use isolation pads or rubber grommets. These can be placed between the fan and any surfaces it comes into contact with, such as walls, windowsills, or floors. These isolators help absorb vibrations and prevent them from transferring to the surrounding structures, resulting in a quieter fan.
5. Avoid Obstructions: Ensure that there are no obstructions near the fan that could interfere with the airflow or cause additional noise. Keep curtains, cables, or any other objects away from the fan blades, as they can cause obstructions and create unnecessary turbulence.
6. Experiment with Placement: If you notice excessive noise from your fan, try experimenting with different placements in the room. Move the fan to various positions and observe the noise levels. Sometimes, a simple change in location can significantly reduce the noise by minimizing vibrations or airflow disruptions.
By adjusting the placement of your fan and taking precautions to minimize vibrations, you can achieve a quieter operation. Ensuring a stable surface, maintaining proper distances, utilizing isolation measures, and avoiding obstructions will greatly contribute to a more peaceful and enjoyable environment.
Clean the fan blades and motor regularly to remove dust and debris, which can cause the fan to become noisy. Use a soft brush or cloth to gently wipe away any buildup.
Read more: How To Make Paper Fan
Using Soundproofing Techniques
If you’re dealing with a persistently noisy fan, despite cleaning, lubricating, and adjusting its placement, soundproofing techniques can help mitigate the noise and create a quieter atmosphere. By reducing sound transmission and absorption, you can effectively minimize the impact of fan noise in your surroundings. Here are some soundproofing techniques to consider:
1. Acoustic Panels: Install acoustic panels on the walls or ceiling surrounding the fan to absorb and dampen sound waves. These panels are designed to reduce reverberation and echo, making the fan noise less audible. Acoustic panels are available in various styles and materials, including foam, fabric-covered, and wooden options.
2. Weatherstripping: Seal any gaps or openings around windows, doors, or vents using weatherstripping. Air leaks can contribute to the transmission of sound, so by preventing these leaks, you can reduce the noise entering or exiting the room.
3. Window Treatments: Hang heavy curtains or install window blinds with thick fabric to obstruct sound from entering or leaving through windows. These window treatments help create an additional barrier against noise transmission.
4. Carpeting or Rugs: Place carpeting or area rugs on the floor near the fan to absorb sound vibrations. Soft materials act as sound absorbers and can help reduce the noise bouncing off hard surfaces, such as tiles or hardwood floors.
5. Furniture Placement: Arrange furniture strategically to create a buffer zone between the fan and the rest of the room. Positioning sofas, bookshelves, or other large furniture pieces near the fan can help absorb sound waves and reduce their impact on the surrounding areas.
6. Soundproofing Paint: Consider applying soundproofing paint to the walls surrounding the fan. This specialized paint contains sound-damping additives that help reduce noise reflection. While it may not completely eliminate the noise, it can significantly diminish it.
7. Use White Noise: In situations where complete noise elimination is not achievable, using white noise can help mask the fan noise and create a more pleasant environment. White noise machines or smartphone apps can generate soothing sounds that blend with the fan noise, making it less noticeable.
Implementing one or more of these soundproofing techniques can significantly reduce the impact of fan noise on your overall comfort. Depending on your preferences and the level of noise you’re dealing with, combine different approaches to achieve the desired level of noise reduction. Remember, the goal is not to eliminate all noise entirely but to make it less disruptive and more manageable.
Installing a Fan Speed Controller
If your fan operates at a fixed speed and generates excessive noise, installing a fan speed controller can provide a simple and effective solution. A fan speed controller allows you to adjust the fan’s speed and airflow, helping you find the right balance between cooling and noise reduction. Here’s how you can install a fan speed controller:
1. Choose the Right Speed Controller: Select a fan speed controller that is compatible with the type and power rating of your fan. There are various types of speed controllers available, including wall-mounted controllers, inline controllers, and remote-controlled options. Ensure that the controller you choose can handle the wattage and voltage requirements of your fan.
2. Turn Off the Power: Before starting the installation process, turn off the power supply to the fan at the circuit breaker or fuse box. Verify that the power is disconnected by testing the fan’s operation.
3. Locate the Fan’s Wiring: Identify the wiring that connects the fan to the power source. These wires are typically located near the fan motor or on top of the fan housing. In most cases, you will find three wires: black (hot), white (neutral), and green or bare copper (ground).
4. Disconnect the Wires: Carefully disconnect the wires that connect the fan to the power source. It’s important to remember which wire is connected to which terminal, as this will determine the correct reconnection later. You may want to label the wires or take a picture for reference.
5. Connect the Speed Controller: Connect the fan speed controller to the fan wiring. Typically, the speed controller will have labeled terminals for the black (hot) and white (neutral) wires. Follow the manufacturer’s instructions to ensure you make the appropriate connections. In most cases, you will simply match the corresponding wires and tighten the terminal screws to secure the connections.
6. Reconnect the Power: Once the speed controller is properly connected, double-check all the wire connections to ensure they are secure. Once verified, restore the power supply to the fan by turning on the circuit breaker or fuse box.
7. Test the Speed Control: Turn on the fan and test the speed control function. Adjust the speed dial or use the remote control (if applicable) to increase or decrease the fan’s speed. Observe the noise level and airflow at different speed settings to find the optimal balance for your desired comfort and noise reduction.
Installing a fan speed controller gives you the flexibility to adjust the fan’s speed and noise levels according to your preferences. It allows you to reduce the fan’s RPM (rotations per minute), which in turn decreases the noise produced while still providing adequate airflow. By installing a fan speed controller, you can enjoy a quieter environment without compromising on cooling or ventilation.
Replacing Noisy Components
If your fan continues to be noisy despite cleaning, lubricating, and adjusting, it may be necessary to replace certain components that are causing the noise. Worn-out or damaged parts can contribute to excessive noise, and replacing them can restore a quiet and efficient operation. Here are some common components that may need replacement:
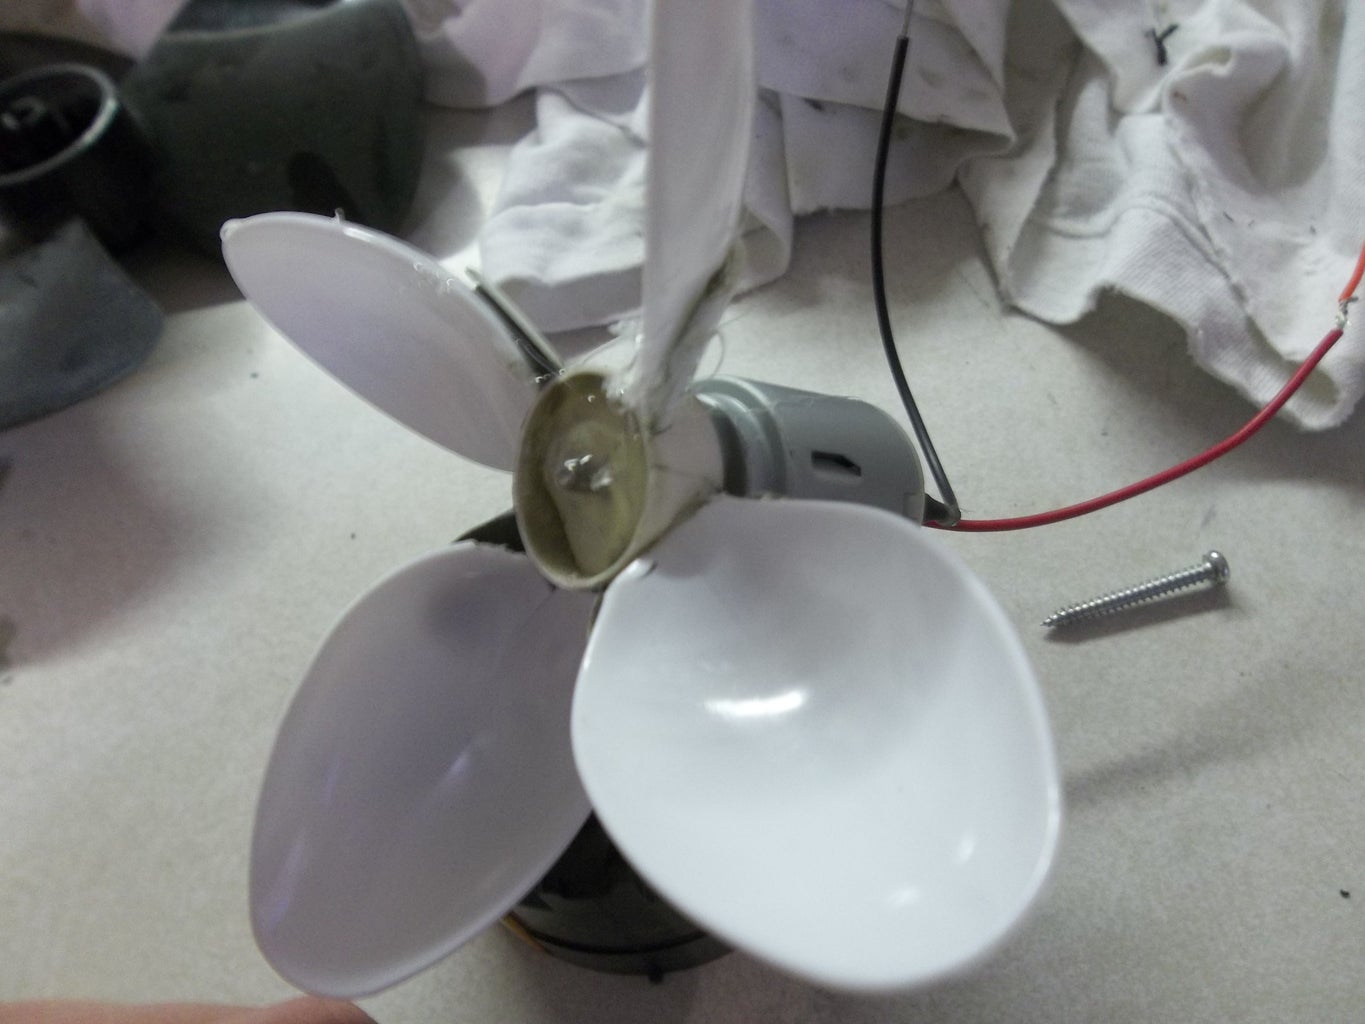
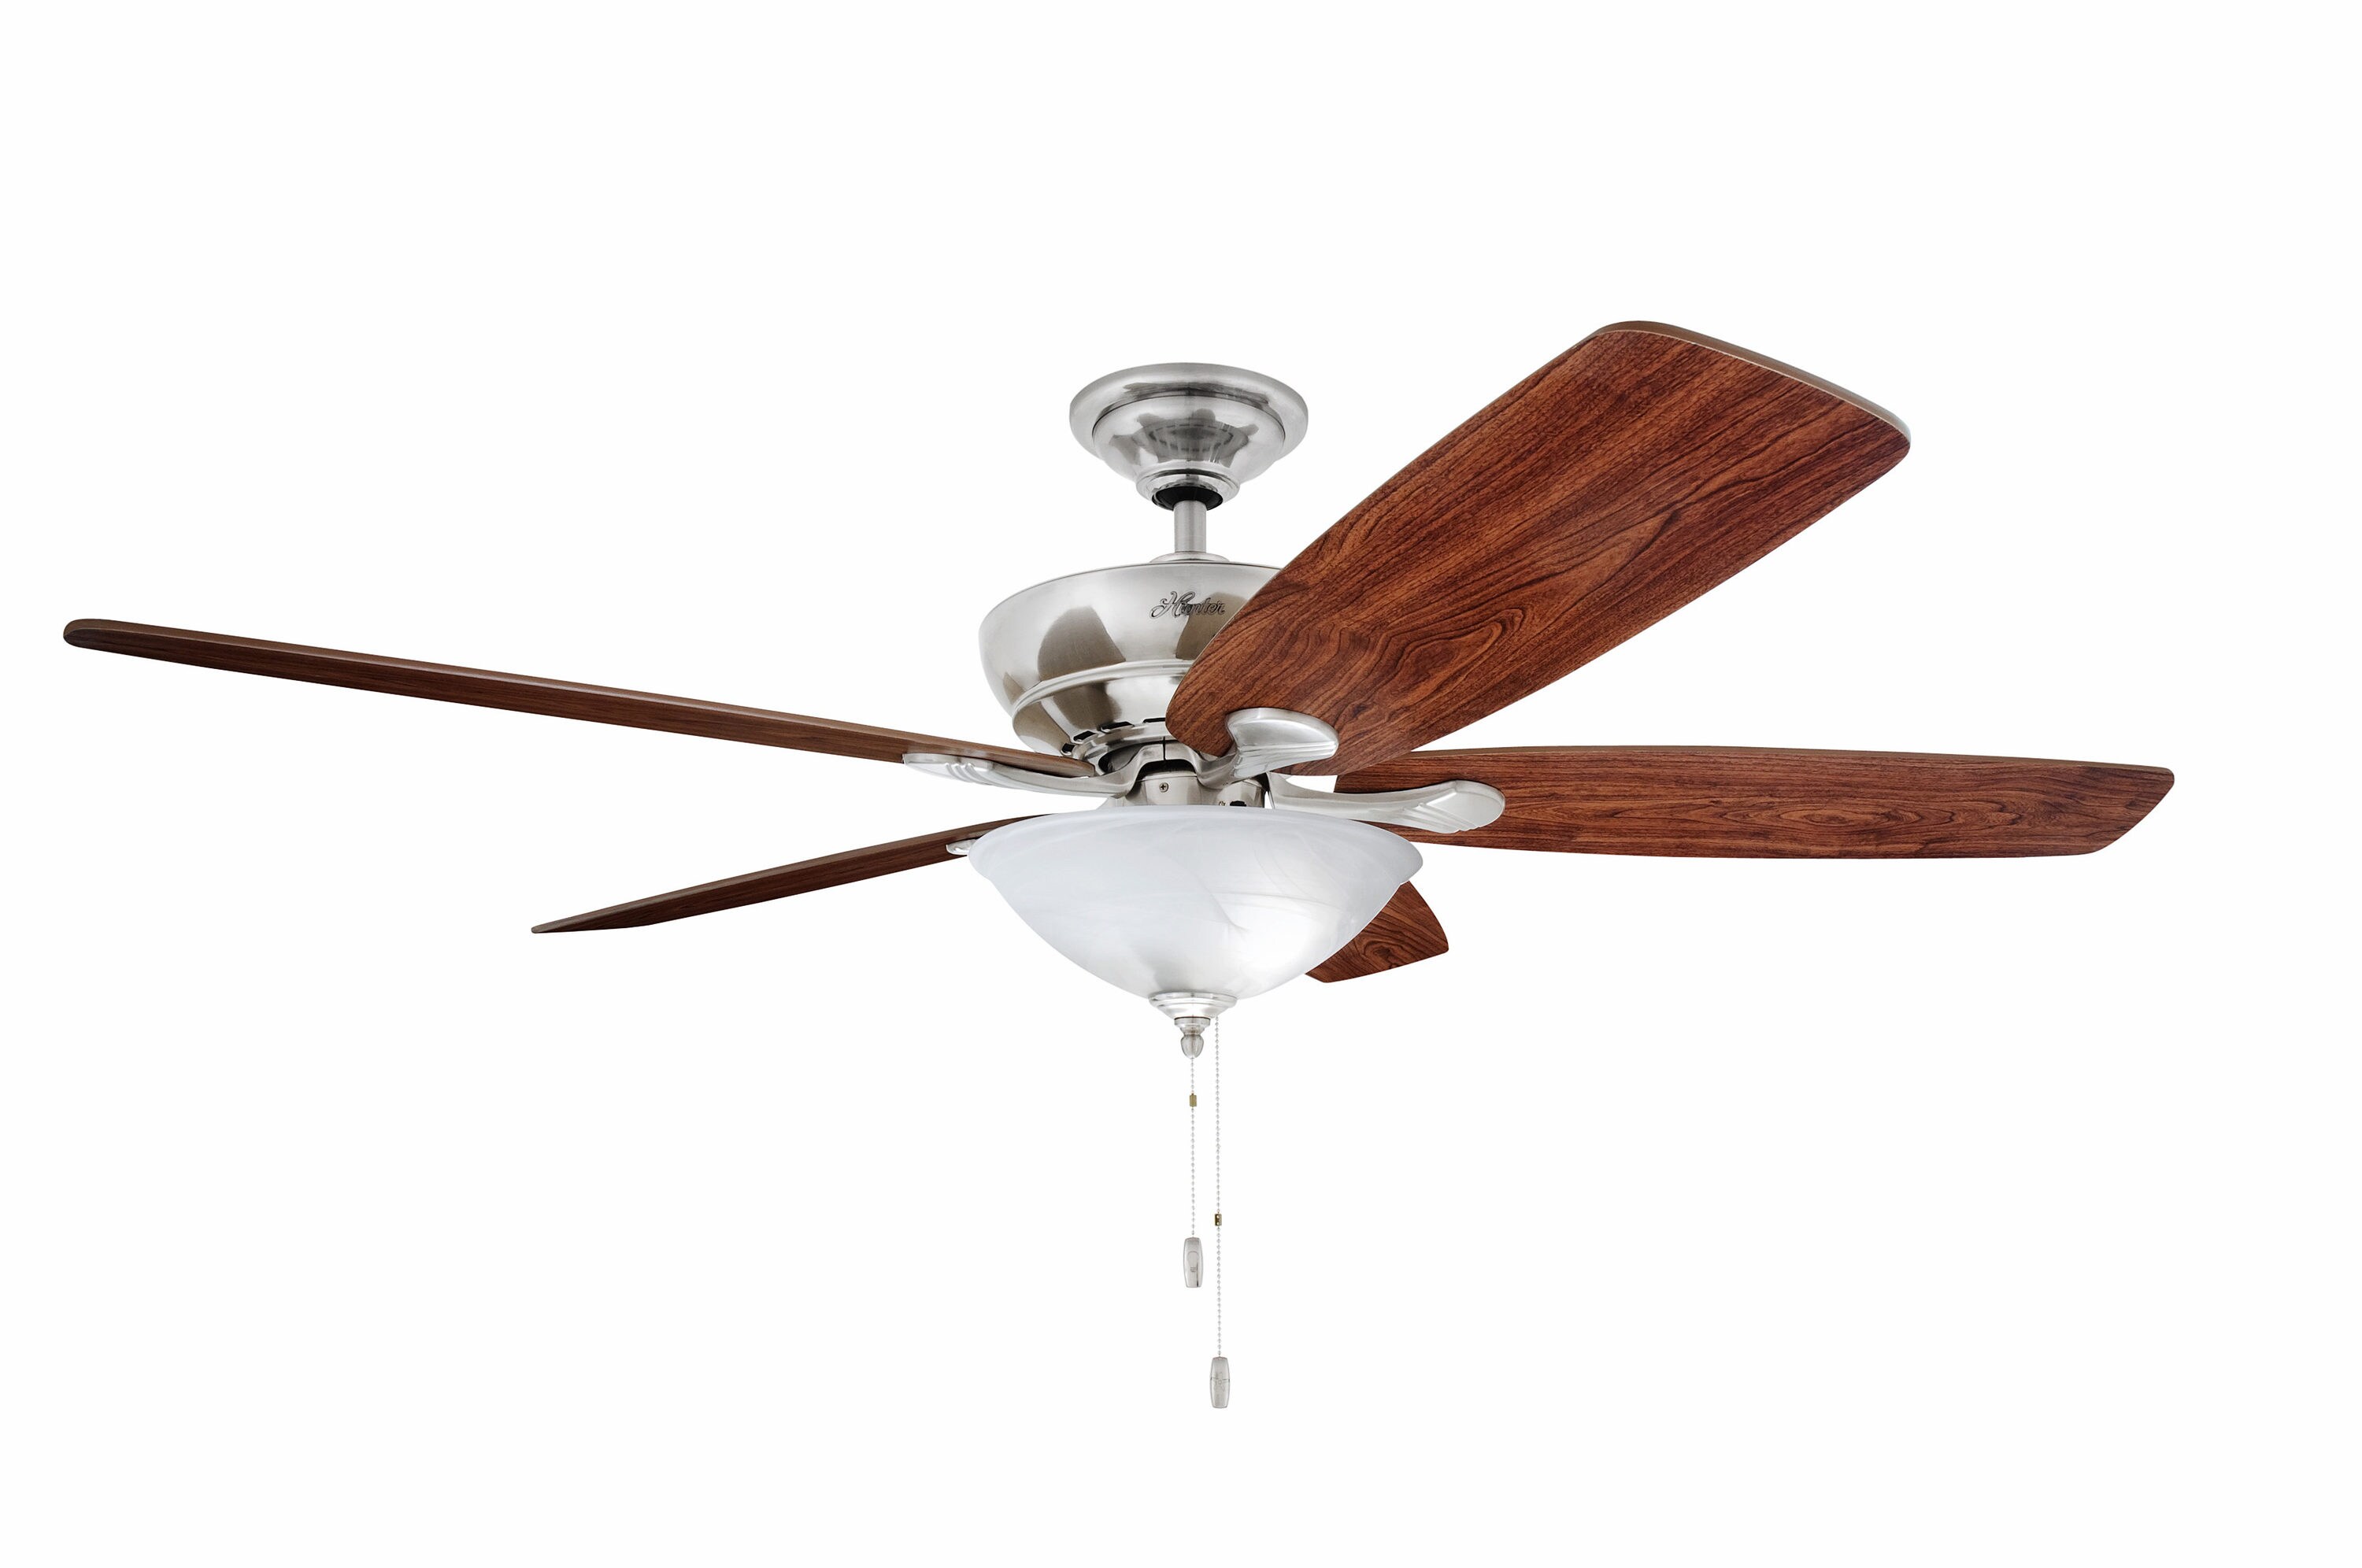
1. Fan Blades: Over time, fan blades can become warped, cracked, or covered in dirt and debris, causing them to create noise as they spin. If you notice visible damage or a significant buildup of dirt on the blades, consider replacing them. Replacement blades are typically available from the fan’s manufacturer or through online retailers.
2. Motor Bearings: The bearings in the fan motor can wear out over time, resulting in grinding or squeaking noises. If you suspect that the noise is originating from the motor, it may be worth replacing the bearings. However, replacing motor bearings can be a complex task, and it is recommended to seek professional assistance or consult the fan’s manufacturer.
3. Mounting Hardware: Loose or worn-out mounting hardware can cause the fan to vibrate excessively and create noise. Check the screws, bolts, and brackets that secure the fan to the ceiling or wall. If any are loose or stripped, replacing them with new hardware can help eliminate vibrations and reduce noise.
4. Motor Housing: A cracked or damaged motor housing can amplify fan noise, particularly if it allows vibrations to escape. If you notice any visible damage to the motor housing, consider replacing it. Contact the manufacturer or a professional technician to inquire about replacement parts specific to your fan model.
5. Capacitor: The capacitor in a fan motor helps regulate its speed and operation. If the fan is producing rattling or humming noises that are not resolved by other methods, a faulty capacitor may be the culprit. Consult the fan’s user manual or contact the manufacturer for guidance on how to replace the capacitor.
When replacing components, it is important to use genuine parts that are compatible with your fan model. Consult the manufacturer’s instructions or seek professional help if you are unsure about the replacement process. In some cases, it may be more cost-effective to replace the entire fan if the components are not easily accessible or if the fan is outdated.
By replacing noisy components, you can effectively eliminate the source of the noise and restore your fan to its quiet and efficient operation. Regular maintenance and proper care will help prevent premature wear and extend the lifespan of your fan’s components, minimizing the need for replacements in the future.
Conclusion
Dealing with a noisy fan can be frustrating, but with the right techniques and adjustments, you can restore a peaceful and quiet environment. Assessing the noise issue, cleaning and maintaining the fan, lubricating its moving parts, adjusting its placement, using soundproofing techniques, installing a fan speed controller, and replacing noisy components are all effective strategies for reducing fan noise. By implementing these methods, you can enjoy the benefits of a quieter fan without sacrificing cool airflow.
It’s essential to start by assessing the noise issue and identifying the potential causes. This will guide you in applying the appropriate solutions. Regular cleaning and maintenance, including dusting the fan blades and motor, help prevent dust and debris accumulation, which can cause noise. Lubricating the fan’s moving parts ensures smooth operation and reduces friction-related noise. Adjusting the fan’s placement strategically minimizes vibrations and the transmission of noise to surrounding areas.
Soundproofing techniques such as using acoustic panels, weatherstripping, window treatments, carpeting, and furniture placement act as barriers against noise transmission. Installing a fan speed controller allows you to adjust the fan’s speed, finding the right balance between cooling and noise reduction. If necessary, replacing noisy components like fan blades, motor bearings, mounting hardware, motor housing, or capacitors can further eliminate noise problems.
Remember that achieving a completely noiseless fan operation may not always be possible. However, by taking the necessary steps to reduce noise and implement the suggested techniques, you can significantly improve the fan’s performance and create a more peaceful environment.
Regular maintenance, proper cleaning, and periodic inspections are vital for keeping your fan functioning optimally and quietly. Establishing a maintenance schedule and following the manufacturer’s recommendations are key to enjoying a quiet and efficient fan for years to come.
By implementing these strategies and techniques, you can turn a noisy fan into a quiet and enjoyable cooling companion. Rest assured that with a little effort and attention, you can regain your peace of mind and enjoy a tranquil environment free from disruptive fan noise.
Frequently Asked Questions about How To Make A Fan Quiet
Was this page helpful?
At Storables.com, we guarantee accurate and reliable information. Our content, validated by Expert Board Contributors, is crafted following stringent Editorial Policies. We're committed to providing you with well-researched, expert-backed insights for all your informational needs.


0 thoughts on “How To Make A Fan Quiet”