Articles
How To Make Ceiling Fan Faster
Modified: October 19, 2024
Learn the best way to make your ceiling fan faster with these helpful articles. Speed up your fan and stay cool all summer long.
(Many of the links in this article redirect to a specific reviewed product. Your purchase of these products through affiliate links helps to generate commission for Storables.com, at no extra cost. Learn more)
Introduction
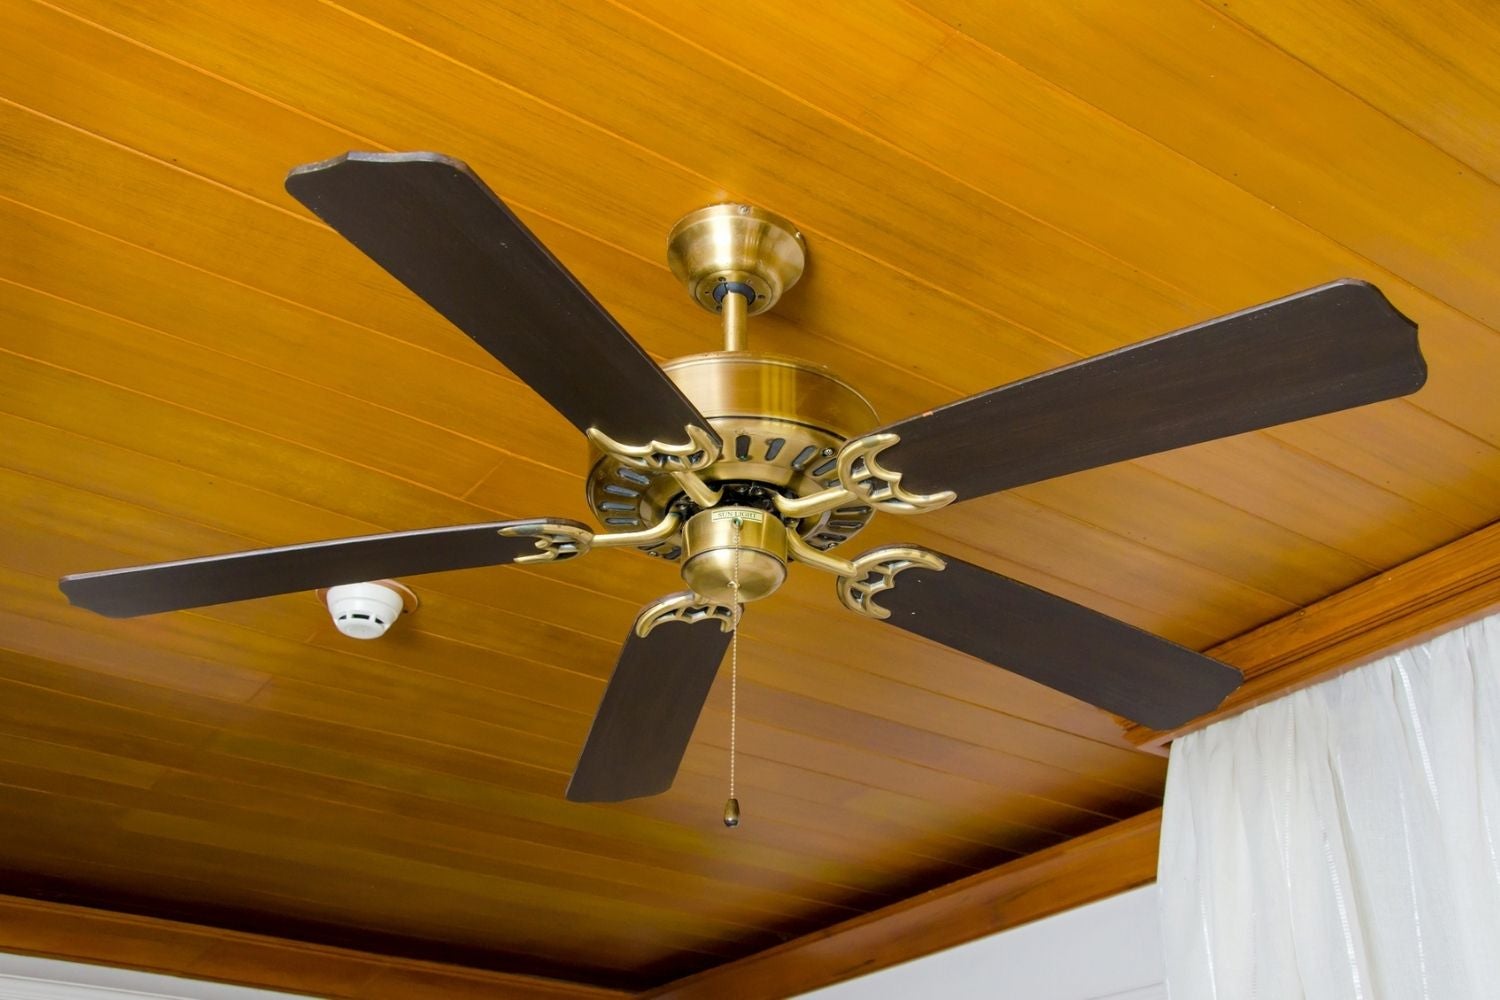
Ceiling fans are a popular fixture in many households. They provide a cost-effective and energy-efficient way to cool a room, circulate air, and create a comfortable environment. While most ceiling fans come with multiple speed settings, you may find that the default speed is not fast enough for your liking. Fortunately, there are several ways to make your ceiling fan run faster and provide a stronger airflow.
In this article, we will explore various methods to increase the speed of your ceiling fan. Whether you want to cool down a room quickly or simply enjoy a stronger breeze, these tips will help you achieve the desired results. So, let’s dive in and find out how to make your ceiling fan faster.
Key Takeaways:
- Ensure proper power supply, clean fan blades, and maintain the motor to make your ceiling fan run faster and more efficiently.
- Regularly inspect and address any obstructions or issues to optimize your ceiling fan’s performance and enjoy a cooler and more comfortable environment.
Read more: How To Make A Lawnmower Faster
Checking the Power Source
Before diving into more advanced methods of increasing the speed of your ceiling fan, it’s important to first ensure that the fan is receiving the proper power supply. Often, a weak or fluctuating power source can result in a slower fan speed. Here are a few steps to check the power source:
- Check the circuit breaker: Begin by locating the circuit breaker that controls the fan’s power. Ensure that it is in the “ON” position. If it was tripped, reset it and see if that improves the fan speed.
- Inspect the wiring: Examine the wiring connections between the fan and the power source. Look for any loose or frayed wires that may be affecting the electrical flow. Make sure all connections are secure and undamaged.
- Test the voltage: Use a voltage tester to measure the voltage supply to the ceiling fan. The voltage should match the recommended range specified by the manufacturer. If the voltage is lower than the recommended range, contact an electrician to address the issue.
- Consider using a voltage stabilizer: In areas with fluctuating voltage, using a voltage stabilizer can help regulate the power supply to your ceiling fan. This can ensure a consistent and stable flow of electricity, resulting in a more reliable fan speed.
By thoroughly checking the power source and addressing any voltage-related issues, you can eliminate one possible cause of a slower ceiling fan speed. If these steps do not resolve the problem, it’s time to explore other potential solutions.
Adjusting the Fan Speed Setting
Most ceiling fans come with different speed settings that allow you to adjust the fan’s rotation speed. If you find that your fan is not running fast enough, it’s worth checking the speed setting and making adjustments. Here’s how you can do it:
- Locate the fan speed control: Look for the fan speed control switch on the fan housing or the wall switch. It is usually a pull chain or a dial that allows you to switch between different speed settings.
- Turn off the fan: Before making any adjustments, turn off the fan’s power to ensure your safety.
- Experiment with different speed settings: If your fan has multiple speed settings, try switching to a higher setting to increase the fan speed. Pull the chain or adjust the dial to the next highest speed and observe the difference in airflow.
- Consider using a fan speed control: If your fan does not have multiple speed settings or if the highest setting is not fast enough, consider installing a fan speed control. This device allows you to have more control over the fan’s speed and can provide the desired airflow intensity.
- Consult the fan’s manual: If you’re unsure about the speed control options of your ceiling fan, refer to the manufacturer’s manual. It will provide specific instructions and recommendations for adjusting the fan speed.
By adjusting the fan speed setting, you can potentially increase the airflow and make your ceiling fan run faster. However, keep in mind that the maximum speed of the fan is determined by its design and motor capabilities. If you’re still not satisfied with the speed even after adjusting the settings, there are other steps you can take to improve the fan’s performance.
Cleaning the Fan Blades
Over time, dust, dirt, and debris can accumulate on the blades of your ceiling fan, causing it to run slower and less efficiently. Cleaning the fan blades is a simple yet effective way to improve the fan’s performance and increase its speed. Follow these steps to clean the fan blades:
- Turn off the fan: Before cleaning the fan blades, make sure the fan is turned off to avoid any accidents.
- Prepare the cleaning materials: Gather a ladder, a soft cloth or microfiber duster, and a cleaning solution. You can use a mixture of mild dish soap and water or a commercial fan blade cleaner.
- Climb the ladder: Carefully climb the ladder and position yourself to reach the fan blades. Use caution and maintain your balance throughout the cleaning process.
- Dust the blades: Starting from the top, gently wipe the fan blades with the cloth or duster. Make sure to remove any visible dust or dirt. If the blades are particularly dirty, you may need to dampen the cloth slightly with the cleaning solution.
- Clean hard-to-reach areas: Pay attention to the spaces between the blades and the motor housing, as these areas can accumulate dust as well. Use a small brush or a cotton swab dipped in the cleaning solution to reach these nooks and crannies.
- Dry the blades: After cleaning, use a dry cloth or paper towel to dry the fan blades thoroughly. Make sure there is no moisture left on the blades or the motor housing.
- Repeat periodically: Regularly cleaning the fan blades can prevent dust buildup and maintain optimal performance. Aim to clean the blades at least once every few months or as needed.
By removing dust and debris from the fan blades, you can reduce any drag that may be hindering the fan’s speed. This simple maintenance task can significantly improve the airflow and make your ceiling fan run faster and more efficiently.
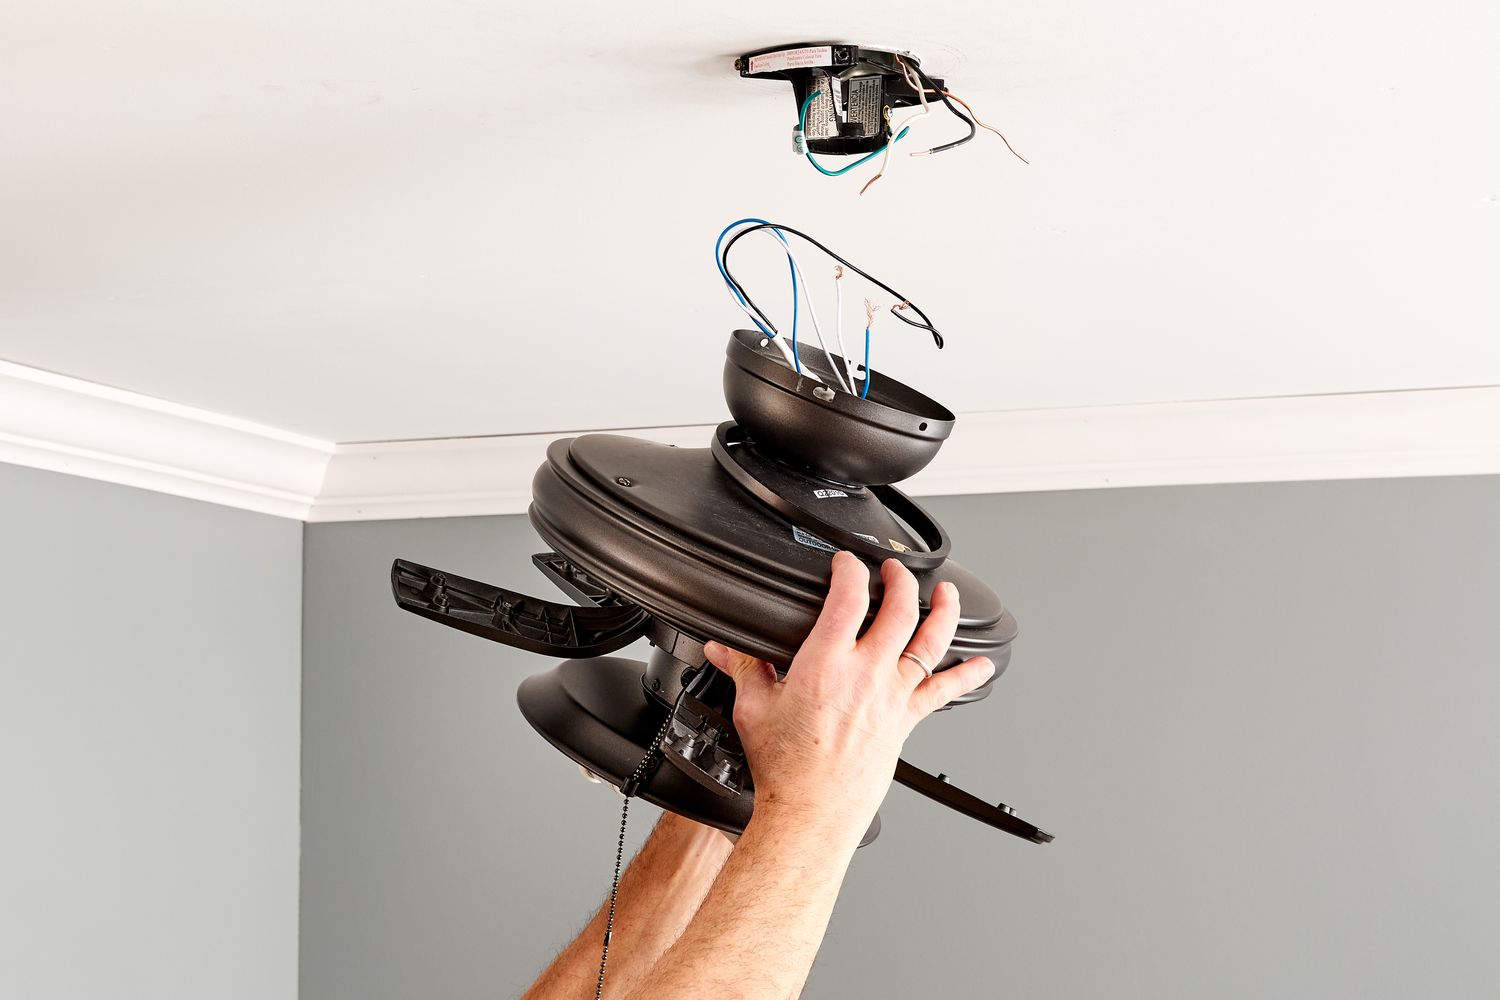
Checking and Cleaning the Motor
The motor is the heart of your ceiling fan, responsible for generating the power that drives the blades. If the motor is dirty or malfunctioning, it can hinder the fan’s performance and result in a slower speed. Here’s how you can check and clean the motor:
- Turn off the fan: Before inspecting or cleaning the motor, ensure that the fan is turned off and disconnected from the power source for safety reasons.
- Remove the motor housing: Depending on the design of your ceiling fan, you may need to remove the motor housing to access the motor. Consult the fan’s manual for specific instructions on how to do this.
- Inspect for dirt and debris: Once the motor is exposed, visually inspect it for any signs of dirt, dust, or debris. Use a flashlight to help you see any hidden areas that may need cleaning.
- Clean the motor: Use a soft brush or a can of compressed air to carefully remove any dirt or dust from the motor. Pay attention to the fan’s internal components, such as the coils and bearings. Avoid using water or any liquid cleaners on the motor.
- Check for loose connections: While inspecting the motor, check for any loose or disconnected wires. Ensure that all electrical connections are secure and properly connected.
- Reassemble the motor housing: Once you have cleaned the motor and checked the connections, put the motor housing back in place according to the manufacturer’s instructions.
- Test the fan: After cleaning and reassembling the motor, turn on the fan and observe its speed and performance. The motor should now run smoother, resulting in an improved fan speed.
Regularly checking and cleaning the motor can prolong the life of your ceiling fan and maintain its efficiency. By keeping the motor clean and in good working condition, you can ensure that your fan runs faster and provides optimal airflow.
To make a ceiling fan faster, check if it has a speed control switch. If it does, adjust it to the highest setting. If not, consider installing a fan speed control switch to increase the fan’s speed.
Read more: Who Makes The Best Ceiling Fans
Inspecting and Replacing the Capacitor
The capacitor is a crucial component of the ceiling fan motor that helps regulate the electrical current and control the fan’s speed. If the capacitor is faulty or worn out, it can lead to a decrease in the fan’s performance and speed. Here’s how you can inspect and replace the capacitor:
- Turn off the fan: Before working on the electrical components of the fan, make sure it is turned off and disconnected from the power source for safety.
- Locate the capacitor: The capacitor is typically located inside the fan’s motor housing, near the motor. Consult the fan’s manual or do some research online to identify the exact location of the capacitor.
- Inspect the capacitor: Examine the capacitor for any signs of physical damage, such as bulging, leaking, or burning marks. These are indicators that the capacitor is faulty and needs to be replaced.
- Test the capacitance: Use a multimeter to test the capacitance of the capacitor. Set the multimeter to the capacitance testing mode and touch the probes to the respective terminals of the capacitor. The reading should match the specified capacitance written on the capacitor itself. If the reading is significantly different or the multimeter shows no reading at all, it means the capacitor is defective and should be replaced.
- Replace the capacitor: If the capacitor is found to be faulty or worn out, it’s time to replace it. Purchase a new capacitor of the same specifications as the original one. Make sure to disconnect any wires connected to the capacitor before removing it.
- Install the new capacitor: Connect the wires to the new capacitor as per the manufacturer’s instructions. Take note of the wire color coding to ensure the correct connection. Mount the new capacitor securely in its designated place within the motor housing.
- Test the fan: After replacing the capacitor, turn on the fan and observe its performance. The fan speed should be noticeably improved, indicating that the new capacitor is functioning correctly.
Inspecting and replacing a faulty capacitor can have a significant impact on the speed and performance of your ceiling fan. By ensuring a proper functioning capacitor, you can restore the fan’s optimal speed and enjoy a cooler and more comfortable environment.
Lubricating the Fan Bearings
The bearings in your ceiling fan play a crucial role in its smooth operation. Over time, these bearings can become dry or dirty, causing friction and slowing down the fan’s speed. Lubricating the fan bearings is a simple maintenance task that can help restore the fan’s performance. Here’s how you can do it:
- Turn off the fan: Before lubricating the fan bearings, ensure that the fan is turned off and disconnected from the power source for safety.
- Locate the bearings: The bearings are typically located at the top of the motor housing, where the fan blades connect. Refer to the fan’s manual or do some research online to identify the exact location of the bearings.
- Clean the bearings: Use a soft cloth or a cotton swab to gently clean any dust, dirt, or debris from the bearings. This will help ensure that the lubricant can penetrate properly and provide effective lubrication.
- Apply lubricant: Choose a high-quality lubricant specifically designed for fan bearings. Apply a few drops of the lubricant to each bearing, making sure to distribute it evenly. Be careful not to over-lubricate, as it can cause excess oil to drip onto other parts of the fan.
- Rotate the fan blades: Once the bearings are lubricated, manually rotate the fan blades a few times to allow the lubricant to spread inside the bearings. This will ensure smooth and friction-free movement.
- Clean any excess lubricant: Use a clean cloth to wipe away any excess lubricant that may have dripped onto the motor housing or other parts of the fan. This will prevent any buildup or damage caused by excess oil.
- Test the fan: After lubricating the bearings, turn on the fan and observe its performance. The fan should run more smoothly and quietly, resulting in a faster speed and improved airflow.
Regularly lubricating the fan bearings can help prolong the life of your ceiling fan and maintain its optimal performance. By reducing friction and ensuring smooth movement, lubricated bearings can help the fan run faster and more efficiently.
Checking for Any Other Obstructions or Issues
In addition to the previous steps mentioned, it’s important to check for any other potential obstructions or issues that may be affecting the speed and performance of your ceiling fan. Here are some additional things to consider:
- Check for obstructions: Inspect the area around the fan to ensure there are no objects, such as furniture or decorations, blocking the airflow. Make sure the fan blades have enough clearance to rotate freely.
- Tighten any loose screws: Over time, the vibrations from the fan’s operation can cause screws and bolts to become loose. Check all the visible screws and connections on the fan and tighten them if necessary, ensuring the fan is securely fixed.
- Inspect the pull chain: If your fan has a pull chain to control the speed or other features, check for any damage or tangles in the chain. A damaged or tangled chain can hinder the fan’s performance and speed. Replace or repair the chain if necessary.
- Look for motor issues: If you’ve already cleaned the motor but are still experiencing slow fan speed, there may be underlying motor issues. This may require the expertise of a professional electrician or fan technician to diagnose and repair.
- Consider external factors: It’s important to consider external factors that can affect the efficiency of your ceiling fan. For example, if the room is poorly insulated, it may take longer for the fan to cool the space. Evaluate the room’s insulation and make any necessary improvements to maximize the effectiveness of the fan.
- Consult the manufacturer or a professional: If you have tried all the troubleshooting steps and are still having issues with the fan’s speed, it’s recommended to consult the manufacturer’s manual or contact a professional for assistance. They can provide further guidance and help resolve any complex issues.
Checking for any other obstructions or issues and addressing them appropriately can ensure that your ceiling fan operates at its full potential. By clearing any obstructions, tightening loose parts, and considering external factors, you can optimize the fan’s performance and enjoy a faster and more efficient cooling experience.
Conclusion
Making your ceiling fan run faster and more efficiently is not a difficult task. By following the steps outlined in this article, you can improve the speed and performance of your fan, allowing for a cooler and more comfortable environment. Here’s a recap of the methods we’ve discussed:
- Check the power source: Ensure that the fan is receiving the proper power supply and consider using a voltage stabilizer if necessary.
- Adjust the fan speed setting: Experiment with different speed settings and consider installing a fan speed control for more precise control.
- Clean the fan blades: Regularly remove dust and dirt from the blades to reduce drag and improve airflow.
- Inspect and clean the motor: Ensure the motor is free from dirt and debris, and check for loose connections.
- Inspect and replace the capacitor: Test the capacitance of the capacitor and replace if faulty or worn out.
- Lubricate the fan bearings: Regularly lubricate the bearings to reduce friction and ensure smooth operation.
- Check for any other obstructions or issues: Ensure there are no obstructions, tighten loose screws, and consider external factors that may affect fan performance.
By incorporating these tips into your regular maintenance routine, you can prolong the life of your ceiling fan and maximize its performance. Remember to always prioritize safety and consult professionals when needed. Enjoy the cool and refreshing breeze of your faster ceiling fan!
Now that you've learned how to boost your ceiling fan's speed, why not delve deeper into optimizing your cooling systems? Dive into our next article, where we examine the latest fan motor innovations. You'll discover which models are set to redefine efficiency and performance in 2024, ensuring your home stays refreshingly cool. Don't miss out on this vital update for your air conditioning needs!
Frequently Asked Questions about How To Make Ceiling Fan Faster
Was this page helpful?
At Storables.com, we guarantee accurate and reliable information. Our content, validated by Expert Board Contributors, is crafted following stringent Editorial Policies. We're committed to providing you with well-researched, expert-backed insights for all your informational needs.


0 thoughts on “How To Make Ceiling Fan Faster”