Articles
How to Make AC With Fan and Ice
Modified: September 2, 2024
Learn how to create a cost-effective air conditioning unit using a fan and ice. Read informative articles and DIY guides on making homemade AC units.
(Many of the links in this article redirect to a specific reviewed product. Your purchase of these products through affiliate links helps to generate commission for Storables.com, at no extra cost. Learn more)
Introduction
Have you ever found yourself sweltering in the summer heat, wishing you had an air conditioner to cool you down? While traditional air conditioning units can be costly and sometimes inconvenient to install, there is an alternative solution that you can try at home. In this article, we will show you how to make an AC with a fan and ice, providing a simple and cost-effective way to beat the heat.
Creating your own makeshift air conditioning unit using common household items can be a fun and rewarding project. With just a few materials and a little bit of effort, you can enjoy the cool breeze of your DIY AC even on the hottest days. So let’s gather the materials and get started!
Key Takeaways:
- Beat the summer heat with a DIY AC using a fan and ice. Enjoy a refreshing breeze and stay cool with this cost-effective and fun project, perfect for smaller spaces or close proximity cooling.
- Stay cool and creative by making your own makeshift air conditioning unit. With just a few materials and simple steps, you can beat the heat and enjoy the refreshing breeze of your DIY AC.
Read more: How Much Is an AC Fan Motor
Materials Needed
Before you begin, make sure you have the following materials ready:
- A fan: Choose a fan that is sturdy and capable of producing a decent amount of airflow.
- A bucket or a deep container: This will be used to hold the ice.
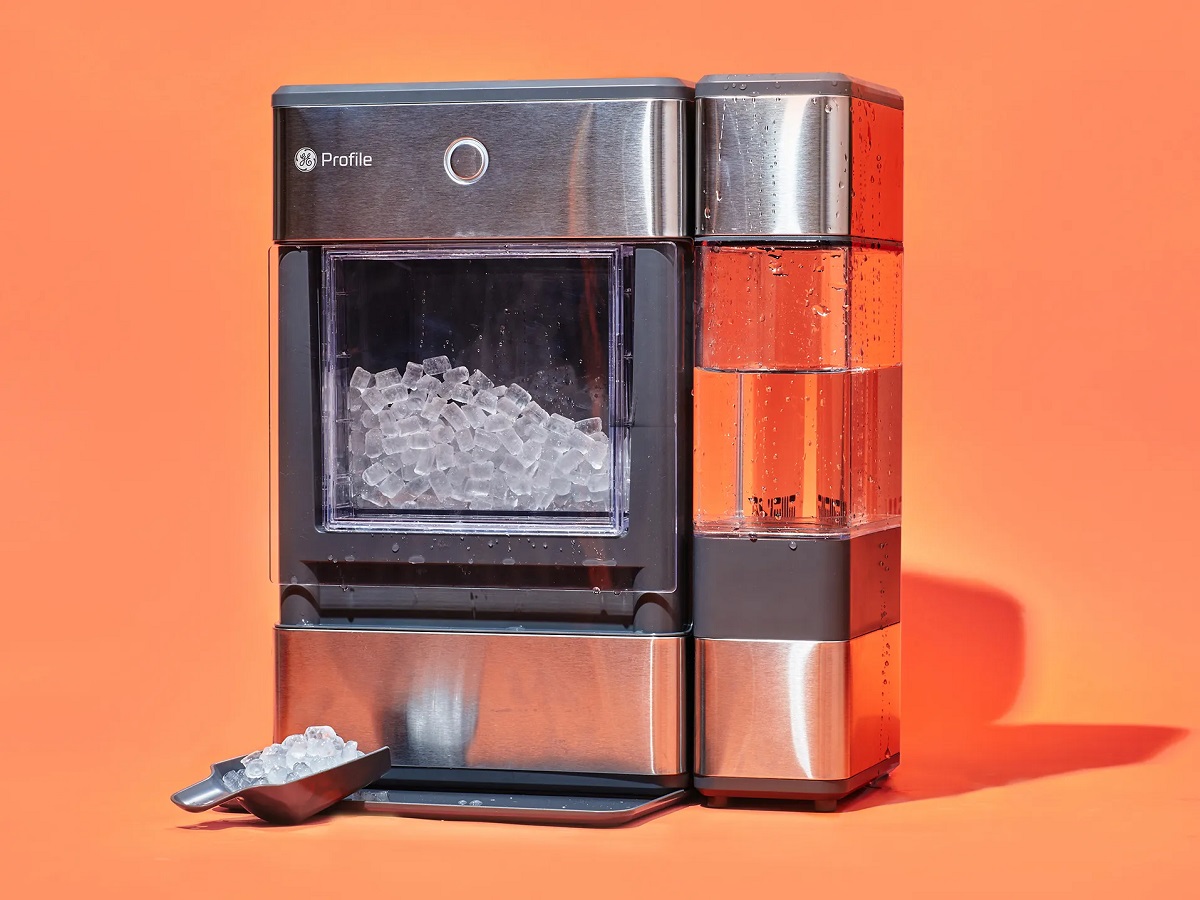
- Ice cubes or ice packs: These will be the cooling agent for your makeshift AC.
- A small piece of cloth or towel: This will be soaked in water and wrapped around the fan.
- Optional: A stand or elevated surface to place the fan on, if desired.
- A power source: Make sure you have a nearby power outlet or extension cord to plug the fan into.
Keep in mind that these materials are just the basic essentials. Depending on your preferences and the availability of resources, you can modify and customize the setup as desired.
Now that you have gathered all the necessary materials, let’s move on to the step-by-step process of creating your DIY AC!
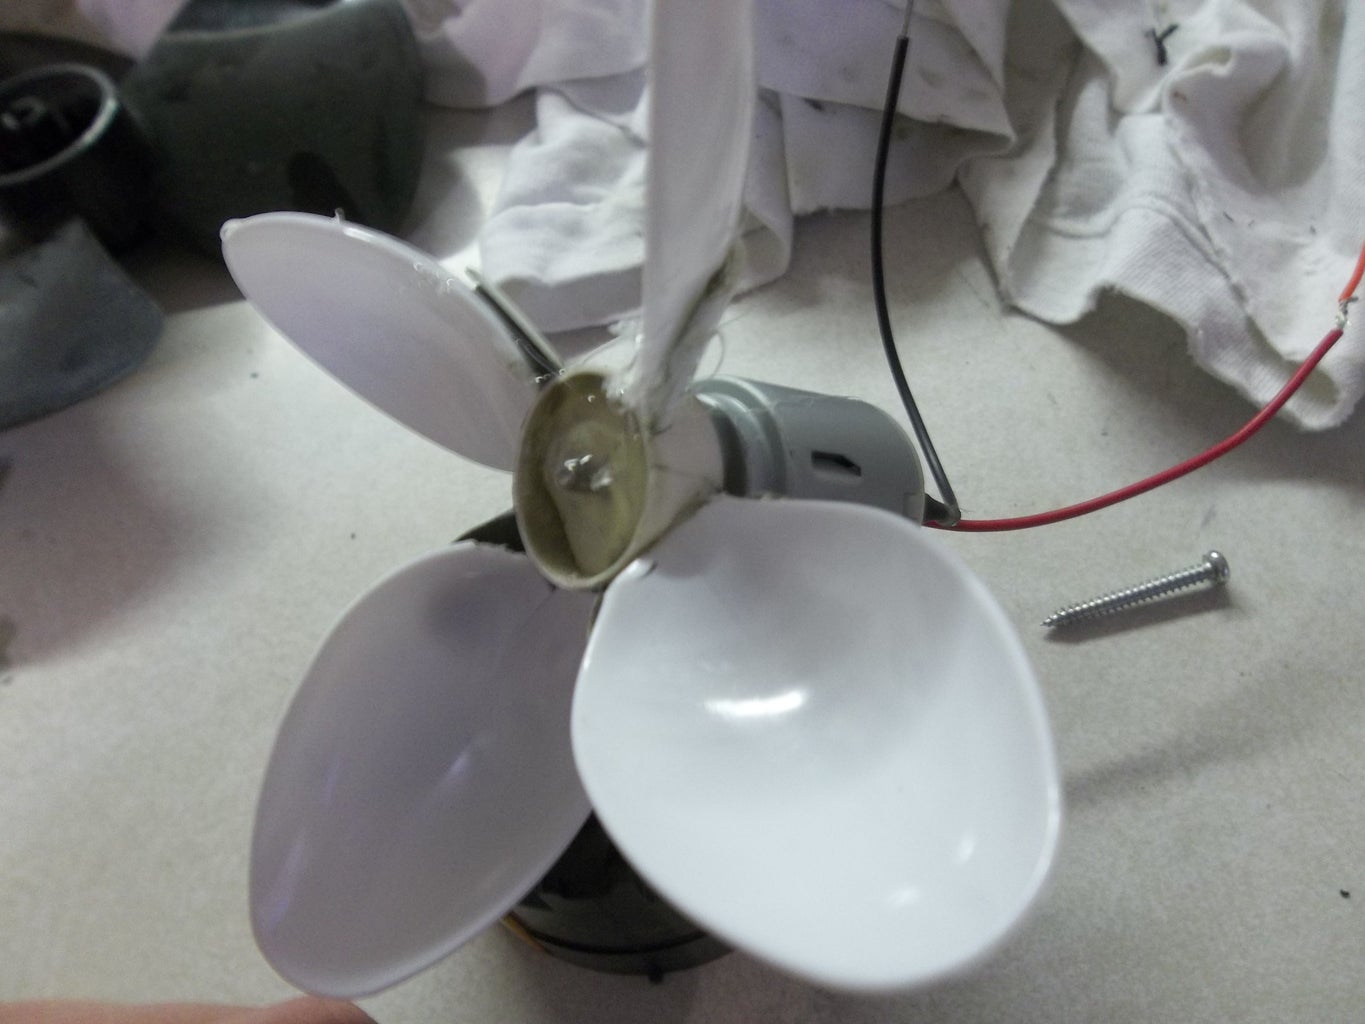
Step 1: Preparing the Fan
The first step in creating your DIY AC is to prepare the fan. Here’s how:
- Ensure that the fan is clean and free from any dust or debris. Use a soft cloth or a brush to gently clean the blades and the grill of the fan.
- If desired, you can place the fan on a stand or an elevated surface to improve air circulation. This step is optional but can be beneficial for better distribution of cool air.
- Next, take a small piece of cloth or towel and soak it in water. Make sure the cloth is damp but not dripping wet.
- Wrap the damp cloth around the front of the fan. You can secure it in place using rubber bands or clips. The cloth will help to cool the air as it passes through the fan.
By preparing the fan in this way, you are creating the foundation for distributing cool air once the ice comes into play. With the fan ready, let’s move on to the next step: preparing the ice!
Step 2: Preparing the Ice
Now that the fan is prepared, it’s time to gather the ice and get it ready for use in your DIY AC. Follow these steps:
- Start by gathering ice cubes or ice packs from your freezer. If you don’t have any ice readily available, you can easily make ice cubes by filling an ice tray or using ice cube bags.
- Ensure that you have a sufficient amount of ice to keep your makeshift AC running for a reasonable period of time. The quantity of ice will depend on the size of the container you will be using to hold it.
- If you prefer, you can add a few drops of essential oils or any scent of your choice to the ice to create a refreshing aroma along with the cool air.
- Transfer the ice cubes or packs to a bucket or a deep container that can accommodate them. Make sure the container is clean and able to hold water without leaking.
With the ice prepared and ready, it’s time to move on to the next step: setting up the AC unit.
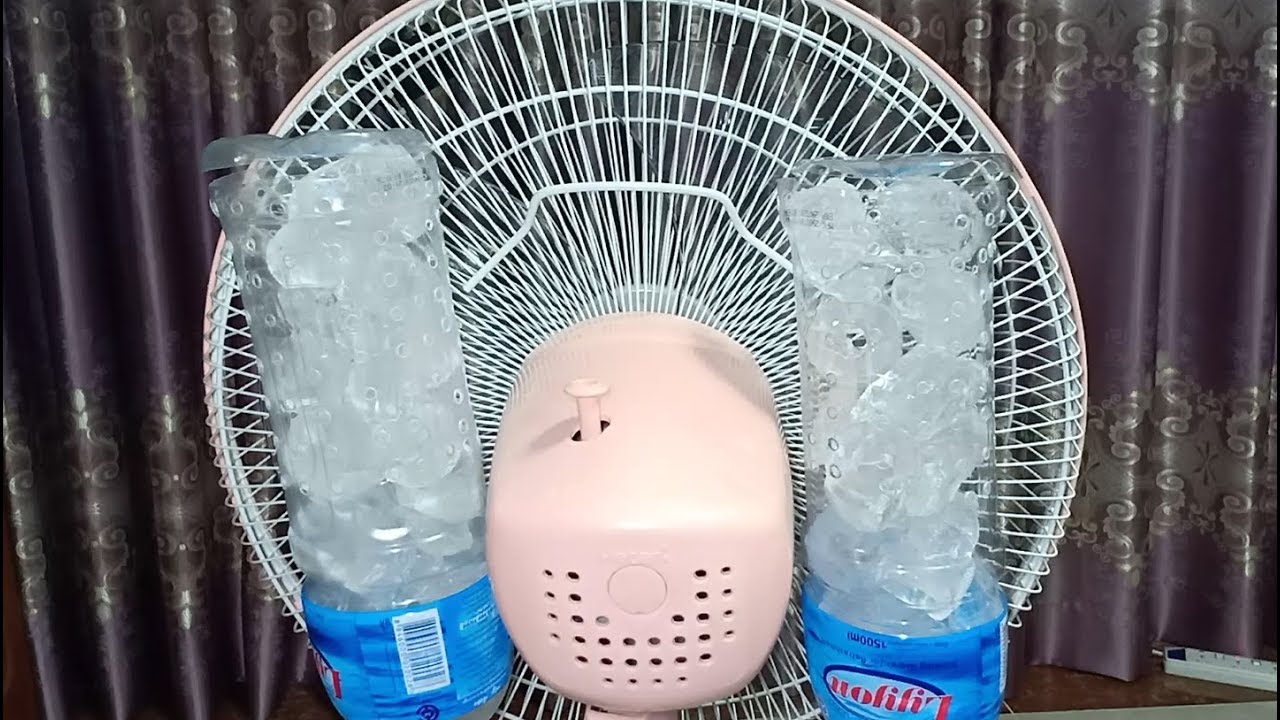
Place a bowl of ice in front of a fan to create a DIY air conditioner. As the fan blows air over the ice, it will create a cool breeze in the room.
Step 3: Setting Up the AC Unit
Now that you have prepared the fan and the ice, it’s time to set up your DIY AC unit. Here’s how:
- Place the prepared fan in a convenient location where you want to experience the cool air. Ensure that there is a power outlet or an extension cord nearby for the fan to be connected.
- Position the bucket or deep container filled with ice in front of the fan. The fan should be facing towards the ice, allowing the air to pass over it.
- Make sure the fan and the ice container are stable and secure to avoid any accidents or spills during operation.
- Plug in the fan and switch it on. The fan will start blowing air over the ice, causing it to cool down and create a refreshing breeze.
As the air passes through the cold ice, it gets chilled, providing a cooling effect similar to an air conditioner. Sit back, relax, and enjoy the cool air generated by your DIY AC unit!
Before you turn on the AC, there are a few tips and precautions to keep in mind. Let’s go over them in the next section.
Read more: How To Make An AC
Step 4: Turning on the AC and Enjoying the Cool Air
With your DIY AC unit set up and ready, it’s time to turn it on and enjoy the cool air. Here’s what you need to do:
- Ensure that the fan and the ice are properly positioned and securely in place.
- Double-check that the fan is plugged into a power source and switched on.
- As the fan starts running, you will feel the cool air being circulated around the room.
- Sit or stand in front of the fan, positioning yourself in the path of the cool air. Adjust the positioning of the fan and the bucket of ice as needed to maximize the cooling effect.
- Feel free to adjust the fan speed or oscillation settings to your preference for optimal cooling.
- Enjoy the refreshing breeze and relief from the heat provided by your DIY AC!
Keep in mind that this makeshift AC solution may not cool down an entire room, but it can certainly provide localized cooling comfort. It works especially well in smaller spaces or when used in close proximity to the user.
Now that your DIY AC is up and running, let’s explore some tips and precautions to ensure safe and effective use.
Tips and Precautions
While creating a DIY AC with a fan and ice is a creative and effective way to beat the heat, it’s important to keep some tips and precautions in mind for safe and optimal usage. Here are a few to consider:
- Ensure that the fan is placed on a stable surface to prevent it from tipping over during operation.
- Keep the ice container at a safe distance from electrical outlets or any water-sensitive areas to avoid any potential accidents.
- Check the fan regularly to ensure that the cloth or towel wrapped around it is still damp. Re-dampen or replace it as needed for continued cooling effect.
- Monitor the ice level in the container and replenish it as necessary to maintain consistent cool air production.
- Place a tray or a towel underneath the ice container to catch any melted water as the ice melts.
- Do not place the fan or the ice container near any flammable materials or in close proximity to open flames.
- Use caution when handling the ice to prevent any injuries or cold-related discomfort.
- Make sure the fan is turned off and unplugged when not in use to conserve energy and prevent any accidents.
Remember that while this DIY AC solution can provide temporary relief from the heat, it is not a substitute for a proper air conditioning system. For prolonged or intense heat, it is recommended to seek out appropriate cooling solutions.
With these tips and precautions in mind, you can safely and effectively enjoy your DIY AC unit to stay cool during hot summer days!
Conclusion
Creating your own air conditioning unit with a fan and ice is a simple, cost-effective, and fun way to beat the heat and stay cool during hot summer days. With just a few materials and a little bit of effort, you can enjoy the refreshing breeze of your DIY AC.
In this article, we discussed the step-by-step process of making a DIY AC with a fan and ice. We started by preparing the fan, ensuring it was clean and ready for use. Then, we moved on to preparing the ice, gathering enough ice to keep the makeshift AC running for a reasonable period of time.
Next, we set up the AC unit by placing the fan in front of the ice container, creating a cool breeze by blowing air over the ice. Finally, after turning on the AC, we were able to enjoy the cool air and find relief from the heat.
By following the tips and precautions mentioned, you can ensure safe and optimal usage of your DIY AC. Remember to keep the fan stable, monitor the ice level, and be mindful of its placement to prevent any accidents or damage.
While a DIY AC with a fan and ice may not be as powerful or comprehensive as a traditional air conditioning unit, it can still provide localized cooling comfort and be particularly useful in smaller spaces or when used in close proximity to the user.
So the next time you find yourself longing for some relief from the heat, why not give this DIY AC a try? Not only will it keep you cool, but it will also provide a fun and creative project that you can enjoy with friends and family.
Stay cool and beat the summer heat with your very own homemade AC unit!
Frequently Asked Questions about How To Make AC With Fan And Ice
Was this page helpful?
At Storables.com, we guarantee accurate and reliable information. Our content, validated by Expert Board Contributors, is crafted following stringent Editorial Policies. We're committed to providing you with well-researched, expert-backed insights for all your informational needs.


0 thoughts on “How to Make AC With Fan and Ice”