Home>Articles>How To Make A Firepit From Pavers For Easy Outdoor Entertaining
Articles
How To Make A Firepit From Pavers For Easy Outdoor Entertaining
Modified: October 18, 2024
Learn how to make a firepit from pavers in this informative article. Perfect for easy outdoor entertaining. Step-by-step instructions and tips included.
(Many of the links in this article redirect to a specific reviewed product. Your purchase of these products through affiliate links helps to generate commission for Storables.com, at no extra cost. Learn more)
Introduction
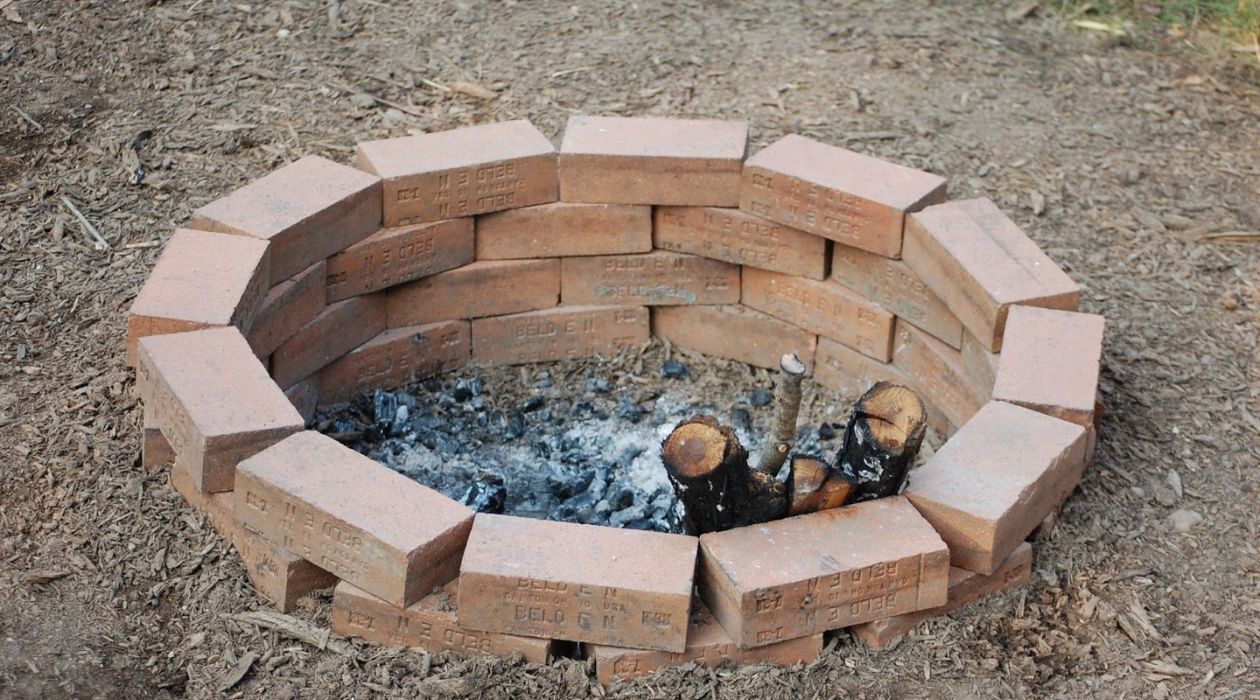
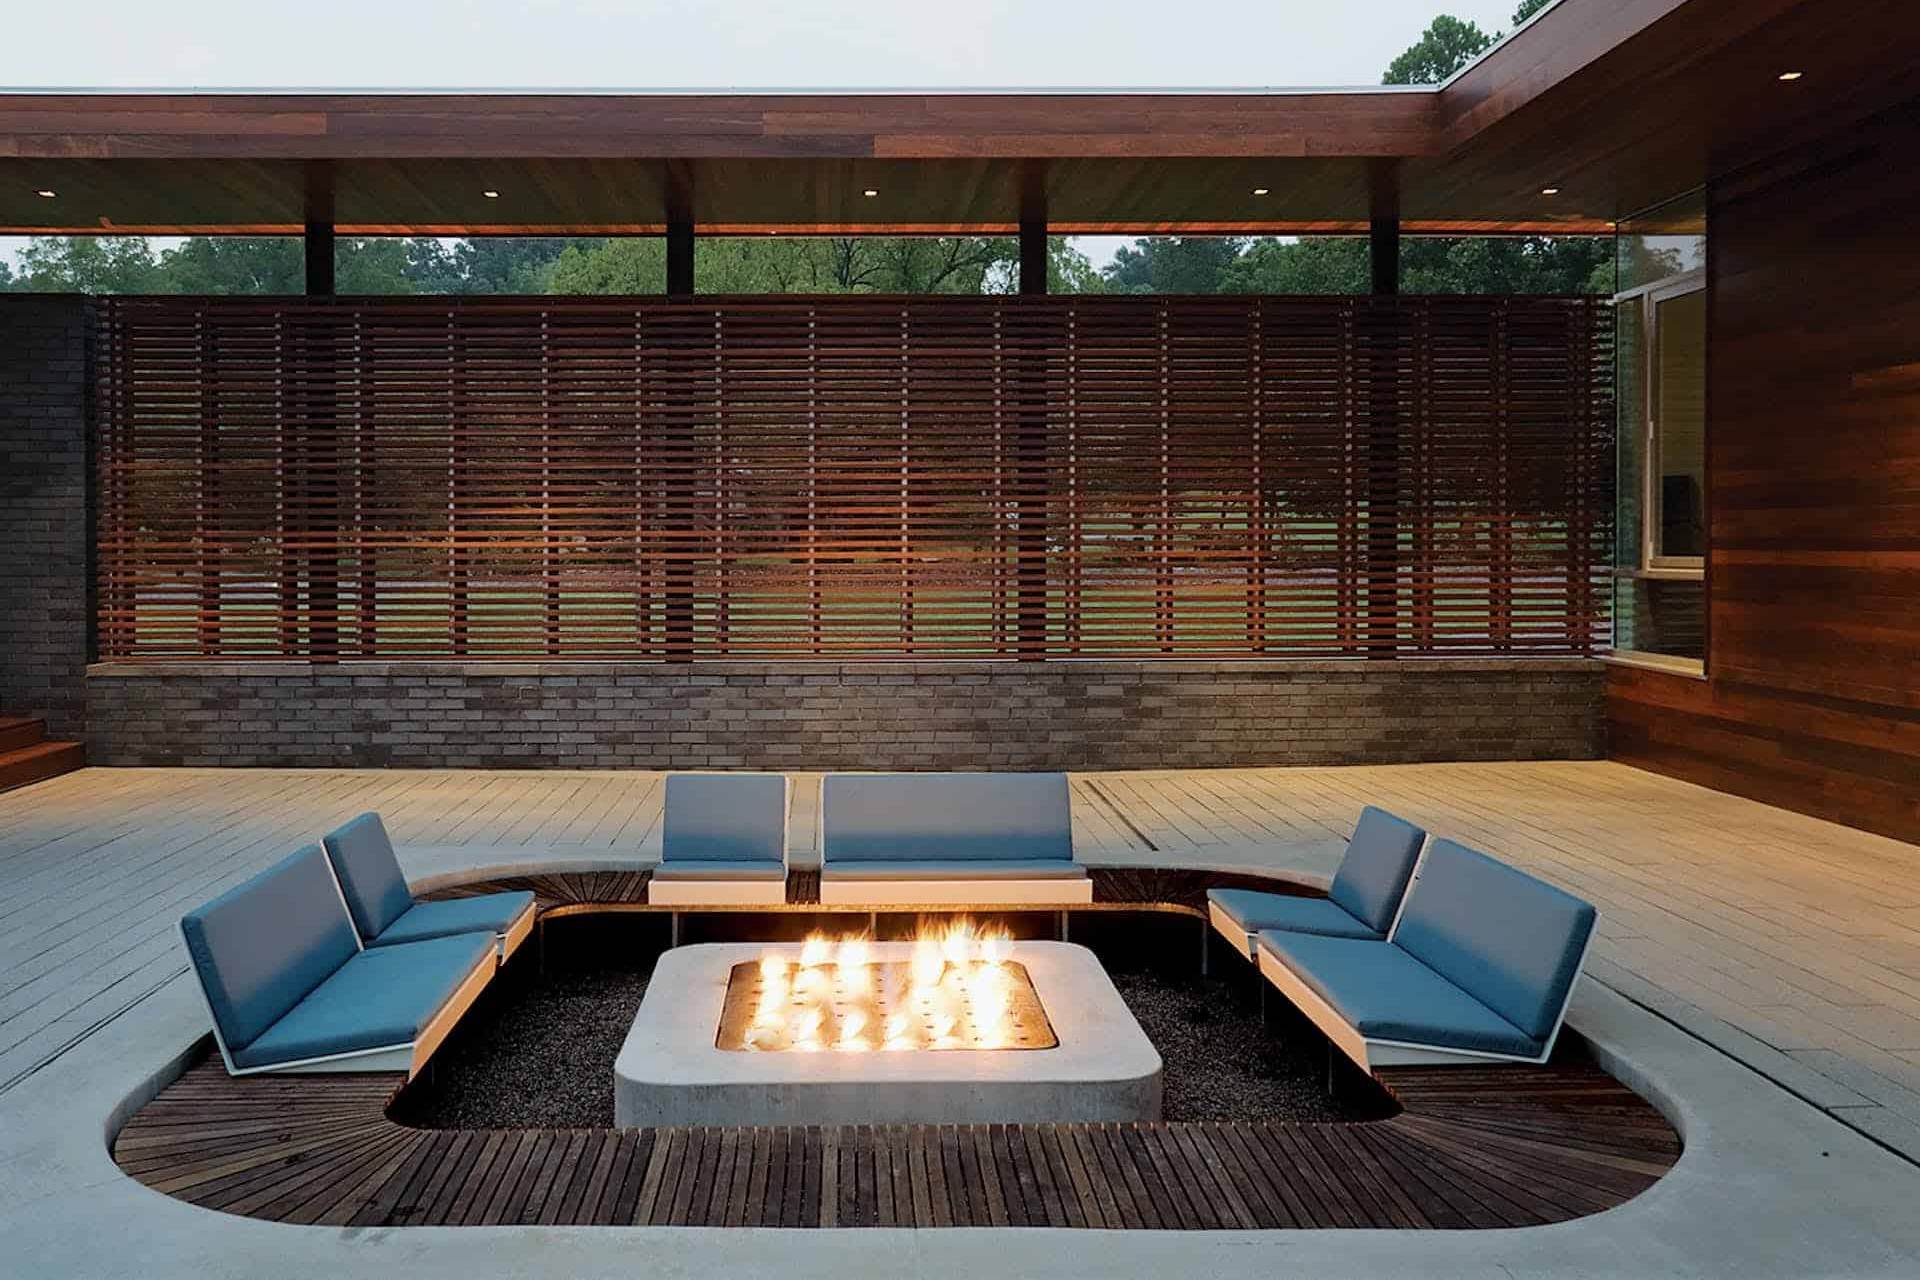
Welcome to this guide on how to make a fire pit from pavers for easy outdoor entertaining! There’s nothing quite like gathering around a warm fire on a cool evening, and with a fire pit made from pavers, you can create a cozy gathering spot right in your own backyard.
In this article, we will walk you through the step-by-step process of building a fire pit using pavers, from choosing the location to installing the fire pit insert. Whether you’re a seasoned DIY enthusiast or just starting to explore your creative side, this project is perfect for adding charm and functionality to your outdoor space.
Before we dive into the details, let’s take a moment to gather the materials you’ll need for this project.
Key Takeaways:
- Create a cozy outdoor gathering spot by building a fire pit from pavers, adding charm and functionality to your backyard while providing a safe and enjoyable focal point for socializing and relaxation.
- Prioritize safety, comply with local regulations, and enjoy memorable moments around your new fire pit with family and friends, basking in the warm glow and creating lasting outdoor memories.
Read more: How To Install Outdoor Pavers
Materials Needed
Before you get started on your fire pit project, make sure you have the following materials on hand:
- Pavers: These will form the walls of your fire pit. Choose pavers that are heat-resistant and suitable for outdoor use.
- Fire pit insert: This is the metal structure that will hold the fire. Look for an insert that fits the size and style of your pavers.
- Sand: You’ll need sand to create a stable base for the pavers and to secure them in place.
- Gravel: Use gravel to provide drainage and stability for the fire pit foundation.
- Landscape fabric: This material is essential for preventing weeds from growing up through the fire pit area.
- Level: A level will help ensure that your fire pit is even and straight.
- Shovel: You’ll need a shovel for digging and leveling the ground.
- Rubber mallet: A rubber mallet is necessary for gently tapping the pavers into place.
Having these materials ready before you start will make the construction process much smoother and more efficient.
Step 1: Choose the Location
Before you begin building your fire pit, it’s important to carefully choose the location. Here are a few considerations to keep in mind:
- Consider safety: Your fire pit should be situated in a safe area, away from any flammable materials such as trees, bushes, or overhanging structures. Make sure there is enough space for people to comfortably gather around the fire without feeling cramped.
- Check local regulations: Some areas have specific regulations regarding the construction and use of fire pits. Check with your local authorities to ensure you’re following any guidelines or obtaining any necessary permits.
- Determine desired size: Think about how many people you anticipate using the fire pit at once. This will help you determine the appropriate size. A smaller fire pit may be sufficient for intimate gatherings, while a larger fire pit may be better for hosting larger groups.
Once you’ve considered these factors, take some time to visualize where you want your fire pit to be located. Keep in mind that the location should offer a comfortable and cozy atmosphere, allowing for easy access and enjoyable gatherings.
Once you’ve chosen the ideal spot, mark the area where the fire pit will be located. This will serve as your guide as you move on to the next steps of the construction process.
Step 2: Prepare the Area
Now that you’ve chosen the location for your fire pit, it’s time to prepare the area before you start building. Follow these steps to ensure a solid foundation:
- Mark the outline: Use stakes and string to mark the shape and size of your fire pit. This will help you visualize the final design and ensure that the area is properly prepared.
- Remove any grass or plants: Clear the area of any grass, plants, or debris within the marked outline. Use a shovel or gardening tools to carefully remove them.
- Dig a shallow trench: With the marked outline as your guide, dig a shallow trench about 6 to 8 inches deep. This will serve as the foundation for your fire pit.
- Compact the soil: Use a tamper or your feet to compact the soil in the trench. This will help create a solid base for the pavers.
By properly preparing the area, you will ensure that your fire pit is stable and long-lasting. Take your time during this step to ensure that the ground is even and well-prepared before moving on to the next stage.
Step 3: Lay the Base
With the area prepared, it’s time to lay the base for your fire pit. Following these steps will help create a stable and durable foundation:
- Add a layer of landscape fabric: Before adding any materials, lay down a layer of landscape fabric in the trench. This will help prevent weeds and vegetation from growing up through the fire pit.
- Pour gravel into the trench: Fill the trench with a layer of gravel, spreading it evenly over the landscape fabric. The gravel will provide drainage and stability for your fire pit.
- Level and compact the gravel: Use a level to ensure that the gravel is evenly distributed and level across the entire trench. This will help ensure that your fire pit is sturdy and well-balanced. Once you’re satisfied with the levelness, use a tamper or the back of a shovel to compact the gravel.
This base layer is essential for the stability and longevity of your fire pit. The landscape fabric helps prevent weed growth, while the gravel allows for drainage and prevents shifting of the pavers. Taking the time to properly lay the base will ensure a solid foundation for the rest of the construction process.
When building a firepit from pavers, make sure to use heat-resistant adhesive to hold the pavers together. This will ensure the firepit stays sturdy and safe for outdoor entertaining.
Read more: How To Make A Patio With Pavers
Step 4: Arrange the Pavers
Now comes the fun part – arranging the pavers to create the walls of your fire pit. Follow these steps to ensure a proper and visually appealing design:
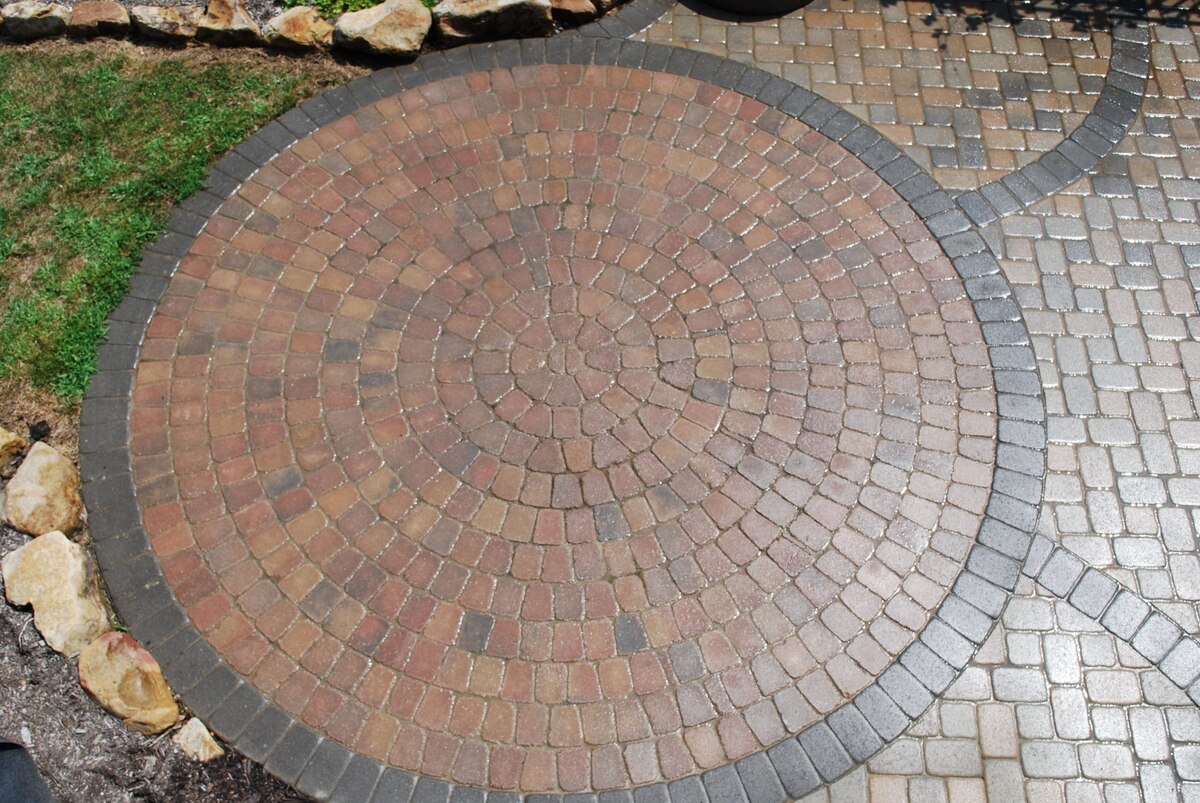
- Begin laying the pavers in a circular shape: Start by placing the pavers along the trench in a circular pattern. The size of the circle will depend on the desired diameter of your fire pit. Make sure the pavers are snugly spaced together, but not touching.
- Use a level to ensure evenness: As you lay each paver, use a level to check for evenness. This will help ensure that your fire pit is straight and visually pleasing. Adjust the pavers as necessary to achieve the desired levelness.
- Adjust as necessary: Some pavers may need to be repositioned or adjusted to maintain a consistent width and alignment. Take your time to make sure everything looks just right before moving on.
- Leave a small opening for the fire pit insert: In the middle of the circular pattern, leave a small opening or gap where the fire pit insert will be placed. This will serve as the fire chamber for your fire pit.
Take your time during this step to ensure that the pavers are properly positioned and aligned. The circular shape provides a classic and aesthetically pleasing design, perfect for creating a cozy atmosphere around the fire.
Step 5: Secure the Pavers
Now that the pavers are arranged in place, it’s important to secure them to create a stable and durable fire pit. Follow these steps to ensure the pavers stay in position:
- Add sand over the pavers: Spread a layer of sand over the top of the pavers. Make sure the sand fills the gaps between the pavers evenly. This will help to lock the pavers in place.
- Use a rubber mallet to secure them in place: With the sand in place, gently tap each paver with a rubber mallet. This will help set the pavers into the sand and create a firm connection. Be careful not to hit the pavers too hard to avoid cracking or damaging them.
- Check for levelness: Once all the pavers are secured with the rubber mallet, use a level to check for levelness. Adjust any pavers as needed to ensure an even surface.
Securing the pavers with sand and a rubber mallet not only enhances the stability of the fire pit, but also gives it a finished look. The sand acts as a binding agent, keeping the pavers in place and minimizing movement over time. Taking the time to check for levelness will ensure that your fire pit is both visually appealing and functional.
Step 6: Install the Fire Pit Insert
With the pavers secured in place, it’s time to install the fire pit insert. This is the final step before you can start enjoying your fire pit. Follow these steps to properly install the fire pit insert:
- Place the fire pit insert into the opening: Carefully position the fire pit insert into the opening you left in the center of the paver circle. Make sure it fits snugly and is centered within the fire pit walls.
- Follow manufacturer’s instructions for installation: Every fire pit insert may have specific installation instructions provided by the manufacturer. It is important to read and follow these instructions carefully to ensure proper installation and safe operation of the fire pit insert.
Installing the fire pit insert is an exciting moment as it brings your fire pit to life. As you follow the manufacturer’s instructions, make sure to properly connect any necessary gas or propane lines, if applicable. Double-check that everything is securely in place before moving on to the final step.
Step 7: Finishing Touches
Now that your fire pit is complete, it’s time to add the finishing touches. These final steps will help enhance the overall appearance and functionality of your outdoor gathering space:
- Add more sand around the pavers: Spread additional sand around the edges of the pavers to fill any remaining gaps and create a seamless look. Use a broom or brush to push the sand into the joints between the pavers.
- Sweep off any excess sand: Once you’ve filled the gaps between the pavers, sweep off any excess sand from the surface of the pavers. This will give your fire pit a clean and polished appearance.
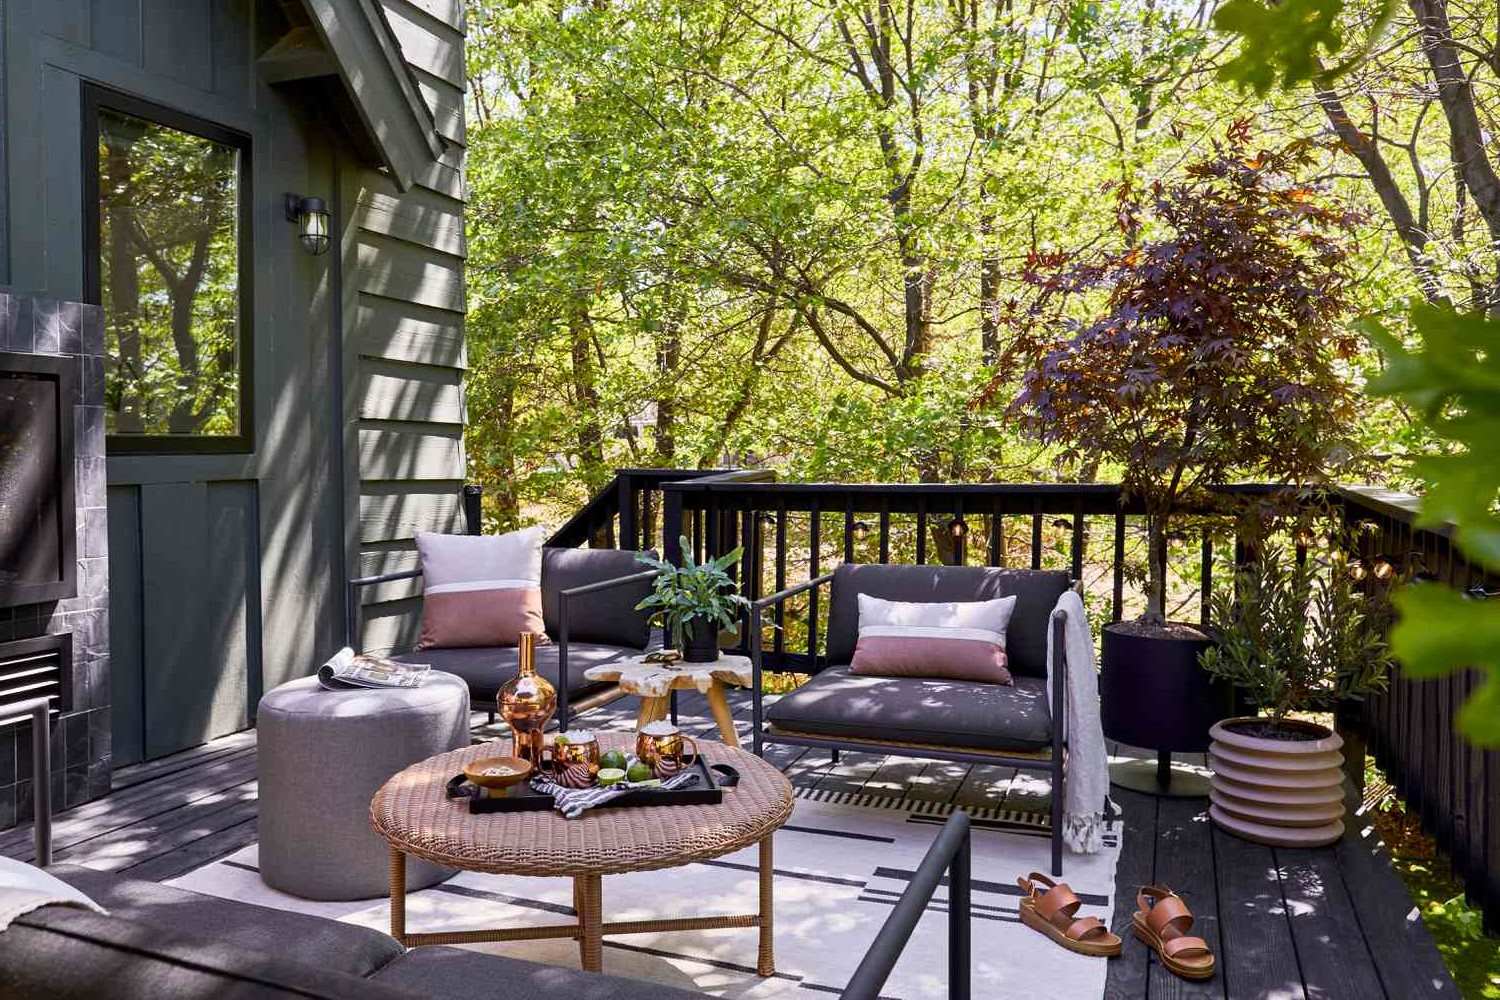
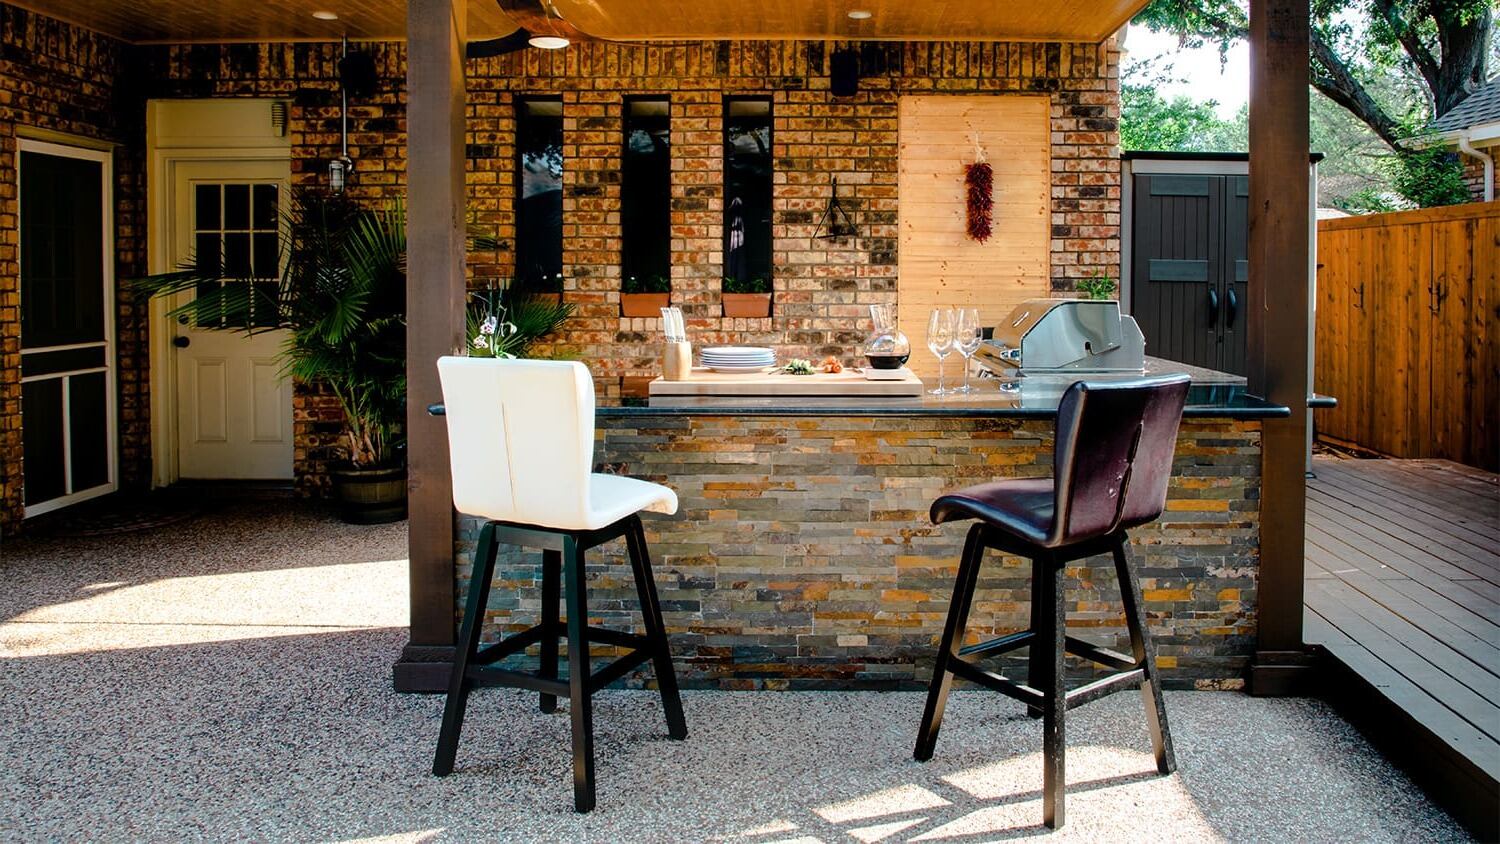
- Decorate the surroundings: To create a cozy and welcoming atmosphere, consider adding some decorative elements around the fire pit. This could include outdoor seating, cushions, lighting, or even potted plants. Let your creativity soar as you personalize the space to your liking.
By adding more sand and sweeping off excess, you’ll not only enhance the aesthetic appeal of your fire pit, but also ensure that the pavers are securely in place. Don’t forget to regularly check and refill the sand between the pavers as needed to maintain the stability of the structure.
With these finishing touches in place, your fire pit made from pavers is ready to be enjoyed. Gather family and friends, and create lasting memories around the warm glow of your new outdoor feature.
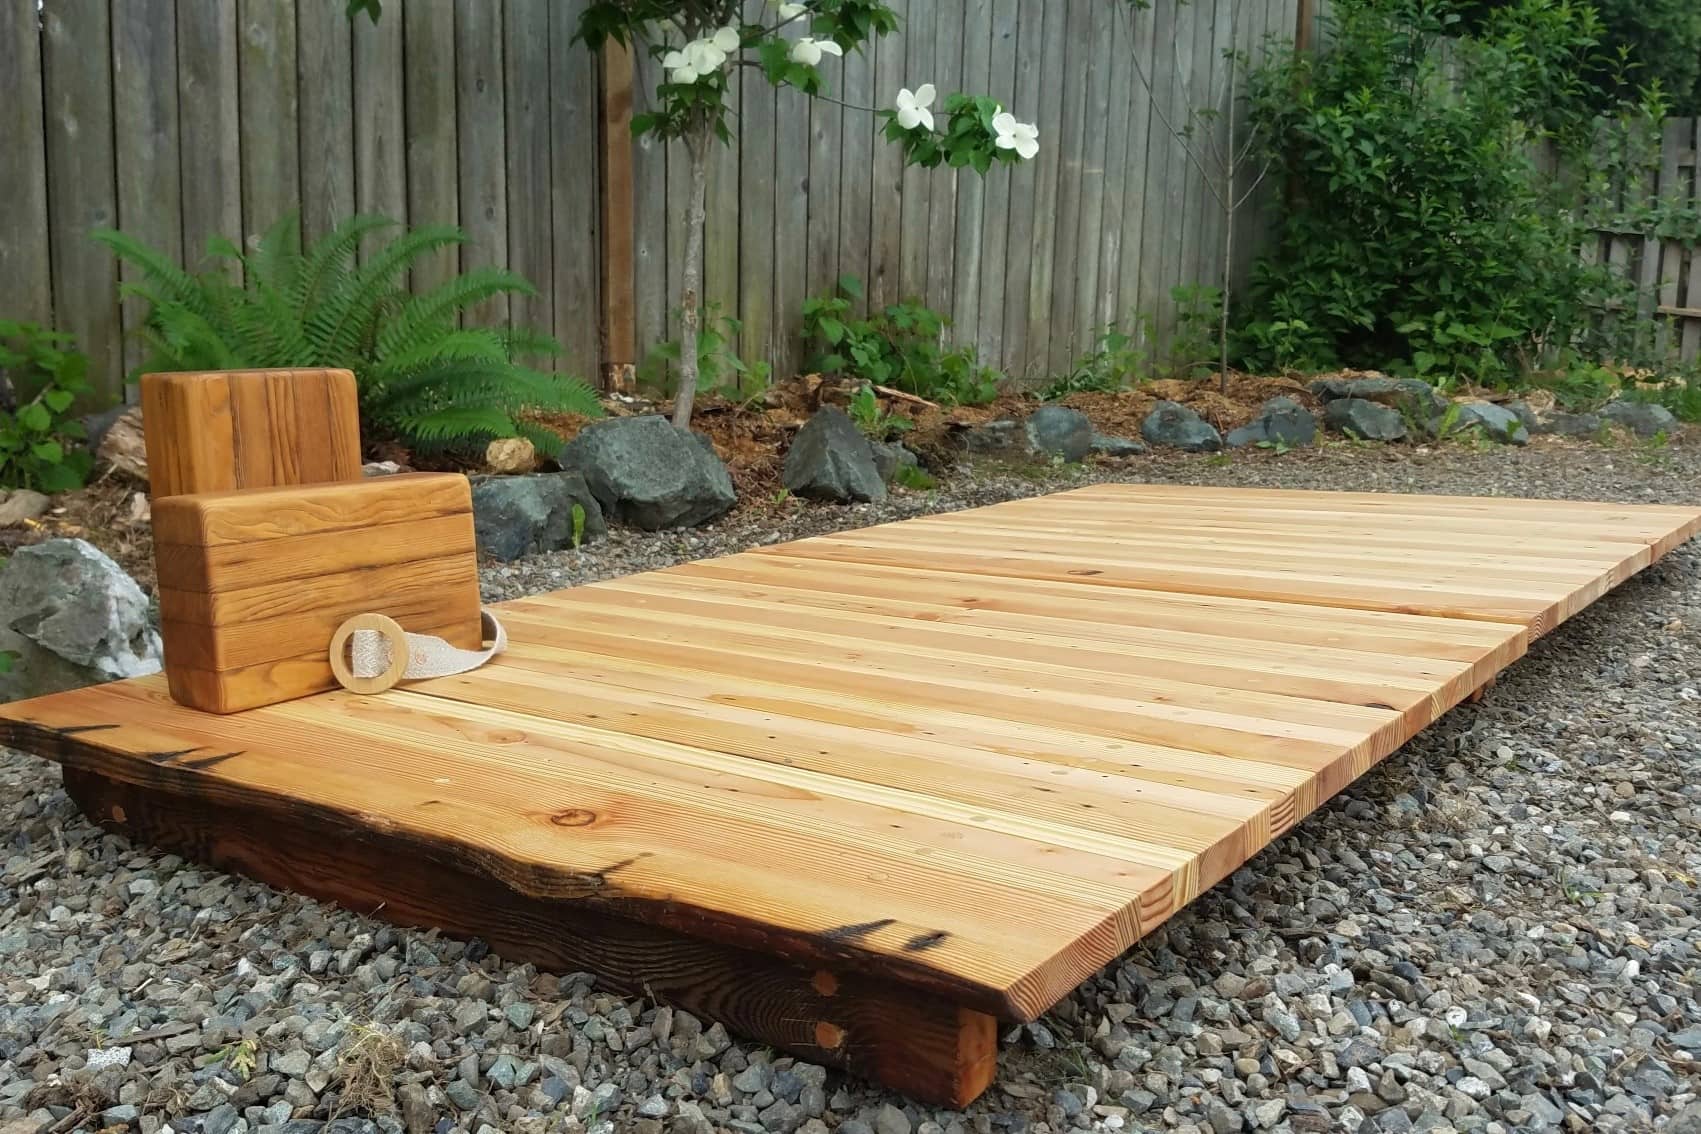
Read more: Creating A Cozy Outdoor Meditation Platform
Conclusion
Congratulations! You have successfully learned how to make a fire pit from pavers for easy outdoor entertaining. By following the steps outlined in this guide, you have created a cozy gathering spot right in your own backyard.
Building a fire pit using pavers not only adds charm and functionality to your outdoor space, but it also provides a focal point for socializing and enjoying the great outdoors. Whether you’re roasting marshmallows, sharing stories, or simply basking in the warm glow of the fire, your new fire pit will surely become a favorite gathering spot for family and friends.
Remember to always prioritize safety when using your fire pit. Keep a safe distance from flammable materials, have a means to extinguish the fire nearby, and never leave a fire unattended. Additionally, familiarize yourself with any local regulations governing the use of fire pits to ensure compliance.
Now that you’ve completed your fire pit project, it’s time to sit back, relax, and enjoy the fruits of your labor. Gather your loved ones, grab some cozy blankets, and create memorable moments around your beautiful fire pit. Cheers to many warm and joyful evenings ahead!
Frequently Asked Questions about How To Make A Firepit From Pavers For Easy Outdoor Entertaining
Was this page helpful?
At Storables.com, we guarantee accurate and reliable information. Our content, validated by Expert Board Contributors, is crafted following stringent Editorial Policies. We're committed to providing you with well-researched, expert-backed insights for all your informational needs.


0 thoughts on “How To Make A Firepit From Pavers For Easy Outdoor Entertaining”