Home>Furniture>Outdoor Furniture>How To Make A Curved Patio With Pavers
Outdoor Furniture
How To Make A Curved Patio With Pavers
Modified: March 7, 2024
Learn how to create a stunning curved patio with pavers to enhance your outdoor space. Transform your backyard into a stylish oasis with our step-by-step guide. Perfect for showcasing your outdoor furniture.
(Many of the links in this article redirect to a specific reviewed product. Your purchase of these products through affiliate links helps to generate commission for Storables.com, at no extra cost. Learn more)
Introduction
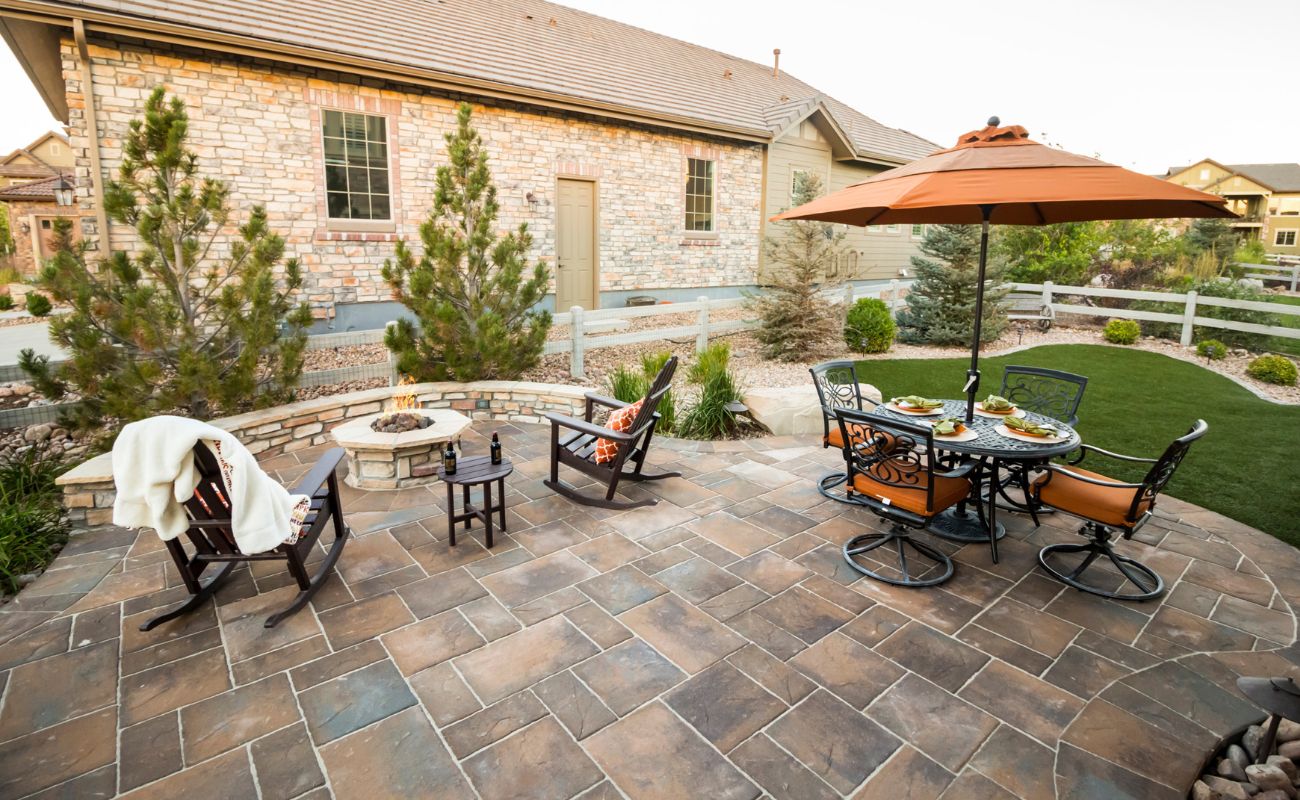
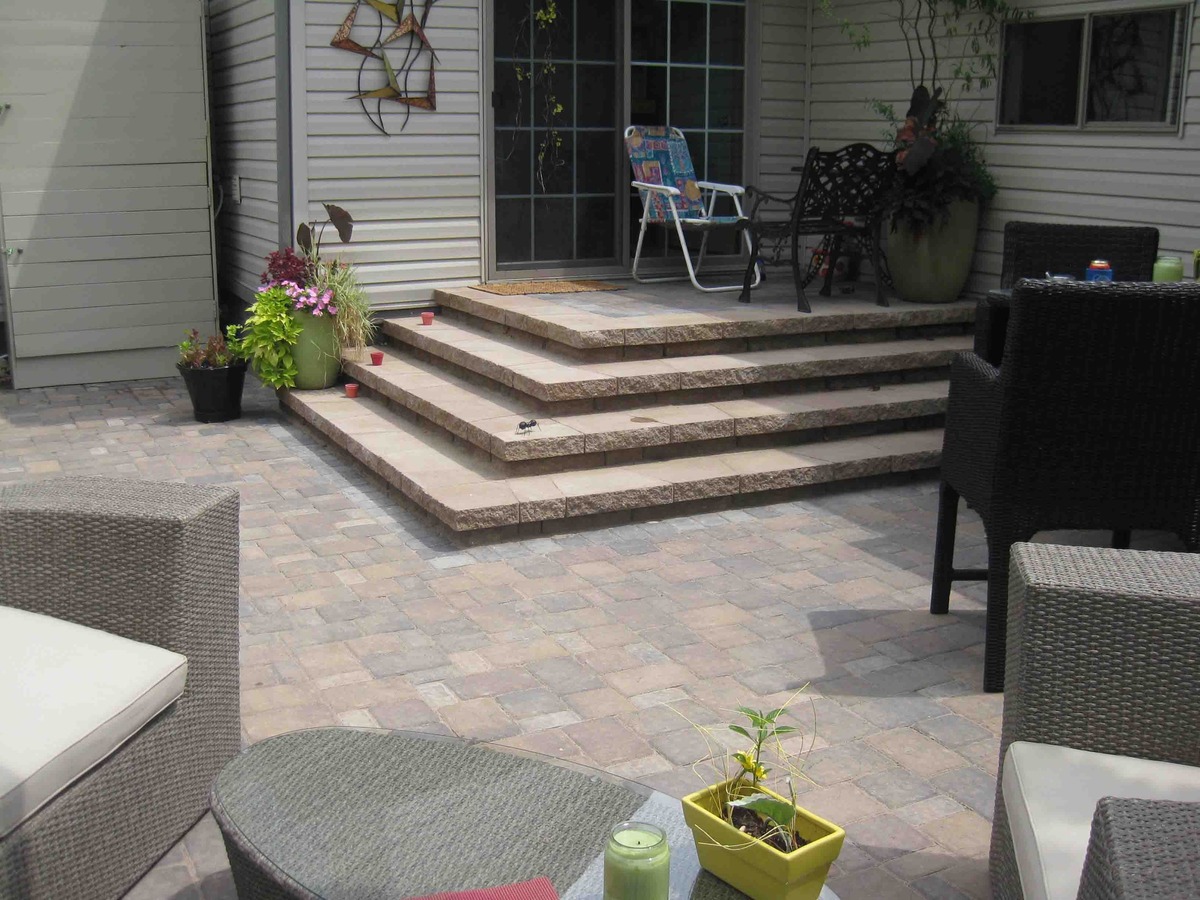
Welcome to the world of outdoor furniture! Whether you are looking to create a cozy patio retreat or transform your backyard into an outdoor oasis, choosing the right furniture is key. One popular option that offers both style and functionality is curved patio furniture. With its elegant curves and ergonomic design, curved patio furniture not only adds a touch of sophistication to your outdoor space but also provides a comfortable seating arrangement for you and your guests.
However, finding the perfect curved patio furniture set can sometimes be a challenge. That’s why many outdoor enthusiasts are opting to build their own curved patio using pavers. Creating a curved patio with pavers allows you to customize the size, shape, and design to perfectly suit your outdoor space and personal style.
In this article, we will guide you through the step-by-step process of making a curved patio with pavers. From planning and preparation to installing the pavers and adding the finishing touches, we will cover everything you need to know to create your own stunning curved patio. So, put on your DIY hat and let’s get started!
Key Takeaways:
- Creating a curved patio with pavers involves careful planning, precise installation, and attention to detail. It adds elegance and charm to outdoor spaces, providing a functional and visually appealing area for relaxation and entertainment.
- Maintaining the curved patio is essential for its longevity and continued enjoyment. Regular cleaning, applying sealer as needed, and adding finishing touches like outdoor furniture and decorative elements will help preserve its beauty and functionality.
Read more: How To Make A Patio With Pavers
Step 1: Planning and Preparation
The first step in creating a curved patio with pavers is proper planning and preparation. This is a crucial stage as it sets the foundation for the entire project and ensures a smooth execution. Here’s what you need to do:
- Measure and assess the area: Begin by measuring the area where you want to build your curved patio. Consider factors like the size of the patio furniture you plan to use, the amount of space you need for walking and entertaining, and any existing landscaping features or structures that you want to incorporate.
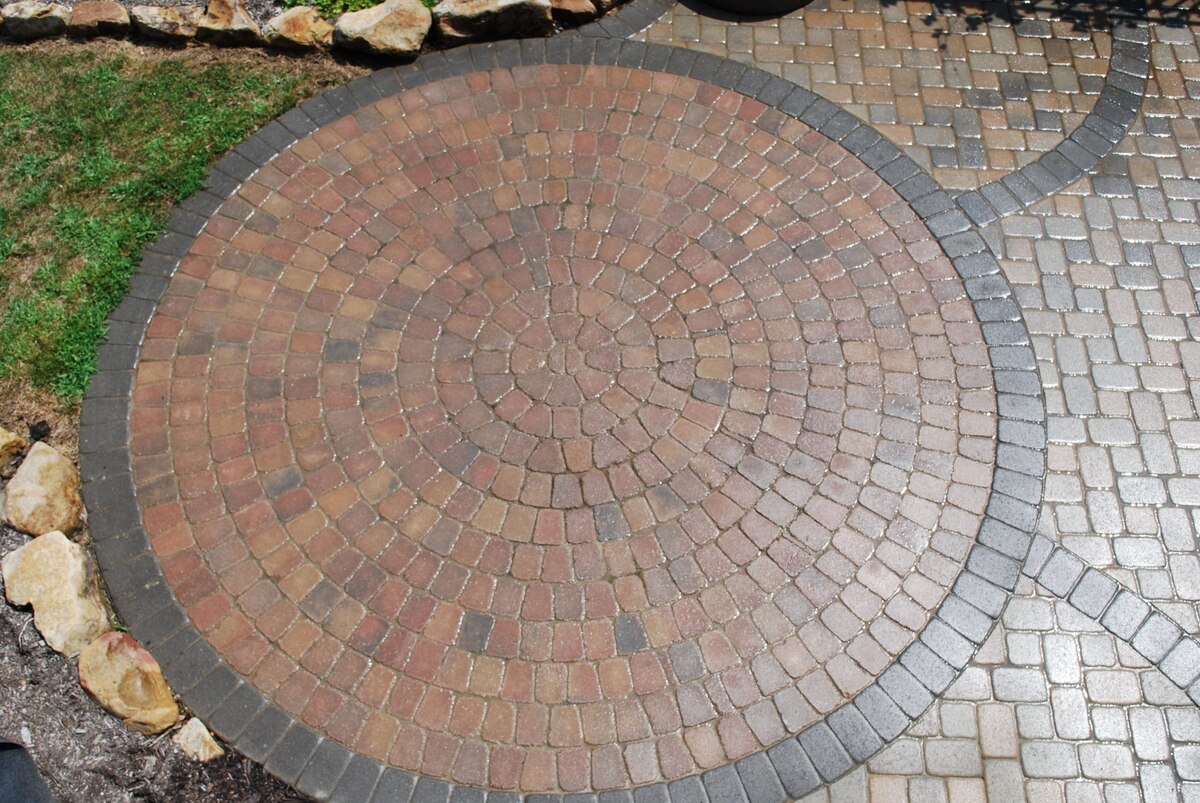
- Sketch a design: Once you have the measurements, sketch a rough design of how you want your curved patio to look. This will help you visualize the layout, make adjustments if needed, and have a clear vision before starting the actual construction process.
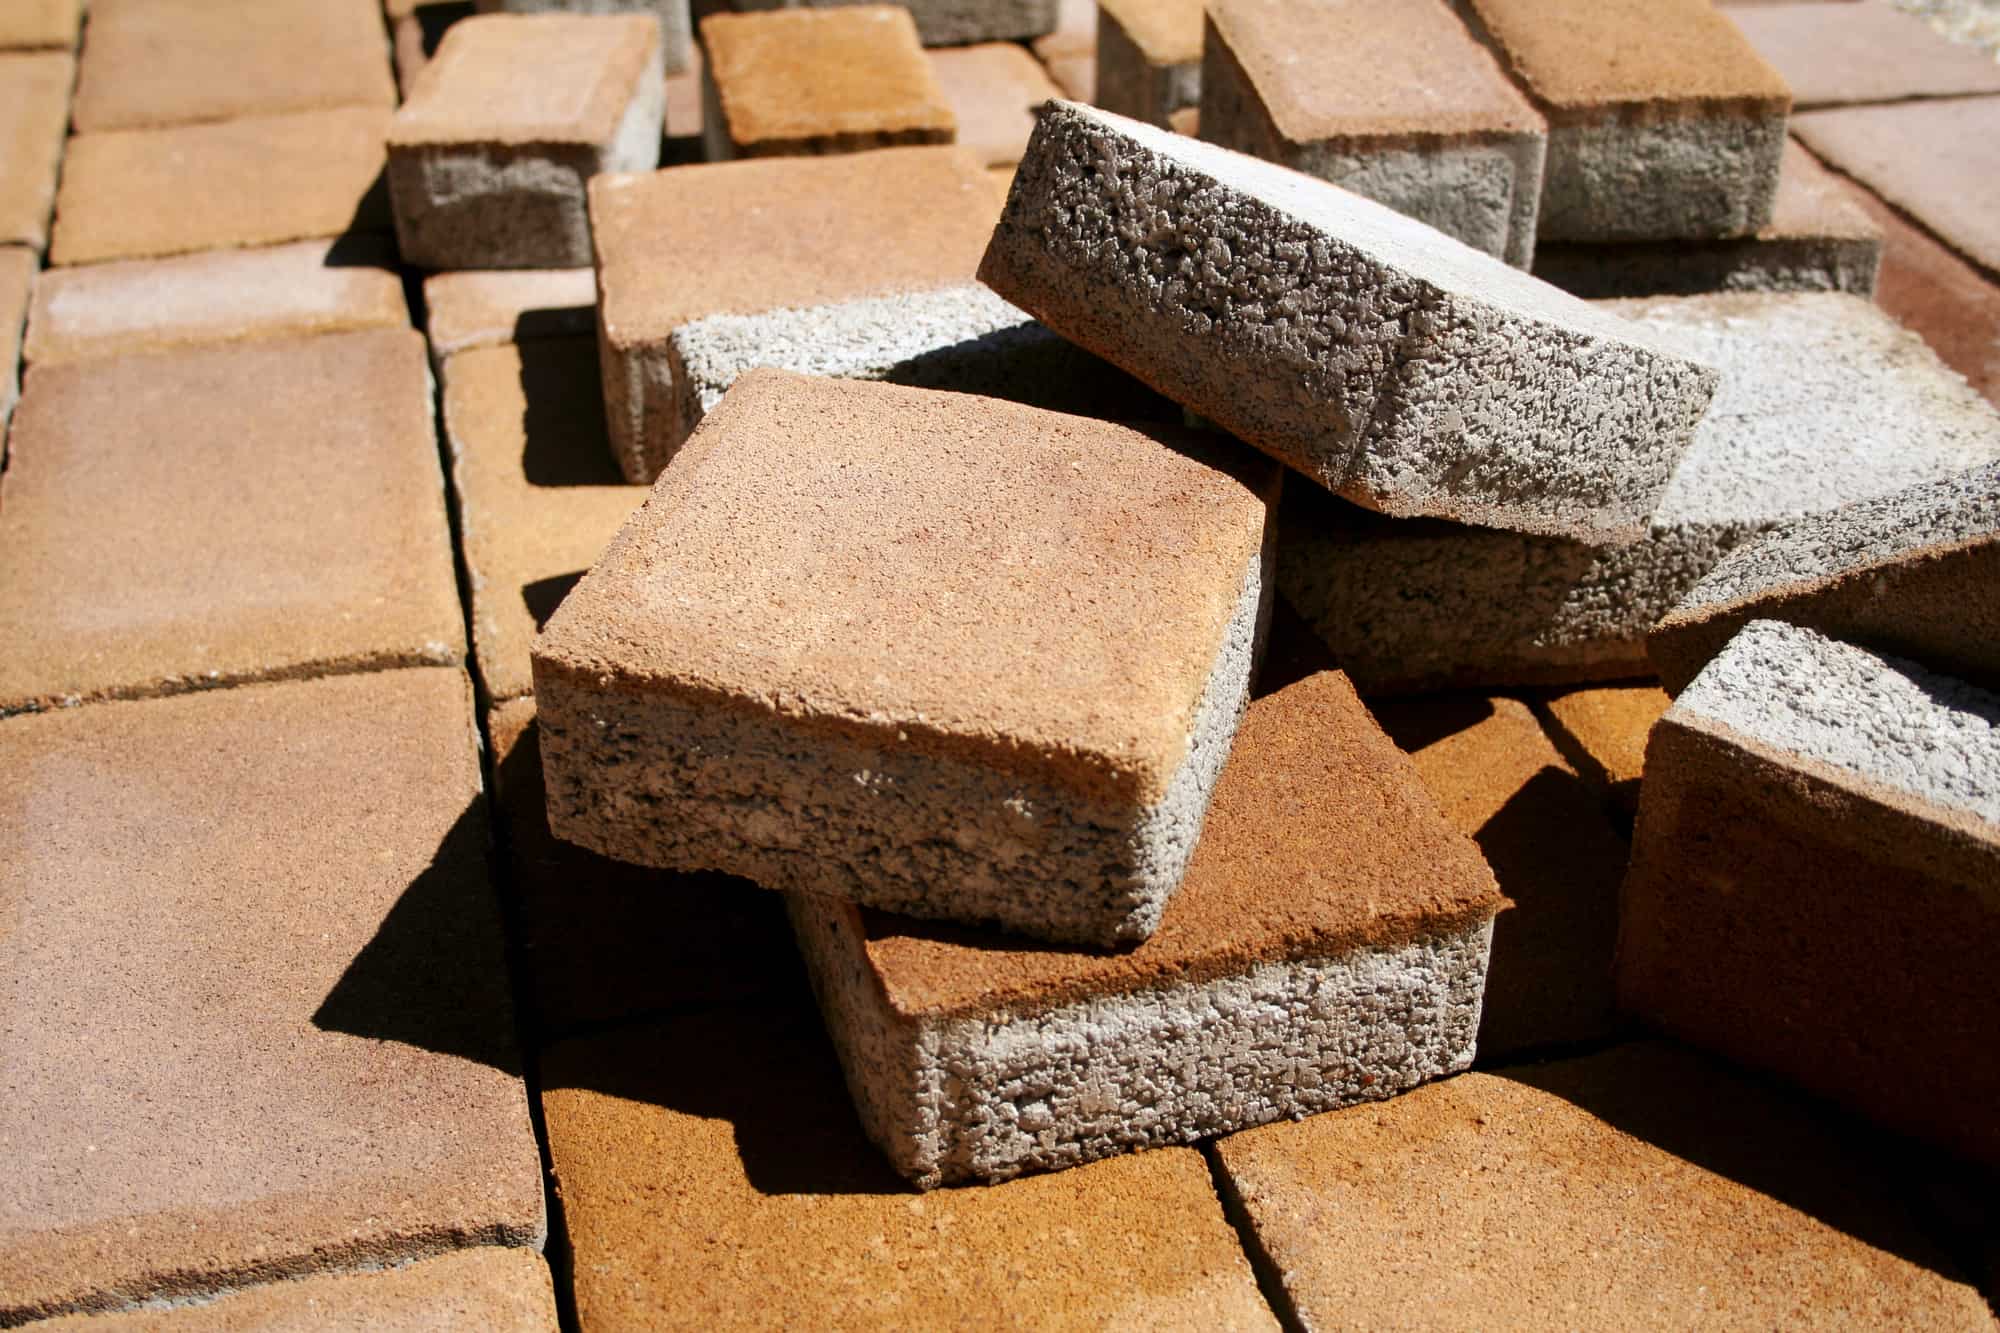
- Gather the necessary materials: Before you start digging, make sure you have all the materials and tools you need. This includes pavers of your choice, gravel or sand for the base, landscape fabric, edging material, and any additional features like fire pits or seating walls that you want to include.
- Check local regulations and permits: Depending on where you live, there may be certain regulations or permits required for building a patio. Check with your local municipality or homeowners association to ensure you comply with any rules or restrictions.
- Set a budget: Determine your budget for the project and factor in the cost of materials, tools, and any professional assistance you may need. This will help you stay on track and avoid overspending.
By taking the time to plan and prepare, you will have a solid foundation for your curved patio project. This will save you time, money, and potential headaches down the line. So, grab your measuring tape, put on your creative thinking hat, and get ready to bring your dream patio to life!
Step 2: Marking the Curve
Once you’ve completed the planning and preparation stage, it’s time to start marking the curve for your patio. This step is crucial for achieving the desired shape and ensuring a symmetrical layout. Here are the steps to follow:
- Use a flexible hose or rope: To create a curved shape, you will need a flexible material that can be easily bent to form the desired curve. A garden hose or rope works well for this purpose. Lay the hose or rope on the ground, adjusting it until you achieve the desired curve for your patio.
- Mark the curve: Once you are satisfied with the position of the hose or rope, use a can of marking spray or stakes and string to mark the curve on the ground. This will serve as a guide when excavating the area and installing the pavers.
- Double-check the measurements: Before proceeding, it’s important to double-check the measurements and ensure that the curve is symmetrical and aligns with your initial design. Make any necessary adjustments to the position of the hose or rope to achieve the desired shape.
By marking the curve accurately, you will have a clear guideline to follow when excavating and installing the pavers. This step is essential for creating a visually pleasing curve that enhances the overall aesthetics of your patio.
Remember, patience and attention to detail are key during the marking process. Take the time to carefully measure and adjust until you are satisfied with the curve. This will provide a strong foundation for the rest of the construction process and ensure a beautiful end result.
Step 3: Excavating the Area
With the curve of your patio marked, it’s time to move on to the excavation stage. Excavating the area is an important step in creating a stable base for your curved patio. Here’s how to get started:
- Gather the necessary tools: Before you begin excavation, make sure you have the necessary tools on hand. This may include a shovel, rake, wheelbarrow, and a compacting tool.
- Start digging: Using a shovel, start digging within the marked area to a depth of around 6-8 inches. This will provide enough space for the base materials and ensure proper drainage.
- Remove any existing vegetation or debris: While digging, be sure to remove any grass, weeds, or other vegetation from the area. It’s also essential to clear away any rocks, roots, or other debris that may hinder the installation of the patio pavers.
- Create a slight slope: To ensure proper water drainage, it’s important to create a slight slope on the excavated area. This can be achieved by sloping the surface away from any nearby structures or towards a desired drainage point.
- Compact the soil: After excavating, use a compacting tool or tamp the soil to create a firm and stable base. This will help prevent future settling of the patio and ensure a long-lasting structure.
Excavating the area may be physically demanding, so take breaks as needed and stay hydrated. It’s also a good idea to wear appropriate safety gear, such as gloves and sturdy footwear, to protect yourself during the excavation process.
By properly excavating the area and creating a sturdy foundation, you are one step closer to having your curved patio with pavers. Excavation ensures that your patio will be level, stable, and able to withstand the test of time.
Step 4: Creating the Base
Once you have completed the excavation stage, it’s time to create a solid base for your curved patio with pavers. The base provides stability, prevents shifting, and helps with proper drainage. Here’s how to create a strong and durable base:
- Add a layer of gravel: Start by adding a layer of gravel or crushed stone to the excavated area. This layer acts as a drainage base and helps promote proper water flow.
- Level and compact the gravel: Use a rake or shovel to spread the gravel evenly across the excavated area. Once the gravel is distributed, use a compacting tool or plate compactor to firmly compact the gravel layer. This ensures a solid and level base for your patio.
- Add a layer of sand: After compacting the gravel, add a layer of sand on top. This layer acts as a leveling agent for the pavers and allows for minor adjustments during the installation process.
- Level and screed the sand: Use a long, straight board, known as a screed, to level the sand layer. Drag the screed back and forth across the surface, filling any low spots and removing excess sand. This creates a smooth and even surface for placing the pavers.
- Compact the sand: Once the sand is leveled, use a plate compactor to compact the sand layer. This helps set the pavers firmly in place and provides additional stability to the patio surface.
Creating a solid base is crucial for the longevity and stability of your curved patio. It ensures that the pavers are properly supported and prevents any shifting or sinking. By following these steps, you’ll have a strong and reliable base for your pavers.
Remember to periodically check the level of the base throughout the process to ensure it remains even and properly compacted. This will guarantee a smooth installation of the pavers and a visually appealing finished product.
When laying curved patio pavers, use a flexible plastic or metal edging to create a smooth, even curve. This will help guide the pavers and ensure a professional-looking finish.
Read more: How To Make A Patio With Brick Pavers
Step 5: Installing the Pavers
Now that you have a solid base in place, it’s time to start installing the pavers for your curved patio. This step requires careful placement and attention to detail to create a beautiful and functional patio surface. Here’s how to install the pavers:
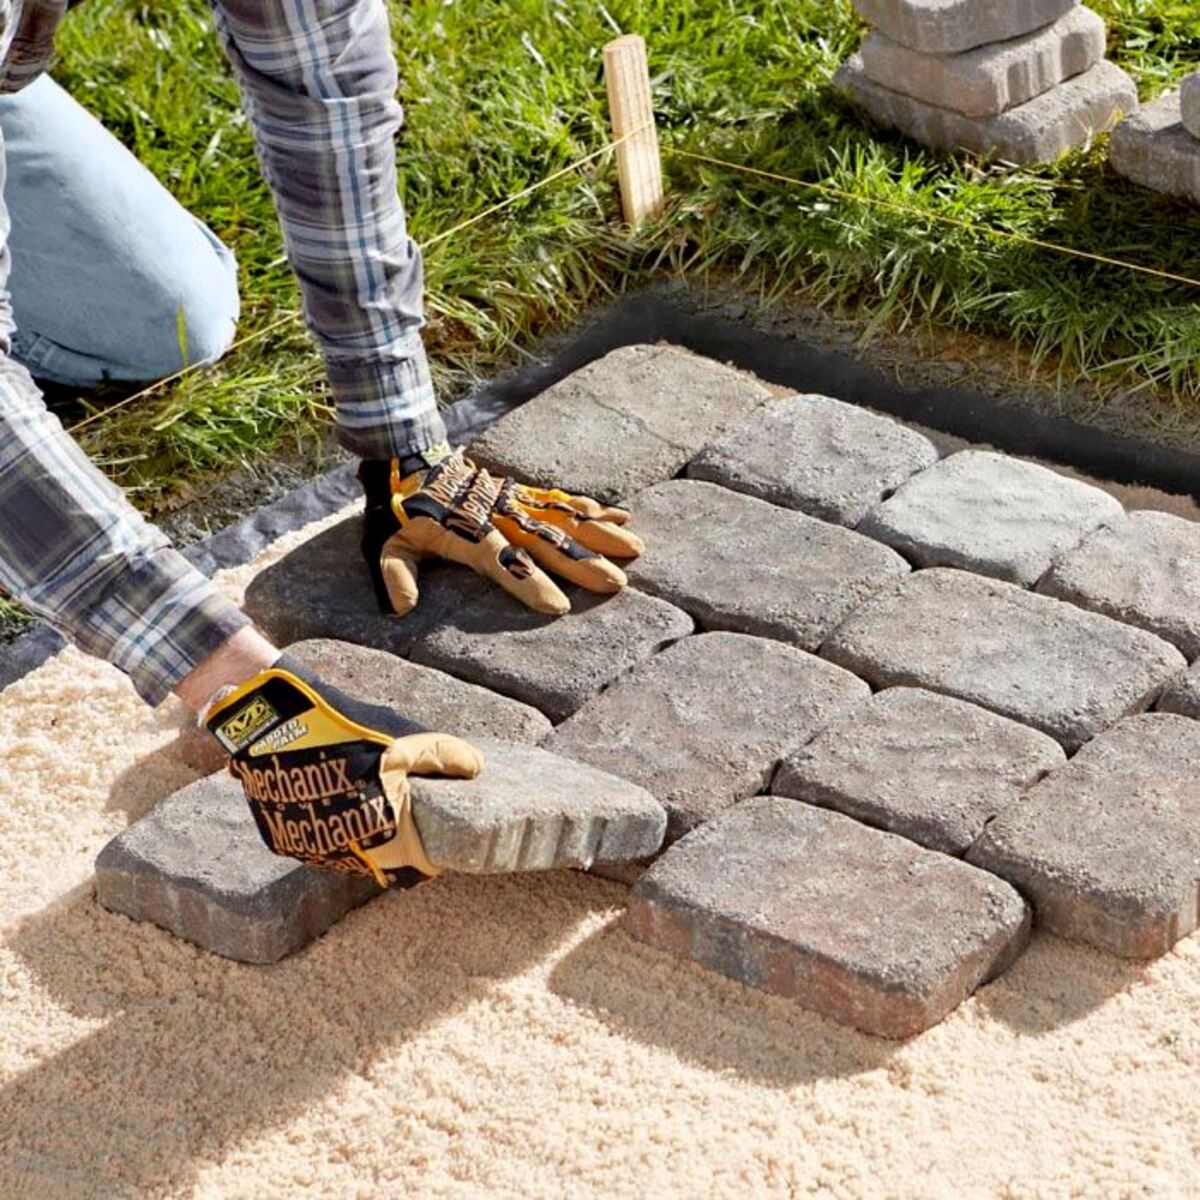
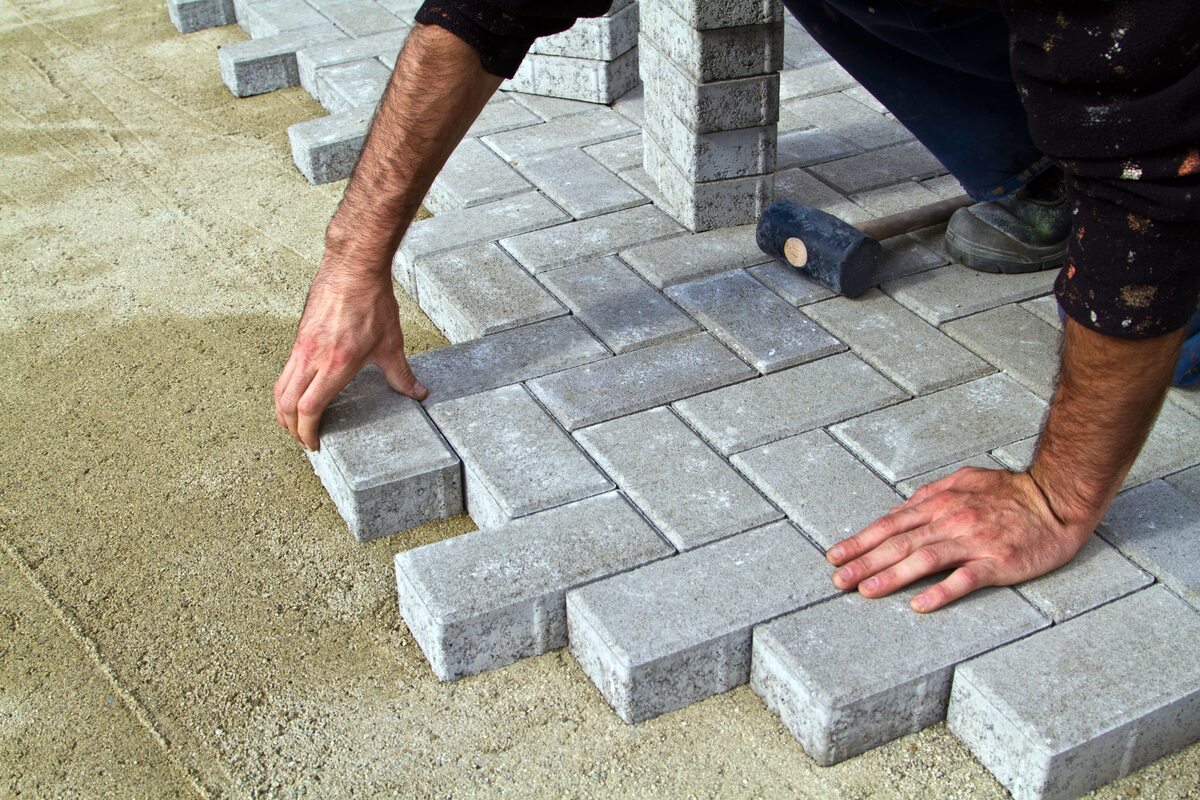
- Start from one end: Begin by placing the first paver at one end of the curve. Position it carefully, making sure it aligns with the marked curve and sits level on the sand bed.
- Continue laying the pavers: Work your way along the curve, placing each paver next to the previous one. Make sure there is a consistent gap between the pavers for proper spacing. You can use spacers or your fingers to maintain even spacing.
- Check for level and alignment: As you lay the pavers, regularly check for level and alignment. Use a level or straight edge to ensure that the pavers are sitting evenly and have a uniform surface. Make any necessary adjustments as you go to maintain the desired curve and alignment.
- Trim the pavers: At certain points along the curve, you may need to trim the pavers to fit the desired shape. Use a paver splitter, wet saw, or chisel to carefully cut the pavers to the appropriate size. Take precautions and follow safety guidelines when cutting the pavers.
- Continue the process: Keep laying the pavers and adjusting as needed until you reach the end of the curve. Take your time to ensure a precise fit and a visually pleasing layout.
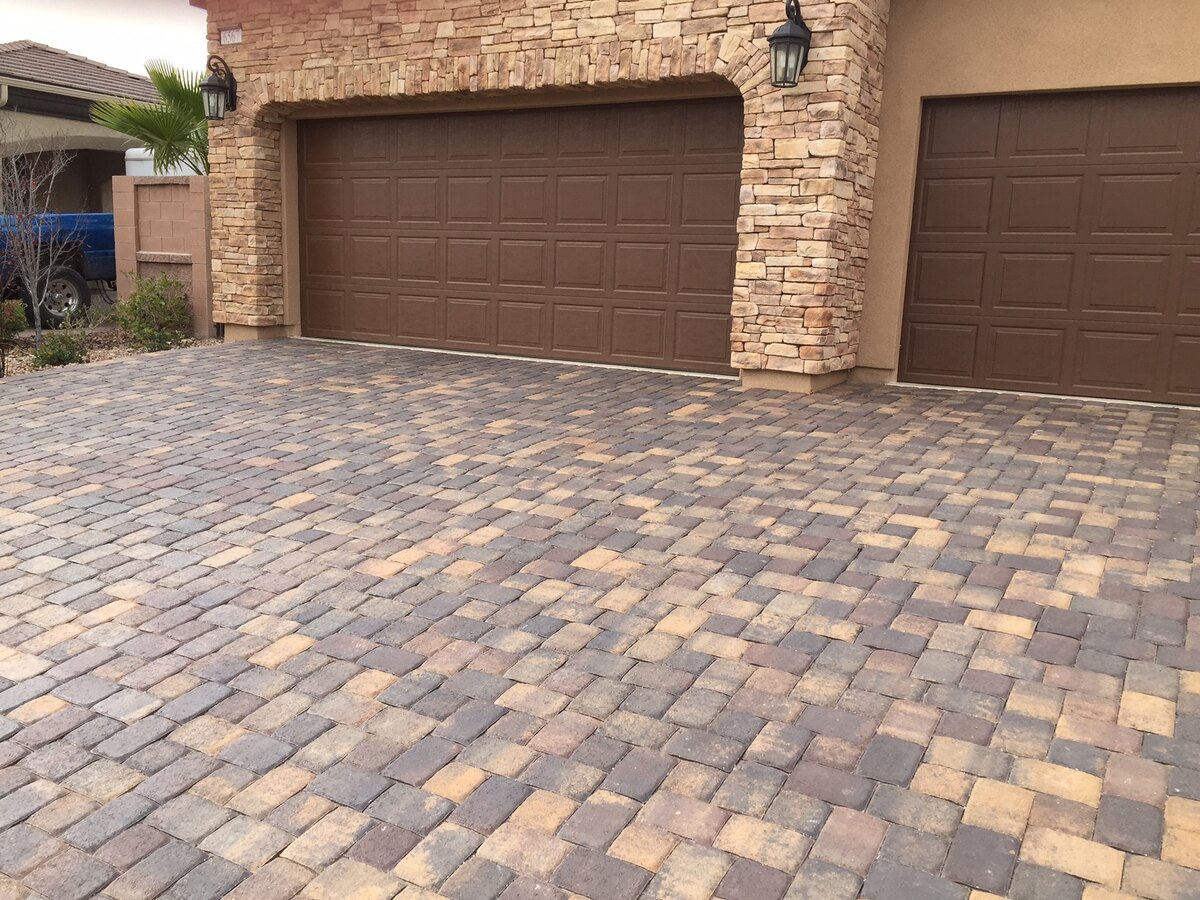
- Fill the gaps: Once all the pavers are in place, fill the gaps between them with fine sand or polymeric sand. This helps lock the pavers in position, prevents weed growth, and enhances the overall stability of the patio.
Installing the pavers requires patience and attention to detail. Take your time to ensure each paver is correctly placed and the curve is maintained throughout the process. This will result in a stunning curved patio that beautifully complements your outdoor space.
Remember to periodically step back and assess the overall layout to ensure a visually appealing design. And don’t forget to take breaks and stay hydrated throughout the process. Installing pavers can be physically demanding, but the end result will be worth the effort.
Step 6: Cutting the Pavers
As you continue to install the pavers for your curved patio, you may encounter areas where the pavers need to be cut to fit the desired shape. Step 6 focuses on cutting the pavers accurately and safely to achieve a seamless and professional-looking patio surface. Here’s how to cut the pavers:
- Measure and mark: Begin by measuring the area where the paver needs to be cut. Use a pencil or marker to mark the specific dimensions on the paver’s surface. Double-check the measurements before proceeding to ensure accuracy.
- Choose the right tool: There are various tools you can use to cut the pavers, depending on the material and thickness. Common options include a paver splitter, wet saw, or chisel. Select the most appropriate tool for your specific needs.
- Wear safety gear: Before cutting the pavers, ensure you are wearing the necessary safety gear, including safety glasses, gloves, and ear protection. This will protect you from any potential hazards or flying debris during the cutting process.
- Cut the paver: Use the chosen cutting tool to carefully follow the marked lines on the pavers. Take your time and apply even pressure to create clean and precise cuts. If using a wet saw, make sure to keep the blade wet to prevent overheating.
- Test the fit: After cutting the paver, test the fit in the designated area. Ensure it fits snugly and aligns with the surrounding pavers. If needed, make slight adjustments to the cut edge until you achieve the desired fit.
- Smooth the edges: If the cut edges are rough or uneven, use a stone file or sandpaper to smooth them down. This will create a seamless transition between the cut paver and the surrounding ones.
It’s important to take your time when cutting the pavers to ensure accuracy and avoid any mistakes. Measure twice, cut once, as they say. Remember, safety should always be a priority, so follow proper safety procedures and use the appropriate tools for cutting the pavers.
By cutting the pavers with precision and care, you’ll be able to achieve a clean and professional look for your curved patio. The effort put into this step will greatly enhance the overall aesthetics of the finished patio surface.
Step 7: Edging and Finishing Touches
As you near the completion of your curved patio with pavers, it’s time to focus on the final details. Step 7 involves adding edging and applying the finishing touches that will bring your patio to life. Here’s what you need to do:
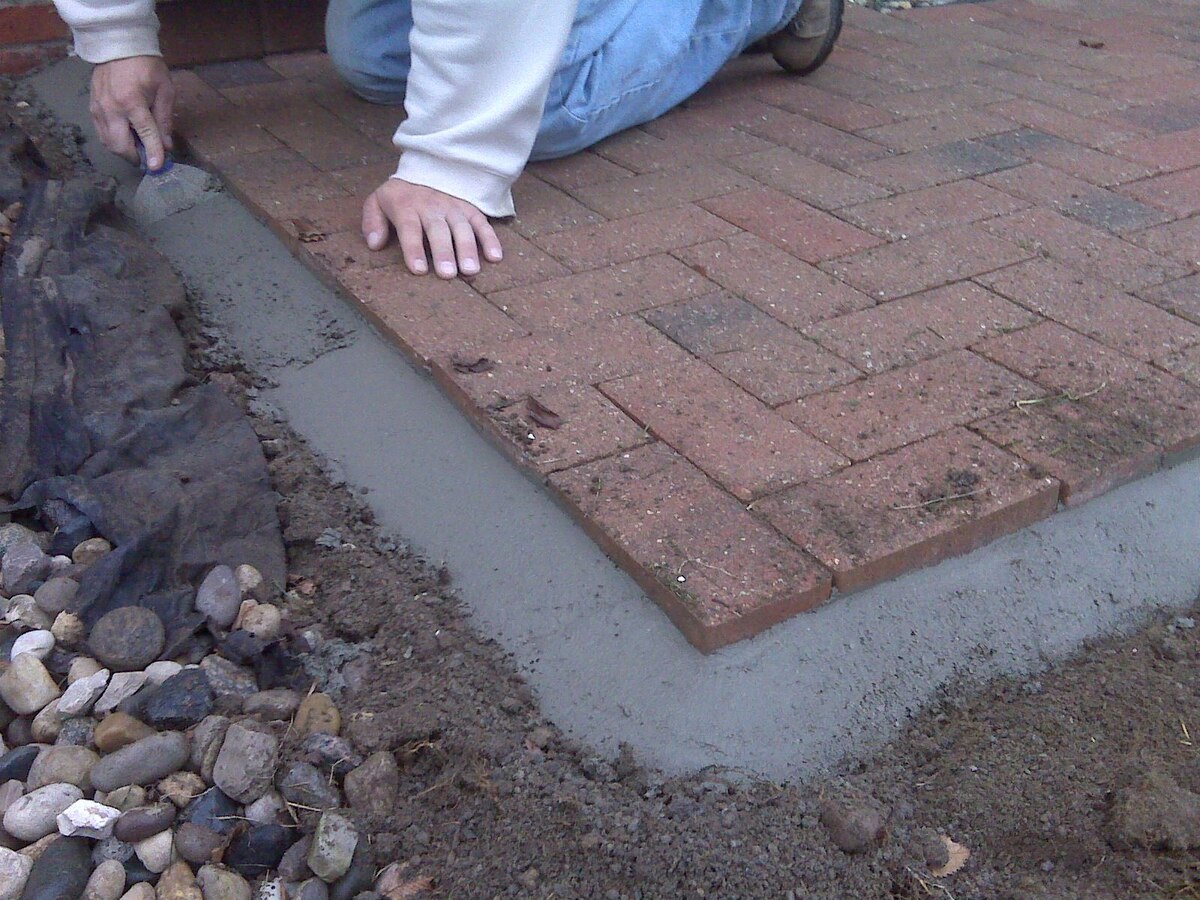
- Install edging: Edging helps define the boundaries of your patio and provides a clean, finished look. Choose a suitable edging material, such as plastic, metal, or stone, and install it along the perimeter of the patio. This will help keep the pavers in place and prevent any shifting or spreading over time.
- Secure the edging: Once the edging is in place, secure it by driving stakes into the ground at regular intervals. This will ensure that the edging remains stable and doesn’t shift or come loose over time.
- Clean and sweep the patio: Remove any debris, dirt, or excess sand from the patio surface. Use a broom or leaf blower to sweep the area thoroughly, ensuring a clean and tidy patio for your enjoyment.
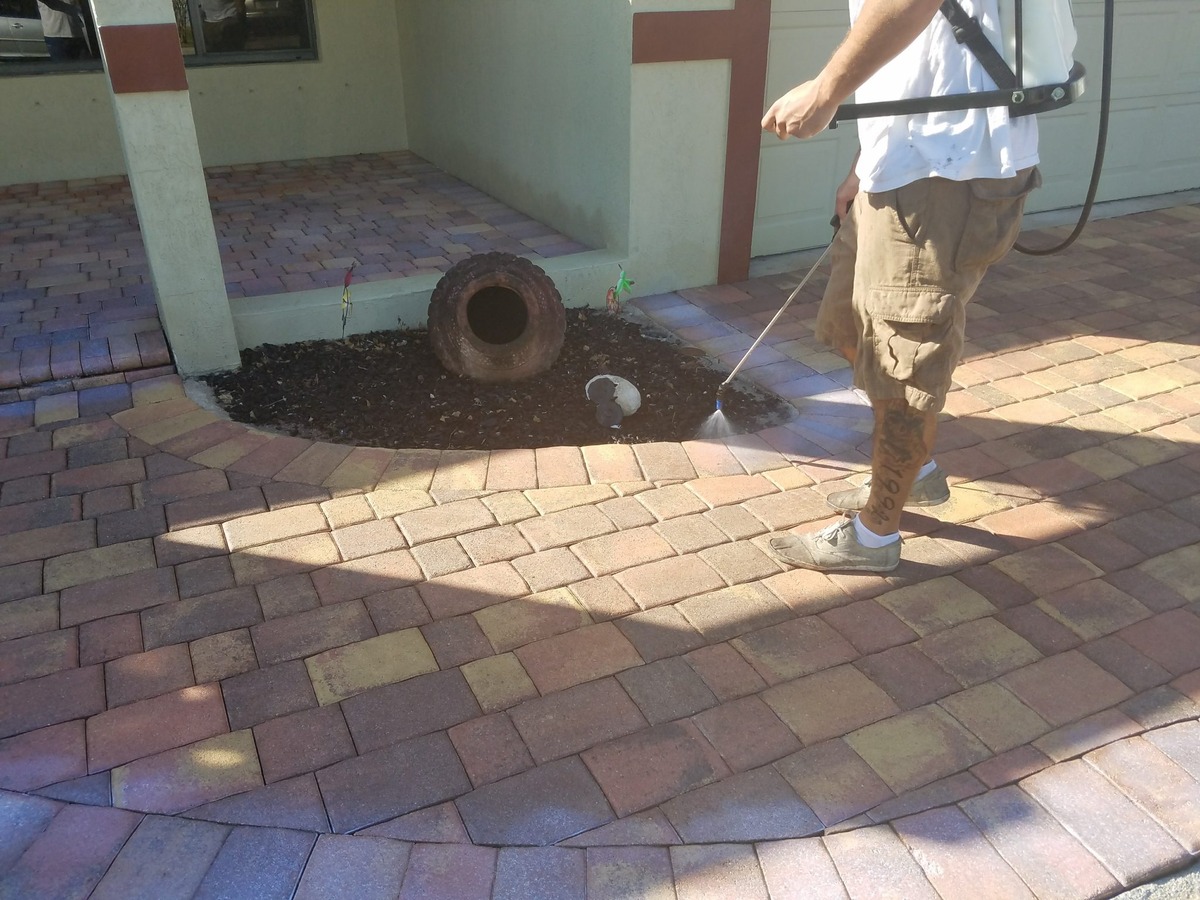
- Apply a sealer: Consider applying a sealer to the paver surface to enhance its color, protect against stains and damage, and prolong the life of your patio. Choose a sealer specifically designed for outdoor pavers and follow the manufacturer’s instructions for application.
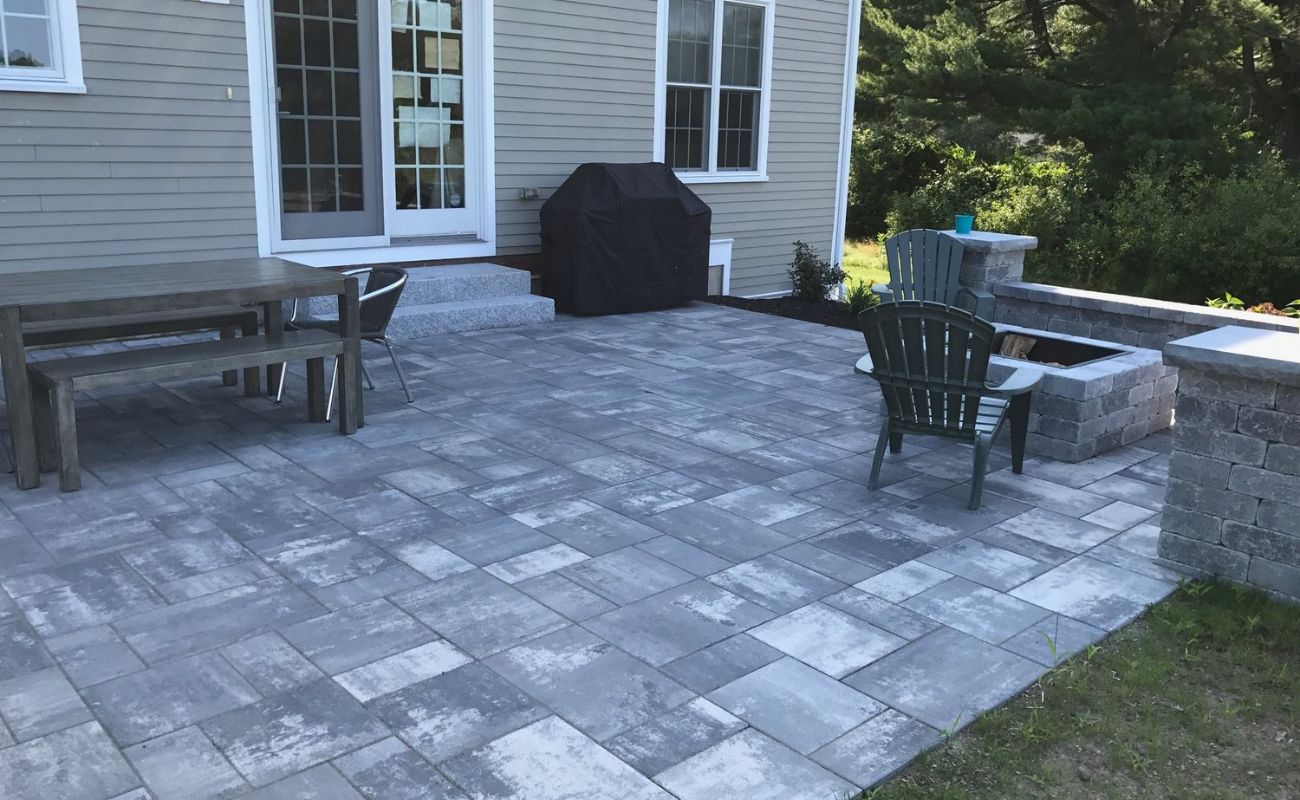
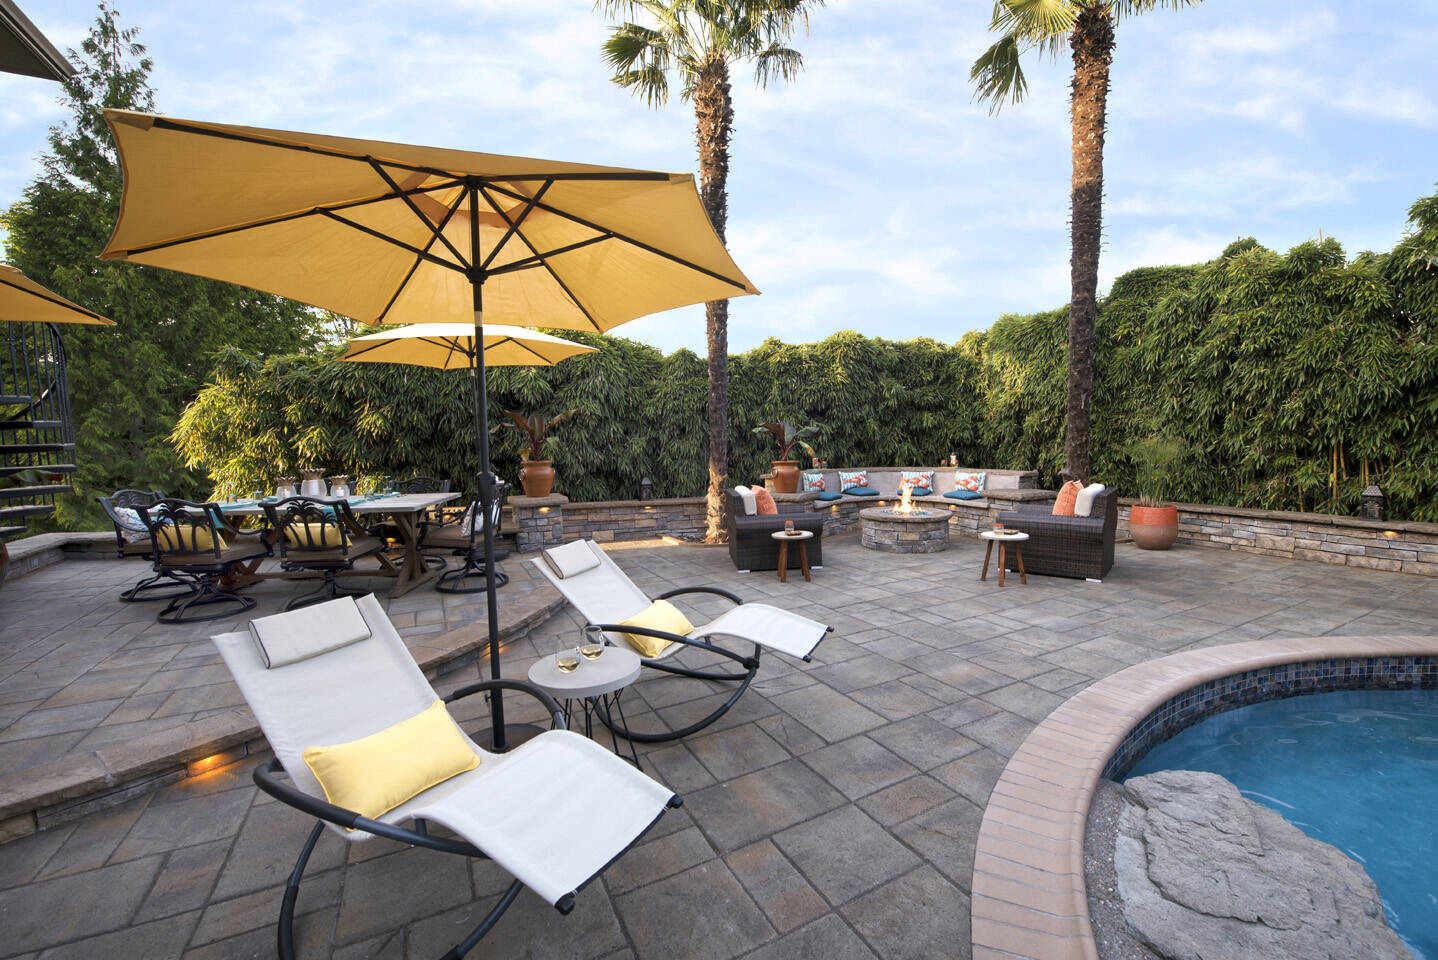
- Accessorize and furnish: Add the finishing touches to your curved patio by accessorizing and furnishing it. Place outdoor furniture, such as chairs, tables, and loungers, to create a comfortable seating area. Enhance the ambiance with decorative elements like potted plants, outdoor lighting, and accent pieces.
- Regular maintenance: To keep your curved patio looking its best, establish a regular maintenance routine. This may include sweeping or hosing down the area to remove dirt and debris, reapplying sealer as needed, and addressing any repairs or replacements as they arise.
By focusing on edging and the finishing touches, you will add the final polish and refinement to your curved patio with pavers. These steps help create a well-defined and visually appealing outdoor space that you can enjoy for years to come.
Remember to regularly maintain and care for your patio to preserve its beauty and functionality. With proper upkeep, your curved patio will continue to be a stunning centerpiece for outdoor gatherings and relaxation.
Conclusion
Congratulations! You have successfully created a beautiful curved patio with pavers. By following the step-by-step process from planning and preparation to installing the pavers and adding the finishing touches, you have transformed your outdoor space into a stunning oasis.
A curved patio with pavers not only adds elegance and charm to your outdoor area but also provides a functional space for relaxation, entertaining, and enjoying the beauty of nature. The careful planning, precise installation, and attention to detail have culminated in a patio that reflects your personal style and enhances the overall aesthetics of your home.
Remember, maintaining your curved patio is essential for its longevity and continued enjoyment. Regularly sweep away debris, clean the surface, and apply sealer as needed to protect the pavers and keep them looking their best. By taking care of your patio, you can ensure that it remains a focal point for outdoor gatherings and a peaceful retreat for years to come.
Now that you have accomplished the construction of your curved patio, it’s time to relax and fully enjoy your outdoor space. Whether it’s cozying up with a good book, hosting a barbecue, or simply soaking up the sun, your new curved patio will provide the ideal backdrop for creating lasting memories.
So, grab a seat, take a deep breath, and bask in the satisfaction of a job well done. Cheers to your magnificent curved patio with pavers!
Frequently Asked Questions about How To Make A Curved Patio With Pavers
Was this page helpful?
At Storables.com, we guarantee accurate and reliable information. Our content, validated by Expert Board Contributors, is crafted following stringent Editorial Policies. We're committed to providing you with well-researched, expert-backed insights for all your informational needs.


0 thoughts on “How To Make A Curved Patio With Pavers”