Articles
How To Make A Walkway With Pavers
Modified: May 6, 2024
Discover step-by-step articles on how to create an elegant walkway using pavers. From preparation to finishing touches, learn everything you need to know.
(Many of the links in this article redirect to a specific reviewed product. Your purchase of these products through affiliate links helps to generate commission for Storables.com, at no extra cost. Learn more)
Introduction
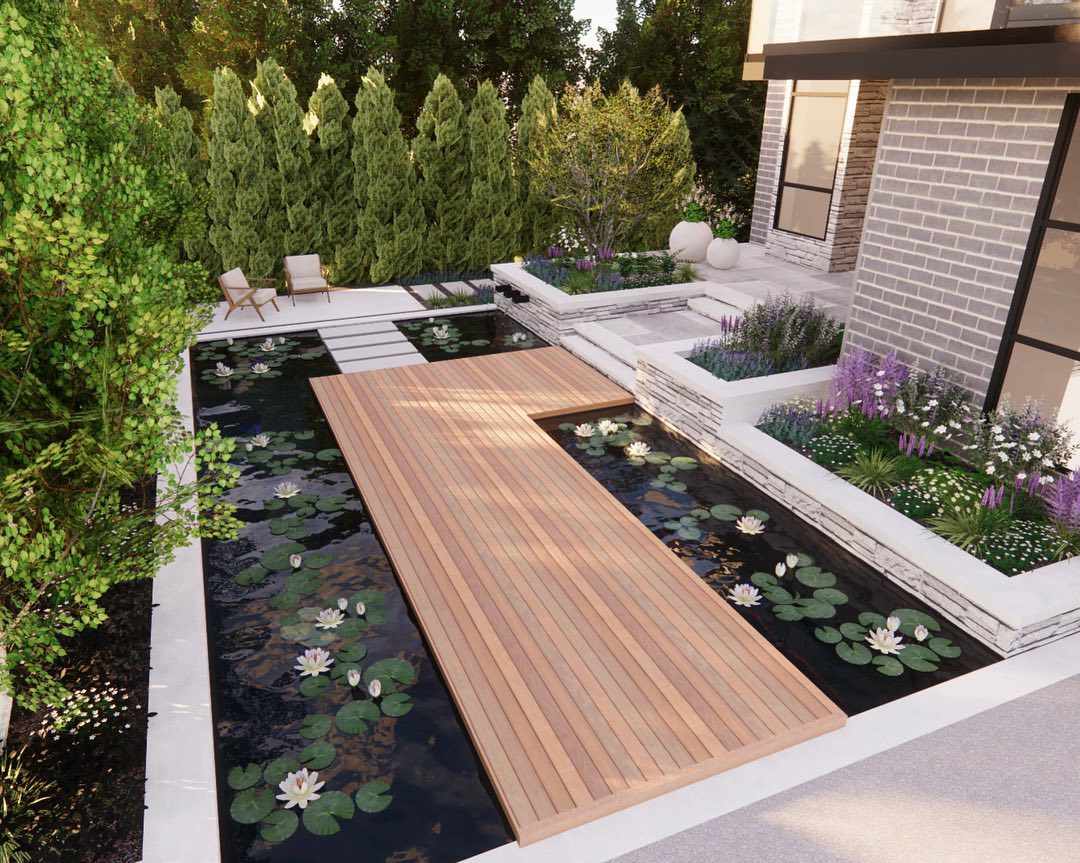
Creating a walkway with pavers is not only a practical addition to your outdoor space but also a great way to enhance your home’s curb appeal. Whether you want to connect different areas of your yard or provide a clear path to your entrance, a walkway made with pavers can add beauty and functionality to your outdoor environment.
In this article, we’ll take you through the step-by-step process of making a walkway with pavers. From planning and preparation to the finishing touches, we’ll cover all the essential aspects you need to know to create a stunning and durable walkway. Whether you’re a seasoned DIY enthusiast or a novice, follow these guidelines to achieve professional-looking results.
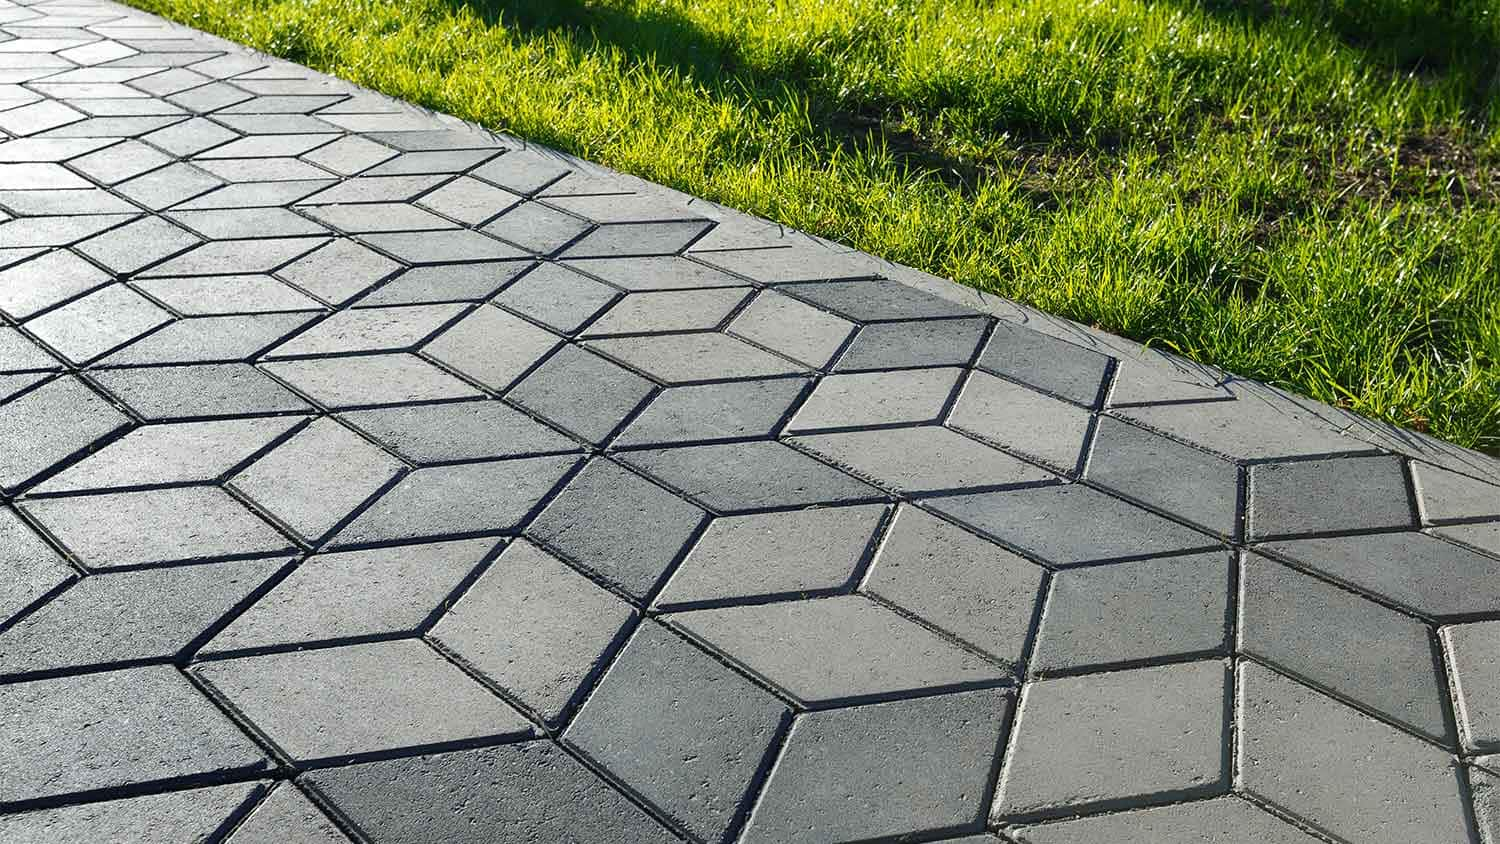
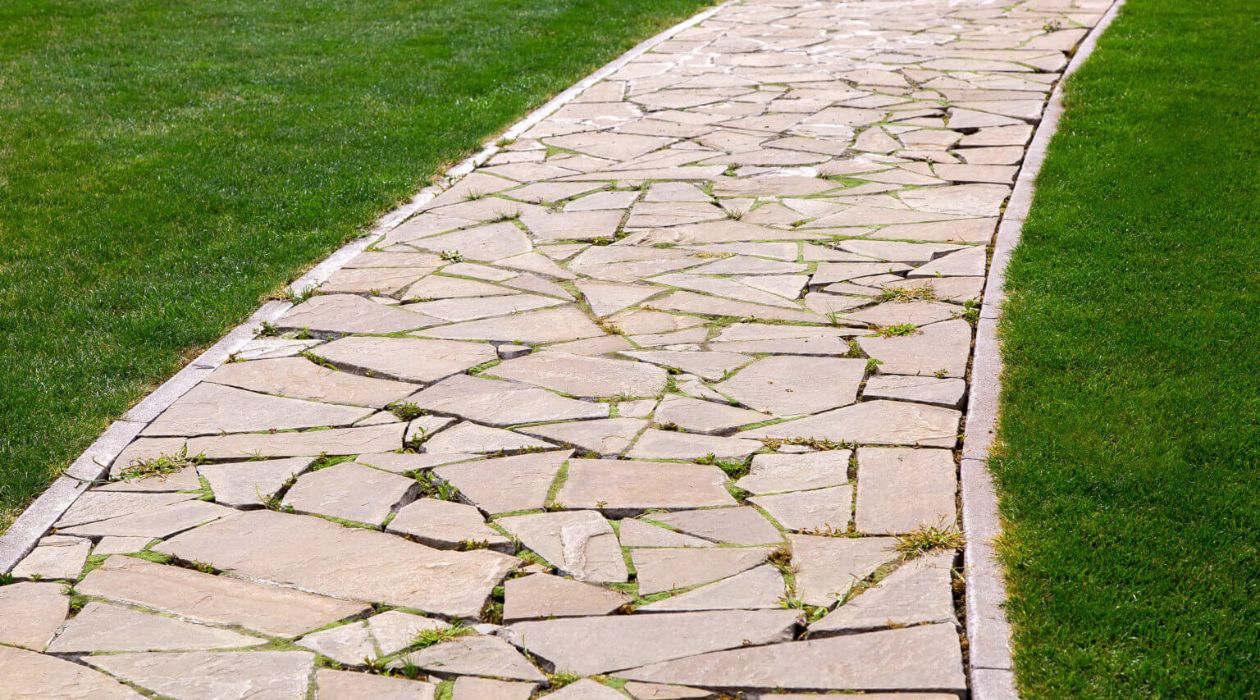
Before we dive into the details, it’s important to understand why pavers are an excellent choice for walkways. Pavers are made from various materials such as concrete, natural stone, or brick, offering a wide range of options to suit your style and budget. They are durable, easy to install, and require minimal maintenance, making them an ideal choice for both residential and commercial applications.
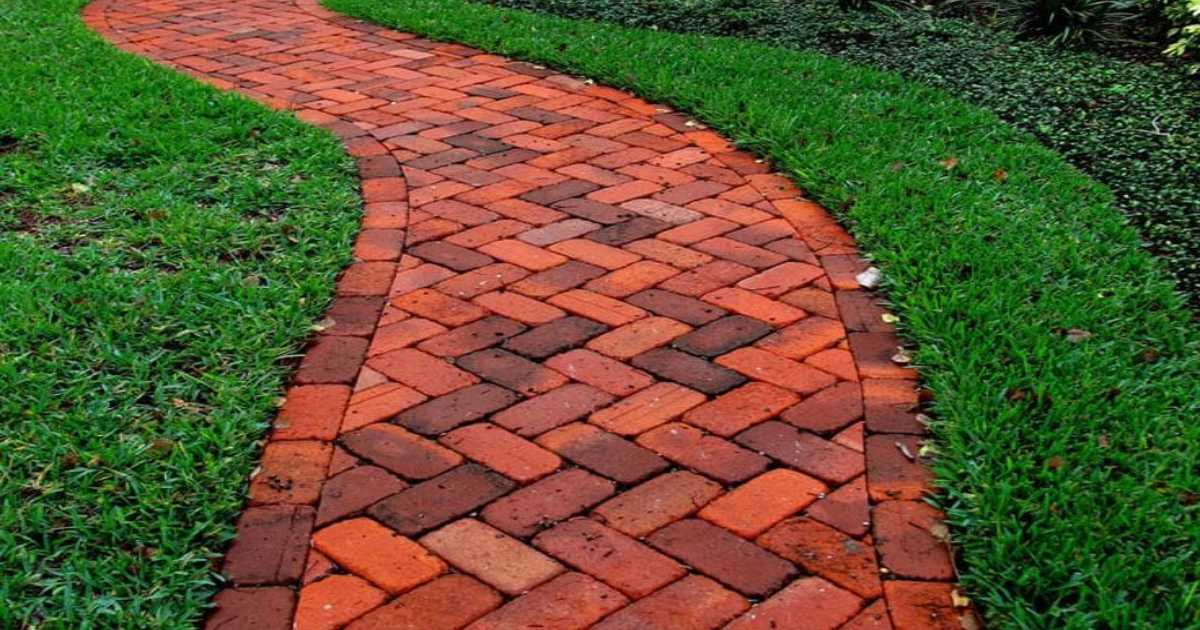
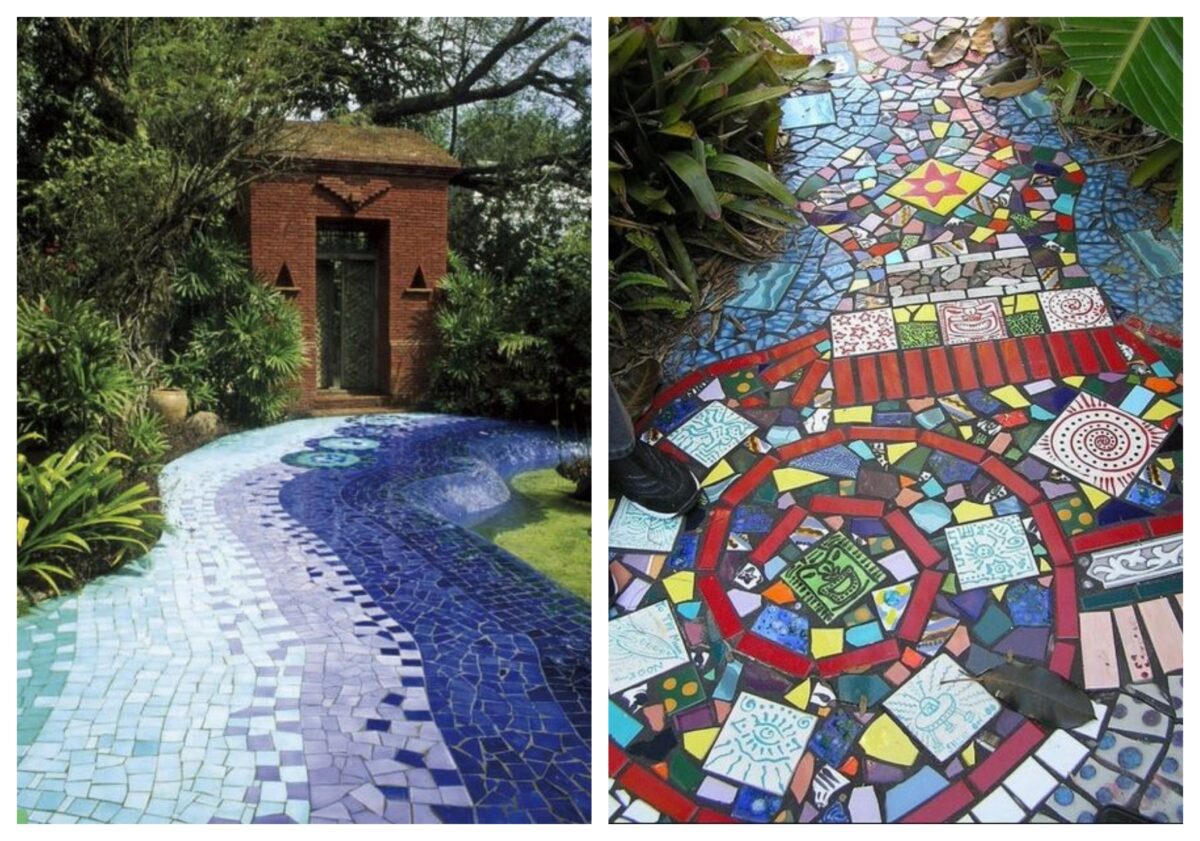
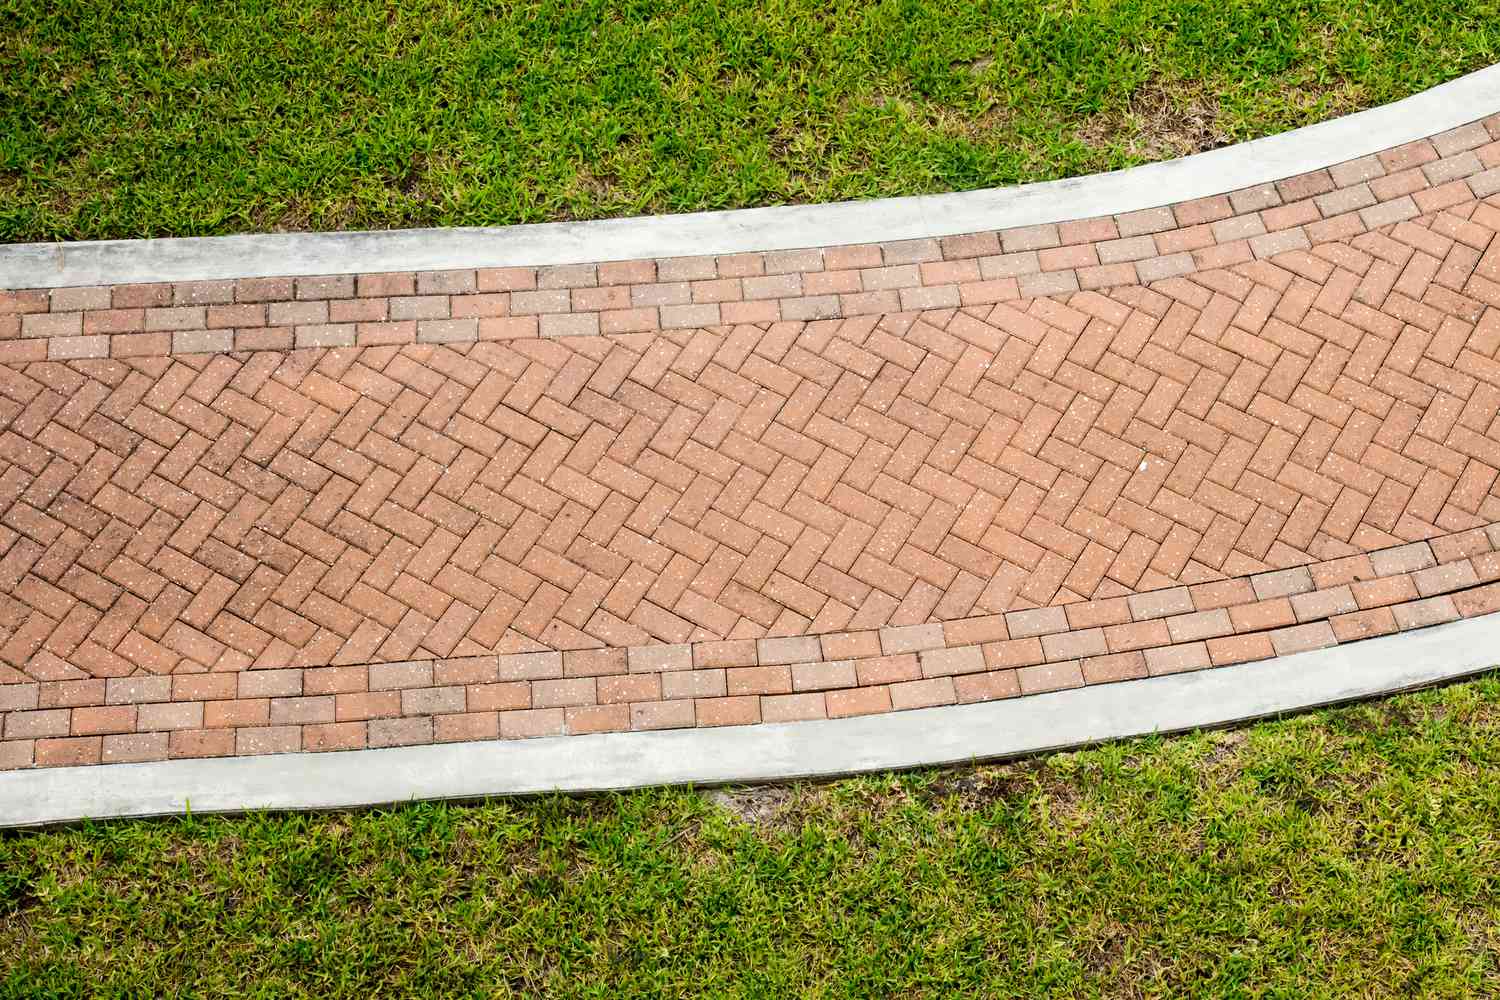
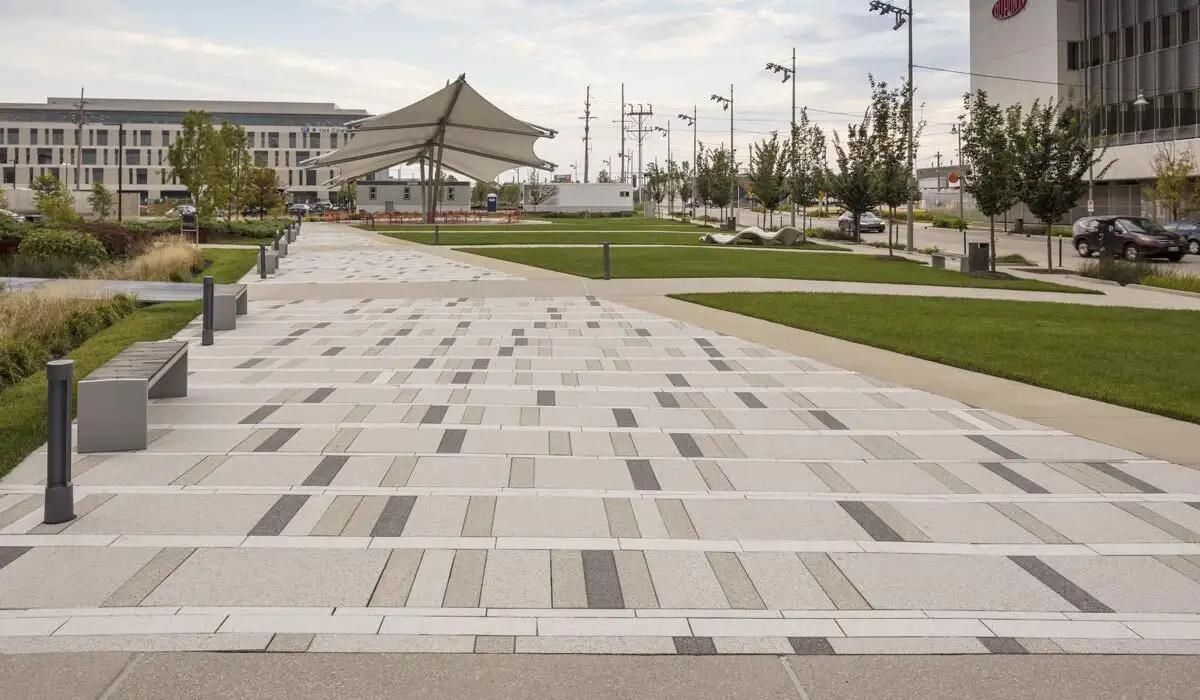
Additionally, pavers are versatile, allowing you to create various designs and patterns for your walkway. You can choose a classic herringbone pattern, a contemporary grid layout, or even get creative with a customized design. With pavers, you can tailor your walkway to match your personal taste and complement the existing aesthetics of your outdoor space.
Now that you understand the benefits and possibilities of using pavers for your walkway, it’s time to dive into the planning and preparation phase. This crucial stage will ensure that your walkway is not only visually appealing but also structurally sound and long-lasting.
Key Takeaways:
- Planning and preparation are essential for creating a durable and visually appealing walkway with pavers. From measuring and marking to choosing the right materials, attention to detail is key for a successful project.
- The finishing touches, such as sealing the pavers, adding lighting, and incorporating decorative elements, elevate the walkway’s overall impact and contribute to a stunning outdoor space. Paying attention to these details can make a big difference.
Read more: How To Install A Walkway With Pavers
Planning and Preparation
The key to a successful walkway project lies in proper planning and preparation. Before you start digging and laying pavers, take the time to carefully plan out your walkway design and gather all the necessary information and materials. Here are some essential steps to follow:
- Measure and Mark: Start by measuring the area where you want to build the walkway. Use a measuring tape to determine the length and width of the path. Once you have the measurements, mark the boundaries of the walkway using stakes and string. This will help you visualize the layout and ensure accurate installation.
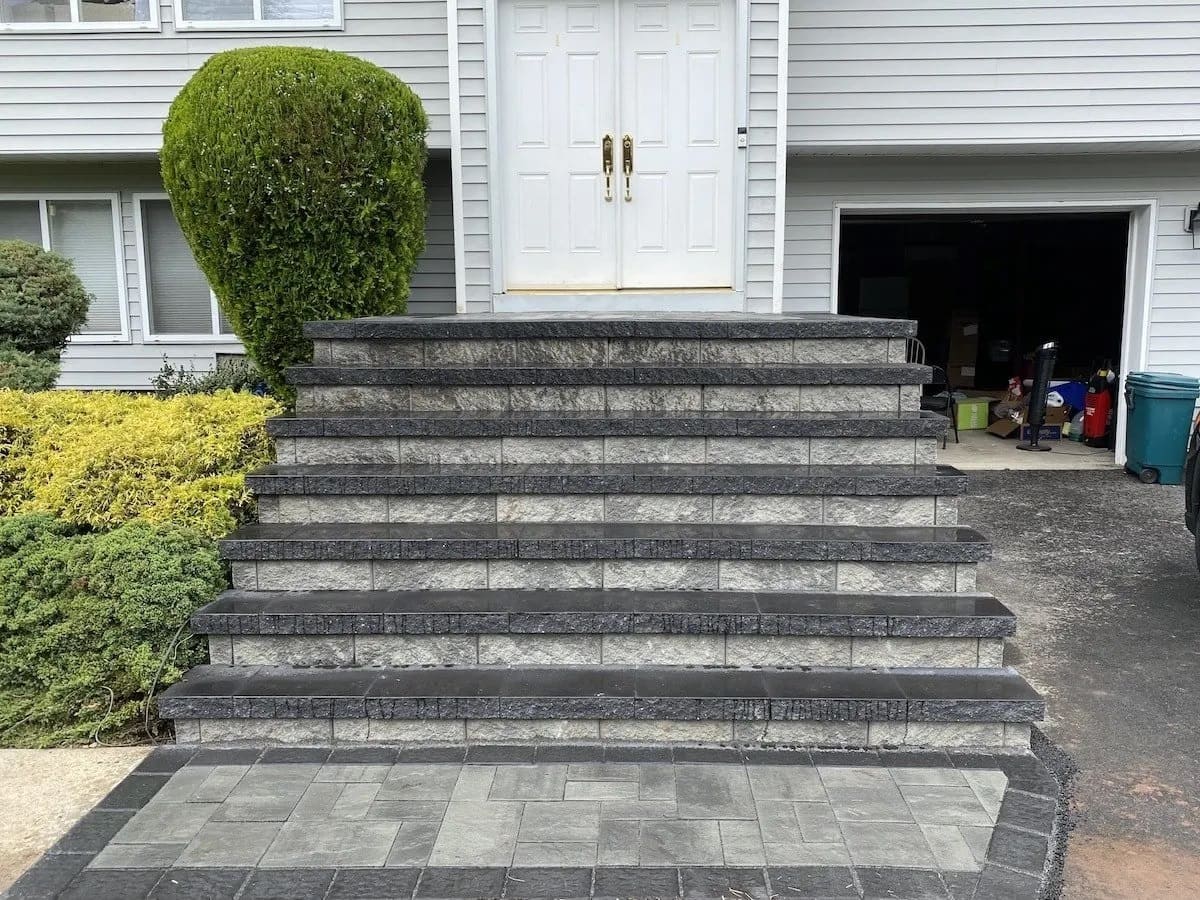
- Consider the Function: Think about the purpose of your walkway. Is it meant to provide a direct path to your front door? Or is it an aesthetic feature that winds through your garden? Understanding the function will help you determine the width and shape of the walkway, as well as any additional features you may want to incorporate, such as steps or curves.
- Check for Utilities: Before you start digging, check for any underground utilities such as gas lines, water pipes, or electrical cables. Contact your local utility company to come and mark the location of these utilities. This step is crucial to avoid any accidents or damage during the construction process.
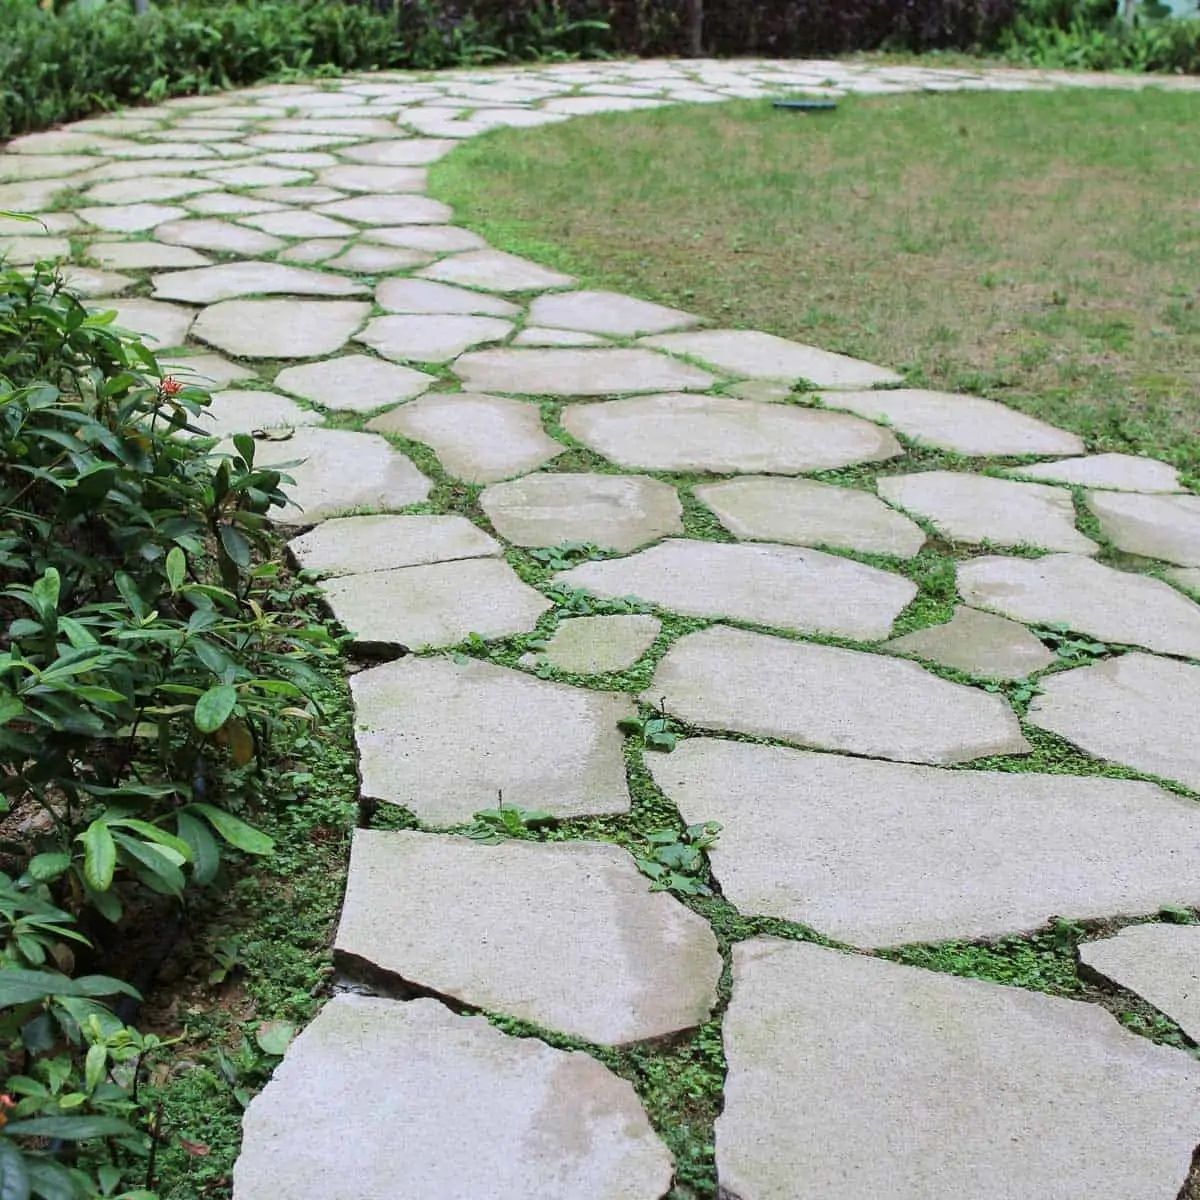
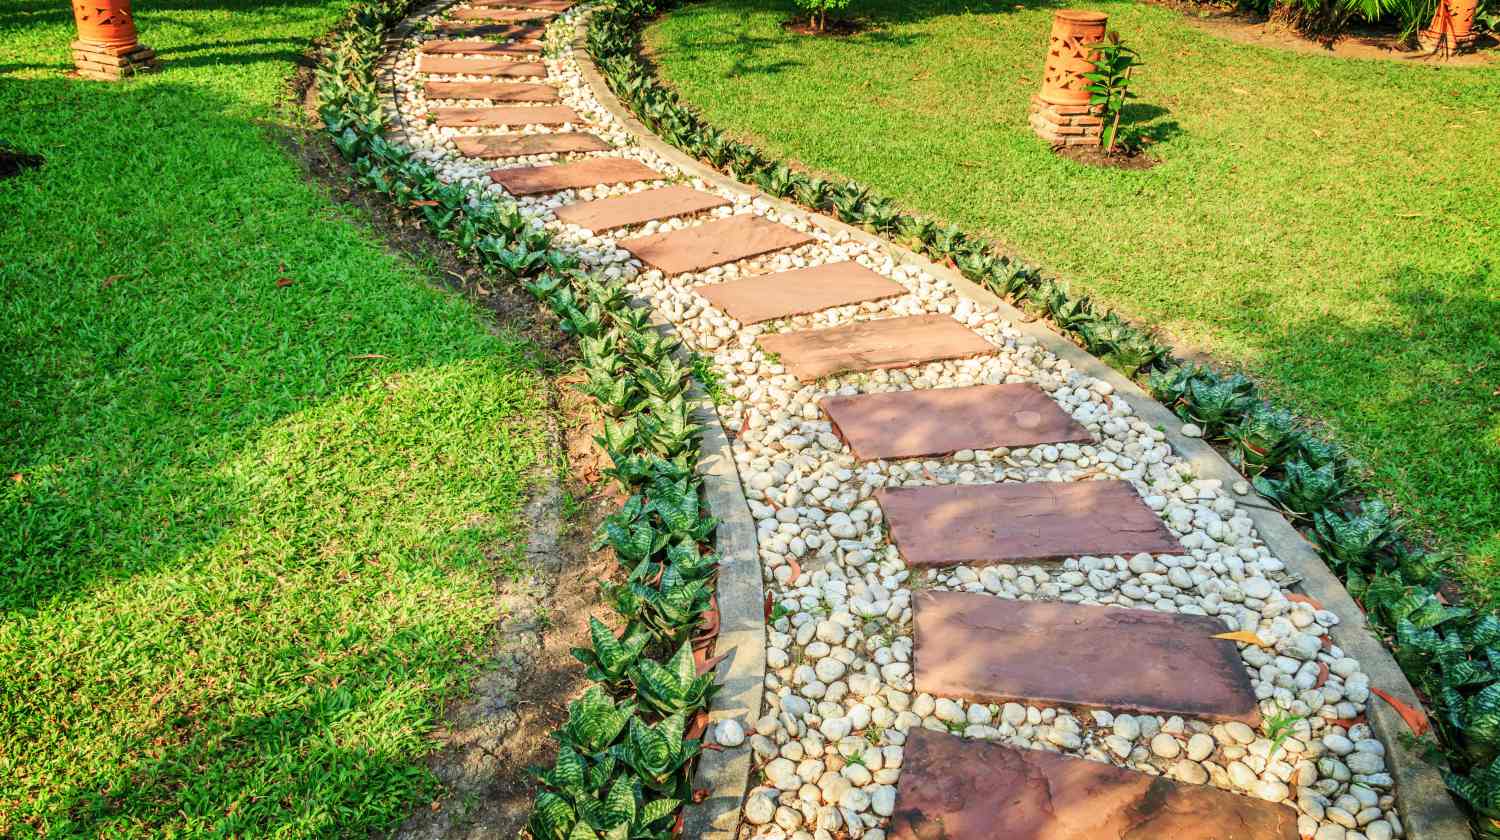
- Choose the Right Pavers: Consider the style and material of the pavers that will best suit your walkway. Concrete pavers are durable and affordable, while natural stone pavers offer a more elegant and rustic look. You can also mix and match different types of pavers to create unique patterns. Consider the color and texture of the pavers to ensure they complement the overall design of your outdoor space.
- Calculate Materials: Once you have determined the dimensions of the walkway and chosen the paver type, calculate the number of pavers you will need. Use an online calculator or consult with your local home improvement store to get an accurate estimate. Remember to account for extra pavers for cutting and potential breakage during installation.
- Prepare the Site: Clear the area of any existing landscaping, plants, or debris. If there is existing grass or vegetation, remove it by digging or using a sod cutter. Dig and level the area to create a uniform base for your walkway. Remove any rocks, roots, or other obstructions that may interfere with the installation process.
By taking the time to plan and prepare your walkway project, you’ll ensure a smooth and successful installation process. Once you have completed these steps, you’re ready to move on to the next phase: gathering materials.
Gathering Materials
Now that you have a solid plan in place for your walkway project, it’s time to gather all the necessary materials. Having everything you need on hand before you start the construction process will save you time and make the installation go more smoothly. Here are the essential materials you’ll need:
- Pavers: Choose the type, color, and size of the pavers that best suit your design and preferences. Purchase enough pavers to cover the entire surface area of your walkway, with some extras for cuts and replacements.
- Gravel: Gravel is an important component of the base layer for your walkway. It provides stability and drainage. Purchase enough gravel to create a 4-inch thick base layer for your walkway, following the dimensions of your planned layout.
- Sand: Sand is used to level and stabilize the pavers. Purchase enough sand to create a 1-inch bedding layer for the pavers, as well as additional sand for filling the gaps between the pavers.
- Edge Restraints: Edge restraints are necessary to keep the pavers in place and prevent shifting over time. You can use plastic or metal edge restraints, depending on your preference. Make sure to purchase enough edge restraints to cover the entire perimeter of your walkway.
- Landscape Fabric: Landscape fabric helps prevent weed growth and provides additional stability to the base layer. Purchase enough landscape fabric to cover the entire area of your walkway.
- Tools: Gather the necessary tools for the installation process, including a shovel, rake, trowel, mallet, level, and a wet saw for cutting pavers if needed. Ensure that your tools are in good condition and ready to use.
- Safety Gear: Don’t forget about safety! Have protective gear such as gloves, safety glasses, knee pads, and a dust mask on hand to ensure your safety during the construction process.
Before purchasing your materials, double-check your measurements and calculations to ensure you buy the correct quantities. It’s always better to have a few extra pavers and materials on hand in case of any mistakes or unexpected challenges.
Once you have gathered all the necessary materials, you are ready to move on to the next step: preparing the area for your walkway.
Preparing the Area
Properly preparing the area where your walkway will be installed is crucial for ensuring a stable and long-lasting foundation. Follow these steps to prepare the area:
- Clear the Area: Remove any existing vegetation, rocks, or debris from the designated walkway area. Use a shovel or a rake to clear the surface and create a clean workspace.
- Excavate the Area: Use a shovel or a rented mini-excavator to dig out the area to a depth of approximately 6 inches. This depth allows for a 4-inch gravel base layer and a 1-inch sand bedding layer. Ensure that the excavation is evenly leveled and matches the planned layout and slope of the walkway.
- Compact the Soil: Use a tamper or a plate compactor to compact the soil at the bottom of the excavation. This will provide a stable base and help prevent settling over time. Compact the soil in layers, working your way from the deepest point towards the edges, ensuring a uniform and firm surface.
- Install Landscape Fabric: Lay down a layer of landscape fabric over the excavated area. This will help prevent weed growth and stabilize the base layer. Cut the fabric to fit the dimensions of the walkway, overlapping the edges by a few inches.
- Add Gravel Base: Pour a 4-inch layer of compactable gravel into the excavated area. Use a rake to spread and level the gravel evenly. Compact the gravel using a tamper or a plate compactor to create a solid and level base. Periodically check the level to ensure the base is even and uniform.
- Check the slope: The walkway should have a slight slope to allow for proper water drainage. Aim for a slope of approximately 1/4 inch per foot. Use a level or a string line to check the slope of the base and make any necessary adjustments.
- Compact the Base: After adding and leveling the gravel base, compact it once again using a tamper or a plate compactor. This step is important to ensure a stable and sturdy foundation for the pavers.
By following these steps, you will have properly prepared the area for your walkway. This solid foundation will ensure that your pavers are installed correctly and will last for years to come. Next, we’ll move on to the installation of the base layer.
Installing the Base
With the area properly prepared, it’s time to move on to the installation of the base layer for your walkway. The base layer provides stability, drainage, and a level surface for the pavers to sit on. Follow these steps to install the base:
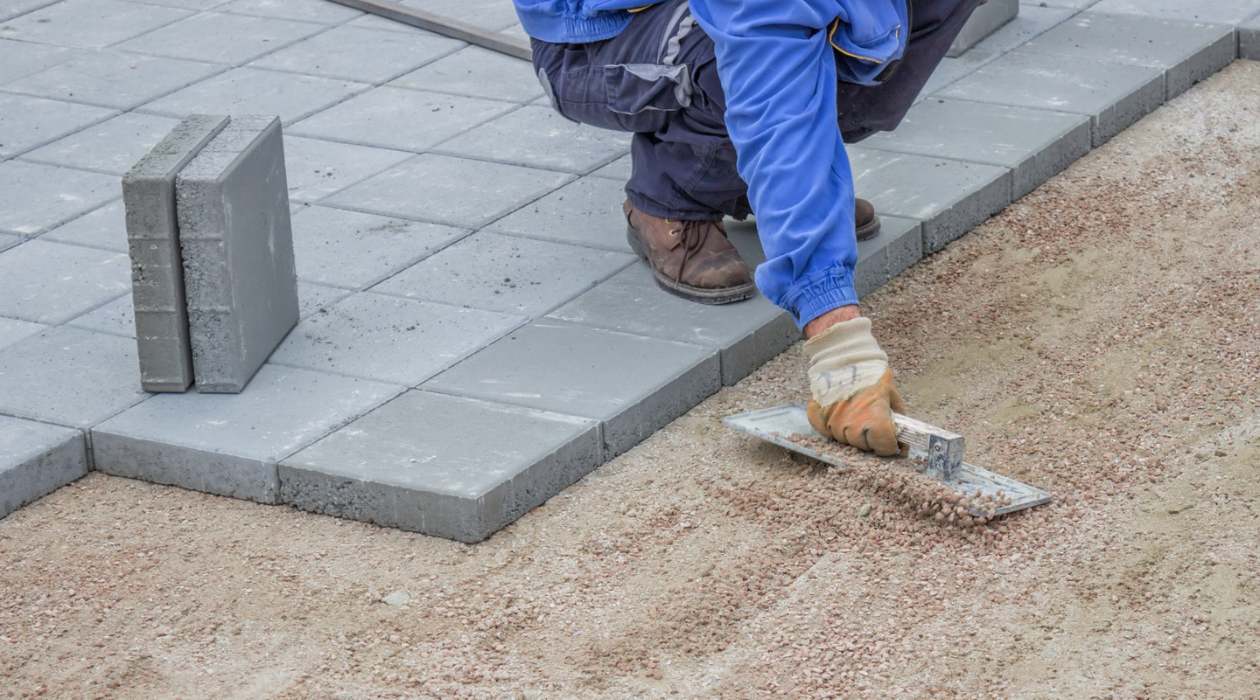
- Spread a Layer of Bedding Sand: Start by spreading a 1-inch layer of bedding sand over the compacted gravel base. Use a rake to evenly distribute the sand and create a smooth surface. Take care to maintain the slope and levelness of the base as you spread the sand.
- Level the Sand: Use a screed or a straight board to level the sand layer. Place the screed across the walkway area and use a back-and-forth motion to level the sand. Check the level frequently to ensure an even surface. Add or remove sand as needed to achieve the desired levelness.
- Compact the Sand: Once the sand layer is leveled, use a plate compactor or a hand tamper to lightly compact the sand. This will help create a solid and stable base for the pavers. Work your way across the entire walkway, ensuring that the sand is evenly compacted.
- Check the Level: After compacting the sand, check the levelness of the surface once again using a level or a string line. Make any adjustments as necessary to ensure a flat and even base.
- Edge Restraints Installation: Install the edge restraints by placing them along the sides of the walkway. Use metal or plastic stakes to secure the edge restraints to the ground. Ensure that the edge restraints are positioned flush with the desired outline of the walkway. This will help keep the pavers in place and prevent shifting over time.
- Re-Compact the Base: Once the edge restraints are installed, re-compact the base layer using a plate compactor or a hand tamper. This step ensures that the edge restraints are firmly secured and the base is solid and stable.
By following these steps, you will have successfully installed the base layer for your walkway. The next step is to lay the pavers, which we will cover in the following section.
Before starting to lay the pavers, make sure to properly prepare the base by excavating the area, adding a layer of gravel, and compacting it to ensure a stable and level surface for the walkway.
Read more: How To Build A Paver Walkway On A Slope
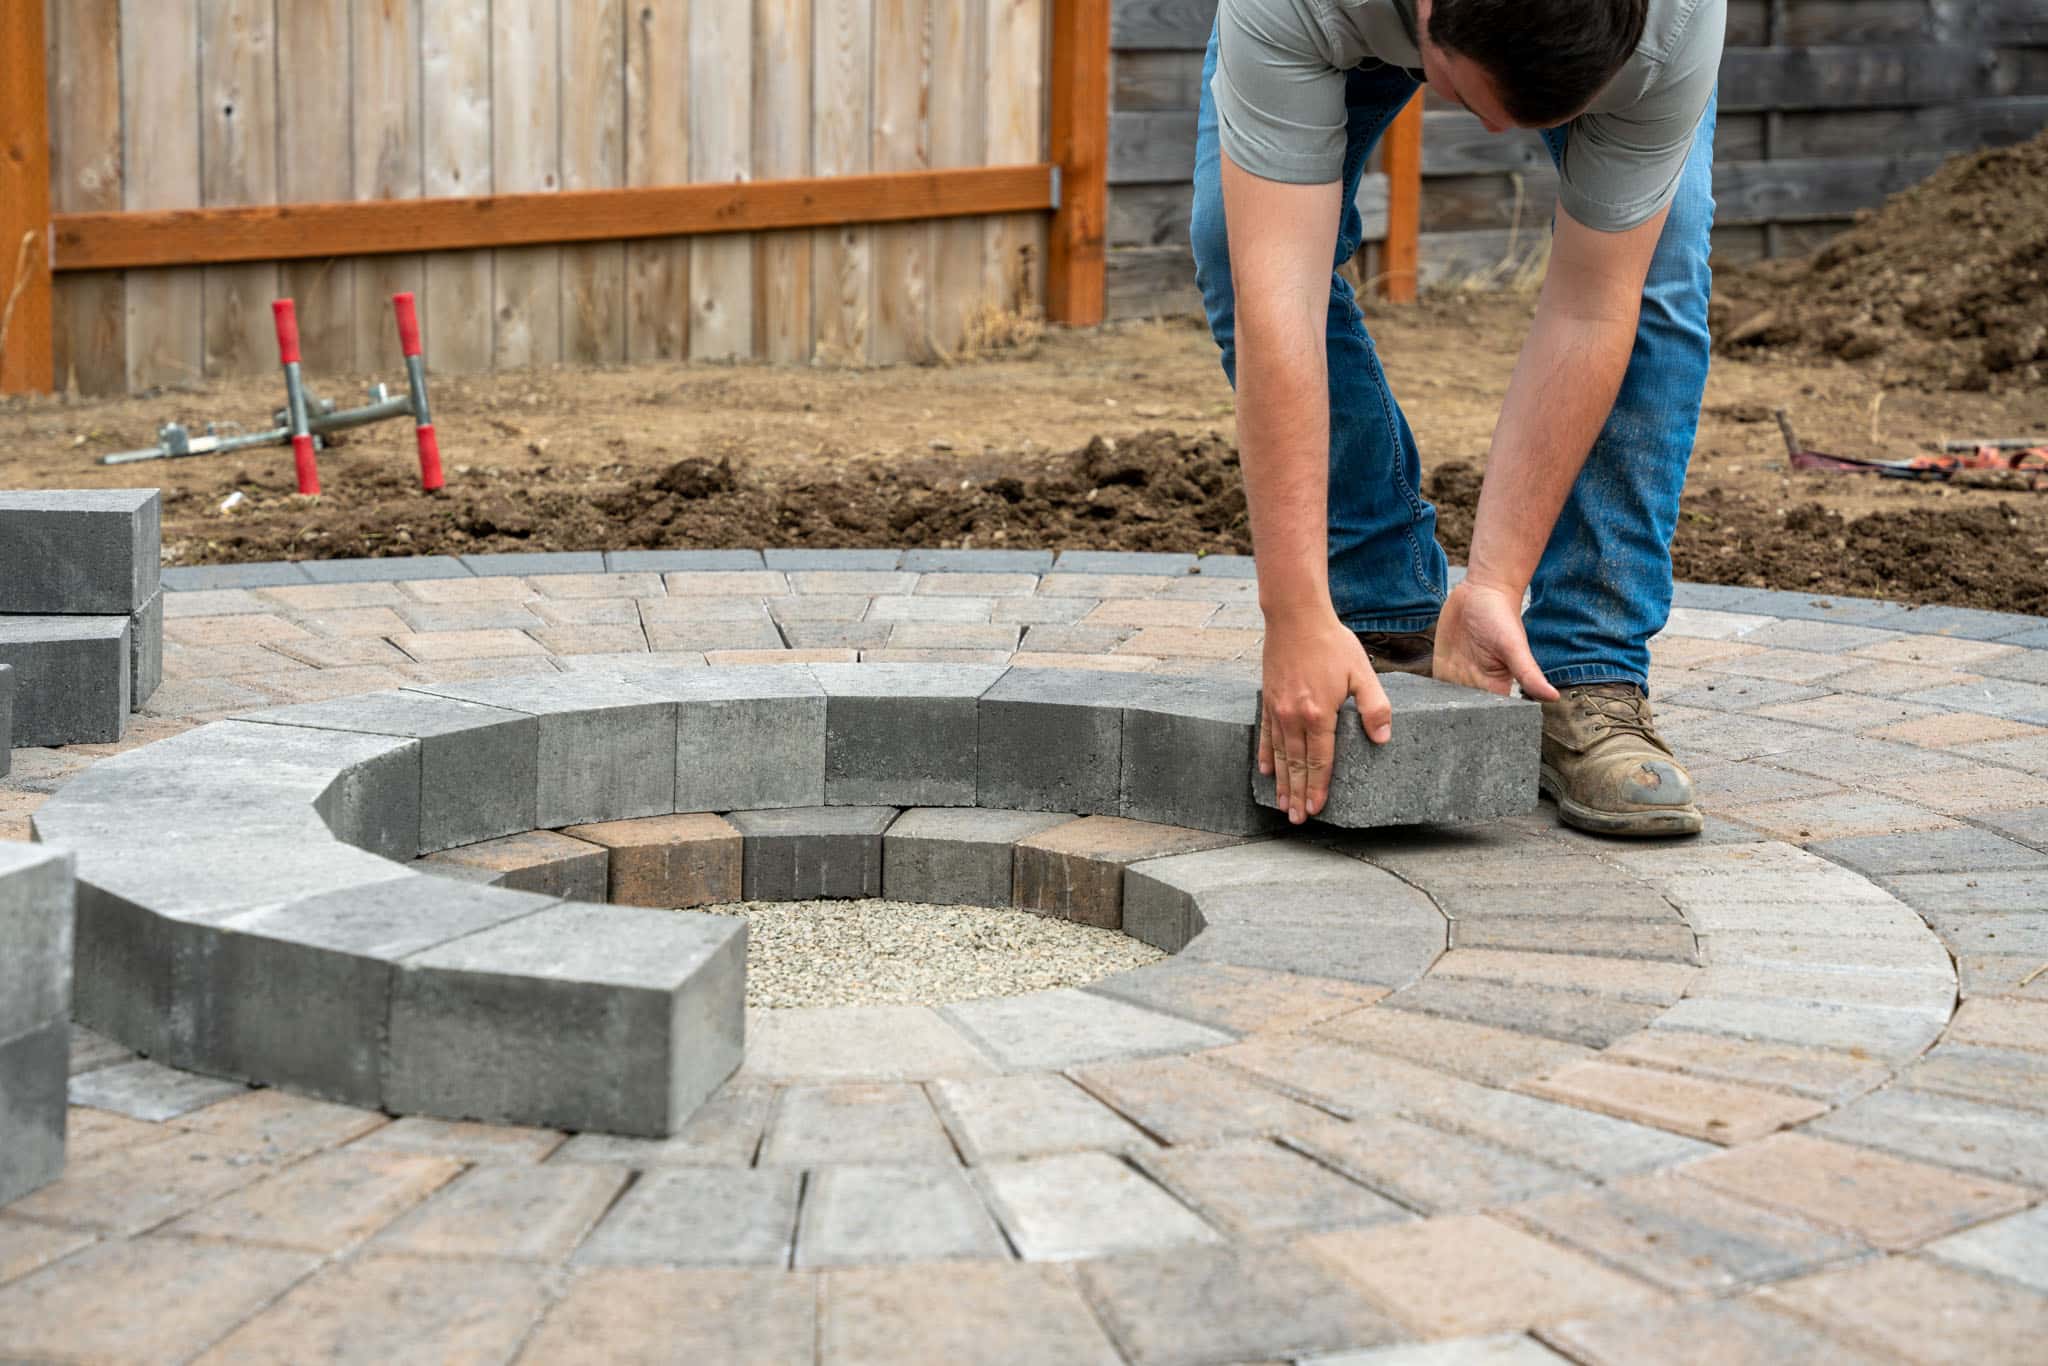
Laying the Pavers
Now that the base layer is complete, it’s time to start laying the pavers for your walkway. This step requires precision and careful placement to ensure a visually appealing and structurally sound outcome. Follow these steps to lay the pavers:
- Start at One End: Begin laying the pavers at one end of the walkway. Choose a corner or an edge as your starting point. This will provide a reference point for the rest of the installation.
- Place the Pavers: Carefully place each paver on top of the sand bedding layer. Fit them snugly against one another, creating tight joints. Use a gentle tapping with a rubber mallet or a dead blow hammer to ensure they are firmly set in place.
- Check for Level: As you lay each paver, use a level to ensure that it is sitting flush with the adjacent pavers and the surrounding area. Adjust the sand bedding layer as needed to achieve a level surface.
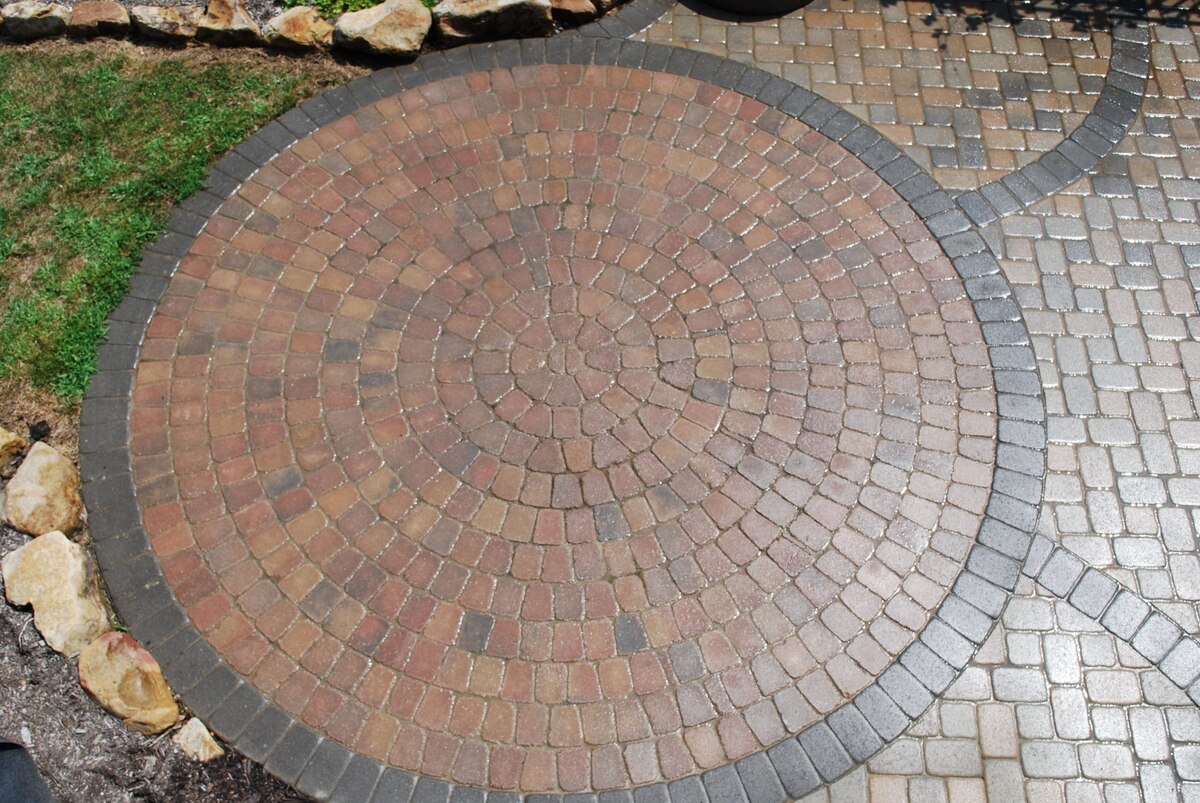
- Create Patterns: Consider incorporating different patterns and designs as you lay the pavers. Herringbone, basket weave, or running bond patterns can add visual interest to your walkway. Follow the specific pattern you desire, making sure each paver is placed correctly to form the desired pattern.
- Cut the Pavers: If necessary, use a wet saw or a chisel to cut pavers to fit around curves, corners, or obstacles. Measure the space carefully and mark the paver before making the cut. Wear appropriate safety gear and follow the manufacturer’s instructions when using a wet saw.
- Continue Laying the Pavers: Work your way across the walkway, laying pavers row by row. Maintain even spacing between each paver to ensure a consistent look. Check for levelness and alignment periodically throughout the installation process.
- Adjust as Needed: If you notice any pavers that are not level or aligned correctly, gently remove them and adjust the sand bedding layer beneath. Reinstall the paver and check for levelness once again.
As you lay the pavers, take your time and pay attention to the details. This will ensure a professional-looking finish and a walkway that is both beautiful and functional. Once all the pavers are laid, it’s time to move on to the next step: filling the gaps.
Filling the Gaps
After laying the pavers, it’s essential to fill the gaps between them to enhance the appearance and stability of your walkway. Filling the gaps not only adds a finished look but also helps prevent weed growth and keeps the pavers secure. Follow these steps to fill the gaps:
- Choose the Jointing Material: Decide on the type of jointing material you want to use for filling the gaps between the pavers. Common options include regular or polymeric sand, gravel, or mortar. Consider factors such as climate, drainage, and the desired aesthetic look when selecting the jointing material.
- Prepare the Jointing Material: If you’re using regular sand, simply pour it onto the walkway and sweep it into the gaps using a broom. Ensure that the sand reaches the bottom of the gaps and fills them evenly. If you’re using polymeric sand, follow the manufacturer’s instructions for mixing and application.
- Sweep and Compact: Once the gaps are filled with the jointing material, use a broom to sweep the excess off the surface of the pavers. Gently sweep diagonally across the paver joints to ensure even distribution and fill any remaining gaps. After sweeping, lightly mist the walkway with water to activate the jointing material, if applicable.
- Compact the Jointing Material: Use a plate compactor or a rubber mallet to gently tap the pavers, ensuring that the jointing material settles and compresses. This step will help stabilize the pavers and prevent the jointing material from shifting or washing away over time. Repeat this process until all the joints are solid and filled.
- Clean the Surface: After compacting, use a leaf blower or a broom to remove any excess jointing material from the surface of the pavers. Take care not to disturb the filled gaps while doing so. A clean surface will reveal the true beauty of your walkway.
By filling the gaps between the pavers, you’ll create a cohesive and finished look for your walkway. This step also provides structural integrity and helps to maintain the integrity of the pavers. With the gaps filled, your walkway is almost complete, and you can now focus on the finishing touches.
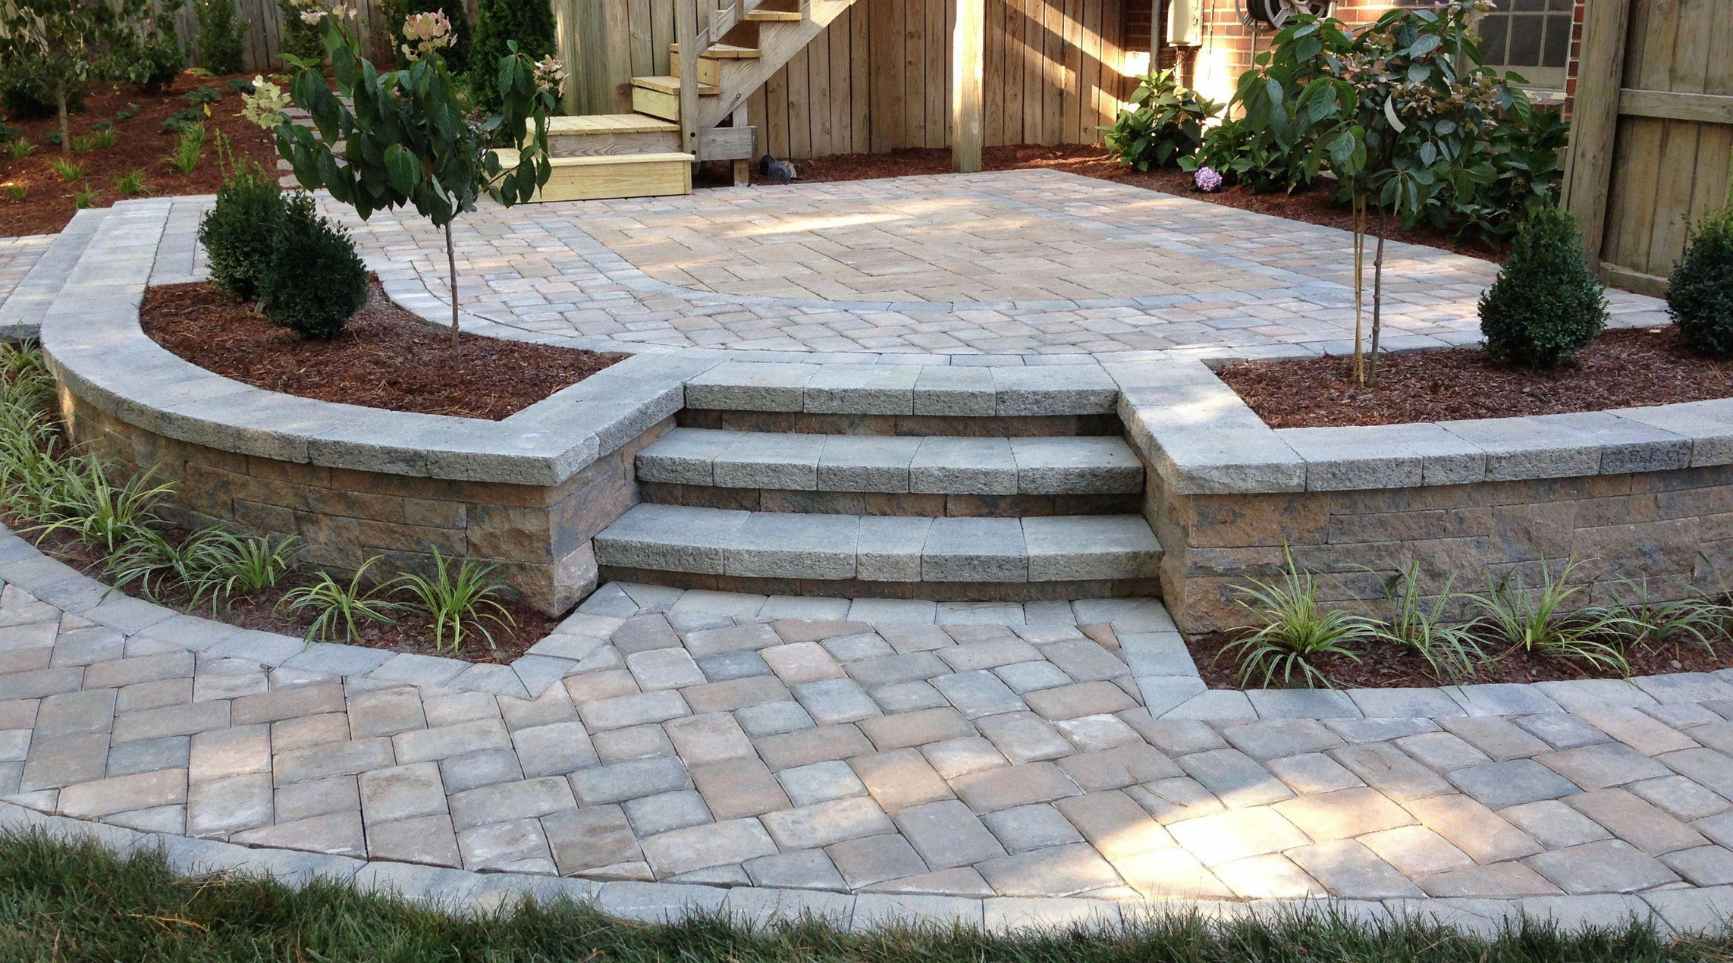
Finishing Touches
With the majority of the installation complete, it’s time to put the finishing touches on your walkway to enhance its overall appearance and functionality. These final steps will add those extra details that make a noticeable difference. Here are some finishing touches to consider:
- Seal the Pavers: Consider applying a sealer to the pavers to protect them from stains and enhance their color. The sealer creates a protective barrier that repels water, oil, and dirt. Follow the manufacturer’s instructions for application, and make sure the pavers are clean and dry before sealing. This step will help extend the lifespan of your walkway and keep it looking fresh.
- Add Lighting: Illuminate your walkway by incorporating lighting fixtures along its edges or in between the pavers. Solar-powered path lights or low-voltage LED lights can add both safety and ambiance to your outdoor space. Strategically placed lighting can guide visitors and highlight the beauty of your walkway, especially at night.
- Install Edging: Consider adding decorative edging to your walkway to create a distinct boundary between the walkway and surrounding landscape. This not only adds visual appeal but also helps to keep the pavers in place and prevents the intrusion of grass or weeds. Choose edging materials that complement the style and material of your pavers.
- Plant Along the Walkway: Enhance the aesthetic appeal of your walkway by planting flowers, shrubs, or ground cover plants along its edges. Choose plants that thrive in your climate and complement the overall design of your outdoor space. This softens the edges of the walkway and adds a touch of natural beauty.
- Add Decorative Elements: Consider incorporating decorative elements such as garden statues, birdbaths, or decorative rocks along the walkway to add visual interest. These elements can enhance the overall charm and personality of your outdoor space while complementing the style of the walkway.
By paying attention to these finishing touches, you can take your walkway to the next level and create a truly impactful outdoor space. It’s the small details that can make a big difference and make your walkway stand out.
With the finishing touches complete, step back and admire your beautiful and functional walkway. You can take pride in the hard work and dedication you put into creating a stunning addition to your outdoor landscape. Enjoy the benefits of having a durable and attractive walkway that will serve you well for years to come.
Congratulations on successfully making a walkway with pavers!
Conclusion
Creating a walkway with pavers is a rewarding project that not only adds functionality to your outdoor space but also enhances its overall beauty. By following the step-by-step process outlined in this article, you can successfully create a durable and visually appealing walkway that will stand the test of time.
From the initial planning and preparation to the final finishing touches, each step plays a crucial role in the overall success of your walkway project. By taking the time to carefully measure and mark, gather the necessary materials, prepare the area, install the base, lay the pavers, fill the gaps, and add those final touches, you can achieve professional-looking results that will transform your outdoor landscape.
Remember to pay attention to detail, ensuring that the pavers are level, aligned, and properly filled with jointing material. Consider adding personal touches like lighting, edging, and plantings to make your walkway unique and reflective of your personal style.
Throughout the process, safety should be a top priority. Wear protective gear, follow manufacturer instructions, and exercise caution when using tools and machinery.
By making a walkway with pavers, you’re not only creating a functional pathway but also adding value to your home. A well-designed and properly installed walkway can enhance your curb appeal, create a welcoming entrance, and improve the overall aesthetics of your outdoor space.
So, whether you’re looking to connect different areas of your yard, provide a clear path to your entrance, or simply elevate the beauty of your outdoor environment, creating a walkway with pavers is a fantastic option. Get started today, and enjoy the benefits of a stunning walkway that will be enjoyed for years to come.
Now that you've mastered making a walkway with pavers, why stop there? Dive into creative landscaping ideas with our extensive guide on garden fence designs. If DIY sparks your interest, our list of outdoor projects will surely keep you busy and inspired. For those who enjoyed transforming outdoor spaces, crafting your own garden path offers continuity in beautifying your garden's landscape. Each guide is packed with tips and tricks that turn any outdoor space into a personal paradise.
Frequently Asked Questions about How To Make A Walkway With Pavers
Was this page helpful?
At Storables.com, we guarantee accurate and reliable information. Our content, validated by Expert Board Contributors, is crafted following stringent Editorial Policies. We're committed to providing you with well-researched, expert-backed insights for all your informational needs.

0 thoughts on “How To Make A Walkway With Pavers”