
Articles
How To Make A Star Ceiling
Modified: September 2, 2024
Learn how to create a stunning star ceiling in your home with our insightful articles, offering step-by-step instructions and expert tips. Transform any room into a magical space.
(Many of the links in this article redirect to a specific reviewed product. Your purchase of these products through affiliate links helps to generate commission for Storables.com, at no extra cost. Learn more)
Introduction
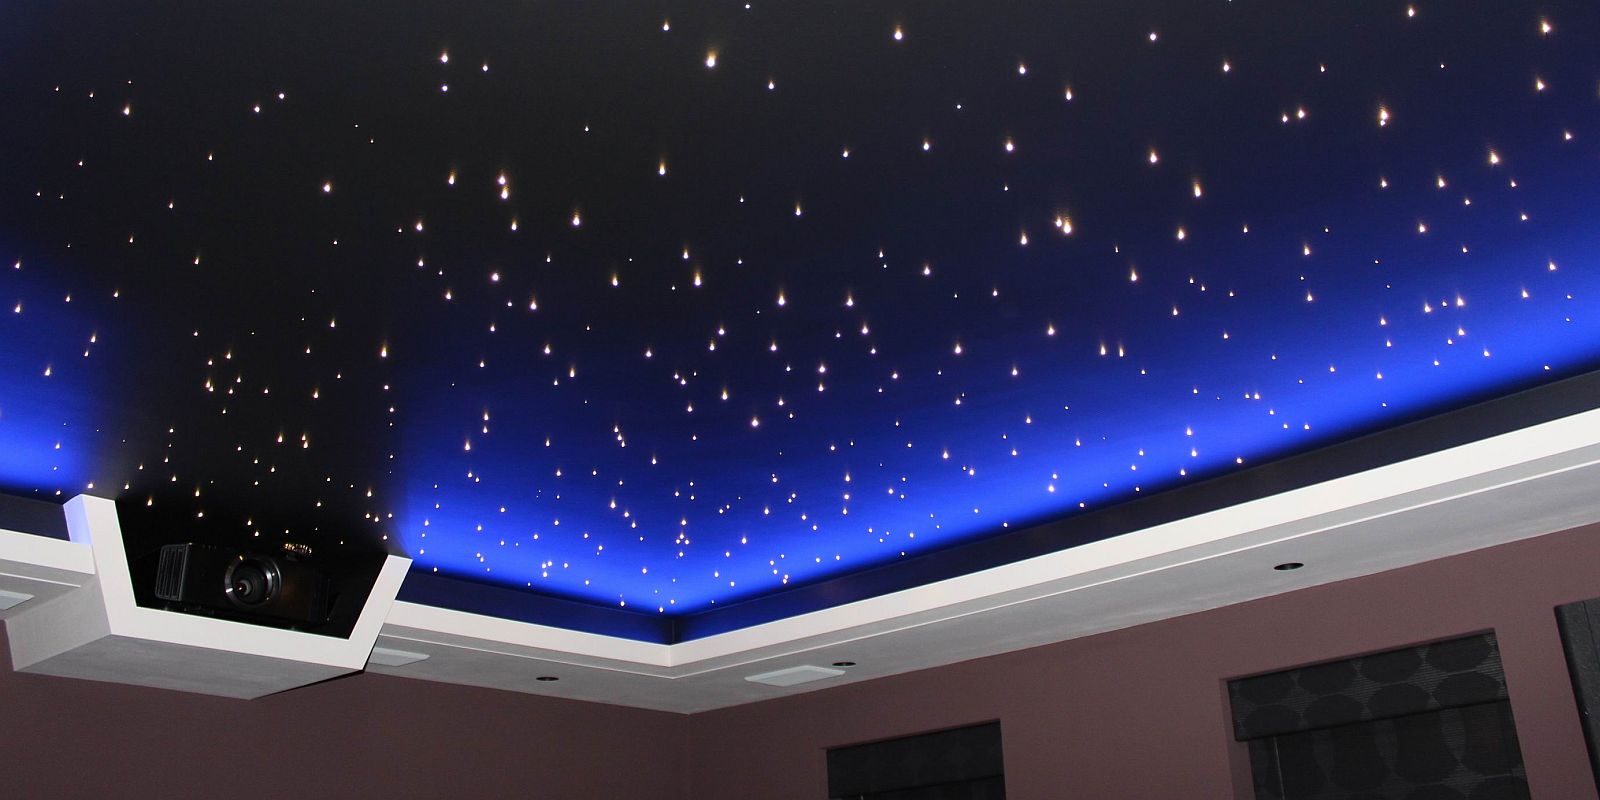
Creating a star ceiling in your home is a unique and captivating way to bring the beauty of the night sky indoors. Whether you’re looking to add a touch of magic to a child’s bedroom or create a tranquil space for relaxation in your own room, a star ceiling can provide a stunning visual effect that will leave everyone in awe.
While it may seem like a complex project, making a star ceiling is actually quite achievable with the right materials and a bit of patience. In this article, we will guide you through the step-by-step process of creating your very own star ceiling, illuminating your space with mesmerizing constellations.
Before we dive into the details, let’s take a moment to understand the materials you will need for this project.
Key Takeaways:
- Create a mesmerizing star ceiling by following a step-by-step process, from preparation to maintenance, and bring the enchanting beauty of the night sky into your home with the right materials and careful installation.
- Transform any room into a captivating space with a star ceiling, providing a tranquil and awe-inspiring ambiance that will leave everyone in wonder and create a truly unforgettable experience.
Read more: How To Make A Star Quilt
Materials Needed
Before getting started, gather the following materials:
- Fiber optic star ceiling kit
- Adhesive or double-sided tape
- Wire cutters
- Drill and drill bits
- LED light source
- Ceiling paint (optional)
- Screwdriver
- Tape measure
- Painter’s tape
It’s important to choose a quality fiber optic star ceiling kit that includes a sufficient number of cable strands for your desired effect. Additionally, make sure the LED light source is compatible with the fiber optic cables and provides a variety of color options.
Keep in mind that certain tools such as a drill and wire cutters may already be available in your toolbox. If not, consider borrowing or purchasing them for this project.
Step 1: Preparation
Before you start creating your star ceiling, it’s essential to prepare the room and gather all the necessary materials. Follow these steps to ensure a smooth and successful project:
- Clear the room: Remove any furniture, decorations, or obstacles that could obstruct your work area. It’s important to have a clean and unobstructed ceiling space to work with.
- Measure the room: Use a tape measure to determine the dimensions of the room. This will help you calculate the number of fiber optic strands needed and plan the layout of the stars.
- Mark the desired pattern: Decide on the pattern and distribution of stars you want on your ceiling. Use painter’s tape to mark the positions of the stars. This step will help you visualize the final result and avoid any mistakes during installation.
- Prepare the LED light source: Set up the LED light source according to the manufacturer’s instructions. Ensure that it is positioned in a convenient location for easy access and connection to the fiber optic cables.
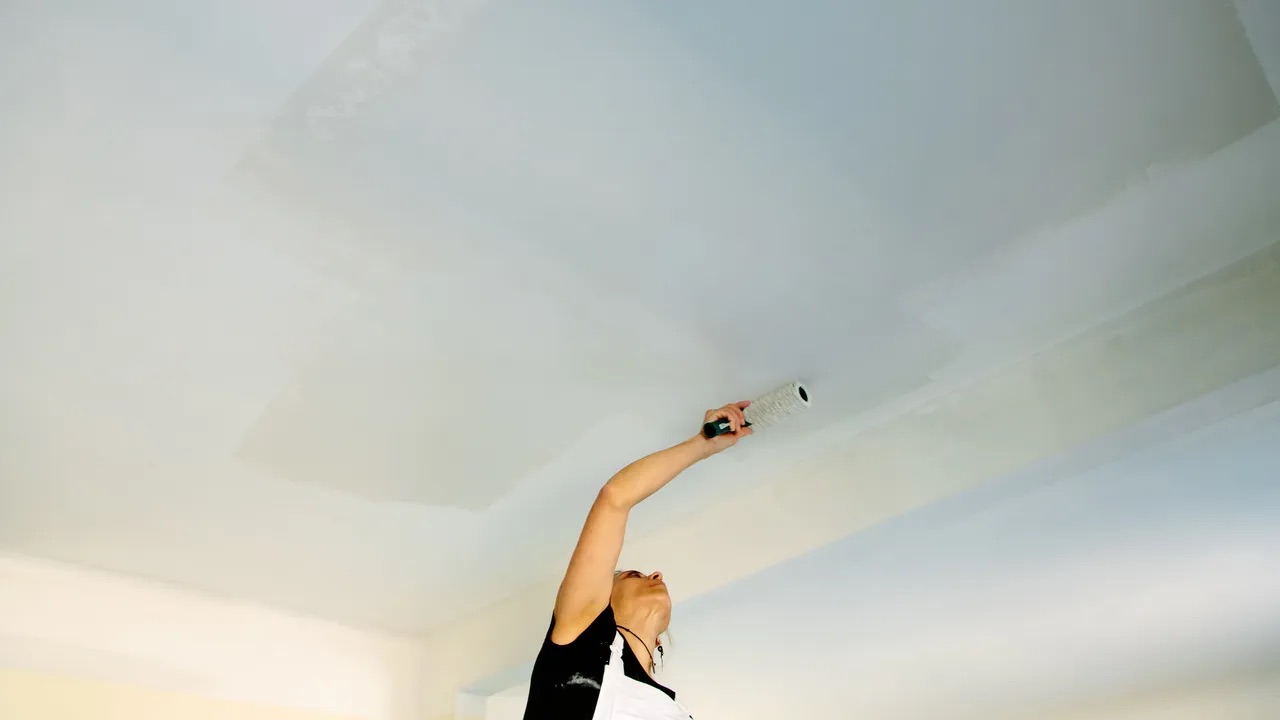
- Prepare the ceiling surface (optional): If you wish, you can paint the ceiling with a black or dark blue color to create a realistic night sky effect. This step is optional, but it can enhance the overall aesthetic of your star ceiling.
By adequately preparing the room and having all the materials ready, you are now ready to move on to the next step: creating the starry effect on your ceiling.
Step 2: Creating the Starry Effect
Now that you’ve completed the preparation phase, it’s time to bring the magic to your ceiling by creating the starry effect. Follow these steps:
- Start from the center: Begin by picking a central spot on your ceiling where you want the brightest star to be. This will serve as your focal point. Use a screwdriver or drill to create a small hole at this location.
- Drill additional holes: From the central hole, drill several more holes in different sizes and configurations to create a varied and natural-looking starry effect. Vary the sizes and spacing to mimic the randomness of the night sky. The number of holes you drill will depend on the size of your room and the desired density of stars.
- Insert the fiber optic strands: Take the fiber optic strands from the kit and insert them into the drilled holes. Make sure to push them through until they are flush with the ceiling surface. Trim any excess length if necessary.
- Secure the strands: Use an adhesive or double-sided tape to secure the fiber optic strands in place. This will prevent them from moving or falling out of the holes.
- Arrange the strands: Arrange the strands in a way that mimics the natural randomness of stars in the night sky. Avoid creating patterns or straight lines as this can look artificial.
- Adjust the brightness: For a more realistic effect, consider using different sizes of fiber optic strands to create variations in brightness. Select a few thicker strands to represent brighter stars and thinner strands for dimmer stars.
Take your time while creating the starry effect, and step back occasionally to ensure the distribution and arrangement of stars are to your liking. Once you’re satisfied with the result, it’s time to move on to the next step: installing the fiber optic cables.
Step 3: Installing the Fiber Optic Cables
Now that you’ve created the starry effect on your ceiling, it’s time to install the fiber optic cables that will connect the stars to the LED light source. Follow these steps:
- Locate the LED light source: Identify the location where you will install the LED light source. It should be easily accessible and close enough to connect the fiber optic cables.
- Measure and cut the fiber optic cables: Measure the distance from each star to the LED light source and cut the fiber optic cables to the appropriate lengths. Leave some extra length for easier installation.
- Connect the fiber optic cables: Connect the cut ends of the fiber optic cables to the corresponding ports or connectors on the LED light source. Follow the manufacturer’s instructions for proper connection.
- Organize and secure the cables: Bundle the fiber optic cables together neatly and use adhesive or cable clips to secure them along the ceiling or hidden areas. This will keep them organized and prevent them from dangling or becoming tangled.
- Route the cables to each star: Carefully route each fiber optic cable from the LED light source to the corresponding star. Use cable clips or adhesive tape to secure the cables along the ceiling or hidden areas to keep them out of sight.
Take your time during the installation process to ensure that the cables are properly connected and securely routed. A neat and organized cable installation will contribute to the overall aesthetic of your star ceiling.
With the fiber optic cables installed, you’re now ready to move on to the next step: wiring and connection.
Use fiber optic strands to create a starry effect on your ceiling. Drill small holes in the ceiling, insert the strands, and connect them to a light source to create a twinkling star effect.
Read more: How To Make A Lakota Star Quilt
Step 4: Wiring and Connection
After installing the fiber optic cables, it’s time to wire and connect the LED light source to power the star ceiling. Follow these steps:
- Locate a power source: Identify a nearby power outlet or junction box that will supply power to the LED light source. Make sure that the chosen power source is suitable for the voltage requirements of the light source.
- Turn off the power: Before proceeding with any wiring, turn off the power to the room or area where you’ll be working. This is crucial for your safety and to prevent any electrical accidents.
- Connect the power supply: Use wire cutters to strip the protective covering from the end of the LED light source’s power cord. Connect the exposed wires to the power source using wire connectors or by following the manufacturer’s instructions.
- Secure the connections: Once the wires are properly connected, use electrical tape or wire connectors to secure the connections and ensure they are insulated.
- Test the connection: Turn on the power and test the connection to verify that the LED light source is working correctly. Check if all the stars on the ceiling are illuminated. If not, check for any loose connections or faulty cables.
Ensure that all wiring is properly organized and tucked away to maintain a clean and tidy appearance. It is important to follow proper safety measures and consult a professional electrician if needed, especially if you are unfamiliar with electrical work.
With the wiring and connection in place, it’s time to move on to the next step: testing the lighting system.
Step 5: Testing the Lighting System
After completing the wiring and connection, it’s crucial to test the lighting system to ensure that everything is functioning properly. Follow these steps to test your star ceiling:
- Turn on the LED light source: Switch on the power to the LED light source and allow it to warm up. Some light sources may take a few minutes to reach their full brightness.
- Observe the starry effect: Step back and observe the star ceiling. Check if all the stars are illuminated and if they are evenly distributed. Take note of any areas that appear darker or have malfunctions.
- Adjust the brightness and colors: If your LED light source allows for adjustment of brightness and colors, experiment with different settings to achieve your desired effect. You can create a soft and serene ambiance or a vivid and colorful starry sky.
- Fix any issues: If you notice any dim stars or areas without illumination, double-check the connections and secure any loose fiber optic cables. Replace any faulty cables or light sources as needed.
It’s essential to thoroughly test the lighting system before proceeding to the final step. This will ensure that you address any problems or malfunctions and achieve the desired outcome for your star ceiling.
With the lighting system successfully tested, it’s time for the final step: adding finishing touches and considering maintenance.
Step 6: Finishing Touches and Maintenance
Now that your star ceiling is complete, it’s time to add the finishing touches and consider the maintenance required to keep it looking spectacular. Follow these steps:
- Remove painter’s tape (if used): If you previously marked the star pattern with painter’s tape, carefully remove it from the ceiling. Take your time to avoid damaging the paint or the fiber optic strands.
- Clean and dust the stars: Regularly clean and dust the fiber optic strands and stars to ensure they maintain their brightness and clarity. Use a soft microfiber cloth or a gentle duster for this task.
- Reposition stars (optional): Over time, you may desire to reposition or add more stars to your ceiling. This is a great opportunity to refresh the design and create new constellations.
- Inspect and repair: Periodically inspect the star ceiling for any loose strands, damaged cables, or malfunctioning lights. Repair or replace any faulty components as necessary to maintain the overall performance.
- Consider a remote control (optional): If your LED light source allows for it, consider installing a remote control system to easily adjust the brightness, color, and effects of your star ceiling without having to physically access the light source.
Remember to follow any specific maintenance instructions provided by the manufacturer of your fiber optic star ceiling kit. Proper care and maintenance will ensure that your star ceiling continues to shine bright for years to come.
Congratulations! You have successfully completed the steps to create your very own star ceiling. Sit back, relax, and enjoy the enchanting beauty of the night sky right in the comfort of your own home.
Disclaimer: Electrical work should be conducted by trained professionals or individuals with sufficient knowledge in electrical installations. Ensure that you follow all safety measures and regulations while working with electrical components.
Conclusion
Creating a star ceiling can transform any room into a mesmerizing and enchanting space. With the right materials and a step-by-step approach, you can bring the beauty of the night sky indoors and enjoy its captivating ambiance. Throughout this article, we have provided you with a comprehensive guide, detailing each step from preparation to maintenance. By following these steps, you can successfully create your own star ceiling.
Remember to gather all the necessary materials, measure and mark the pattern, and create the starry effect on the ceiling with drilled holes and fiber optic strands. Install the fiber optic cables, wire and connect the LED light source, and thoroughly test the lighting system to ensure everything is working properly. Lastly, don’t forget the finishing touches and ongoing maintenance to keep your star ceiling in pristine condition.
Whether you’re adding a touch of magic to a child’s bedroom, creating a tranquil environment in your own space, or simply looking to bring a unique visual element to any room, a star ceiling is sure to impress. The twinkling stars will create an atmosphere of relaxation, inspiration, and wonder, providing a truly unforgettable experience for all who enter the room.
Remember, safety should always be a priority when working with electrical components. If you’re unsure about any step or lack the necessary skills, it’s best to consult a professional electrician who can assist you in creating the star ceiling of your dreams.
Now that you have the knowledge and steps in hand, let your imagination soar and enjoy the beauty of your own personal starry night right at home. Happy stargazing!
Frequently Asked Questions about How To Make A Star Ceiling
Was this page helpful?
At Storables.com, we guarantee accurate and reliable information. Our content, validated by Expert Board Contributors, is crafted following stringent Editorial Policies. We're committed to providing you with well-researched, expert-backed insights for all your informational needs.








0 thoughts on “How To Make A Star Ceiling”