Articles
How To Make An Uneven Ceiling Flat
Modified: January 9, 2024
Learn how to make an uneven ceiling flat with these informative articles. Get step-by-step instructions and expert tips to achieve a smooth and level finish.
(Many of the links in this article redirect to a specific reviewed product. Your purchase of these products through affiliate links helps to generate commission for Storables.com, at no extra cost. Learn more)
Introduction
Having an uneven ceiling can be a common issue in many households. Whether it’s due to old texture, water damage, or simply a poorly constructed ceiling, it can be a source of frustration and make your space look unappealing. However, with a little effort and the right tools, you can transform your uneven ceiling into a smooth and flat surface that will enhance the overall look of your room.
In this article, we will guide you through the step-by-step process of making an uneven ceiling flat. From assessing the ceiling to applying a skim coat and finally painting the ceiling, we will cover everything you need to know to achieve a professional-looking finish. So, let’s get started and give your ceiling the makeover it deserves!
Key Takeaways:
- Transform your uneven ceiling into a smooth, flat surface by following a step-by-step process. From assessing the ceiling to applying a skim coat and painting, attention to detail and patience will result in a professional-looking finish.
- Consider adding finishing touches such as decorative trim, stylish lighting fixtures, or accent colors to further enhance the beauty of your flat ceiling. Personalize your space and create a visually pleasing and harmonious environment.
Read more: How To Change A Flat Ceiling Light
Assessing the Ceiling
Before you begin the process of making your uneven ceiling flat, it’s important to assess the condition of your ceiling. This will help you determine the extent of the work required and choose the appropriate materials and techniques. Here are a few key steps to follow during the assessment:
- Inspect for visible damage: Take a close look at the ceiling and identify any visible cracks, holes, or water damage. These issues will need to be addressed before you can proceed with the flattening process.
- Measure the level of unevenness: Using a level or a long straight edge, check the ceiling for any areas that are noticeably uneven. This will help you understand the scope of the problem and plan your approach accordingly.
- Consider the cause of the unevenness: Uneven ceilings can be caused by a variety of factors, such as settling of the building, structural issues, or previous texture applications. Understanding the root cause will help you determine the best approach for fixing the problem.
- Evaluate the ceiling material: Different types of ceilings require different methods of repair and preparation. Whether you have a plaster, drywall, or popcorn ceiling, it’s important to understand the characteristics of the material and how it will impact the flattening process.
Once you have assessed the condition of your ceiling and gathered all the necessary information, you will be better equipped to move forward with the necessary repairs and preparations. Remember, if you are unsure about any aspect of the assessment, it’s always a good idea to consult with a professional contractor who can provide expert advice tailored to your specific ceiling situation.
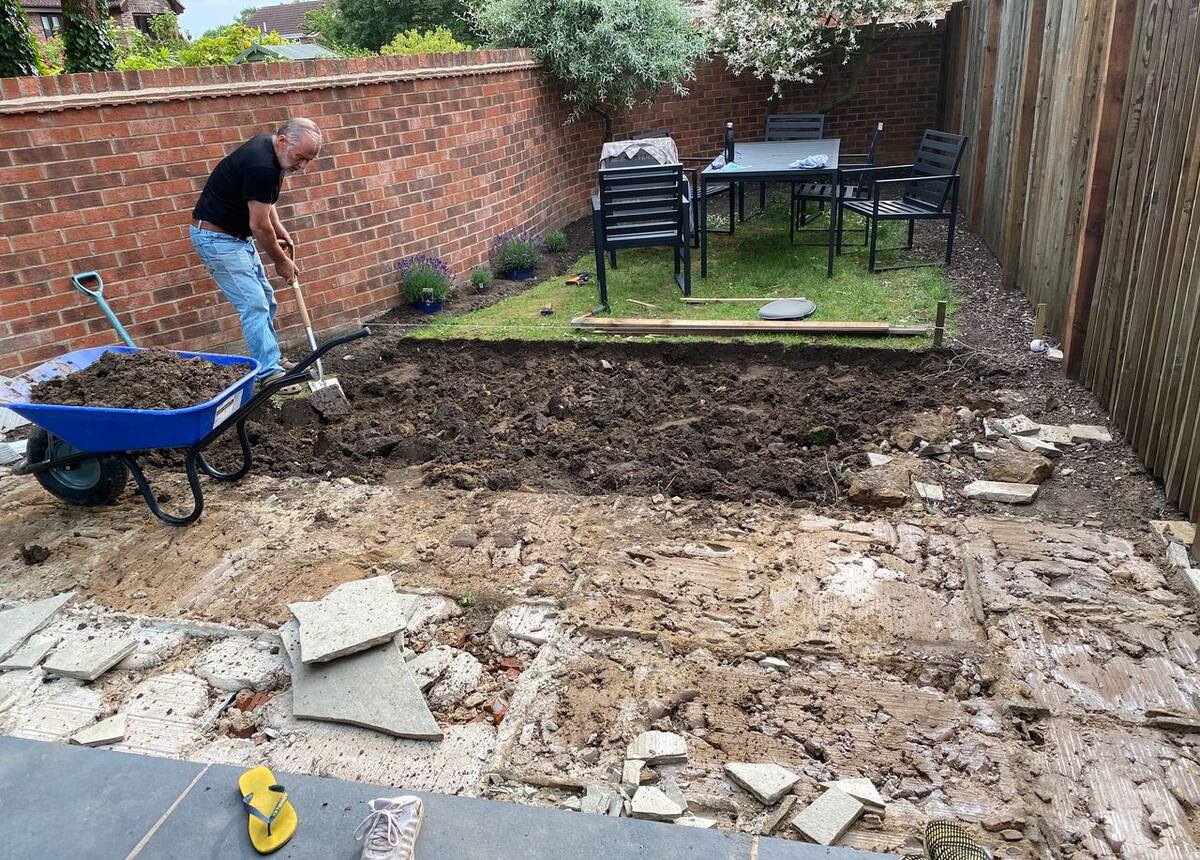
Preparing the Work Area
Before you start working on making your uneven ceiling flat, it’s important to properly prepare the work area. By taking the time to prepare, you can ensure a smooth and efficient process. Here are some important steps to follow when preparing the work area:
- Cover and protect the floor and furniture: Start by placing drop cloths or plastic sheeting on the floor to protect it from any debris or spills. Move any furniture out of the room or cover it with plastic to prevent it from getting damaged or affected by the work.
- Remove light fixtures and ceiling fan blades: If you have any light fixtures or ceiling fan blades, carefully remove them. This will make it easier to access the ceiling and prevent any damage to the fixtures during the flattening process.
- Open windows and use proper ventilation: Flattening a ceiling can create a lot of dust and fumes from the chemicals used. To ensure proper ventilation and avoid inhaling harmful particles, open windows and use fans or ventilation systems to keep the air circulating.
- Gather the necessary tools and materials: Before you begin, make sure you have all the tools and materials you will need for the project. This may include items such as a ladder, scrapers, sandpaper, patching compound, primer, paint, and brushes or rollers.
- Wear protective gear: It’s important to protect yourself while working on the ceiling. Wear safety glasses, gloves, and a dust mask to shield your eyes, hands, and respiratory system from any potential hazards.
By properly preparing the work area, you can minimize the mess and potential damage and create a safe and organized space to carry out the flattening process. Taking the time to prepare will ensure a smoother and more successful outcome for your project.
Removing Existing Texture
Once you have assessed the ceiling and prepared the work area, the next step in making your uneven ceiling flat is removing the existing texture. This is necessary to create a smooth and even surface for the subsequent patching and smoothing processes. Here’s how you can remove the texture from your ceiling:
- Protect the surrounding area: Before you start removing the texture, cover any nearby walls or furniture with plastic sheeting to prevent them from getting damaged or covered in dust.
- Moisten the surface: Use a spray bottle or a roller to dampen the texture on the ceiling. This will help loosen the material and make it easier to scrape off.
- Scrape the texture: Using a putty knife or a drywall scraper, gently scrape off the texture from the ceiling. Start in one corner and work your way across the surface, applying light pressure to avoid damaging the underlying ceiling material.
- Repeat the process: If necessary, repeat the process of moistening and scraping until you have removed all the texture from the ceiling. Stubborn areas may require a bit more effort and repeated scraping.
- Clean up the debris: Once you have removed the texture, gather the debris and dispose of it properly. Use a vacuum cleaner or a broom to clean the area and remove any remaining dust or loose material.
Removing the existing texture from your ceiling can be a dusty and time-consuming process. It requires patience and careful handling to avoid causing any damage. If you find that the texture is difficult to remove or if you prefer not to handle this task on your own, you may consider hiring a professional to assist you.
After you have successfully removed the texture from the ceiling, you can proceed to the next step of patching and repairing any imperfections to create a smooth and even surface.
Patching and Repairing
Once you have removed the existing texture from your ceiling, the next step in making it flat is patching and repairing any imperfections. This is essential to ensure a smooth and seamless finish. Here’s how you can patch and repair your ceiling:
- Inspect for cracks and holes: Carefully examine the ceiling for any cracks, holes, or damaged areas. Use a flashlight to get a better view of any hidden imperfections.
- Prepare the surface: Before applying any patching compound, clean the area thoroughly to remove dust and loose debris. You can use a damp cloth or a sponge for this purpose.
- Apply the patching compound: Use a putty knife or a trowel to apply a thin layer of patching compound over the cracks and holes. Smooth it out evenly, making sure to fill in the entire damaged area.
- Allow the compound to dry: Follow the manufacturer’s instructions for the drying time of the patching compound. It typically takes a few hours to dry completely.
- Sand the repaired areas: Once the patching compound is dry, use sandpaper or a sanding block to smooth out the repaired areas. Sand in a circular motion, blending the edges of the patch with the surrounding ceiling.
- Clean up the dust: After sanding, use a vacuum cleaner or a cloth to clean up the dust created during the process. It’s important to have a clean surface before moving on to the next steps.
Patching and repairing your ceiling requires attention to detail and precision. Take your time to ensure that the patching compound is applied smoothly and the repaired areas blend seamlessly with the rest of the ceiling.
Once you have patched and repaired the imperfections, you are ready to move on to the next step of applying a skim coat to create a uniform and flat surface for your ceiling.
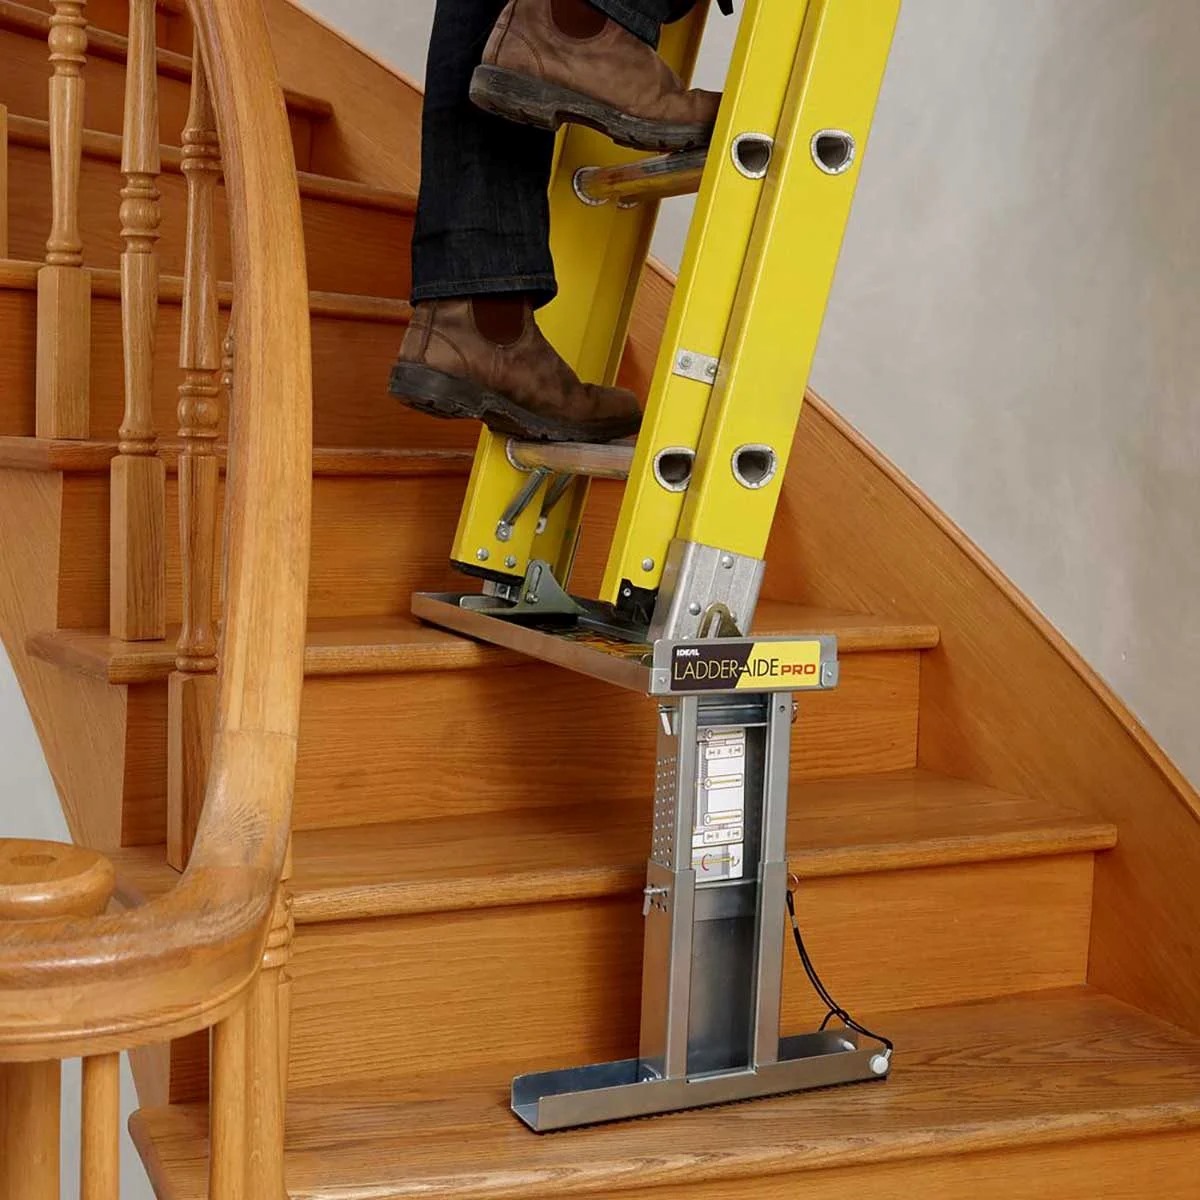
Read more: How To Fix Uneven Stairs
Applying a Skim Coat
After patching and repairing your ceiling, the next step in achieving a flat surface is applying a skim coat. This thin layer of joint compound will provide a smooth and even texture, hiding any remaining imperfections and creating a seamless finish. Here’s how you can apply a skim coat to your ceiling:
- Prepare the joint compound: Follow the manufacturer’s instructions to mix the joint compound to the right consistency. It should be smooth and spreadable, similar to thick paint.
- Thin the joint compound: Depending on the texture of your ceiling, you may need to thin the joint compound slightly with water. This will make it easier to apply and achieve a smooth finish.
- Apply the skim coat: Starting from one corner of the ceiling, use a trowel or a wide putty knife to apply a thin layer of joint compound across the entire surface. Work in small sections, moving in a smooth and even motion to ensure an even distribution of the compound.
- Smooth out the skim coat: Once you have applied the skim coat, use a drywall taping knife or a wide trowel to smooth out the surface. Hold the tool at a slight angle and make slow and steady passes over the compound to level and flatten it.
- Let it dry and sand if necessary: Allow the skim coat to dry according to the manufacturer’s instructions. Once dry, check for any uneven spots or imperfections. If needed, lightly sand those areas with fine-grit sandpaper to achieve a uniform surface.
- Clean up the dust: After sanding, clean up the dust using a vacuum cleaner or a cloth. Ensure that the surface is free from any debris before moving on to the next steps.
Applying a skim coat requires some skill and practice to achieve a smooth and even layer. It’s important to take your time, work in small sections, and maintain a steady motion to create a professional-looking finish.
Once the skim coat is dry and the surface is smooth, you are ready to proceed with the next step of sanding and smoothing to further refine the flatness of your ceiling.
Use a combination of joint compound and drywall tape to fill in and smooth out any uneven areas on the ceiling. Sand the surface between layers for a smooth finish.
Sanding and Smoothing
Once you have applied the skim coat to your ceiling, the next step in achieving a flat and polished surface is sanding and smoothing. This step will further refine the texture and ensure a seamless finish. Here’s how you can sand and smooth your ceiling:
- Prepare the work area: Cover the floor and furniture with drop cloths or plastic sheeting to protect them from dust and debris. Use painter’s tape to mask off any areas that you do not want to be sanded.
- Choose the right sandpaper: Select a fine-grit sandpaper, such as 120 or 150, to smooth out the surface. Avoid using coarse sandpaper, as it may damage the skim coat.
- Sand the ceiling: Starting from one corner, lightly sand the skim coat in a circular motion. Use gentle pressure and keep the sandpaper flat against the surface to avoid creating uneven areas. Continue sanding until the entire ceiling feels smooth to the touch.
- Inspect the surface: After sanding, carefully inspect the ceiling for any remaining imperfections, such as ridges or bumps. If you notice any, use a drywall taping knife or sanding block to remove them and create a uniform surface.
- Clean up the dust: Once you are satisfied with the smoothness of the ceiling, clean up the dust using a vacuum cleaner or a cloth. Ensure that the surface is free from any particles before moving on to the next steps.
Sanding and smoothing the ceiling is a crucial step in achieving a flat and flawless finish. It helps create a uniform texture and prepares the surface for priming and painting.
Once you have completed the sanding and smoothing process, you are ready to move on to the next step of priming the ceiling to ensure proper adhesion and a professional-looking paint finish.
Priming the Ceiling
After sanding and smoothing your ceiling, the next important step in the process of making it flat is priming. Priming the ceiling is essential to ensure proper adhesion of the paint and to create a uniform surface. Here’s how you can prime the ceiling:
- Prepare the room: Protect the floor and furniture by covering them with drop cloths or plastic sheeting. Use painter’s tape to mask off any areas that you do not want to be primed.
- Select the right primer: Choose a high-quality primer specifically designed for ceilings. Look for a primer that is suitable for the type of paint you will be using, such as latex or oil-based.
- Stir the primer: Before applying the primer, stir it thoroughly using a paint stirrer to ensure that any settled pigment is evenly distributed.
- Apply the primer: Start by cutting in the edges of the ceiling using a brush. Then, use a roller with a medium nap to apply the primer to the rest of the ceiling in even, overlapping strokes. Work in small sections to maintain control and prevent the primer from drying too quickly.
- Allow the primer to dry: Follow the manufacturer’s instructions for the drying time of the primer. It typically takes a few hours for the primer to dry completely. Ensure that the room is well-ventilated during this time.
- Inspect the primed surface: Once the primer is dry, inspect the ceiling for any missed spots or uneven areas. If needed, apply a second coat of primer to achieve a consistent and well-prepared surface.
Priming the ceiling is a crucial step that helps create a suitable surface for the paint to adhere to. It also helps to prevent the paint from soaking into the skim coat and ensures a more uniform and long-lasting finish.
After the primer has dried and you are satisfied with the surface, you are ready to move on to the final step of painting the ceiling, which will bring your flat ceiling transformation to completion.
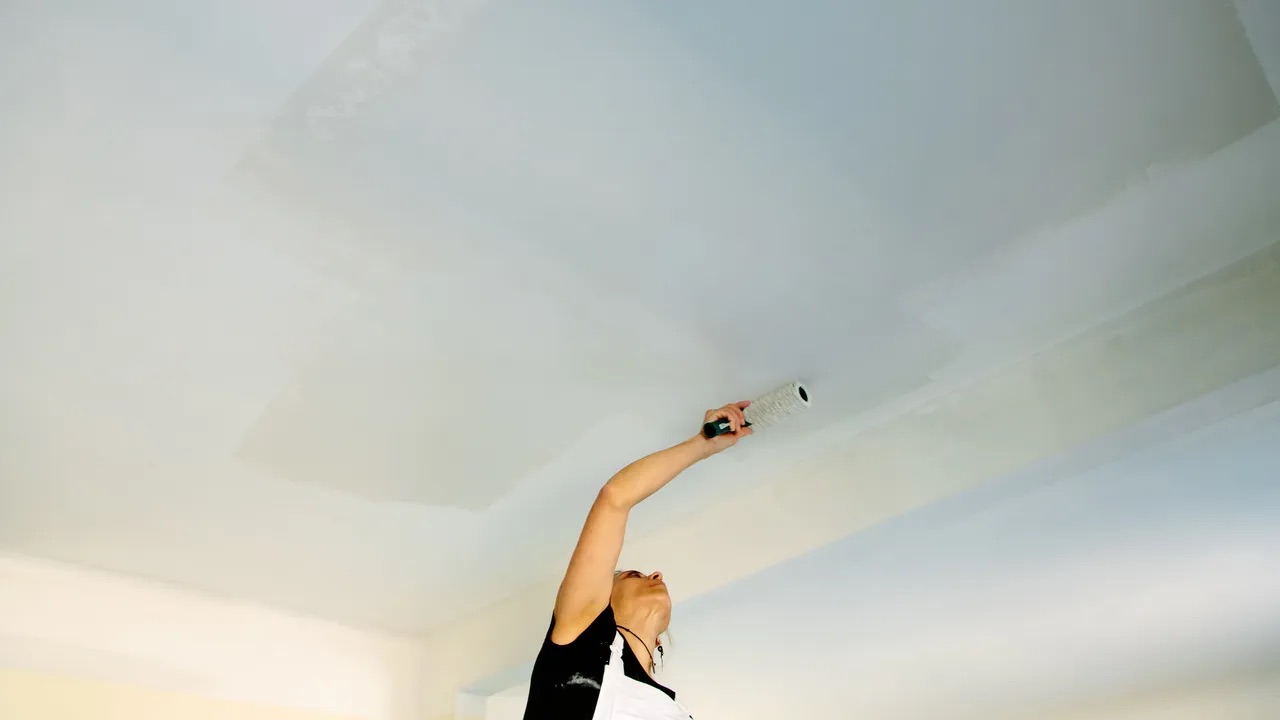
Painting the Ceiling
After priming the ceiling, the final step in making it flat is painting. Painting the ceiling will not only enhance its appearance but also provide a protective layer that adds durability. Here’s how you can paint your ceiling:
- Prepare the room: As with previous steps, protect the floor and furniture with drop cloths or plastic sheeting. Use painter’s tape to mask off any areas that you do not want to be painted.
- Choose the paint color: Select a paint color that complements your room’s décor and personal preference. Consider using a flat or matte finish, as it helps to minimize the appearance of imperfections on the ceiling.
- Stir the paint: Before starting, stir the paint thoroughly using a paint stirrer to ensure a consistent color and texture.
- Cut in the edges: Begin by cutting in the edges of the ceiling using a brush. This will create a clean and precise line between the ceiling and the walls or trim.
- Paint the ceiling: Use a roller with a medium nap to apply the paint to the rest of the ceiling. Work in small sections, applying the paint in even, overlapping strokes. Make sure to maintain a wet edge to avoid visible brush or roller marks.
- Apply multiple coats if needed: Depending on the paint color and coverage, you may need to apply multiple coats. Allow each coat to dry completely before applying the next one, following the manufacturer’s instructions.
- Clean up and inspect: Once you have finished painting, carefully remove the painter’s tape and clean up any paint spills or splatters. Take the time to inspect the painted ceiling for any touch-ups or uneven areas that may require additional paint.
Painting the ceiling is the final touch in creating a flat and visually appealing surface. It brings the entire project together and adds a fresh and finished look to the room.
After the paint has dried completely and you are satisfied with the results, you can now enjoy your newly transformed flat ceiling. It will not only enhance the overall aesthetic of your space but also give you a sense of accomplishment for a job well done.
Read more: How To Make A Bedskirt From A Flat Sheet
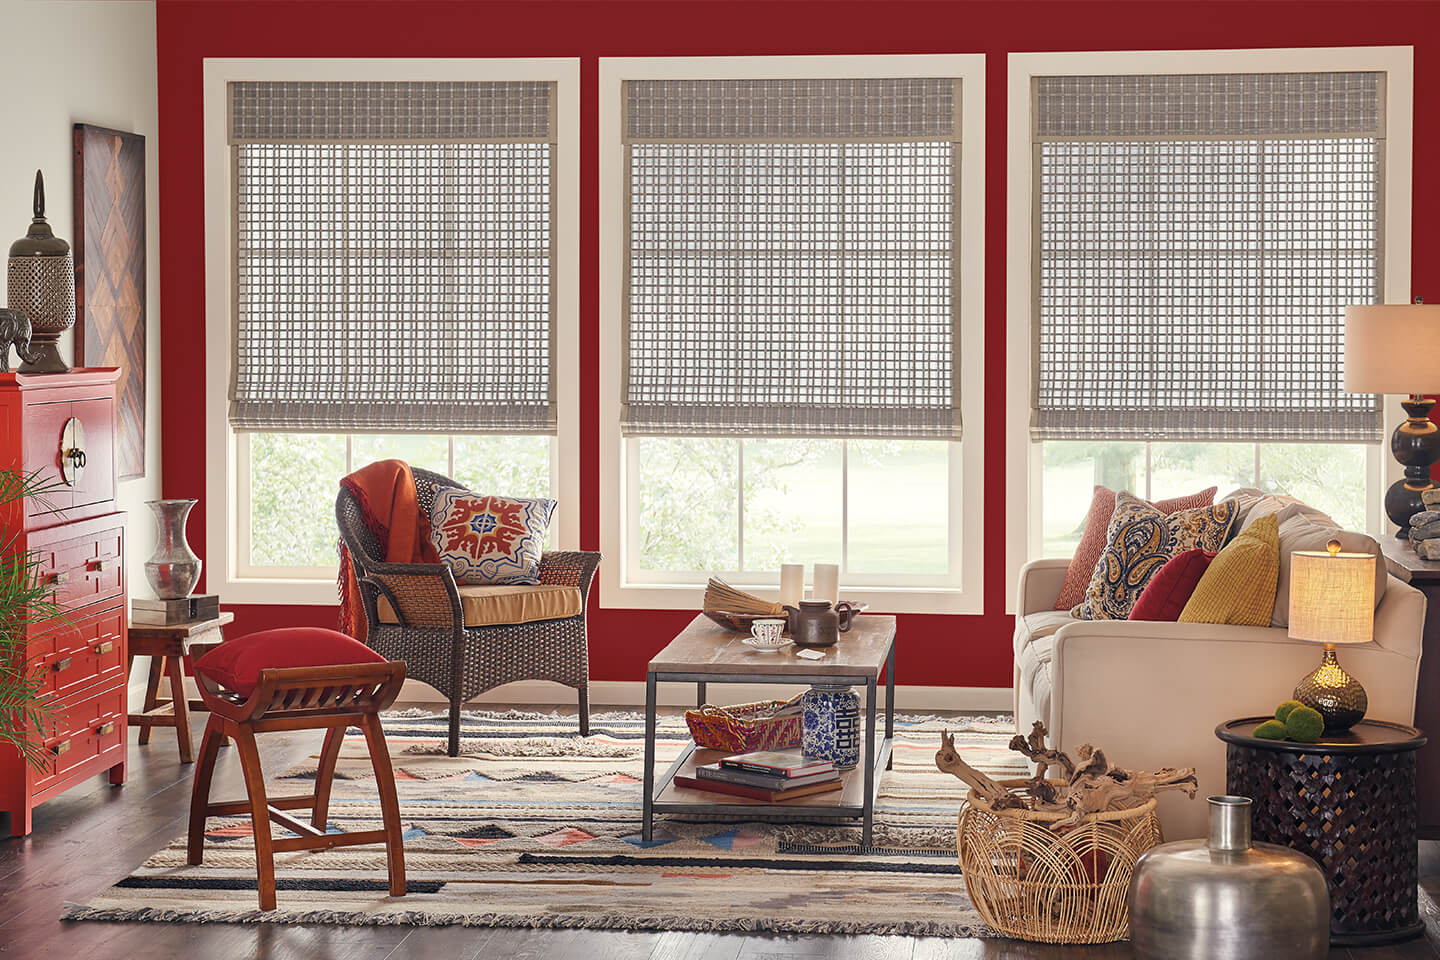
Finishing Touches
After completing the process of making your ceiling flat, there are a few finishing touches you can consider to add the final touches to your project. These details can greatly enhance the overall appearance of your room. Here are some ideas to consider:
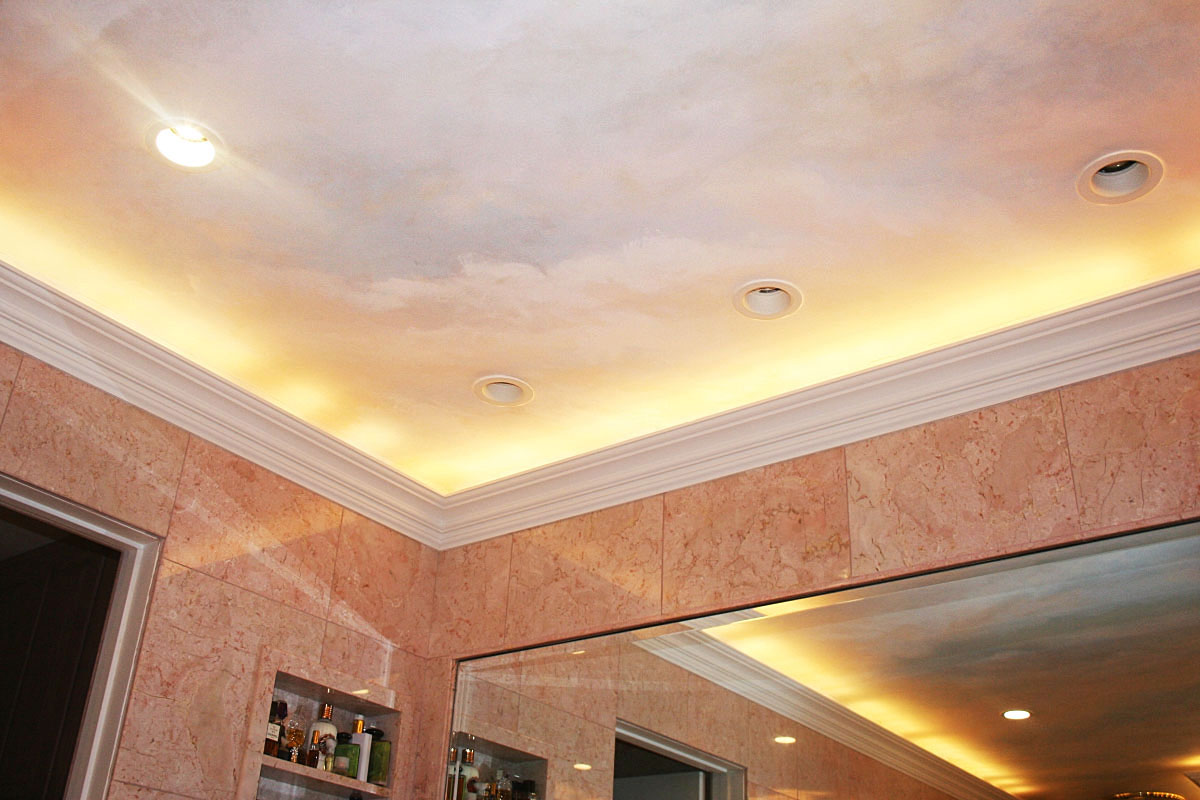
- Trim and molding: Consider adding decorative trim or molding to the edges of your ceiling. This can provide a polished and elegant look, further accentuating the flatness of the ceiling.
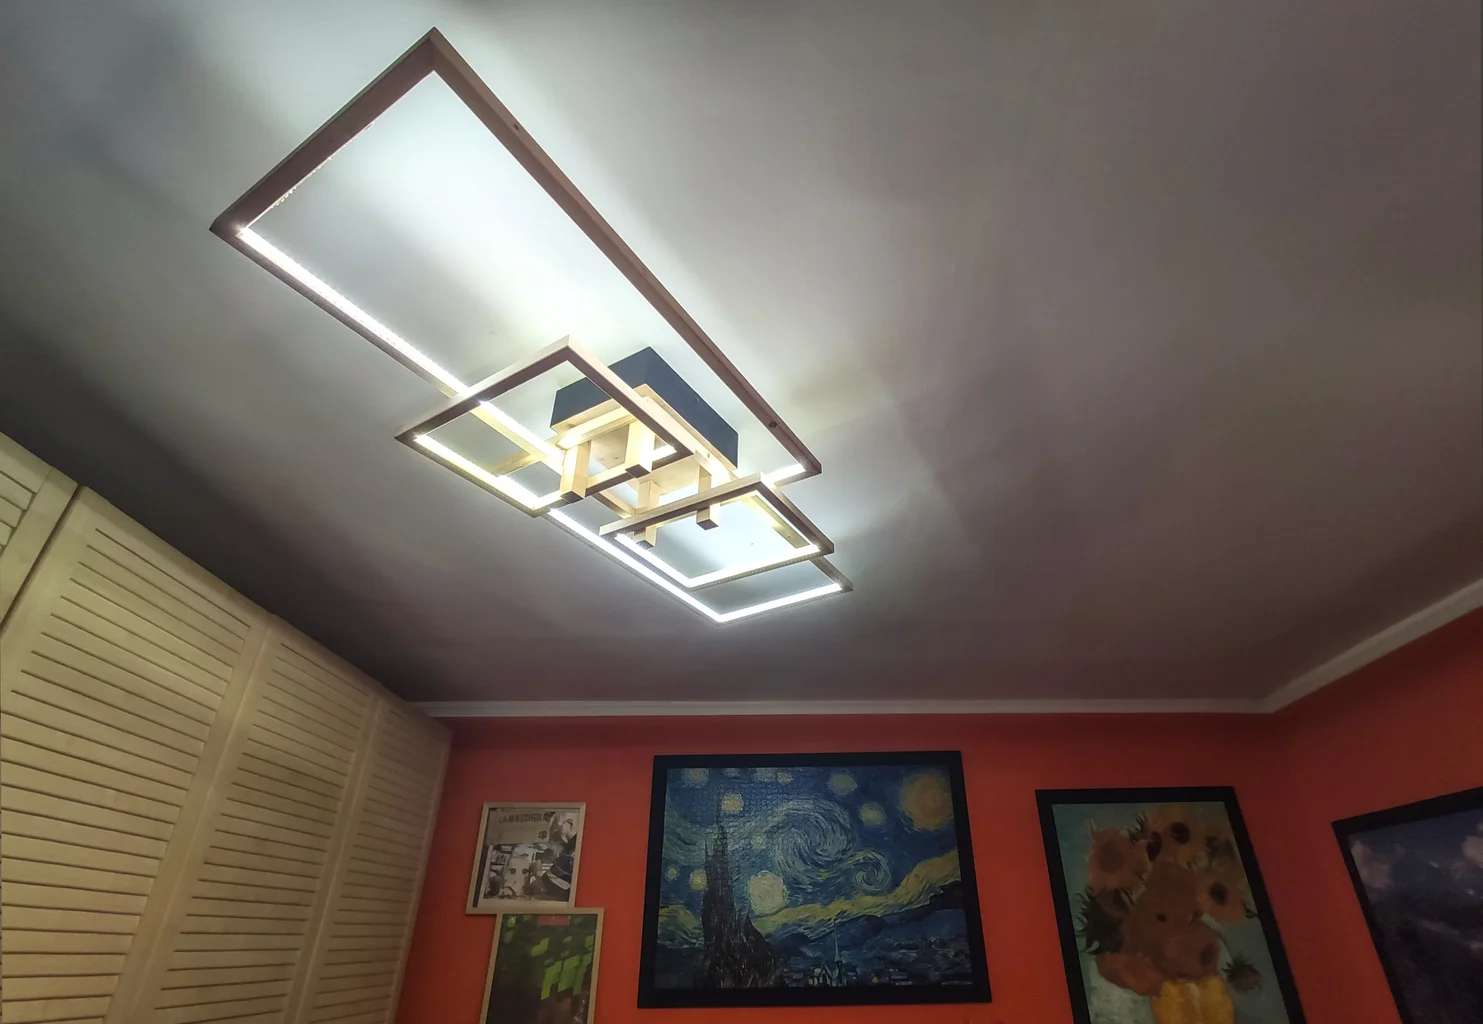
- Lighting fixtures: Update your lighting fixtures to complement the new flat ceiling. Consider installing recessed lights or pendant lights to create a modern and stylish look.
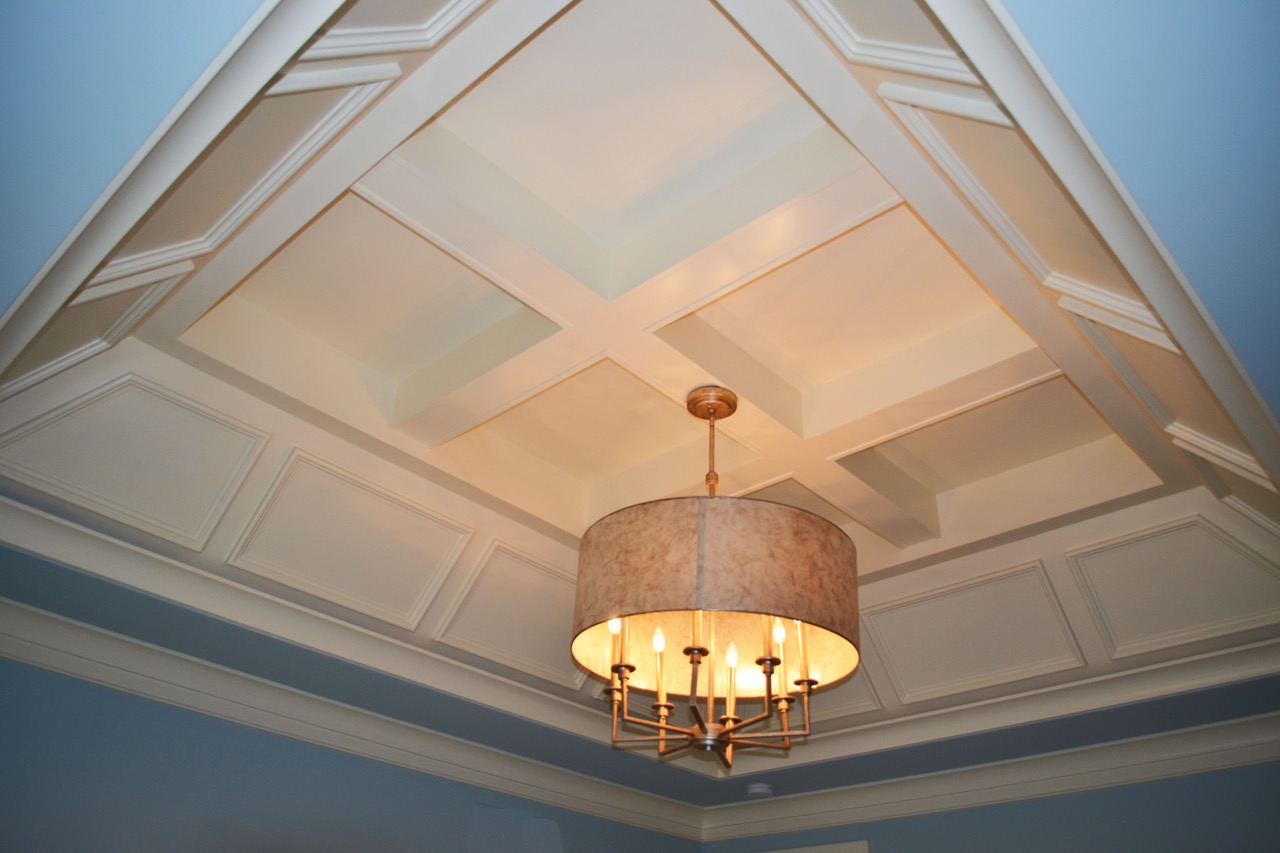
- Ceiling medallions: Add a decorative ceiling medallion around your light fixtures to add a touch of elegance and focal point to the room.
- Crown molding: Install crown molding where the walls meet the ceiling. This can create a more defined and refined look, enhancing the visual appeal of your newly flat ceiling.
- Color accents: Consider adding a pop of color to your ceiling by painting it a different color than the walls. This can create a unique and eye-catching design element in your room.
- Patterned wallpaper: If you want to add texture and visual interest to your ceiling, you can opt for patterned wallpaper. Choose a design that complements the overall style of your room.
- Ceiling tiles or panels: Another option is to install decorative ceiling tiles or panels for a more intricate and luxurious look. These can add depth and visual appeal to your flat ceiling.
These finishing touches allow you to personalize your space and showcase your style. Consider your overall room design and choose options that enhance the beauty of your flat ceiling. Experiment with different ideas and find the ones that best suit your taste and the atmosphere you want to create in your room.
By adding these final touches, your flat ceiling will become a standout feature of your room, creating a visually pleasing and harmonious space for you to enjoy.
Conclusion
Transforming an uneven ceiling into a flat and visually appealing surface can greatly enhance the overall appearance of your room. By following the step-by-step process outlined in this article, you can successfully achieve a professional-looking flat ceiling. From assessing the ceiling to applying a skim coat, sanding, and painting, every step plays a crucial role in creating a smooth and seamless finish.
Remember to assess the condition of your ceiling, prepare the work area, and remove any existing texture before moving on to patching and repairing any imperfections. Applying a skim coat and sanding the surface will further refine the flatness, while priming and painting will provide the finishing touches.
Throughout the process, it’s important to pay attention to detail, take your time, and use quality materials. Investing effort and patience will result in a professionally styled flat ceiling that adds elegance and beauty to your space.
Additionally, don’t forget to consider the finishing touches that can further enhance the appearance of your flat ceiling, such as decorative trim or molding, stylish lighting fixtures, or accent colors.
In conclusion, by following the steps outlined in this article and infusing your personal creativity, you can turn your uneven ceiling into a flat and visually stunning focal point in your room. Embrace the process and enjoy the satisfaction of transforming your space into a truly remarkable and inviting environment.
Frequently Asked Questions about How To Make An Uneven Ceiling Flat
Was this page helpful?
At Storables.com, we guarantee accurate and reliable information. Our content, validated by Expert Board Contributors, is crafted following stringent Editorial Policies. We're committed to providing you with well-researched, expert-backed insights for all your informational needs.


0 thoughts on “How To Make An Uneven Ceiling Flat”