Articles
How To Build A Vaulted Ceiling
Modified: May 6, 2024
Learn how to build a vaulted ceiling with our comprehensive articles. Gain expert tips and step-by-step instructions for a stunning architectural addition.
(Many of the links in this article redirect to a specific reviewed product. Your purchase of these products through affiliate links helps to generate commission for Storables.com, at no extra cost. Learn more)
Introduction
Building a vaulted ceiling can add a touch of elegance and spaciousness to any room. The dramatic slope and curvature of a vaulted ceiling can transform a plain and ordinary space into a visually stunning architectural feature. Whether you’re looking to enhance the aesthetics of your home or increase its value, building a vaulted ceiling is a worthwhile investment.
Before embarking on this project, it’s important to understand that building a vaulted ceiling requires careful planning, precise measurements, and a good understanding of the construction process. It is recommended to consult a professional contractor or architect to ensure that the structural integrity of your home remains intact during the process.
In this article, we will guide you through the step-by-step process of building a vaulted ceiling. From planning and measurement to the finishing touches, we will cover all the necessary steps to help you achieve a beautiful and functional vaulted ceiling.
Keep in mind that every project is unique, and the specific steps and materials needed may vary depending on your individual circumstances. It’s important to adapt these guidelines to suit your specific needs.
So, if you’re ready to enhance the beauty and value of your home, let’s dive into the materials and tools you will need for this project.
Key Takeaways:
- Building a vaulted ceiling requires careful planning, precise measurements, and the use of proper materials and tools. Prioritize safety, consult professionals when needed, and balance aesthetics with functionality for a successful and visually stunning outcome.
- The process of building a vaulted ceiling involves removing the existing ceiling, installing supports and framework, adding insulation and a vapor barrier, and finishing with drywall, paint, and decorative touches. Attention to detail, patience, and dedication are essential for creating a captivating architectural feature.
Read more: What Is A Vaulted Ceiling
Materials and Tools Needed
Before beginning the construction of a vaulted ceiling, it’s important to gather all the necessary materials and tools. Here’s a comprehensive list of what you’ll need:
Materials:
- Lumber: You’ll need a variety of lumber, including joists, beams, and studs, to build the framework of the vaulted ceiling.
- Drywall: Drywall will be used to cover the framework and provide a smooth surface for finishing.
- Insulation: Insulating the vaulted ceiling will help regulate temperature and improve energy efficiency.
- Vapor barrier: A vapor barrier is necessary to prevent moisture buildup and protect the structure from damage.
- Screws and nails: These will be used to secure the various components together.
- Drywall tape and joint compound: These materials are essential for finishing the drywall seams and achieving a seamless look.
- Paint or wallpaper: Once the construction is complete, you’ll need paint or wallpaper to add the final decorative touch to the vaulted ceiling.
Tools:
- Tape measure: Accurate measurements are crucial for a successful construction project.
- Hammer: A hammer will be used to secure nails.
- Screwdriver: A screwdriver will be needed to tighten screws.
- Power drill: A power drill will make the installation process faster and more efficient.
- Level: A level is essential for ensuring that the framework and beams are straight and level.
- Saw: A saw will be used to cut the lumber to the required lengths.
- Miter saw: A miter saw will be necessary for cutting the angles of the beams accurately.
- Drywall knife: A drywall knife is used for cutting and shaping the drywall sheets.
- Trowel: A trowel is needed for applying joint compound to the drywall seams.
- Ladder or scaffolding: Depending on the height of the ceiling, you’ll need a ladder or scaffolding to reach the higher areas.
Make sure to gather all the necessary materials and tools before starting the project. This will help you work more efficiently and minimize any interruptions during the construction process.
Step 1: Planning and Measuring
Planning is a vital step in building a vaulted ceiling. Before you begin any construction work, take the time to carefully plan and measure the space to ensure a successful outcome. Here’s what you need to do:
- Assess the space: Determine which room or area you want to install the vaulted ceiling in. Consider factors such as the height of the room, the existing roof structure, and any potential obstacles or restrictions.
- Decide on the slope: Consider the desired slope of the vaulted ceiling. A steeper slope can create a more dramatic effect, while a gentler slope may be more suitable for smaller spaces.
- Measure the dimensions: Measure the height, width, and length of the area where the vaulted ceiling will be constructed. Take accurate measurements to ensure that the materials and framework fit properly.
- Consult a professional: If you’re unsure about any aspect of the planning process, it’s best to consult a professional contractor or architect. They can provide valuable insights and advice based on their expertise.
- Create a blueprint: Use the measurements and desired slope to create a blueprint or sketch of the vaulted ceiling. This will serve as a visual guide throughout the construction process and help you stay organized.
During the planning stage, consider factors such as lighting, ventilation, and insulation. You may need to make adjustments to accommodate these elements in your design and ensure a functional and comfortable space.
Once you have completed the planning and measuring stage, you’re ready to move on to the next step: removing the existing ceiling.
Read more: How Much To Vault A Ceiling
Step 2: Removing Existing Ceiling
Before you can begin the construction of a vaulted ceiling, you need to remove the existing ceiling. This step requires careful consideration and precautionary measures to ensure a safe removal process. Here’s what you need to do:
- Prepare the workspace: Clear the area surrounding the ceiling to create a safe and clutter-free workspace. Remove any furniture, decorations, or fixtures that may obstruct your work.
- Protect the floor: Cover the floor with drop cloths or plastic sheets to prevent damage from falling debris.
- Turn off electricity: Locate the circuit breaker that controls the power supply to the area and turn off the electricity. This will ensure your safety while working on the ceiling.
- Remove light fixtures: Carefully remove any light fixtures or ceiling fans attached to the existing ceiling. Disconnect the wiring and set the fixtures aside for later reinstallation.
- Wear protective gear: Put on safety goggles, gloves, and a dust mask to protect yourself from dust, debris, and potential hazards.
- Detach the ceiling panels: If your existing ceiling is made up of panels, use a pry bar or crowbar to gently detach them from the framework. Start at one corner and work your way across, being cautious not to damage the surrounding walls or roof.
- Remove nails or screws: Once the ceiling panels are removed, inspect the framework for any remaining nails or screws. Use a claw hammer or screwdriver to remove them, ensuring a clean and smooth surface for the new ceiling.
- Dispose of debris: Bag up the removed ceiling panels and any other debris generated during the removal process. Dispose of them properly according to local regulations.
Remember to proceed with caution and take your time during this step. It’s essential to remove the existing ceiling carefully to avoid damaging the surrounding structure. Once the old ceiling is successfully removed, you can move on to the next step: installing supports for the new vaulted ceiling.
Step 3: Installing Supports
With the existing ceiling removed, the next step in building a vaulted ceiling is to install the necessary supports. These supports will provide the structural integrity and stability required for the new ceiling. Follow these steps to install the supports:
- Inspect the existing structure: Examine the exposed framework and roof structure to ensure its integrity. Look for any signs of damage or weakness that may need to be addressed before proceeding.
- Measure and mark the support locations: Determine the spacing for the ceiling supports based on the dimensions and slope of your vaulted ceiling. Use a measuring tape and pencil to mark the appropriate locations on the framework.
- Install ceiling joists: Cut and install the ceiling joists between the existing walls or support beams. Ensure they are level and securely attached to the framework. Use screws or nails for secure fastening.
- Add center support beams: Depending on the size and span of the vaulted ceiling, you may need to install additional center support beams. These will provide extra stability and prevent sagging over time.
- Secure the supports: Double-check that all supports are properly aligned and securely fastened. Use a level to ensure they are perfectly straight and plumb.
Throughout the installation process, take measurements and make adjustments as needed to ensure a precise fit. It’s important to ensure that all supports are securely in place, as they will bear the weight of the new ceiling.
Once the supports are installed and confirmed to be level and secure, you can move on to the next step: building the framework for the vaulted ceiling.
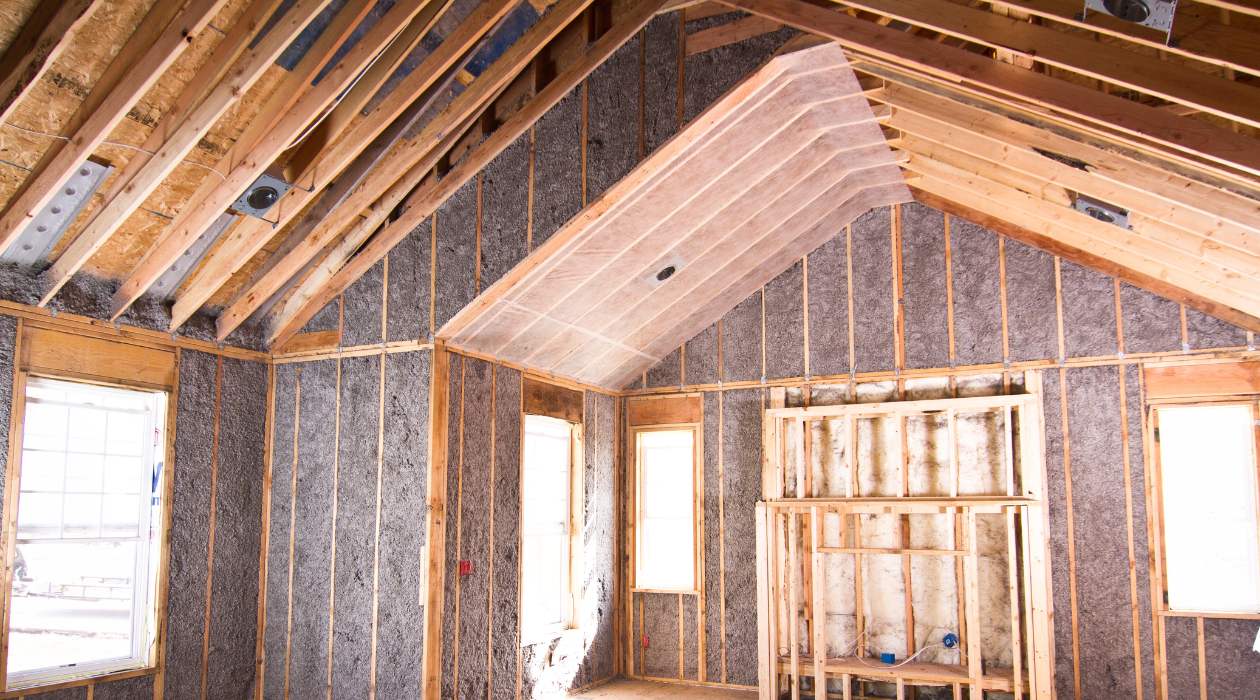
Step 4: Building the Framework
Now that the supports are in place, it’s time to build the framework for the vaulted ceiling. The framework will provide the structure and shape for the ceiling, allowing for the unique vaulted design. Follow these steps to build the framework:
- Measure and cut the ceiling beams: Measure the length of the ceiling beams according to the dimensions of your vaulted ceiling. Use a miter saw to cut the ends at the appropriate angles, ensuring a tight fit against the supports.
- Attach the ceiling beams: Secure the ceiling beams to the supports using screws or nails. Make sure that the beams are evenly spaced and level throughout the ceiling.
- Add additional cross beams: Depending on the size and span of your vaulted ceiling, additional cross beams may be necessary for added support. Cut and install these beams perpendicular to the ceiling beams, evenly spaced to provide stability.
- Check for stability: Double-check that the framework is securely in place and level using a level. Ensure that all connections are tight and secure.
When building the framework, it’s important to maintain the desired slope and shape of the vaulted ceiling. Take your time to ensure that the beams are properly aligned and securely attached to the supports.
With the framework complete, you’re ready to move on to the next step: installing the ceiling beams to create the visual aspect of the vaulted ceiling.
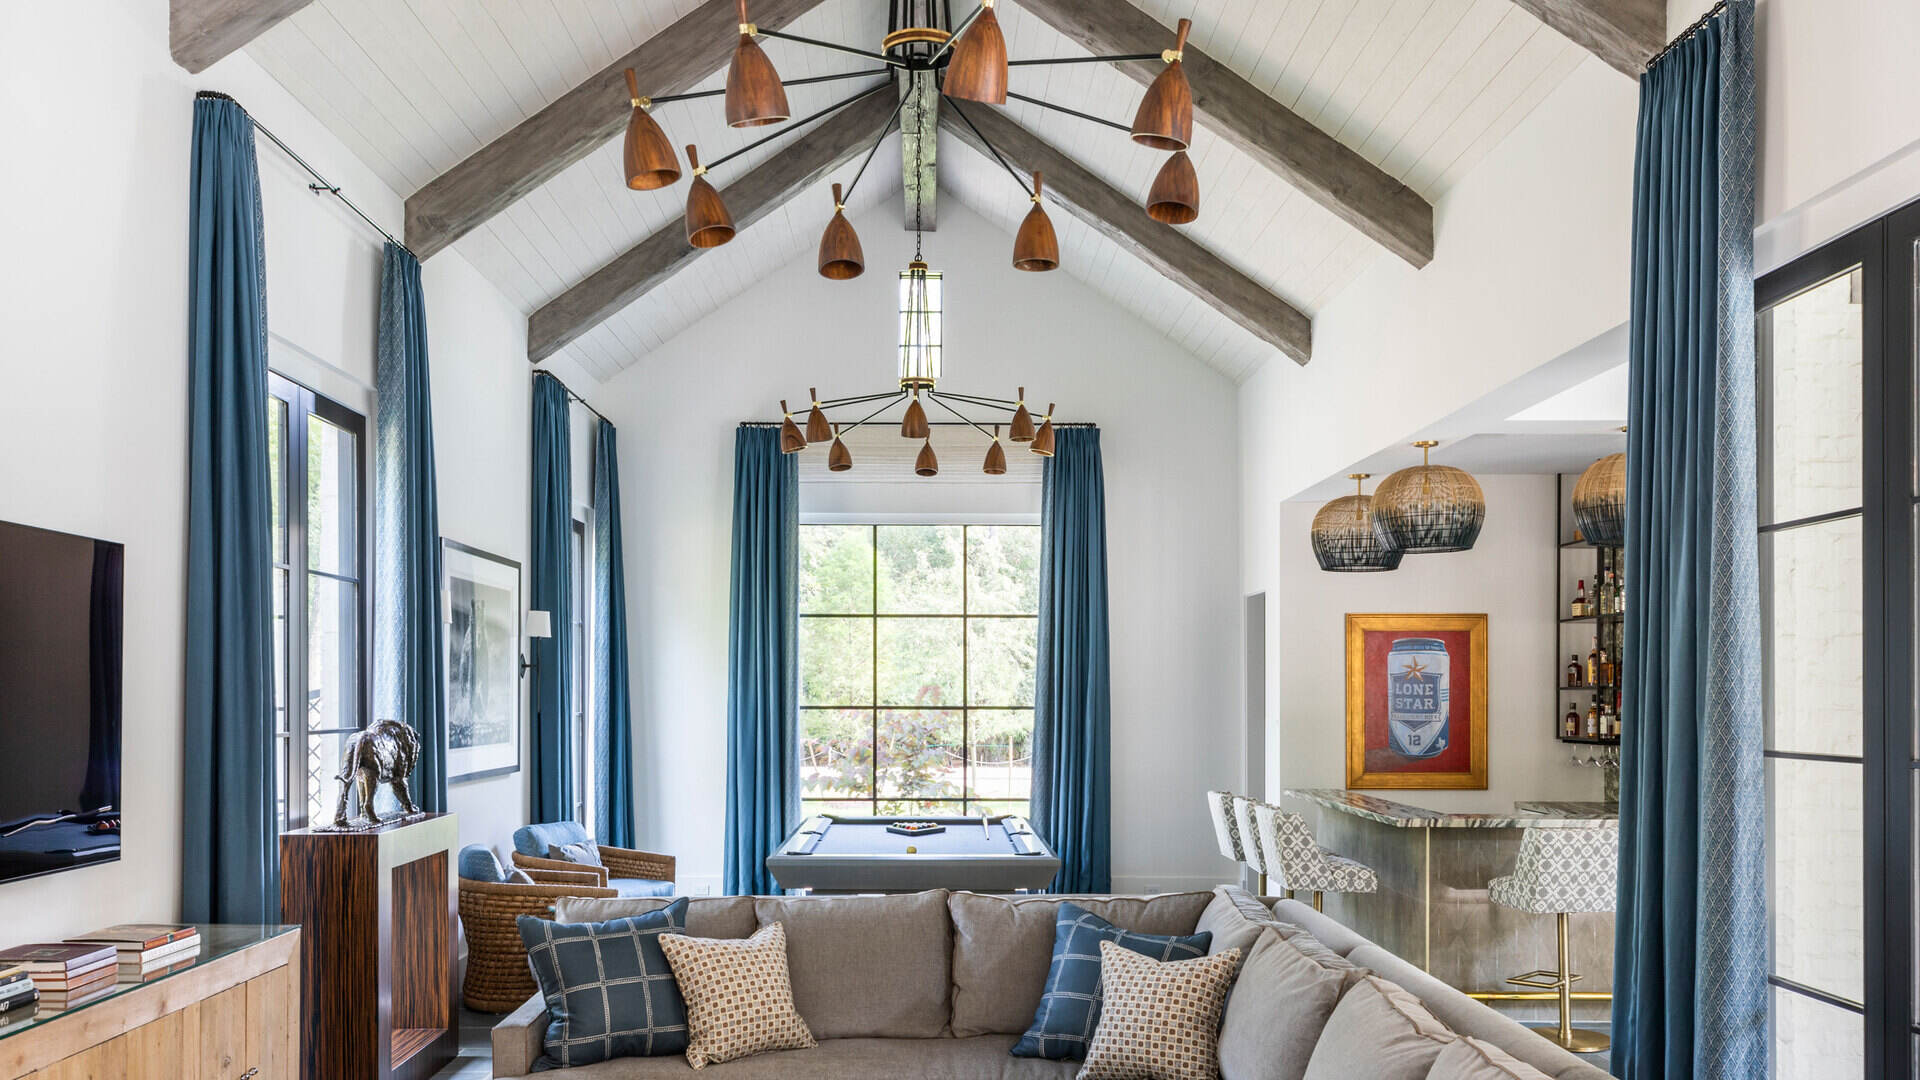
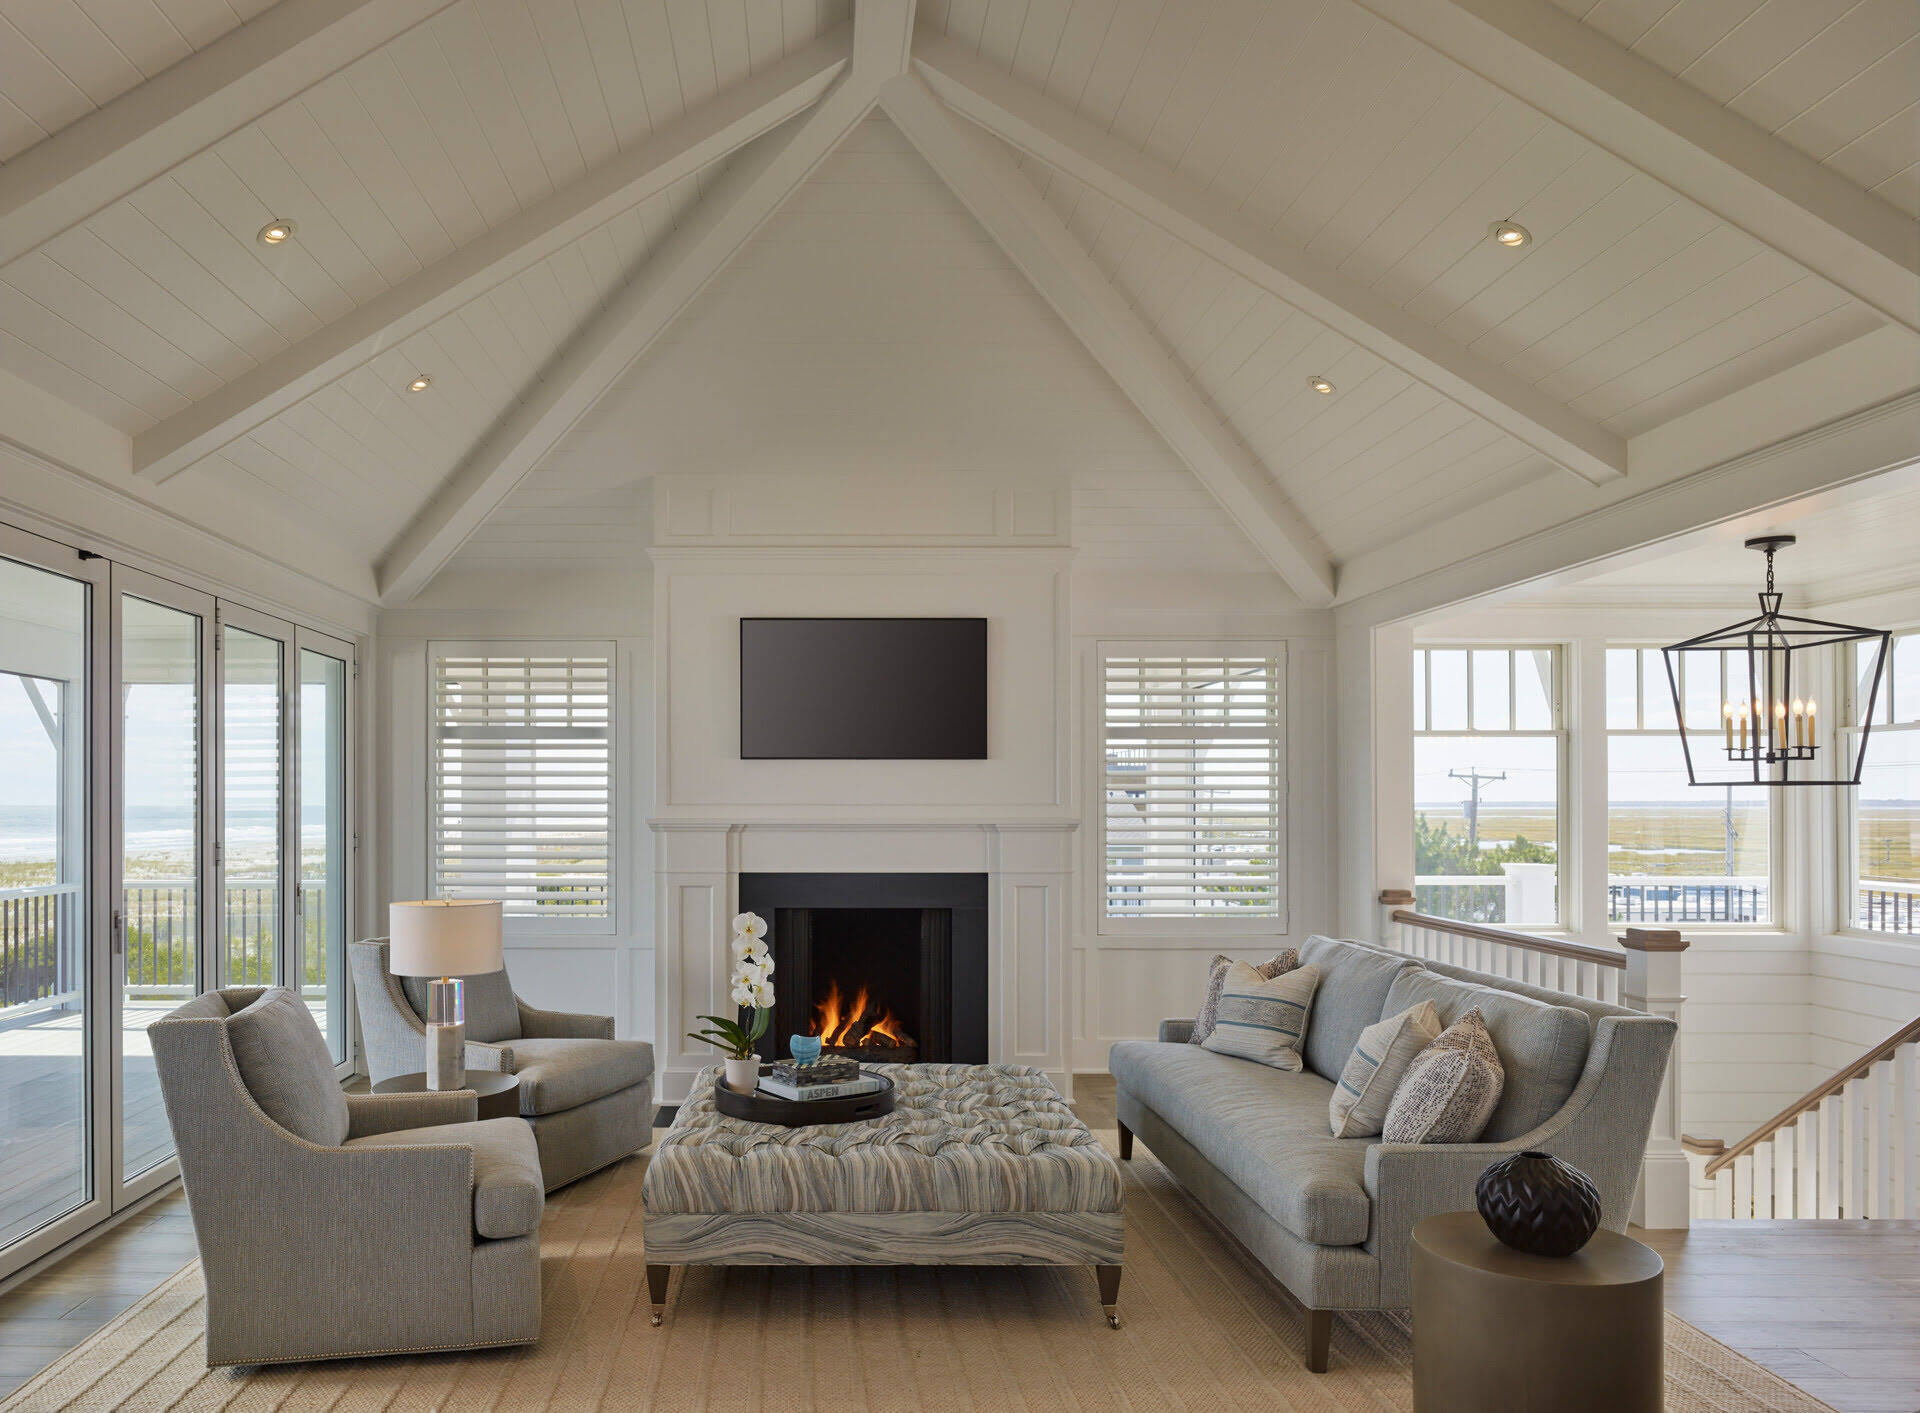
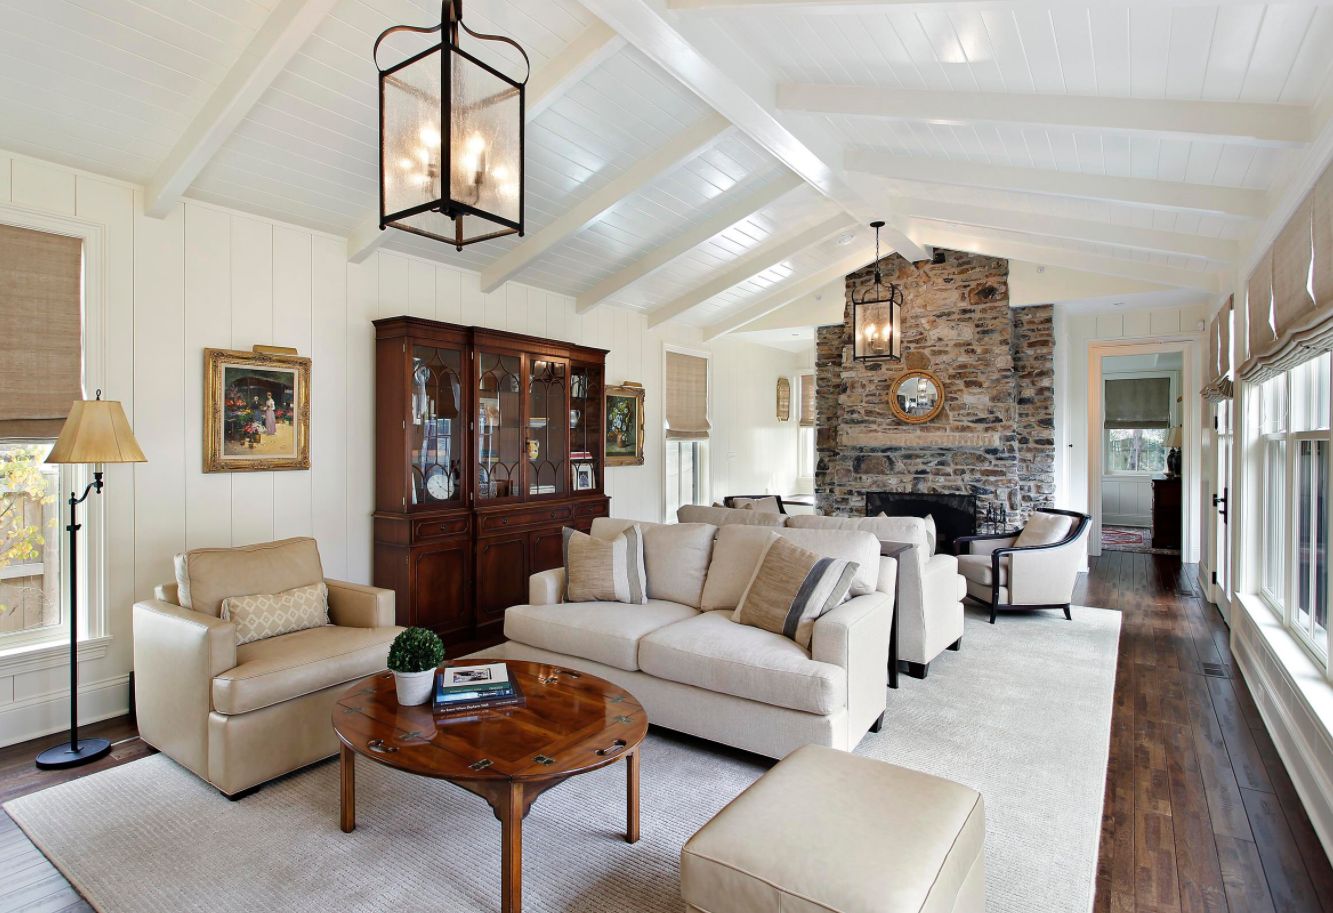
Step 5: Installing Ceiling Beams
With the framework in place, it’s time to add the finishing touch to your vaulted ceiling by installing the ceiling beams. The beams not only contribute to the aesthetic appeal of the ceiling but also provide structural support. Follow these steps to install the ceiling beams:
- Select the appropriate beams: Choose the type of beams you want to use for your vaulted ceiling, such as wooden beams or decorative faux beams. Consider the style and look you want to achieve.
- Measure and cut the beams: Measure the length required for each beam, taking into account the dimensions of your vaulted ceiling. Use a miter saw to make straight cuts and angled cuts as necessary.
- Attach the beams: Position the beams according to your design and attach them to the ceiling framework using screws or nails. Make sure they are securely fastened to the framework and aligned correctly.
- Check for stability: Once all beams are installed, check for stability by gently shaking them. Ensure there are no loose connections or signs of instability.
When installing the ceiling beams, consider spacing and symmetry to achieve a visually appealing result. You can be creative with the design by varying the beam patterns or incorporating decorative elements.
With the ceiling beams in place, your vaulted ceiling begins to take shape. Now it’s time to move on to the next step: adding insulation and a vapor barrier for energy efficiency and protection.
When building a vaulted ceiling, make sure to properly support the structure with adequate framing and consider the weight of the materials used to prevent any structural issues.
Read more: How To Decorate A Vaulted Ceiling Wall
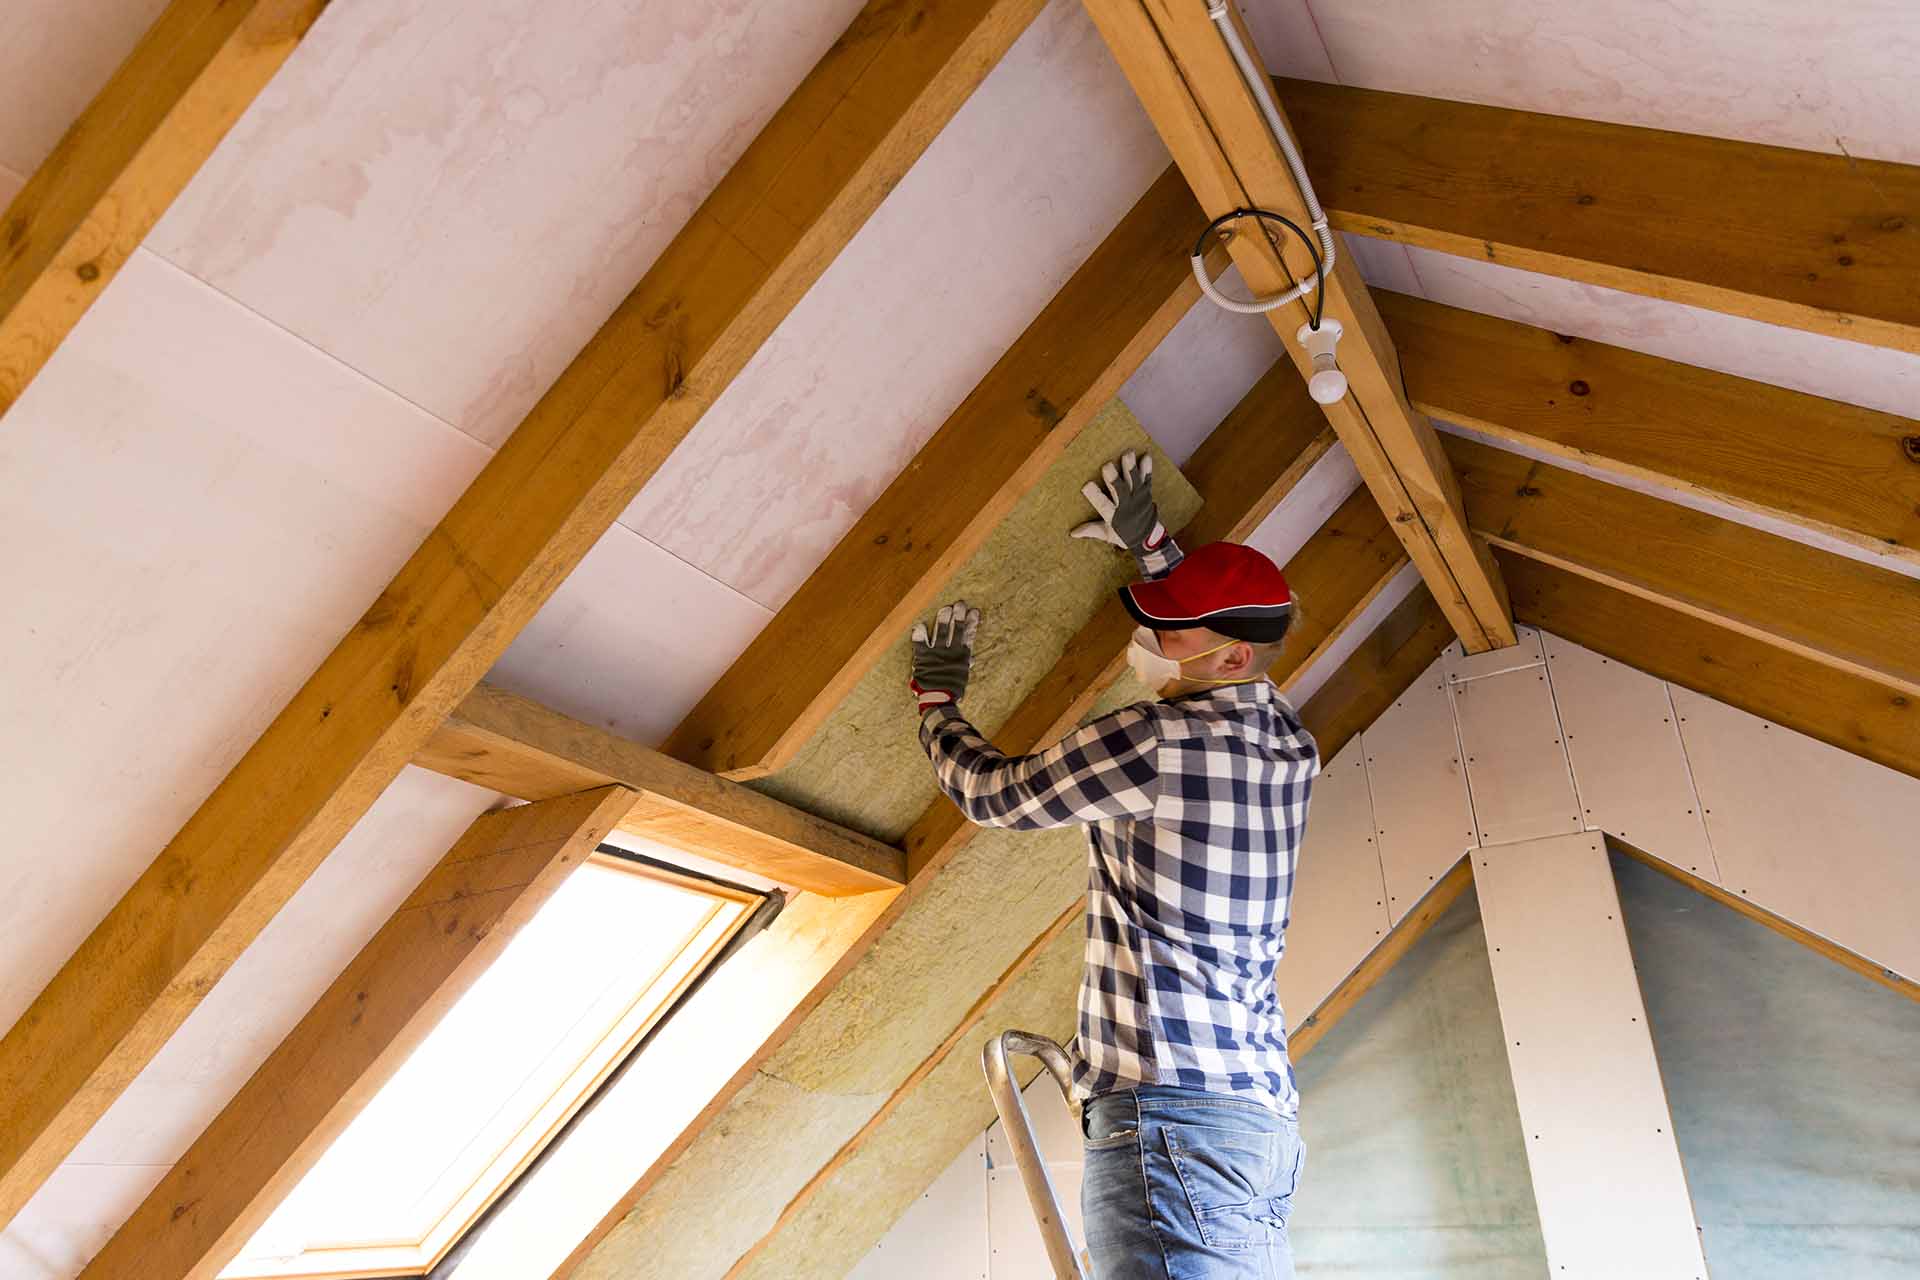
Step 6: Adding Insulation and Vapor Barrier
Insulation and a vapor barrier are crucial components when building a vaulted ceiling. Insulation helps regulate temperature, improve energy efficiency, and provide soundproofing, while a vapor barrier prevents moisture buildup and protects the structure. Follow these steps to add insulation and a vapor barrier to your vaulted ceiling:
- Choose the insulation type: Select the appropriate insulation material based on your climate and personal preference. Common options include fiberglass batts, spray foam, or blown-in insulation.
- Measure and cut the insulation: Measure the length and width of the areas between the ceiling beams. Cut the insulation material to fit snugly in those spaces.
- Install the insulation: Place the insulation material between the beams, ensuring that it fills the entire space, with no gaps or compressed areas. Use a utility knife to trim the pieces, if necessary.
- Add a vapor barrier: Install a vapor barrier over the insulation to protect it from moisture. A vapor barrier is typically a plastic sheet that acts as a barrier between the insulation and the interior of the room. Secure the vapor barrier to the ceiling framework using staples or adhesive tape.
- Seal any gaps: Inspect the vaulted ceiling for any gaps or openings where air can escape. Use caulk or expanding foam to seal these gaps, ensuring optimal insulation performance.
Proper insulation and a vapor barrier are essential for maintaining a comfortable temperature and preventing moisture-related issues in your vaulted ceiling. Ensure that the insulation material is installed according to the manufacturer’s guidelines, and pay attention to local building codes and regulations.
With insulation and a vapor barrier in place, your vaulted ceiling is now well-insulated and protected. Next, you’ll move on to installing the drywall to create a finished surface.
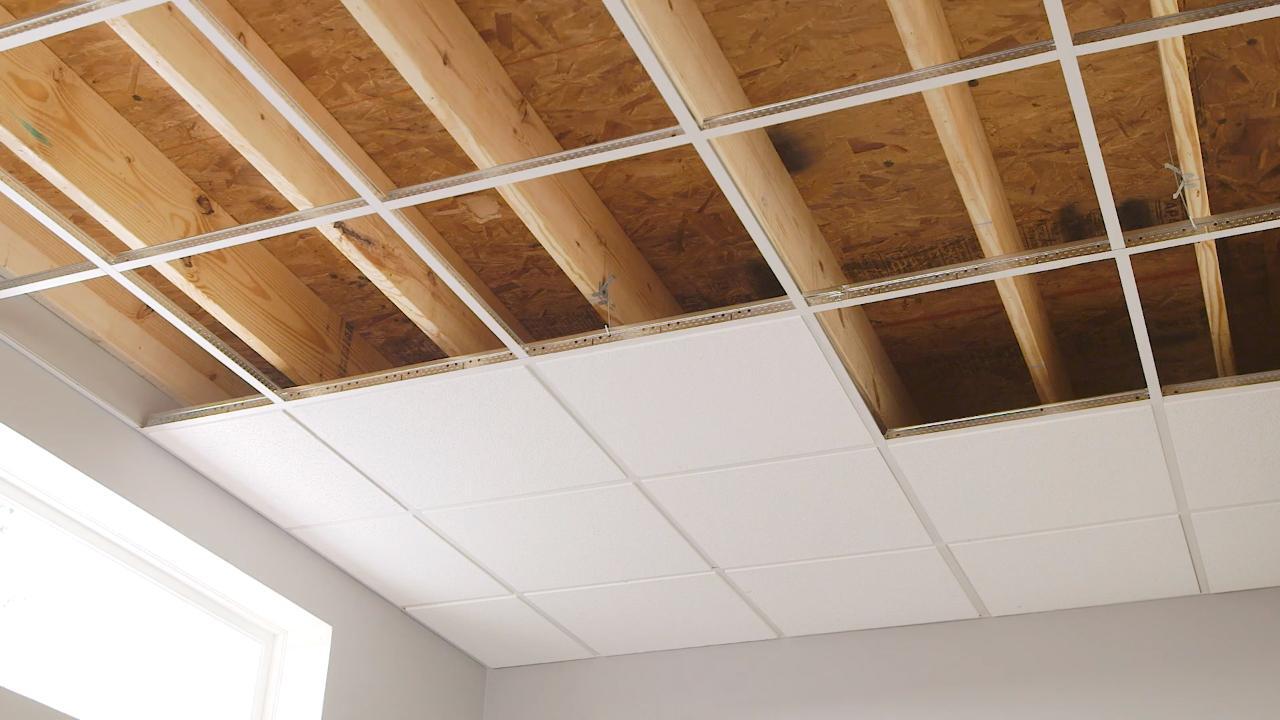
Step 7: Installing Drywall
Installing drywall is a crucial step in finishing your vaulted ceiling. Drywall provides a smooth and seamless surface, ready for paint or wallpaper. Follow these steps to install drywall on your vaulted ceiling:
- Measure and cut the drywall: Measure the dimensions of the ceiling surface where you’ll be installing the drywall. Use a utility knife or a drywall saw to cut the drywall sheets to the appropriate size.
- Position the drywall: With the help of a ladder or scaffolding, carefully position the drywall sheets on the ceiling framework. Start with one corner and work your way across, ensuring the edges are aligned and the drywall fits snugly against the beams.
- Secure the drywall: Use drywall screws or nails to secure the drywall sheets into place. Drive them in every 16 inches along the edges and every 8 inches along the beams. Make sure the screws or nails are flush with the surface of the drywall, without breaking through the paper layer.
- Tape and mud the seams: Apply drywall joint tape over the joints between the drywall sheets. Use a trowel to spread joint compound (also known as mud) over the tape, feathering it out to blend with the surrounding surface. Allow it to dry and repeat the process, applying multiple coats if necessary, until the seams are smooth and invisible.
- Sand and finish: Once the joint compound is completely dry, use sandpaper to smooth any rough areas or ridges. Wipe away the dust and apply another layer of joint compound if needed. Repeat the sanding and finishing process until the surface is smooth and ready for paint or wallpaper.
Take your time during the drywall installation process to ensure proper alignment and a professional finish. Pay attention to the joint compound application, as it plays a crucial role in creating seamless and smooth seams.
Once the drywall is installed and finished, your vaulted ceiling is almost complete. The final step involves adding the finishing touches to enhance the visual appeal of the space.
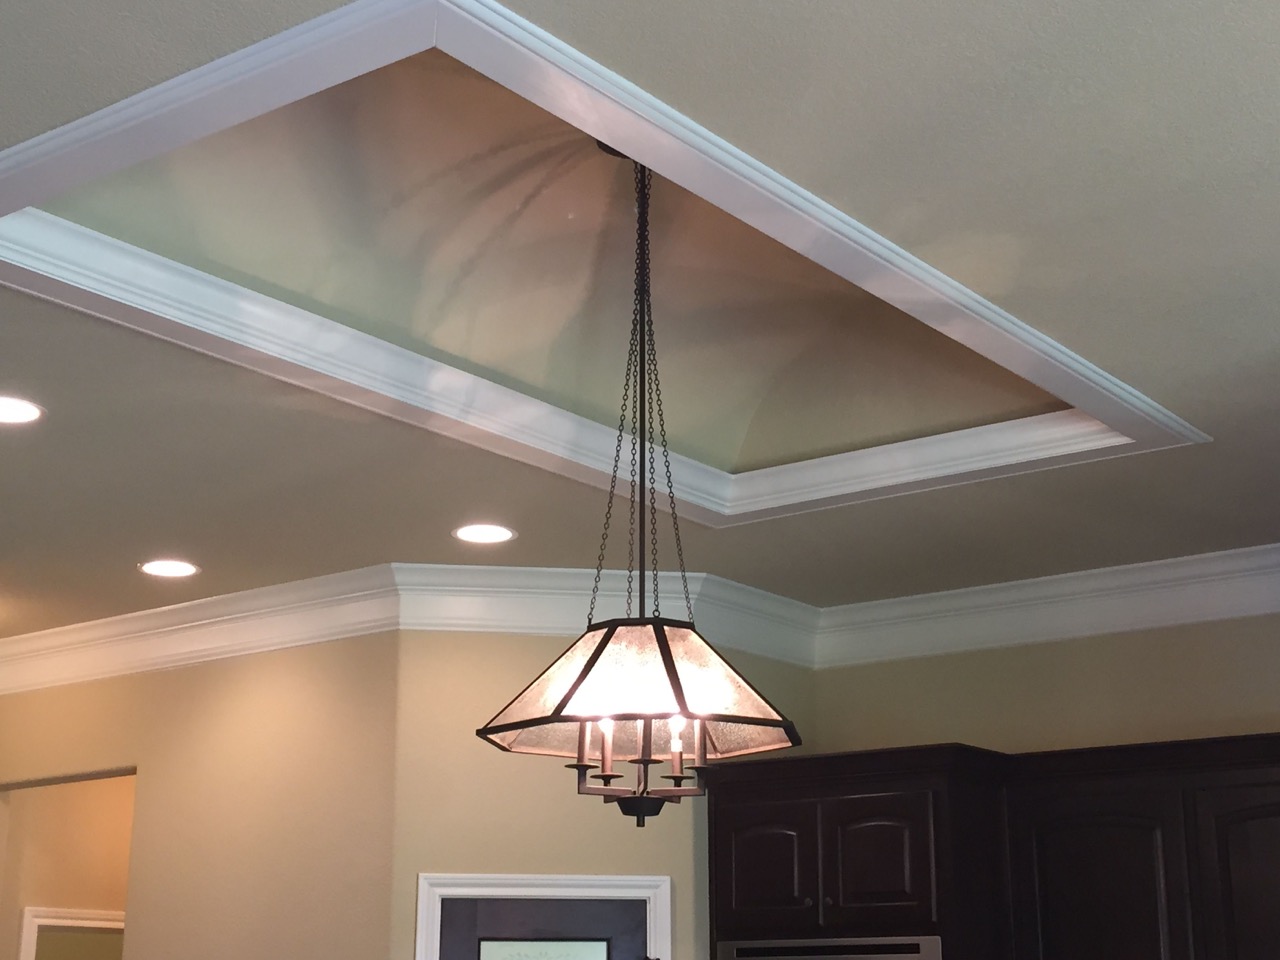
Step 8: Finishing Touches
The finishing touches will bring your vaulted ceiling project to completion, adding the final touches that will enhance the overall look and feel of the space. Follow these steps to add the finishing touches:
- Prime the drywall: Before applying paint or wallpaper, prime the drywall to create a smooth and even surface. Use a primer specifically designed for drywall and apply it evenly using a paint roller or brush. Allow the primer to dry completely.
- Paint the ceiling: Choose a paint color that complements the aesthetic of the room. Apply the paint using a roller or brush, starting from one corner and working your way across the ceiling. Use even strokes to ensure a uniform coat. Depending on the desired opacity, you may need to apply multiple coats, allowing each coat to dry before adding the next.
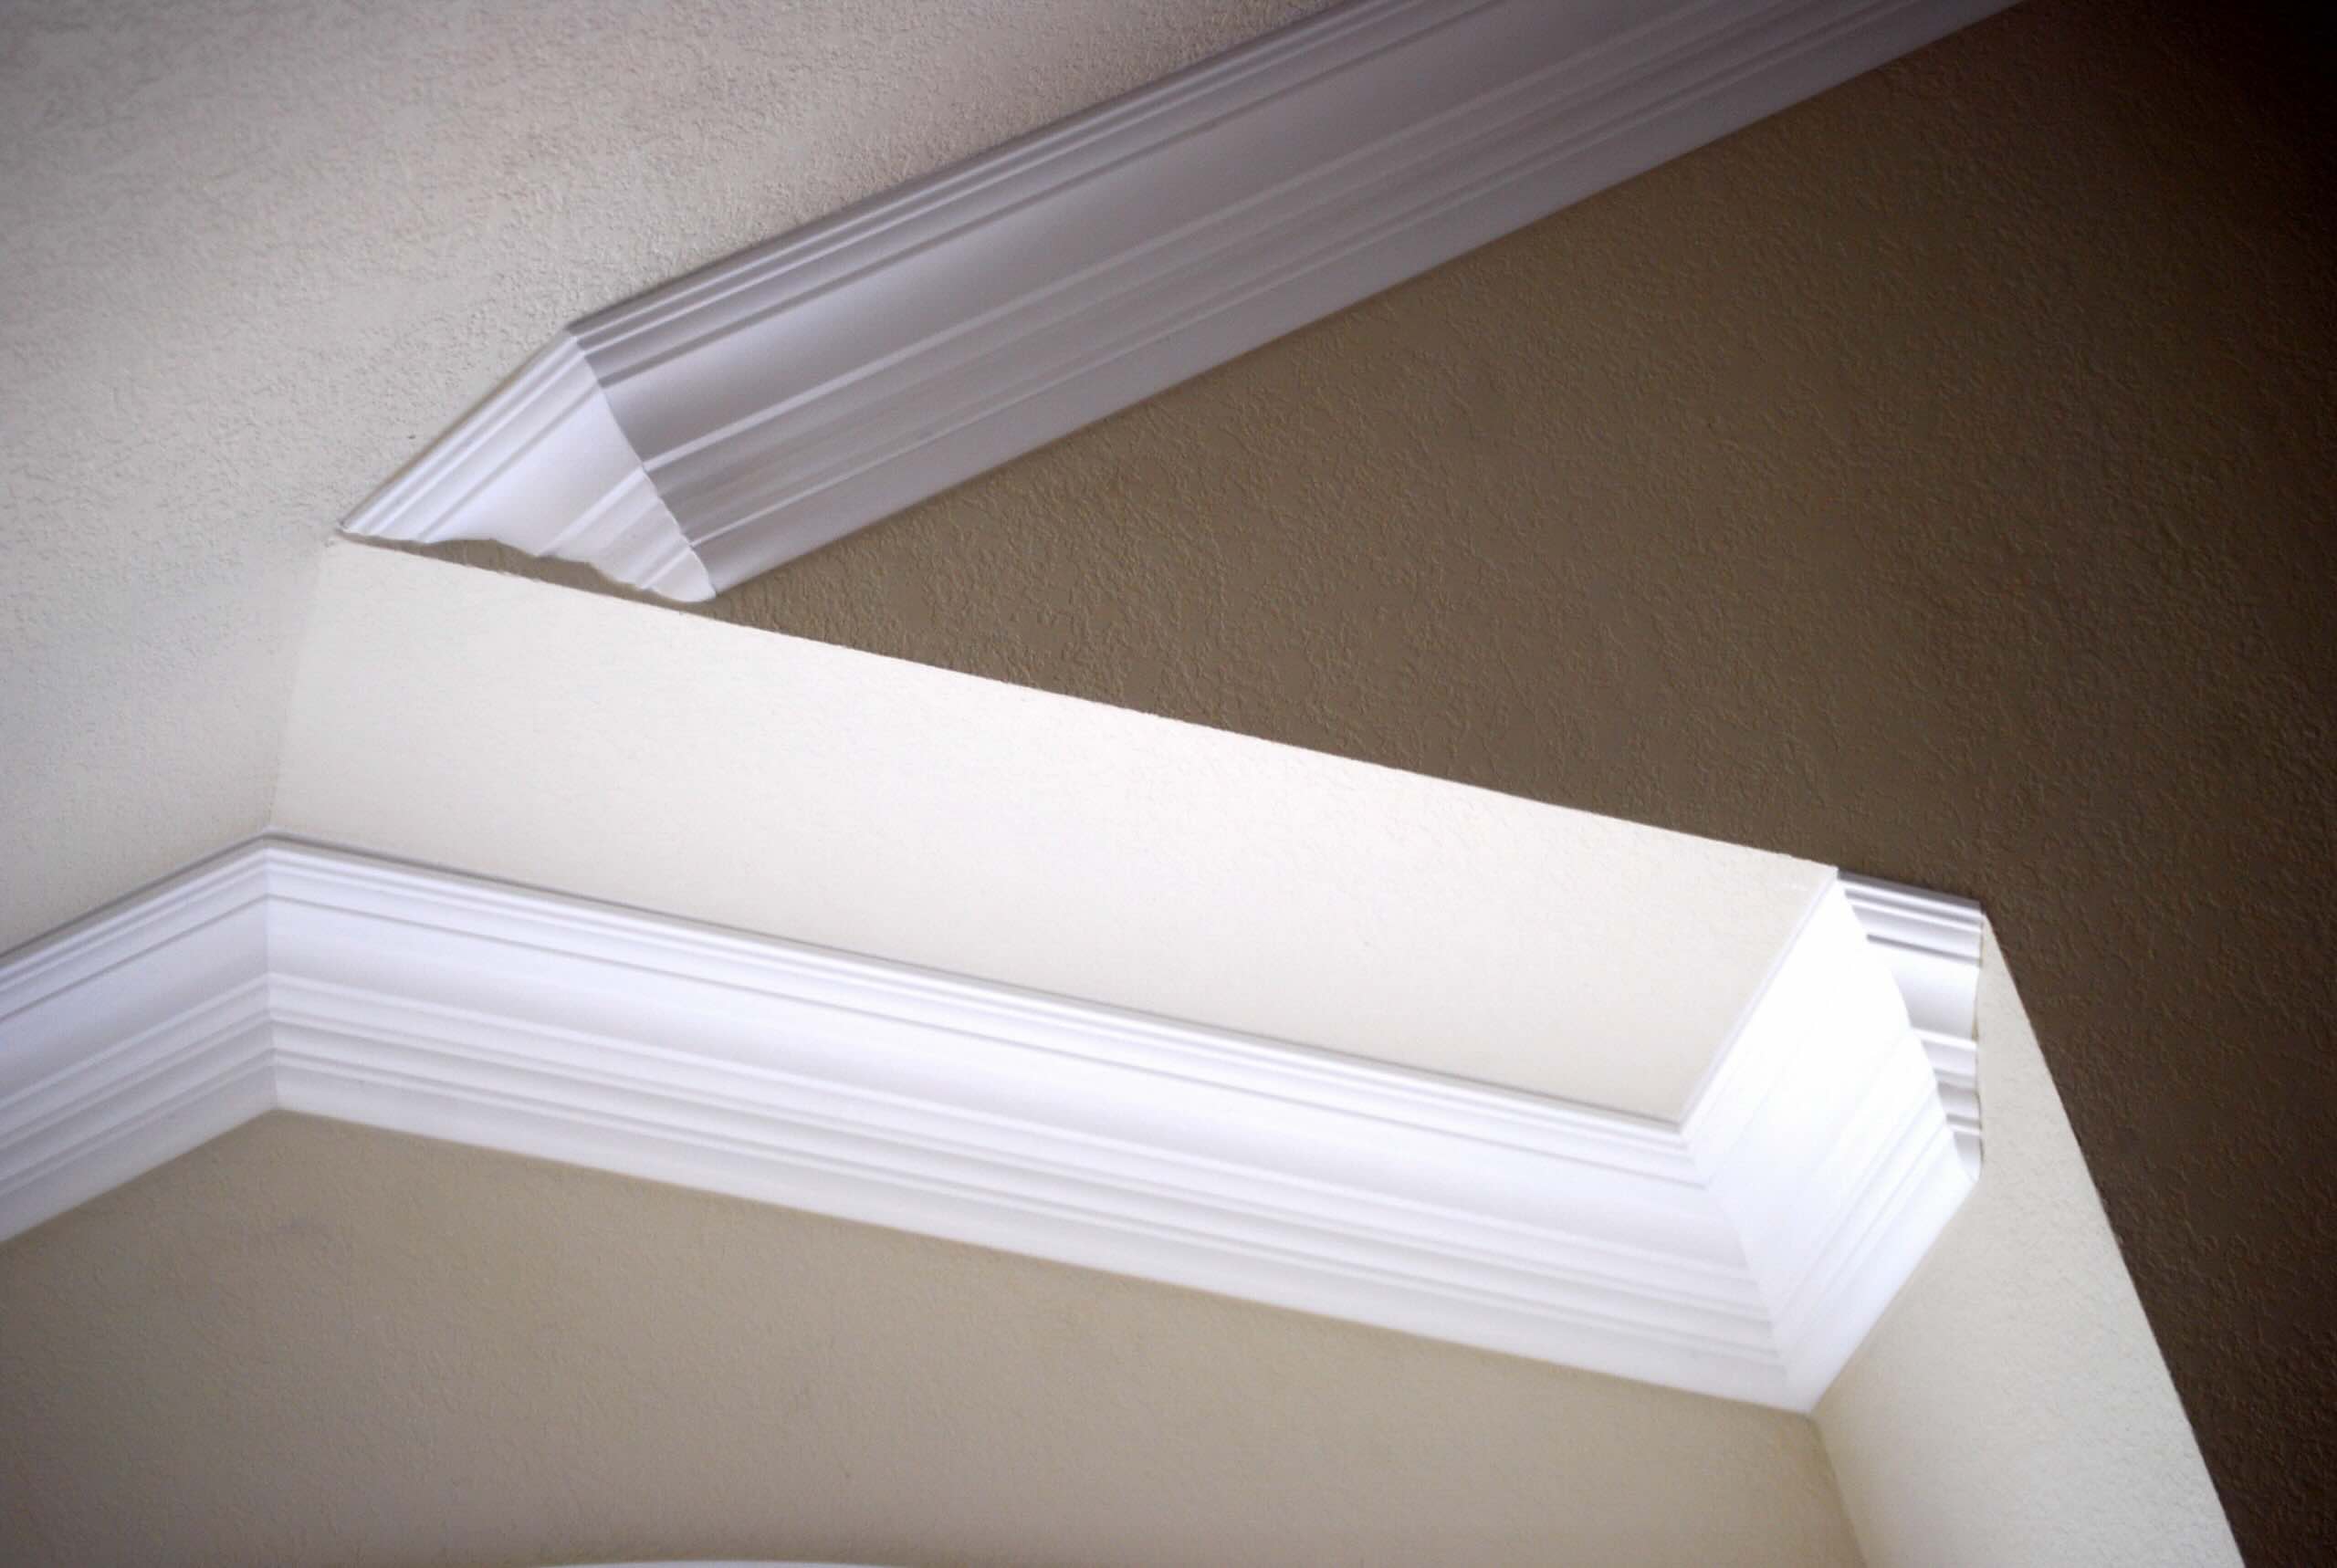
- Install crown molding or trim: To add an elegant touch to your vaulted ceiling, consider installing crown molding or trim along the edges. Measure and cut the pieces to fit, then secure them to the walls using finishing nails or adhesive.
- Add lighting fixtures: Install light fixtures or recessed lighting in the vaulted ceiling to illuminate the space. Determine the ideal placement based on your lighting needs and desired aesthetic.
- Accessorize the space: Complete the look of your vaulted ceiling by adding decorations and furnishings that complement the style of the room. Consider hanging artwork, adding potted plants, or incorporating statement pieces of furniture.
By paying attention to these final details, you will create a visually stunning and cohesive space. The finishing touches will tie everything together and transform your vaulted ceiling into a captivating architectural feature.
Remember to follow safety guidelines and consult professionals when necessary during the installation of lighting fixtures or crown molding. With these finishing touches complete, step back and enjoy the beauty of your newly constructed vaulted ceiling.
Congratulations! You have successfully completed the process of building a vaulted ceiling. Enjoy the spaciousness and elegance it brings to your living space.
Conclusion
Building a vaulted ceiling is a rewarding project that can transform the look and feel of your space. From the planning and measuring stage to the finishing touches, each step is crucial in creating a beautiful and functional vaulted ceiling. With careful attention to detail and the use of proper materials and tools, you can achieve a stunning architectural feature that adds elegance and spaciousness to your home.
Throughout the construction process, it’s important to prioritize safety and consult professionals when needed. Whether it’s seeking advice from a contractor or following local building codes and regulations, taking the necessary precautions will ensure a successful and structurally sound vaulted ceiling.
Remember to balance aesthetics and functionality in your design. Consider factors such as lighting, ventilation, insulation, and the overall interior design of the space. By harmonizing these elements, you can create a vaulted ceiling that not only looks impressive but also contributes to a comfortable and inviting environment.
Don’t forget about the finishing touches that will complete the project. From painting the ceiling to adding crown molding and choosing the right furnishings, these details will enhance the visual impact of your vaulted ceiling and bring the entire room together.
Building a vaulted ceiling requires dedication, patience, and attention to detail. But the end result is a stunning architectural feature that will elevate the aesthetics and value of your home. So go ahead and embark on this exciting project and enjoy the beauty and grandeur of your newly constructed vaulted ceiling.
Ready to take your home's ambiance to the next level? After mastering vaulted ceilings, consider upgrading your floors too. Our guide on selecting hardwood floors will provide you with all the details for making informed choices during home renovations. Curious about why vaulted ceilings transform spaces so dramatically? Our detailed explanation will shed light on what makes these ceilings not just beautiful, but timeless in design.
Frequently Asked Questions about How To Build A Vaulted Ceiling
Was this page helpful?
At Storables.com, we guarantee accurate and reliable information. Our content, validated by Expert Board Contributors, is crafted following stringent Editorial Policies. We're committed to providing you with well-researched, expert-backed insights for all your informational needs.


0 thoughts on “How To Build A Vaulted Ceiling”