Articles
How To Make A Friendship Star Quilt Block
Modified: August 22, 2024
Learn how to make a beautiful Friendship Star quilt block with our informative articles. Get step-by-step instructions and expert tips for creating your own stunning quilt masterpiece.
(Many of the links in this article redirect to a specific reviewed product. Your purchase of these products through affiliate links helps to generate commission for Storables.com, at no extra cost. Learn more)
Introduction
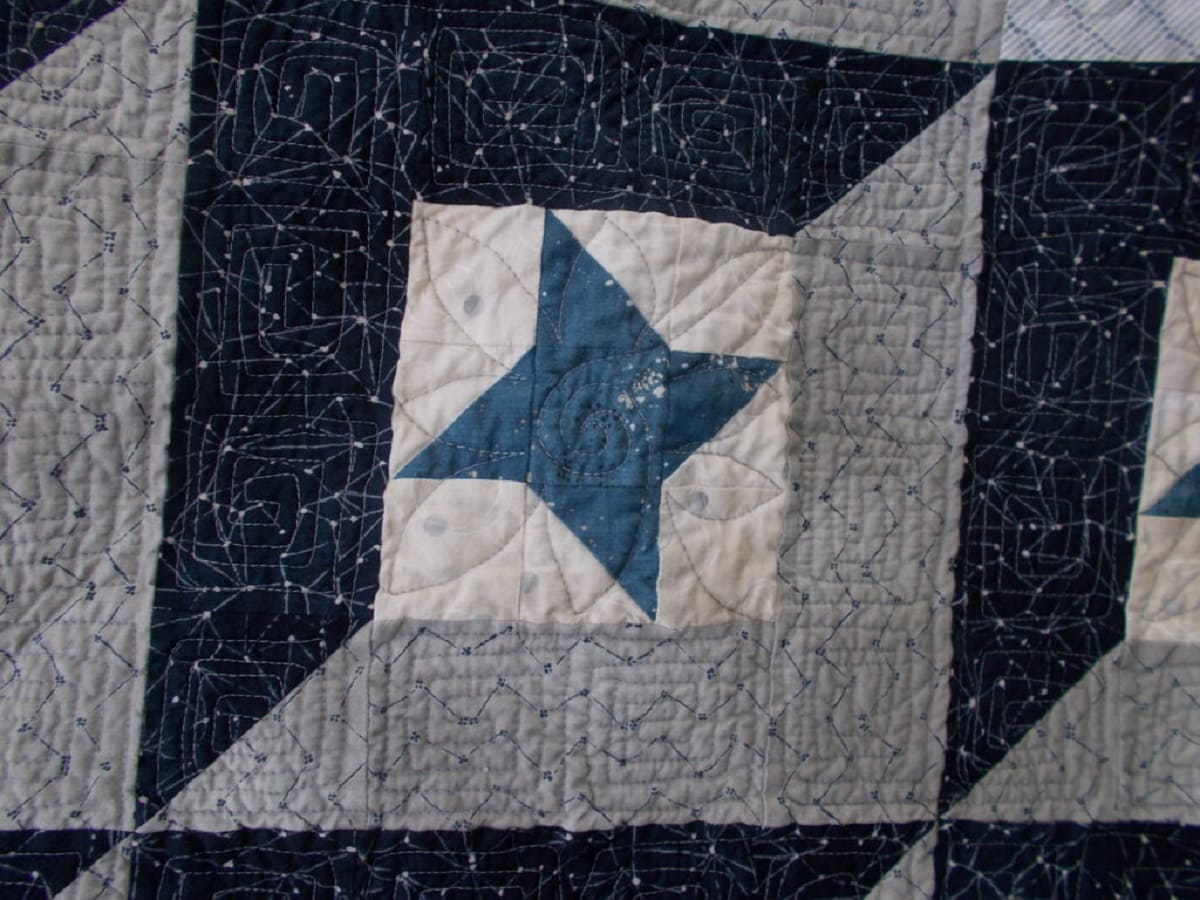
Quilting is a timeless craft that brings warmth, beauty, and comfort to our lives. One of the most popular quilt blocks is the Friendship Star. The Friendship Star Quilt Block is not only visually appealing, but it also carries a symbol of friendship and unity. With its combination of half square triangles and squares, this block is perfect for quilters of all skill levels.
Creating your own Friendship Star Quilt Block is a rewarding and creative experience. Not only will you have a beautiful finished product, but you will also gain a sense of accomplishment and pride in your handiwork. In this tutorial, we will guide you through the step-by-step process of making a Friendship Star quilt block.
But before we begin, let’s gather the materials you will need for this project.
Key Takeaways:
- The Friendship Star Quilt Block is a timeless symbol of unity and friendship, and creating it is a rewarding experience that allows you to showcase your creativity and sewing skills.
- By following the step-by-step process outlined in the tutorial and paying attention to details like pressing seams and accurate trimming, you can easily create a stunning and professional-looking Friendship Star Quilt Block.
Read more: How To Make A Star Quilt
Materials Needed
To create your own Friendship Star Quilt Block, you will need the following materials:
- Fabric: Choose a variety of fabrics in different colors and prints to add visual interest to your block. You will need fabric for the star points, background fabric, and the center square.
- Cutting Tools: A rotary cutter, self-healing cutting mat, and quilting ruler are essential for accurately cutting your fabric.
- Sewing Machine: A sewing machine will make the construction process faster and more efficient.
- Thread: Choose a thread color that complements your fabric choices.
- Pins or Clips: These will help keep your fabric pieces in place while sewing.
- Scissors: A pair of sharp fabric scissors will come in handy for trimming thread and cutting small pieces of fabric.
- Iron and Ironing Board: Pressing your fabric and seams is crucial for achieving flat and professional-looking quilt blocks.
- Quilt Batting: This is the material that goes inside your quilt sandwich to provide warmth and padding.
- Backing Fabric: Choose a fabric that coordinates with your quilt top to create the back of your quilt.
- Quilting Needles: Choose needles specifically designed for quilting to make your stitching easier and more precise.
- Quilting Ruler: A long, transparent ruler with measurements will help you create accurate lines and angles.
Now that you have gathered all your materials, let’s move on to the first step of creating the Friendship Star Quilt Block: cutting the fabric.
Step 1: Cutting the Fabric
To begin creating your Friendship Star Quilt Block, you will need to cut your fabric into the required shapes and sizes. Follow these steps to ensure accurate cutting:
- Start by measuring and cutting the fabric for the star points. You will need four squares of fabric, each measuring X inches.
- Next, cut the fabric for the background. You will need one square of fabric measuring X inches, and four rectangles measuring X by X inches.
- Lastly, cut the fabric for the center square. You will need one square of fabric measuring X inches.
Remember to double-check your measurements and use a quilting ruler to ensure precision. Once all your fabric pieces are cut, you are ready to move on to the next step: sewing the half square triangles.
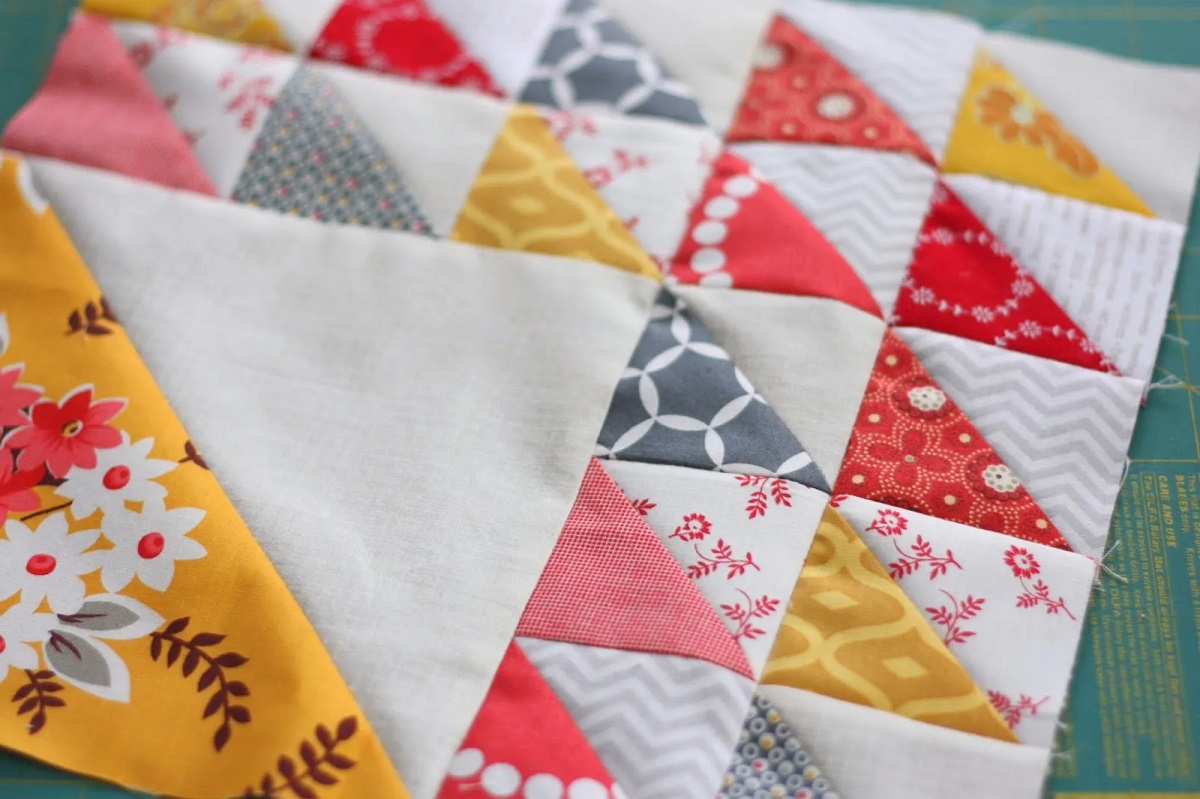
Step 2: Sewing the Half Square Triangles
Now that you have cut your fabric pieces, it’s time to sew the half square triangles (HSTs). These HSTs will be the foundation of the Friendship Star Quilt Block. Follow these steps to sew the HSTs:
- Take two squares of fabric for the star points – one background fabric and one star point fabric.
- Place the fabric squares right sides together.
- Draw a diagonal line from one corner to the opposite corner on the wrong side of the top fabric square.
- Pin or clip the fabric squares together to keep them in place.
- Sew a quarter inch seam along both sides of the drawn diagonal line.
- Carefully cut along the drawn diagonal line to separate the two triangles you created.
- Press the seams open or towards the darker fabric.
- Trim the HSTs to their correct size, using the measurements specified in your quilt block pattern or tutorial.
- Repeat these steps to create all the necessary HSTs for your Friendship Star Quilt Block.
Once you have sewn and trimmed all the HSTs, you are ready to move on to assembling the block. This is where the magic happens, and your Friendship Star begins to take shape.
When making a Friendship Star quilt block, be sure to accurately measure and cut your fabric pieces to ensure precise and uniform blocks. Accuracy is key to a successful quilt block.
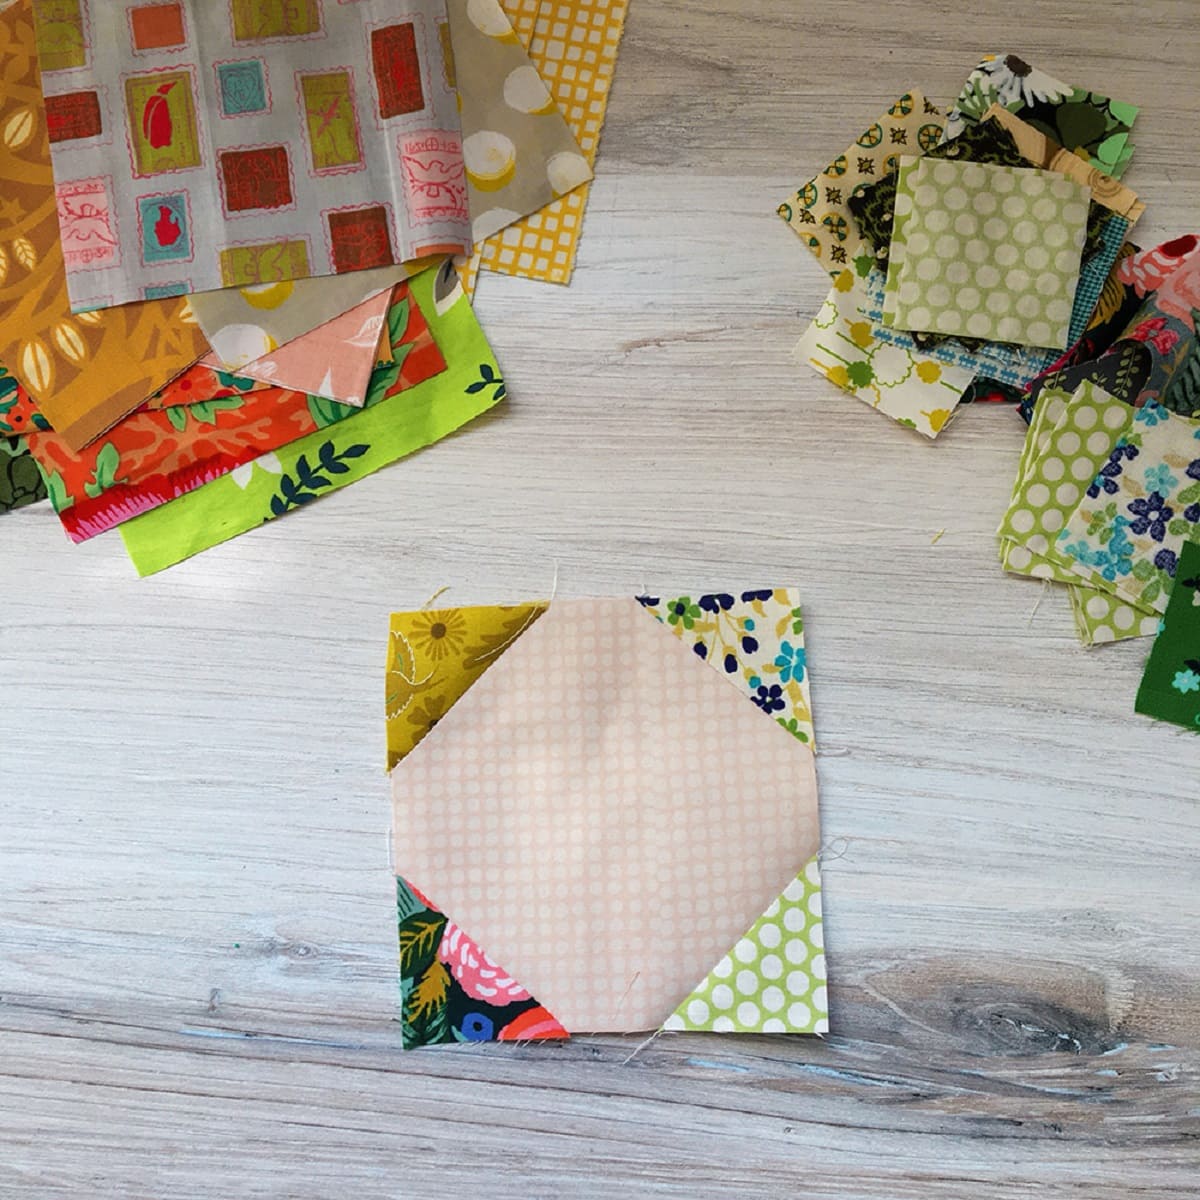
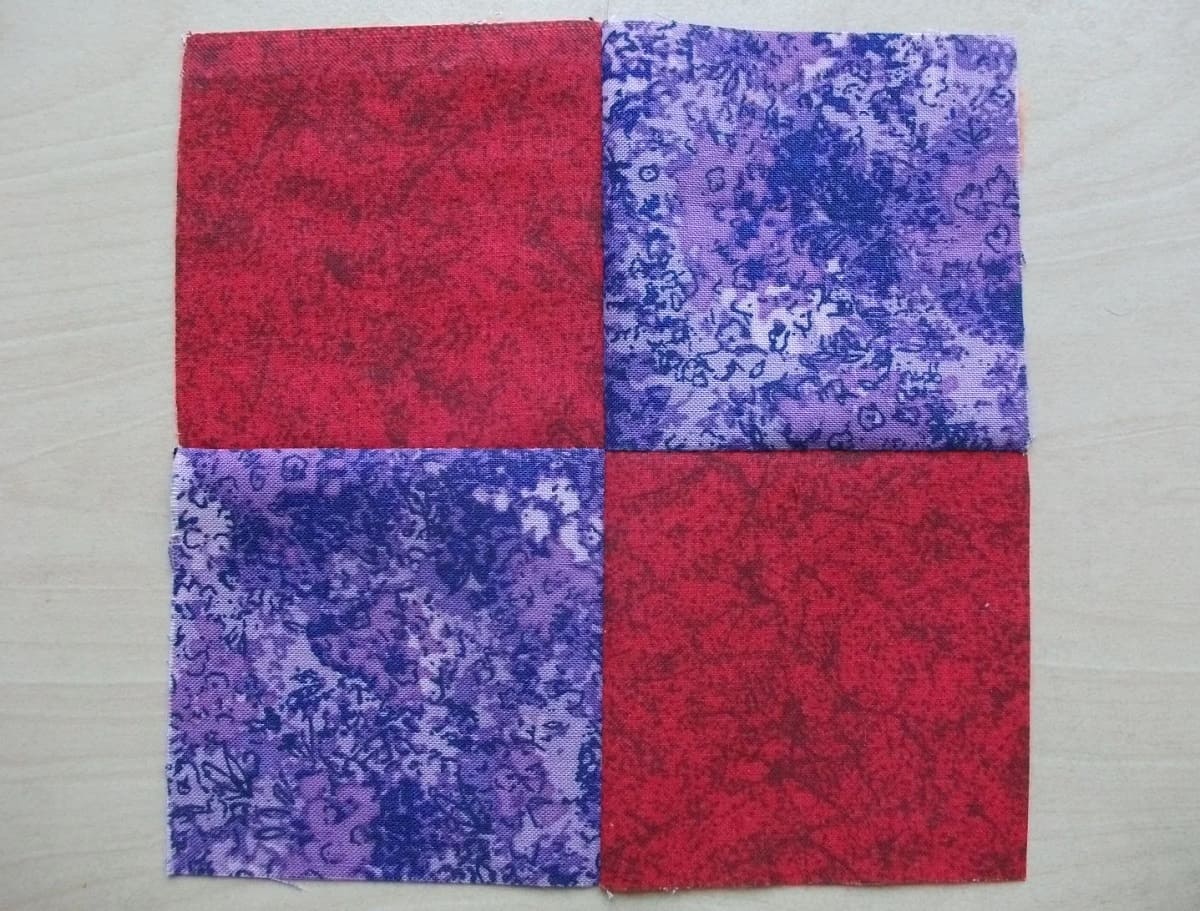
Step 3: Assembling the Block
Now that you have your half square triangles (HSTs) ready, it’s time to assemble the Friendship Star Quilt Block. Follow these steps to put the block together:
- Arrange your fabric pieces according to your block design. Place the HSTs and the background fabric rectangles in the desired pattern for your Friendship Star.
- Take two HSTs and one background fabric rectangle. Place the HSTs on the sides of the rectangle, aligning the corners.
- Sew a quarter inch seam allowance along each side to attach the HSTs to the rectangle.
- Repeat this process for the opposite side of the rectangle.
- Press the seams open or towards the darker fabric.
- Next, take the remaining two HSTs and the background fabric square for the center of the block.
- Position the HSTs on the sides of the square, aligning the corners.
- Sew a quarter inch seam allowance along each side to attach the HSTs to the square.
- Press the seams open or towards the darker fabric.
- Now you have three rows: two rows with the background fabric rectangles and HSTs, and one row with the background fabric square and HSTs.
- Join the rows together by sewing a quarter inch seam allowance along each seam, matching the corners and seams.
- Press the seams open or towards one side.
- Your Friendship Star Quilt Block is now assembled and ready for the next step.
Congratulations! You have successfully created the Friendship Star Quilt Block. It’s time to move on to the next step: pressing and trimming your block for a polished finish.
Read more: How To Make A Lakota Star Quilt
Step 4: Pressing and Trimming
Pressing and trimming your Friendship Star Quilt Block is an important step to ensure a professional and polished finish. Follow these steps to achieve crisp and accurate edges:
- First, press your block to set the seams. Place your block on the ironing board and using a hot iron, press down firmly along the seams to flatten them.
- Next, open the seams by pressing them in opposite directions. This will help reduce bulk and make it easier to match your seams when joining quilt blocks together.
- Once the seams are pressed open, give the entire block a final press to ensure a smooth and wrinkle-free surface.
- After pressing, it’s time to trim your block. Using a quilting ruler and rotary cutter, carefully trim the edges of your block to the desired size. Make sure all sides are straight and square.
- Double-check the measurements and trim any excess fabric if needed. This will ensure that your block is uniform in size and will fit seamlessly with other blocks in your quilt.
- Take your time and measure accurately to achieve a precise and professional-looking finish.
Now that you have pressed and trimmed your Friendship Star Quilt Block, it’s time to add the finishing touches and prepare for the final assembly of your quilt.
Step 5: Finishing Touches
Now that you have completed the main construction of the Friendship Star Quilt Block, it’s time to add some finishing touches to make it truly shine. Follow these steps to complete your block:
- Inspect your block for any loose threads or uneven seams. Trim any stray threads and make any necessary adjustments to ensure a clean and neat finish.
- Consider adding borders to your block to enhance its overall design. You can choose a coordinating fabric and sew strips of your desired width around the edges of the block.
- Press the borders and seams to create a crisp and flat surface.
- If you plan to create a quilt using multiple Friendship Star blocks, repeat the previous steps to create as many blocks as needed.
- Once all your blocks are completed, you can begin assembling your quilt top according to your desired layout.
- Remember to refer to your quilt pattern or design for instructions on joining the blocks together and adding any additional elements.
- Once your quilt top is assembled, layer it with batting and backing fabric, and secure the layers together using pins or basting spray.
- With your quilt sandwich prepared, it’s time to start quilting. You can choose to hand quilt or machine quilt your project, depending on your preference and skill level.
- After quilting, trim any excess batting and backing fabric, and finish the edges of your quilt with binding.
- Bind your quilt by sewing strips of fabric around the raw edges, folding and mitering the corners for a clean and professional look.
- Give your quilt a final press to smooth out any wrinkles and ensure a beautiful finish.
Congratulations! You have completed the Friendship Star Quilt Block and are well on your way to creating a stunning quilt. Remember to enjoy the process and embrace your creativity as you bring your design to life. Happy quilting!
Conclusion
Creating a Friendship Star Quilt Block is a wonderful way to express your creativity and showcase your sewing skills. This timeless and meaningful block not only adds beauty to your quilt but also symbolizes friendship and unity.
Throughout this tutorial, we have explored the step-by-step process of making a Friendship Star Quilt Block. From cutting the fabric to assembling the block, pressing, trimming, and adding finishing touches, each stage has contributed to the creation of a stunning and professional-looking block.
By using the materials mentioned and following the instructions provided, you can easily create your own Friendship Star Quilt Block. This versatile block can be incorporated into a variety of quilting projects, whether you’re making a single block for a wall hanging or multiple blocks for a bed-sized quilt.
Remember to approach each step with patience and precision. Pressing your seams, accurately trimming your block, and paying attention to details will result in a quilt that you can be proud of.
Creating your own quilt is more than just stitching fabric together; it is a labor of love that carries the warmth and comfort of its creator. As you embark on this quilting journey, let your imagination soar and infuse your personal touch to make each Friendship Star Quilt Block truly unique.
Whether you are a seasoned quilter or a beginner, the Friendship Star Quilt Block is a timeless design that will bring joy and beauty to your quilting projects. So gather your materials, unleash your creativity, and let the Friendship Star shine in your quilts for years to come.
Frequently Asked Questions about How To Make A Friendship Star Quilt Block
Was this page helpful?
At Storables.com, we guarantee accurate and reliable information. Our content, validated by Expert Board Contributors, is crafted following stringent Editorial Policies. We're committed to providing you with well-researched, expert-backed insights for all your informational needs.


0 thoughts on “How To Make A Friendship Star Quilt Block”