Home>Articles>How To Make Banana Ice Cream In An Ice Cream Maker
Articles
How To Make Banana Ice Cream In An Ice Cream Maker
Modified: August 16, 2024
Learn how to make delicious homemade banana ice cream using an ice cream maker. Find step-by-step instructions and helpful tips in this comprehensive article.
(Many of the links in this article redirect to a specific reviewed product. Your purchase of these products through affiliate links helps to generate commission for Storables.com, at no extra cost. Learn more)
Introduction
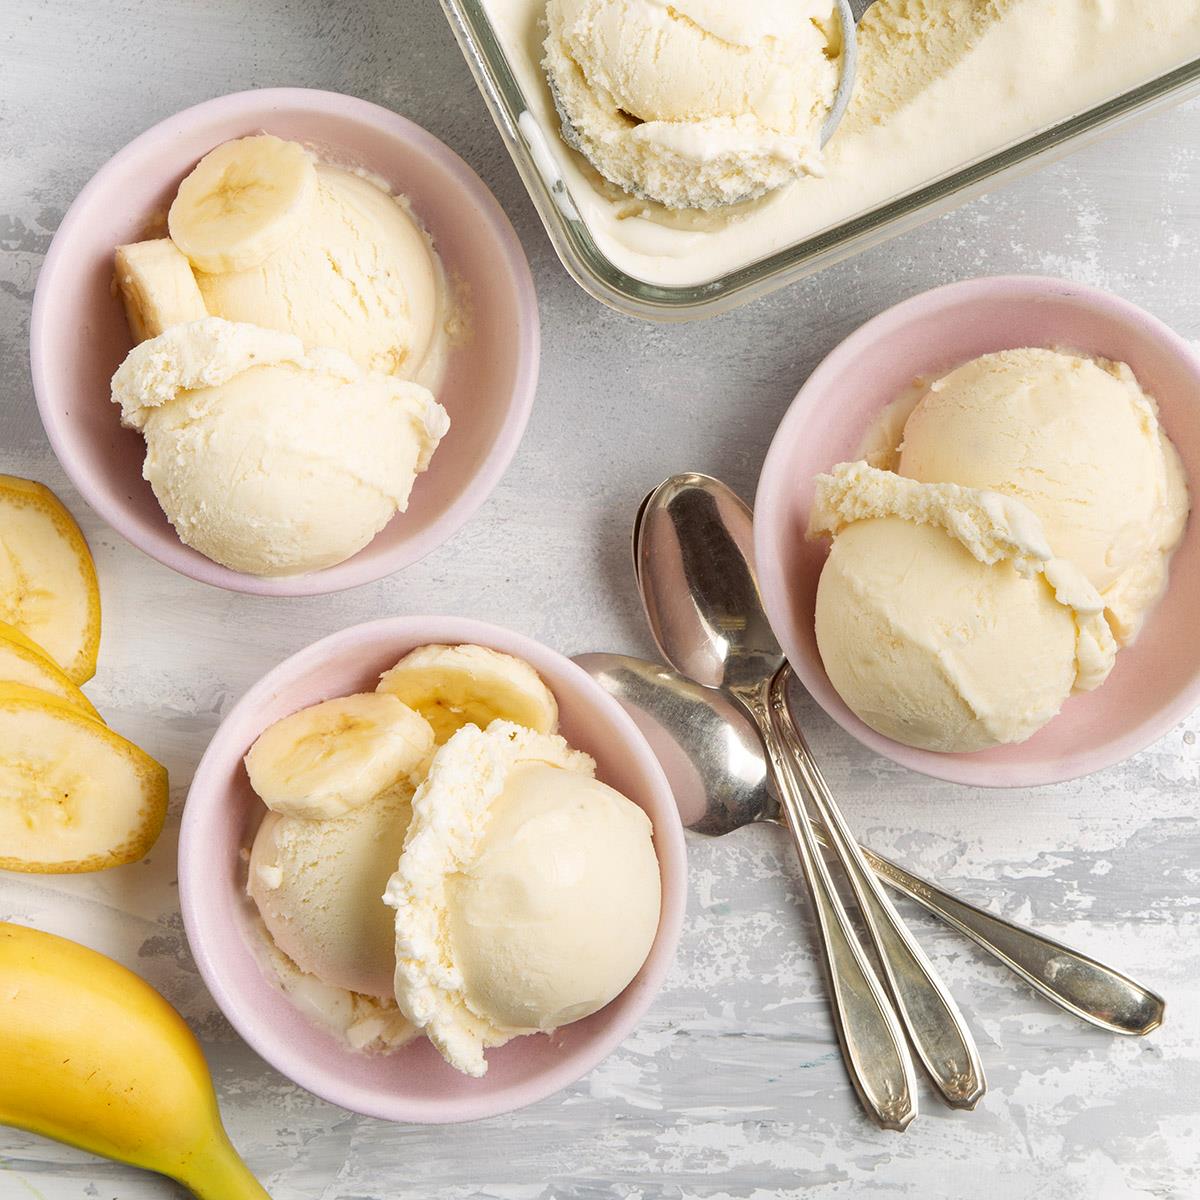
Are you craving a cool and creamy treat to beat the summer heat? Look no further than homemade banana ice cream! This delicious and refreshing dessert is not only easy to make but also a healthier alternative to traditional ice cream. Don’t worry, you don’t need any fancy equipment like an ice cream maker to enjoy this frozen delight. In this article, we’ll guide you through the simple steps of making banana ice cream in an ice cream maker.
Why banana ice cream, you ask? Well, bananas are naturally sweet, full of vitamins and minerals, and have a creamy texture when frozen. By using bananas as the base, you can create a velvety smooth and luscious dessert without the need for heavy cream or added sugar. Plus, bananas are a great source of potassium and dietary fiber, making this frozen treat a guilt-free pleasure.
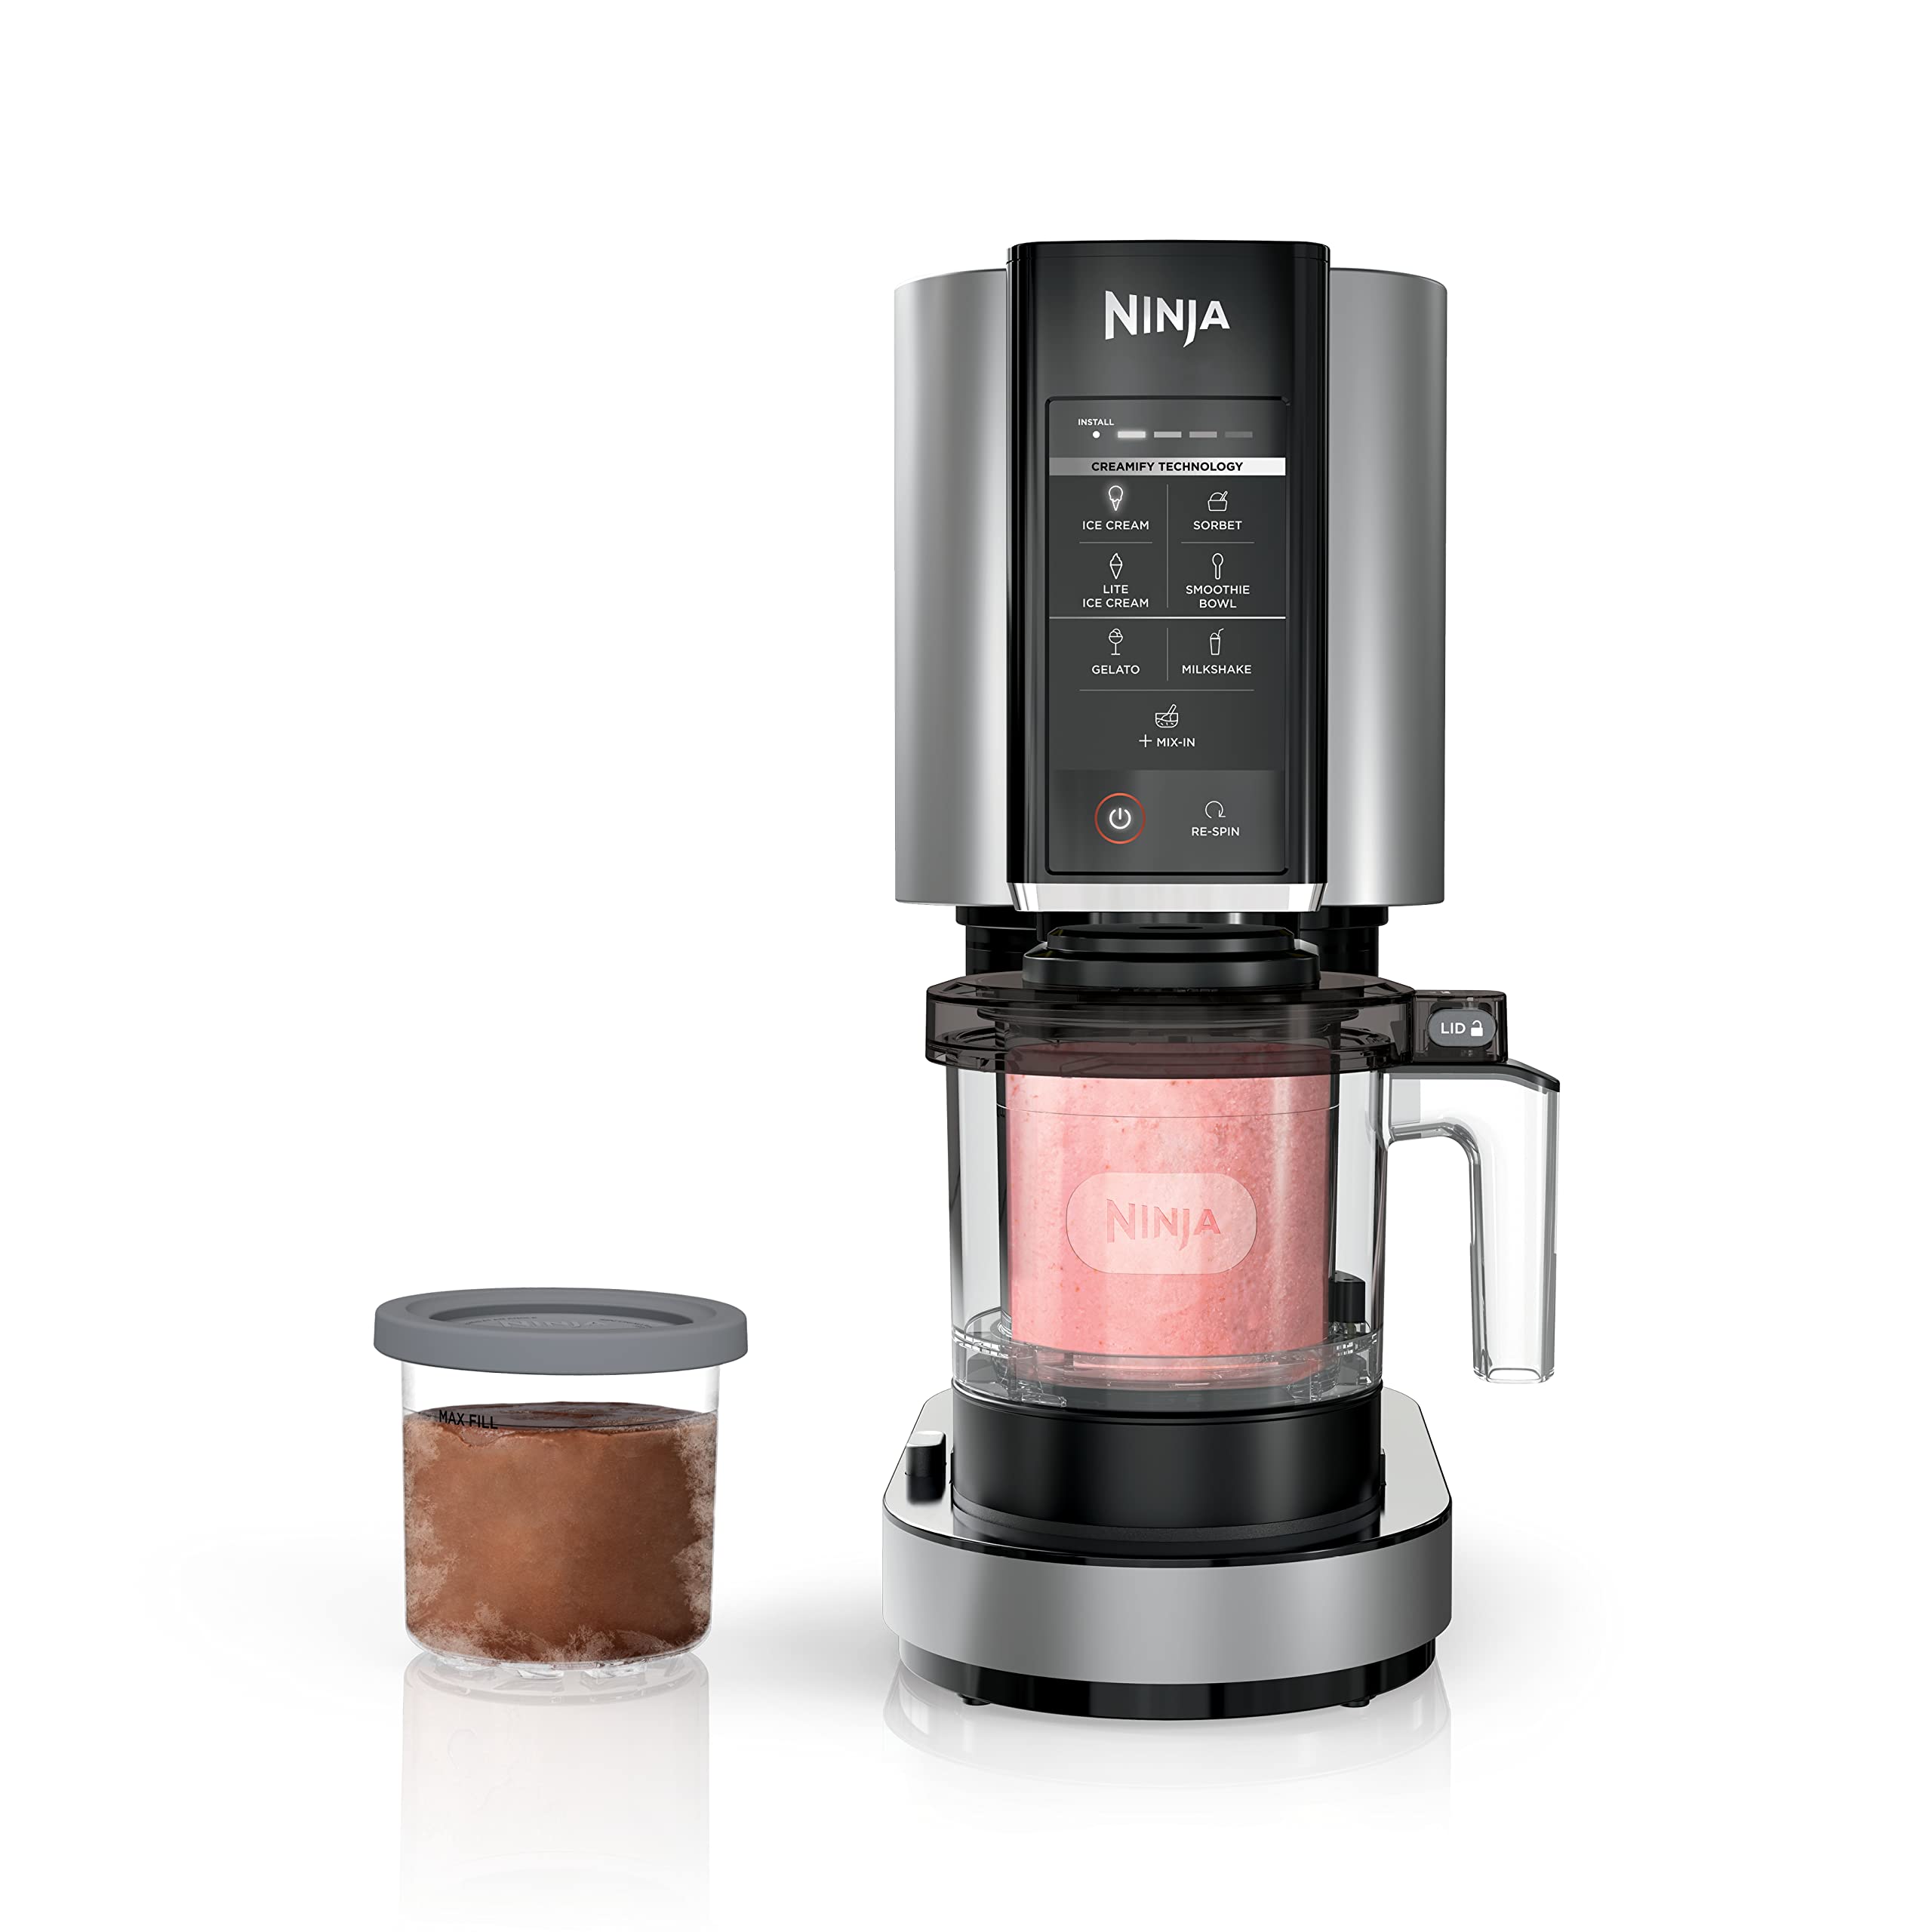
As for the ice cream maker, it simplifies the process by churning the mixture continuously, resulting in a smoother and creamier texture. It also helps incorporate air into the mixture, giving the ice cream a lighter and fluffier consistency. If you don’t have an ice cream maker at home, don’t worry, we’ll provide alternatives later on.
So, without further ado, let’s dive into the world of homemade banana ice cream and discover how you can make this delightful treat in the comfort of your own kitchen!
Key Takeaways:
- Enjoy guilt-free, creamy banana ice cream by using ripe bananas as a healthier alternative to traditional ice cream. With simple ingredients and an ice cream maker, you can create a luscious frozen treat perfect for hot summer days.
- Unleash your creativity and personalize your banana ice cream with flavor variations, mix-ins, and toppings. Experiment with dairy-free options, sweetener variations, and serving suggestions to create endless flavor combinations and satisfy all your frozen dessert cravings.
Ingredients
Making banana ice cream in an ice cream maker requires just a few simple ingredients. Here’s what you’ll need:
- 4 ripe bananas
- 1/2 cup of milk (dairy or non-dairy)
- 1/4 cup of sweetener (such as honey, maple syrup, or sugar)
- 1 teaspoon of vanilla extract (optional)
- Optional toppings: nuts, chocolate chips, caramel sauce, etc.
Make sure to use ripe bananas for this recipe, as they will provide natural sweetness and a smooth texture when frozen. You can also customize the level of sweetness by adjusting the amount of sweetener according to your preference.
When it comes to milk, you have the flexibility to choose your favorite type, whether it’s dairy milk, almond milk, coconut milk, or any other non-dairy alternative. The choice is yours!
The vanilla extract is optional but adds a delightful flavor to the ice cream. Feel free to experiment with other flavorings like cocoa powder, cinnamon, or even a hint of mint extract for a twist.
As for the toppings, you can let your imagination run wild. Sprinkle some chopped nuts like peanuts or almonds for added crunch, toss in some chocolate chips for a chocoholic indulgence, or drizzle a swirl of caramel sauce for an extra touch of decadence. Get creative and make your banana ice cream truly your own!
Step 1: Prepare the bananas
The first step in making banana ice cream is to prepare the bananas. Start by peeling the ripe bananas and slicing them into small chunks. The size of the chunks doesn’t have to be precise since they will be blended later on.
Once the bananas are sliced, place them on a baking sheet lined with parchment paper or a silicone mat. Make sure the chunks are evenly spread out and not sticking together. This will prevent them from freezing into a solid clump later in the process.
Now, it’s time to freeze the banana chunks. Pop the baking sheet into the freezer and let the bananas freeze completely. This usually takes about 2-3 hours, but for best results, leave them overnight. Freezing the bananas is crucial, as it helps create the creamy and smooth texture of the ice cream.
Pro tip: If you want to make the process even easier, you can freeze the bananas in advance and store them in a freezer-safe bag or container. That way, you’ll always have frozen bananas on hand whenever the ice cream cravings strike!
Once the banana chunks are completely frozen, you’re ready to move on to the next step of blending them into a delightful frozen treat. So grab your blender or food processor, and let’s get blending!
Step 2: Blend the bananas
Now that your banana chunks are frozen, it’s time to transform them into a smooth and creamy mixture.
Start by removing the frozen banana chunks from the freezer and allowing them to thaw for a few minutes. This will soften them slightly and make blending easier. If you’re short on time, you can skip this step, but keep in mind that it might require a little more effort to blend the frozen bananas.
Next, transfer the thawed banana chunks to a blender or food processor. If your blender or processor has a smaller capacity, you may need to do this in batches to ensure even blending.
Now, it’s time to blend away! Blend the banana chunks on high speed until you achieve a smooth and creamy consistency. Stop occasionally to scrape down the sides of the blender or processor, ensuring that all the banana chunks are incorporated into the mixture.
As the bananas blend, you will notice the magical transformation into a velvety soft-serve-like texture. The natural sugars in the bananas will create a naturally sweet and creamy base for your ice cream.
Once the bananas are completely blended, you can add any additional flavorings or sweeteners at this stage. If you choose to add vanilla extract or any other flavorings to your ice cream, simply pour them into the blender and blend for a few more seconds to combine.
Take a moment to marvel at the creamy and luscious mixture you have created. It’s a testament to the power of frozen bananas!
Now that the blending is complete, it’s time to move on to the next step of chilling the mixture before it goes into the ice cream maker.
Step 3: Chill the mixture
After blending the banana mixture to a smooth and creamy consistency, it’s important to chill it before transferring it to the ice cream maker. This step helps to develop the flavors and ensures that the ice cream freezes properly.
To chill the banana mixture, transfer it to a bowl or container with a lid. Cover the bowl or container and place it in the refrigerator for at least 1 hour. This will give the mixture time to cool down and allow the flavors to meld together.
Chilling the mixture also helps to thicken it slightly, making it easier to achieve a creamy texture when churning in the ice cream maker. It’s important not to skip this step, as it greatly affects the overall quality of the final product.
While the banana mixture is chilling, it’s a good time to clean up your blender or food processor. Wash the blending container and the blades thoroughly to remove any residue from the banana mixture. This will help to prevent any unwanted flavors or textures in future batches of ice cream.
Once the banana mixture has been chilled for at least 1 hour, it’s time to move on to the exciting step of transforming it into a frozen dessert. Grab your ice cream maker, and let’s get ready to churn some delicious banana ice cream!
Add a splash of lemon juice to your banana ice cream mixture to enhance the flavor and prevent the bananas from browning.
Read more: How To Make Ice Cream In Ice Cream Machine
Step 4: Pour the mixture into the ice cream maker
Now that your banana mixture has chilled and developed its flavors, it’s time to transfer it to the ice cream maker. The ice cream maker will churn the mixture and freeze it simultaneously, resulting in a velvety smooth and dreamy texture.
First, ensure that your ice cream maker is clean and ready for use. Read the manufacturer’s instructions for your specific model to familiarize yourself with its features and how to operate it.
Next, remove the chilled banana mixture from the refrigerator and give it a gentle stir to ensure it’s well mixed. This step is important, as separation may occur during the chilling process.
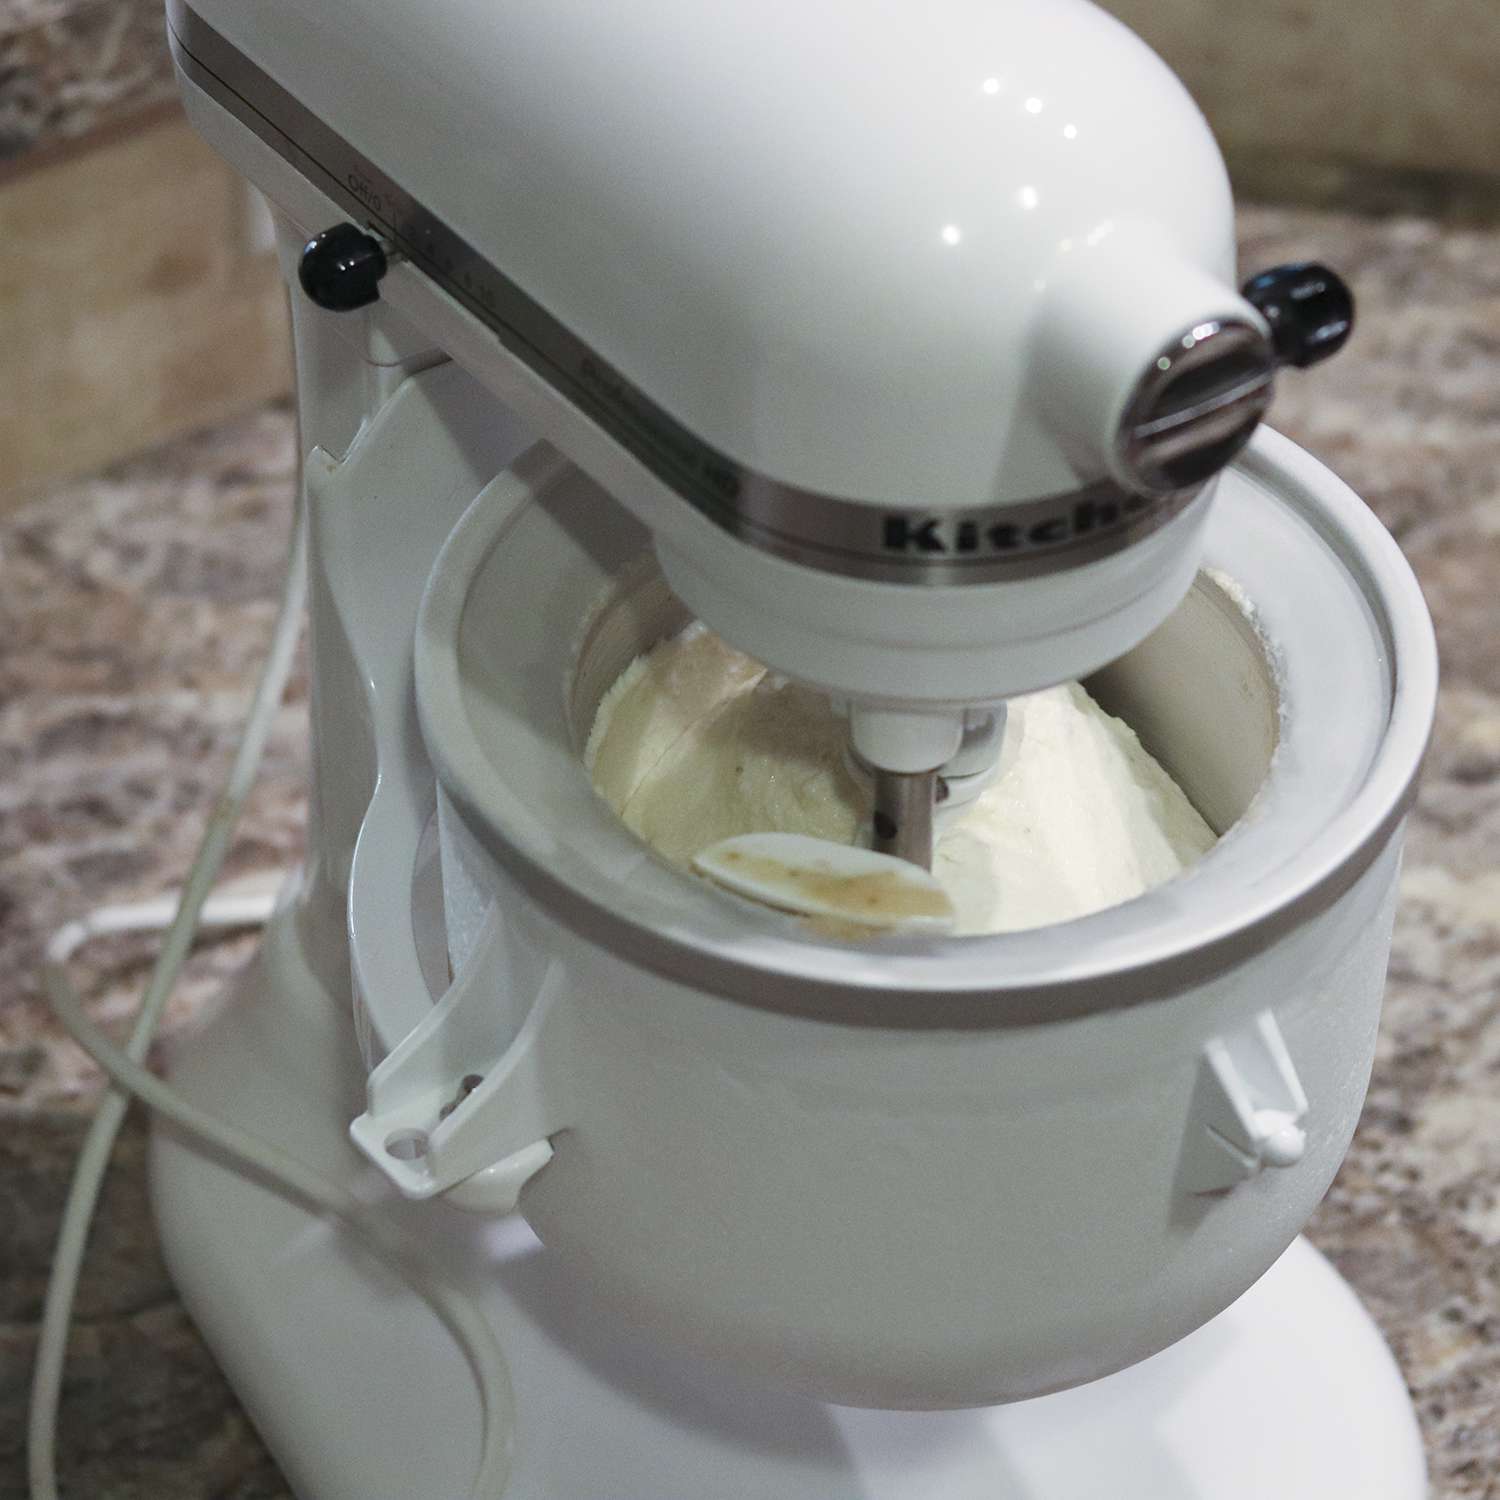
With the ice cream maker turned on and ready to go, slowly pour the banana mixture into the machine’s freezer bowl. Be sure not to overfill it, as the mixture will expand as it freezes.
Allow the ice cream maker to do its magic and churn the mixture. The length of time will depend on your specific ice cream maker, so refer to the manufacturer’s instructions for guidance. Typically, it takes around 20-30 minutes for the mixture to reach the desired consistency.
As the ice cream maker churns, you will notice the mixture thickening and freezing along the sides of the bowl. This is perfectly normal, and it’s important to let the machine continue until the ice cream reaches the desired consistency.
Pro tip: If you prefer a softer and more delicate texture, be mindful not to over-churn the ice cream. For a firmer and more scoopable consistency, you can transfer the churned ice cream to an airtight container and freeze it for an additional hour or two.
Once the ice cream has reached the desired consistency, it’s time to move on to the final step of serving and enjoying your homemade banana ice cream!
Step 5: Churn the ice cream
Now that you have poured the banana mixture into the ice cream maker, it’s time to let the machine work its magic and churn the mixture into creamy, frozen goodness.
Turn on the ice cream maker and let it churn the mixture according to the manufacturer’s instructions. This typically takes about 20-30 minutes, but it can vary depending on the specific model and desired consistency.
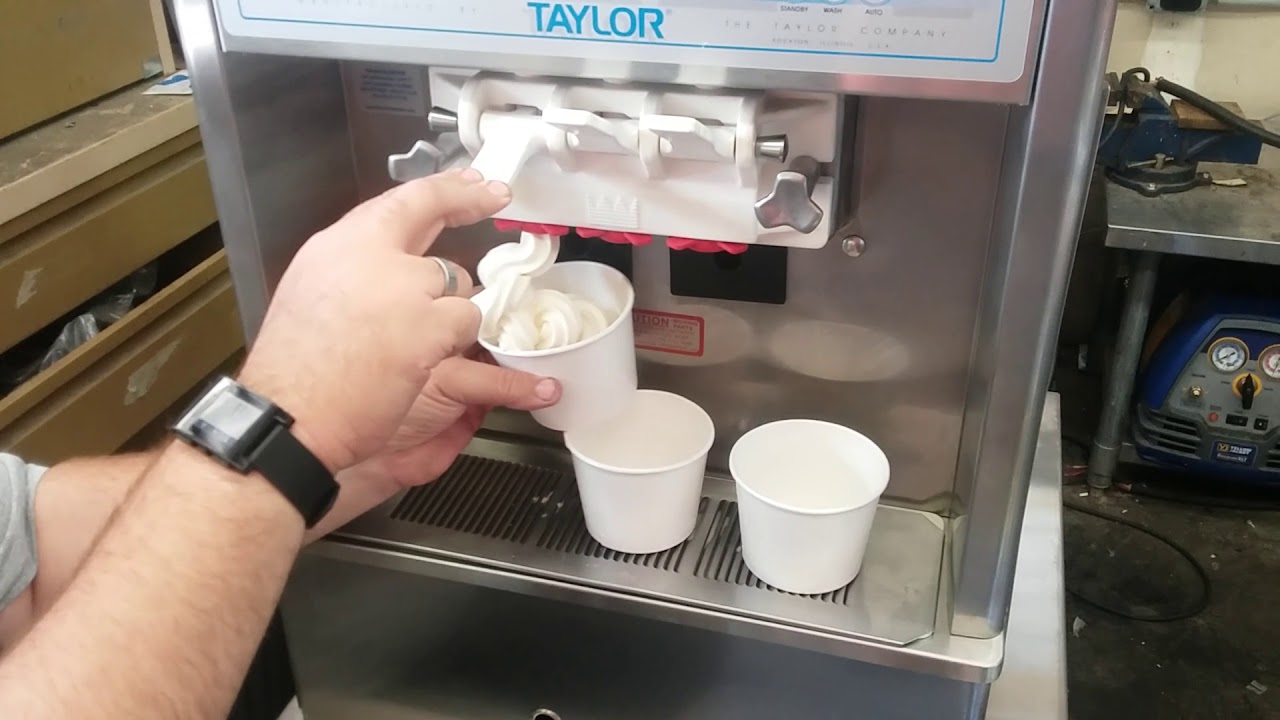
During the churning process, the ice cream maker will continuously agitate the mixture, incorporating air and preventing large ice crystals from forming. This creates a lighter and smoother texture, giving your banana ice cream that classic soft-serve consistency.
You might notice the mixture thickening as it churns. This is a good sign, indicating that the ice cream is gradually freezing. It’s important to resist the temptation of removing the ice cream too early, as it may still be too soft and runny.
While the ice cream churns, you can take this time to prepare any additional toppings or garnishes you’d like to add to your banana ice cream. Chop some nuts, melt some chocolate, or prepare a delicious fruit compote. The possibilities are endless!
As the churning nears completion, the ice cream will become thicker and more structured. It should reach a soft-serve consistency, making it easy to scoop and enjoy right away. However, if you prefer a firmer texture, you can transfer the ice cream to an airtight container and place it in the freezer for an additional hour or two.
Once the ice cream has reached your desired consistency, it’s time to move on to the exciting moment of serving and indulging in your homemade banana ice cream!
Step 6: Serve and enjoy
Congratulations! You have successfully churned your homemade banana ice cream. It’s time to savor the fruits of your labor and indulge in this creamy and refreshing treat.
Once the ice cream has reached the desired consistency, stop the ice cream maker and carefully remove the freezer bowl. Using a rubber spatula, scrape any remaining ice cream from the sides of the bowl and transfer it to a serving container.
Now, it’s time to unleash your creativity and have fun with the presentation. You can scoop the banana ice cream into bowls or cones or serve it in fancy dessert glasses. Add a sprinkle of your favorite toppings, such as crushed nuts, chocolate chips, or a drizzle of caramel sauce, to take it to the next level.
Invite your friends and family to join in the delight and distribute the servings. Watch their eyes light up as they taste the creamy goodness of your homemade banana ice cream.
Enjoy this delightful treat on its own or pair it with other desserts such as a warm brownie or a piece of pie for a heavenly combination. The versatility of banana ice cream allows for endless possibilities.
If there are any leftovers (which is rare), transfer the remaining ice cream to an airtight container and place it in the freezer. It can be kept for a few weeks, though it may lose some of its creamy texture over time.
So go ahead and treat yourself to a scoop (or two) of homemade banana ice cream. Enjoy the creamy sweetness and the burst of banana flavor. Sit back, relax, and appreciate the joy that comes from creating a delicious dessert from scratch.
Remember, the best part of making your own ice cream is the opportunity to personalize it. Experiment with different additions and flavors, and let your imagination run wild. Whether it’s adding chunks of chocolate, swirls of caramel, or a sprinkle of cinnamon, make this banana ice cream truly your own.
Now that you know how to make banana ice cream in an ice cream maker, you can satisfy your cravings for a cool and creamy treat whenever the mood strikes. So grab your ingredients, fire up the ice cream maker, and embark on a delightful journey of homemade frozen goodness.
Enjoy!
Tips and variations
Now that you have mastered the art of making banana ice cream in an ice cream maker, let’s explore some additional tips and variations to enhance your experience:
- Experiment with flavors: While banana ice cream is delicious on its own, feel free to get creative with different flavor variations. Add a swirl of chocolate sauce, sprinkle in some crushed cookies, or mix in some fresh berries to take your ice cream to new heights.
- Texture enhancers: To add some extra texture to your banana ice cream, consider folding in chopped nuts, chocolate chips, or even chunks of your favorite candies. They will add a delightful crunch and flavor burst with every bite.
- Dairy-free options: If you prefer a dairy-free version of banana ice cream, replace the milk with a non-dairy alternative such as almond milk, coconut milk, or oat milk. Just make sure the consistency is similar to regular milk to achieve the desired texture.
- Sweetener variations: Experiment with different sweeteners for your banana ice cream. Swap out the traditional sugar with honey, maple syrup, agave nectar, or even stevia for a healthier option. Adjust the amount to suit your taste preference.
- Add mix-ins at the end: If you prefer chunks of fruit, nuts, or other mix-ins in your ice cream, you can stir them in by hand once the ice cream has finished churning. This will help preserve their texture and prevent them from getting too crushed during the churning process.
- Serving suggestions: While banana ice cream is delicious on its own, you can take it to the next level by serving it with fresh fruit, a sprinkle of cinnamon, a drizzle of chocolate sauce, or a dollop of whipped cream. Get creative with your toppings and make each serving a work of art.
- Make it vegan: To make your banana ice cream completely vegan, ensure that your sweeteners and mix-ins are all plant-based. Check the labels to avoid any animal-derived ingredients.
Remember, the beauty of homemade banana ice cream is its versatility and adaptability. Don’t be afraid to experiment and make it your own. With these tips and variations, you can create endless flavor combinations and satisfy all your frozen dessert cravings.
So go ahead, unleash your creativity, and enjoy the sweet rewards of your homemade banana ice cream!
Conclusion
Congratulations! You have now learned how to make delicious banana ice cream in an ice cream maker. With just a few simple ingredients and the right technique, you can create a creamy and refreshing frozen treat that is sure to satisfy your sweet tooth.
By using ripe bananas as the base, you can enjoy a healthier alternative to traditional ice cream without sacrificing flavor or texture. The natural sweetness of bananas eliminates the need for added sugars, making this dessert guilt-free and packed with nutrients.
Whether you’re enjoying a bowl of banana ice cream on a hot summer day or treating yourself to a delightful dessert, the possibilities are endless. Get creative with flavor variations, mix-ins, and toppings to customize your ice cream to your personal preference.
Don’t worry if you don’t have an ice cream maker, as you can still make banana ice cream using a blender or food processor. Simply freeze the banana mixture and blend it until smooth and creamy. It may require a little more effort, but the end result will still be a delicious homemade treat.
Now that you have the knowledge and the tools, it’s time to unleash your inner ice cream maestro. Gather your ingredients, put on your apron, and let your creativity soar as you whip up batch after batch of homemade banana ice cream.
Remember, making your own ice cream is not only a fun and rewarding experience, but it also allows you to control the quality of ingredients and tailor the flavors to your liking.
So go ahead, indulge in the creamy and sweet delight that is homemade banana ice cream. Share it with loved ones, savor every spoonful, and enjoy the frozen bliss that comes from creating something truly special.
Now it’s time to grab a scoop, grab your favorite toppings, and dive into a bowl of homemade banana ice cream. Treat yourself to this delightful frozen dessert and relish in the joy that comes from creating something delicious from scratch.
If you enjoyed mastering banana ice cream with an ice cream maker, why not try a simpler method that requires minimal equipment? Our next guide offers a fantastic approach to creating creamy banana ice cream using just a blender. Perfect for those moments when you crave something sweet but want to keep things straightforward and quick. Dive into this easy-to-follow recipe and whip up a delightful treat that's sure to impress!
Frequently Asked Questions about How To Make Banana Ice Cream In An Ice Cream Maker
Was this page helpful?
At Storables.com, we guarantee accurate and reliable information. Our content, validated by Expert Board Contributors, is crafted following stringent Editorial Policies. We're committed to providing you with well-researched, expert-backed insights for all your informational needs.


0 thoughts on “How To Make Banana Ice Cream In An Ice Cream Maker”