
Articles
How To Make Candles Float On Water
Modified: October 28, 2024
Learn how to make candles float on water with our informative articles. Discover the secrets to creating stunning floating candle displays.
(Many of the links in this article redirect to a specific reviewed product. Your purchase of these products through affiliate links helps to generate commission for Storables.com, at no extra cost. Learn more)
Introduction
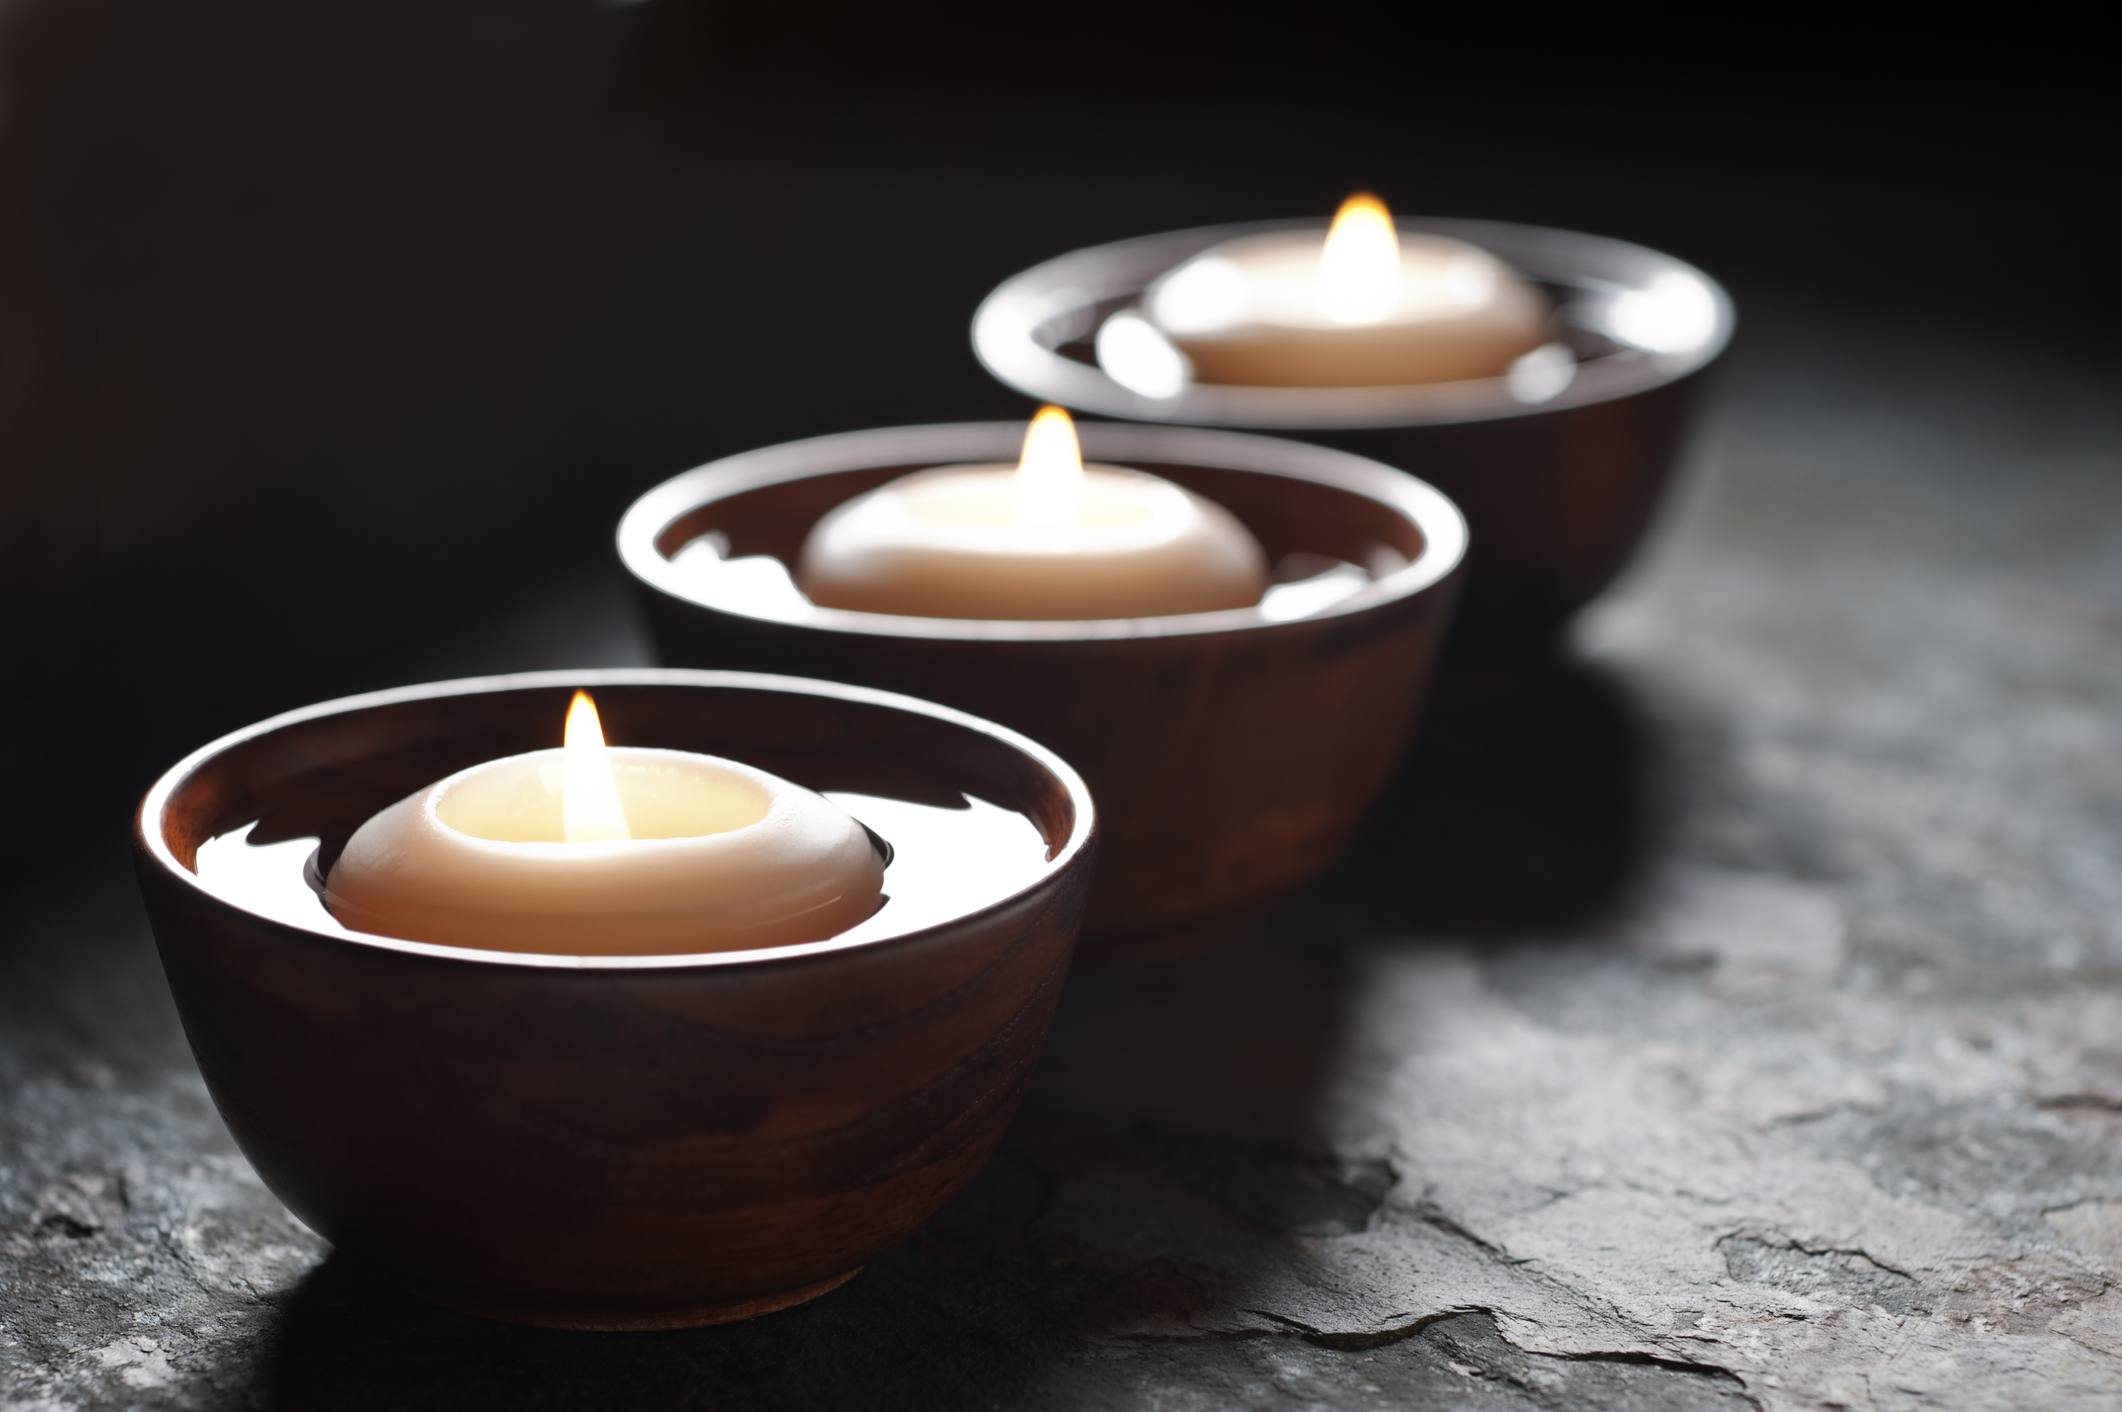
Have you ever been captivated by the mesmerizing sight of candles floating on water? Floating candles add a touch of enchantment and elegance to any occasion. Whether you’re planning a romantic dinner, a calming spa day, or a stunning centerpiece for a special event, knowing how to make candles float on water is a skill that will impress your guests and create a magical atmosphere.
In this article, we will guide you through the step-by-step process of making candles float on water. From choosing the right candle to ensuring safety precautions, you’ll learn all the necessary techniques to create a stunning floating display.
Before we dive into the details, let’s discuss the materials you’ll need for this project.
Key Takeaways:
- Create a captivating ambiance by learning how to make candles float on water. Follow safety precautions and get creative with decorative elements for a mesmerizing display.
- Transform any occasion with enchanting floating candles. Prioritize safety, experiment with colors and arrangements, and let your creativity shine for a magical atmosphere.
Read more: How To Make Christmas Floating Candles
Materials Needed
To create floating candles, you’ll need the following materials:
- A suitable candle: Look for candles specifically designed for floating, as they are designed to be waterproof and have a low melting point.
- A container: Choose a wide, shallow container that can hold water, such as a glass bowl, a decorative tray, or a small basin.
- Water: You’ll need enough water to fill the container and submerge the base of the candle.
- Decorative elements (optional): Consider adding decorative elements like flower petals, gemstones, or small floating objects to enhance the visual appeal of your display.
- Candle lighter or matches: To safely light the candle, have a candle lighter or matches on hand.
- Tweezers or tongs: These tools will come in handy when adjusting the position of the candle or removing it from the water.
Now that you have all the necessary materials, let’s move on to the step-by-step process of making candles float on water.
Step 1: Choosing the Right Candle
When it comes to making candles float on water, selecting the right candle is crucial. Here are a few factors to consider:
- Size and Shape: Opt for candles that are small and lightweight. Round or tea light candles are the most commonly used for floating displays.
- Material: Look for candles made from wax or a similar material that is buoyant and resistant to water. Avoid candles with a high melting point, as they may not stay afloat for long.
- Wick Placement: Check that the wick is centered and stable. A wick that is off-centered may cause the candle to tip or extinguish while floating.
- Unscented: While scented candles add a pleasant aroma to the room, it’s best to choose unscented candles for floating displays. Fragrances can mix with the water and affect the overall ambiance.
Once you have chosen the perfect candle, it’s time to move on to the next step: preparing the candle for floating.
Step 2: Preparing the Candle
Before placing the candle in water, it’s important to take a few preparatory steps to ensure its stability and longevity. Follow these steps:
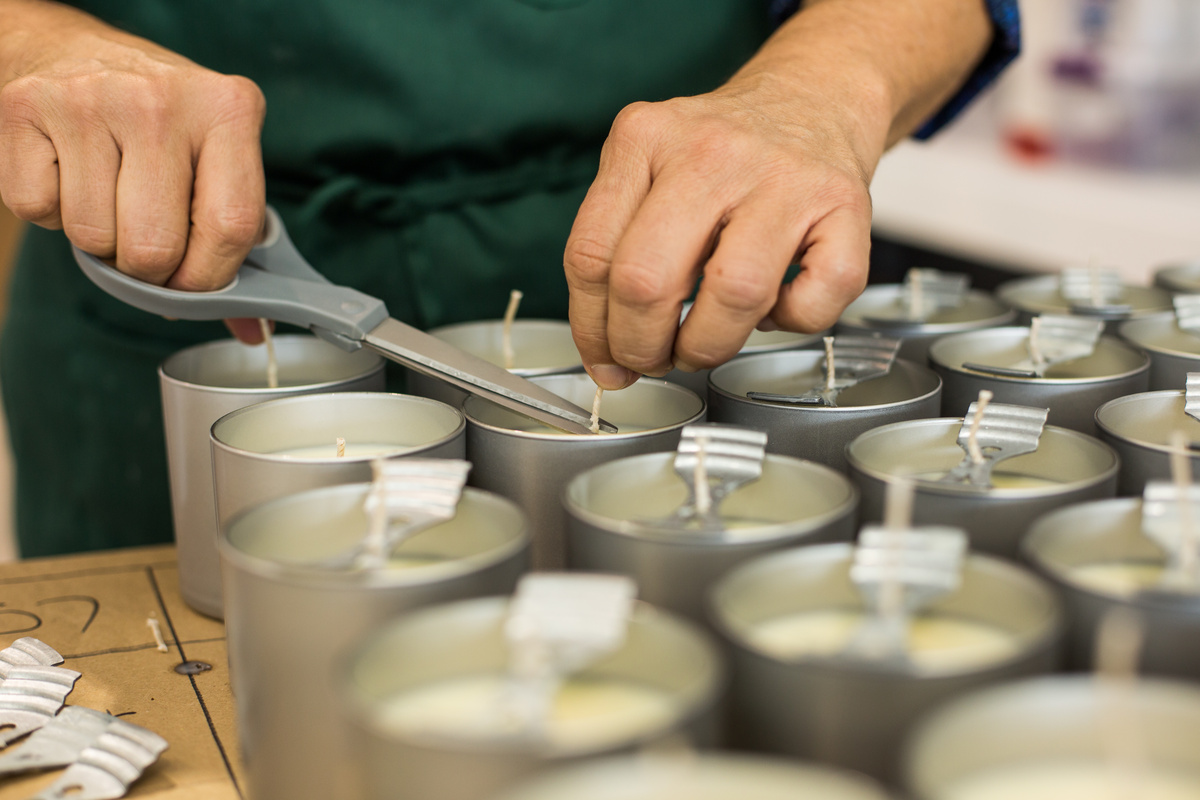
- Trim the Wick: Use a pair of scissors or a wick trimmer to trim the wick to approximately ¼ inch. This will help prevent excessive smoke and ensure a clean burn.
- Avoid Excess Wax: If your candle has excessive wax around the base, carefully trim it off using a sharp knife. This will prevent the candle from floating unevenly or toppling over.
- Attach a Float: To enhance the buoyancy of the candle, you can attach a small float, such as a cork or a foam disk, to the underside. Simply place the float in the melted wax and press gently until it adheres. This will help the candle stay afloat and maintain its position in the water.
With these preparations complete, your candle is now ready to be placed in the water. But before we move on to that step, let’s discuss how to prepare the water.
Step 3: Preparing the Water
Preparation of the water is essential to create the optimal conditions for your floating candle display. Follow these guidelines to ensure success:
- Choose the Right Container: Select a container that is wide and shallow, providing enough space for the candle to float without tipping over. Avoid containers with narrow openings or deep sides, as they can make it difficult to position the candle properly.
- Clean the Container: Before adding water, make sure the container is clean and free of any debris or residue. This will ensure clarity and prevent anything from interfering with the floating candle.
- Add Filtered or Distilled Water: To maintain a clean and clear appearance, use filtered or distilled water instead of tap water, which may contain impurities or minerals. This will prevent any unwanted residue from forming on the container or candle.
- Fill the Container: Fill the container with enough water to submerge the base of the candle. Avoid overfilling the container, as this can cause water to spill out when the candle is added.
With the water prepared, it’s time to move on to the next step: adding the candle to the water.
Read also: 15 Unbelievable Floating Candles for 2025
Step 4: Adding the Candle to the Water
Now that you have prepared the water, it’s time to add the candle. Follow these steps to ensure a successful placement:
- Hold the candle by the base or use a pair of tweezers or tongs to handle it.
- Gently lower the candle into the water, ensuring that the base is fully submerged.
- Slowly release your grip and allow the candle to float freely on the water’s surface.
- Take care to position the candle in the center of the container, ensuring it is balanced and not leaning to one side.
It is important to handle the candle with care during this process to prevent it from toppling over or getting wet before it’s time to light it. With the candle successfully added to the water, it’s time to adjust its position.
To make candles float on water, use a small amount of melted wax to secure a small cork or foam disk to the bottom of the candle. This will help it stay afloat and burn evenly.
Step 5: Adjusting the Candle Position
Properly adjusting the position of the candle is crucial to ensure it floats steadily and creates a visually appealing display. Follow these steps to adjust its position:
- Use a gentle touch or a pair of tweezers to guide the candle to the desired location within the container.
- Make small adjustments if necessary to ensure the candle is centered and balanced.
- Avoid pushing or poking the candle too forcefully, as this can cause it to tip over or become submerged.
- Take your time to find the right position, as this will determine the overall aesthetics of the floating candle display.
Once you are satisfied with the position of the candle, it’s time to light it up. But before we do that, let’s discuss some important safety precautions to keep in mind.
Step 6: Lighting the Candle
Now that your candle is in position, it’s time to add a beautiful glow to your floating display by lighting the candle. Follow these steps to safely light the candle:
- Ensure that the area surrounding the floating candle is free from any flammable materials or obstructions.
- Hold a candle lighter or a match near the wick of the candle.
- Light the wick, being careful not to touch the flame to the surrounding water or container.
- After the candle is lit, observe it for a few moments to ensure that it stays steady and continues to burn properly.
- If the candle starts to tilt or becomes unstable, use a pair of tweezers or tongs to readjust its position.
It’s important to keep a close eye on the lit candle at all times, especially if it’s in an area where it could come into contact with anything flammable. Never leave a burning candle unattended.
Now that the candle is lit and floating gracefully on the water’s surface, it’s time to move on to creating a stunning floating display.
Step 7: Creating a Floating Display
With the candle beautifully lit and floating on the water, it’s time to enhance the overall ambiance by creating a captivating floating display. Here are some ideas to inspire you:
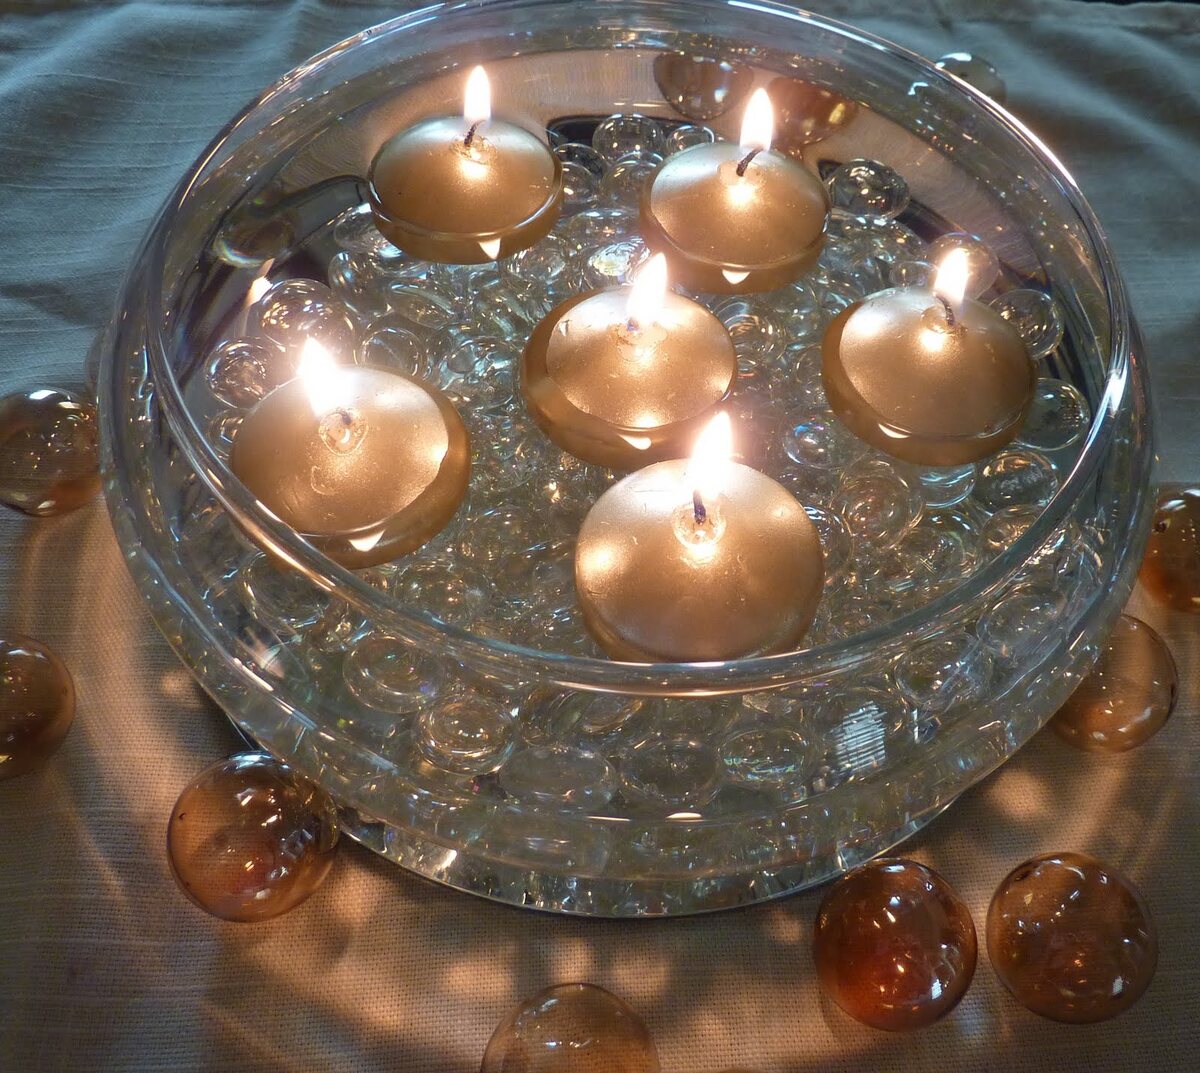
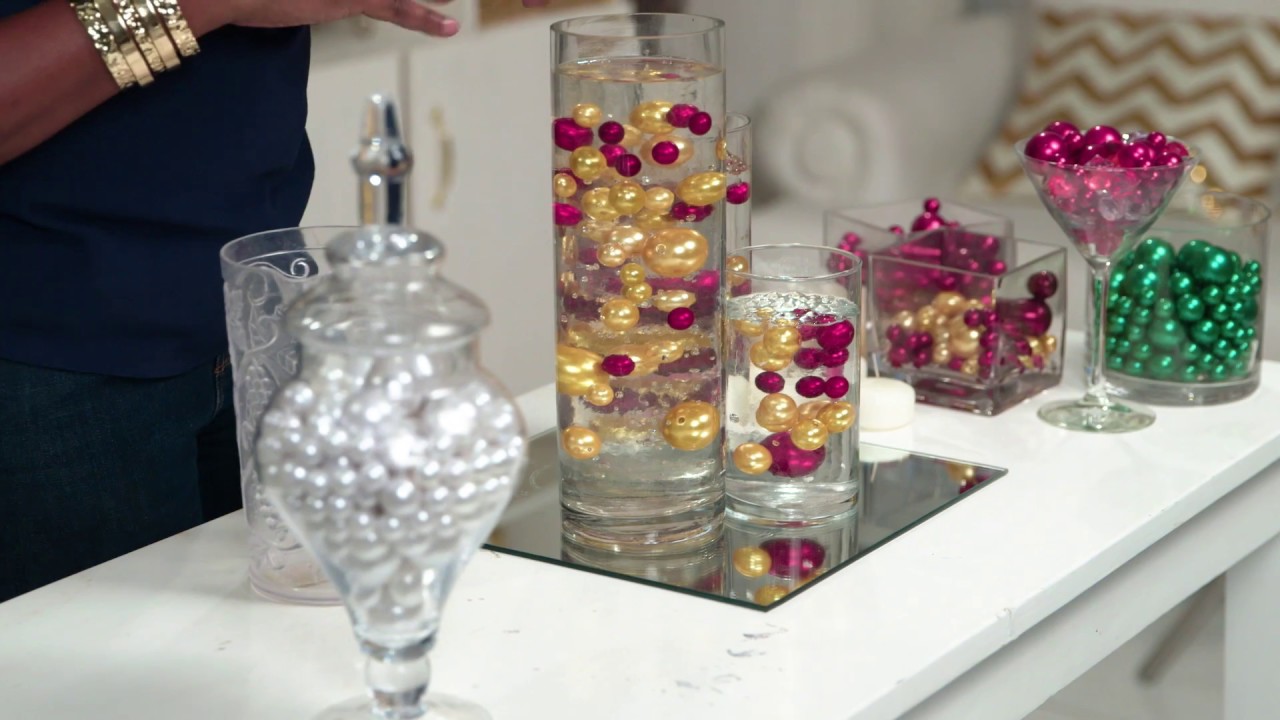
- Add Decorative Elements: Consider adding flower petals, small crystals, or colorful gemstones to the water surrounding the floating candle. These decorative elements will enhance the visual appeal and create a sense of elegance.
- Create a Grouping: Instead of using just one floating candle, you can create a stunning display by grouping several candles together. Arrange them in a symmetrical or asymmetrical pattern depending on your desired aesthetic.
- Use Different Container Sizes: Experiment with various container sizes to add depth and dimension to your display. Mix and match containers of different heights and widths to create an interesting visual arrangement.
- Include Natural Elements: Integrate natural elements like leaves, seashells, or small twigs into the display to add a touch of nature and create a unique and organic look.
- Experiment with Colors: Play with colored candles to set the mood or match the theme of your event. You can opt for soft pastel hues for a romantic setting or bold and vibrant colors for a more lively atmosphere.
Get creative and let your imagination guide you as you arrange and design your floating display. Remember to consider the overall theme and ambiance you want to create.
As you enjoy the mesmerizing sight of your floating candle display, it’s crucial to keep safety precautions in mind. Let’s discuss some important safety tips in the next step.
Read more: How To Hang Floating Candles From Ceiling
Step 8: Safety Precautions
While creating a beautiful floating candle display is a delightful experience, it’s essential to prioritize safety. Follow these safety precautions to ensure a safe and enjoyable environment:
- Never leave a burning candle unattended. Always extinguish the candle if you’re leaving the room or going to sleep.
- Keep the floating candle display away from flammable materials, such as curtains or paper decorations.
- Place the container with the floating candles on a stable and heat-resistant surface to prevent accidental tipping or damage.
- Avoid placing the floating candle display near drafts or windy areas, as this can cause the flame to flicker or go out.
- Keep the floating candle display out of the reach of children and pets to prevent accidents or injuries.
- Once the event or occasion is over, carefully extinguish the candles by using a candle snuffer or by gently blowing them out.
- Allow the candles and water to cool completely before attempting to remove them from the container.
- Dispose of the water and any debris responsibly, following local guidelines for safe disposal.
By following these safety precautions, you can enjoy the beauty of floating candles without compromising on safety.
With the completion of these eight steps, you have successfully learned how to make candles float on water and create a stunning floating display. Enjoy the enchanting ambiance that the flickering flames and gentle movement of the candles bring to any occasion.
Conclusion
Creating floating candles adds a touch of magic and elegance to any occasion. With just a few simple steps, you can transform an ordinary space into a captivating and enchanting setting. By choosing the right candle, preparing it properly, and carefully placing it on the water’s surface, you can create a beautiful floating display that will captivate your guests and create a memorable atmosphere.
Remember to always prioritize safety when working with candles. Keep a close eye on the candles when they are lit and never leave them unattended. Following safety precautions ensures a worry-free experience and allows you to fully enjoy the beauty of the floating candles.
Whether you’re planning a romantic dinner for two, a soothing spa day, or decorating for a special event, knowing how to make candles float on water is a skill that will impress and inspire others. Let your creativity shine as you experiment with different candle sizes, colors, and container arrangements to create the perfect floating display.
So go ahead, gather your materials, follow the step-by-step process, and enjoy the captivating and serene ambiance that floating candles bring. Create lasting memories with loved ones as you bask in the warm glow of the flickering flames and the gentle movement of the candles floating on water.
Frequently Asked Questions about How To Make Candles Float On Water
Was this page helpful?
At Storables.com, we guarantee accurate and reliable information. Our content, validated by Expert Board Contributors, is crafted following stringent Editorial Policies. We're committed to providing you with well-researched, expert-backed insights for all your informational needs.
