
Articles
How To Make Concrete Vessels For Candles
Modified: August 20, 2024
Learn how to create stunning concrete vessels for candles with our informative articles. Find step-by-step guides, tips, and inspiration for your next DIY project.
(Many of the links in this article redirect to a specific reviewed product. Your purchase of these products through affiliate links helps to generate commission for Storables.com, at no extra cost. Learn more)
Introduction
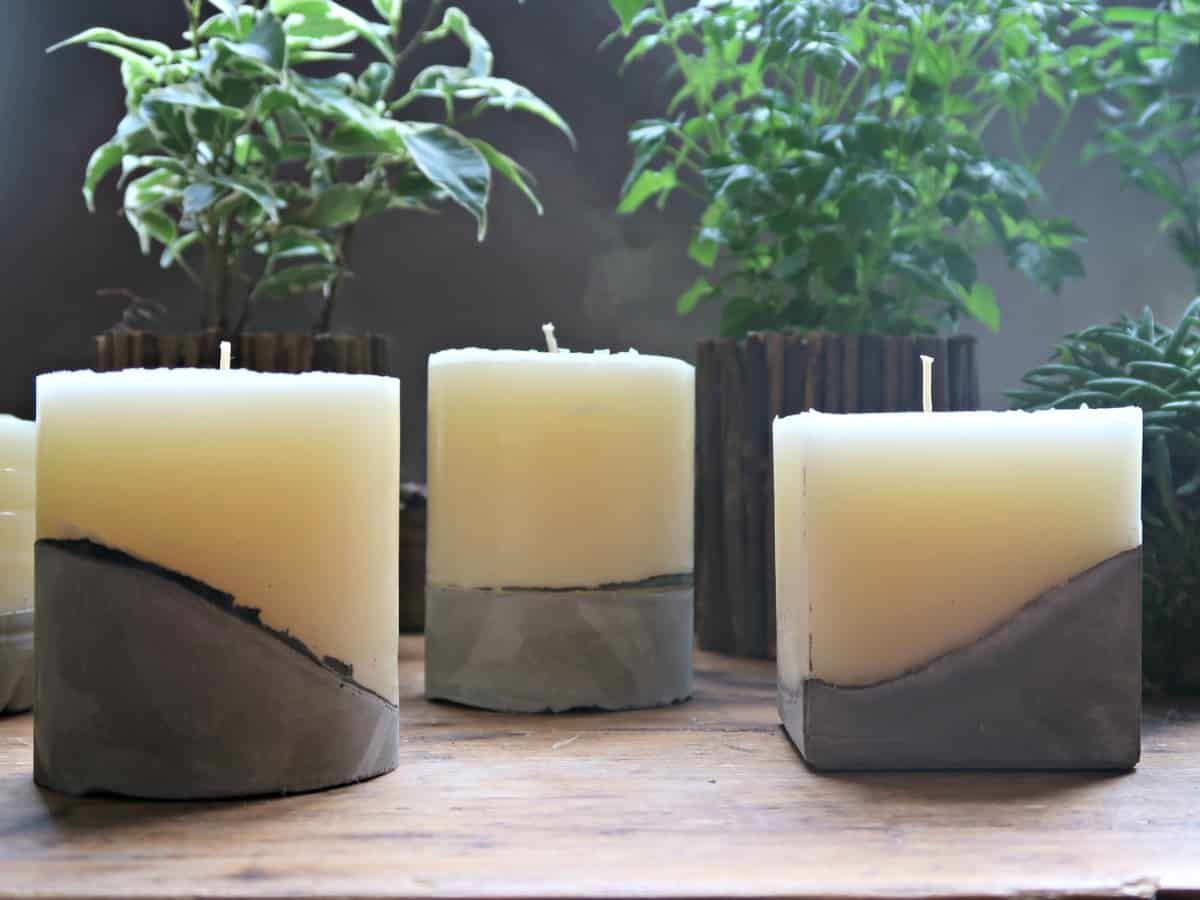
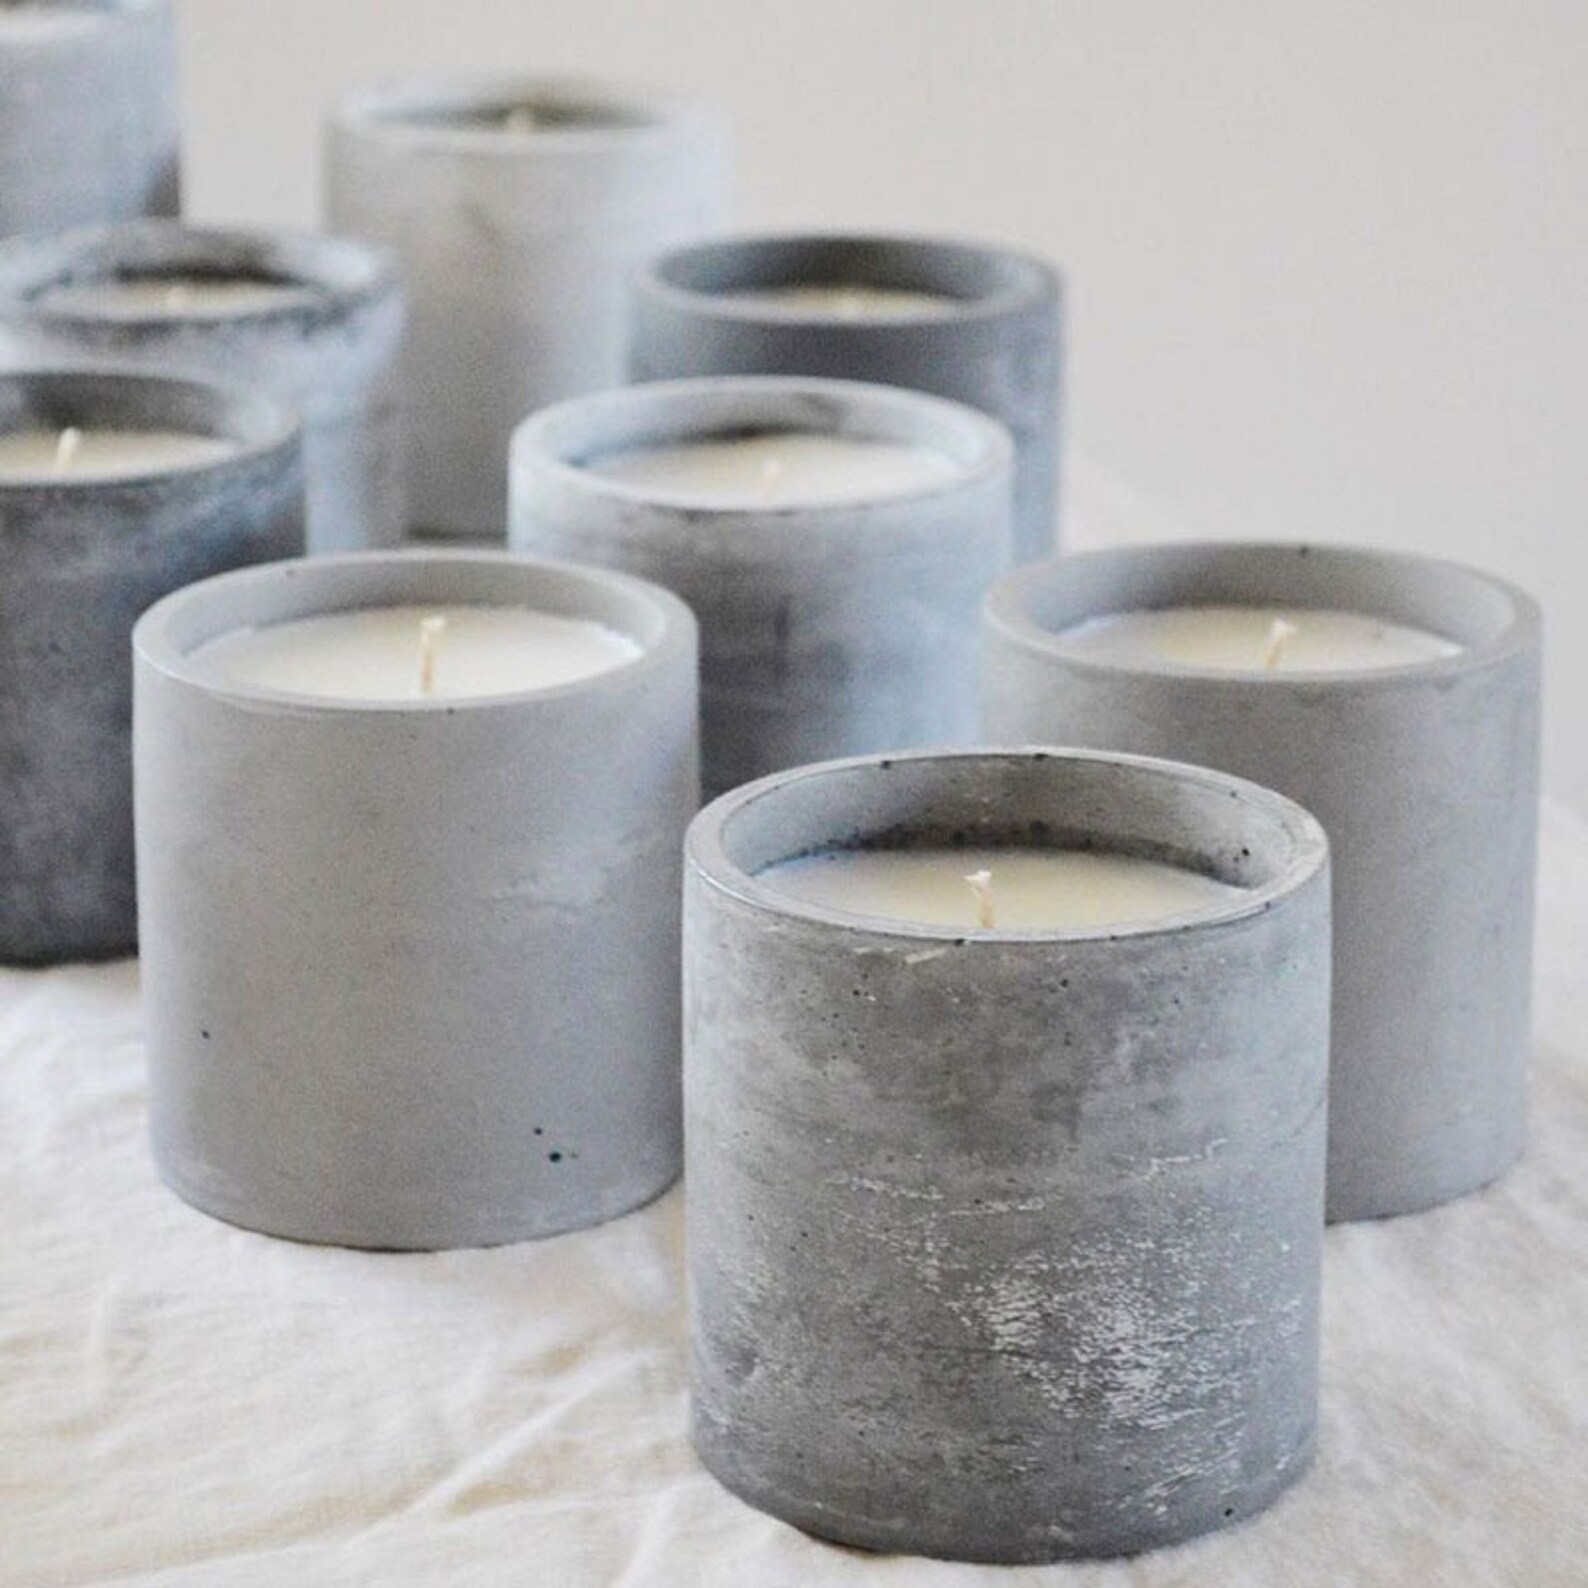
Welcome to the world of DIY candle making! If you’re looking to add a unique touch to your candle collection, why not try making your own concrete vessels? These stylish and modern vessels not only provide a sturdy base for your candles, but they also add a touch of industrial-chic to any space.
Concrete has become increasingly popular in interior design for its raw and minimalist aesthetic. By using concrete to create candle vessels, you can incorporate this trendy material into your home decor in a functional and creative way.
In this article, we will guide you through the step-by-step process of making concrete vessels for candles. From gathering the necessary materials to demolding the final product, we’ll cover everything you need to know to create your own unique candle holders.
Before we get started, it’s important to note that working with concrete requires some basic safety precautions. Be sure to wear protective gloves, safety goggles, and a dust mask to protect yourself from any potential hazards.
Now, let’s roll up our sleeves and get creative with concrete!
Key Takeaways:
- Create modern, industrial-chic concrete candle vessels to add a unique touch to your home decor. Follow safety precautions, gather materials, and personalize your vessels for a stylish DIY project.
- Master the art of crafting concrete candle vessels by learning the step-by-step process. From mold preparation to demolding and finishing touches, unleash your creativity and make stunning, personalized candle holders.
Read more: How To Install A Vessel Sink
Materials Needed
Before you can dive into creating your concrete candle vessels, it’s essential to gather all the necessary materials. Here’s a list of what you’ll need:
- Concrete mix: Look for a concrete mix specifically designed for crafting projects. You can find this at your local home improvement or craft store.
- Mold: Choose a mold that suits your desired vessel shape and size. Silicone molds work well for this project and are readily available in various shapes and designs.
- Powdered release agent: This optional step helps to release the concrete from the mold more easily. Talcum powder or a commercial release agent can be used.
- Water: You’ll need clean water for mixing the concrete. Follow the instructions on your concrete mix package for the correct water-to-concrete ratio.
- Container for mixing: Use a plastic or metal container to mix the concrete. Avoid using glass or ceramic, as the concrete can stick to these surfaces.
- Spatula or mixing tool: A spatula or mixing tool will come in handy for thoroughly combining the concrete and water.
- Candle wick: Choose a candle wick suitable for the size of your vessel. You can find these at craft stores or online.
- Wick holder: This is a small metal device that holds the wick in place while the concrete sets. You can find these specifically designed for candle-making.
- Sandpaper: To smooth out any rough edges on the vessel, have some sandpaper on hand.
- Decorative elements (optional): If you want to add a personal touch to your candle vessels, consider including decorative elements such as dried flowers, gemstones, or colored pigment.
Now that you have all the necessary materials, it’s time to move on to the next step: preparing the mold!
Step 1: Gather Supplies
Before you begin the process of making concrete vessels for candles, it’s important to gather all the necessary supplies. Here’s what you’ll need:
- Concrete mix: Choose a high-quality concrete mix that is suitable for crafting projects. You can find this at your local home improvement or craft store. Make sure to check the instructions for the correct mixing ratio.
- Mold: Select a mold that suits the size and shape of the concrete vessel you want to create. Silicone molds are popular for this project because they are flexible and easy to demold. You can find a variety of molds in different shapes and sizes online or at craft stores.
- Release agent: To ensure easy removal of the concrete from the mold, apply a release agent such as cooking spray or a commercial mold release product. This will prevent the concrete from sticking to the mold.
- Water: Clean water is needed to mix the concrete. Follow the instructions on the concrete mix package to determine the correct water-to-concrete ratio.
- Mixing container: Use a plastic or metal container to mix the concrete. Avoid using glass or ceramic containers, as the concrete can adhere to these materials.
- Mixing tool: A spatula or mixing stick is essential for thoroughly blending the concrete and water. Make sure to use a sturdy tool that can withstand the mixing process.
- Candle wick: Choose a candle wick that is appropriate for the size of your concrete vessel. You can find wicks specifically designed for candles at craft stores or online.
- Wick holder: A wick holder is a small metal device that helps keep the candle wick centered while the concrete sets. It ensures that the wick remains in the desired position once the candle is lit.
- Sandpaper: You’ll need sandpaper to smooth out any rough edges on the concrete vessel. Opt for different grits (such as 100, 220, and 400) to achieve the desired level of smoothness.
- Optional decorative elements: If you want to customize your concrete vessel, consider adding decorative elements such as dried flowers, colored pigment, or small gemstones. These can be inserted into the concrete before it sets.
Once you have gathered all the necessary supplies, you are ready to move on to the next step: preparing the mold.
Step 2: Prepare the Mold
Now that you have all the necessary supplies, it’s time to prepare the mold for your concrete vessel. Follow these steps to ensure a successful molding process:
- Clean the mold: Start by cleaning the mold with warm soapy water to remove any dust or debris. This will help ensure a clean and smooth surface for your concrete vessel.
- Apply the release agent: To help release the cured concrete from the mold, apply a thin layer of release agent. This can be cooking spray, a commercial mold release product, or even a light dusting of baby powder or talcum powder. Coat the entire inner surface of the mold evenly.
- Secure the mold: Place the mold on a flat, stable surface. You may want to use a non-stick mat or a layer of plastic wrap underneath to prevent any potential mess.
- Optional: Position decorative elements: If you wish to include decorative elements, such as dried flowers or gemstones, arrange them at the bottom of the mold. Make sure they are evenly spaced and positioned as desired.
Preparing the mold properly is crucial for achieving a smooth and hassle-free demolding process. Taking the time to clean, apply a release agent, and secure the mold will ensure that your concrete vessel comes out with clean lines and a professional finish.
Now that the mold is ready, it’s time to move on to the exciting part: mixing the concrete!
Step 3: Mix the Concrete
Now that the mold is prepared, it’s time to mix the concrete for your vessel. Follow these steps to ensure proper mixing:
- Read the instructions: Start by carefully reading the instructions on the concrete mix packaging. Different brands may have varying mixing ratios and curing times, so it’s important to follow the manufacturer’s recommendations.
- Prepare the mixing container: Use a plastic or metal container as your mixing vessel. Avoid using glass or ceramic, as the concrete can stick to these surfaces. Ensure that the container is clean and free from any contaminants.
- Add the concrete mix: Measure out the appropriate amount of concrete mix according to the instructions. Gradually pour the mix into the mixing container.
- Add water: Follow the recommended water-to-concrete ratio specified on the packaging. Start by adding a smaller amount of water and gradually increase as needed. The goal is to achieve a thick and pourable consistency, similar to pancake batter.
- Mix thoroughly: Use a spatula or a dedicated mixing tool to blend the concrete mix and water together. Stir continuously until you achieve a homogeneous mixture without any lumps or dry pockets. Scrape down the sides and bottom of the container to ensure all the ingredients are well incorporated.
While mixing, you may notice that the concrete mix starts to thicken. If this happens, you can add small amounts of water incrementally until you achieve the desired consistency. However, be cautious not to add too much water, as it can weaken the final structure of the vessel.
Once the concrete is thoroughly mixed and has a smooth, pourable consistency, you’re ready to move on to the next step: pouring the concrete into the mold.
Read more: How To Make A Concrete Walkway
Step 4: Pour the Concrete
With the concrete mixture prepared, it’s time to pour it into the mold to create your candle vessel. Follow these steps to ensure a successful pouring process:
- Position the mold: Carefully place the prepared mold on a flat and stable surface. Ensure that it is level and secure to prevent any shifting during the pouring process.
- Start pouring: Slowly pour the mixed concrete into the mold, starting from one corner and working your way across. The concrete should flow smoothly into the mold, filling it up gradually.
- Avoid air bubbles: To prevent air bubbles from forming in the concrete, gently tap the sides of the mold as you pour. This will help release any trapped air and ensure a solid and smooth finish.
- Fill to desired level: Continue pouring the concrete until the mold is filled to your desired level. Keep in mind that the concrete will settle slightly as it cures, so it’s better to slightly overfill the mold than to underfill.
- Smooth the surface: Use a spatula or a flat tool to smooth the surface of the poured concrete. Ensure that it is level and even, paying attention to the edges and corners of the mold.
It’s important to work efficiently during the pouring process to ensure that the concrete doesn’t begin to set before the mold is completely filled. However, take care not to rush and create unnecessary mess or air pockets.
Once the concrete is poured and smoothed, it’s time to move on to the next step: inserting the candle wick.
When making concrete vessels for candles, be sure to use a high-quality concrete mix and add reinforcement fibers for added strength. Also, consider using a mold release agent to help with easy removal of the finished vessel.
Step 5: Insert the Candle Wick
Now that the concrete has been poured into the mold, it’s time to insert the candle wick. Follow these steps to ensure proper wick placement:
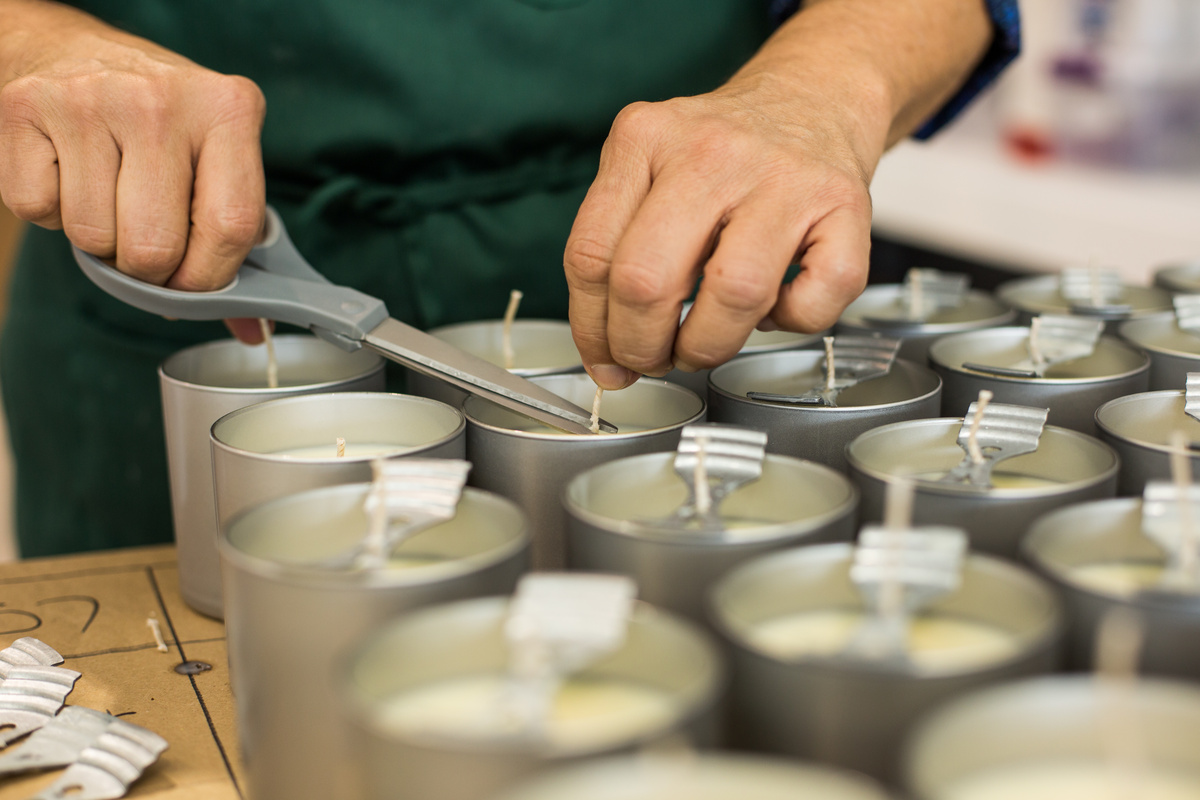
- Prepare the wick: Cut the candle wick to the appropriate length. It should be long enough to extend from the bottom of the mold to the top, with a little extra for trimming later.
- Poke a hole: Use a pencil or a skewer to gently poke a hole in the center of the poured concrete. Insert the pointed end of the skewer or pencil into the concrete, taking care not to disrupt the surface or push the concrete around too much.
- Insert the wick: Dip the end of the wick into the melted wax or a small amount of hot glue to make it easier to handle. Insert the coated end of the wick into the hole in the concrete, ensuring that it is centered and straight.
- Stabilize the wick: To prevent the wick from moving or falling out of place as the concrete cures, use a wick holder. This small metal device will keep the wick in the desired position until the concrete sets.
- Adjust the wick height: If desired, you can trim the wick to a shorter length for aesthetic purposes. Leave enough length for easy lighting and removal of the candle, but be cautious not to trim it too short.
Ensuring the proper placement and stabilization of the wick is crucial to creating a functional and beautiful candle vessel. Take your time to carefully insert the wick and make any necessary adjustments before moving on to the next step.
Now that the wick is securely in place, it’s time to address any potential air bubbles in the concrete before it cures.
Step 6: Remove Air Bubbles
During the pouring process, air bubbles can sometimes get trapped in the poured concrete. It’s important to remove these air bubbles to ensure a smooth and solid finished product. Follow these steps to remove air bubbles from your concrete vessel:
- Tap the mold: Tap the sides of the mold gently with your hand or a rubber mallet. This helps to dislodge any air bubbles that may be trapped within the concrete. Continue tapping all around the mold to ensure thorough coverage.
- Use a vibrating tool: If you have access to a small hand-held vibrating tool, you can run it along the sides of the mold. The vibrations will help to release any trapped air bubbles and make the concrete settle more evenly.
- Pierce air bubbles: If you notice any large or stubborn air bubbles on the surface of the poured concrete, use a pin or toothpick to gently pierce them. This will allow the air to escape and the concrete to settle properly.
- Smooth the surface: After tapping and addressing any air bubbles, use a spatula or a flat tool to smooth the surface of the concrete once again. This helps to level out any irregularities caused by releasing air bubbles.
Removing air bubbles is an important step to ensure a flawless final product. By taking the time to tap the mold, use a vibrating tool if available, and address any air bubbles on the surface, you’ll achieve a beautifully solid and smooth concrete vessel.
With the air bubbles taken care of, it’s now time to patiently wait for the concrete to cure.
Step 7: Let the Concrete Cure
After the concrete has been poured and any air bubbles have been addressed, it’s important to allow the concrete to cure properly. Curing is a crucial step in the process that ensures the concrete hardens and develops its strength. Follow these steps to properly cure your concrete vessel:
- Cover the mold: To create the proper curing environment, cover the mold with a plastic sheet or place it inside a large plastic bag. This helps to retain moisture and promotes a more controlled curing process.
- Settle the concrete: After covering the mold, gently tap it again to help settle the concrete and ensure it fills any remaining gaps or voids.
- Find a curing spot: Place the mold in a cool, dry, and undisturbed location. Choose a spot away from direct sunlight or strong drafts, as these can negatively impact the curing process.
- Be patient: Allow the concrete to cure for the recommended time indicated on the concrete mix packaging. This can be anywhere from 24 to 48 hours, depending on the mix used.
During the curing process, it’s important to resist the temptation to demold the concrete before it has fully cured. Premature demolding can result in a weaker finished product or cause cracks and other imperfections.
Remember, the curing time may vary depending on the specific concrete mix and environmental conditions. It’s always best to follow the manufacturer’s guidelines to ensure optimal results.
Once the concrete has fully cured, it’s time to demold the vessel
Read more: How To Make Concrete Bathtub
Step 8: Demold the Vessel
After patiently waiting for the concrete to fully cure, it’s time to demold your concrete vessel. Follow these steps to ensure a smooth and successful demolding process:
- Remove the cover: If you covered the mold with a plastic sheet or bag, carefully remove it and set it aside.
- Gently release the edges: Start by gently pressing and flexing the edges of the mold to loosen the concrete. Take your time and work your way around the entire mold.
- Apply gentle pressure: Once the edges are loosened, apply gentle and even pressure to the mold to release the concrete. Press from the bottom of the mold upwards to push the concrete out.
- Tap or shake the mold: If needed, gently tap or shake the mold to coax the concrete vessel to release. Be careful not to force it too much, as this can cause the concrete to crack or break.
- Continue releasing: Once the concrete vessel starts to release from the mold, continue applying gentle pressure and tapping until it is fully released.
- Inspect for cracks or imperfections: After demolding the vessel, carefully inspect it for any cracks, chips, or other imperfections. Minor imperfections can often be sanded or filled in later during the finishing touches.
Demolding can sometimes be a delicate process, especially if the concrete is still slightly stuck to the mold. Take your time, be patient, and handle the vessel with care to avoid any accidental damage.
With the vessel successfully demolded, it’s time to move on to the final step: adding the finishing touches.
Step 9: Finishing Touches
After demolding your concrete vessel and ensuring it is free from any cracks or imperfections, it’s time to add the finishing touches to make it truly shine. Follow these steps to complete your concrete candle vessel:
- Smooth any rough edges: Use sandpaper to gently sand down any rough edges or imperfections on the concrete vessel. Start with a coarser grit, such as 100, and gradually move to a finer grit, such as 220 or 400, for a smooth finish.
- Clean the vessel: Remove any dust or debris from the sanding process by giving the vessel a gentle wipe down with a damp cloth or sponge. Allow it to air dry completely before moving on to the next step.
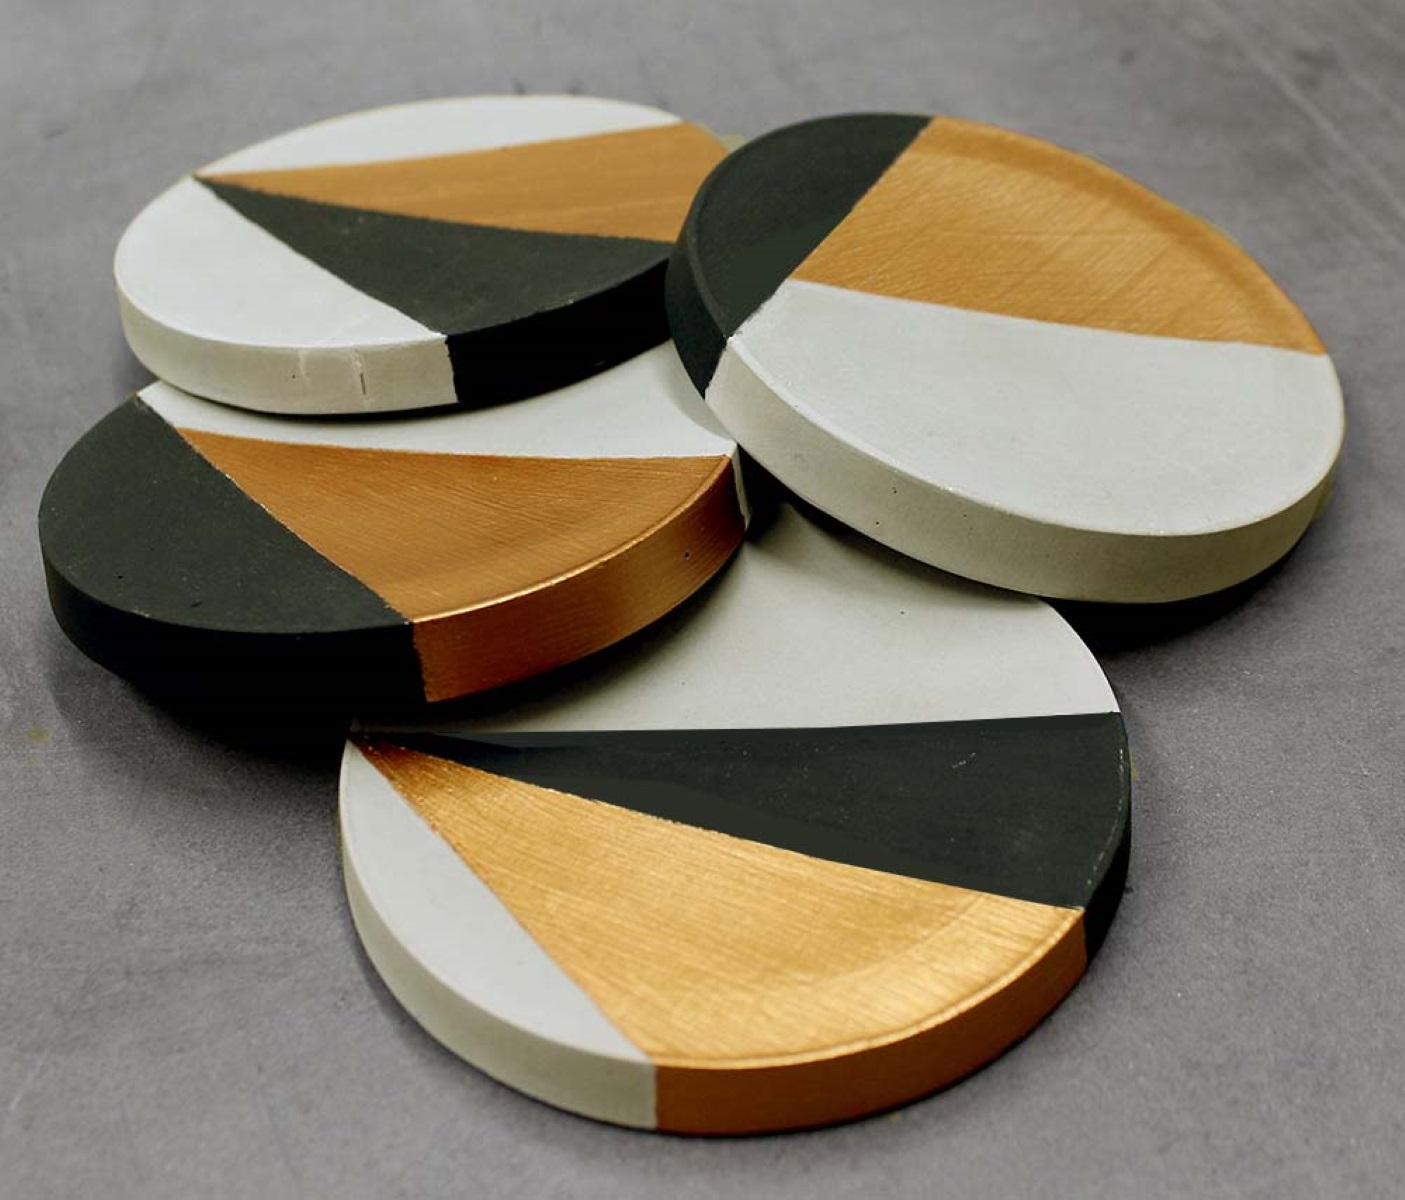
- Optional: Add color or texture: If you want to further customize your candle vessel, consider adding color or texture. You can use acrylic paint, concrete stain, or even specialized concrete pigments to achieve your desired look. Apply the color or texture using a small brush or sponge, and allow it to dry completely before proceeding.
- Insert the candle: Once the vessel is completely dry and any optional colors or textures are applied, it’s time to insert your favorite candle. Ensure the wick is centered and use a wick trimmer to trim it to a suitable length for burning.
- Light and enjoy: Finally, light your candle and sit back to enjoy the warm glow and unique ambiance created by your very own concrete candle vessel. Place it on a heat-resistant surface and remember to never leave a burning candle unattended.
By taking the time to sand and smooth the vessel, as well as adding any additional decorative elements, you can truly personalize your concrete candle holder and make it a centerpiece of your home decor.
Congratulations on completing your concrete candle vessel! With its modern, industrial-chic design and unique craftsmanship, it’s sure to make a stylish statement in any room.
Remember to experiment with different shapes, sizes, and colors to create a variety of stunning concrete candle vessels and expand your candle collection.
Now, sit back, relax, and enjoy the warm glow of your homemade concrete candle vessel!
Conclusion
Making concrete vessels for candles is a creative and fulfilling DIY project that allows you to add a touch of industrial-chic to your home decor. By following the step-by-step process outlined in this article, you can create unique and stylish candle holders that are not only functional but also visually appealing.
Throughout the journey of making your concrete candle vessels, you have learned how to gather the necessary materials, prepare the mold, mix and pour the concrete, insert the candle wick, remove air bubbles, let the concrete cure, demold the vessel, and add the finishing touches. Each step is integral to the overall success of the project and contributes to the final product’s quality and aesthetics.
Remember to prioritize safety by wearing protective gear such as gloves, safety goggles, and a dust mask when working with concrete. Take your time and exercise patience during the curing process, allowing the concrete to fully harden before demolding the vessel.
Customizing your concrete candle vessels with decorative elements, such as dried flowers or colored pigments, is an excellent way to showcase your creativity and personalize the final result. Smooth out any rough edges using sandpaper and clean the vessel thoroughly before inserting your favorite candle and enjoying the warm, soothing glow it provides.
With practice and experimentation, you can continue to refine your concrete vessel-making skills, creating unique designs that complement your home decor and add a touch of modernity to your space.
So, why settle for store-bought candle holders when you can create your own stylish and one-of-a-kind concrete vessels? Start your creative journey today and get ready to impress friends and family with your handmade candle accents!
Frequently Asked Questions about How To Make Concrete Vessels For Candles
Was this page helpful?
At Storables.com, we guarantee accurate and reliable information. Our content, validated by Expert Board Contributors, is crafted following stringent Editorial Policies. We're committed to providing you with well-researched, expert-backed insights for all your informational needs.
