
Articles
How To Make Dipped Candles
Modified: August 17, 2024
Learn how to make beautiful dipped candles with these step-by-step articles. Create your own custom candles at home with this easy DIY guide.
(Many of the links in this article redirect to a specific reviewed product. Your purchase of these products through affiliate links helps to generate commission for Storables.com, at no extra cost. Learn more)
Introduction
Welcome to the wonderful world of candle making! If you’ve ever wanted to create your own beautiful and customized candles, you’re in the right place. In this guide, we’ll take you through the step-by-step process of making dipped candles.
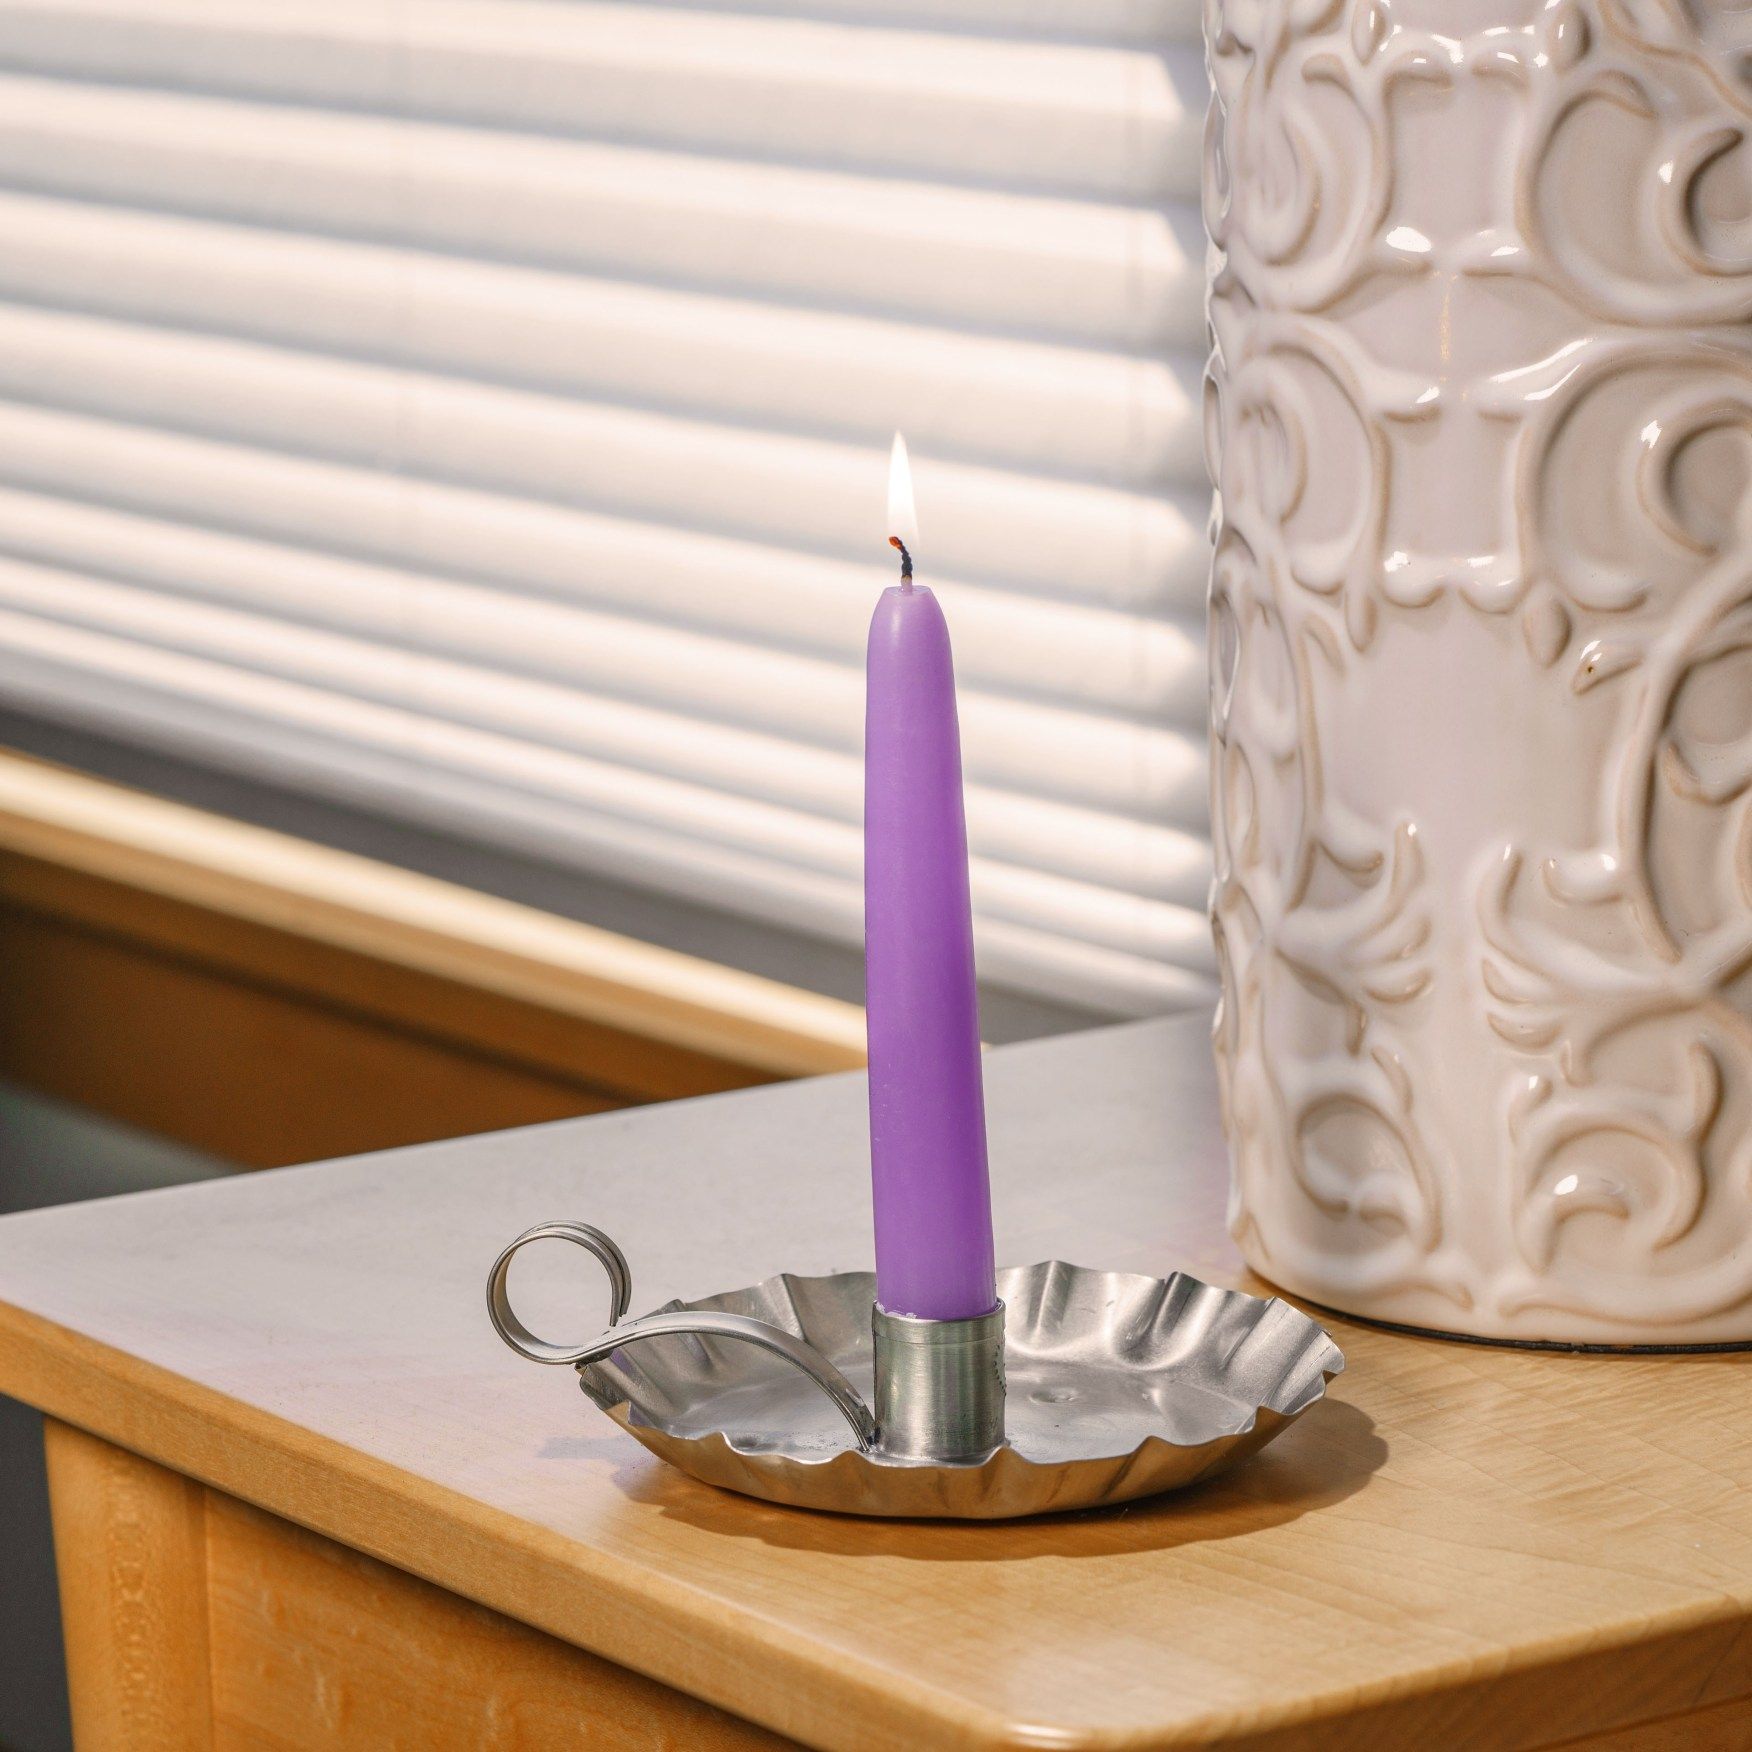
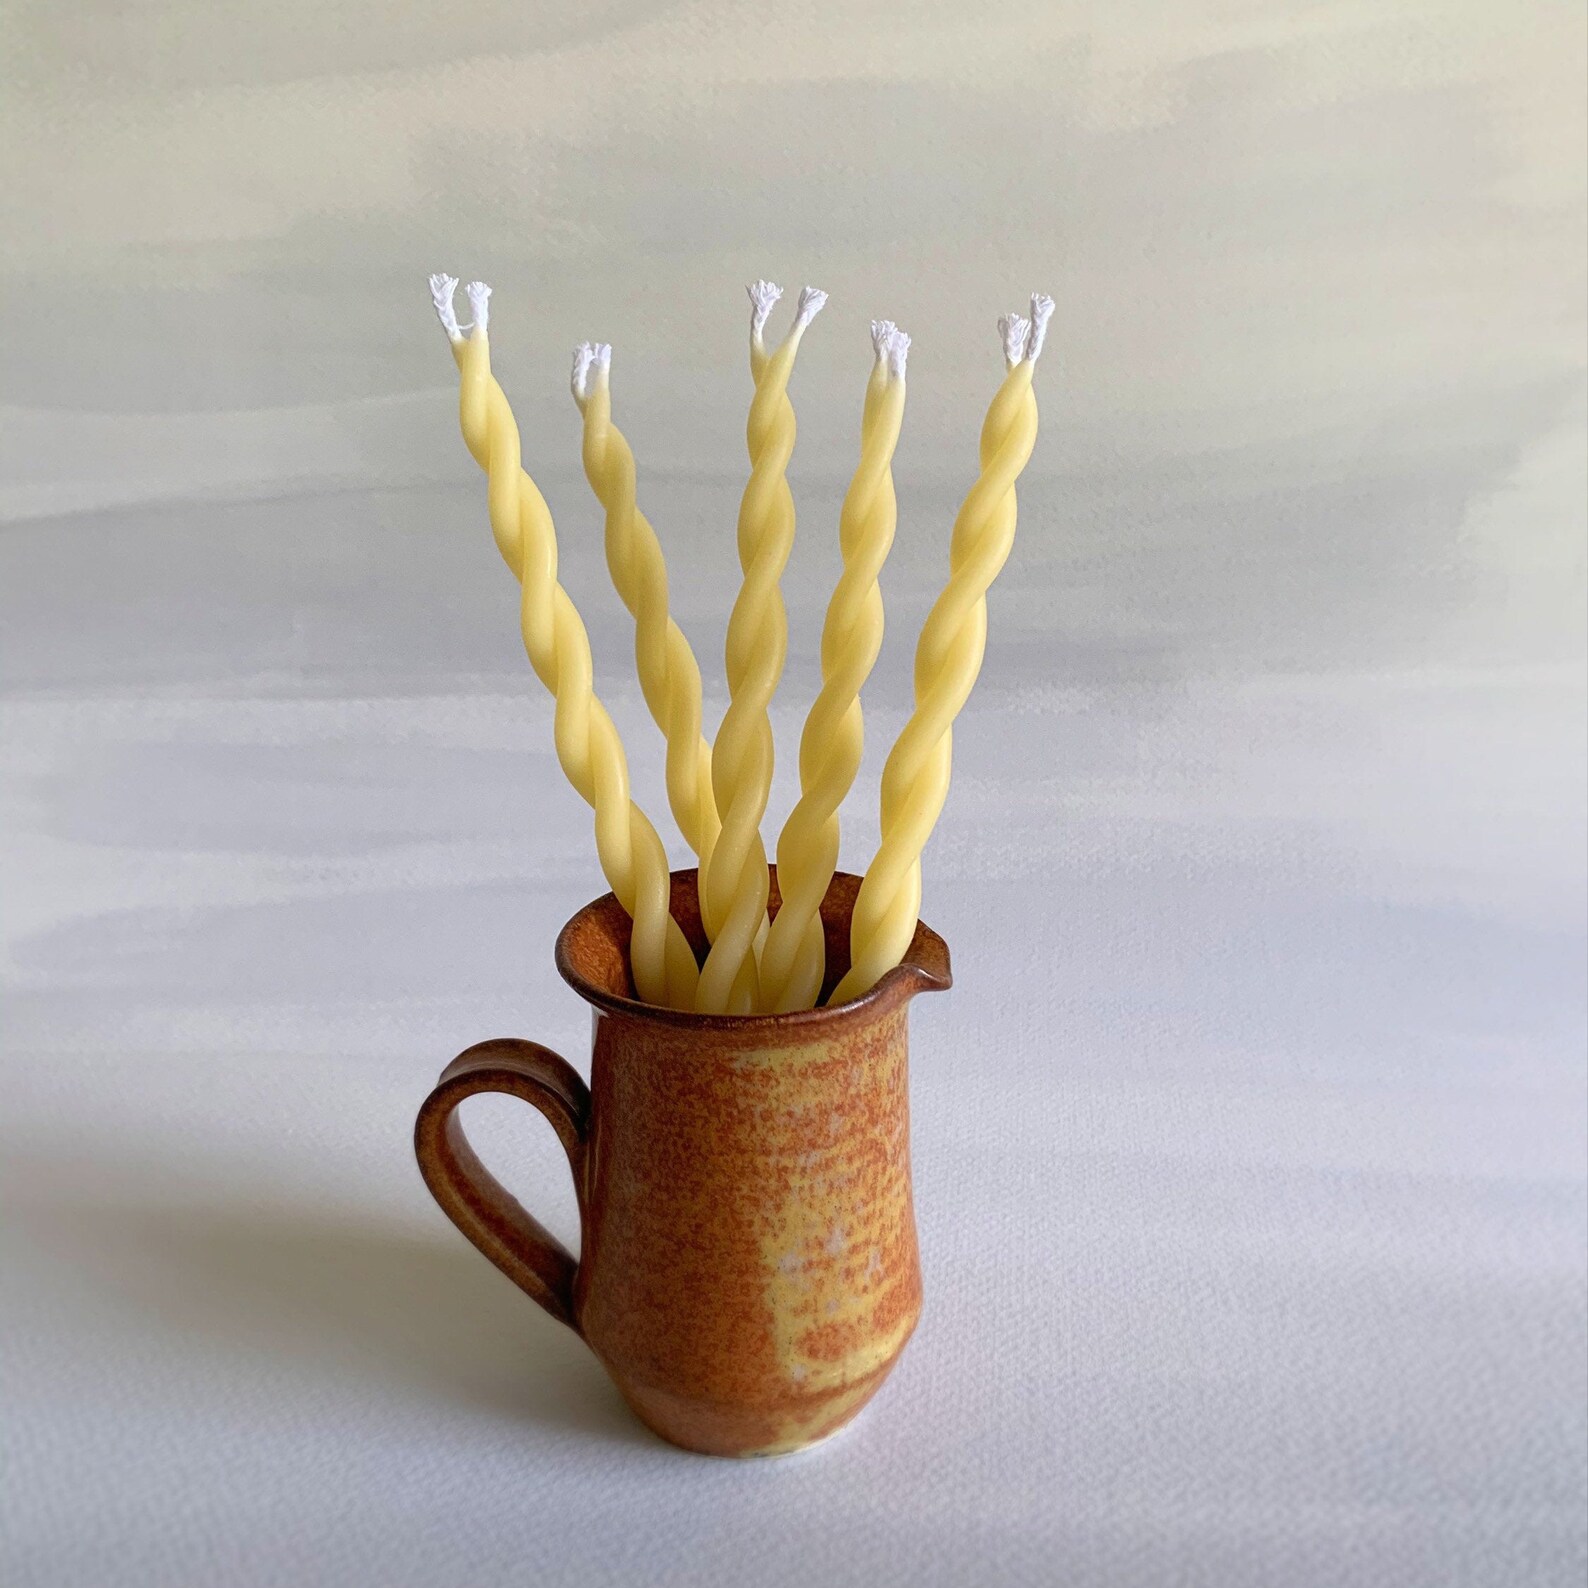
Dipped candles have a timeless and elegant appeal. They are created by repeatedly dipping a wick into melted wax, layer by layer, until the desired thickness is achieved. This method allows for endless possibilities when it comes to creating unique designs and color combinations.
Not only is making dipped candles a fun and rewarding craft, but it also gives you the opportunity to create personalized gifts, decorations, or even start your own candle making business. Before we dive into the details, let’s go over the materials you’ll need to get started.
Key Takeaways:
- Dive into the world of candle making with dipped candles, where creativity knows no bounds. Personalize your space, create unique gifts, and unleash your inner artisan with this timeless craft.
- Embrace the art of candle making and let your creativity shine through. From preparing the wax to adding color and scent, crafting dipped candles offers endless possibilities for personalized, handcrafted creations.
Read more: How To Make A Heater With Candles
Materials Needed
Before you begin making dipped candles, gather the following materials:
- Wax: Choose a wax suitable for dipping candles, such as paraffin wax or beeswax. You can find wax specifically formulated for candle making at craft stores or online.
- Candle Dye (optional): If you want to add color to your candles, select candle dye in your desired shades. Liquid dyes or color blocks work well for this purpose.
- Candle Scent (optional): Enhance the ambiance of your candles by adding fragrance oils. Choose scents that complement the occasion or your personal preferences.
- Wicks: Use pre-cut wicks or buy wick spools and cut them to your desired length. Ensure that the wick thickness matches the size of the candles you wish to create.
- Candle Mold (optional): If you want to create evenly shaped candles, invest in a candle mold. Alternatively, you can use improvised materials like containers or jars.
- Double Boiler or Wax Melter: To melt the wax safely, you’ll need a double boiler or a dedicated wax melter. If you don’t have one, you can create a makeshift double boiler by placing a heat-proof container inside a larger pot filled with water.
- Heat-Resistant Container: Have a heat-resistant container on hand to hold the melted wax while dipping the candles.
- Tongs or Dipper: Use tongs or a dipper specifically designed for candle making to handle the wicks during the dipping process.
- Thermometer: A candy or candle thermometer will help you monitor the temperature of the melted wax, ensuring it stays within the recommended range.
- Work Surface Protection: Lay down newspaper or a crafting mat to protect your work surface from drips and spills.
- Protective Gear: Wear gloves and an apron to keep yourself safe and clean during the candle making process.
Now that you have all the necessary materials, you’re ready to dive into the exciting world of making dipped candles. Let’s move on to the first step: preparing the wax.
Step 1: Preparing the Wax
The first step in making dipped candles is preparing the wax. Follow these steps to ensure you have a smooth and easy candle-making experience:
- Measure the Wax: Determine the amount of wax you’ll need based on the size and number of candles you plan to make. It’s a good idea to measure out a little extra in case of spillage or uneven dipping.
- Double Boiler Method: If you’re using a double boiler, fill the bottom pot with water and place it on the stove over low to medium heat. Once the water is simmering, place the wax in the top pot or heat-proof container and set it over the boiling water. This indirect heat method ensures a gentle and controlled melting process.
- Wax Melter Method: If you have a dedicated wax melter, follow the manufacturer’s instructions to melt the wax. These devices are designed specifically for candle making and provide a convenient and consistent heat source.
- Monitor the Temperature: Keep an eye on the temperature of the wax using a thermometer. The ideal melting temperature for paraffin wax is around 160 to 180 degrees Fahrenheit (71 to 82 degrees Celsius), while beeswax melts at a slightly higher temperature of about 145 to 150 degrees Fahrenheit (63 to 66 degrees Celsius).
- Stir Occasionally: Stir the wax occasionally as it melts to ensure even heating. This will help prevent the wax from scorching or developing uneven consistency.
- Remove from Heat: Once the wax has completely melted and reached the desired temperature, remove it from the heat source. Be cautious not to let the wax overheat or exceed the recommended temperature range, as this can affect the quality of the candles.
With the wax prepared and ready to use, you’re one step closer to creating your own dipped candles. The next step is to add color and scent to your candles, which is entirely optional but can add a touch of personalization. Let’s move on to step two.
Step 2: Adding Color and Scent (optional)
If you want to infuse your dipped candles with color and fragrance, this step is for you. Adding color and scent to your candles can create a visually pleasing and aromatic experience. Follow these steps to incorporate color and scent into your candles:
- Choose Your Dye: If you’ve decided to add color to your candles, select a candle dye that is suitable for your chosen wax type. Candle dyes come in various forms, such as liquid dyes or color blocks. Follow the manufacturer’s instructions for the recommended amount of dye to use based on the amount of wax you are working with.
- Melt the Dye: Place a small amount of melted wax in a separate container and add the dye to it. Stir thoroughly until the dye is completely dissolved. This step ensures even distribution of the color throughout the melted wax.
- Add the Dye to the Wax: Pour the colored wax into the main container of melted wax and stir gently to incorporate the color. Continue stirring until the color is evenly distributed. If you want different colors for different layers of your candles, repeat this process with additional melted wax and different dyes.
- Choose Your Scent: If you desire scented candles, select fragrance oils that are specifically designed for candle making. Choose scents that align with your personal preferences or the theme of the candles. Follow the recommended dosage of fragrance oil based on the amount of wax you are using.
- Add the Fragrance Oil: Once you’ve chosen your scent, add it to the melted wax. Stir gently to ensure thorough mixing. Be careful not to add too much fragrance oil, as it can affect the candle’s burn time or overpower the scent.
Adding color and scent to your dipped candles allows you to unleash your creativity and personalize your creations. However, it’s essential to note that scent and dye proportions can impact the burning properties of the candles. It’s best to follow the recommended dosage and conduct small test batches to ensure desired results.
Now that you’ve added color and fragrance to your melted wax, it’s time to prepare the wicks for dipping. Move on to step three to learn how to prep the wicks for the candle-making process.
Step 3: Prepping the Wicks
Before you can start dipping your candles, you need to prepare the wicks. Follow these steps to ensure your wicks are sturdy and ready for the dipping process:
- Measure and Cut the Wick: Determine the desired length of your candles and add a few extra inches for securing the wicks to a dipping rod or another tool. Cut the wick to the appropriate length using scissors or a sharp cutting tool.
- Wick Treatment (optional): If you’re using cotton wicks, you may want to consider pre-treating them to improve their burn quality. This can be done by dipping the wick in a mixture of melted wax and borax. Allow the treated wicks to dry completely before use.
- Secure the Wick: Attach the wick to a dipping rod or a similar tool to keep them in place during the dipping process. You can use various methods to secure the wick, such as tying it with a knot, using a clip, or wrapping it around the dipping rod.
- Adjust the Tension: Ensure that the wick is taut and straight on the dipping rod, as this will help produce evenly dipped candles. Use clips or weights to adjust the tension if needed.
Properly prepping the wicks is crucial for achieving consistent and well-formed dipped candles. Take your time to trim and secure the wicks correctly, as it will significantly impact the final result of your candles.
Now that your wicks are ready, it’s time to move on to the exciting part: dipping the candles. Step four will guide you through the dipping process, so let’s continue.
When making dipped candles, ensure that the wax is at the correct temperature for dipping. If it’s too hot, the layers will be too thin, and if it’s too cold, the layers won’t adhere properly.
Read more: How To Make Candles With Herbs
Step 4: Dipping the Candles
Now that your wax is melted, colored, scented, and your wicks are prepped, it’s time to start dipping your candles. Follow these steps to achieve beautifully layered candles:
- Heat the Wax: Ensure that the melted wax is at an appropriate temperature for dipping. The ideal temperature varies depending on the wax type, but it is generally between 150 to 170 degrees Fahrenheit (65 to 75 degrees Celsius). Use a thermometer to monitor the temperature and adjust as needed.
- Dip the Wick: Take the prepared wick attached to the dipping rod and carefully dip it into the melted wax. Fully immerse the wick and quickly pull it out of the wax.
- Hold and Rotate: Allow the wax to cool and solidify slightly on the wick. While the wax is still soft and pliable, gently rotate the wick in a circular motion to evenly distribute the wax around the wick’s core.
- Continue the Process: Repeat the dipping and rotating process, layer by layer, until you achieve the desired thickness and shape for your candles. The more layers you create, the thicker your candles will be.
Remember to work systematically and be patient during the dipping process. Allow each layer to cool and harden before moving on to the next dip. This will help ensure that your candles maintain their shape and prevent the layers from blending together.
As you continue to dip your candles, you may notice some unevenness or imperfections. Don’t worry; these can be addressed in the next step by repeating the dipping process. Let’s move on to step five to learn more.
Step 5: Repeating the Dipping Process
Once you have completed the initial dipping process and have a base layer of wax on your candles, it’s time to repeat the dipping process to refine the shape and smooth out any imperfections. Follow these steps to achieve beautifully finished dipped candles:
- Check for Imperfections: Inspect your candles for any unevenness, bumps, or gaps in the layers. These can be addressed by repeating the dipping process.
- Reheat the Wax: Ensure that the melted wax is at the appropriate temperature for dipping. The temperature should be similar to the previous dipping stage, around 150 to 170 degrees Fahrenheit (65 to 75 degrees Celsius).
- Redip the Candles: Carefully dip the partially finished candles back into the melted wax, following the same technique as before. Hold and rotate the candles to distribute the wax evenly and make any necessary adjustments to the shape. Repeat this process as many times as needed to achieve the desired smoothness and shape.
Repeating the dipping process allows you to refine the layers, fill in any gaps, and create a more polished look for your dipped candles. Take your time and pay attention to detail as you redip the candles, ensuring that each layer is properly formed and blended with the previous ones.
With each repetition of the dipping process, you’ll notice your candles becoming more uniform and visually appealing. Once you are satisfied with the shape and appearance of your candles, it’s time to move on to the final steps of cooling and adding finishing touches.
Step 6: Cooling and Finishing Touches
After completing the dipping process and achieving the desired shape and texture for your candles, it’s time to cool them and add the finishing touches. Follow these steps to complete the candle-making process:
- Cooling Time: Allow the dipped candles to cool and harden completely. Place them in a cool, dry area where they won’t be disturbed. The cooling process can take several hours, so be patient and resist the temptation to handle the candles too soon.
- Trim the Wicks: Once the candles are fully cooled and solidified, carefully trim the wicks to the desired length. Leave about ¼ to ½ inch (0.6 to 1.3 cm) of wick above the surface of the candle. This will make it easier to light the candles and ensure a proper burn.
- Optional: Finishing Touches: If you want to add decorative elements to your dipped candles, now is the time to get creative. You can tie ribbons or twine around the base of the candles, adorn them with dried flowers, or use any other embellishments that suit your style and theme.
- Display or Gift: Your dipped candles are now ready to be displayed or gifted. Find a suitable holder or candlestick for showcasing your creations, or wrap them up in a beautiful package for a thoughtful gift.
By following these final steps, you’ll have completed the process of making dipped candles from start to finish. Take pride in your handcrafted creations and enjoy the warm glow and captivating ambiance they provide.
Remember, practice makes perfect, so don’t be discouraged if your first attempts aren’t exactly as you envisioned. Experiment with different colors, scents, and techniques to develop your style and create unique candles that reflect your personal taste.
Now that you’ve successfully made dipped candles, continue to explore the world of candle making and let your creativity shine. Happy crafting!
Conclusion
Congratulations! You’ve now learned how to make beautiful dipped candles from scratch. Crafting your own candles not only allows you to unleash your creativity and personalize your space, but it also opens up a world of possibilities for unique gifts and potential business ventures.
Throughout this guide, we’ve covered the step-by-step process of making dipped candles, from preparing the wax to adding color and scent, prepping the wicks, and the actual dipping process. We also discussed the importance of repeating the dipping process to achieve a smooth and polished finish.
Remember, while the steps and techniques are important, don’t be afraid to experiment and add your personal touch to the process. Play with different colors, scents, and decorative elements to create candles that reflect your style and vision.
Additionally, as with any craft, practice is key. The more you dive into the world of candle making and experiment with different techniques, the better your skills will become. Don’t get discouraged if your first attempts aren’t perfect. Learn from each project and keep refining your techniques.
Lastly, always prioritize safety when working with melted wax and open flames. Follow proper precautions, such as working in a well-ventilated area, using heat-resistant containers, wearing protective gear, and never leaving burning candles unattended.
We hope this guide has inspired you to embark on your candle-making journey. Enjoy the process, embrace your creativity, and revel in the warm and comforting glow of your handcrafted dipped candles. Happy candle making!
Frequently Asked Questions about How To Make Dipped Candles
Was this page helpful?
At Storables.com, we guarantee accurate and reliable information. Our content, validated by Expert Board Contributors, is crafted following stringent Editorial Policies. We're committed to providing you with well-researched, expert-backed insights for all your informational needs.


0 thoughts on “How To Make Dipped Candles”