Articles
How To Make Rye Bread In A Bread Machine
Modified: January 4, 2024
Discover the easy way to make delicious rye bread at home with a bread machine. Get step-by-step instructions and helpful tips in this informative article.
(Many of the links in this article redirect to a specific reviewed product. Your purchase of these products through affiliate links helps to generate commission for Storables.com, at no extra cost. Learn more)
Introduction
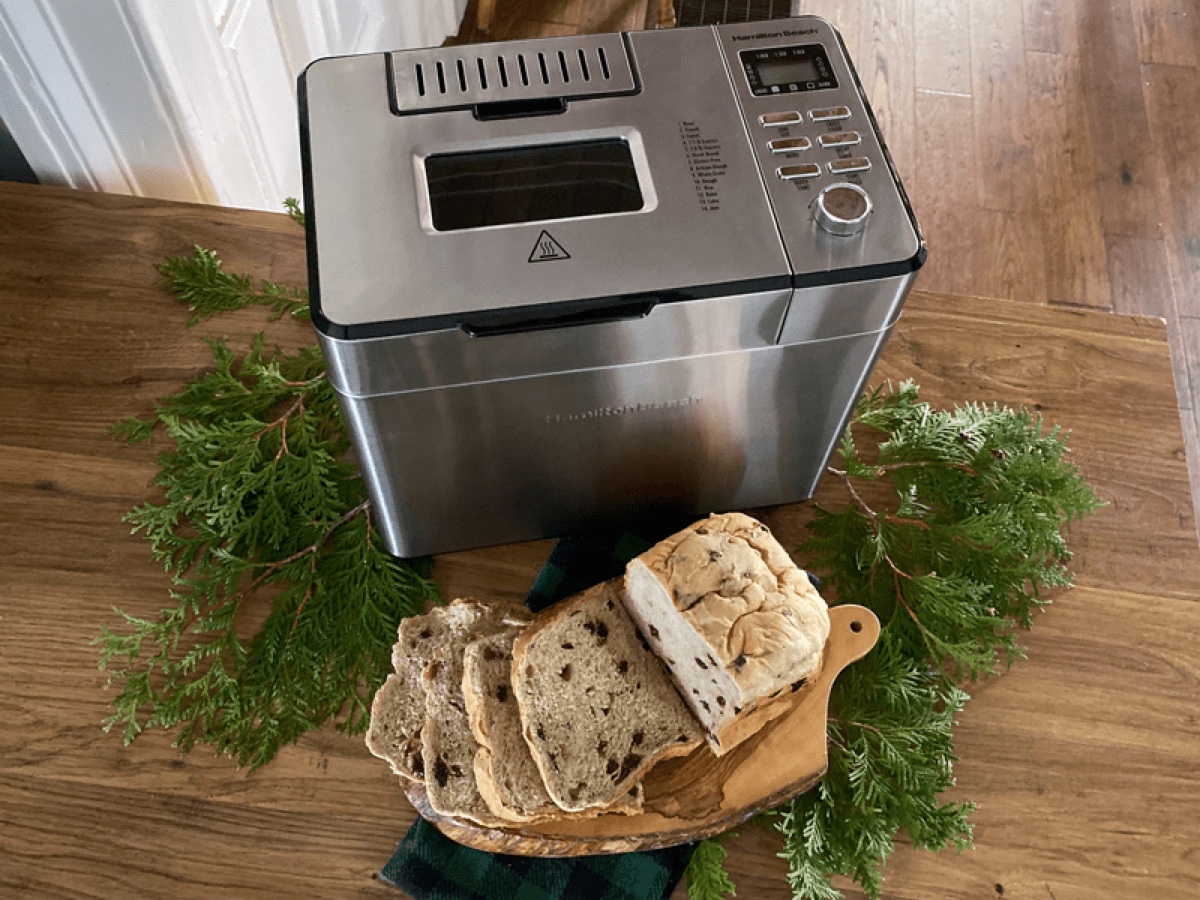
There’s nothing quite like the aroma of freshly baked bread wafting through your home. And if you’re a fan of rye bread, you’re in for a treat! Making rye bread from scratch may seem like a daunting task, but with the help of a bread machine, it becomes much easier and more convenient.
Rye bread is a hearty and flavorful bread that is beloved for its distinct taste and denser texture. It pairs well with a variety of ingredients, from deli meats and cheeses to spreads and toppings. Whether you’re a beginner breadmaker or a seasoned pro, using a bread machine to make rye bread guarantees consistent results and saves you time and effort.
In this article, we’ll guide you through the process of making rye bread in a bread machine. We’ll cover the essential ingredients, step-by-step instructions, and important tips for achieving the best results. So, dust off your bread machine and get ready to enjoy homemade rye bread that will rival your favorite bakery!
Key Takeaways:
- Enjoy the convenience of making delicious rye bread in a bread machine, saving time and effort while still achieving the rich, hearty flavors and textures you love.
- Elevate your rye bread-making skills with tips for customizing flavors, crust, and ingredients, ensuring the best results and a delightful homemade baking experience.
Read more: How To Make Dough In Bread Machine
Ingredients
To make rye bread in a bread machine, you’ll need the following ingredients:
- 2 cups of bread flour
- 1 cup of rye flour
- 1 tablespoon of sugar
- 1 1/2 teaspoons of salt
- 2 tablespoons of vegetable oil
- 1 tablespoon of caraway seeds (optional)
- 1 1/4 cups of water
- 2 1/4 teaspoons of active dry yeast
These ingredients can be easily found in your local grocery store or specialty food store. It’s important to use bread flour and rye flour specifically designed for breadmaking to ensure the best results.
The caraway seeds are optional, but they add a delightful flavor and aroma to the rye bread. Feel free to skip them if you prefer a plain rye bread.
Make sure your water is at room temperature, as using cold water can slow down the yeast activation process. It’s also essential to check the expiration date of your yeast to ensure its potency and effectiveness in leavening the bread.
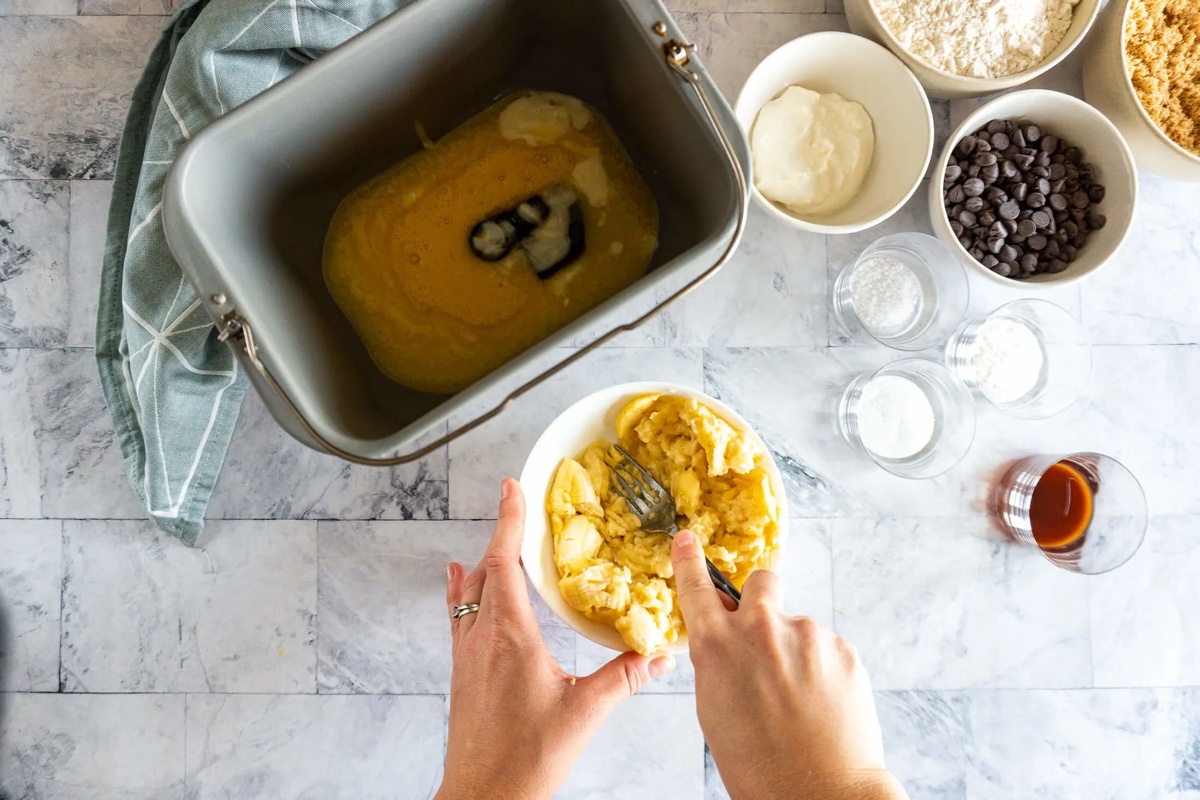
Step 1: Preparing the Dough
The first step in making rye bread in a bread machine is to prepare the dough. Follow these simple instructions:
- Measure the bread flour, rye flour, sugar, salt, vegetable oil, and caraway seeds (if using) into a mixing bowl. Whisk the dry ingredients together until well combined.
- In a separate bowl, dissolve the yeast in warm water. Let it sit for 5-10 minutes until it becomes frothy. This indicates that the yeast is active and ready to be added to the dough.
- Add the yeast mixture to the dry ingredients. Use a spoon or your hands to mix everything together until a sticky dough forms.
- Transfer the dough to a lightly floured surface and knead it for 5-7 minutes until it becomes smooth and elastic. This helps activate the gluten in the flour, giving the bread structure and a nice texture.
- Shape the dough into a ball and place it back into the mixing bowl. Cover the bowl with a clean kitchen towel or plastic wrap and let the dough rise in a warm place for about 1 hour, or until it has doubled in size.
While the dough is rising, you can start setting up your bread machine and getting it ready for the next steps. Once the dough has finished rising, you’re ready to move on to the next step of making your rye bread!
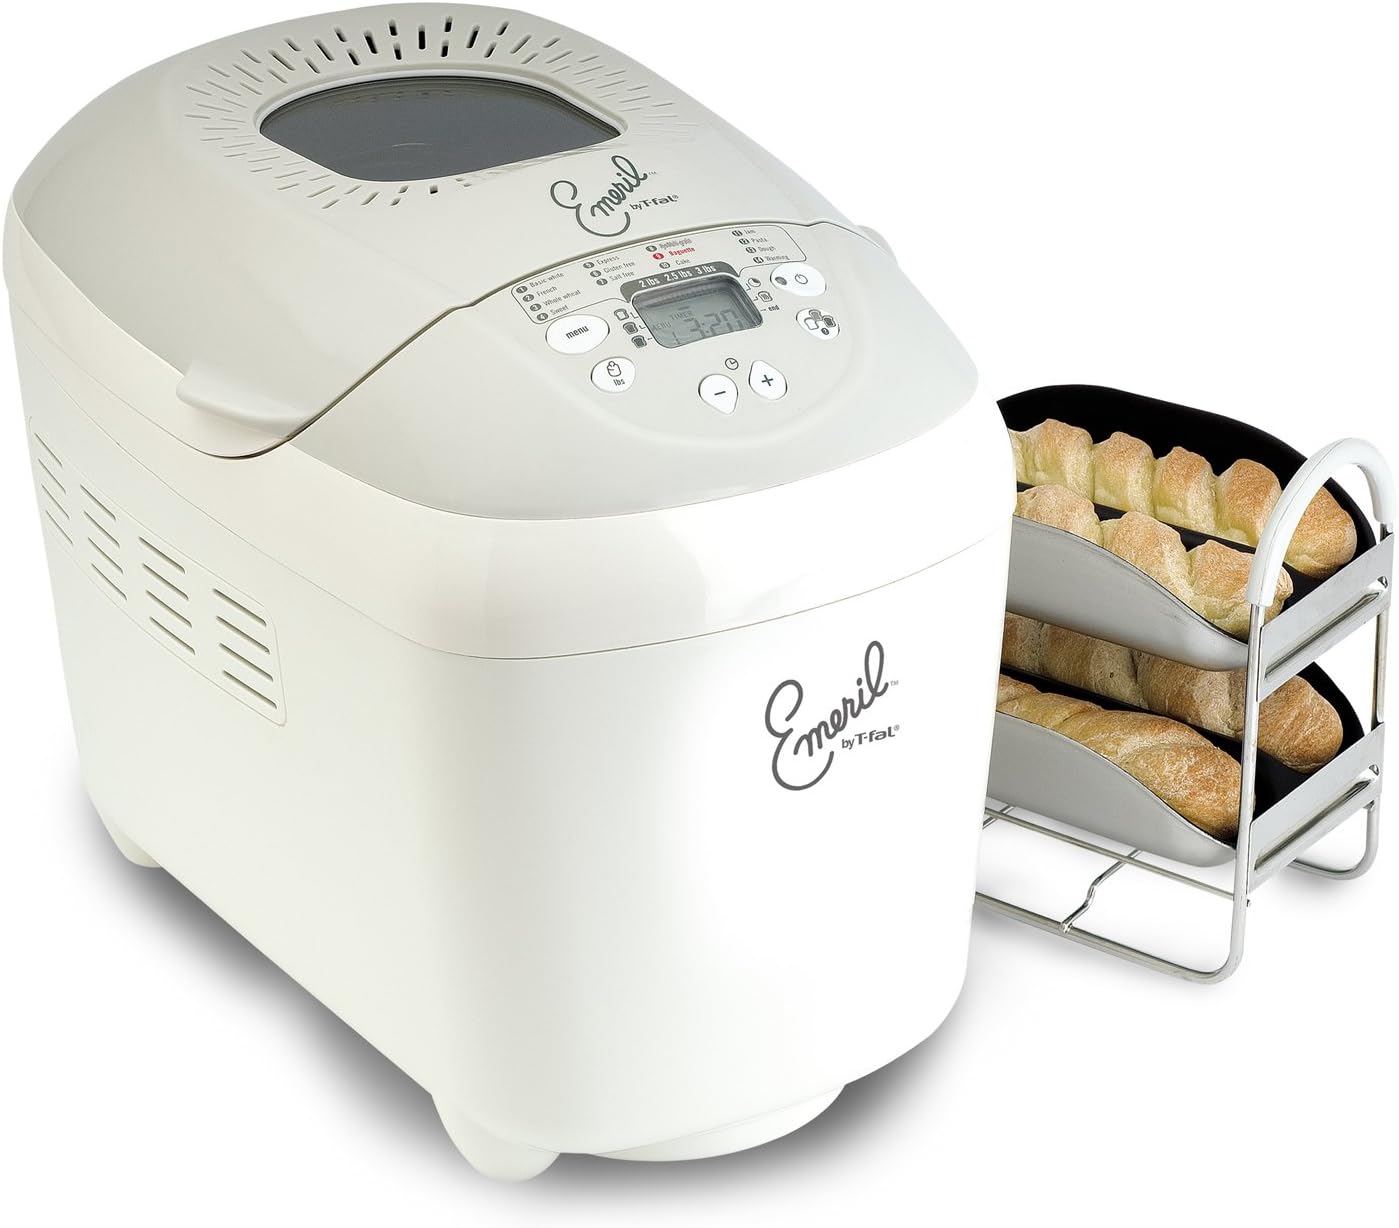
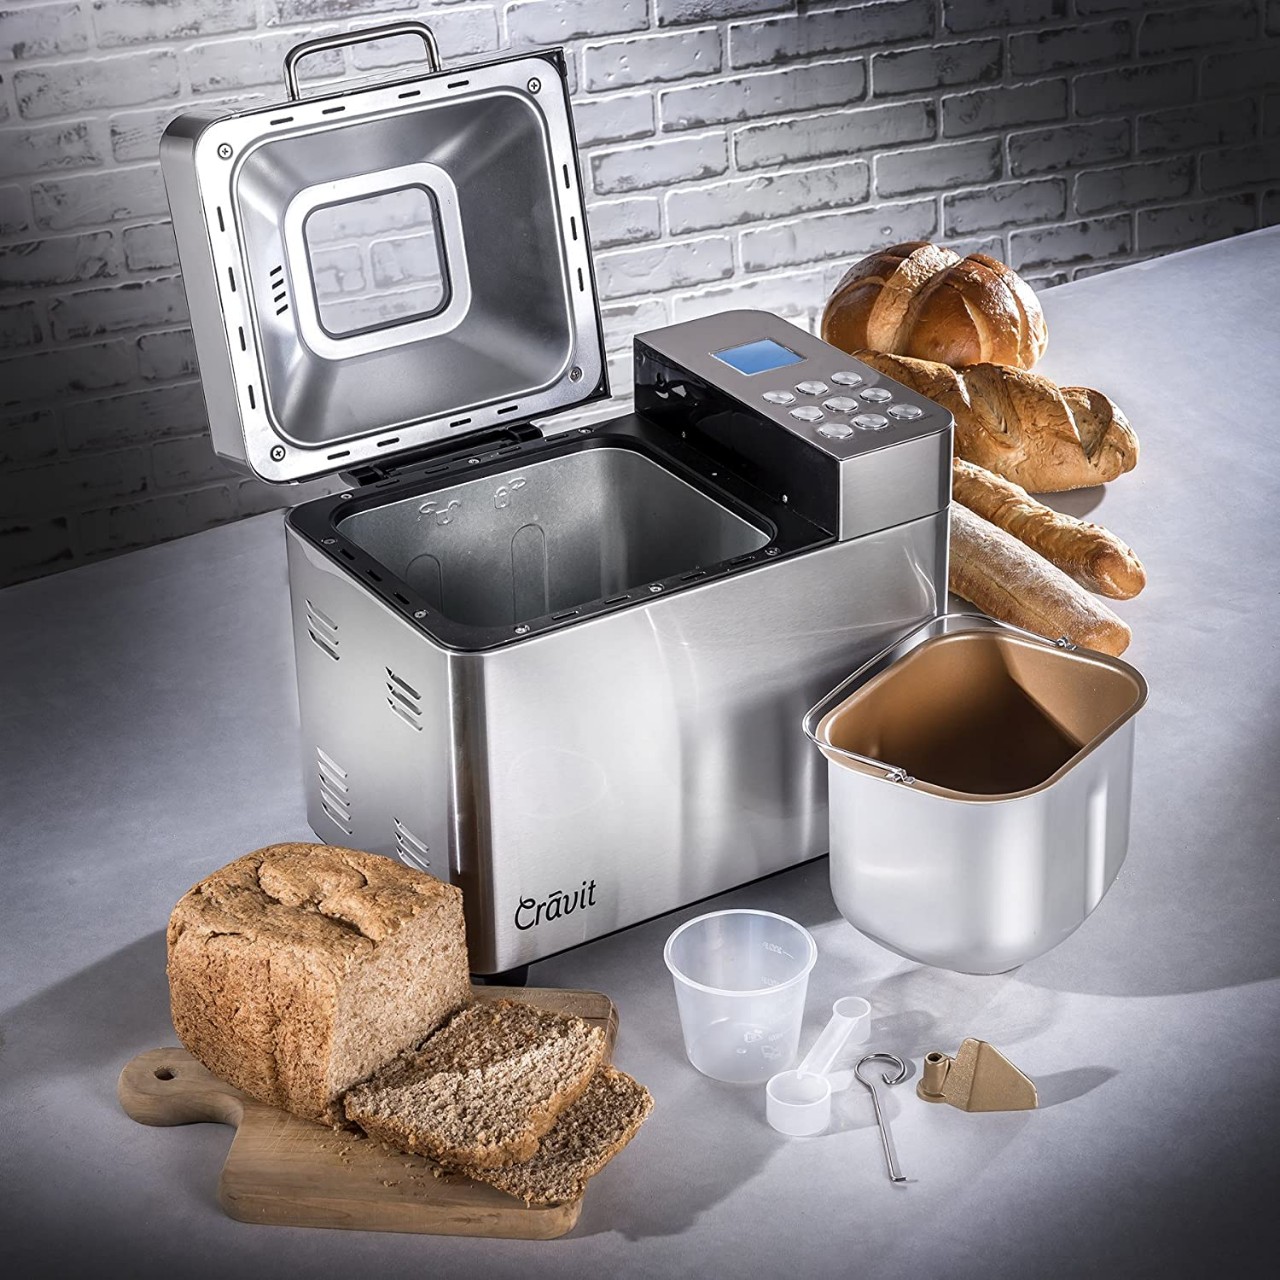
Step 2: Setting Up the Bread Machine
Before you start adding the ingredients to the bread machine, it’s essential to ensure that it is set up and ready to go. Follow these steps:
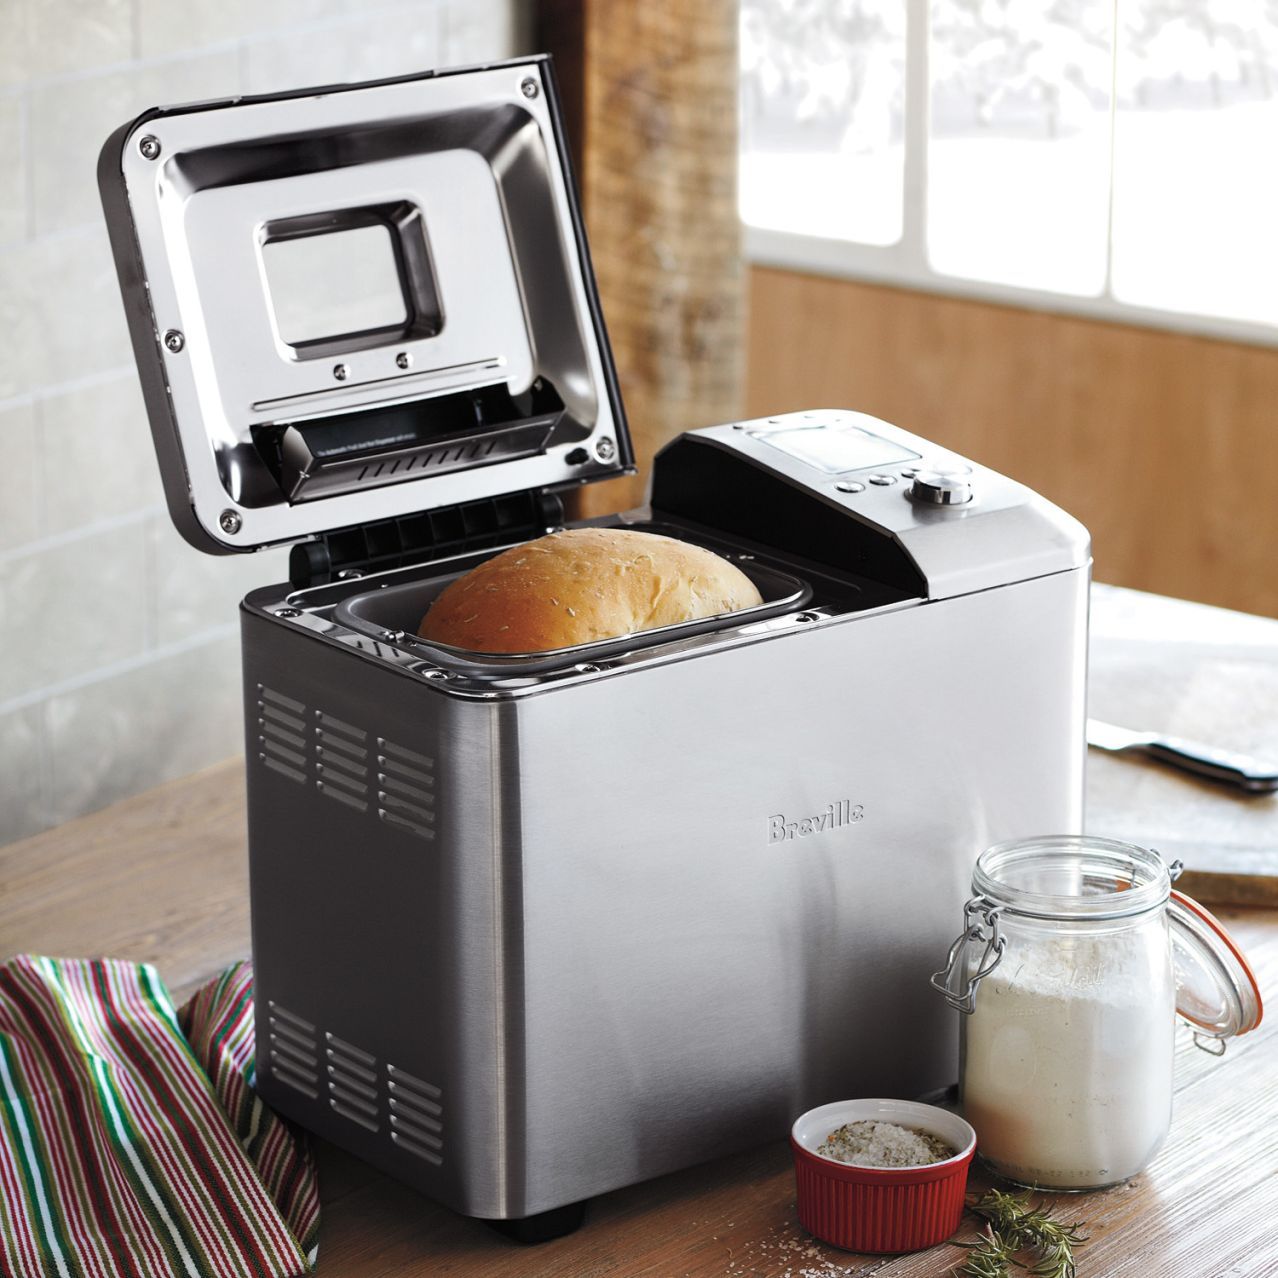
- Place the bread machine on a stable and level surface, preferably close to a power outlet.
- Review the user manual for your specific bread machine model to familiarize yourself with its settings and functions.
- Remove any removable parts, such as the bread pan and kneading blade, and ensure they are clean and dry.
- Insert the bread pan into the bread machine, making sure it is properly aligned and securely in place.
- Place the kneading blade into the bread pan, ensuring that it is properly attached and positioned.
By setting up your bread machine correctly, you’ll ensure that the bread bakes evenly and that the machine operates smoothly throughout the baking process.
Once your bread machine is set up, it’s time to move on to the next step: adding the ingredients to create your delicious rye bread.
Step 3: Adding the Ingredients
Now that your bread machine is set up, it’s time to add all the ingredients to start the bread-making process. Follow these simple steps:
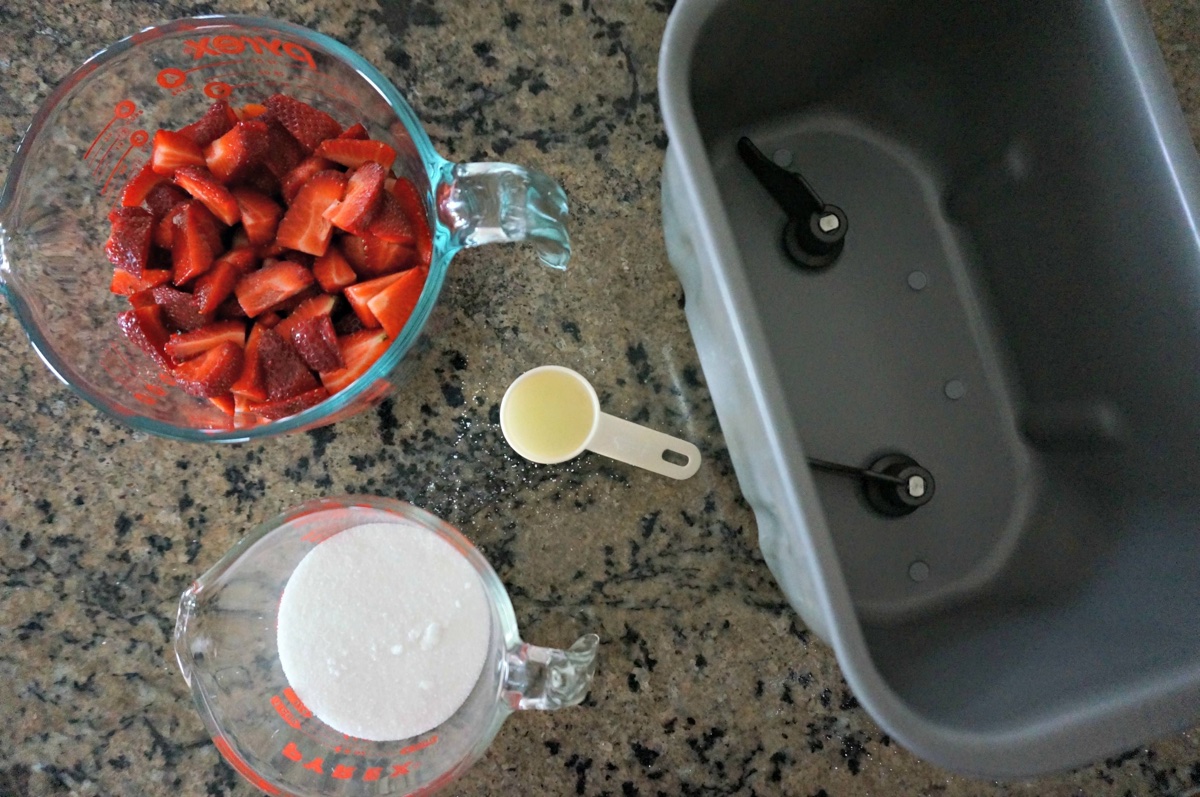
- Ensure that the bread pan is securely placed in the bread machine, and the kneading blade is in place.
- Add the prepared dough to the bread pan. Gently press the dough down to ensure it is evenly distributed.
- Double-check the measurements for the water, bread flour, and rye flour, and add them to the bread pan.
- Next, add the sugar, salt, and vegetable oil to the bread pan.
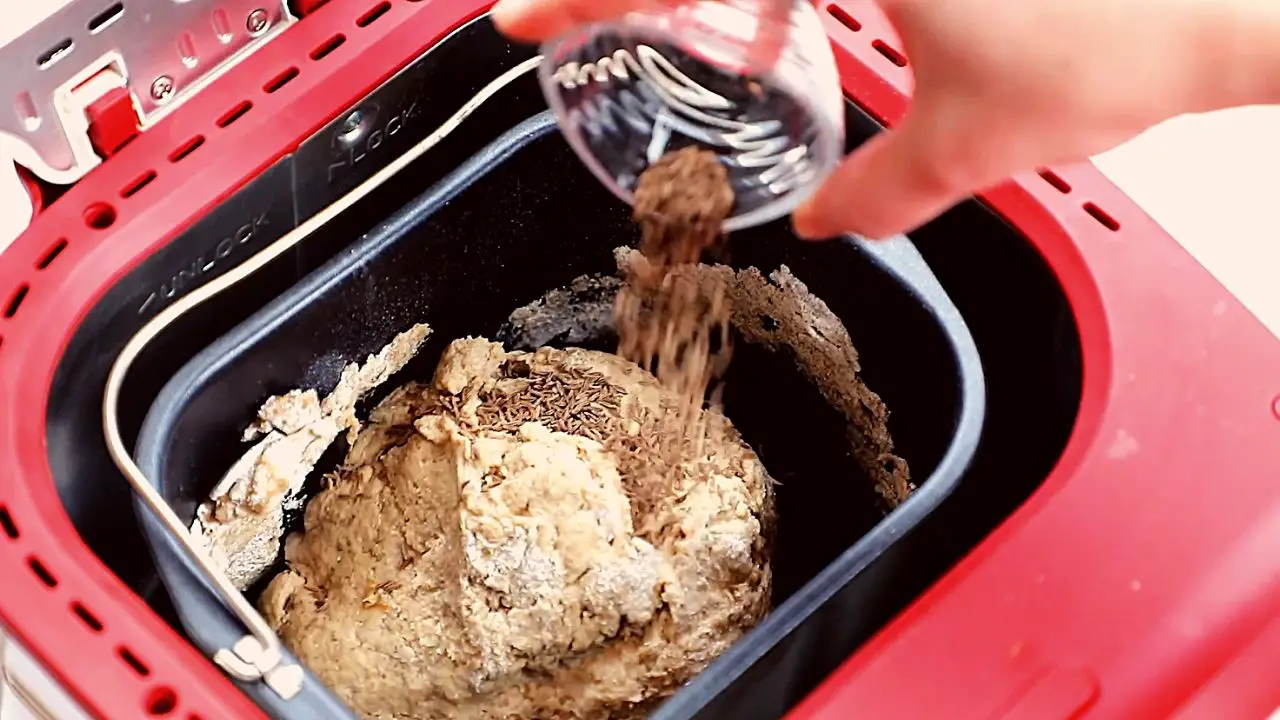
- If desired, sprinkle the caraway seeds over the top of the ingredients in the bread pan.
Take a moment to ensure that all the ingredients are properly added and evenly distributed in the bread pan. This will contribute to the overall texture and taste of the rye bread.
Once you’ve added all the ingredients, you’re ready to move on to the next step: selecting the rye bread setting on your bread machine.
Add a tablespoon of vital wheat gluten to the rye flour to help improve the texture and rise of the bread when using a bread machine.
Read more: How To Make Sourdough In Bread Machine
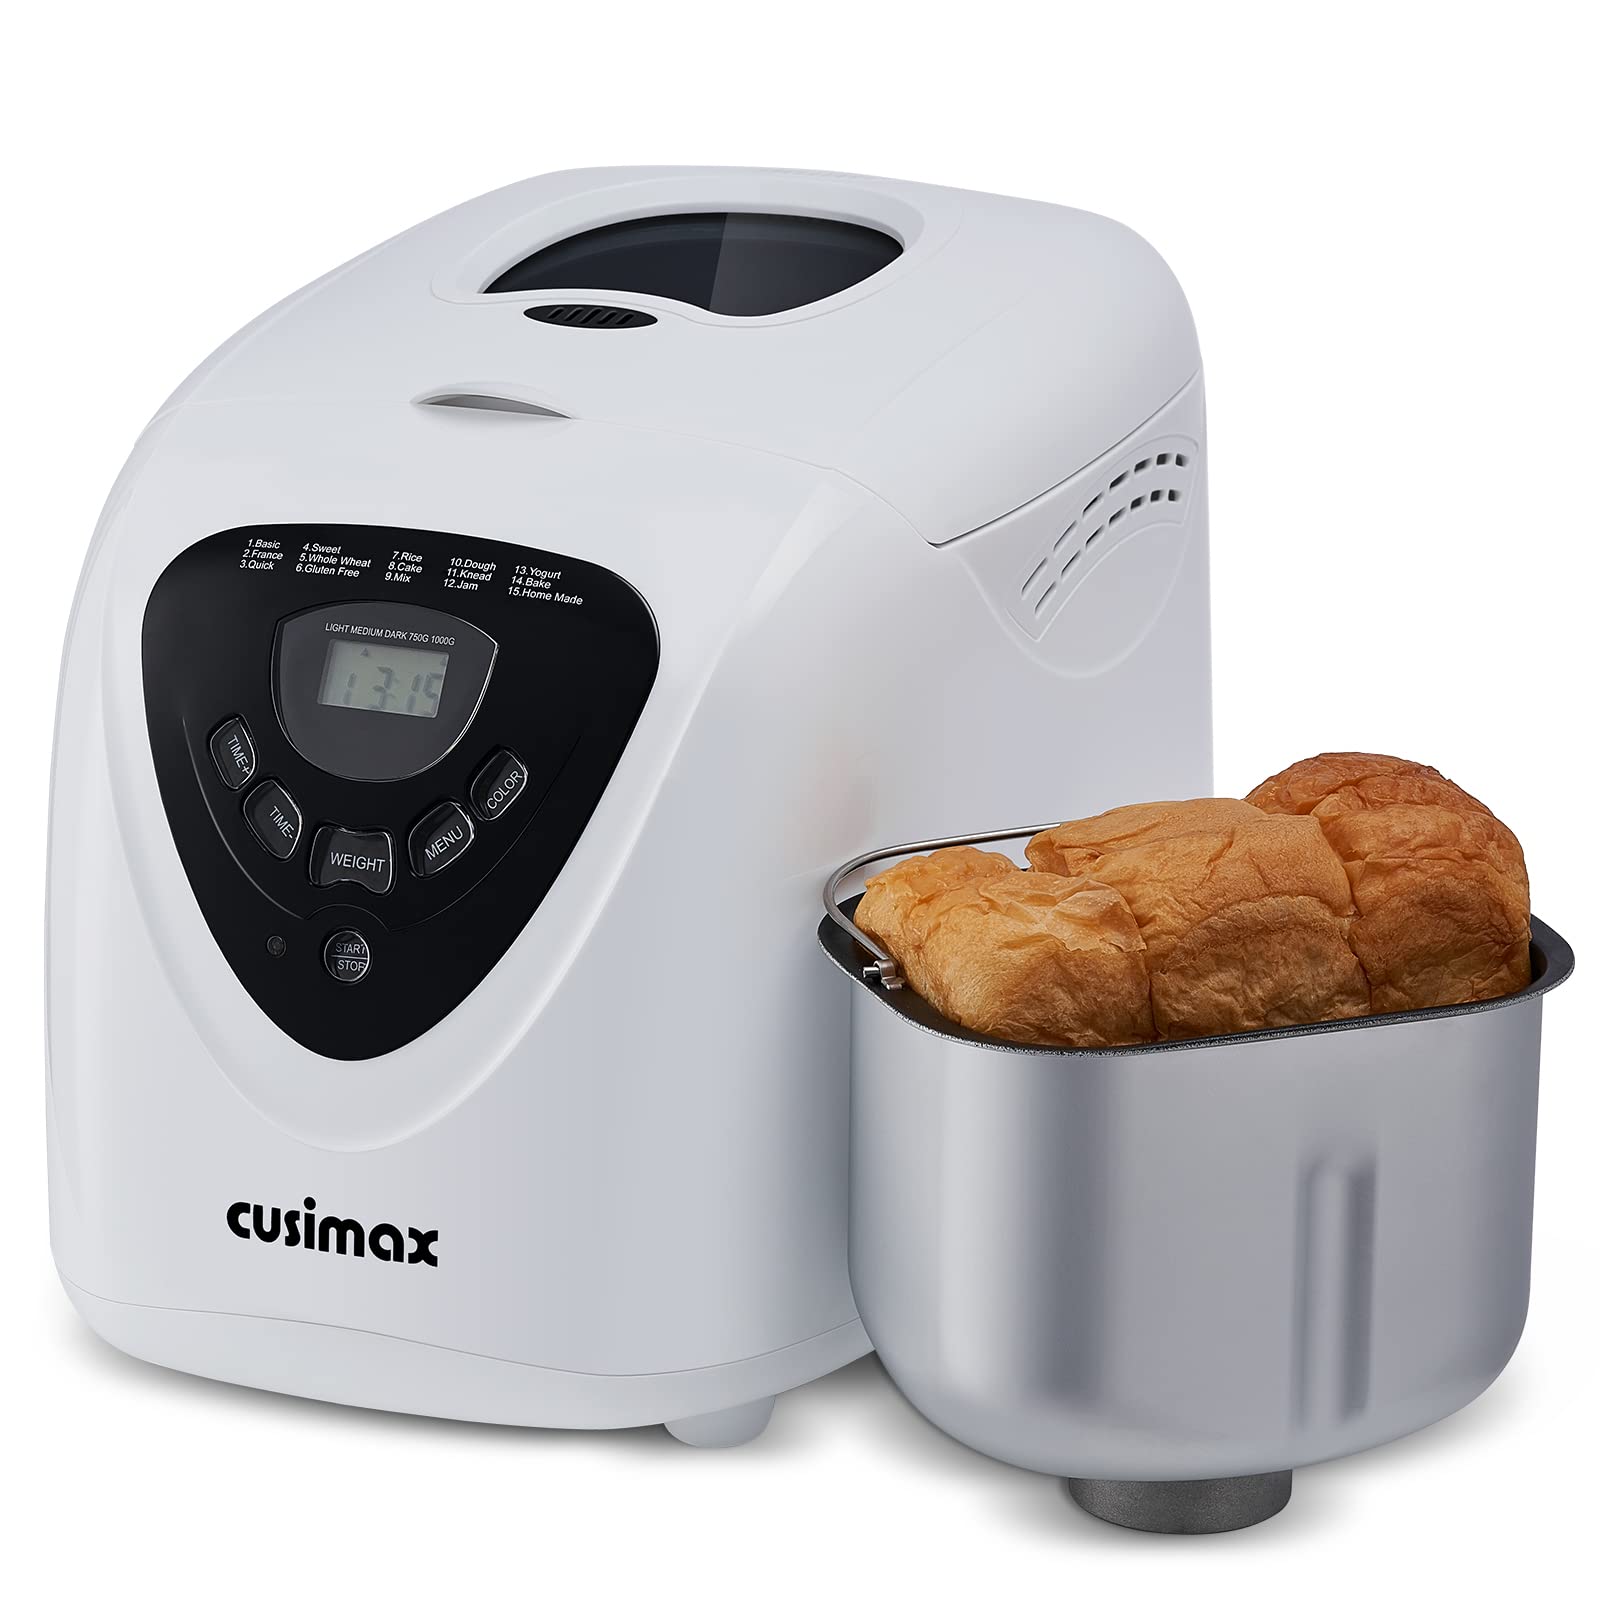
Step 4: Selecting the Rye Bread Setting
After adding all the ingredients to the bread pan, it’s time to select the appropriate setting on your bread machine to bake the rye bread. Follow these steps:
- Refer to the user manual of your bread machine to locate the different settings available.
- Look for the specific setting labeled “Rye Bread” or a similar option that is suitable for denser breads.
- Select the “Rye Bread” setting on your bread machine, which typically includes a longer kneading and rising time to accommodate the characteristics of rye flour.
- Adjust any other settings, such as crust color or loaf size, according to your preference.
- Start the bread machine by pressing the appropriate button or following the instructions provided.
Choosing the “Rye Bread” setting ensures that the bread machine will optimize the time and temperature to produce a perfectly baked rye bread with the desired texture and flavor.
Now that you’ve selected the rye bread setting, your bread machine will take care of the rest. It’s time to sit back, relax, and let the machine work its magic!
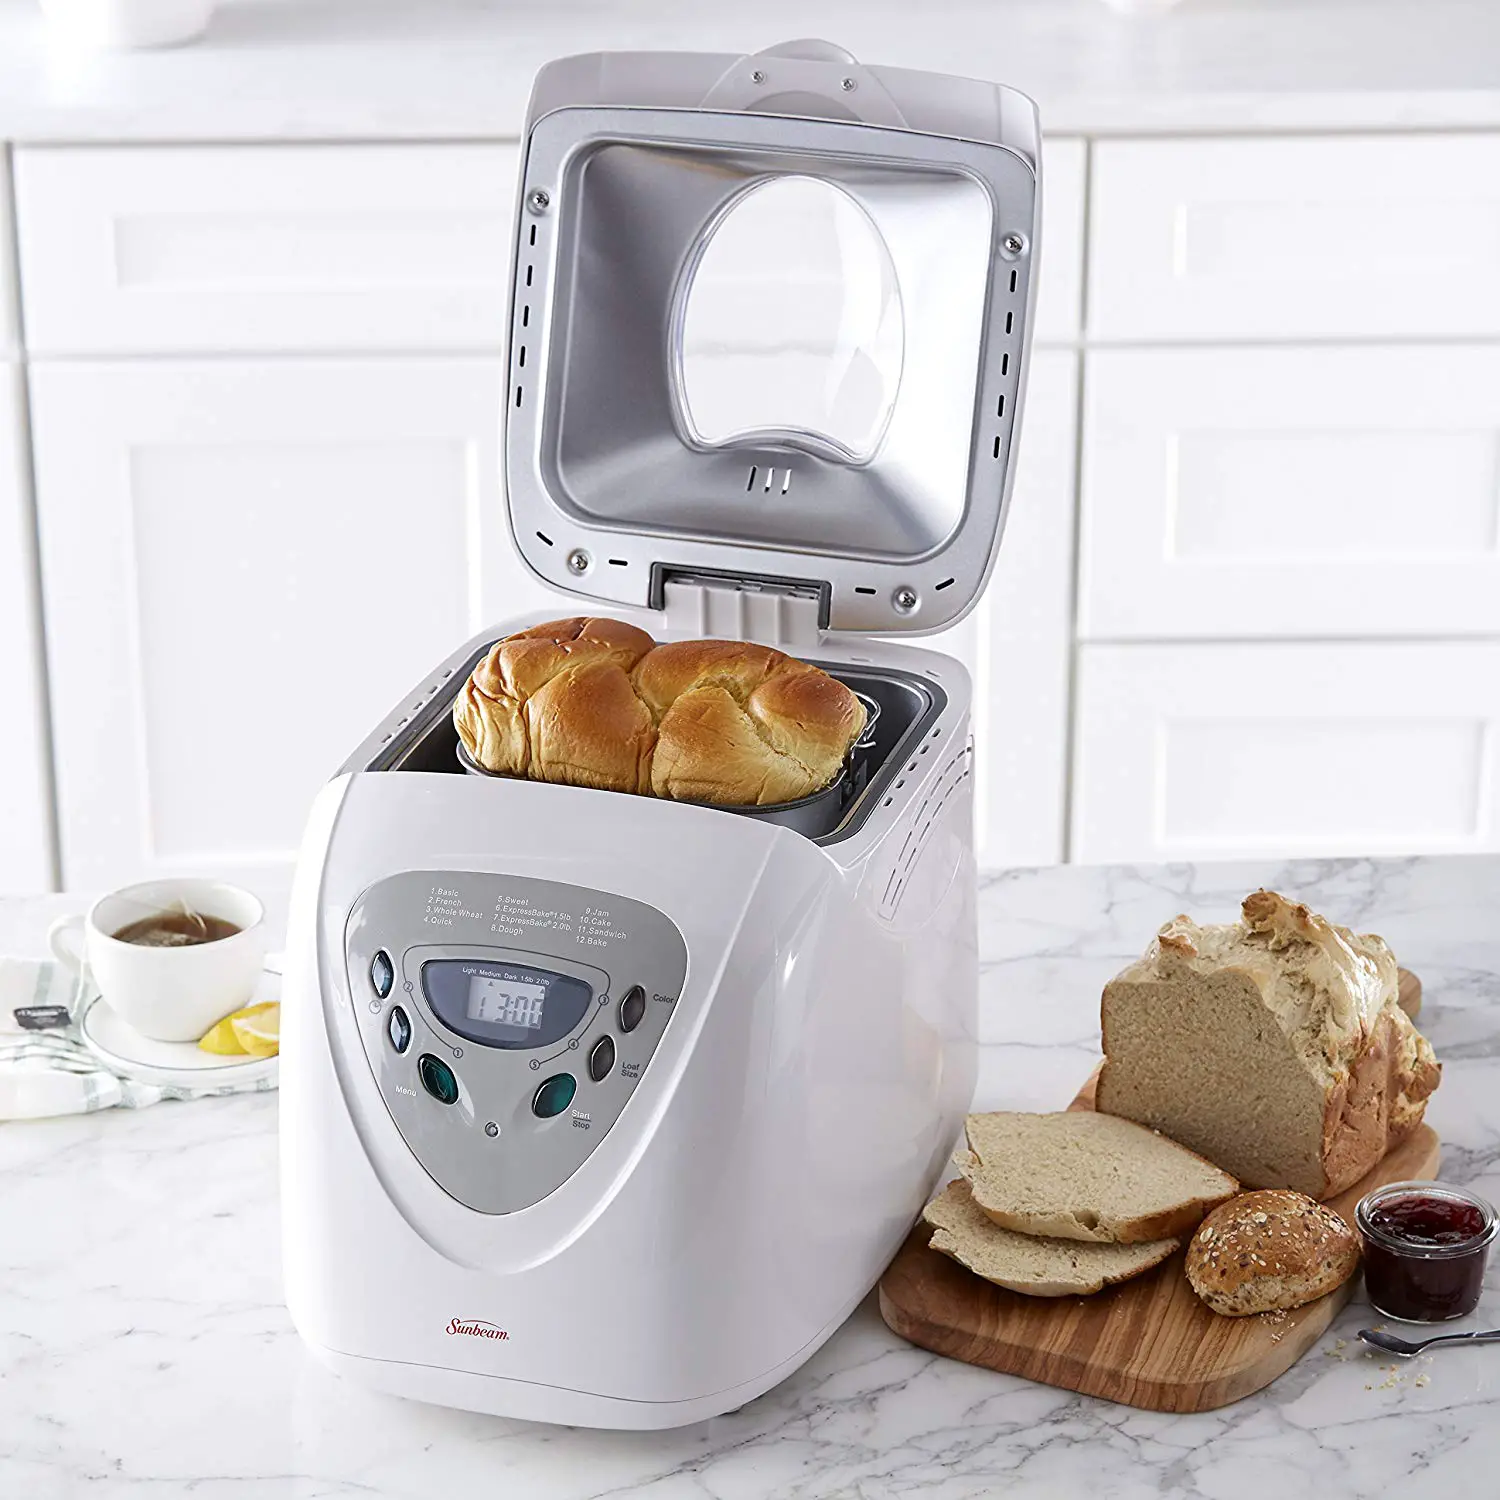
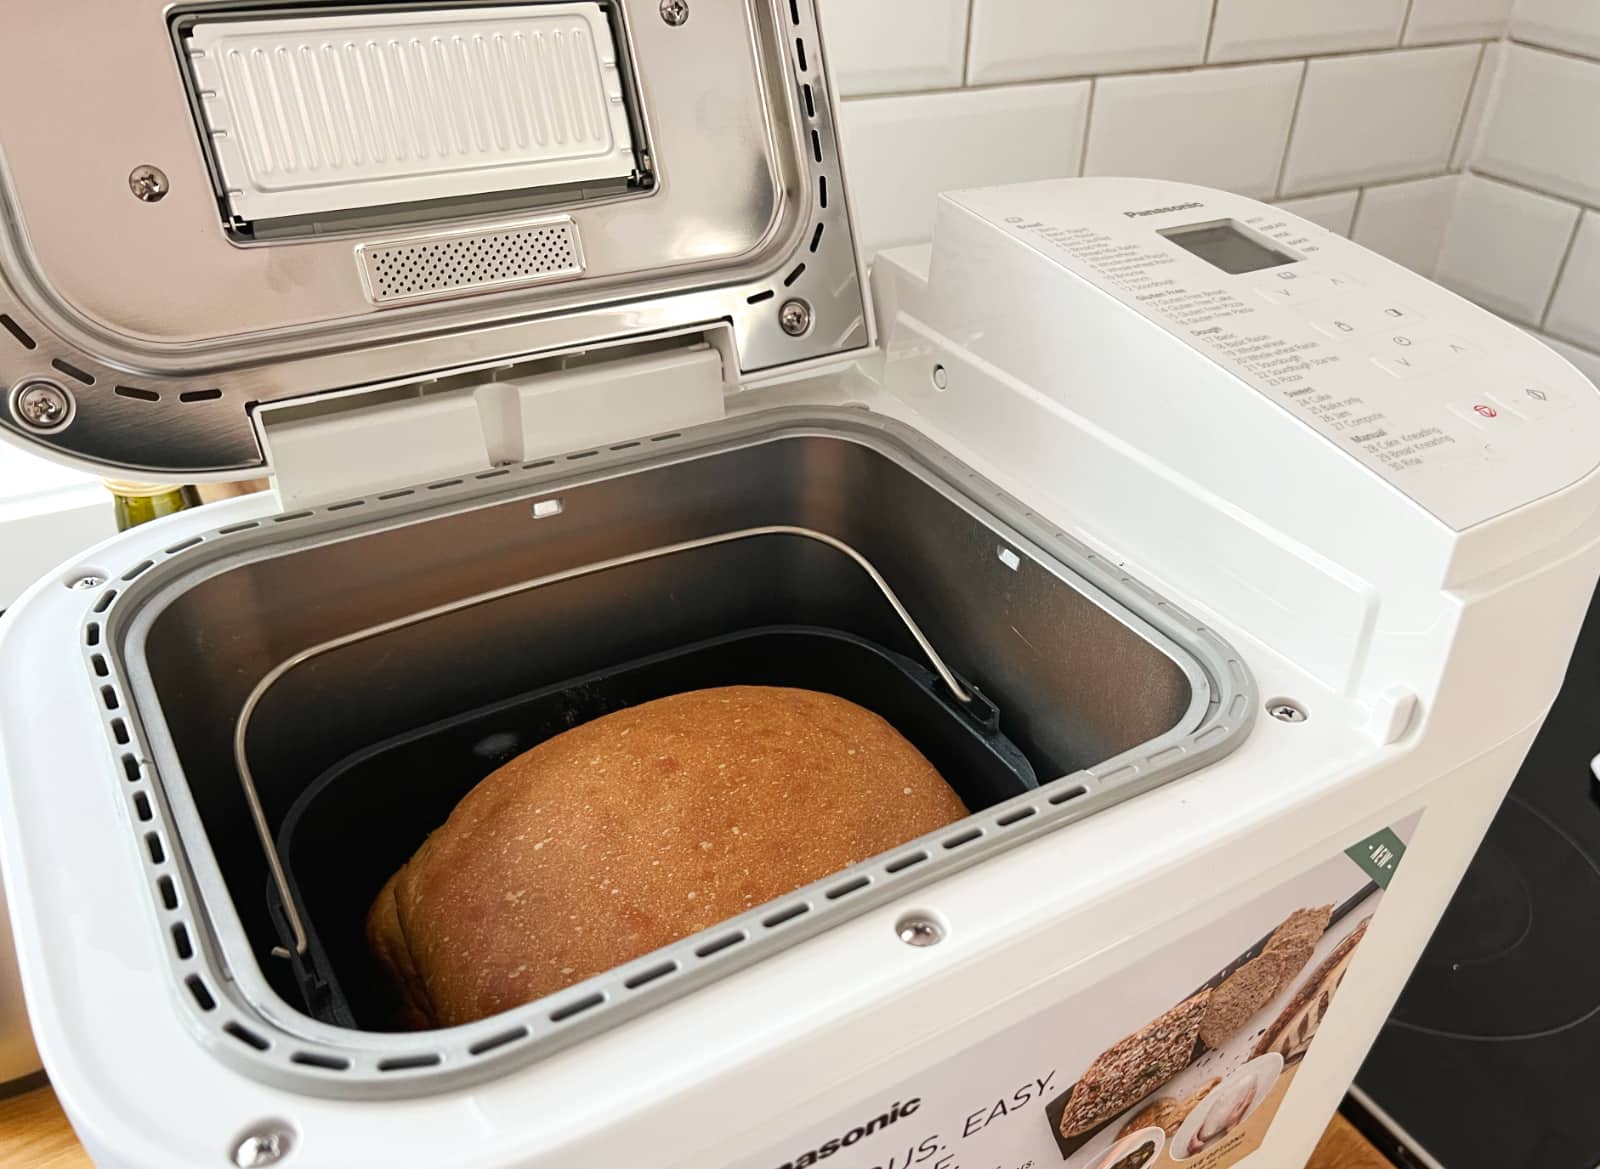
Step 5: Baking the Bread
Once you’ve set your bread machine to the appropriate setting, it will begin the baking process automatically. Follow these steps to ensure a successful baking experience:
- Close the lid of the bread machine, allowing it to trap the heat and create the ideal baking environment for the rye bread.
- During the baking process, avoid opening the bread machine’s lid. This can disrupt the temperature and affect the rising and baking of the bread.
- Depending on your bread machine model and the selected rye bread setting, the baking time will typically range from 2 to 3 hours. The machine will take care of the accurate timing and temperature adjustments.
- As the bread bakes, your kitchen will be filled with the aroma of freshly baked rye bread. This is an exciting time, but patience is key. Avoid removing the bread prematurely, as it may result in an undercooked loaf.
- Once the baking cycle is complete, the bread machine will typically emit a series of beeps or signals to indicate that the bread is ready.
Once the baking process is finished, it’s time to proceed to the final steps of cooling and slicing the freshly baked rye bread.
Remember to exercise caution when handling the hot bread pan and oven, using oven mitts or heat-resistant gloves to protect your hands.
Step 6: Cooling and Slicing the Bread
After the bread has finished baking in the bread machine, it’s important to allow it to cool before slicing. Follow these steps for the best results:
- Once the baking cycle is complete, carefully remove the bread pan from the bread machine, using oven mitts or heat-resistant gloves to protect your hands.
- Place the bread pan on a wire rack or heat-resistant surface to allow the bread to cool. This will help maintain its structure and prevent it from becoming soggy.
- Allow the bread to cool for at least 15-20 minutes. This will allow the steam within the bread to dissipate and the loaf to firm up.
- Once the bread has cooled, gently shake the bread pan to release the loaf. If needed, use a silicone spatula or bread knife to loosen any edges that may be sticking to the pan.
- Transfer the loaf from the bread pan to the wire rack to cool completely. This will ensure that the bread cools evenly and retains its texture.
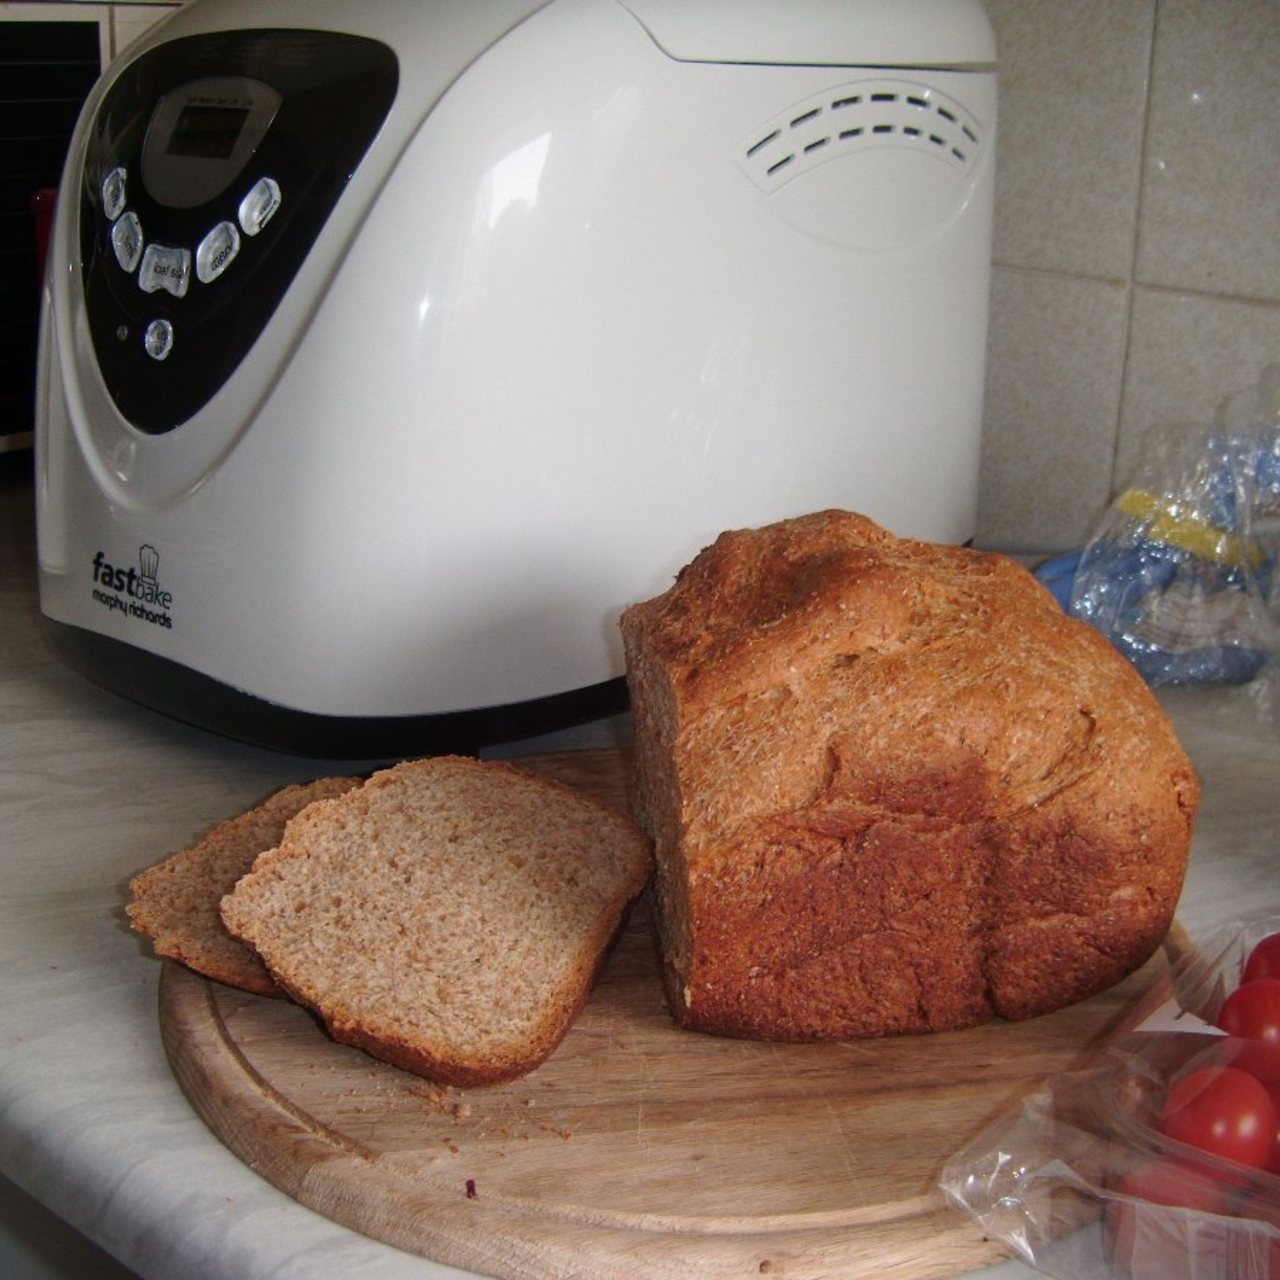
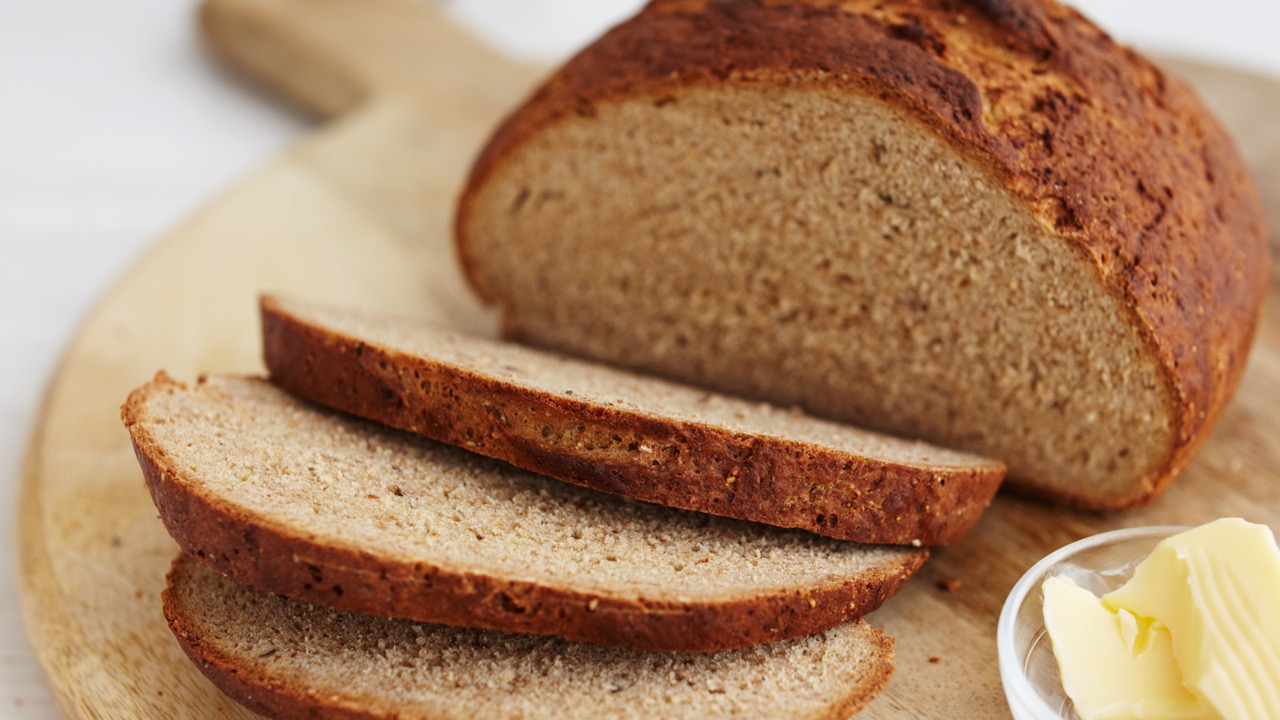
- Once the bread has cooled completely, it’s time to slice it. Use a serrated bread knife to achieve clean and even slices.
As you slice the bread, you’ll be greeted with its delightful aroma and be rewarded with beautiful slices of homemade rye bread ready to be enjoyed.
Store the sliced bread in an airtight container or bread box to maintain its freshness. Enjoy it as is, or toast it for added crispness and flavor.
Tips for Making the Best Rye Bread in a Bread Machine
To elevate your rye bread-making skills and achieve the best results, consider the following tips:
- Experiment with the flour ratio: If you prefer a slightly lighter texture, you can adjust the ratio of bread flour to rye flour. Try using more bread flour and less rye flour to achieve a milder rye flavor and a softer texture.
- Add flavor variations: While traditional rye bread is delicious on its own, you can add extra flavor by incorporating ingredients such as chopped onions, garlic, or herbs into the dough. Be mindful of the quantities to avoid overpowering the flavor of the rye bread.
- Customize crust color and texture: Bread machines often offer the option to choose the crust color. Experiment with different settings to achieve your desired crust color, whether it’s light and golden or darker and crunchier.
- Use fresh and quality ingredients: The quality of your ingredients will greatly impact the taste and texture of your rye bread. Use fresh yeast, quality flours, and spices for the best results.
- Allow the dough to rest: After kneading the dough, let it rest for a few minutes before placing it in the bread pan. This short rest will relax the gluten and make it easier to handle when shaping the loaf.
- Customize the loaf size: Most bread machines allow you to choose the size of the loaf. Consider your needs and adjust the size accordingly. A smaller loaf is ideal for individuals or smaller households, while a larger loaf is great for gatherings or freezing for later use.
- Experiment with toppings: Before baking the bread, you can sprinkle various toppings on top, such as sesame seeds, poppy seeds, or coarse salt, to add a visual appeal and extra flavor to your rye bread.
- Follow the manufacturer’s instructions: Though these tips provide general guidelines, always heed the instructions provided by the manufacturer of your specific bread machine model. They know their machines best and can offer additional insights for optimal performance.
- Enjoy fresh or freeze for later: Rye bread is best enjoyed fresh. If you have leftovers, wrap the cooled loaf tightly in plastic wrap or place it in an airtight container and store it at room temperature for up to 2-3 days. Alternatively, you can freeze individual slices for future use.
By implementing these tips, you’ll be well on your way to making the best homemade rye bread using your bread machine.
Read more: How To Make Yogurt In A Bread Machine
Conclusion
Making rye bread in a bread machine is a convenient and rewarding experience. With just a few simple steps, you can enjoy the rich and hearty flavors of homemade rye bread without the need for extensive manual kneading and monitoring.
By following the step-by-step instructions provided in this article, you’ll be able to create a delicious loaf of rye bread that rivals those found in your favorite bakery. The bread machine takes care of the kneading, rising, and baking process, while you sit back and anticipate the mouthwatering results.
Remember to gather all the necessary ingredients, prepare the dough, and set up your bread machine properly. Select the appropriate rye bread setting and allow the machine to work its magic. Once the bread is baked, let it cool before slicing to preserve its texture and flavor.
Throughout the process, feel free to experiment and customize the recipe to suit your preferences. Adjust the flour ratio, add extra flavors, and play with different crust color and texture options. The possibilities are endless!
With the tips provided, you’ll have the knowledge to make the best rye bread possible. Use fresh and quality ingredients, personalize your loaf, and enjoy the result of your baking skills.
So, go ahead and dust off that bread machine and embark on the wonderful journey of making homemade rye bread. Fill your home with the inviting aroma, taste the warm and hearty slices, and share the joy of freshly baked bread with your loved ones.
Frequently Asked Questions about How To Make Rye Bread In A Bread Machine
Was this page helpful?
At Storables.com, we guarantee accurate and reliable information. Our content, validated by Expert Board Contributors, is crafted following stringent Editorial Policies. We're committed to providing you with well-researched, expert-backed insights for all your informational needs.


0 thoughts on “How To Make Rye Bread In A Bread Machine”