Home>Furniture>Kitchen Furniture>How Long Does a Bread Machine Take To Make Bread
Kitchen Furniture
How Long Does a Bread Machine Take To Make Bread
Modified: February 20, 2024
Discover how long a bread machine takes to bake delicious loaves of bread with articles and tips from our expert bakers. Start baking today!
(Many of the links in this article redirect to a specific reviewed product. Your purchase of these products through affiliate links helps to generate commission for Storables.com, at no extra cost. Learn more)
Introduction
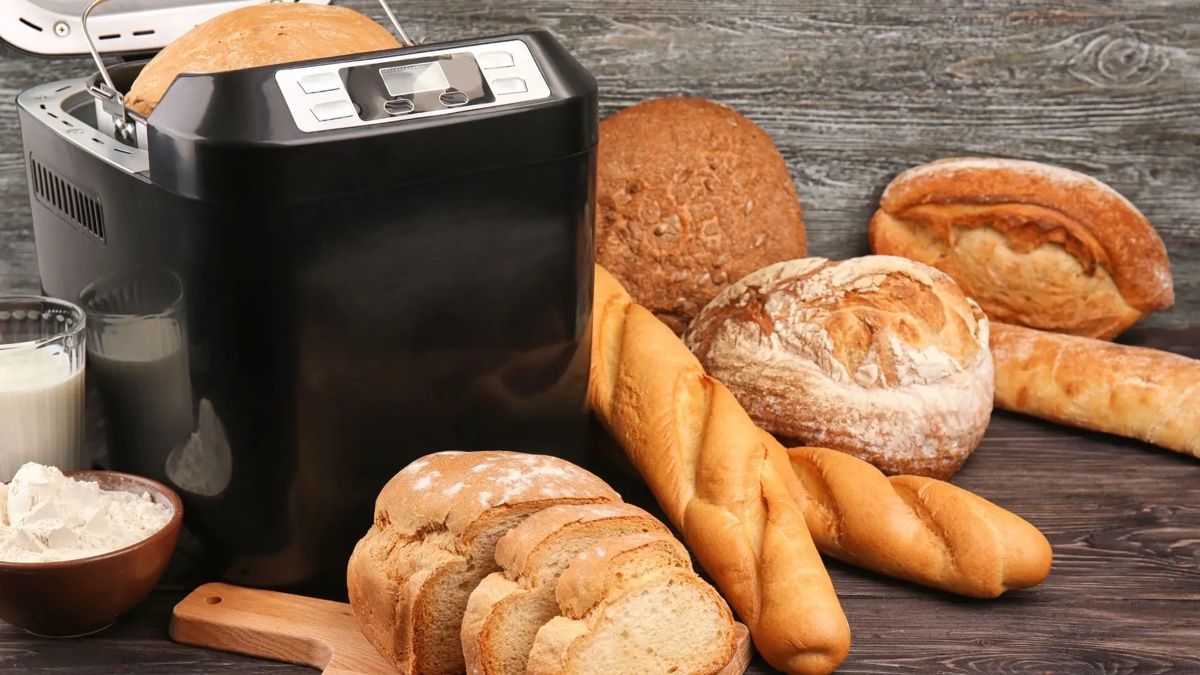
There’s nothing quite like the smell and taste of freshly baked bread. Whether you’re a seasoned baker or a novice in the kitchen, using a bread machine can make the process of bread making quicker and more convenient. However, one common question that arises is: how long does a bread machine take?
In this article, we’ll explore the factors that affect the duration of the bread making process in a bread machine. Understanding these factors will help you to better plan your bread making and achieve the perfect loaf of bread every time.
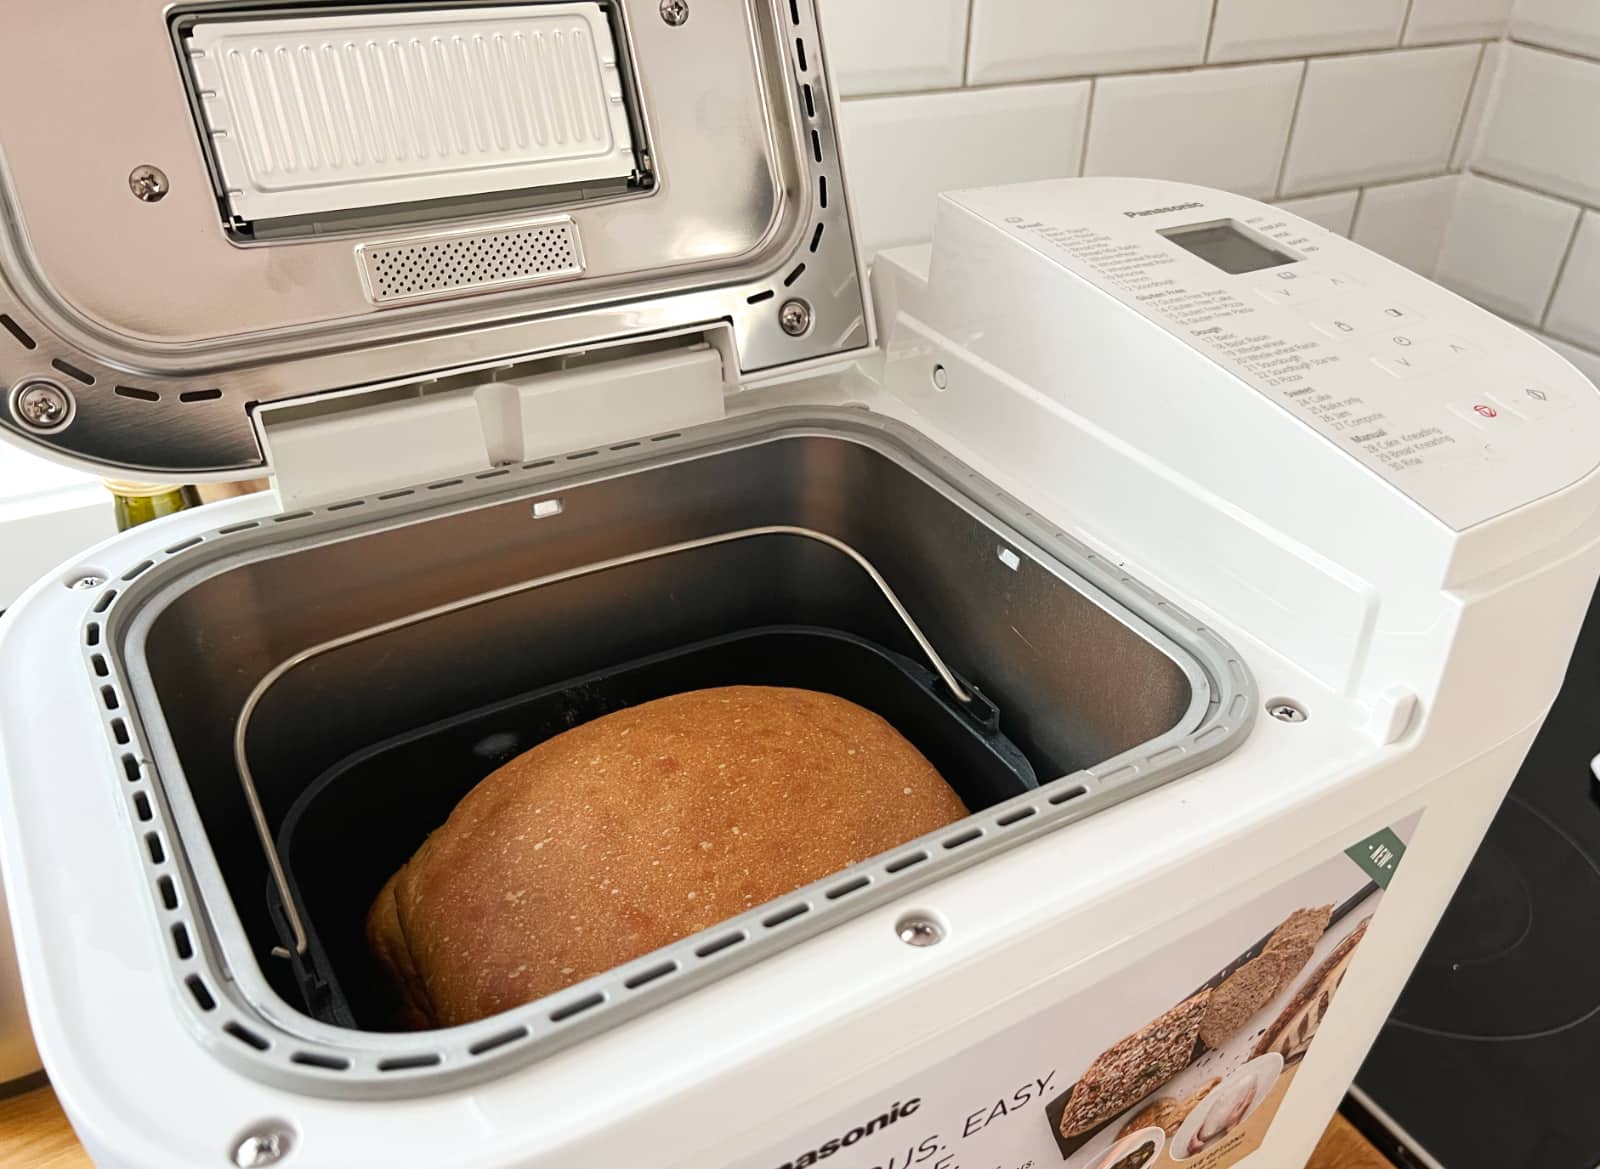
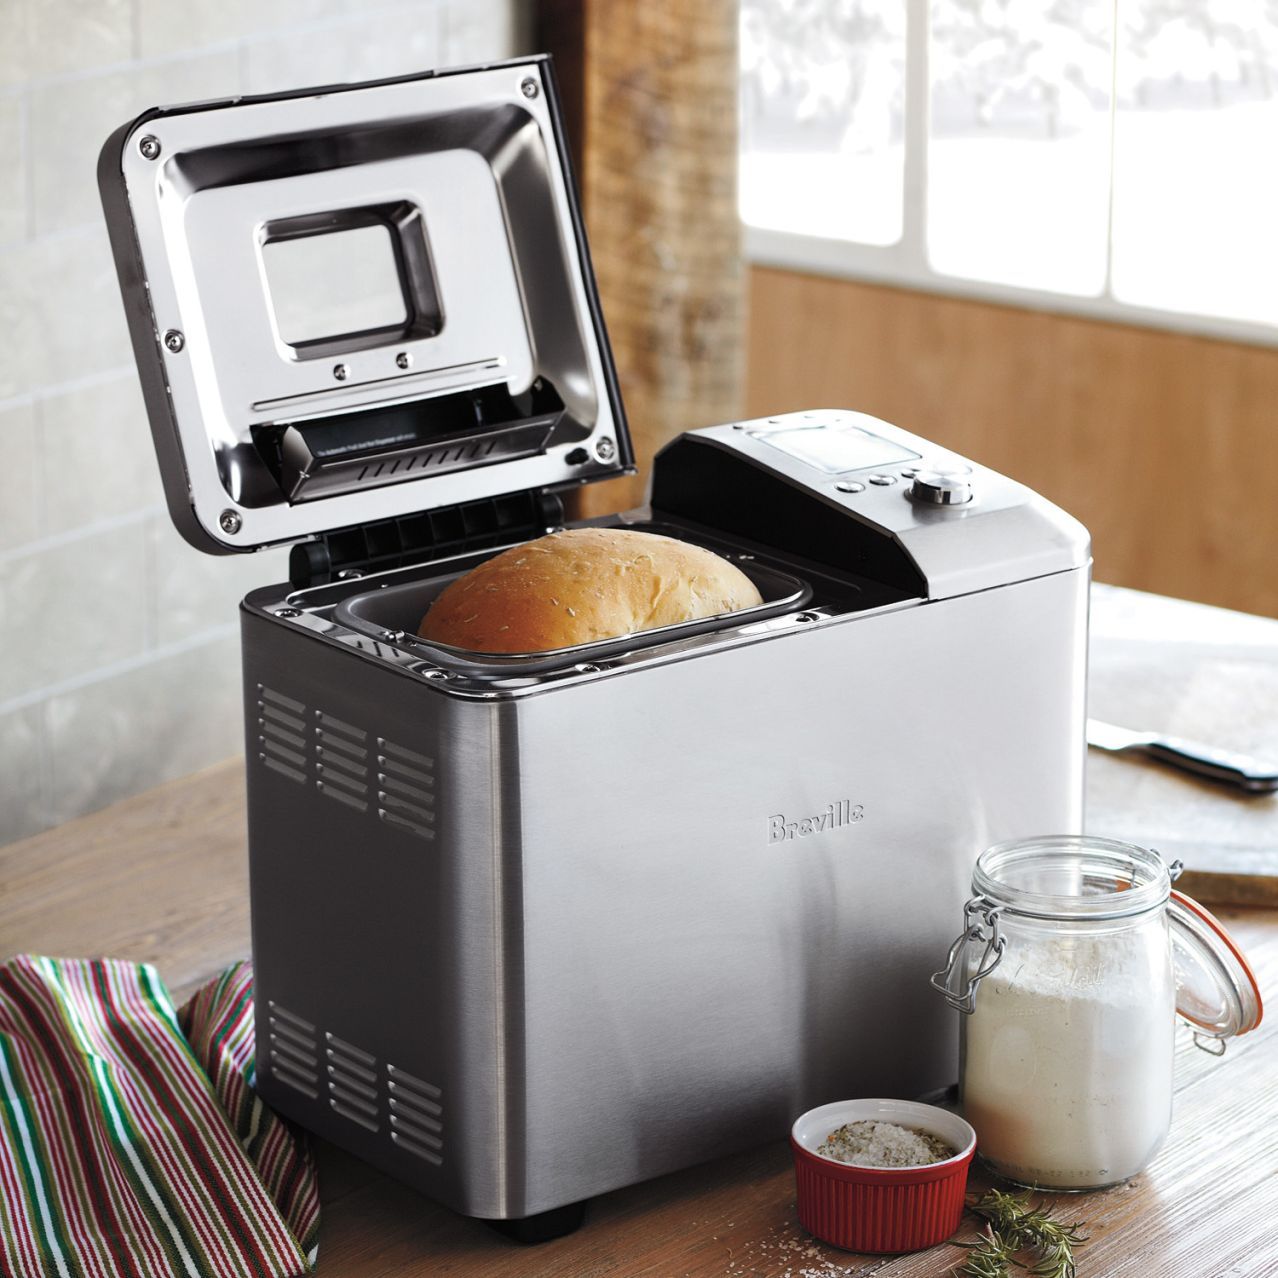
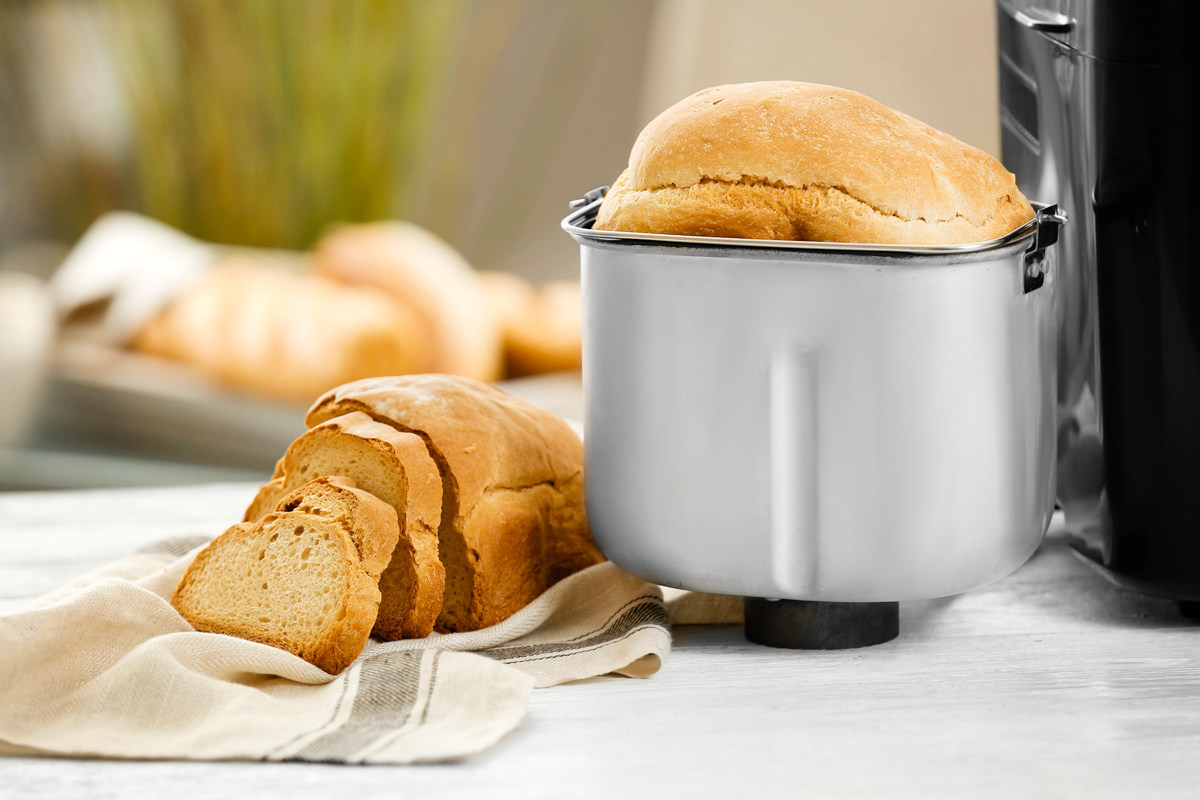
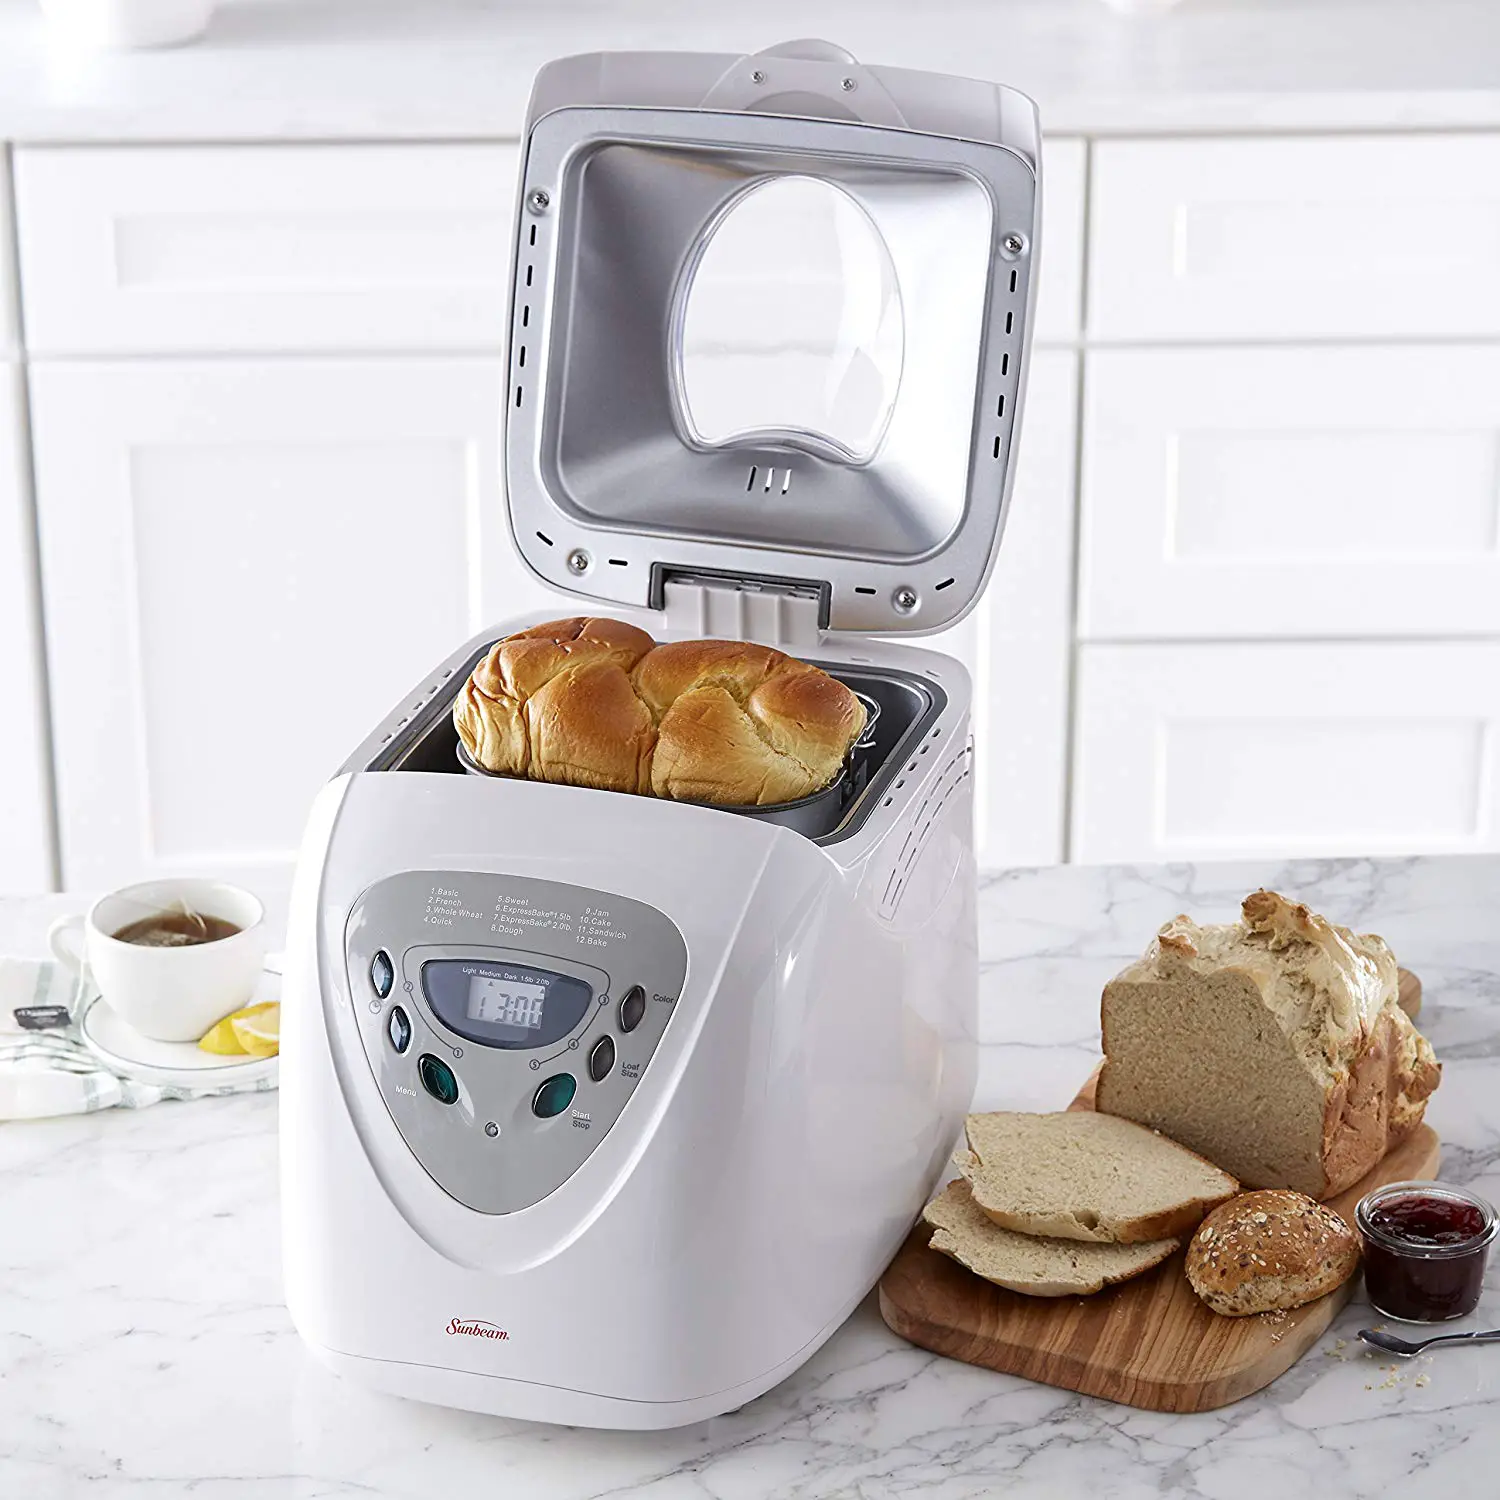
Before we dive into the specifics, let’s briefly discuss the bread making process in a bread machine. A bread machine is a kitchen appliance specifically designed to mix, knead, rise, and bake bread. It automates the entire process, making it user-friendly and convenient.
Typically, the bread making process in a bread machine involves adding the ingredients in the specified order, selecting the desired settings, and letting the machine work its magic. The machine will mix and knead the dough, allow it to rise, and finally bake it to perfection.
Now, let’s delve into the factors that can affect the duration of the bread making process in a bread machine.
Key Takeaways:
- Mastering the art of bread making with a bread machine involves understanding the factors that influence the duration, such as recipe, program settings, dough size, and room temperature.
- By implementing tips like using rapid programs, instant yeast, and optimizing room temperature, you can reduce bread machine duration without compromising on the quality of your freshly baked bread.
Read more: How Long Does A Whirlpool Washer Take
Understanding the Bread Making Process
Before we can fully grasp how long a bread machine takes to make bread, it’s essential to have a basic understanding of the bread making process. In a bread machine, the process is divided into several stages that are crucial for achieving a delicious loaf of bread.
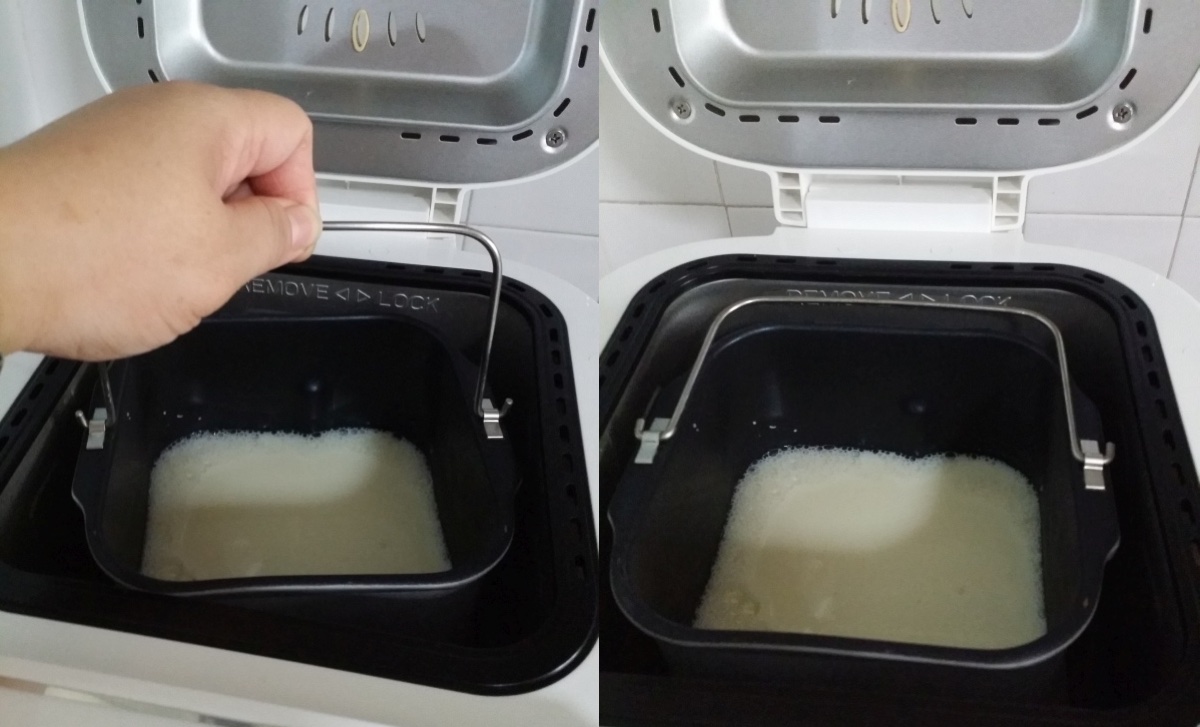
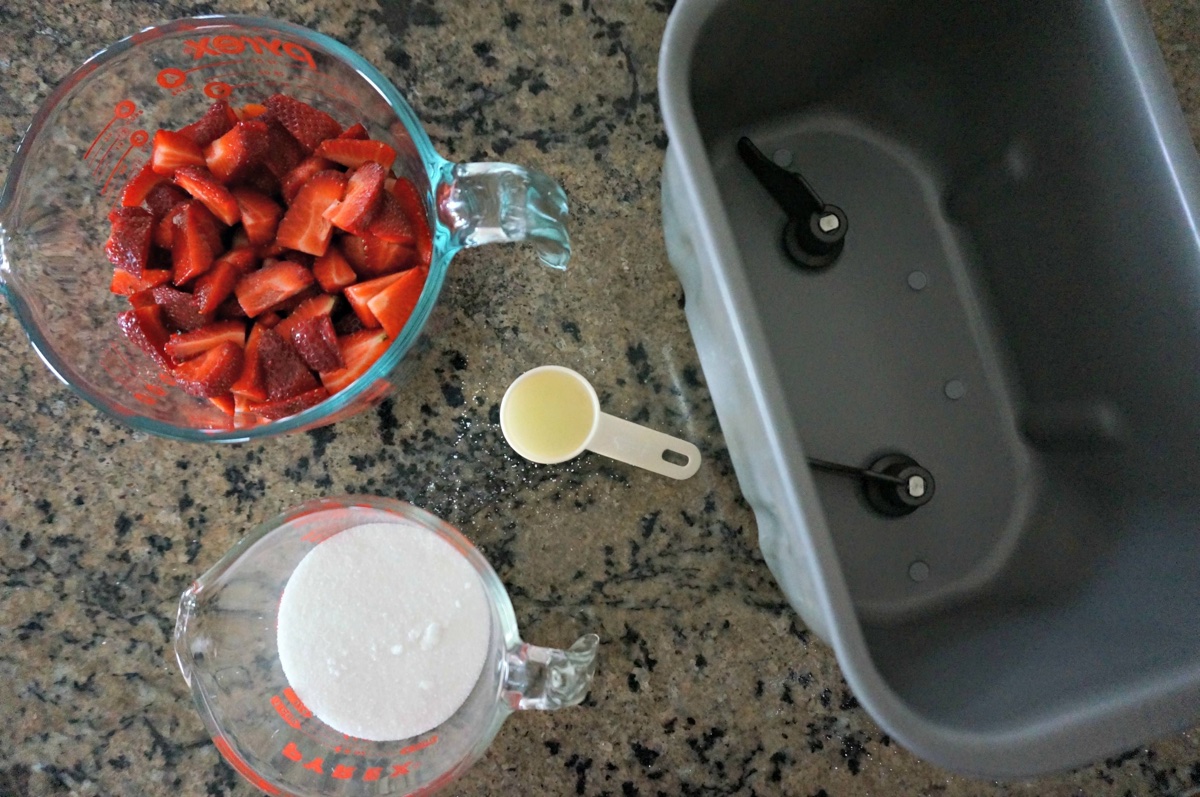
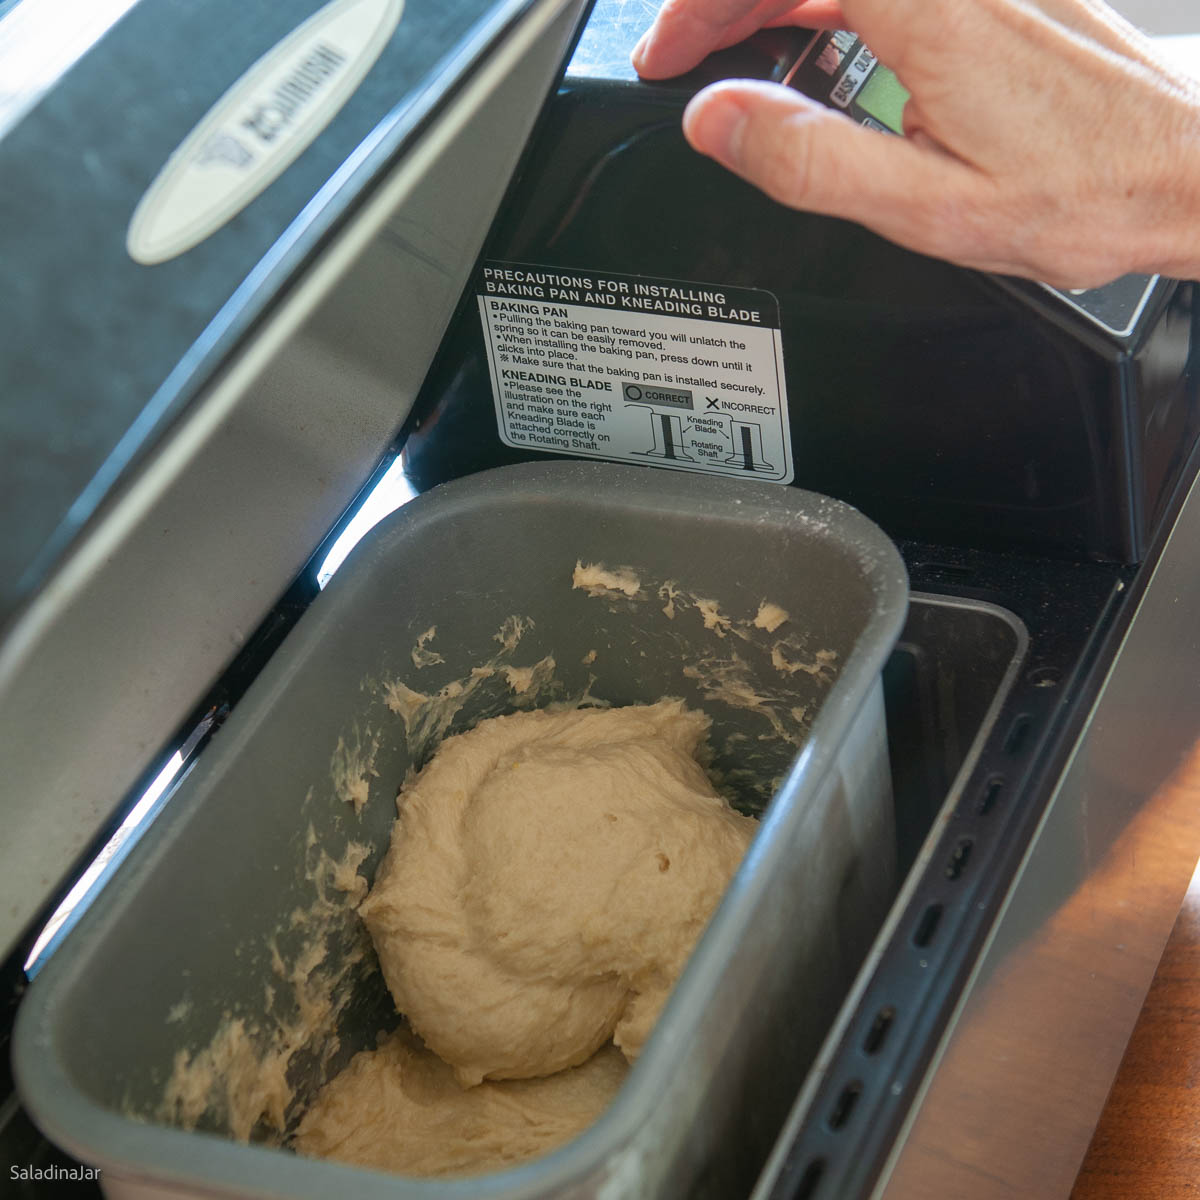
The first stage is mixing, where all the ingredients are combined. This includes flour, yeast, water, salt, sugar, and any additional flavors or additives you may choose to include. The mixing stage ensures that all the ingredients are evenly distributed and well incorporated.
Following the mixing stage is the kneading process. This is when the bread machine uses its built-in paddle or agitator to work the dough thoroughly. Kneading helps to develop the gluten in the flour, which gives bread its structure and elasticity. It is a crucial step in creating a light and airy texture in the final product.
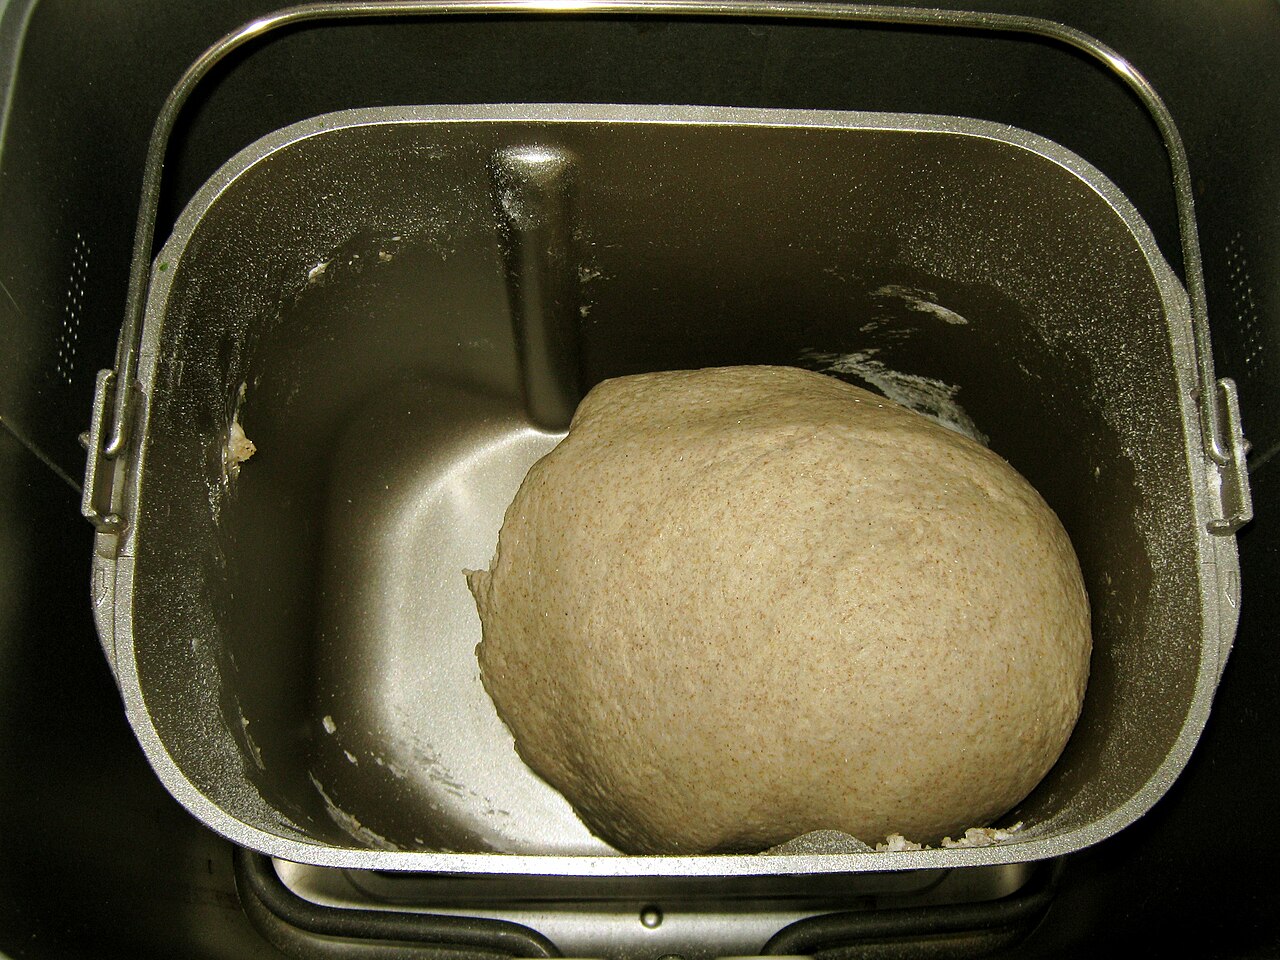
After kneading comes the rising stage. The bread machine creates the perfect environment for the dough to rise by providing a controlled and warm environment. During this stage, the yeast ferments and releases carbon dioxide, causing the dough to expand and rise. This is when the bread dough develops its flavor and texture.
Once the dough has risen, it’s time for the final stage: baking. The bread machine heats up and bakes the dough at the specified temperature for the recommended duration. This is when the crust forms and the bread becomes golden brown and fragrant.
Understanding these stages of the bread making process will help you appreciate why a bread machine takes a certain amount of time to make bread. With this knowledge, we can now explore the factors that can affect the duration of the bread making process in a bread machine.
Factors Affecting Bread Machine Duration
Several factors can influence the duration of the bread making process in a bread machine. Understanding these factors will help you anticipate and adjust the timing to achieve the desired results. Let’s take a closer look at them:
- Recipe and Ingredients: Different bread recipes require varying amounts of time to mix, knead, rise, and bake. Certain types of bread, such as whole wheat or artisan bread, typically take longer to make compared to basic white bread. Additionally, ingredients like honey or molasses can affect the fermentation process and may require additional time.
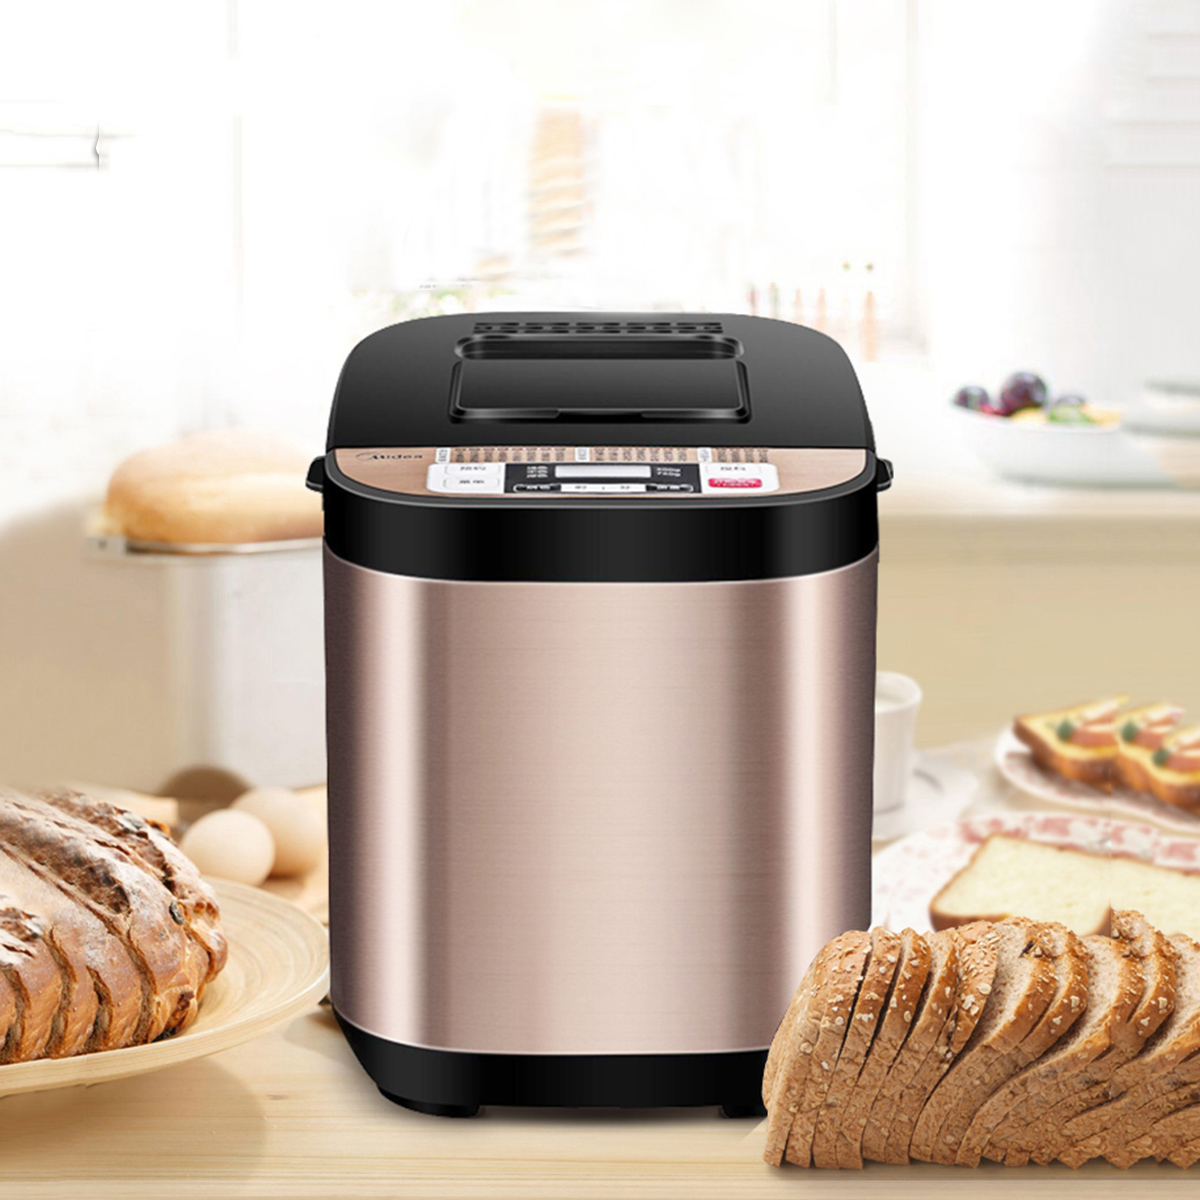
- Program Settings: Bread machines come with a range of program settings to accommodate different types of bread. These settings dictate the duration of each stage of the bread making process. Choosing a specific program will influence the overall time it takes to make the bread. For example, a rapid program will produce bread in a shorter duration, while a longer program will result in a more traditional process.
- Dough Size: The quantity of dough you are making can affect the duration. Larger dough sizes may take more time to mix and knead thoroughly, resulting in a longer overall process. Conversely, smaller dough sizes may require less time.
- Room Temperature and Humidity: The ambient conditions in your kitchen can impact the fermentation and rising process. Warmer temperatures and higher humidity can accelerate the process, while cooler temperatures and lower humidity can slow it down. It’s important to consider these factors when planning the bread making process.
- Energy Efficiency of the Bread Machine: The efficiency of your bread machine and its heating element can also affect the duration. Higher-quality machines with better insulation and more powerful heating elements may reduce the overall baking time.
- User Preferences: If you prefer a darker crust or a more pronounced flavor, you may opt for a longer baking time. Similarly, if you desire a lighter loaf with a softer crust, you can adjust the settings accordingly, potentially shortening the duration.
By taking these factors into account, you can customize and optimize the bread making process in your bread machine.
The time it takes for a bread machine to make bread can vary depending on the type of bread being made, but on average, it takes about 3-4 hours from start to finish. Keep in mind that this time can be longer for some specialty breads or if using a delayed start timer.
Average Time Required for Different Types of Bread
The duration of bread making in a bread machine can vary depending on the type of bread you are making. While individual recipes may have specific time requirements, we can provide a general overview of the average time needed for different types of bread:
- Basic White Bread: On average, basic white bread takes around 3 to 4 hours to make in a bread machine. This includes the mixing, kneading, rising, and baking stages.
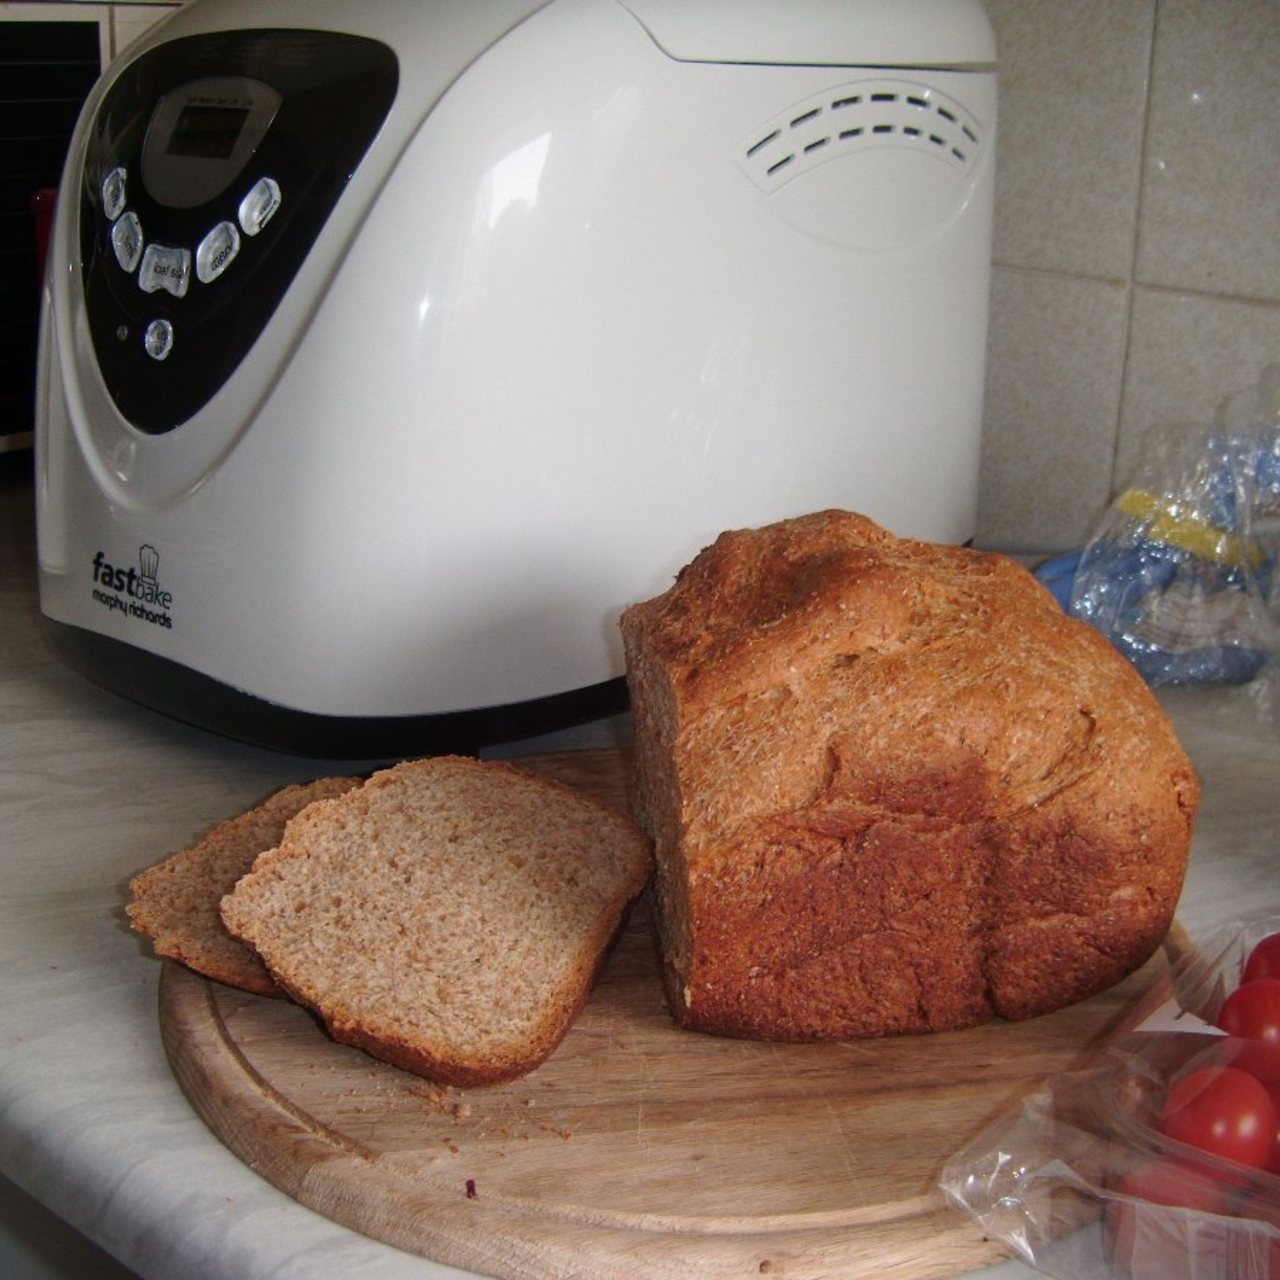
- Whole Wheat Bread: Whole wheat bread tends to have a longer baking time compared to white bread due to the higher fiber content. The duration can range from 4 to 5 hours.
- Sourdough Bread: Sourdough bread requires a longer fermentation process to develop its distinctive tangy flavor. It can take anywhere from 6 to 12 hours, depending on the recipe and starter.
- Artisan Bread: Artisan breads typically involve a longer fermentation process for added flavor and texture. The total duration can range from 4 to 8 hours, allowing for a slower and more controlled rise.
- Fruit or Nut Bread: Bread recipes that include fruits or nuts may require additional time for the ingredients to fully blend with the dough. The average duration can range from 3 to 5 hours, depending on the specific recipe.
- Gluten-Free Bread: Gluten-free bread often needs a slightly longer baking time to ensure proper texture and rise. On average, it can take around 3 to 4 hours to make gluten-free bread in a bread machine.
Keep in mind that these are average estimates and can vary depending on the specific recipe, bread machine model, and other factors mentioned earlier. It’s always best to refer to the recipe instructions and program settings on your bread machine for precise timing.
Now that we have an idea of the average duration for different types of bread, let’s explore some tips to help reduce the bread machine duration without compromising on the quality of your bread.
Tips to Reduce Bread Machine Duration
If you’re looking to shorten the duration of the bread making process in your bread machine, here are some tips to help you achieve that:
- Use Rapid or Quick Programs: Many bread machines come with rapid or quick program settings specifically designed to expedite the bread making process. These programs reduce the duration by cutting down the rising and resting times.
- Prefer Instant Yeast: Instant yeast is a type of yeast that doesn’t require proofing or pre-activation. It can be added directly to the dry ingredients, eliminating the need for a separate proofing stage. This can save you time in the overall bread making process.
- Pre-warm Water and Ingredients: Using warm water in the recipe can accelerate the fermentation and rising process. Pre-warming other ingredients, such as milk or butter, can also promote faster mixing and kneading. Just be cautious not to use water that is too hot and can kill the yeast.
- Optimize Dough Size: If you’re looking for a quicker bread making process, consider making smaller dough sizes. Smaller amounts of dough require less time for mixing and kneading, reducing the overall duration.
- Ensure Proper Room Temperature: Maintaining an ideal room temperature for bread making can expedite the rising process. Ensure that the room is warm enough (around 75°F – 80°F) to promote a faster rise. You can use a proofing box or place the bread machine in a warmer area of your kitchen.
- Experiment with Different Flours: Certain types of flour, such as bread flour, have higher protein content, resulting in faster gluten development. Using these flours can speed up the mixing and kneading stages, reducing the overall duration. However, be mindful that different flours may require adjustments in the amount of liquid or yeast used in the recipe.
By implementing these tips, you can effectively reduce the duration of the bread making process in your bread machine. However, it’s important to balance the need for speed with the desired quality of your bread. Carefully monitor the dough during the process to ensure it has sufficient time to properly rise and develop flavor.
Now that you have a better understanding of the factors that affect bread machine duration and some tips to expedite the process, you can confidently plan and enjoy freshly baked bread in a shorter amount of time.
If you have any further questions or need additional guidance, don’t hesitate to consult the instruction manual of your bread machine or reach out to the manufacturer for specific recommendations.
Read more: How Long Does A Washer Take To Wash
Conclusion
Making homemade bread using a bread machine offers convenience and the opportunity to enjoy fresh, delicious bread at home. Understanding the factors that impact the duration of the bread making process in a bread machine is key to achieving the desired results. By considering recipe and ingredient variations, program settings, dough size, room temperature, bread machine efficiency, and personal preferences, you can customize the bread making experience to suit your needs.
Different types of bread have different average durations, with basic white bread typically taking around 3 to 4 hours, whole wheat bread requiring 4 to 5 hours, and sourdough or artisan bread taking longer due to the fermentation process. Additional factors like the use of rapid programs, instant yeast, pre-warming ingredients, and optimizing room temperature can help reduce the overall time spent in the bread machine.
However, it’s important to strike a balance between saving time and ensuring the quality of your bread. Rushing the process too much can result in subpar texture and flavor. Monitoring the dough throughout the stages and making adjustments as needed will help you achieve a perfectly baked loaf.
Ultimately, the enjoyment of freshly baked bread and the satisfaction of creating something homemade far outweigh the time investment. So, dive into the bread making process with your bread machine, experiment with recipes, and find joy in the wonderful world of bread baking.
If you have any further questions or need guidance, be sure to consult the instruction manual of your specific bread machine or reach out to the manufacturer for personalized assistance. Happy bread making!
Frequently Asked Questions about How Long Does A Bread Machine Take To Make Bread
Was this page helpful?
At Storables.com, we guarantee accurate and reliable information. Our content, validated by Expert Board Contributors, is crafted following stringent Editorial Policies. We're committed to providing you with well-researched, expert-backed insights for all your informational needs.

0 thoughts on “How Long Does a Bread Machine Take To Make Bread”