Articles
How To Make Gelato With An Ice Cream Maker
Modified: October 20, 2024
Discover articles on how to make gelato with an ice cream maker. Explore step-by-step guides, recipes, and tips for creating delicious homemade gelato.
(Many of the links in this article redirect to a specific reviewed product. Your purchase of these products through affiliate links helps to generate commission for Storables.com, at no extra cost. Learn more)
Introduction
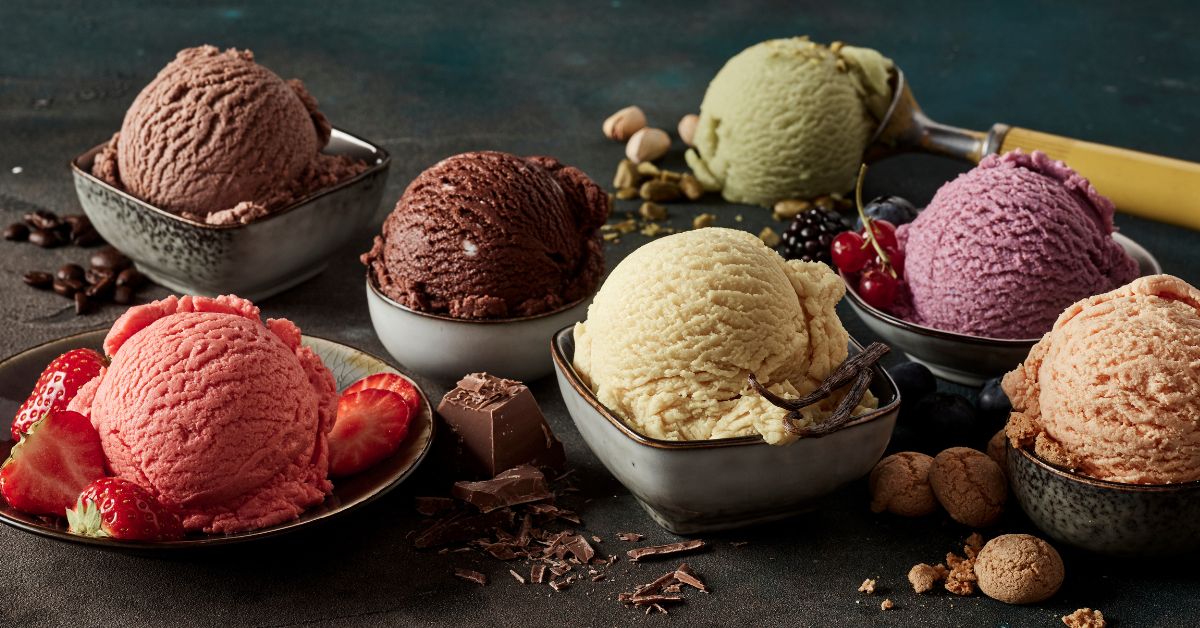
Gelato, with its rich and creamy texture, is a beloved frozen treat enjoyed by people all over the world. Making gelato at home might seem like a daunting task, but with the help of an ice cream maker, it becomes a fun and rewarding experience. Whether you’re a gelato aficionado or simply want to try your hand at making this delectable dessert, this article will guide you through the process step by step.
Creating gelato requires specific equipment and ingredients to achieve the perfect balance of flavors and consistency. We will walk you through each stage, from preparing the base to adding mix-ins and storing the gelato.
So, let’s dive into the world of gelato-making and discover how to create a delicious frozen treat that will have your taste buds dancing with delight!
Key Takeaways:
- Master the art of creating creamy gelato at home with an ice cream maker. From preparing the base to adding mix-ins, follow the steps and tips to impress your taste buds and loved ones with your homemade frozen delight.
- Embrace the gelato-making adventure by experimenting with flavors, chilling the base thoroughly, and adding creative mix-ins. Elevate your skills and savor the sweet rewards of your creamy, homemade gelato.
Equipment Needed
Before you begin making gelato with an ice cream maker, it’s important to gather all the necessary equipment. Here’s a list of what you’ll need:
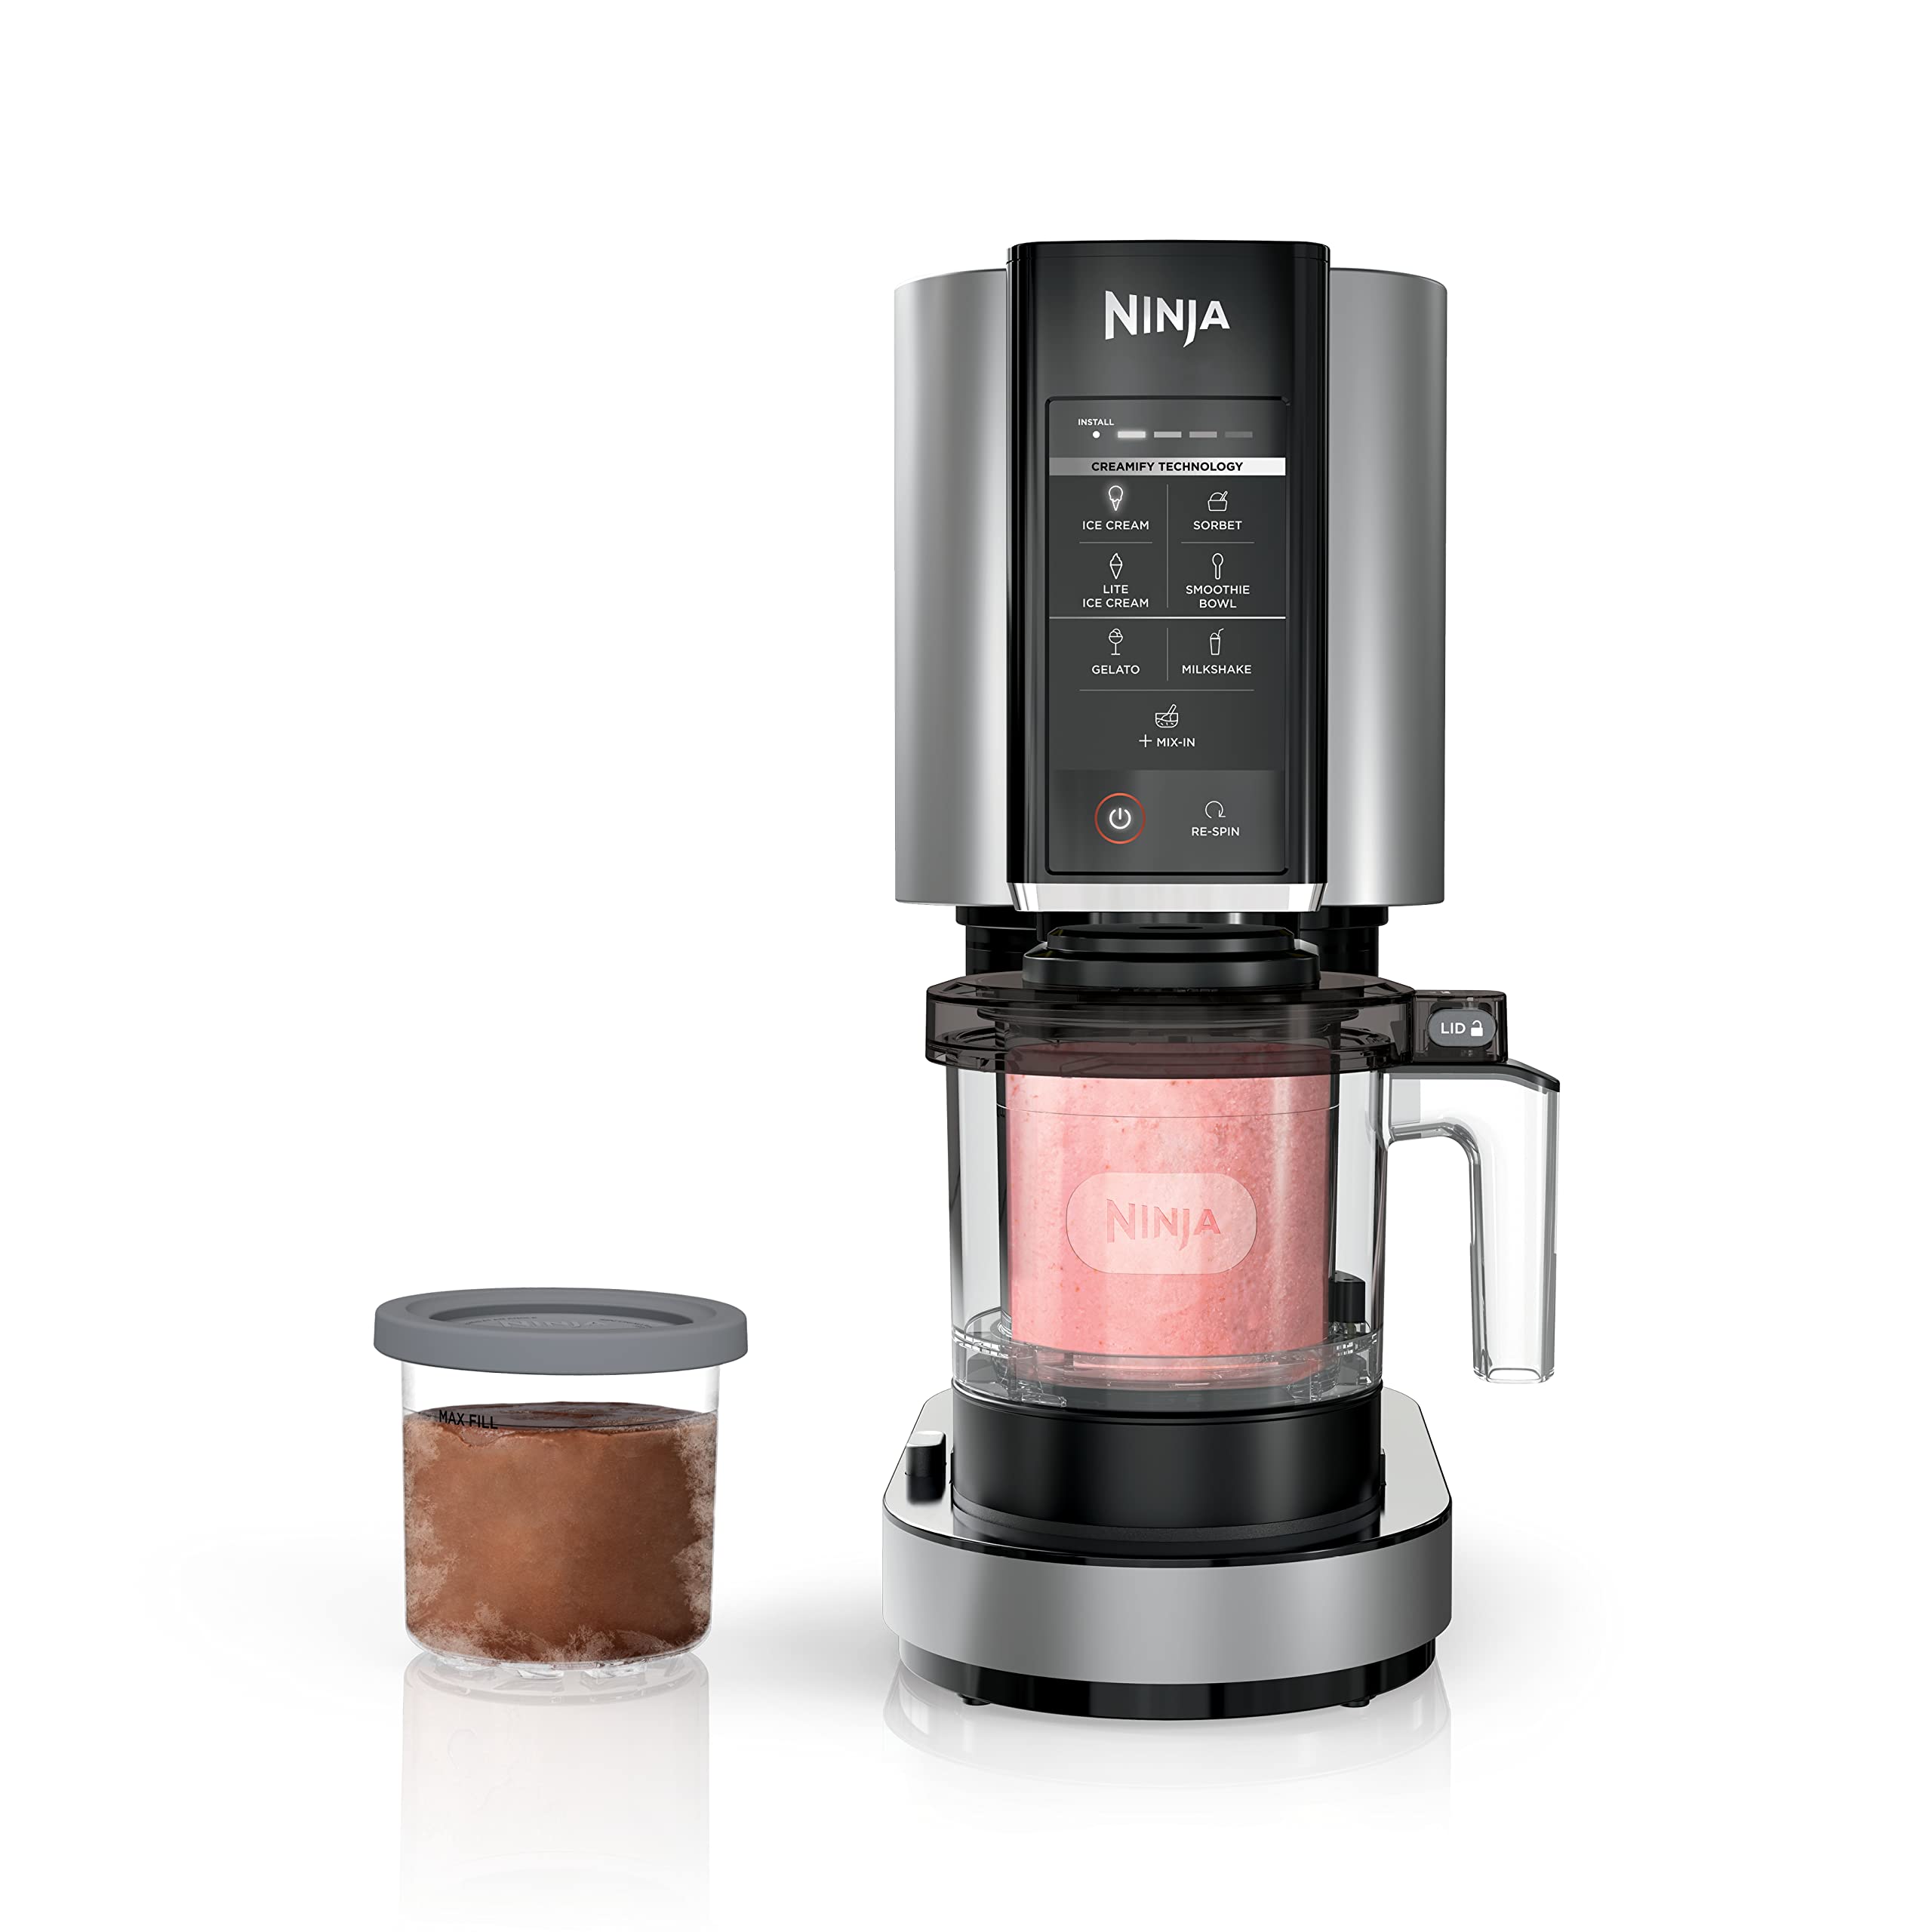
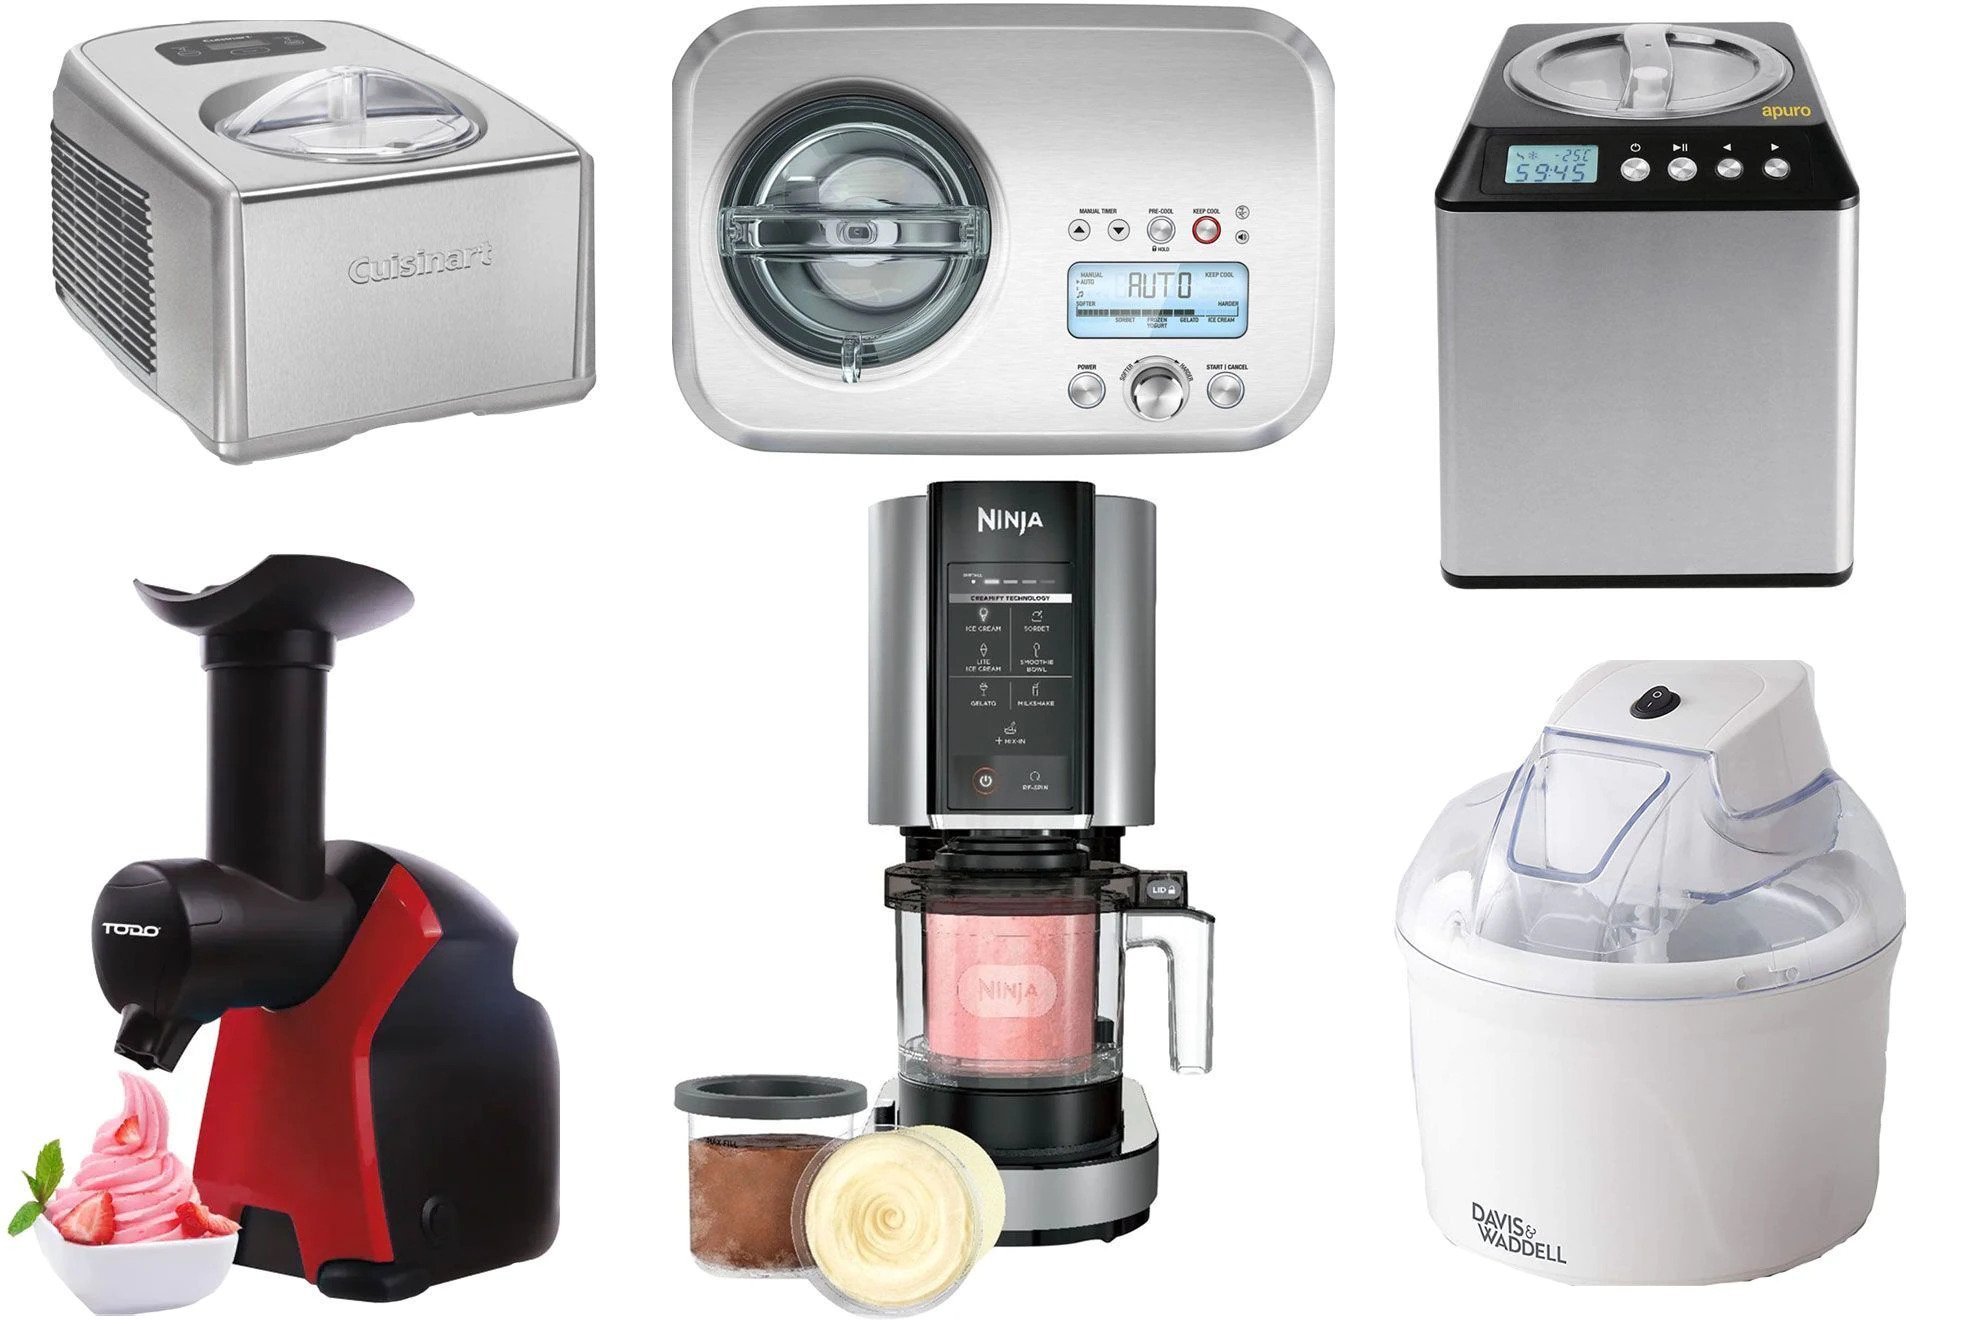
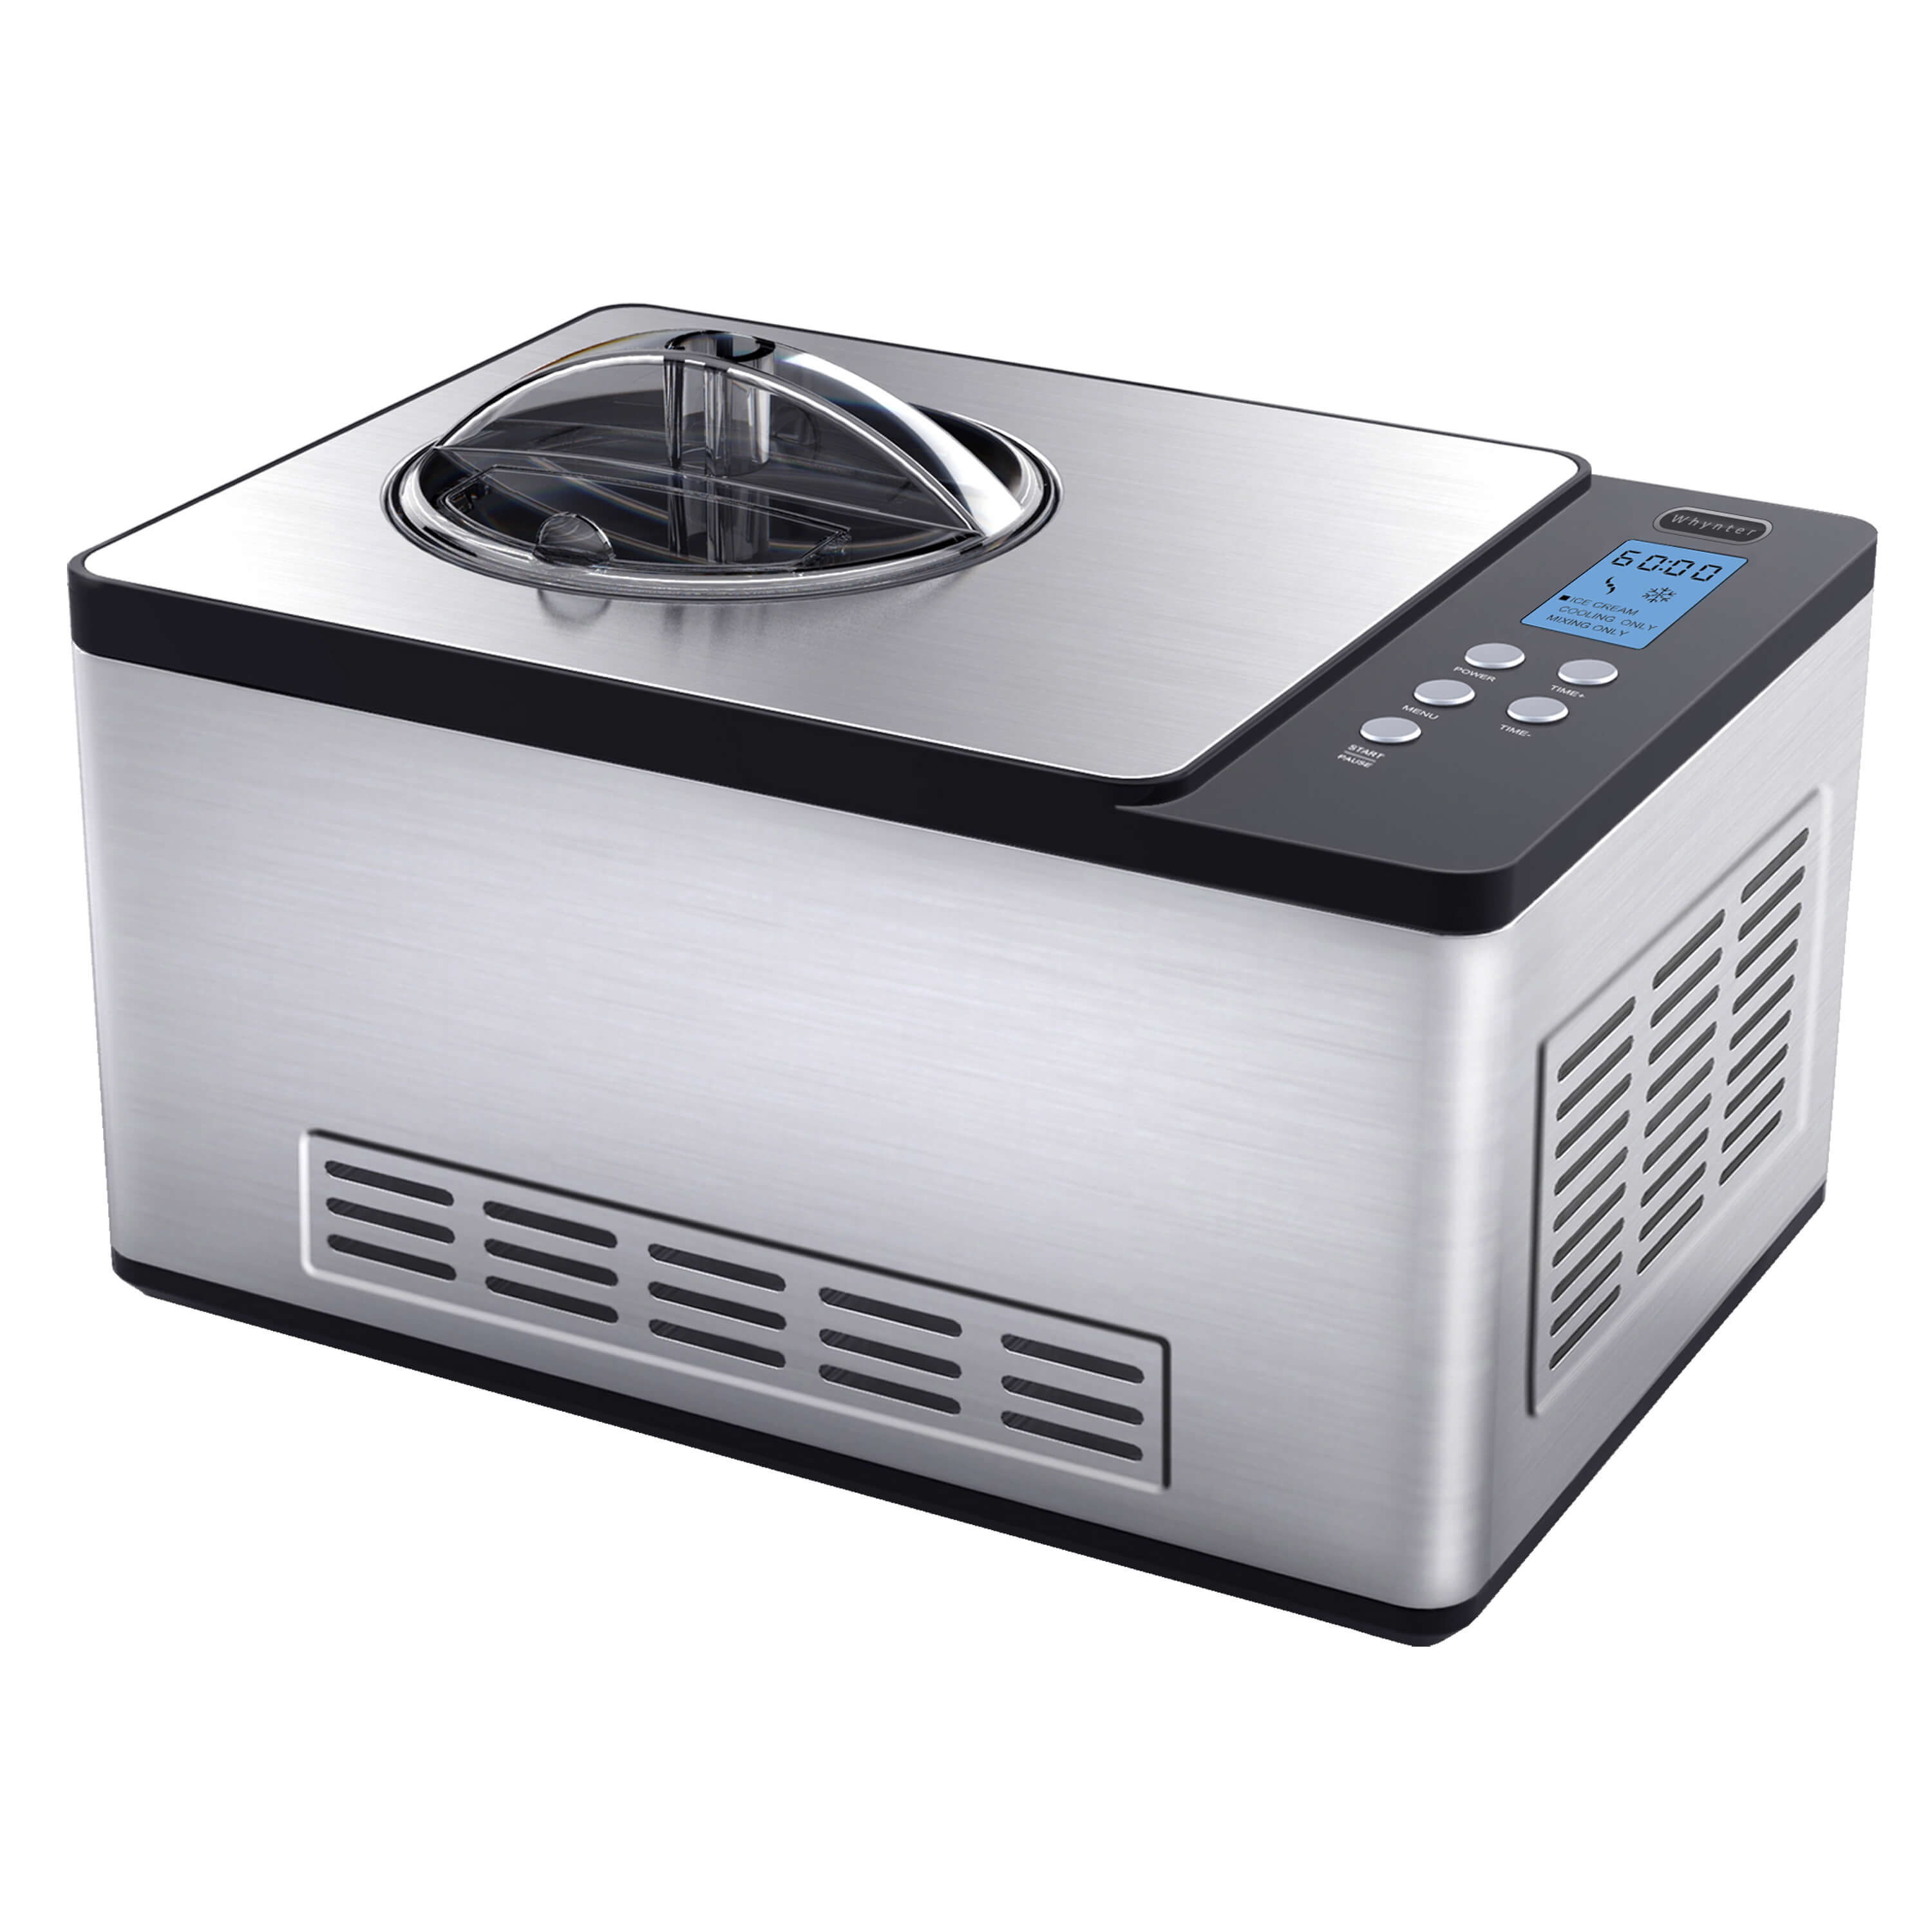
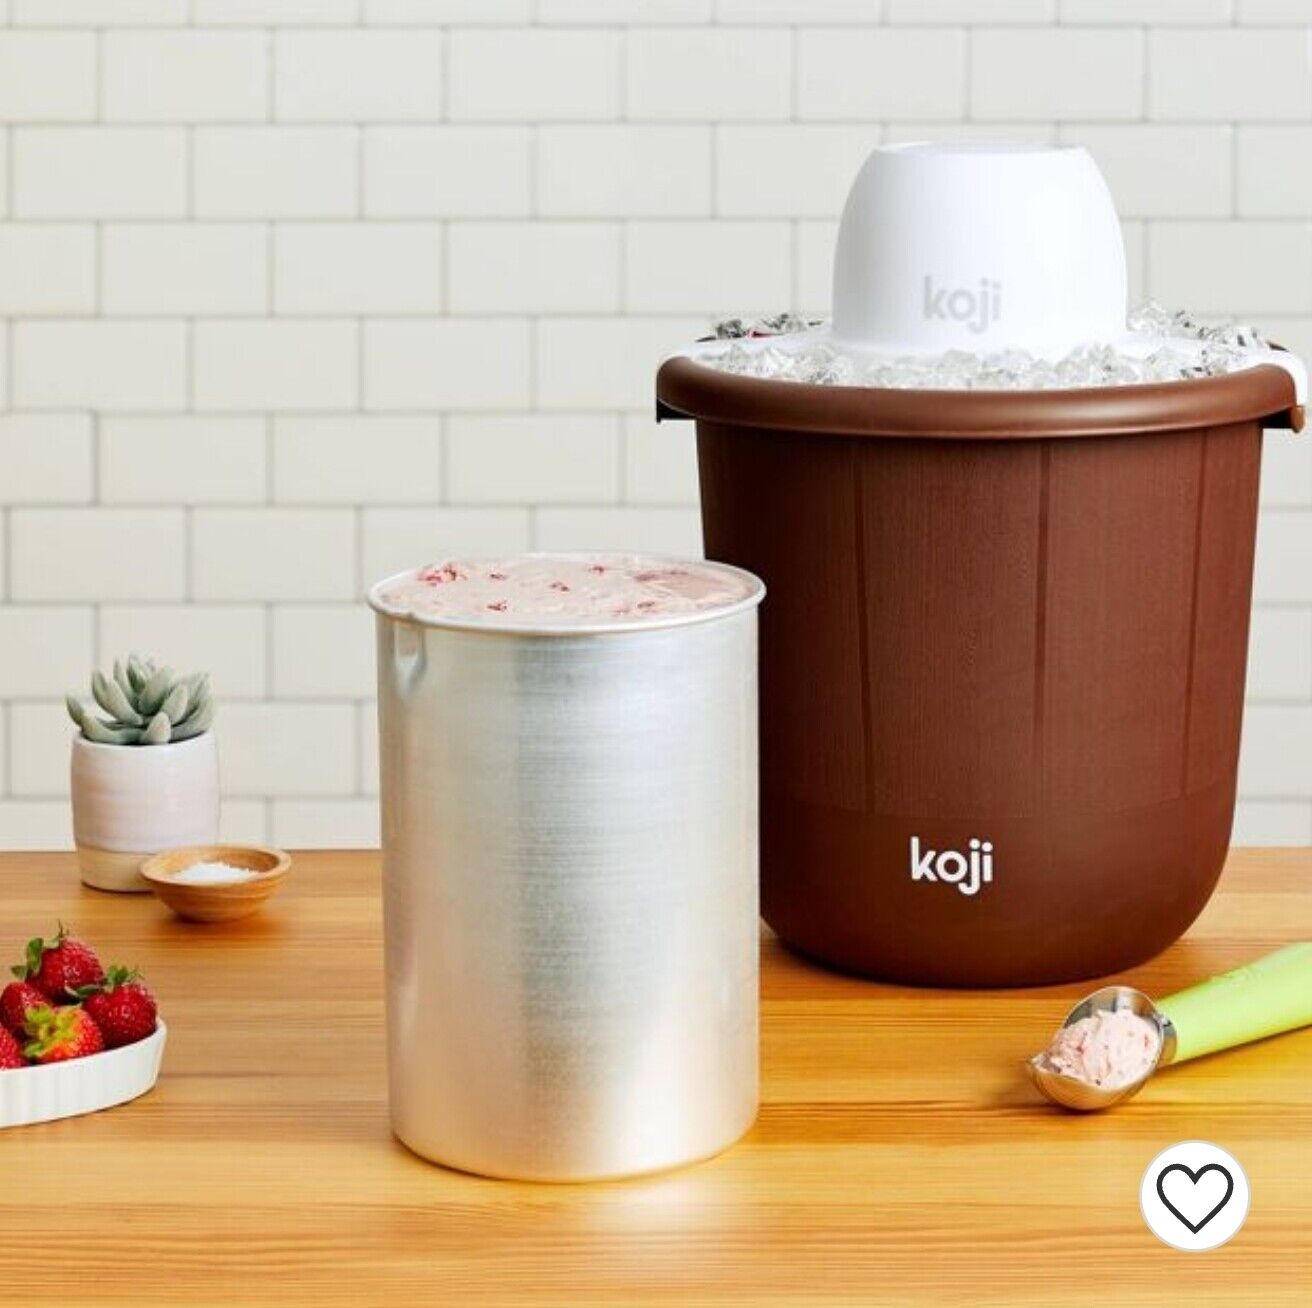
- Ice Cream Maker: A reliable ice cream maker is essential for creating smooth and creamy gelato. Choose a model that suits your needs and budget.
- Freezer: You’ll need a freezer to chill the gelato base and freeze it after it’s made.
- Mixing Bowl: A large mixing bowl will be used to combine the gelato ingredients and create the base.
- Whisk or Electric Mixer: To ensure the gelato base is well mixed and free of any lumps or clumps, a whisk or electric mixer is necessary.
- Spatula: A rubber spatula is handy for scraping the sides of the mixing bowl and ensuring all the ingredients are well incorporated.
- Sieve or Strainer: To achieve a smooth and creamy texture, it’s essential to strain the gelato base to remove any lumps or impurities.
- Ice Cream Scoop: An ice cream scoop with a rounded bowl shape will help create perfectly formed gelato scoops.
- Storage Container: Once the gelato is made, you’ll need an airtight container to store it in the freezer.
- Spoons or Cones: Finally, you’ll want to serve your homemade gelato with spoons or in crispy cones for a delightful eating experience.
Gathering these essential items before you begin will ensure a smooth gelato-making process and allow you to focus on the deliciousness of the final product.
Ingredients
Now that you have all the necessary equipment, it’s time to gather the ingredients for your homemade gelato. Here’s a list of the key components:
- Milk: Gelato typically uses whole milk to achieve a rich and creamy texture. However, you can also use low-fat or plant-based milk for a lighter option.
- Heavy Cream: Adding heavy cream to the base will contribute to the smoothness and richness of your gelato.
- Sugar: Granulated sugar is used to sweeten the gelato and balance out the flavors.
- Egg yolks (optional): Adding egg yolks to the base gives gelato a velvety texture and helps bind the ingredients together. This step is optional, depending on your preference.
- Flavorings: Gelato comes in a wide range of flavors. You can use extracts such as vanilla, almond, or mint, or experiment with ingredients like cocoa powder, fruit puree, or coffee for unique flavors.
- Add-ins (optional): If you want to take your gelato to the next level, consider adding mix-ins like chocolate chips, nuts, or cookie crumbles for added texture and flavor.
These are the basic ingredients needed for a classic gelato base. However, feel free to get creative and customize your gelato by adding different flavors and mix-ins to suit your taste preferences.
Now that you have all your equipment and ingredients ready, let’s move on to the step-by-step process of making gelato with an ice cream maker.
Step 1: Preparing the Base
The first step in making gelato with an ice cream maker is preparing the base. The base forms the foundation of your gelato and gives it its creamy texture and flavor. Here’s how you can prepare the base:
- Combine the milk and heavy cream: In a mixing bowl, whisk together the milk and heavy cream until well combined.
- Add sugar: Gradually add sugar to the milk and cream mixture, whisking continuously until the sugar is fully dissolved.
- Add flavorings: If you’re using extracts or flavorings like vanilla or almond, add them to the mixture and whisk well to incorporate the flavors.
- If using egg yolks: If you prefer a richer and smoother gelato, you can add egg yolks to the base. In a separate bowl, whisk the egg yolks until smooth. Gradually pour a small amount of the milk and cream mixture into the egg yolks, whisking continuously to temper the eggs. Then, pour the tempered egg mixture back into the main bowl and whisk everything together.
Once you’ve prepared the gelato base, it’s time to move on to the next step: chilling the base.
Step 2: Chilling the Base
After preparing the gelato base, it’s important to chill it before transferring it to the ice cream maker. Chilling the base ensures that it is thoroughly cooled and ready for the churning process. Here’s how you can chill the gelato base:
- Cover the gelato base: Once you’ve prepared the base, cover the mixing bowl with plastic wrap or transfer it to an airtight container.
- Refrigerate the base: Place the covered gelato base in the refrigerator for a minimum of 4 hours, or preferably overnight. Chilling the base for an extended period allows the flavors to meld together and the mixture to thicken slightly.
During the chilling process, the gelato base may develop a skin on top. To prevent this, make sure the plastic wrap is placed directly on the surface of the base, creating a seal. This will help maintain the flavor and texture of the gelato.
Once the gelato base is thoroughly chilled, it’s time to move on to the exciting part – making gelato in your ice cream maker!
When making gelato with an ice cream maker, be sure to chill the base mixture thoroughly before churning. This will help ensure a smooth and creamy texture in the finished gelato.
Read more: How To Make Ice Cream In Ice Cream Machine
Step 3: Making Gelato in the Ice Cream Maker
Now that your gelato base is chilled and ready, it’s time to use your ice cream maker to turn it into a luscious frozen dessert. Follow these steps to make gelato in the ice cream maker:
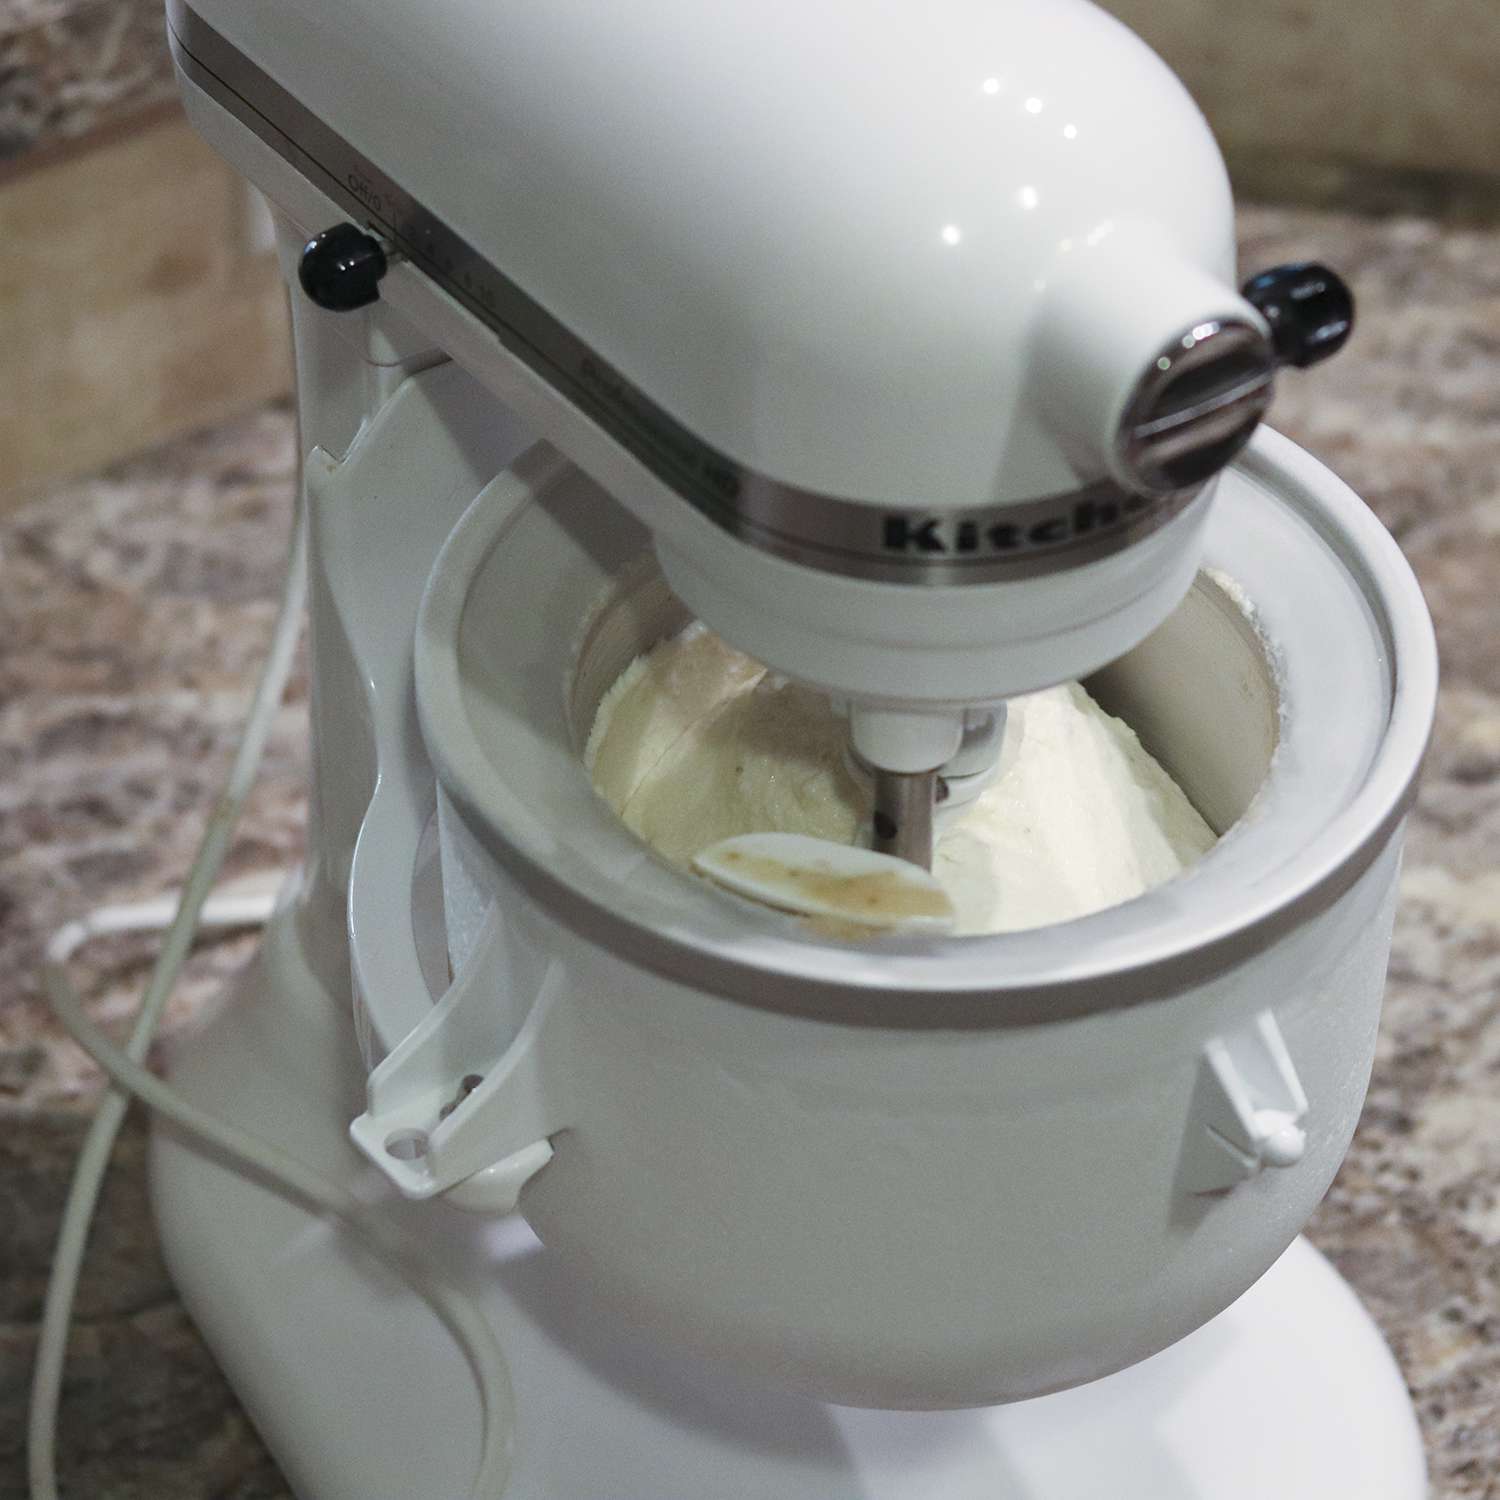
- Set up the ice cream maker: Make sure your ice cream maker is clean and assembled according to the manufacturer’s instructions. Most ice cream makers have a freezing bowl that needs to be pre-frozen, so ensure it has been in the freezer for the recommended time.
- Turn on the ice cream maker: Start your ice cream maker and pour the gelato base into the freezing bowl.
- Churn the gelato: Allow the ice cream maker to churn the gelato for the recommended time, usually around 20-30 minutes. The gelato will gradually thicken and attain a creamy consistency as it freezes.
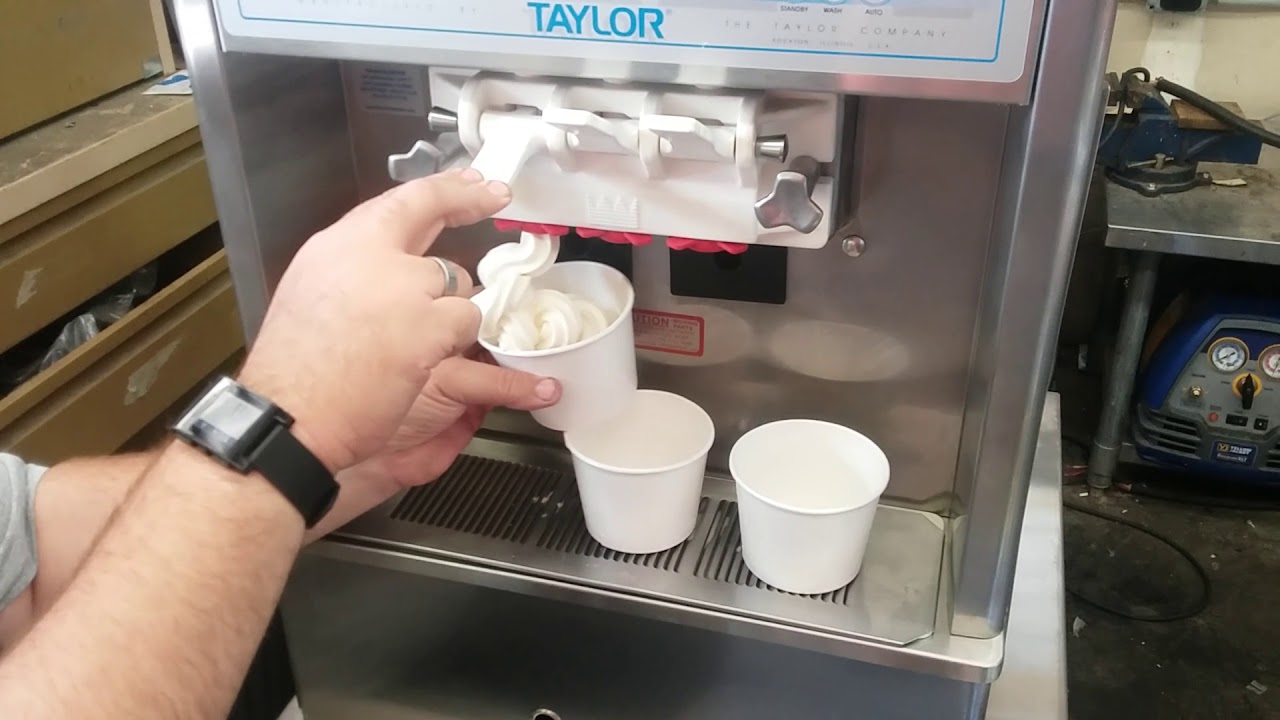
- Monitor the progress: Keep an eye on the gelato as it churns. Once it reaches a soft-serve consistency, it’s ready. The gelato should hold its shape but still be smooth and creamy.
- Transfer to a container: Using a rubber spatula, transfer the freshly churned gelato from the freezing bowl to an airtight freezer-safe container. Smooth the surface with the spatula.
Congratulations! You have successfully made gelato in your ice cream maker. However, if you desire to add mix-ins or additional flavors, read on to step 4.
Step 4: Adding Mix-ins (Optional)
If you want to take your gelato to the next level and add extra flavors or textures, this step is for you. Adding mix-ins to your gelato can enhance the overall taste and provide a delightful surprise with every scoop. Here’s how you can incorporate mix-ins into your gelato:
- Prepare the mix-ins: Depending on what mix-ins you’ve chosen, prepare them beforehand. This could include chopping nuts, grating chocolate, or crumbling cookies.
- Add the mix-ins: Once the gelato has finished churning in the ice cream maker, transfer it to a mixing bowl. Gently fold in the prepared mix-ins using a spatula. Make sure the mix-ins are evenly distributed throughout the gelato.
While adding mix-ins is optional, it’s a fantastic opportunity to get creative with your gelato. You can experiment with various combinations like chocolate chips, cookie dough, fruit chunks, or swirls of caramel. Let your taste buds guide you and have fun with it!
Once you’ve incorporated the desired mix-ins, it’s time to move on to the final steps of storing and serving your homemade gelato.
Step 5: Storing and Serving Gelato
After making gelato with your ice cream maker and adding any desired mix-ins, it’s time to properly store and serve your delicious creation. Follow these steps to ensure your gelato stays fresh and enjoyable:
- Transfer to a storage container: If you haven’t already, transfer the gelato from the mixing bowl to an airtight container. This will prevent ice crystals from forming and help preserve the texture and flavor of the gelato.
- Smooth the surface: Use a spatula to smooth the surface of the gelato in the container, ensuring it is level and free from any air pockets.
- Cover and freeze: Place a lid or cover securely on the container and place it in the freezer. Allow the gelato to freeze for at least 2-4 hours, or until it reaches the desired firmness.
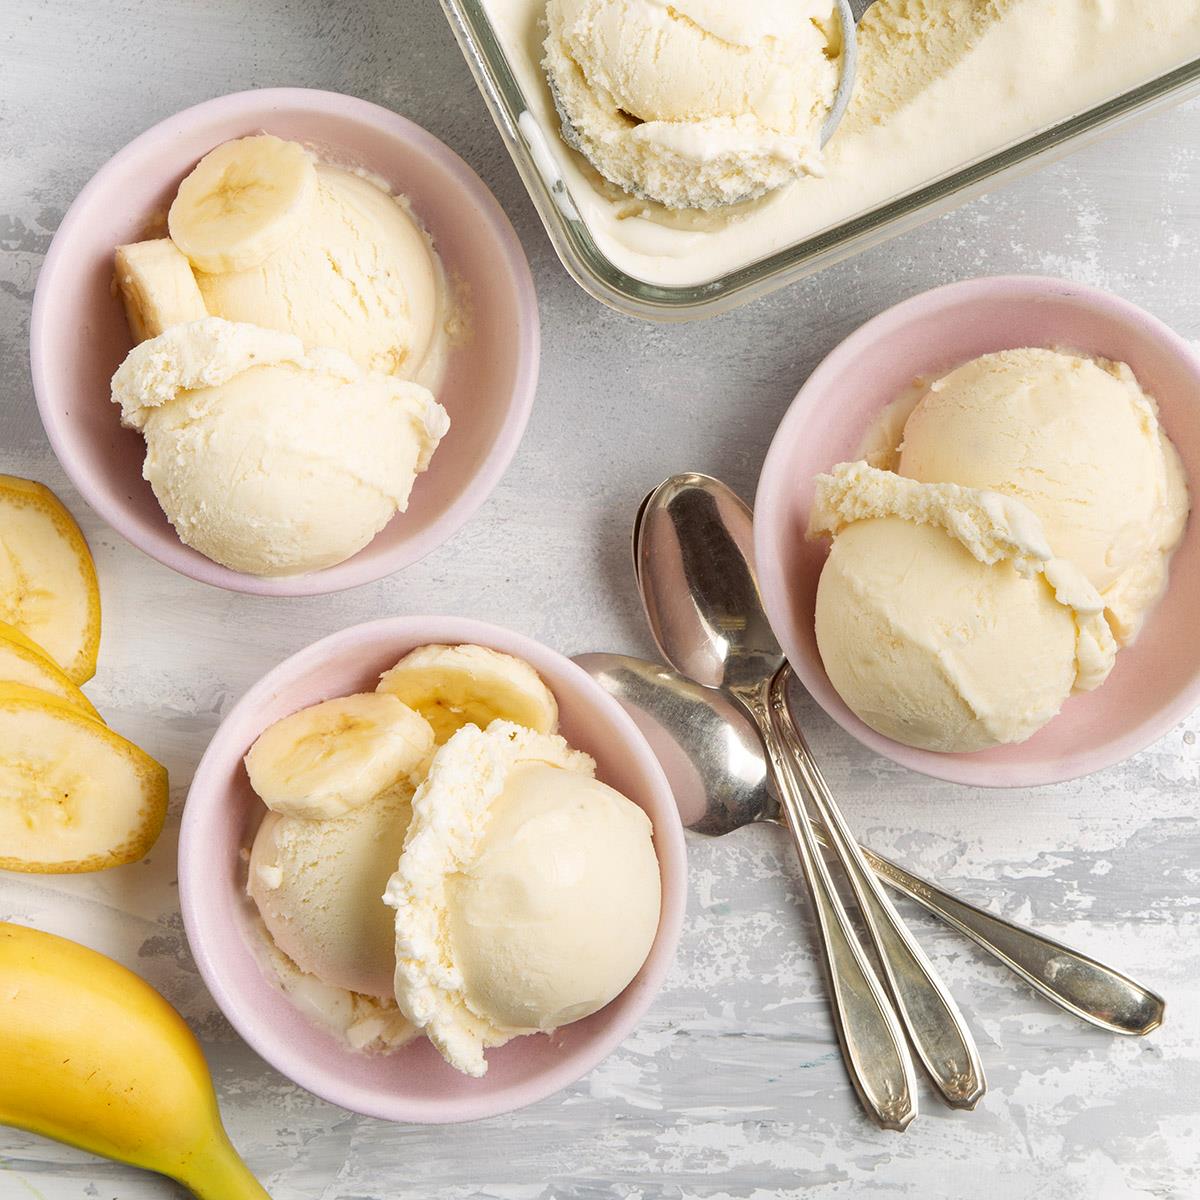
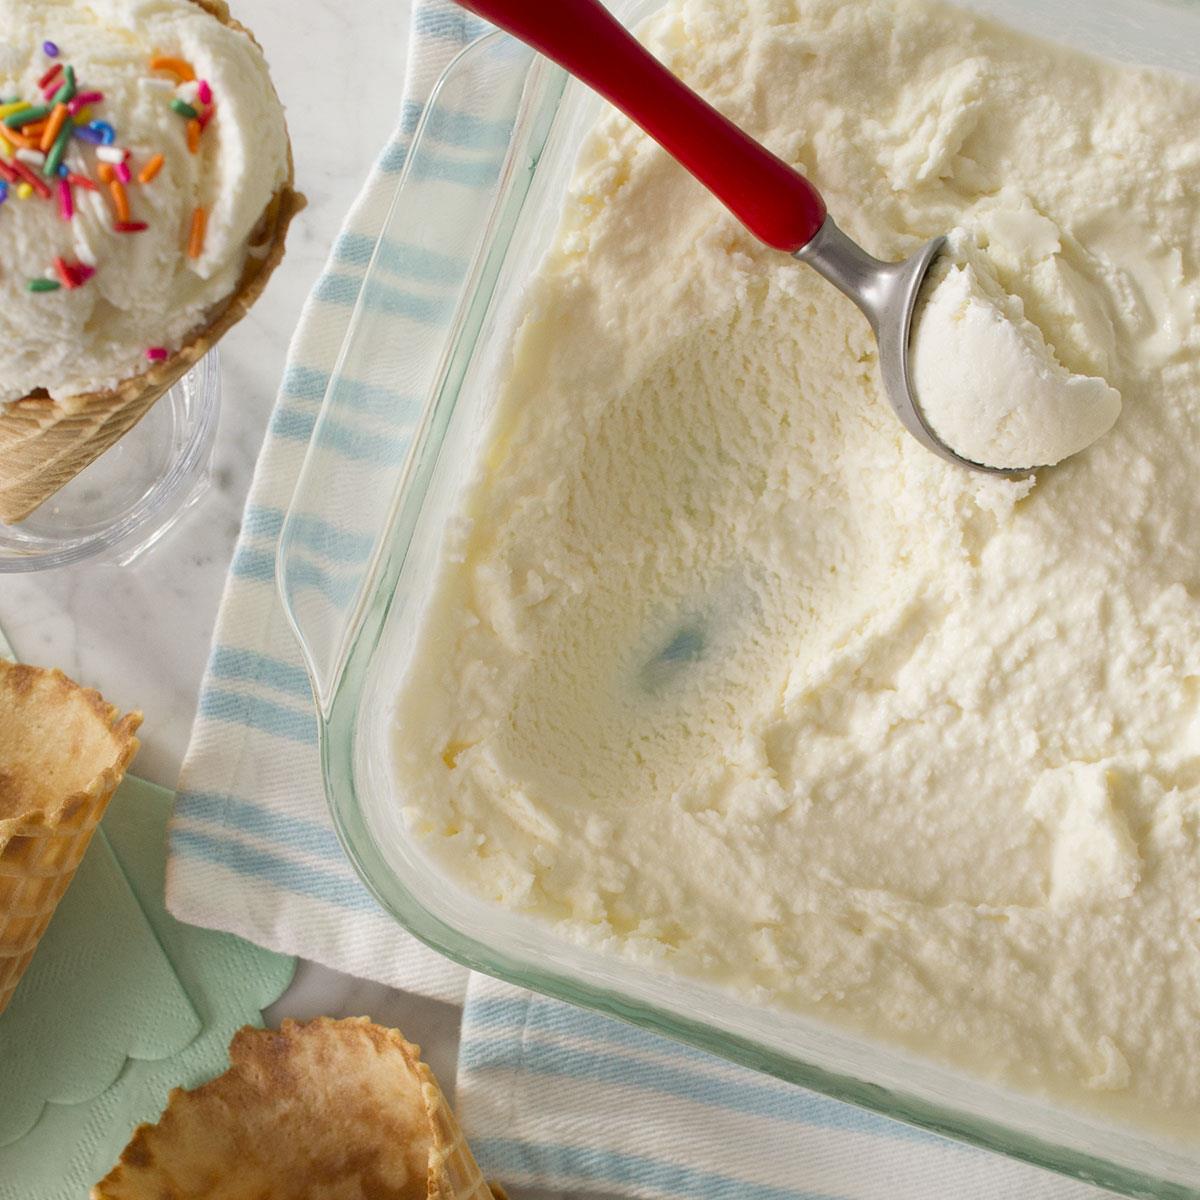
- Serve and enjoy: Once the gelato is properly frozen, you’re ready to serve and indulge. Use an ice cream scoop to portion out the gelato into bowls, cones, or your favorite serving dish. Enjoy it on its own or with toppings like chocolate sauce, fresh fruits, or whipped cream.
Remember to return any remaining gelato to the freezer promptly after serving to maintain its freshness and prevent melting.
Gelato is best enjoyed within a few weeks of being made. It’s recommended to consume it before the ice crystals become too prominent or the texture begins to degrade.
Now that you know how to store and serve your homemade gelato, you can delight in its flavor and share it with family and friends.
Tips and Tricks
Creating perfect gelato with an ice cream maker involves more than just following the steps. Here are some tips and tricks to ensure your gelato turns out irresistibly delicious:
- Chill the base thoroughly: Make sure to chill the gelato base for a minimum of 4 hours, or preferably overnight. This allows the flavors to develop and the mixture to thicken, resulting in a smooth and creamy gelato.
- Properly pre-freeze the ice cream maker: To ensure optimal freezing and churning, pre-freeze the ice cream maker bowl according to the manufacturer’s instructions. This helps maintain a consistent temperature throughout the gelato-making process.
- Don’t overfill the ice cream maker: Avoid filling the ice cream maker bowl to the brim with the gelato base. Leave some room for expansion, as the gelato will increase in volume as it churns.
- Experiment with flavors: Don’t be afraid to get creative and try different flavor combinations. Whether it’s adding extracts, fruits, or other mix-ins, feel free to experiment and discover unique and delicious gelato creations.
- Strain the gelato base: To achieve a smooth and silky texture, strain the gelato base before chilling it. This helps remove any clumps or impurities, resulting in a velvety and consistent texture.
- Serve and store gelato properly: When serving gelato, allow it to soften for a few minutes at room temperature before scooping. Always return any remaining gelato to an airtight container and store it in the freezer to maintain its freshness and prevent freezer burn.
- Get creative with toppings: Enhance the flavor and presentation of your gelato by adding various toppings like sprinkles, caramel sauce, nuts, or fresh fruits. The possibilities are endless, so let your imagination run wild.
Remember, making gelato is a fun and creative process, so don’t be afraid to experiment, adapt recipes to your taste, and have fun along the way. By following these tips and tricks, you’ll be well on your way to creating gelato that rivals the best gelaterias.
Conclusion
Congratulations! You have now mastered the art of making gelato with an ice cream maker. With the right equipment, ingredients, and a little bit of patience, you can create your own delicious and creamy gelato right in the comfort of your own home.
From preparing the base to incorporating mix-ins and storing the gelato, each step plays a crucial role in achieving a delectable end result. Remember to thoroughly chill the base, follow the instructions for your specific ice cream maker, and have fun experimenting with flavors and toppings.
By following the tips and tricks provided, you can elevate your gelato-making skills to new heights and impress friends and family with your homemade frozen treat. Enjoy the sweet rewards of your labor, savoring each creamy spoonful of your own creation.
So why wait? Dust off that ice cream maker and embark on a gelato-making adventure. Incredible flavors and delightful textures await you. Enjoy the journey and the delicious gelato that awaits at the end!
Frequently Asked Questions about How To Make Gelato With An Ice Cream Maker
Was this page helpful?
At Storables.com, we guarantee accurate and reliable information. Our content, validated by Expert Board Contributors, is crafted following stringent Editorial Policies. We're committed to providing you with well-researched, expert-backed insights for all your informational needs.


0 thoughts on “How To Make Gelato With An Ice Cream Maker”