Articles
How To Make Ice Cream In Food Processor
Modified: August 31, 2024
Learn how to make delicious homemade ice cream in a food processor with these easy-to-follow articles. Get ready to satisfy your sweet tooth!
(Many of the links in this article redirect to a specific reviewed product. Your purchase of these products through affiliate links helps to generate commission for Storables.com, at no extra cost. Learn more)
Introduction
Welcome to the wonderful world of homemade ice cream! There’s nothing quite like the creamy, indulgent treat that is made from scratch. And guess what? You can make it right in the comfort of your own home using just a food processor! That’s right – no fancy ice cream maker required. In this article, we’ll guide you through the steps to make delicious ice cream using a food processor. So get ready to satisfy your sweet tooth and impress your friends and family with your homemade frozen delights.
Ice cream is a beloved dessert loved by people of all ages. The beauty of making ice cream at home is that you have complete control over the ingredients, flavors, and mix-ins. Plus, there’s just something magical about watching simple ingredients turn into a velvety, frozen treat.
With a food processor, you can achieve that creamy texture without the need for an expensive ice cream machine. It’s a versatile kitchen tool that can be used for a variety of tasks, and making ice cream is just one of them. So let’s dive in and discover how to make ice cream using your food processor.
Key Takeaways:
- Indulge in the joy of homemade ice cream by using a food processor to create creamy, customizable frozen treats. Experiment with flavors and mix-ins to craft your own signature creations.
- Unleash your creativity and enjoy the process of making ice cream at home with a food processor. From preparing the base to adding mix-ins, savor the satisfaction of crafting a delightful frozen treat.
Read more: How To Make Ice Cream In Ice Cream Machine
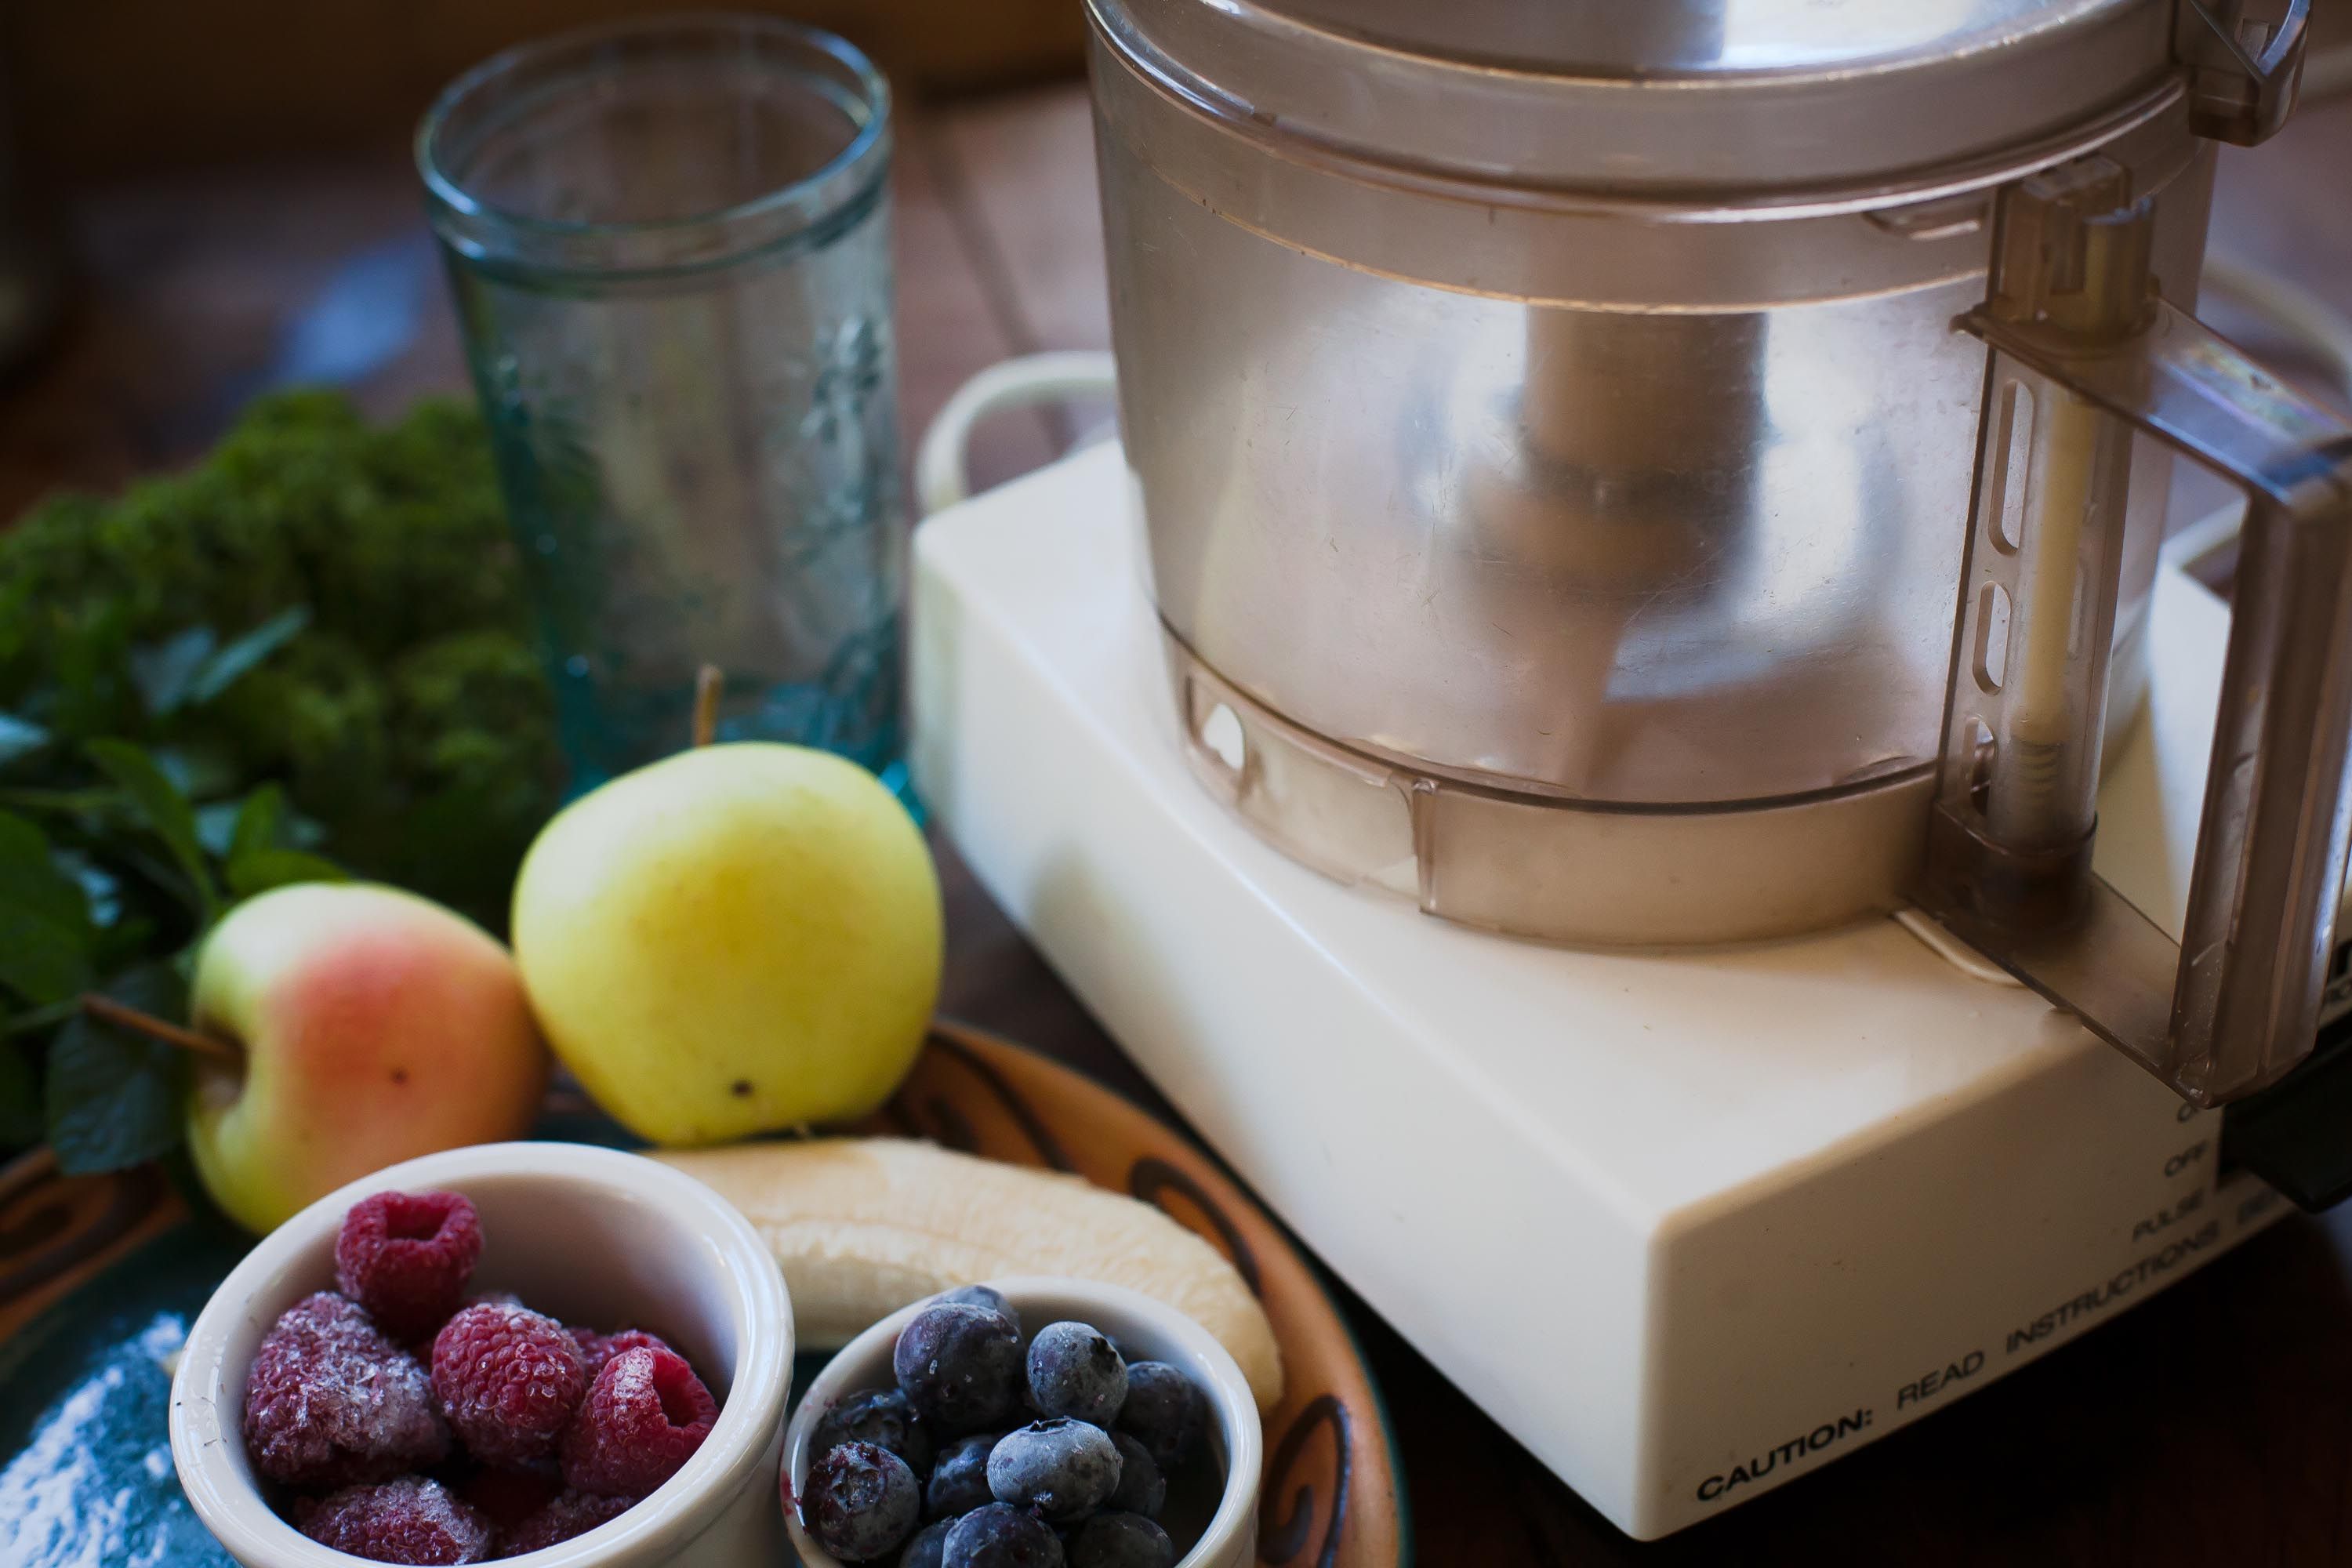
Step 1: Gather Your Ingredients
The first step in making ice cream in a food processor is to gather all the necessary ingredients. Here’s what you’ll need:
- 2 cups of heavy cream
- 1 cup of whole milk
- 3/4 cup of granulated sugar
- 1 tablespoon of pure vanilla extract
- A pinch of salt
- Any additional flavorings or mix-ins you desire (e.g., chocolate chips, fruit, nuts)
When it comes to choosing your ingredients, using high-quality dairy products is key. The cream and milk will provide the creamy and smooth texture that we all love in ice cream. For the sweetener, you can use granulated sugar, but feel free to experiment with other sweeteners like honey or maple syrup for a different flavor profile.
Once you have gathered all your ingredients, make sure they are measured and ready to go. It’s always helpful to have everything prepared before you start, so you don’t have to scramble for ingredients in the middle of the process.
Now that you have everything you need, it’s time to move on to the next step: preparing your ice cream base.
Step 2: Prepare Your Ice Cream Base
Now that you have all your ingredients gathered, it’s time to prepare the base for your ice cream. In a medium saucepan, combine the heavy cream, whole milk, granulated sugar, vanilla extract, and a pinch of salt.
Place the saucepan over medium heat and stir the mixture constantly until the sugar has completely dissolved. You don’t want the mixture to boil, just heat it until it’s warm and all the sugar has melted.
Once the sugar is dissolved, remove the saucepan from the heat. Give the mixture a quick taste to ensure that it’s sweet enough for your liking. If you prefer a sweeter ice cream, you can add a bit more sugar, but remember that the flavor will intensify as it freezes.
After you have taste-tested and adjusted the sweetness if needed, transfer the ice cream base to a bowl or pitcher. Cover it with plastic wrap, making sure the wrap touches the surface of the mixture to prevent a skin from forming. Place the covered bowl in the refrigerator and let it chill for at least 2 hours, or overnight if desired.
The chilling step is crucial as it allows the flavors to meld together and the mixture to cool down completely. This will result in a smoother and creamier ice cream.
Once your ice cream base is thoroughly chilled, it’s time to move on to the next step: processing the mixture in your food processor.
Step 3: Chill the Ice Cream Base
After preparing your ice cream base, the next step is to chill it before processing it in the food processor. Chilling the ice cream base helps to further develop the flavors and ensures a smoother and creamier texture.
First, take the bowl or pitcher containing the ice cream base out of the refrigerator. Give it a quick stir to ensure that the mixture is well blended and there are no lumps or separation.
Next, transfer the ice cream base to a shallow, freezer-safe container. A wider and flatter container will help the mixture freeze faster and more evenly. If you don’t have a suitable container, you can use a loaf pan or even a baking dish.
Once the ice cream base is in the container, cover it with a tight-fitting lid or wrap it securely with plastic wrap. This will prevent any unwanted flavors from seeping into the mixture and protect it from freezer burn.
Now it’s time to place the container into the freezer. Make sure your freezer is set at its coldest temperature to ensure proper freezing. Leave the ice cream base to chill in the freezer for a minimum of 4 hours, but ideally overnight. The longer the base is chilled, the better the flavors will develop.
During the chilling process, the ice cream base will freeze around the edges first. After about an hour, take the container out of the freezer and give the mixture a good stir with a spatula or fork. This will help break up any ice crystals that may have formed and ensure a smoother final texture.
Continue to repeat this stirring process every hour or so until the mixture is completely frozen. This helps to distribute the mix-ins evenly and prevent them from sinking to the bottom. However, if you’re making a plain vanilla ice cream, you can skip this step.
Once the ice cream base is thoroughly chilled and frozen, it’s time to move on to the exciting part: processing it in the food processor to transform it into delicious ice cream!
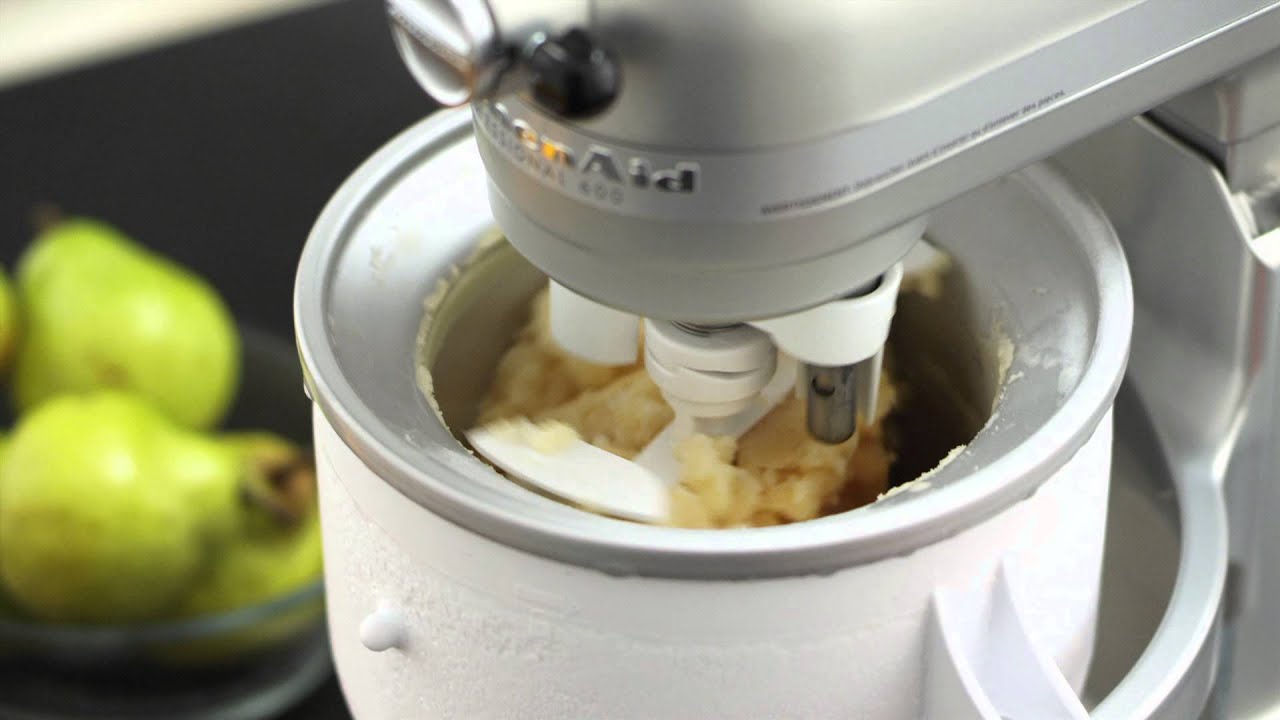
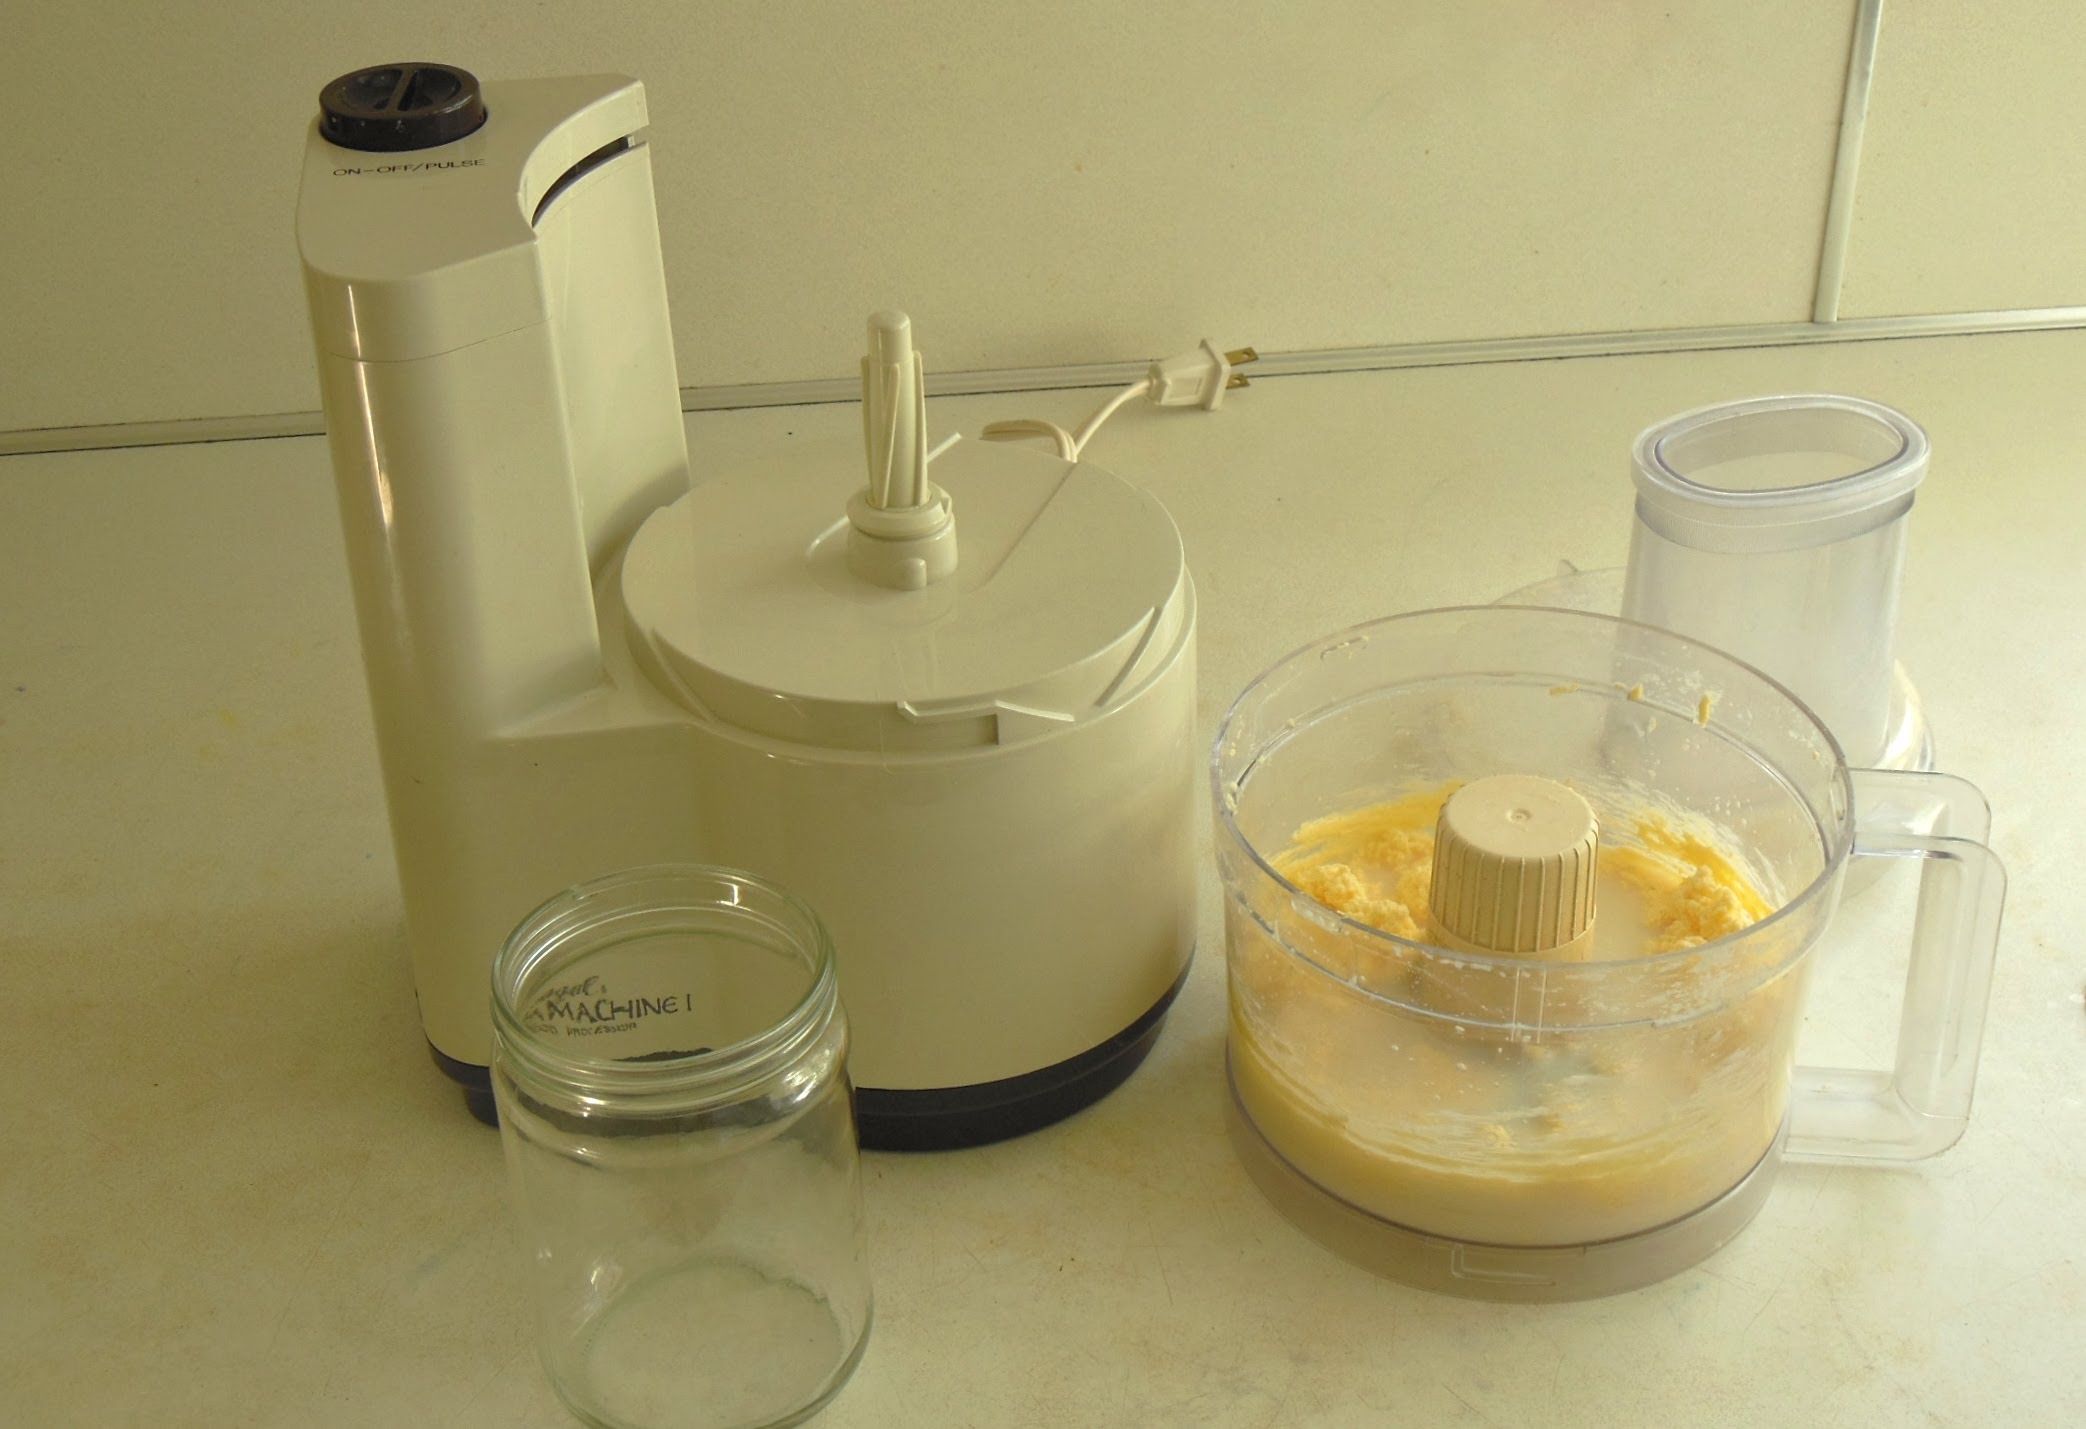
Step 4: Process the Ice Cream Base in the Food Processor
After your ice cream base is thoroughly chilled and frozen, it’s time to take it out of the freezer and prepare to process it in your food processor. The food processor will help break up any ice crystals and incorporate air into the mixture, resulting in a smooth and creamy texture.
Begin by removing the container with the frozen ice cream base from the freezer. Let it sit at room temperature for about 5-10 minutes to slightly soften. This will make it easier to process in the food processor.
While the ice cream base is softening, ensure that your food processor is clean and ready to use. Connect the blade attachment to the food processor and make sure it is securely in place.
Once the ice cream base has slightly softened, transfer it to the food processor. Place the lid on and start processing the mixture at a low speed. Gradually increase the speed to medium-high and let it run for about 3-5 minutes, or until the mixture becomes smooth, creamy, and light.
As the base is processed, you will notice it becoming softer and creamier in texture. The food processor churns and incorporates air into the mixture, giving the ice cream a lighter and fluffier consistency.
Be mindful not to over-process the ice cream base, as this can lead to melting and cause the mixture to become too thin. Keep a close eye on the texture and stop processing once you achieve the desired consistency.
Once you are satisfied with the texture of the ice cream, turn off the food processor and remove the lid. You’ll notice how beautifully smooth and creamy the mixture has become.
Now it’s time for the optional step of incorporating mix-ins into your ice cream.
To make ice cream in a food processor, make sure all your ingredients are well-chilled before starting. This will help the mixture freeze faster and result in a smoother texture.
Step 5: Incorporate Mix-Ins (Optional)
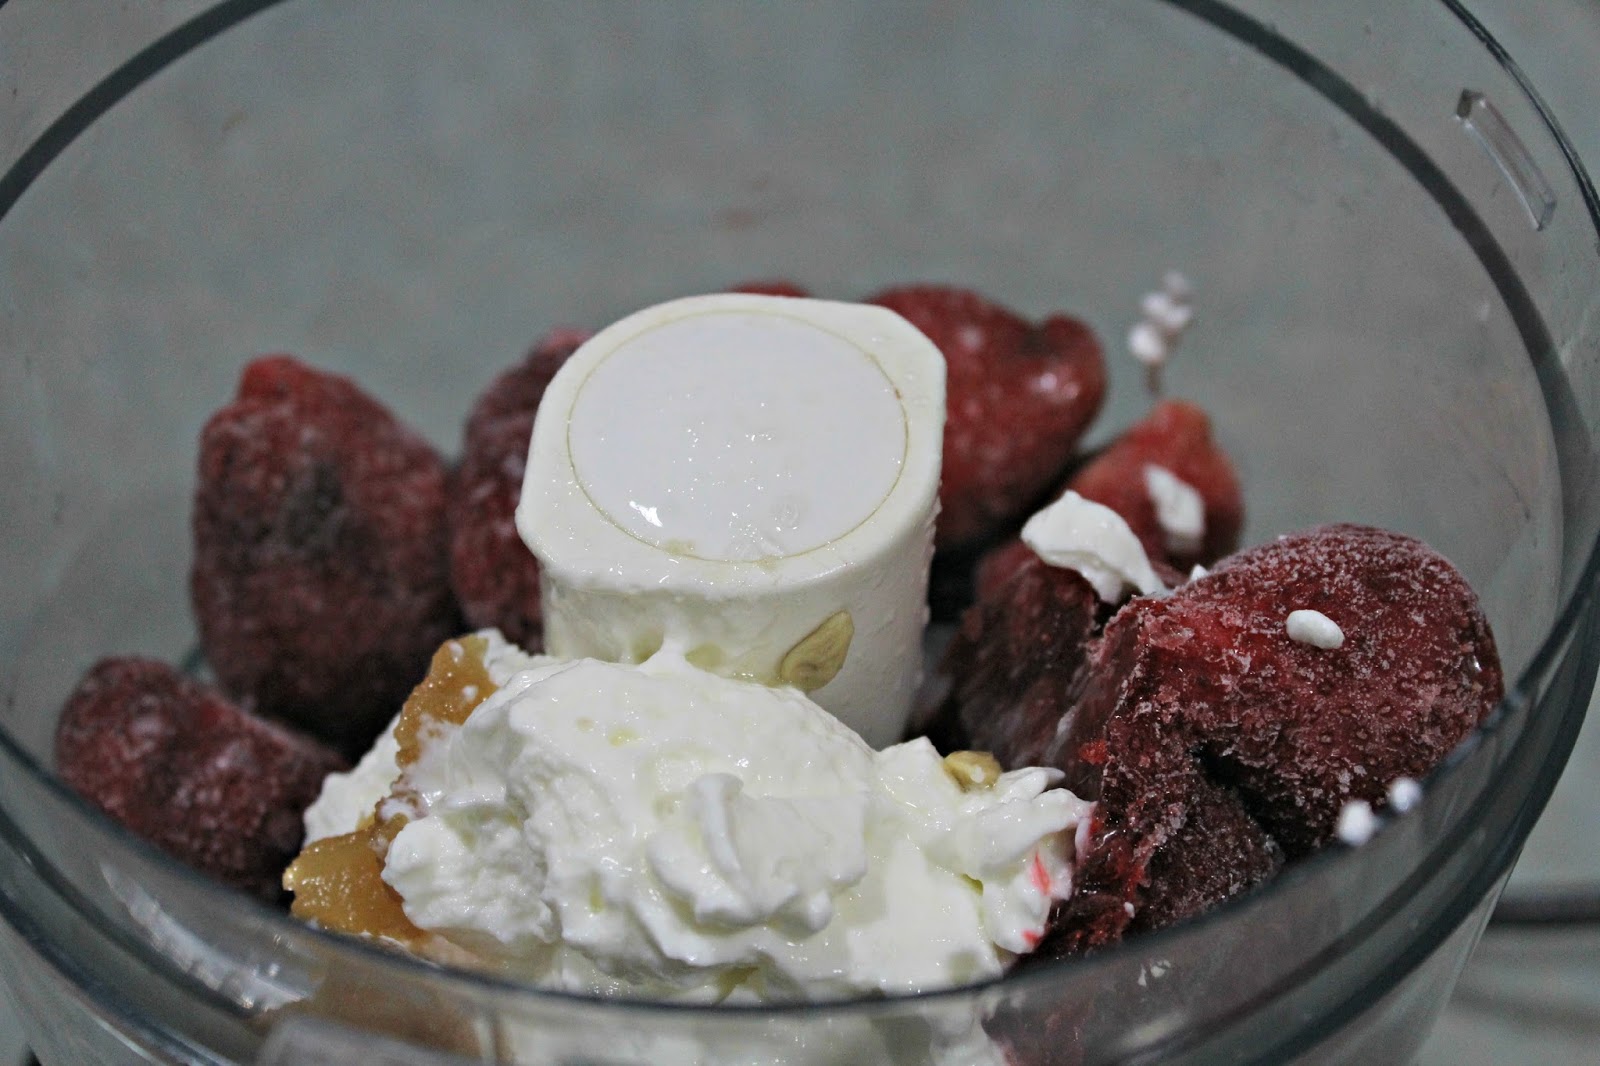
Add a touch of creativity and excitement to your homemade ice cream by incorporating mix-ins of your choice. Whether it’s chunks of chocolate, swirls of caramel, or pieces of your favorite fruits, mix-ins can take your ice cream to the next level.
Before we start adding the mix-ins, ensure that they are prepared and ready to go. If you’re using solid mix-ins like chocolate chips or nuts, it’s best to chop them into smaller pieces to ensure even distribution throughout the ice cream.
After processing the ice cream base in the food processor, transfer it to a mixing bowl. Gently fold the mix-ins into the ice cream base using a spatula or spoon. Take care not to overmix, as this can cause the ice cream to lose its smooth texture. The goal is to evenly distribute the mix-ins without deflating the air that was incorporated during processing.
Remember, the amount of mix-ins you use is entirely up to you. If you prefer a generous amount of add-ins, feel free to be generous with your portions. However, be cautious not to overload the ice cream with too many mix-ins, as it can affect the final texture.
Popular mix-in options include chocolate chips, crushed cookies, candy pieces, nuts, fruit compotes, caramel swirls, and even sprinkles. Get creative and experiment with different combinations to create your own signature flavor.
Once you have incorporated the mix-ins to your liking, it’s time to move on to the final steps of transferring the ice cream to a container and freezing it.
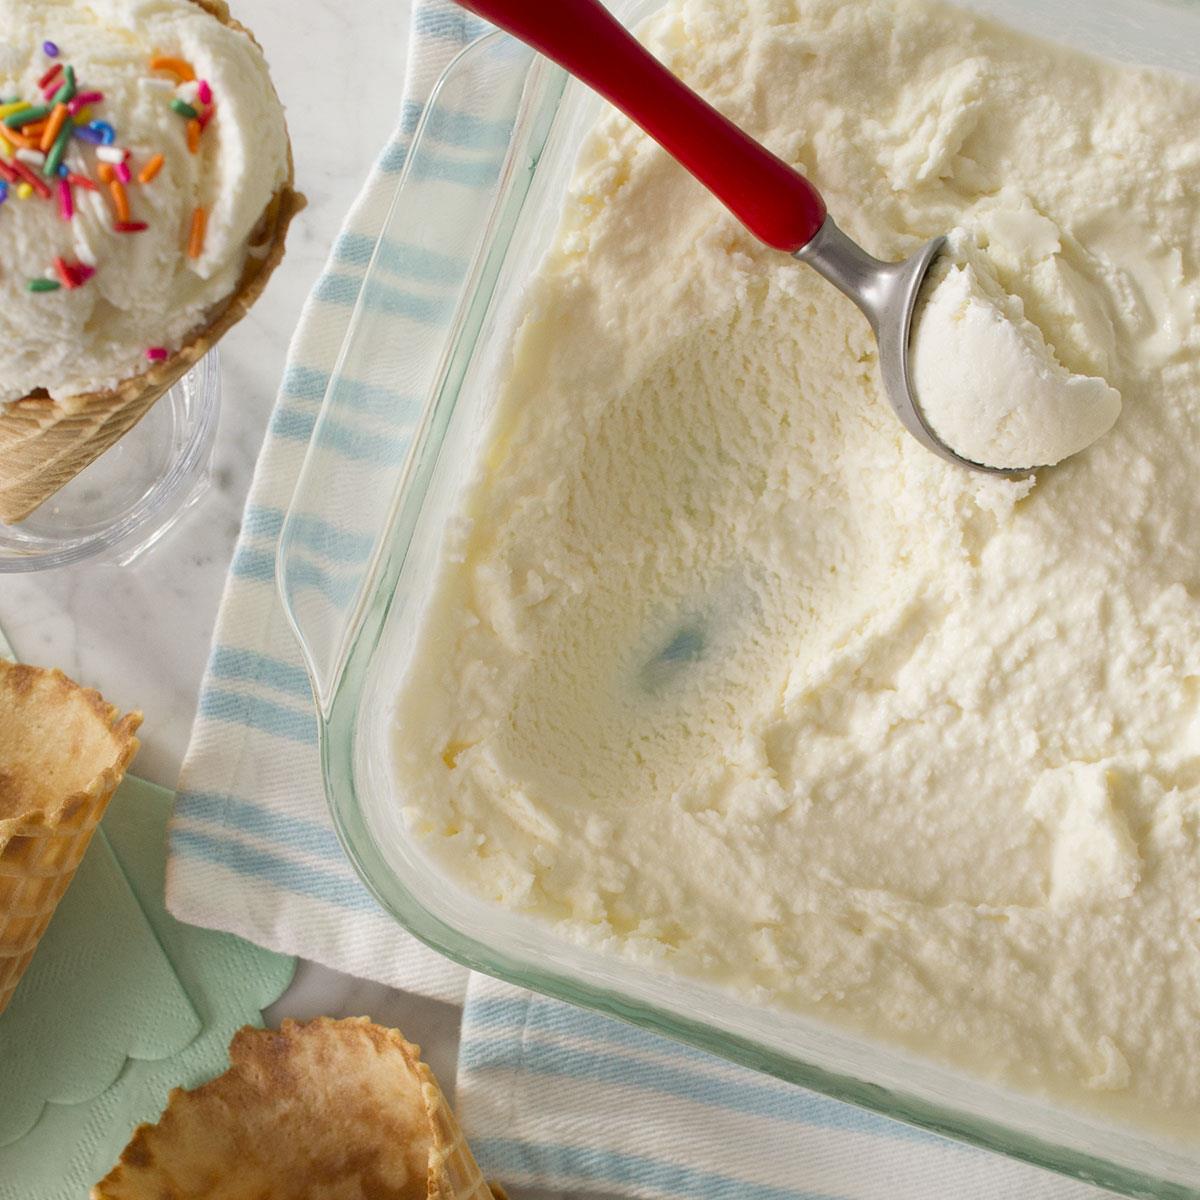
Step 6: Transfer to a Container and Freeze
Now that you have incorporated your desired mix-ins into the ice cream, it’s time to transfer it to a container and get it ready for the final freezing process.
Choose a freezer-safe container to hold your ice cream. A lidded plastic container or a loaf pan lined with plastic wrap works well. Make sure the container is large enough to accommodate the entire batch of ice cream, leaving some room for expansion as it freezes.
Using a spatula or spoon, transfer the ice cream mixture from the mixing bowl into the container. Smooth out the top with the back of the spatula, ensuring it is evenly distributed and level.
If you want to add a decorative touch, you can swirl in additional sauces or toppings on top of the ice cream. Use a knife or skewer to create swirls or patterns that will create a visually appealing presentation.
Once the ice cream is in the container, cover it tightly with the lid or wrap it securely with plastic wrap. This will prevent ice crystals from forming and protect the ice cream from absorbing odors from the freezer.
Place the container back into the freezer and let it freeze for a minimum of 4 hours, or until the ice cream is firm and fully set. Freezing times may vary depending on the temperature of your freezer, so keep an eye on it.
During the freezing process, try to minimize the number of times you open the freezer door. Frequent opening and closing can cause temperature fluctuations, which may affect the texture and consistency of the ice cream.
Now that the ice cream is in the freezer, it’s time to exercise some patience and let it freeze completely. Once it’s fully frozen, it’s ready to be served and enjoyed!
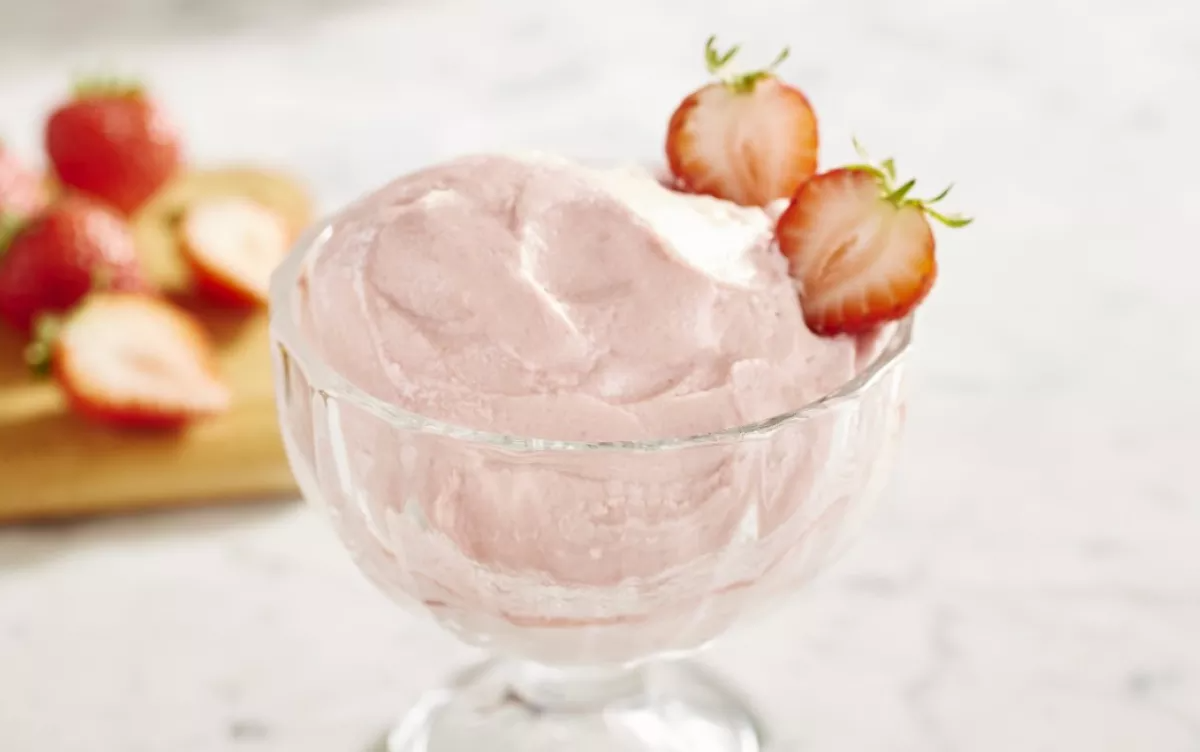
Step 7: Serve and Enjoy!
Congratulations! You have successfully made homemade ice cream using your food processor. It’s time to indulge in your delicious creation.
To serve the ice cream, remove it from the freezer and let it sit at room temperature for a few minutes to soften slightly. This will make scooping easier and ensure a smooth and creamy texture.
Using an ice cream scoop or a spoon, portion out the desired amount of ice cream into bowls or cones. If you’re feeling fancy, you can garnish your ice cream with additional toppings like chocolate sauce, whipped cream, or a sprinkle of your favorite nuts.
Now, savor the creamy, decadent goodness of your homemade ice cream. Take a moment to appreciate the flavors and the pride of making it yourself. Share it with family and friends, or keep it all to yourself – we won’t judge!
Remember, homemade ice cream is best enjoyed fresh, so try to consume it within a few days. If you have any leftovers, store the remaining ice cream in an airtight container in the freezer for future enjoyment.
Now that you know how to make ice cream in a food processor, the possibilities are endless. You can experiment with different flavors, mix-ins, and techniques to create your own signature ice cream creations.
So go ahead, unleash your creativity, and immerse yourself in the world of homemade ice cream. Enjoy the process, enjoy the flavors, and most importantly, enjoy the sheer joy that comes from creating a frozen treat that’s uniquely yours. Happy scooping!
Conclusion
Making ice cream in a food processor is a fun and rewarding experience that allows you to unleash your creativity and enjoy the pleasure of homemade frozen treats. With just a few simple steps, you can whip up a batch of creamy and delicious ice cream right in your own kitchen.
Throughout this article, we’ve covered the essential steps to guide you through the process. From gathering your ingredients and preparing the ice cream base to chilling, processing, and incorporating mix-ins, each step contributes to the final product’s texture and flavor.
By using a food processor, you can achieve a smooth and creamy ice cream without the need for a specialized ice cream maker. This versatile kitchen tool proves that you don’t need fancy equipment to create homemade delicacies.
Remember to have fun and experiment with different flavor combinations and mix-ins. The beauty of homemade ice cream lies in the ability to customize it to your preference. Whether you’re a fan of classic vanilla or enjoy indulging in adventurous flavors, the possibilities are endless.
So, next time you’re in the mood for a frozen treat, don’t hesitate to dust off that food processor and embark on a delightful ice cream-making adventure. Share the joy with loved ones or savor it all to yourself – homemade ice cream is a treat worth savoring.
Enjoy the process, embrace your creativity, and relish in the satisfaction of creating a sweet masterpiece that is uniquely yours. Homemade ice cream made in a food processor is not just a dessert; it’s an experience that brings joy and delight to everyone who has the pleasure of enjoying it.
Frequently Asked Questions about How To Make Ice Cream In Food Processor
Was this page helpful?
At Storables.com, we guarantee accurate and reliable information. Our content, validated by Expert Board Contributors, is crafted following stringent Editorial Policies. We're committed to providing you with well-researched, expert-backed insights for all your informational needs.


0 thoughts on “How To Make Ice Cream In Food Processor”