Articles
How To Use VEVOR Ice Cream Machine
Modified: August 16, 2024
Discover articles that will teach you how to effectively use the VEVOR Ice Cream Machine. From basic instructions to advanced techniques, get ready to create delicious frozen treats!
(Many of the links in this article redirect to a specific reviewed product. Your purchase of these products through affiliate links helps to generate commission for Storables.com, at no extra cost. Learn more)
Introduction
Welcome to the world of homemade ice cream! There’s nothing quite like the satisfaction of creating your own delicious frozen treats right in the comfort of your own kitchen. And with the VEVOR Ice Cream Machine, you can easily turn your favorite flavors into creamy, dreamy ice cream in no time.
In this article, we’ll take a closer look at the VEVOR Ice Cream Machine and walk you through the process of using it to make your own frozen desserts. Whether you’re a seasoned ice cream enthusiast or a complete beginner, you’ll find all the information you need to get started.
From setting up the machine to preparing the ingredients, operating the device, troubleshooting common issues, and even cleaning and maintenance, we’ve got you covered. We’ll also share some tips and tricks to help you take your homemade ice cream game to the next level.
So, if you’re ready to embark on a journey of frozen delight, let’s dive in and discover how to use the VEVOR Ice Cream Machine to create amazing ice cream creations.
Key Takeaways:
- Master the art of homemade ice cream with the VEVOR Ice Cream Machine, from setup to troubleshooting. Unleash your creativity and impress your loved ones with delectable frozen creations.
- Elevate your ice cream game with tips and tricks for optimal results. Experiment with flavors, mix-ins, and techniques to become an ice cream maestro.
Read more: How To Use An Ice Cream Maker
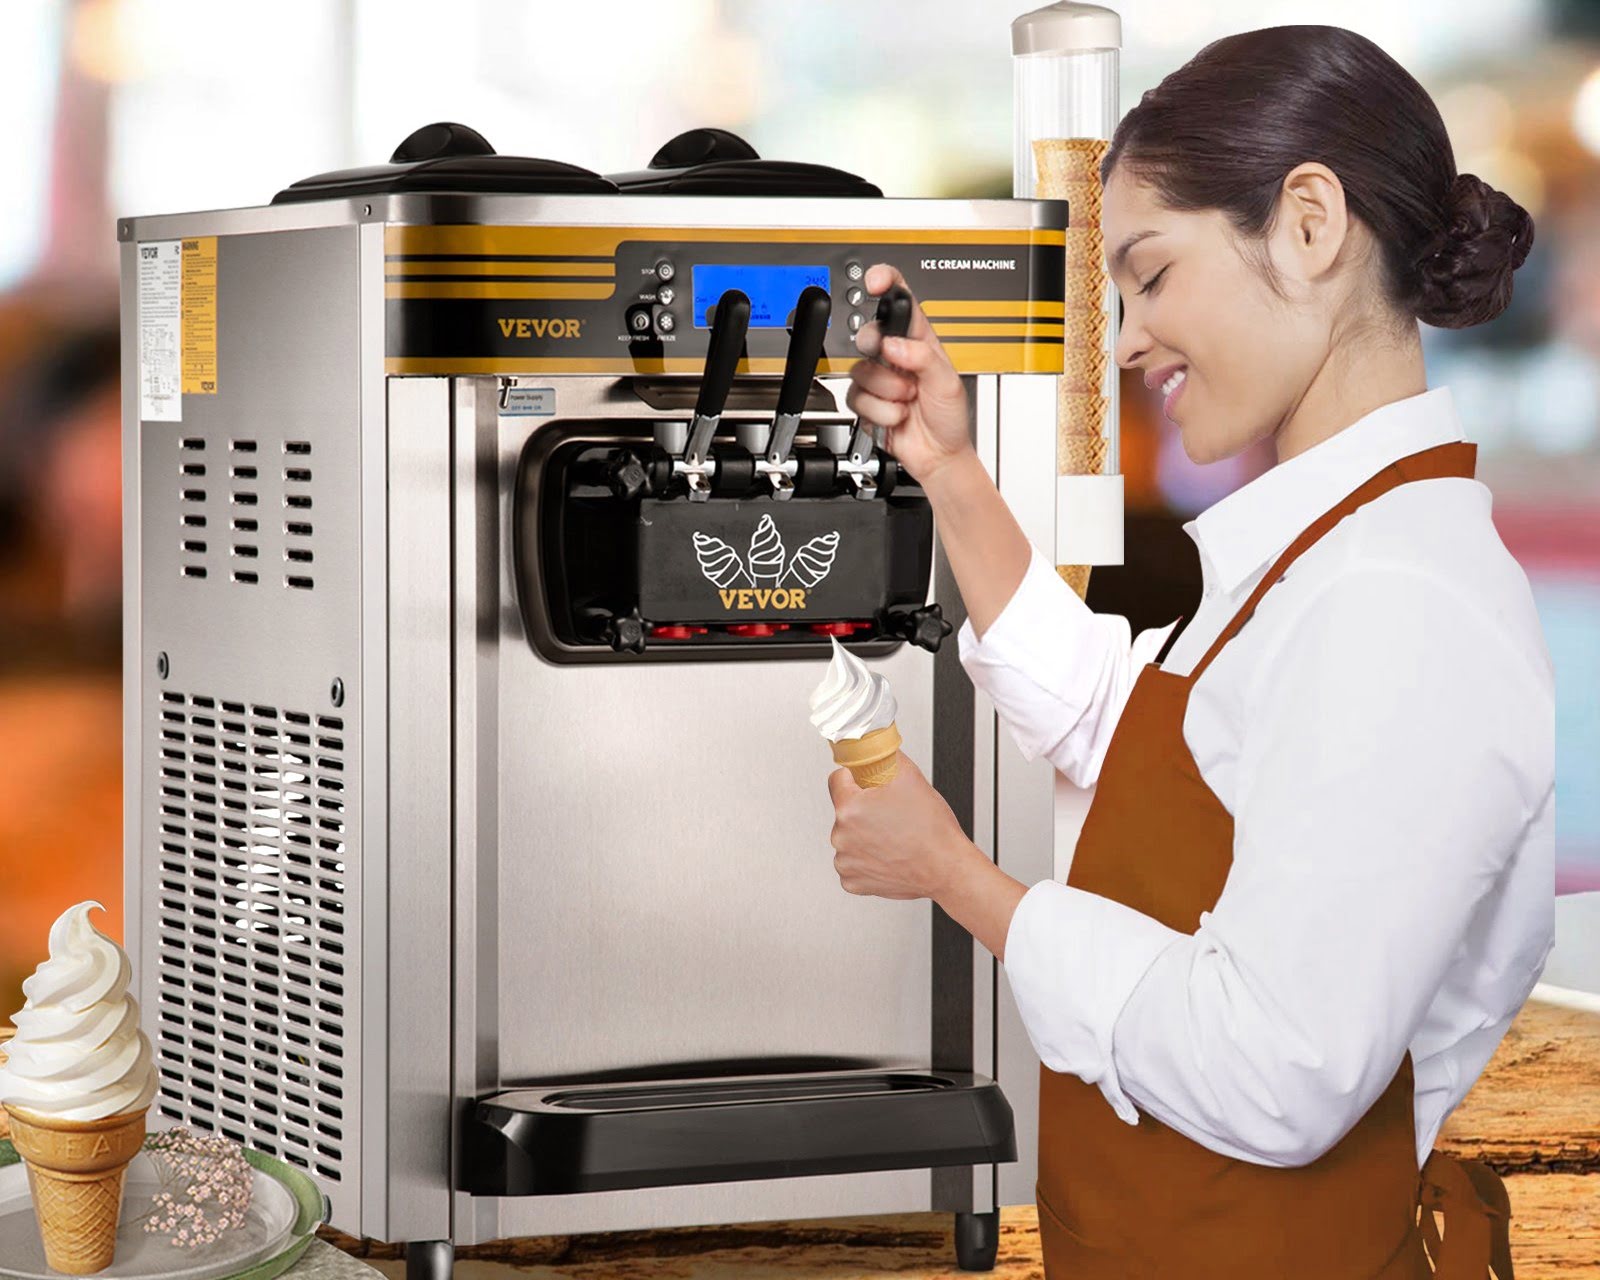
Overview of the VEVOR Ice Cream Machine
The VEVOR Ice Cream Machine is a versatile and user-friendly appliance that allows you to make homemade ice cream, sorbet, gelato, and other frozen desserts. With its powerful motor and efficient freezing system, it can whip up delicious treats in just a matter of minutes.
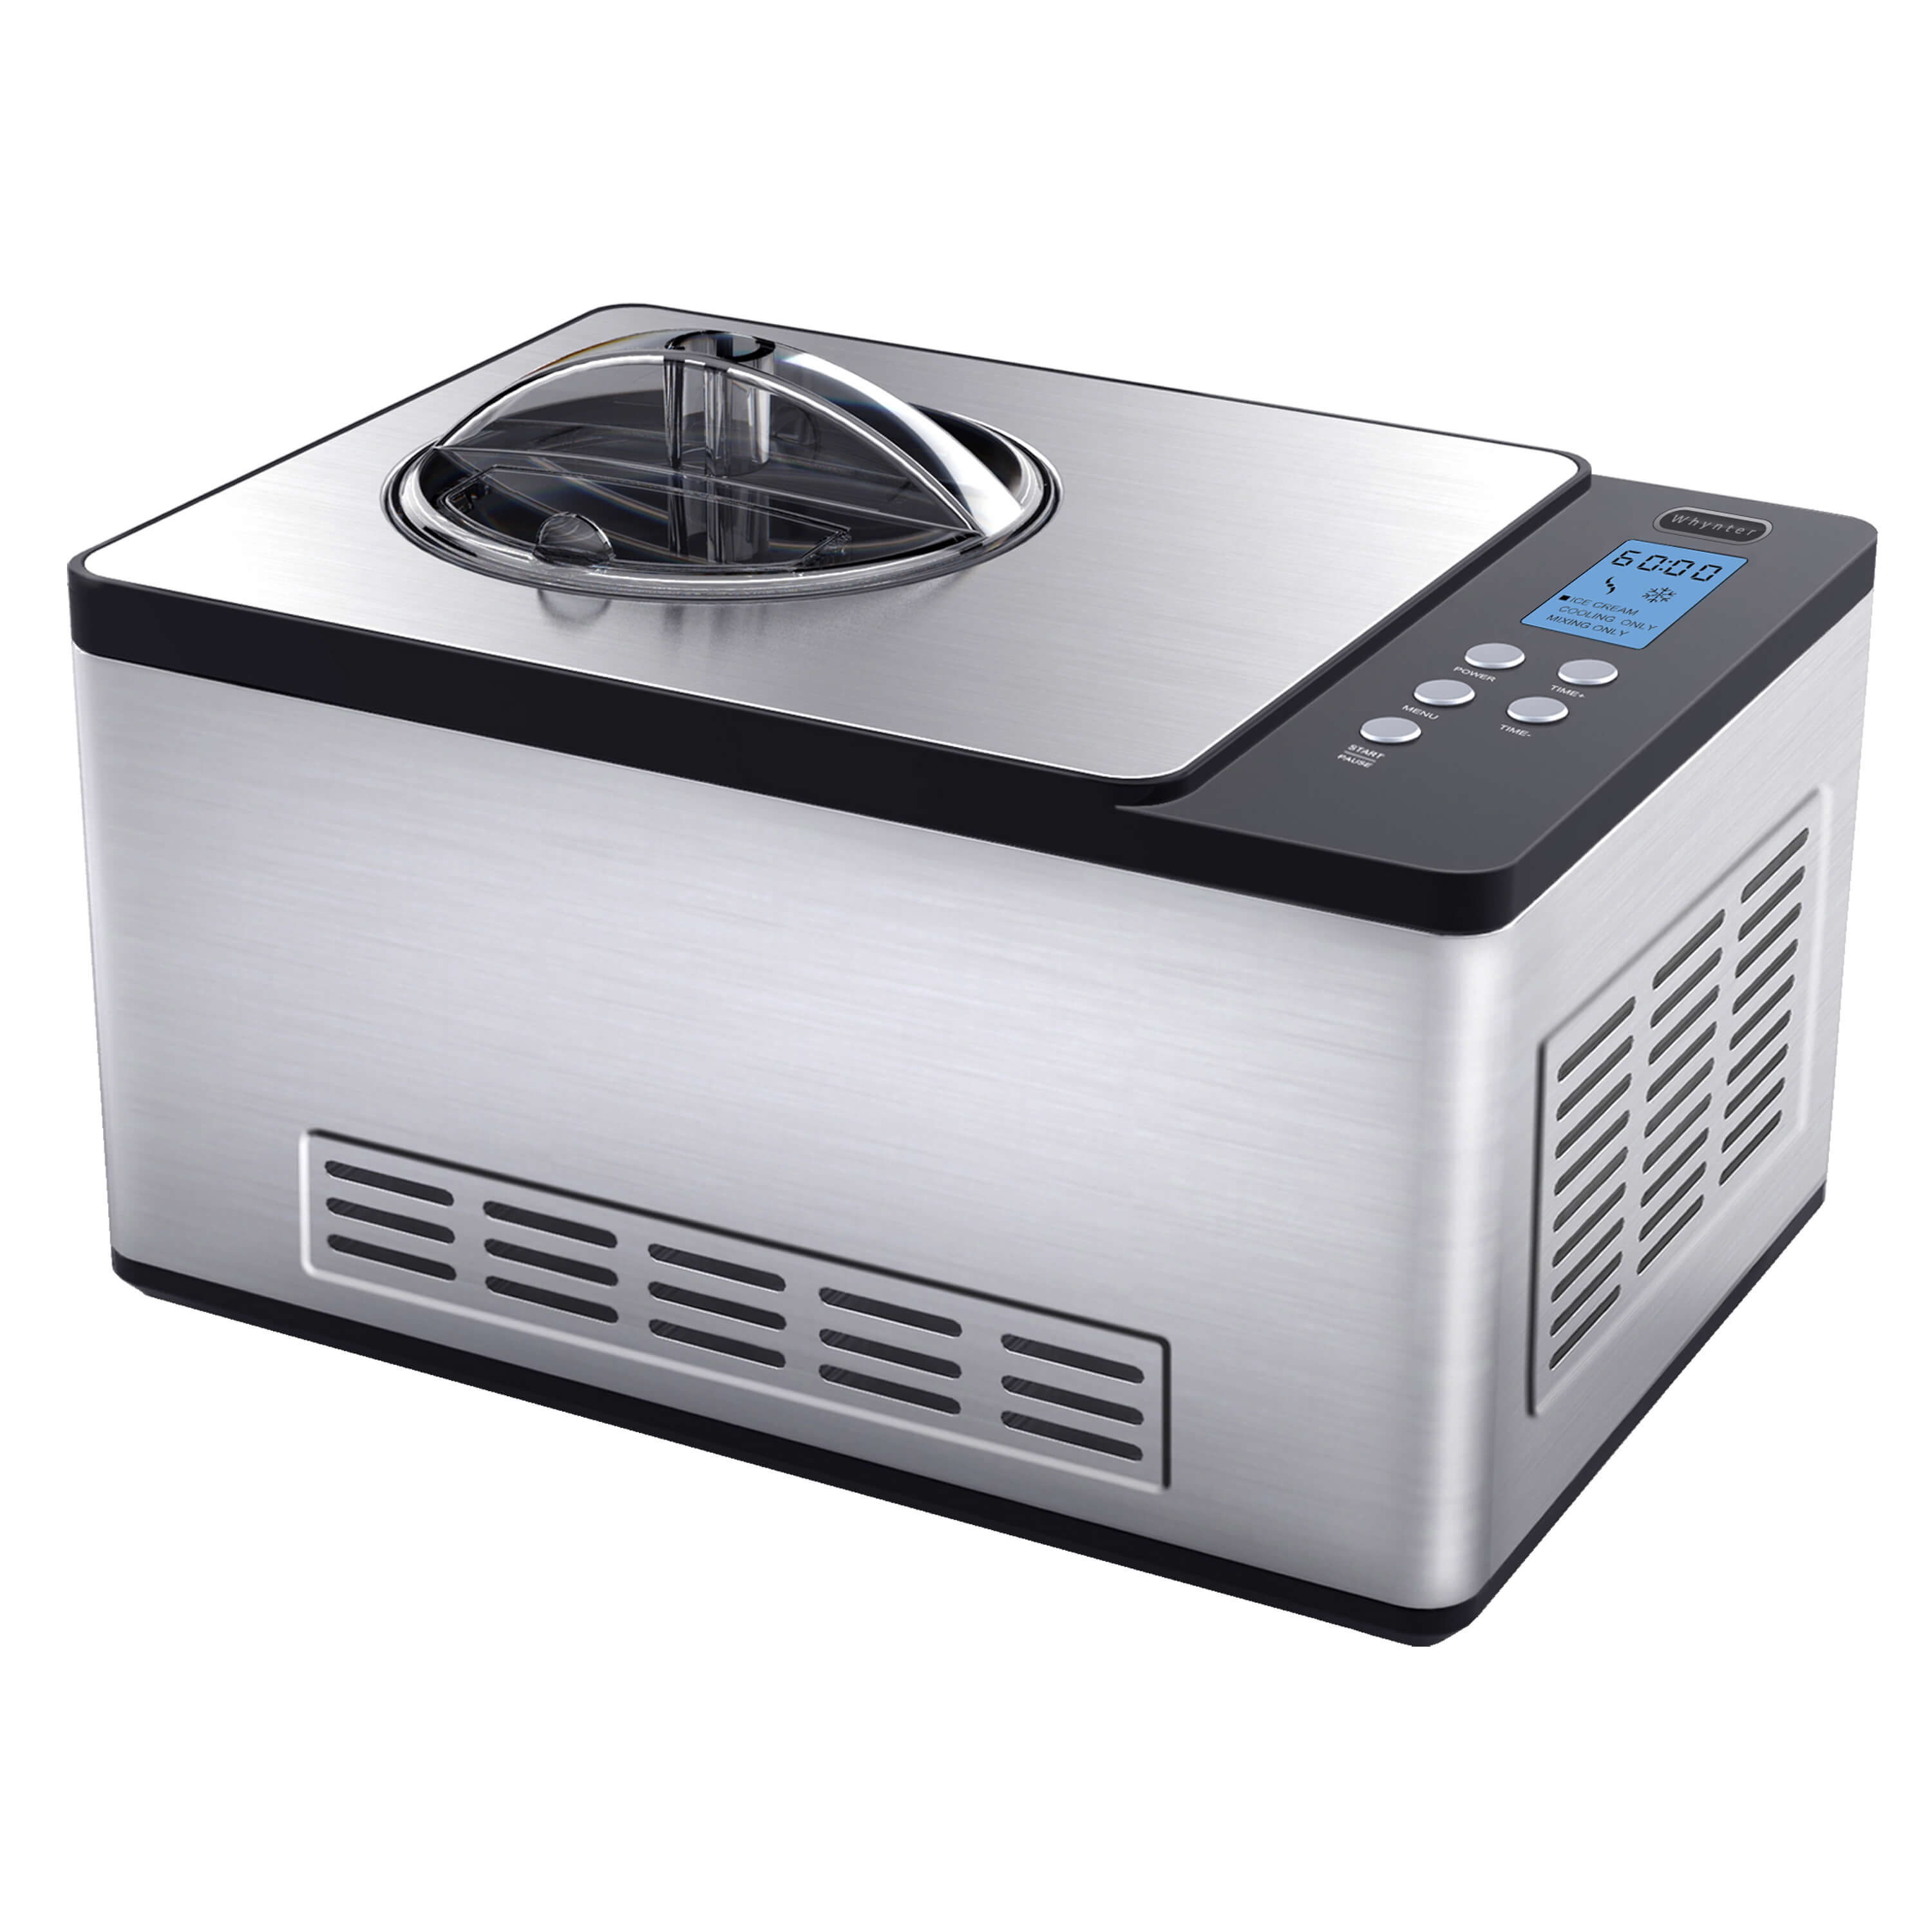
This ice cream machine features a compact and sleek design, making it perfect for both small kitchens and commercial establishments. It is equipped with a robust compressor that ensures rapid freezing and consistent results every time you use it.
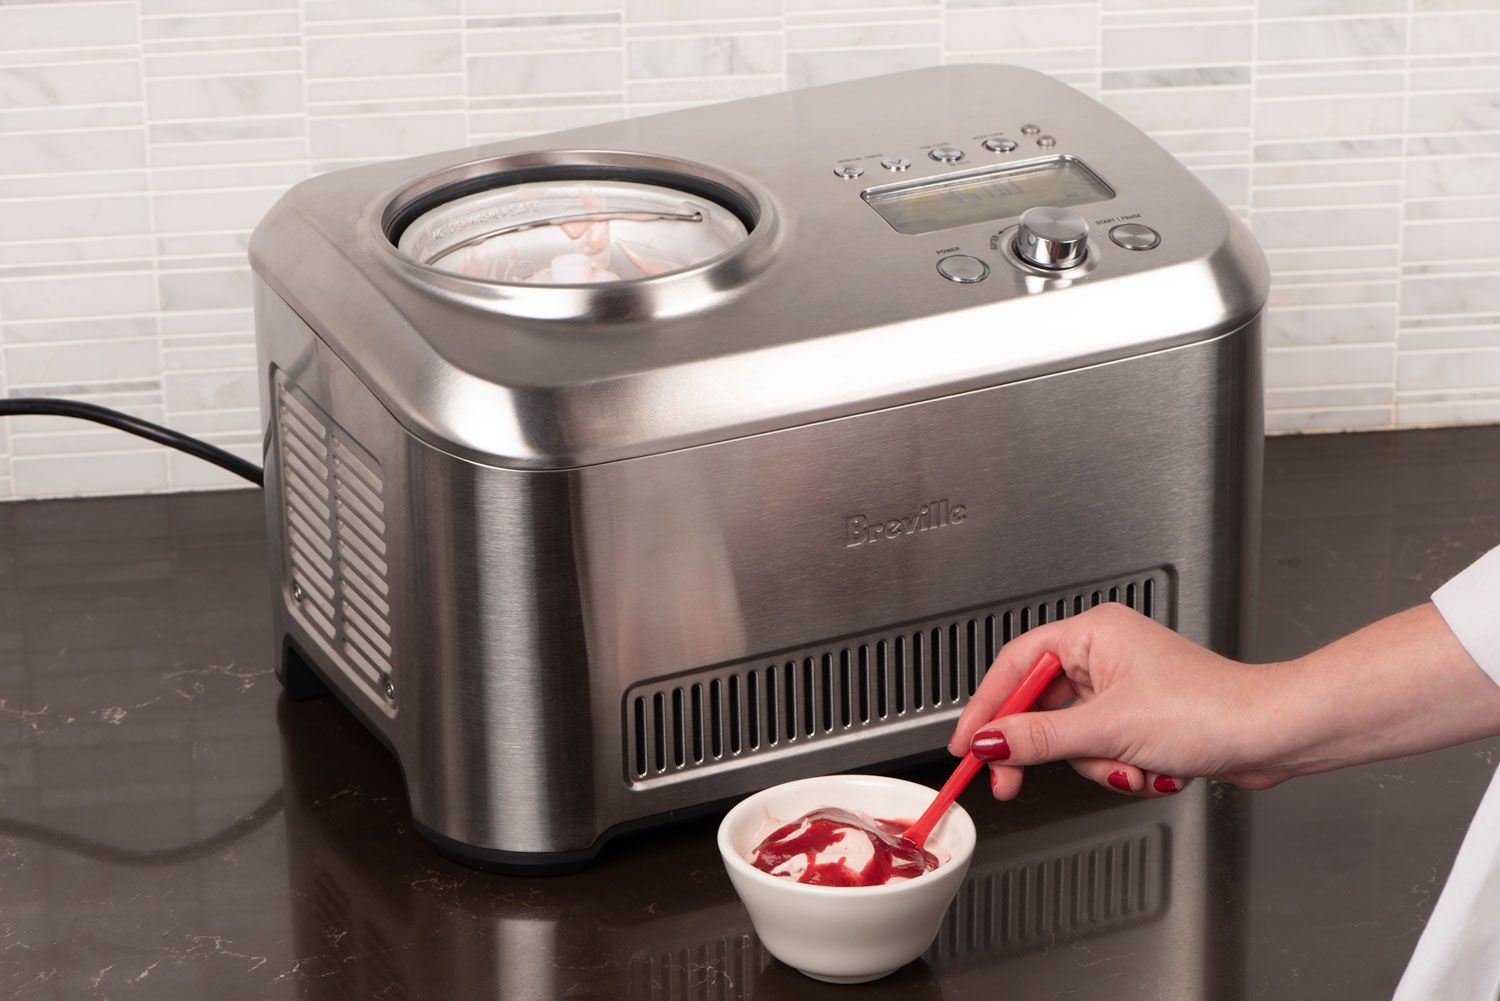
One of the standout features of the VEVOR Ice Cream Machine is its user-friendly control panel. The intuitive interface allows you to easily select the desired settings, such as the freezing time and mixing speed, according to the recipe you’re following. You can also monitor the progress of your ice cream through the transparent lid, which allows you to keep an eye on the texture and consistency.
The VEVOR Ice Cream Machine also comes with a removable freezer bowl, which needs to be pre-chilled before use. This bowl holds the ice cream mixture and plays a vital role in freezing the mixture evenly and creating a smooth and creamy texture.
With the VEVOR Ice Cream Machine, you have the freedom to experiment with different flavors and ingredients. From classic vanilla and chocolate to unique combinations like strawberry basil or salted caramel, the possibilities are endless. Let your creativity run wild and impress your family and friends with your homemade frozen creations.
Whether you’re hosting a party, looking for a fun family activity, or simply craving a refreshing treat, the VEVOR Ice Cream Machine is an excellent addition to your kitchen. It offers convenience, versatility, and the ability to customize your frozen desserts just the way you like them.
Now that you have an overview of the VEVOR Ice Cream Machine, let’s move on to the next step: setting up the machine for use.
Setting Up the VEVOR Ice Cream Machine
Before you can start making delicious ice cream, you’ll need to properly set up your VEVOR Ice Cream Machine. Follow these steps to ensure a smooth and hassle-free setup:
- Place the machine on a sturdy and level surface. Make sure there is enough space around the machine for proper airflow.
- Remove all packaging materials and accessories from the machine.
- Thoroughly clean the freezer bowl, mixing paddle, and lid with warm soapy water. Rinse them well and dry them completely.
- Place the freezer bowl in the freezer for at least 12 to 24 hours, or as recommended by the manufacturer. This will ensure that the bowl is properly chilled before use.
- Once the freezer bowl is thoroughly chilled, remove it from the freezer and insert it into the machine. Ensure that it is securely and properly placed in the designated slot.
- Attach the mixing paddle to the motor shaft in the center of the bowl. Make sure it is firmly attached.
- Close the lid of the machine and ensure that it is properly aligned and securely closed.
- Connect the power cord of the machine to a grounded electrical outlet.
- The VEVOR Ice Cream Machine is now ready to use!
It’s important to note that the setup process may vary slightly depending on the specific model of the VEVOR Ice Cream Machine you have. Therefore, it’s always a good idea to refer to the instruction manual provided by the manufacturer for detailed setup instructions.
Now that your VEVOR Ice Cream Machine is set up, it’s time to gather your ingredients and prepare them for the ice cream making process. We’ll delve into that in the next section.
Preparing the Ingredients
Now that you have your VEVOR Ice Cream Machine set up, it’s time to gather the ingredients for your homemade ice cream. Here are some tips to help you prepare the ingredients properly:
- Choose high-quality ingredients: The quality of ingredients used in your ice cream will greatly impact the taste and texture. Opt for fresh, high-quality dairy products, such as whole milk and heavy cream, to achieve a rich and creamy base.
- Add flavorings: Decide on the flavor profile you want for your ice cream and gather the necessary flavorings. Whether it’s vanilla extract, cocoa powder, fruit puree, or any other flavoring agent, make sure to have them on hand.
- Consider mix-ins: If you want to add additional textures and flavors to your ice cream, consider mix-ins such as chocolate chips, crushed cookies, chopped nuts, or dried fruit. Prepare these mix-ins by chopping or crushing them to the desired size.
- Measure the ingredients: Follow your chosen ice cream recipe and measure the ingredients accurately. Use measuring cups or a kitchen scale to ensure precise measurements and consistent results.
- Prepare any mixtures: If your recipe requires creating a flavored mixture, such as infusing vanilla or steeping tea leaves, make sure to complete this step before adding it to the base.
Once you have gathered and prepared all the necessary ingredients, it’s time to move on to the exciting part – operating the VEVOR Ice Cream Machine and turning those ingredients into a delectable frozen dessert.
In the next section, we will guide you through the process of operating the VEVOR Ice Cream Machine effectively.
Operating the VEVOR Ice Cream Machine
Operating the VEVOR Ice Cream Machine is straightforward and user-friendly. Follow these steps to create your homemade ice cream:
- Ensure that the freezer bowl is properly chilled and inserted into the machine.
- Attach the mixing paddle to the motor shaft in the center of the bowl.
- Pour your prepared ice cream mixture into the freezer bowl. Make sure not to exceed the maximum fill line indicated on the bowl.
- Close the lid of the machine securely.
- Plug in the machine and turn it on.
- Set the desired parameters for freezing time and mixing speed using the machine’s control panel. Follow the instructions provided by the manufacturer and your chosen recipe.
- Allow the machine to run for the specified time, usually around 20 to 30 minutes, or until the mixture reaches the desired consistency.
- During the freezing process, you may hear a slight noise from the motor and see the mixture gradually freezing and thickening.
- After the specified time, the machine will automatically stop, indicating that the ice cream is ready.
- Unplug the machine and remove the lid.
- Carefully remove the freezer bowl from the machine.
- Using a silicone spatula or scoop, transfer the freshly churned ice cream into a freezer-safe container.
- Cover the container and place it in the freezer to further harden and develop the perfect consistency. Allow at least 2 hours or as recommended by the recipe before serving.
Remember to follow the specific instructions provided by the manufacturer for your particular model of the VEVOR Ice Cream Machine. The recommended freezing time and mixing speed may vary depending on the machine’s specifications.
Now that you know how to operate the machine, let’s move on to the next section where we’ll address some common issues that you may encounter while using the VEVOR Ice Cream Machine.
When using the VEVOR ice cream machine, make sure to pre-freeze the mixing bowl for at least 8-12 hours before use. This will ensure that the ice cream mixture freezes properly and results in a smooth and creamy texture.
Read more: How To Use The Kitchenaid Ice Cream Maker
Troubleshooting Common Issues
While using the VEVOR Ice Cream Machine, you may encounter a few common issues. Here are some troubleshooting tips to help you overcome them:
- Ice cream not freezing: If your ice cream mixture is not freezing properly, make sure that the freezer bowl is thoroughly chilled before use. Ensure that the machine is properly plugged in and turned on. If the issue persists, check the freezing time and adjust it accordingly. If the room temperature is too high, it may affect the freezing process, so consider moving the machine to a cooler location.
- Ice cream not thickening: If your ice cream mixture is not thickening as desired, check that you have used the correct proportion of liquid ingredients such as milk and cream. Adding too much liquid can result in a runny consistency. Make sure to follow the recipe as closely as possible, including the recommended measurements.
- Inconsistent textures: If your ice cream has a grainy or icy texture, it may be an indication of over-churning or incorrect freezing time. Monitor the freezing process closely and stop the machine once the mixture reaches a smooth and creamy consistency.
- Machine not starting: If your VEVOR Ice Cream Machine does not start when plugged in, ensure that it is properly connected to a working electrical outlet. Check if the lid is properly closed and securely locked. If the issue persists, consult the instruction manual or contact the manufacturer for assistance.
If you encounter any other issues or have specific questions related to your VEVOR Ice Cream Machine, always refer to the instruction manual provided by the manufacturer. They are equipped with the necessary information to guide you through troubleshooting specific to your machine model.
Now that we’ve addressed some common troubleshooting tips, let’s move on to the important topic of cleaning and maintaining your VEVOR Ice Cream Machine.
Cleaning and Maintenance of the VEVOR Ice Cream Machine
To ensure the longevity and optimal performance of your VEVOR Ice Cream Machine, regular cleaning and maintenance are essential. Follow these tips to keep your machine in top shape:
- Unplug the machine and allow it to cool down before cleaning.
- Remove the freezer bowl, mixing paddle, and lid from the machine.
- Wash these removable parts with warm soapy water. Use a soft sponge or cloth to gently scrub away any residue.
- Rinse the parts thoroughly to remove any soap residue and dry them completely before reassembly.
- Wipe the exterior surface of the machine with a damp cloth to remove any spills or splatters.
- Do not immerse the main unit of the machine in water or any other liquids.
- Store the machine in a clean and dry place, away from direct sunlight and extreme temperatures.
- Regularly check the power cord for any signs of damage. If you notice any fraying or exposed wires, discontinue use and seek professional assistance.
It’s important to note that the specific cleaning instructions may vary depending on the model of your VEVOR Ice Cream Machine. Always refer to the instruction manual provided by the manufacturer for detailed cleaning and maintenance guidelines.
By following these cleaning and maintenance practices, you can ensure the cleanliness and longevity of your machine, allowing it to continue producing delicious homemade ice cream for years to come.
Now that you’ve learned how to clean and maintain your VEVOR Ice Cream Machine, let’s dive into some helpful tips and tricks to enhance your ice cream-making experience.
Tips and Tricks for Using the VEVOR Ice Cream Machine
Ready to take your homemade ice cream game to the next level? Here are some tips and tricks to help you get the most out of your VEVOR Ice Cream Machine:
- Pre-chill your ingredients: For the best results, make sure to chill your ingredients, such as milk and cream, before mixing them. This helps ensure a faster freezing process and a creamier texture.
- Experiment with flavors: Don’t be afraid to get creative with your flavors. Add spices, extracts, or even mix in pieces of your favorite cookies or candies for a unique twist. Let your imagination run wild!
- Freeze the mixing paddle: For a thicker consistency and faster freezing, you can freeze the mixing paddle before using it. Just be sure to wrap it in a plastic bag or wrap to prevent it from sticking to other frozen items in your freezer.
- Allow flavors to develop: Once the ice cream is churned, transfer it to a freezer-safe container and let it harden for a few hours. This allows the flavors to meld together and ensures a smoother texture.
- Add mix-ins at the end: If you’re incorporating mix-ins like chocolate chips or nuts, add them during the last few minutes of churning. This prevents them from sinking to the bottom.
- Make a double batch: If you’re hosting a party or want to have extra ice cream on hand, consider making a double batch. This way, you’ll have plenty to enjoy and share!
- Experiment with mix-ins timing: You can also experiment with when to add mix-ins. Adding them towards the end of the churning process will result in more evenly distributed mix-ins, while adding them after transferring the ice cream to the container will create distinct swirls and pockets.
- Don’t overfill the freezer bowl: To prevent overflow during the churning process, avoid overfilling the freezer bowl. Stick to the maximum fill line indicated on the bowl to ensure proper freezing and consistent results.
- Let the machine rest between batches: If you plan to make multiple batches of ice cream, give your VEVOR Ice Cream Machine a short rest between batches to prevent overheating and ensure optimal performance.
- Enjoy immediately or store properly: Homemade ice cream is best enjoyed immediately, but if you have leftovers, make sure to store them in airtight containers in the freezer to maintain its freshness and quality.
Remember, the more you experiment and practice, the better you’ll become at creating your favorite ice cream flavors with the VEVOR Ice Cream Machine. Don’t be afraid to try new recipes, techniques, and combinations to discover your personal ice cream mastery!
Now that you’re armed with these helpful tips and tricks, it’s time to put your newfound knowledge to use and create some amazing homemade ice cream.
Conclusion
Congratulations! You’ve now learned how to use the VEVOR Ice Cream Machine to create delicious homemade ice cream, sorbet, gelato, and more. With its user-friendly design and powerful freezing capabilities, this machine opens up a world of frozen possibilities right in your own kitchen.
We covered everything from setting up the machine to preparing ingredients, operating the device, troubleshooting common issues, and cleaning and maintaining it for optimal performance. With some creativity and a little bit of practice, you’ll be able to whip up your favorite flavors and impress your family and friends with your homemade frozen treats.
Remember to follow the specific instructions provided by the manufacturer for your particular model of the VEVOR Ice Cream Machine. Each machine may have its own unique features and requirements.
Now it’s time to unleash your imagination and explore different flavor combinations, mix-ins, and techniques to create your signature ice cream recipes. Have fun experimenting, and don’t be afraid to try new flavors and textures.
Whether you’re enjoying a refreshing scoop on a hot summer day or savoring a decadent dessert after a meal, homemade ice cream made with the VEVOR Ice Cream Machine will always bring smiles and delight to those who indulge. So go ahead, start your ice cream adventure, and let your creativity run wild!
Thank you for joining us in this journey of ice cream making with the VEVOR Ice Cream Machine. Wishing you endless batches of creamy, dreamy frozen delights!
Frequently Asked Questions about How To Use VEVOR Ice Cream Machine
Was this page helpful?
At Storables.com, we guarantee accurate and reliable information. Our content, validated by Expert Board Contributors, is crafted following stringent Editorial Policies. We're committed to providing you with well-researched, expert-backed insights for all your informational needs.


0 thoughts on “How To Use VEVOR Ice Cream Machine”