Articles
How To Make Your Own Curtains Without Sewing
Modified: December 7, 2023
Discover the step-by-step guide on how to create stunning curtains without the need for sewing. Check out our detailed articles for easy and creative DIY curtain ideas.
(Many of the links in this article redirect to a specific reviewed product. Your purchase of these products through affiliate links helps to generate commission for Storables.com, at no extra cost. Learn more)
Introduction
Are you looking to add a touch of style and functionality to your windows without the hassle of sewing? Making your own curtains is a great way to personalize your space and showcase your unique style. And the good news is, you don’t need any sewing skills to create beautiful curtains that will transform your room. In this article, we will guide you through the process of making your own curtains without sewing, using simple and creative methods.
Whether you’re a beginner or an experienced DIY enthusiast, these no-sew techniques will help you achieve the look you desire. So gather your materials and let’s get started on creating stunning curtains that will elevate the aesthetic of any room in your home.
Key Takeaways:
- Create personalized, no-sew curtains using fabric adhesive, grommets, or clips. Choose the perfect fabric, measure accurately, and enjoy the process of transforming your space with unique and stylish window treatments.
- Explore alternative no-sew methods such as fabric tape, rings, knots, and drapery tape for creative and customizable curtain designs. Embrace the freedom of no-sew curtain making to elevate your room’s aesthetic without sewing.
Read more: How To Make A Tablecloth Without Sewing
Materials Needed
Before you begin making your curtains, it’s essential to gather all the necessary materials. Here’s a list of what you’ll need:
- Fabric: Choose a fabric that complements your decor and meets your functional needs. You can select a lightweight cotton for a breezy look or opt for a heavier fabric for better light-blocking capabilities.
- Fabric adhesive: Instead of sewing, you’ll be using fabric adhesive to create hems and secure any attachments. Look for a high-quality fabric adhesive that is durable and suitable for your chosen fabric.
- Scissors: A pair of sharp fabric scissors is essential for cutting the fabric to the desired size and shape.
- Measuring tape: Accurate measurements are crucial for achieving well-fitting curtains. Use a measuring tape to measure the width and length of your windows so that you can cut the fabric accordingly.
- Curtain grommets or clip rings: These are optional, but they add a professional touch to your curtains and make them easier to hang. You can choose curtain grommets if you prefer a modern, sleek look, or clip rings for a more traditional style.
- Iron-on hem tape: If you want to create clean and polished hems without sewing, iron-on hem tape is a must-have. This adhesive tape allows you to create secure hems by simply ironing them in place.
- Curtain rod or tension rod: To hang your curtains, you’ll need a suitable curtain rod or tension rod. Make sure to choose one that matches the style of your curtains and fits securely in your window frame.
Once you have gathered all the necessary materials, you’ll be ready to move on to the next steps of the no-sew curtain making process.
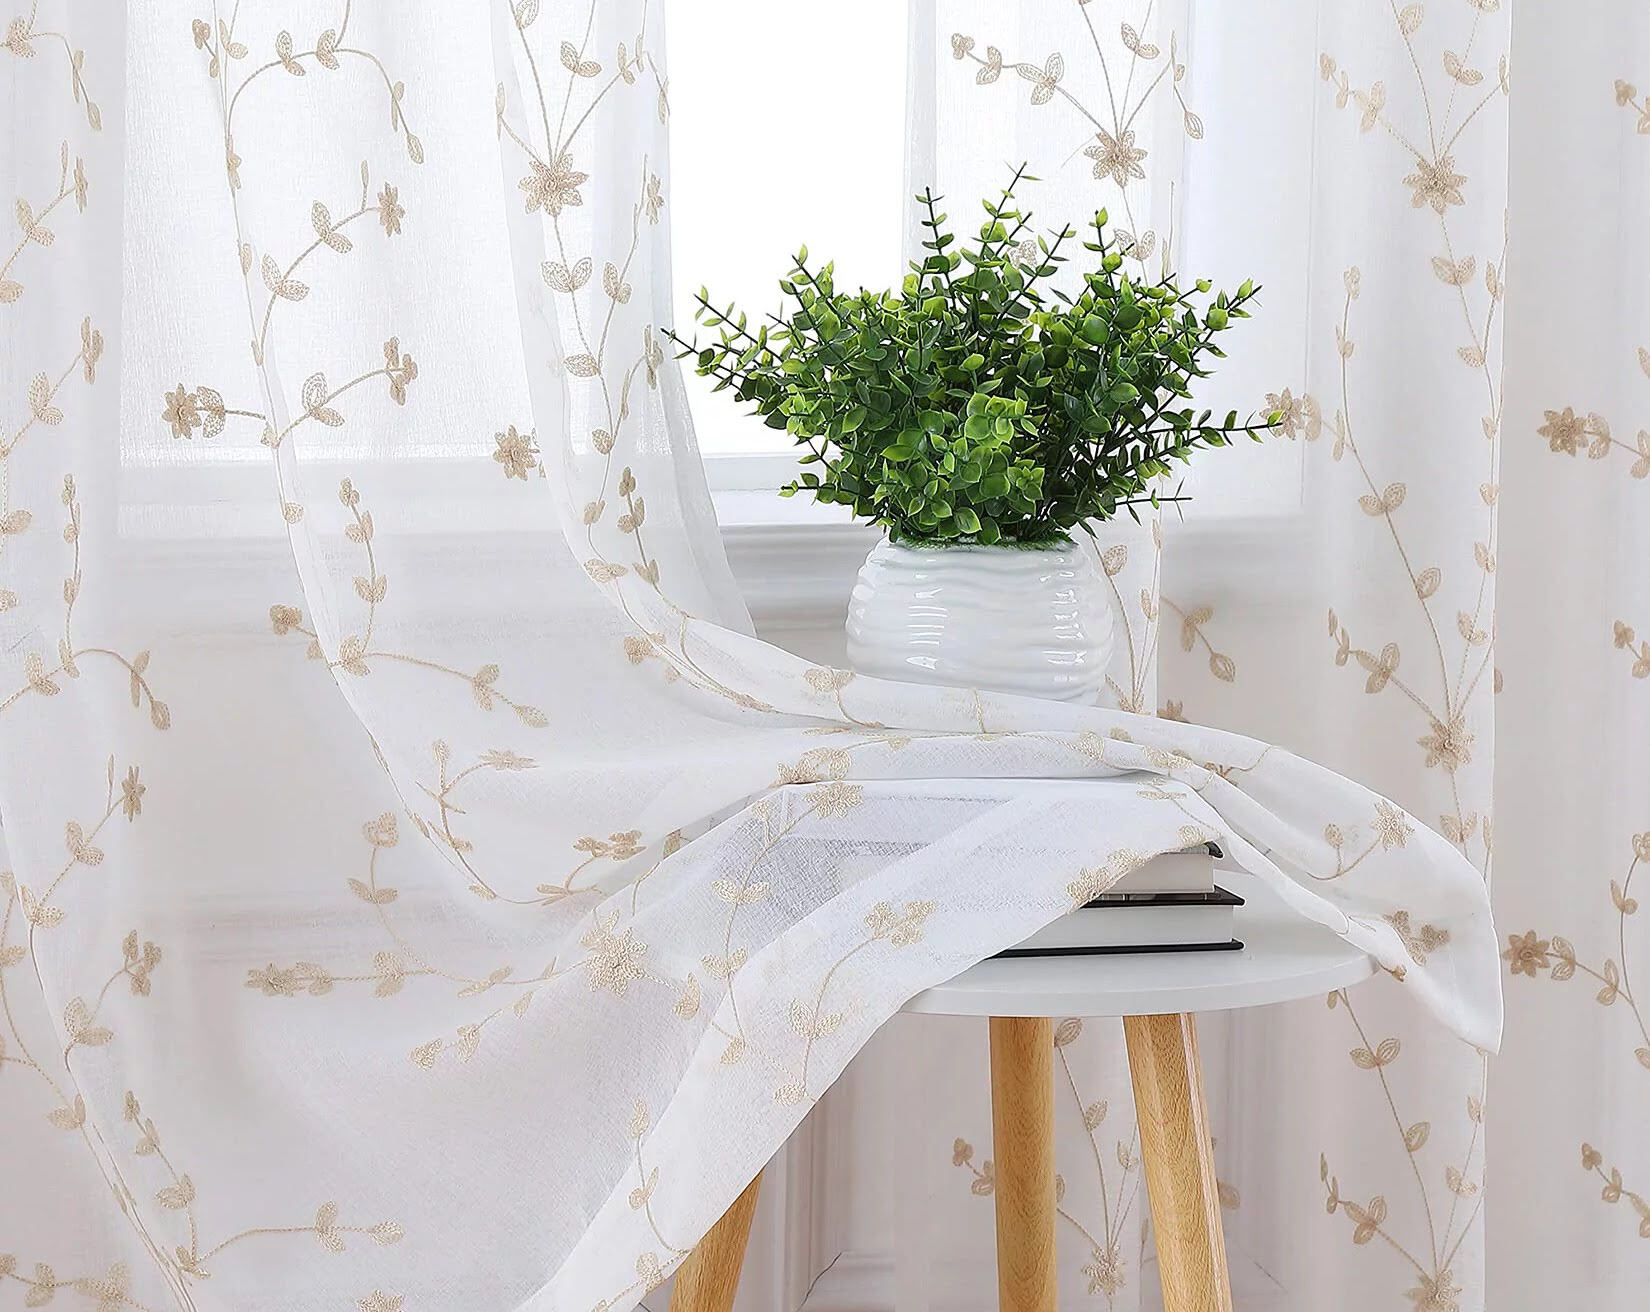
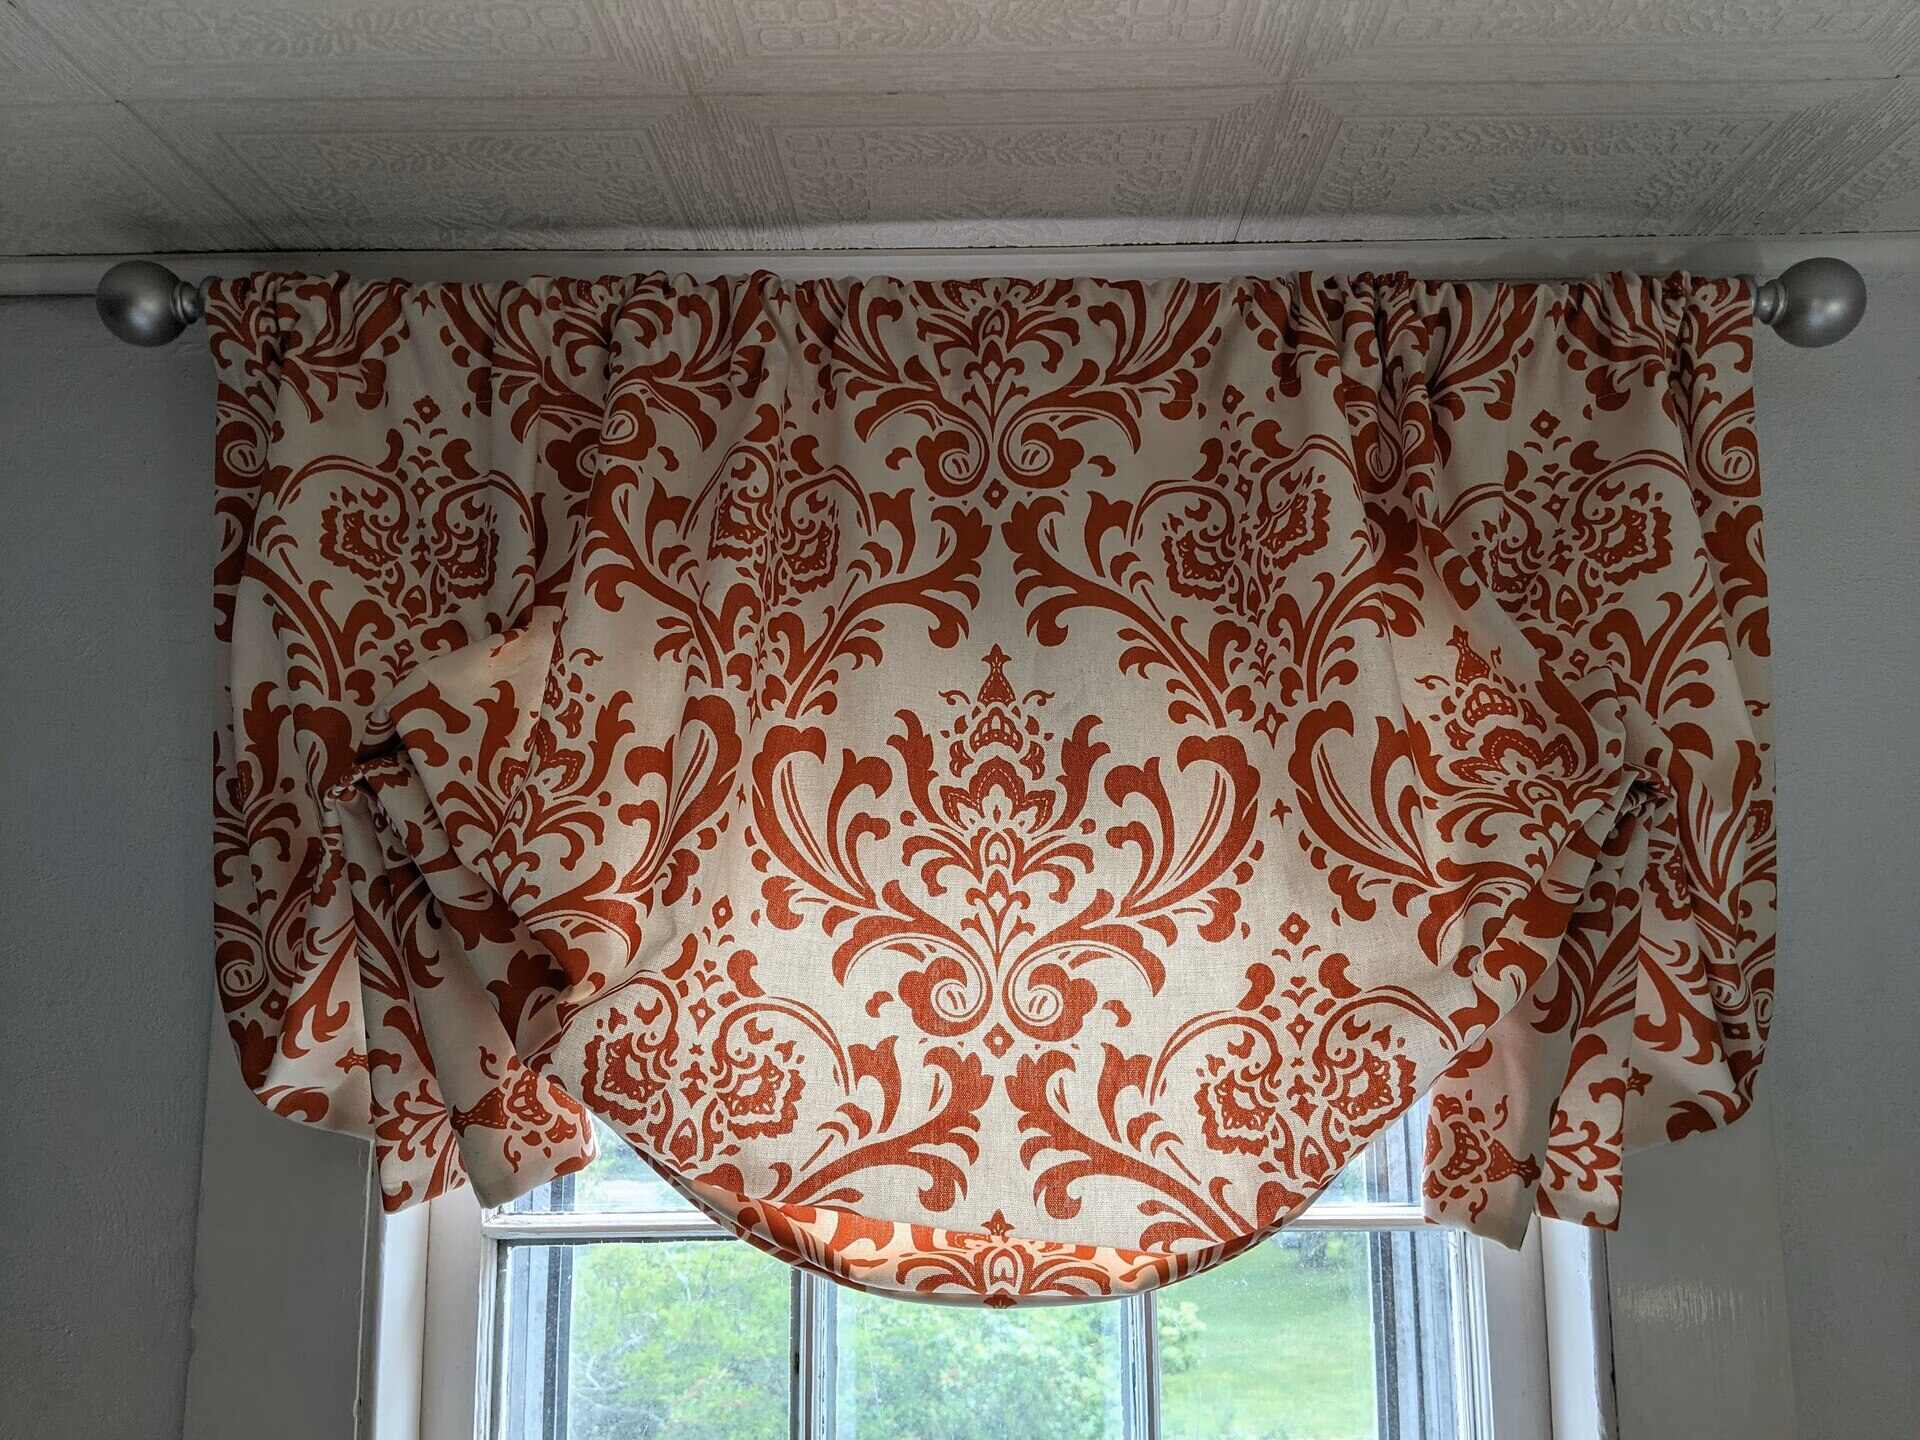
Choosing the Fabric
When it comes to choosing the fabric for your curtains, there are a few factors to consider. First, think about the overall style and aesthetic you want to achieve in your room. Do you prefer a light and airy look, or something more structured and bold? The fabric you choose will play a significant role in creating the desired ambiance.
Consider the functional aspects of your curtains as well. If you’re looking for room-darkening capabilities, opt for a heavier fabric that provides better light blocking. On the other hand, if natural light is a priority, choose a lightweight fabric that allows for soft, diffused light to filter through.
Next, consider the color and pattern of the fabric. Take into account the existing color palette in your room and choose a fabric that complements or contrasts with it. Consider the size and scale of any patterns or prints on the fabric as well. Bold patterns can make a statement, while subtle patterns or solid colors can create a more calming and cohesive look.
Lastly, think about the durability and maintenance of the fabric. Some fabrics may require special care, such as dry cleaning, while others can be easily machine washed. If you have pets or children, you may want to choose a fabric that is easy to clean and resistant to stains.
Once you have considered all these factors, visit your local fabric store or browse online to find the perfect fabric for your curtains. Don’t forget to purchase enough fabric to accommodate the desired length and fullness of your curtains.
Remember, the fabric you choose will ultimately set the tone for your curtains, so take your time and select a fabric that reflects your personal style and meets your functional needs. With a wide variety of fabrics available, you’re sure to find the perfect one for your DIY no-sew curtains.
Measuring and Cutting the Fabric
Accurate measurements are essential for creating well-fitting curtains. Before you start cutting the fabric, make sure to measure your windows properly. Here’s how:
- Measure the width: Use a measuring tape to measure the width of the window frame. Add a few inches on each side to allow for a fuller look and sufficient coverage. This extra width will also ensure that the curtains can be closed without leaving any gaps.
- Measure the length: Measure the length from the top of the curtain rod or tension rod to where you want the curtain to fall. Consider if you want the curtains to touch the floor or hang just above it. Add a few inches to the length measurement to allow for hems and attachments.
- Mark the measurements on the fabric: Using a fabric marker or a piece of chalk, mark the measurements on the fabric. Make sure the fabric is laid out flat and smooth to ensure accurate markings.
- Cut the fabric: Carefully cut along the marked lines using a pair of fabric scissors. Take your time to ensure clean and straight edges.
Some fabrics may have a pattern that needs to be aligned, especially if you have large windows or multiple panels. In such cases, make sure to measure and cut the panels accordingly, so the pattern matches up when the curtains are hung.
Remember to cut two panels of fabric if you want separate curtains for each side of the window. Alternatively, you can cut one large panel for a single curtain-style look.
If you’re uncertain or hesitant about cutting the fabric yourself, most fabric stores offer cutting services where they can cut the fabric for you based on your measurements. Just make sure to provide them with accurate measurements and any specific instructions.
Once you have successfully measured and cut the fabric, you’re ready to move on to the next step of creating your no-sew curtains.
Hemming the Fabric
Creating neat and polished hems is essential for a professional-looking finish on your no-sew curtains. Fortunately, there is a simple and effective method: using iron-on hem tape. Here’s how to hem the fabric without sewing:
- Prepare the fabric: Lay the fabric panel flat on a clean and smooth surface. Smooth out any wrinkles or creases to ensure a straight hem.
- Measure the hem length: Using a measuring tape, determine the desired length of the hem. Typically, a 1-inch or 2-inch hem is sufficient for curtains.
- Cut the hem tape: Cut the iron-on hem tape to match the length of the hem. Make sure to cut enough tape for each side of the fabric panel.
- Position the hem tape: Place the hem tape along the edge of the fabric panel, aligning it with the desired hem length. Make sure the adhesive side is facing down and the tape is centered on the fabric.
- Iron the hem: Set your iron to the appropriate temperature for the fabric and firmly press the iron onto the hem tape. Follow the instructions provided on the hem tape packaging for the recommended ironing time.
- Repeat for all sides: Repeat the process for all sides of the fabric panel, ensuring that the hems are even and straight.
- Allow the hems to cool and set: Once you have ironed all the hems, allow them to cool for a few minutes. This will allow the adhesive to set and ensure a secure hem.
Iron-on hem tape is a great alternative to sewing, as it provides a strong bond and is suitable for most fabrics. However, it’s always a good idea to test the hem tape on a small piece of fabric before applying it to your curtains, especially if you are working with a delicate or unusual fabric.
Once the hems have cooled and set, your fabric is ready for the next step in creating your no-sew curtains.
Read more: How To Hem Blackout Curtains Without Sewing
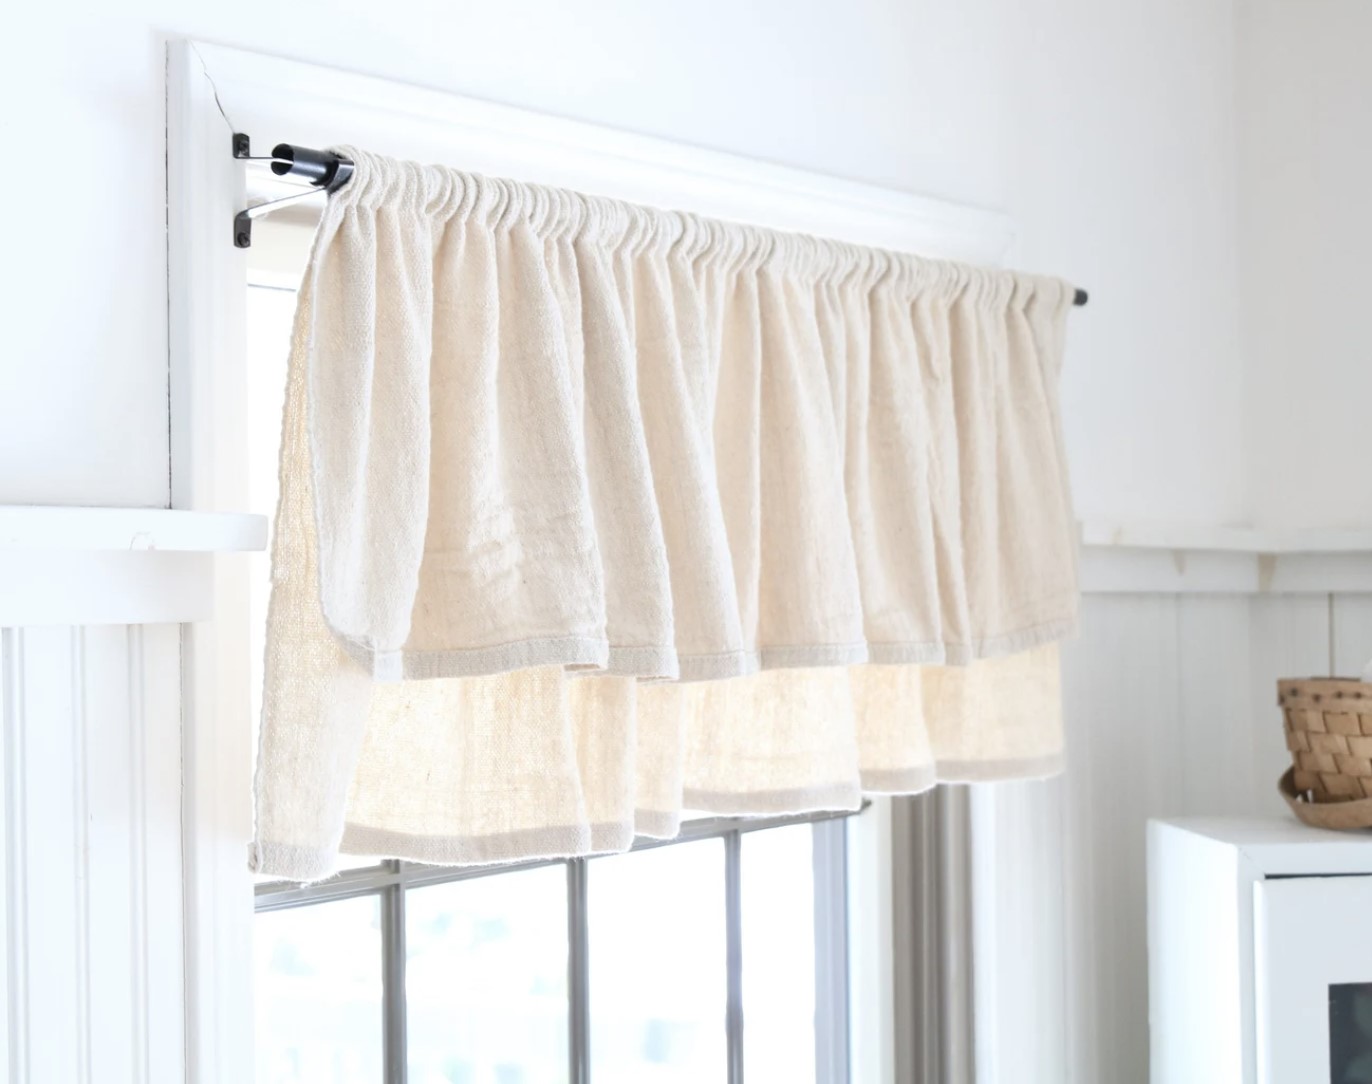
Installing Curtain Grommets
Curtain grommets not only add functionality to your curtains but also give them a modern and professional look. Installing grommets may sound daunting, but with the right tools and techniques, it’s a straightforward process. Here’s how to install curtain grommets without sewing:
- Gather your materials: You will need curtain grommet kits, which typically include two grommet halves and a setting tool. Choose grommets that match the size and style you desire for your curtains.
- Mark the grommet placement: Determine where you want to place the grommets along the top edge of the fabric panel. Mark the positions lightly with a fabric marker or a piece of chalk.
- Cut holes: Using a pair of sharp scissors or a utility knife, carefully cut out the marked holes. Make sure the holes are slightly smaller than the outer diameter of the grommets.
- Insert the grommet halves: Separate the grommet halves, and insert one half from the front side of the fabric through each hole. Make sure the smooth side of the grommet is facing the front of the fabric, and the back side of the grommet is facing the back of the fabric.
- Secure the grommet halves: Place the included setting tool on top of the grommet’s back side. Follow the instructions provided with the grommet kit to set the grommet in place. This usually involves hitting the setting tool with a hammer or mallet to secure the grommet halves together.
- Repeat for all grommets: Repeat the process for all the grommet placements along the top edge of the fabric panel.
Installing curtain grommets not only allows for easy sliding of the curtains along the curtain rod but also adds a stylish and contemporary touch to your window treatments.
It’s important to note that curtain grommets come in different sizes, so make sure to choose the appropriate size for your curtain rod and fabric thickness. Additionally, following the instructions provided with the specific grommet kit is crucial for successful installation.
With the grommets securely in place, your curtains are ready for the next step in the no-sew curtain making process.
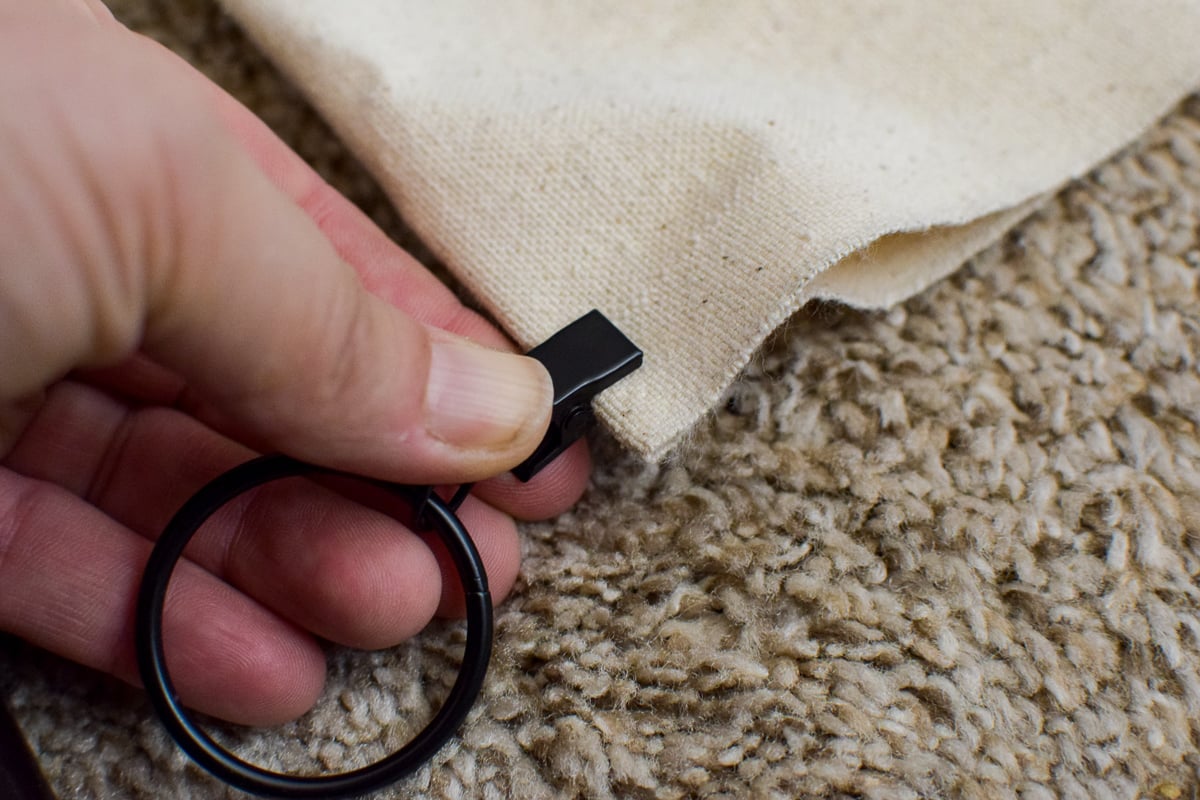
Attaching Curtain Clips
If you prefer a different style or have a different type of curtain rod, attaching curtain clips is an excellent alternative to curtain grommets. Curtain clips allow you to easily hang your curtains while also providing a decorative touch. Here’s how to attach curtain clips without sewing:
- Gather your materials: You will need curtain clips that match the style and size of your curtain rod. Choose clips that are sturdy and can securely hold the weight of your curtains.
- Position the clips: Start by deciding how many clips you want to use per panel. Typically, it is recommended to use one clip for every 6 to 8 inches of fabric. For a fuller look, you may choose to use more clips.
- Attach the clips: Open the curtain clip and position it at the desired location along the top edge of the fabric panel. Make sure the fabric is evenly distributed within the clip. Press the clip closed to secure it in place. Repeat this step for all the desired clip locations.
- Space the clips evenly: To ensure an even and balanced appearance, space the clips evenly across the top edge of the fabric panel. This will help maintain the desired pleats and prevent any sagging or puckering.
- Adjust the clips if necessary: Once all the clips are attached, step back and look at the fabric panel. If needed, adjust the clips to create the desired draping and pleating effect. Play around with the positioning until you are satisfied with the overall look.
Attaching curtain clips allows for easy installation and removal of your curtains, making it convenient to switch them out or wash them when needed. Additionally, curtain clips give you the flexibility to adjust the height of your curtains on the curtain rod, allowing for different looks and light control.
Remember to choose curtain clips that are suitable for the type of curtain rod you have, whether it’s a traditional rod, tension rod, or decorative rod with finials. It’s also a good idea to test the strength and durability of the clips before hanging your curtains.
With the curtain clips securely in place, your curtains are now ready to be hung on the curtain rod.
You can use hemming tape to create no-sew curtains. Simply fold the fabric over, place the tape inside the fold, and iron to secure. This creates a clean, finished edge without the need for sewing.
Hanging the Curtains
Now that you’ve completed the necessary steps to create your no-sew curtains, it’s time to hang them and enjoy the transformation they bring to your space. Follow these simple steps to hang your curtains:
- Prepare the curtain rod: Make sure your curtain rod is properly installed and securely mounted on the wall or within the window frame. Ensure that it is level and at the desired height.
- If using curtain grommets: If you’ve installed curtain grommets, simply slide the curtain rod through the grommets along the top edge of the fabric panel. Ensure that the curtain panel is evenly distributed along the rod.
- If using curtain clips: If you’ve attached curtain clips, open each clip and slide it onto the curtain rod. Make sure the fabric is evenly distributed within each clip, and adjust the positioning of the clips if necessary.
- If necessary, adjust the length: Determine the desired length of your curtains and adjust them accordingly. If they are too long, use scissors to carefully trim the excess fabric. Remember to leave enough fabric for any hemming adjustments if needed in the future.
- Arrange the curtains: Once the curtains are hung, step back and adjust them as needed. Ensure that they are straight, evenly distributed, and properly draped. Take the time to arrange any pleats or folds for a neat and tailored look.
- Test functionality: Test the functionality of your curtains by opening and closing them. Make sure they glide smoothly along the curtain rod or clip rings. Adjust the clips or grommets if necessary to ensure that your curtains can be easily operated.
By following these steps, you’ll be able to hang your no-sew curtains effortlessly and achieve a finished and polished look for your windows. Whether you’re adding privacy, controlling light, or enhancing the aesthetic appeal of your space, these curtains will bring style and functionality to any room in your home.
Remember to regularly clean and maintain your curtains according to the fabric’s care instructions to keep them looking their best. With proper care, your no-sew curtains can last for years to come.
Enjoy the transformation of your space with your beautifully hung no-sew curtains!
Alternative No-Sew Methods
If you’re looking for even more no-sew options to create curtains, there are a few alternative methods you can try. These methods offer versatility and unique styling possibilities without the need for sewing. Here are a couple of popular no-sew alternatives:
Read more: How To Make Pillows Without Sewing
Fabric Tape or Adhesive Strips
Fabric tape or adhesive strips are excellent alternatives to fabric glue and hemming tape. They provide a strong bond and can be used to create hems, attach trims, or even join fabric panels together. Simply apply the fabric tape or adhesive strip along the fabric edge, press firmly, and let it set according to the manufacturer’s instructions. This no-sew method is quick, easy, and allows for seam-free construction.
No-Sew Rings or Eyelets
If you want a decorative way to hang your curtains without sewing, consider using no-sew rings or eyelets. These pre-made rings or eyelets have clips or snaps that can be attached directly to the fabric without the need for sewing. Simply position the rings or eyelets along the top edge of the fabric panel, insert the fabric into the clasp mechanism, and close them tightly. This method provides a stylish alternative to traditional grommets or curtain clips.
Fabric Knots or Ties
For a bohemian or rustic look, consider using fabric knots or ties to secure your curtains. This method works well with lightweight fabrics such as sheers or voiles. Create small loops or ties at regular intervals along the top edge of the fabric panel, and then slide the curtain rod through the loops or tie the curtains directly onto the rod. This no-sew technique adds a charming and whimsical touch to your curtains.
Fabric Drapery Tape
If you’re aiming for elegant pleated curtains without sewing, fabric drapery tape is a great option. This tape has pre-folded pleats that can be easily ironed into the fabric. Simply position the tape along the top edge of the fabric panel, fold the fabric over the tape, and press it with an iron to create pleats. The fabric drapery tape can then be attached to the curtain rod using hooks or rings. This method allows you to achieve a beautiful pleated look without the need for sewing or intricate folding.
These alternative no-sew methods provide creative and unique ways to customize your curtains without the use of a sewing machine. Experiment with different techniques to find the method that suits your style and desired look.
Remember to always follow the instructions provided with the specific products you choose, ensuring secure attachments and long-lasting results.
Read more: How To Make Your Own Blinds
Conclusion
Congratulations! You have learned how to make your own curtains without sewing, using a variety of no-sew methods and techniques. By following these simple steps and utilizing alternative options, you can create beautiful and customized curtains that perfectly suit your style and décor.
Throughout this article, we explored various aspects of no-sew curtain making, from choosing the right fabric and measuring accurately to hemming the fabric and hanging the curtains. We also discussed alternative methods such as using curtain grommets, curtain clips, fabric tape, rings, fabric knots, and fabric drapery tape. These alternative techniques give you the flexibility to achieve different looks while eliminating the need for sewing.
Remember that the key to successful no-sew curtain making lies in careful planning, attention to detail, and choosing the right materials. Take the time to select fabrics that not only enhance the aesthetic appeal of your space but also meet your functional requirements. Measure accurately and cut the fabric precisely to ensure a perfect fit. Use the appropriate tools, such as fabric adhesive, hem tape, grommets, clips, or rings, to securely attach the fabric panels and create polished finishes.
By embracing the possibilities of no-sew curtain making, you can unleash your creativity and transform your windows into stunning focal points. Whether you want to block out light, add privacy, or simply enhance the overall ambiance of your room, making your own curtains allows you to customize every aspect to your liking.
So gather your materials, put on your DIY hat, and enjoy the process of creating unique and stylish curtains that reflect your personal taste and style. With a little imagination and these no-sew techniques, you’ll be able to elevate the look of any room in your home without ever touching a sewing machine.
Happy curtain making!
Frequently Asked Questions about How To Make Your Own Curtains Without Sewing
Was this page helpful?
At Storables.com, we guarantee accurate and reliable information. Our content, validated by Expert Board Contributors, is crafted following stringent Editorial Policies. We're committed to providing you with well-researched, expert-backed insights for all your informational needs.


0 thoughts on “How To Make Your Own Curtains Without Sewing”