
Articles
How To Make Pasta With A Kitchenaid Mixer
Modified: October 27, 2024
Looking for articles on how to make pasta with a Kitchenaid mixer? Check out our comprehensive guide and start creating delicious homemade pasta today!
(Many of the links in this article redirect to a specific reviewed product. Your purchase of these products through affiliate links helps to generate commission for Storables.com, at no extra cost. Learn more)
Introduction
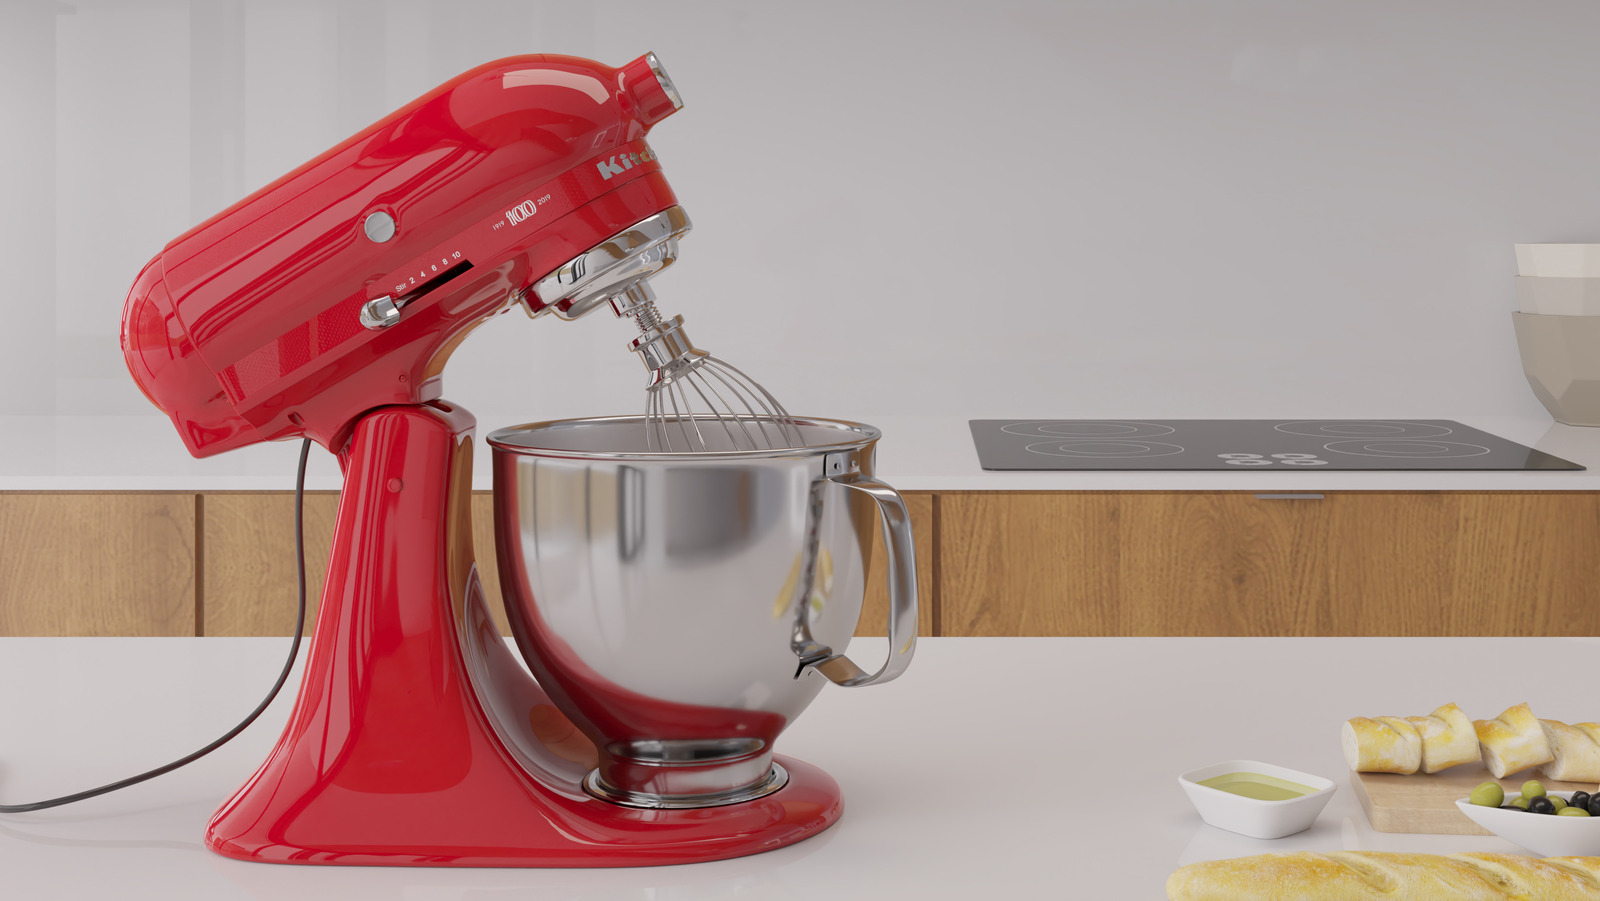
Are you a pasta lover who wants to take your culinary skills to the next level? Look no further than your trusty KitchenAid mixer. This versatile kitchen appliance can be a game-changer when it comes to making fresh, homemade pasta. Gone are the days of spending hours kneading dough by hand or struggling with a clunky pasta machine. With a KitchenAid mixer, you can effortlessly create delicious, restaurant-quality pasta right in your own kitchen.
In this article, we will guide you through the step-by-step process of making pasta with a KitchenAid mixer. Whether you’re a seasoned chef or a beginner in the world of homemade pasta, these instructions will help you achieve perfect results every time. From gathering your ingredients to serving up a mouthwatering plate of pasta, we’ve got you covered.
So, dust off your KitchenAid mixer and put on your apron – it’s time to roll up your sleeves and get cooking!
Key Takeaways:
- Elevate your pasta-making skills with a KitchenAid mixer, creating restaurant-quality pasta effortlessly at home. Experiment with flavors, shapes, and textures to craft personalized pasta creations that will impress your taste buds and loved ones.
- Unleash your inner Italian chef and embrace the art of pasta making with your trusty KitchenAid mixer. From gathering ingredients to cooking and serving, enjoy the process and elevate your culinary skills with homemade pasta perfection.
Step 1: Gather Your Ingredients
Before you embark on your pasta-making journey with your KitchenAid mixer, it’s essential to gather all the necessary ingredients. Here’s what you’ll need:
- 2 cups all-purpose flour
- 1/2 teaspoon salt
- 2 large eggs
- 1 tablespoon olive oil
- Water (as needed)
These basic ingredients will form the foundation of your pasta dough. However, feel free to experiment with different types of flours, such as semolina or whole wheat, to add unique flavors and textures to your pasta.
Once you’ve collected your ingredients, set them out on your countertop or workspace. Having everything ready and easily accessible will streamline the pasta-making process and ensure a smooth cooking experience.
Now that you’re equipped with all the necessary ingredients, it’s time to move on to the next step: preparing your KitchenAid mixer.
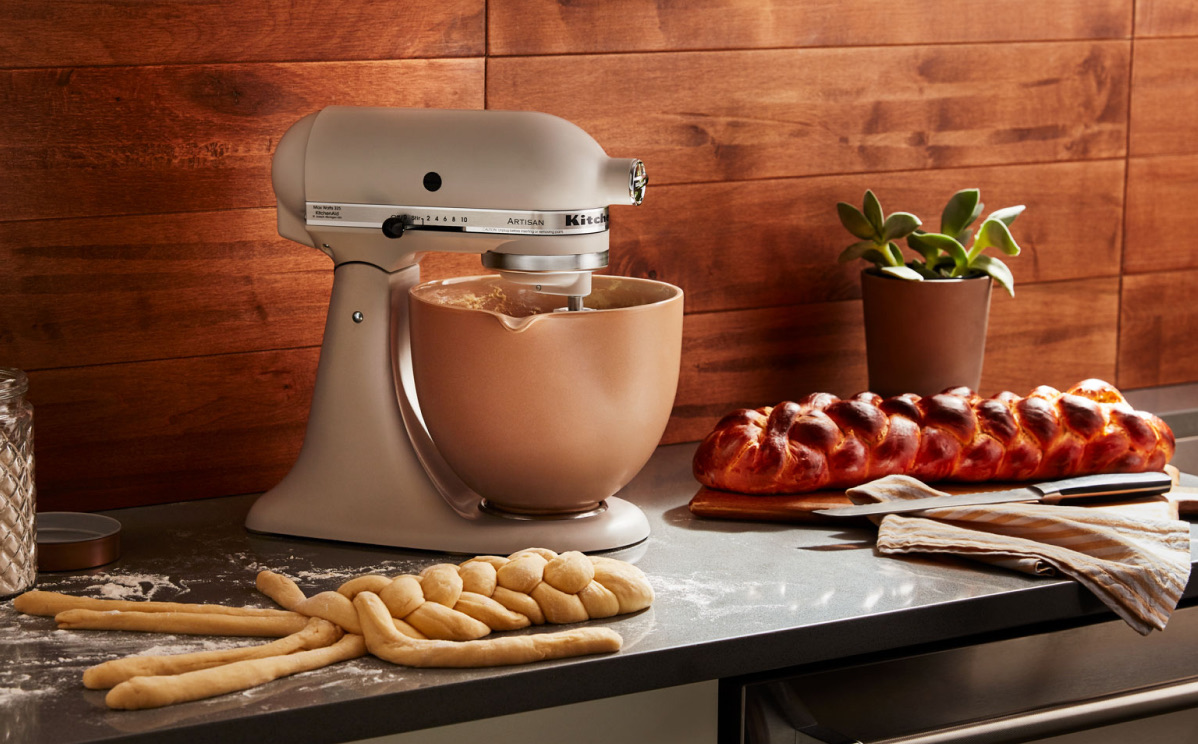
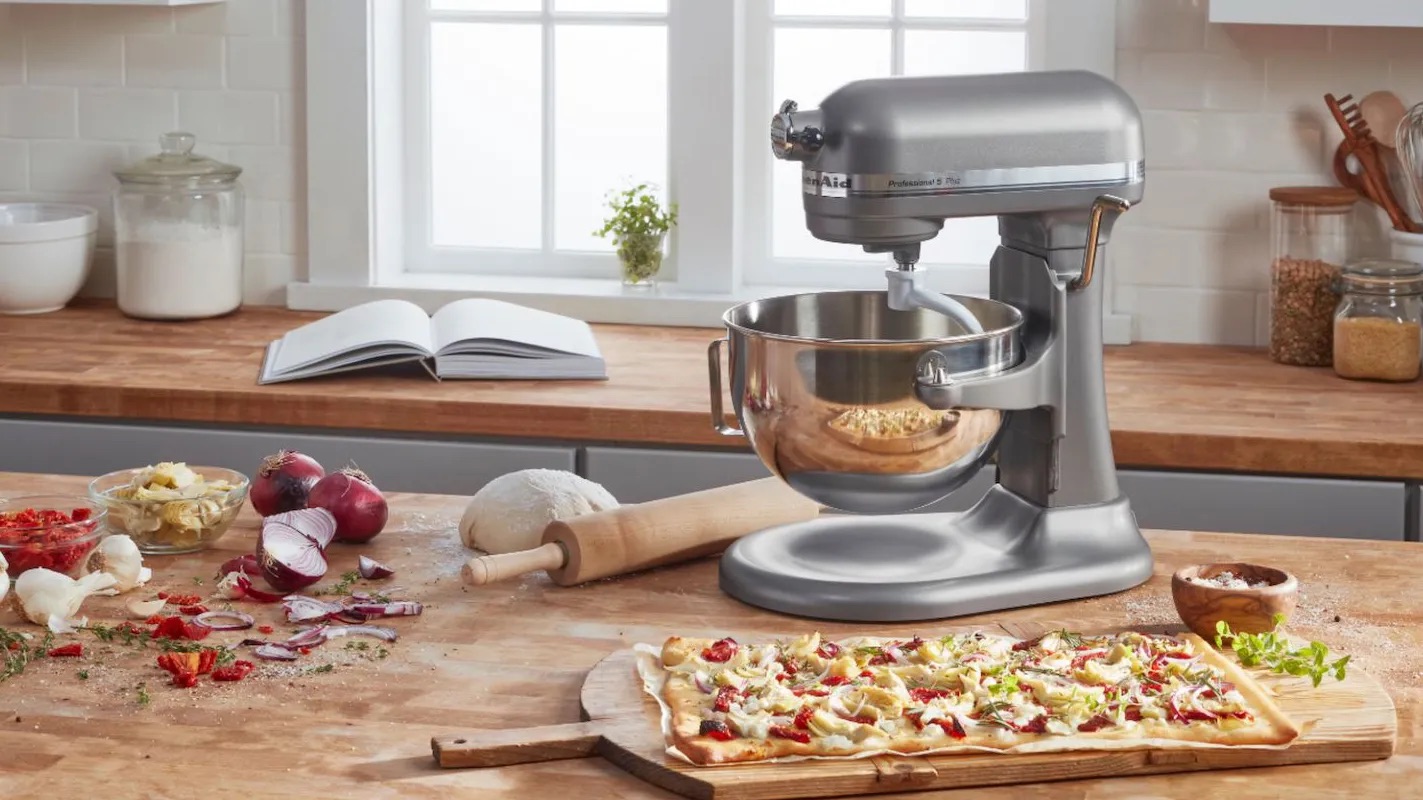
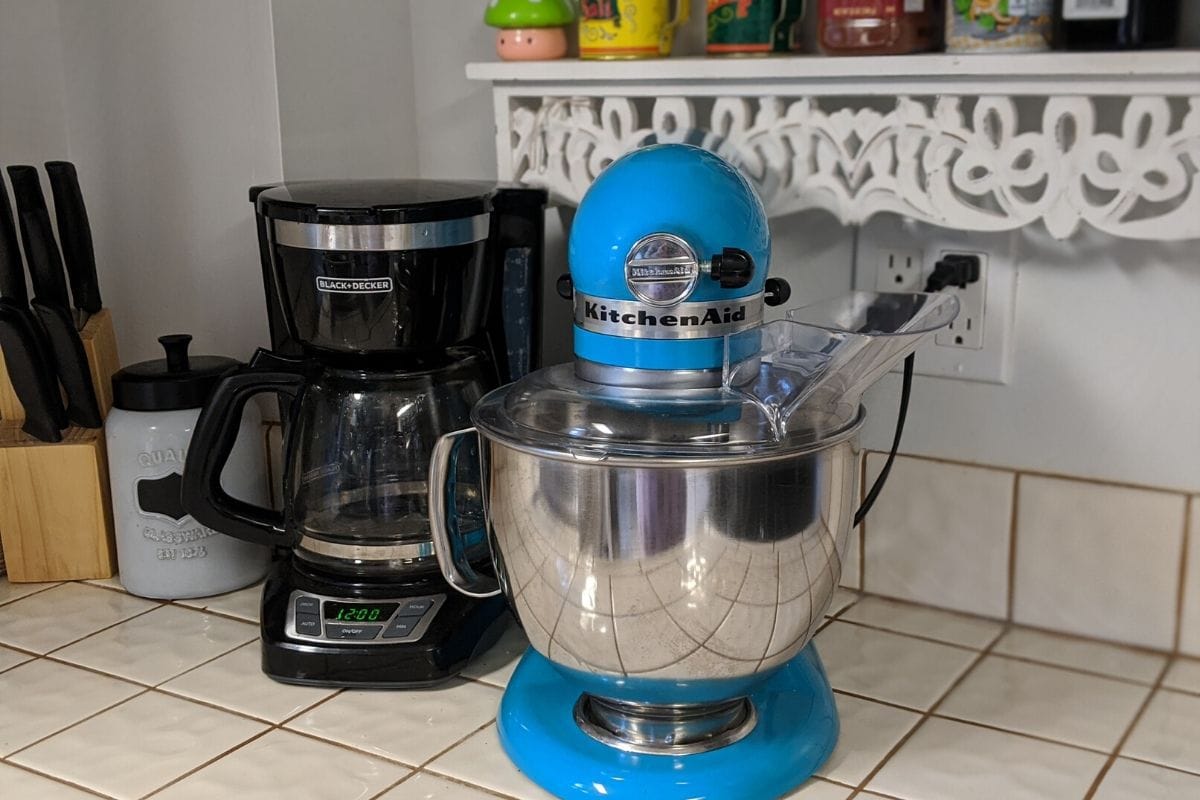
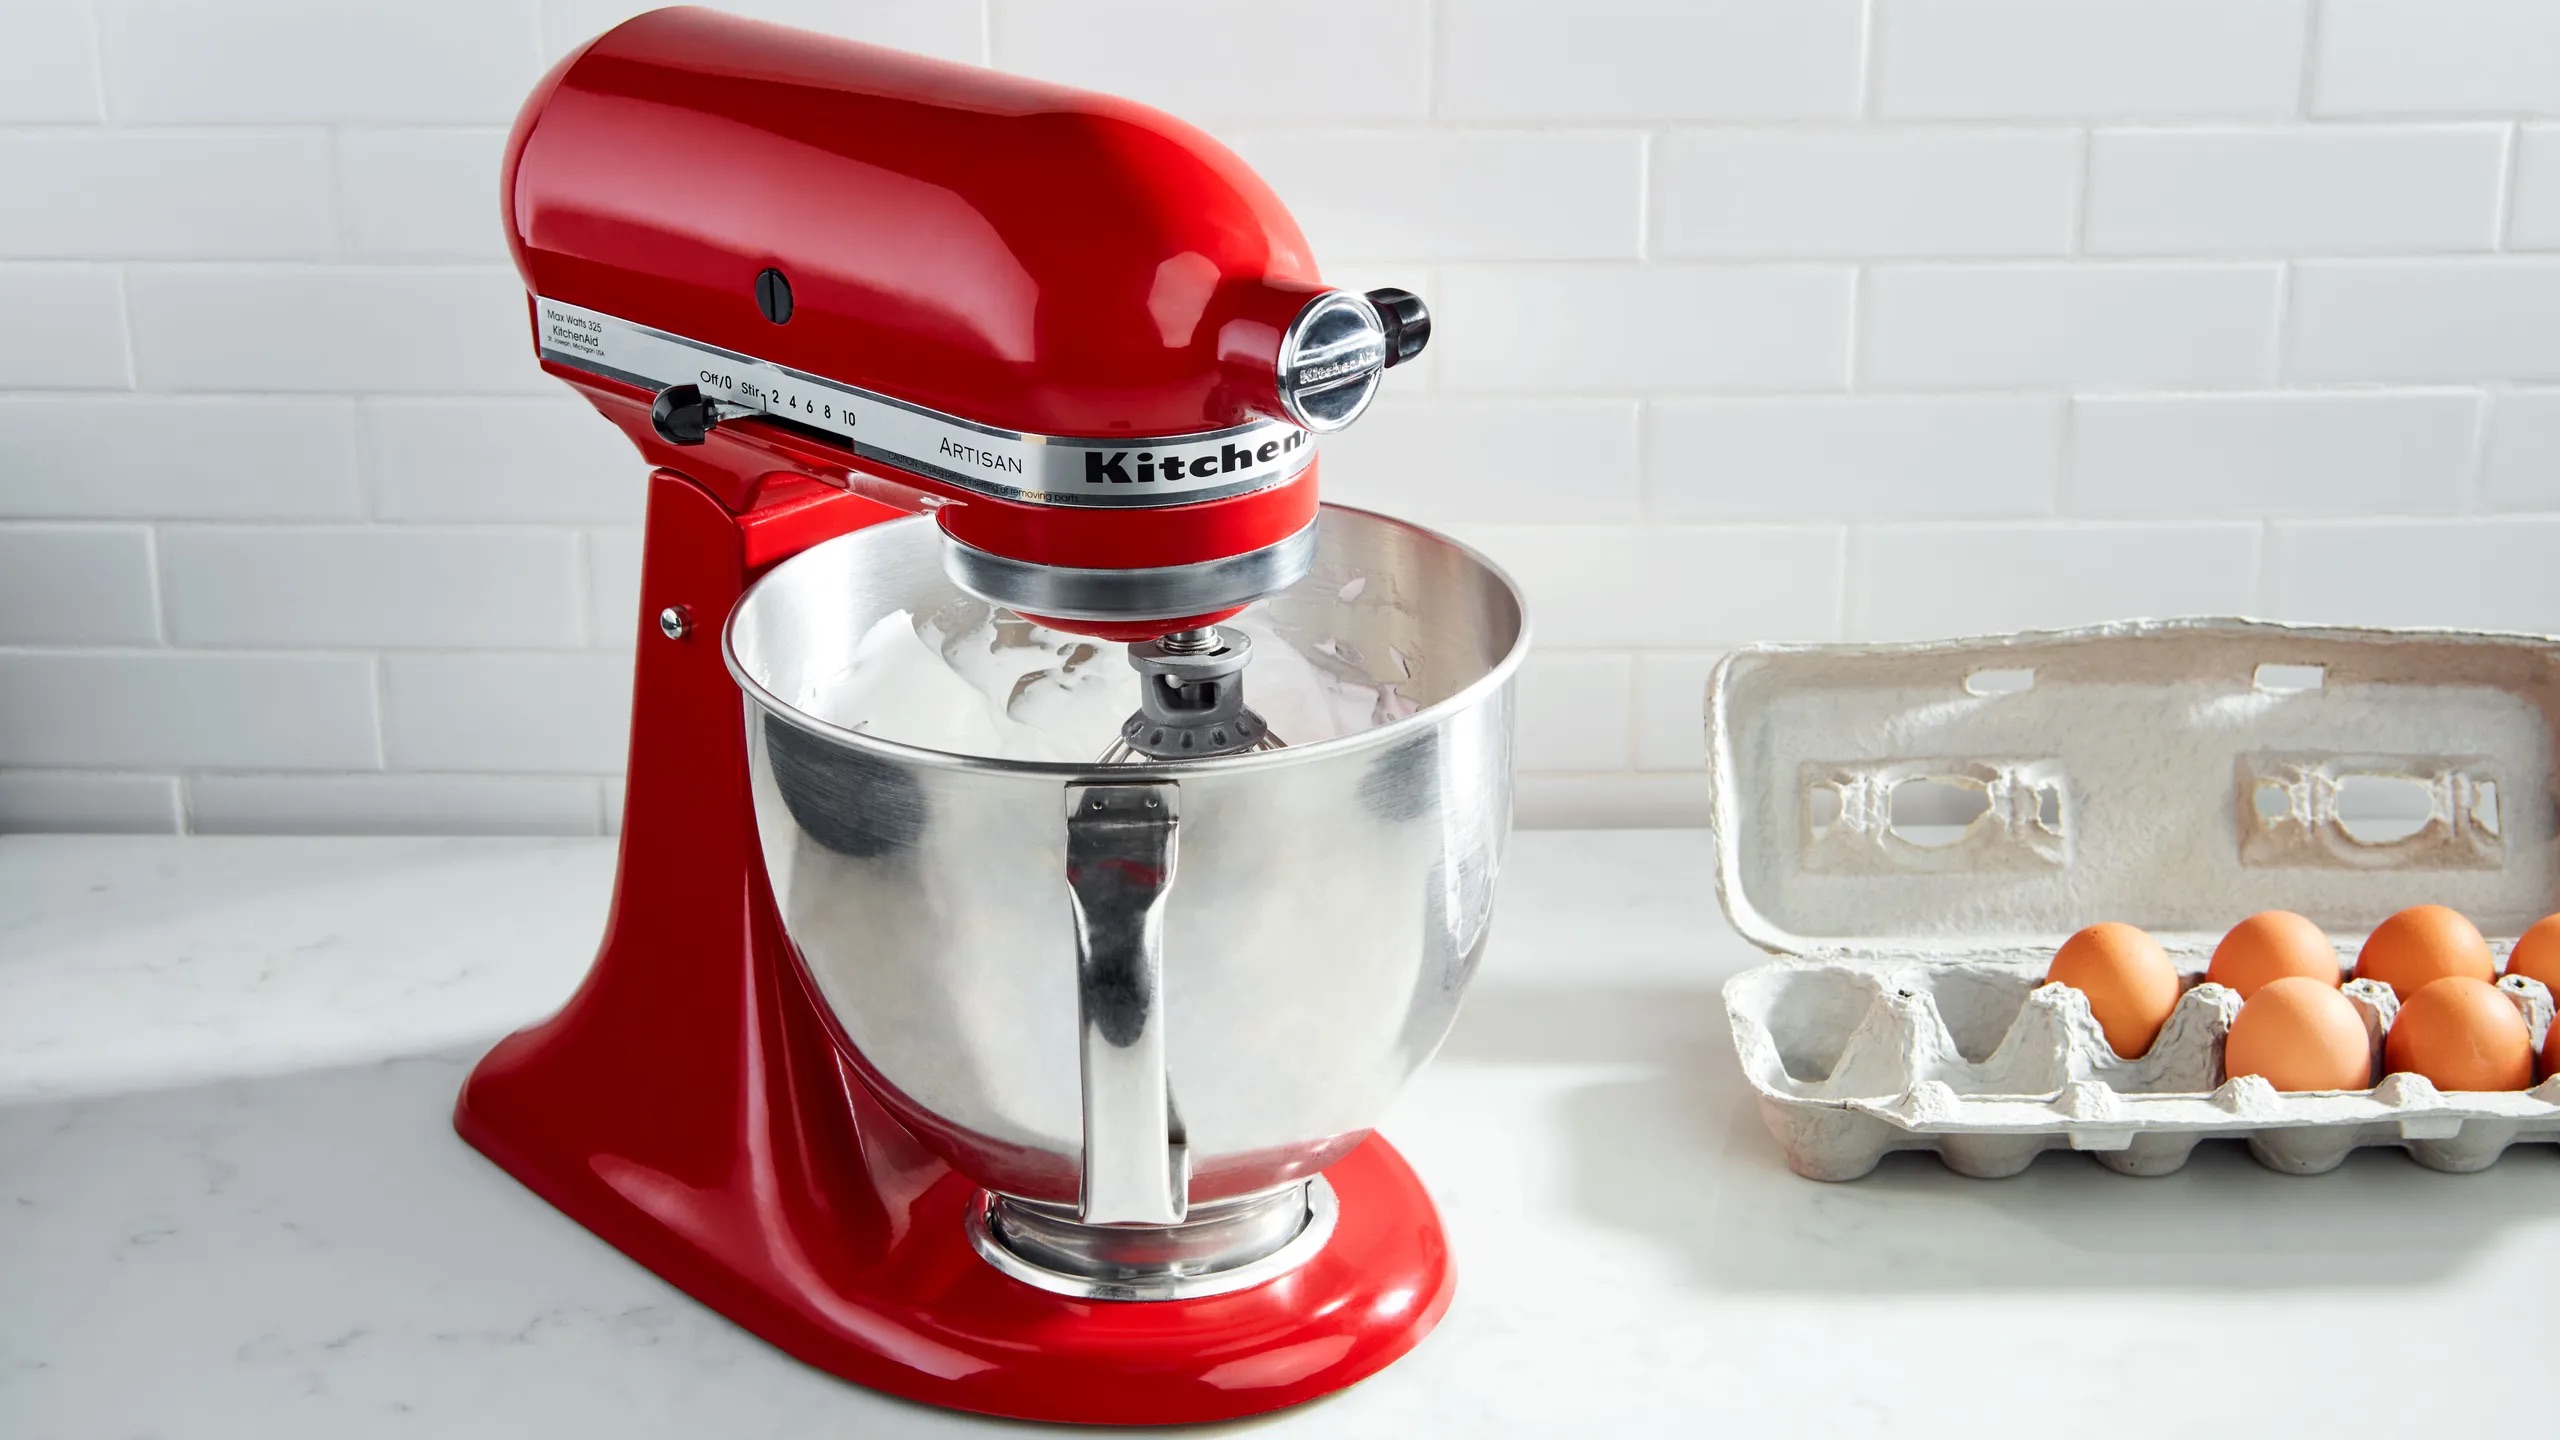
Step 2: Prepare Your KitchenAid Mixer
Before you start mixing your pasta dough, it’s important to ensure that your KitchenAid mixer is properly set up and ready for action. Follow these steps to prepare your mixer:
- Attach the dough hook: Depending on your model, locate the dough hook attachment for the KitchenAid mixer. Insert it into the attachment hub, which is located on the front of the mixer.
- Secure the bowl: Place the mixing bowl on the base of the mixer. Twist it clockwise until it locks into place. Ensure that the bowl sits securely and is not wobbling.
- Adjust the height: Lower the bowl lift by turning the lever on the side of the mixer counterclockwise. Adjust the height so that the dough hook will reach the bottom of the bowl without touching it.
- Power on the mixer: Plug in the mixer and turn it on to the lowest speed. This will prevent any ingredients from flying out of the bowl when you start mixing.
Once your KitchenAid mixer is properly set up, it’s time to move on to the next step: mixing the dough.
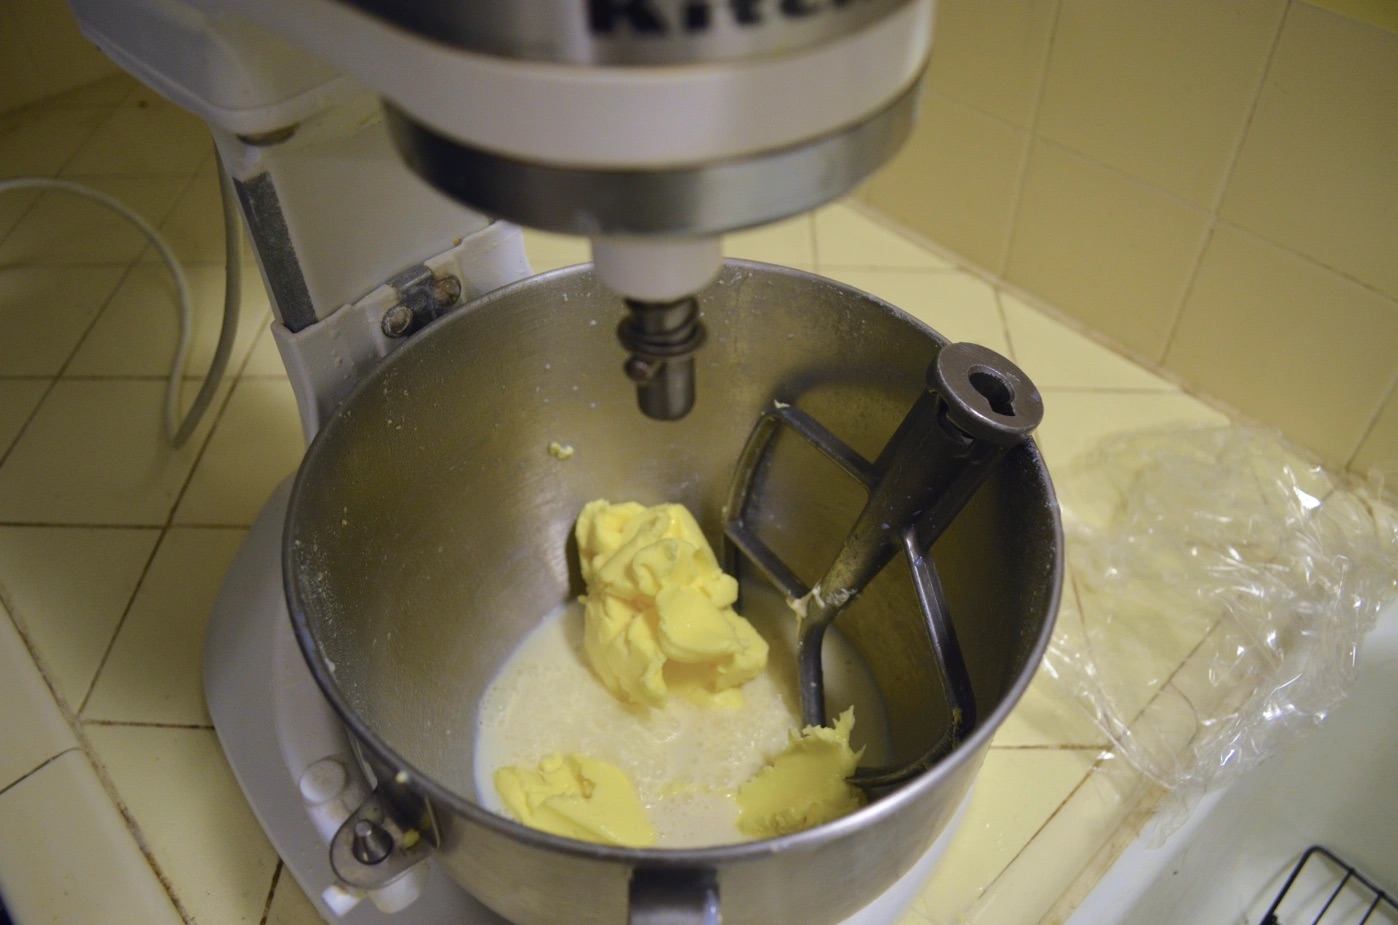
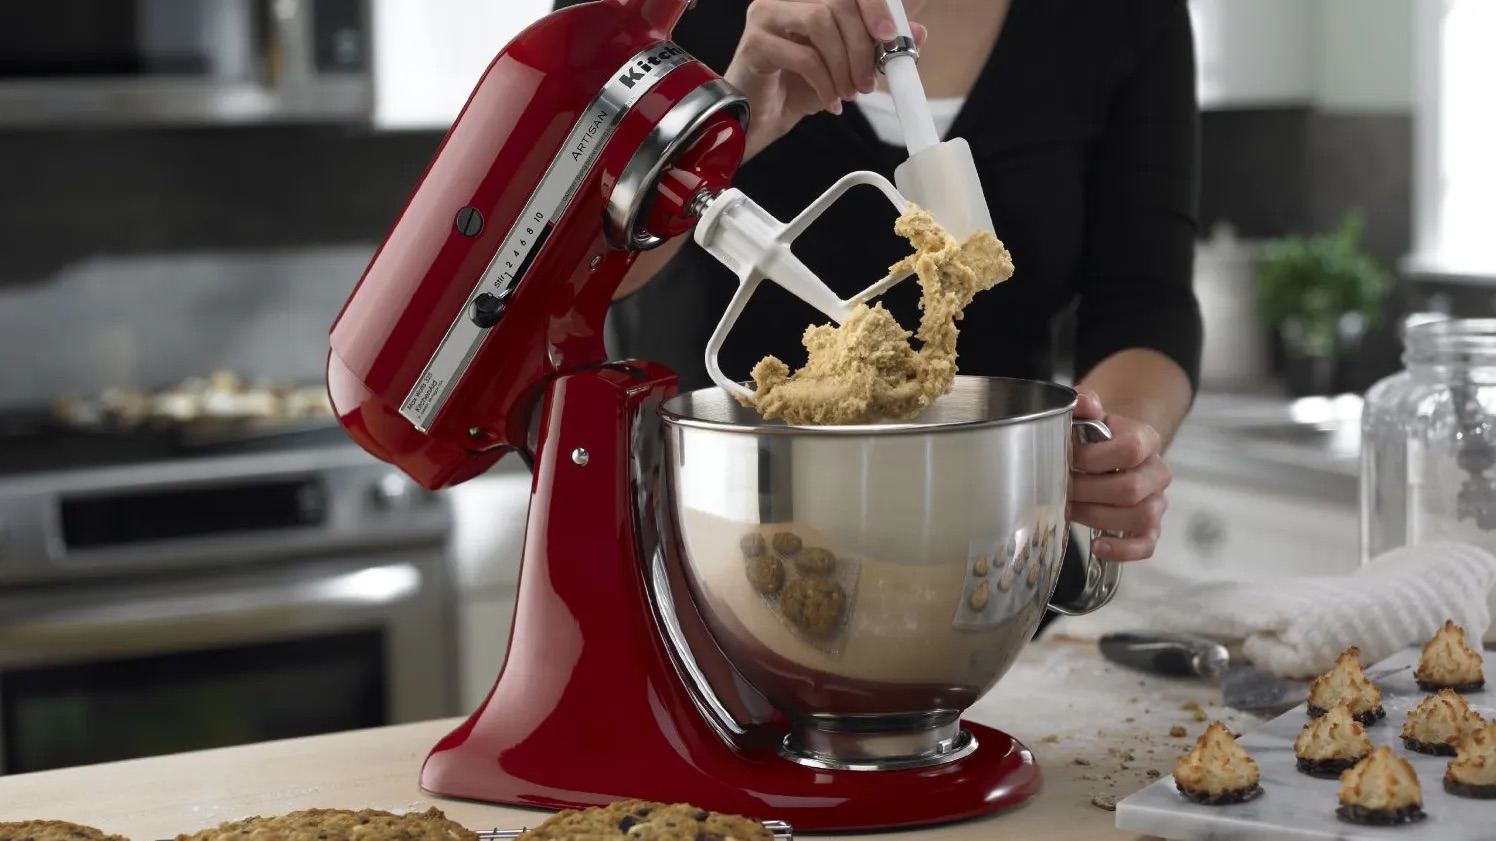
Step 3: Mix the Dough
Now that your KitchenAid mixer is ready, it’s time to mix the pasta dough. Follow these steps:
- Add the dry ingredients: In the mixing bowl of your KitchenAid mixer, add the all-purpose flour and salt. Give it a quick stir with a spoon or spatula to evenly distribute the salt.
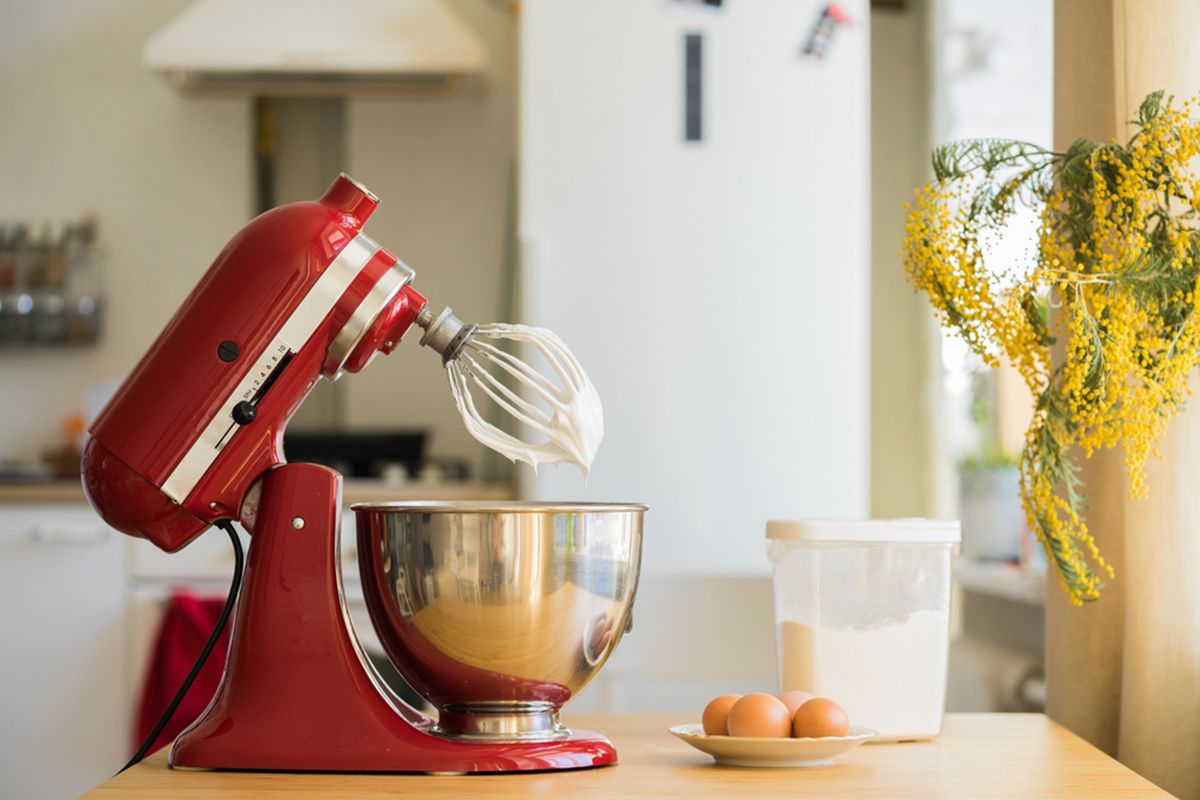
- Combine the wet ingredients: In a separate bowl, beat the eggs and olive oil together. Pour the mixture into the mixing bowl with the dry ingredients.
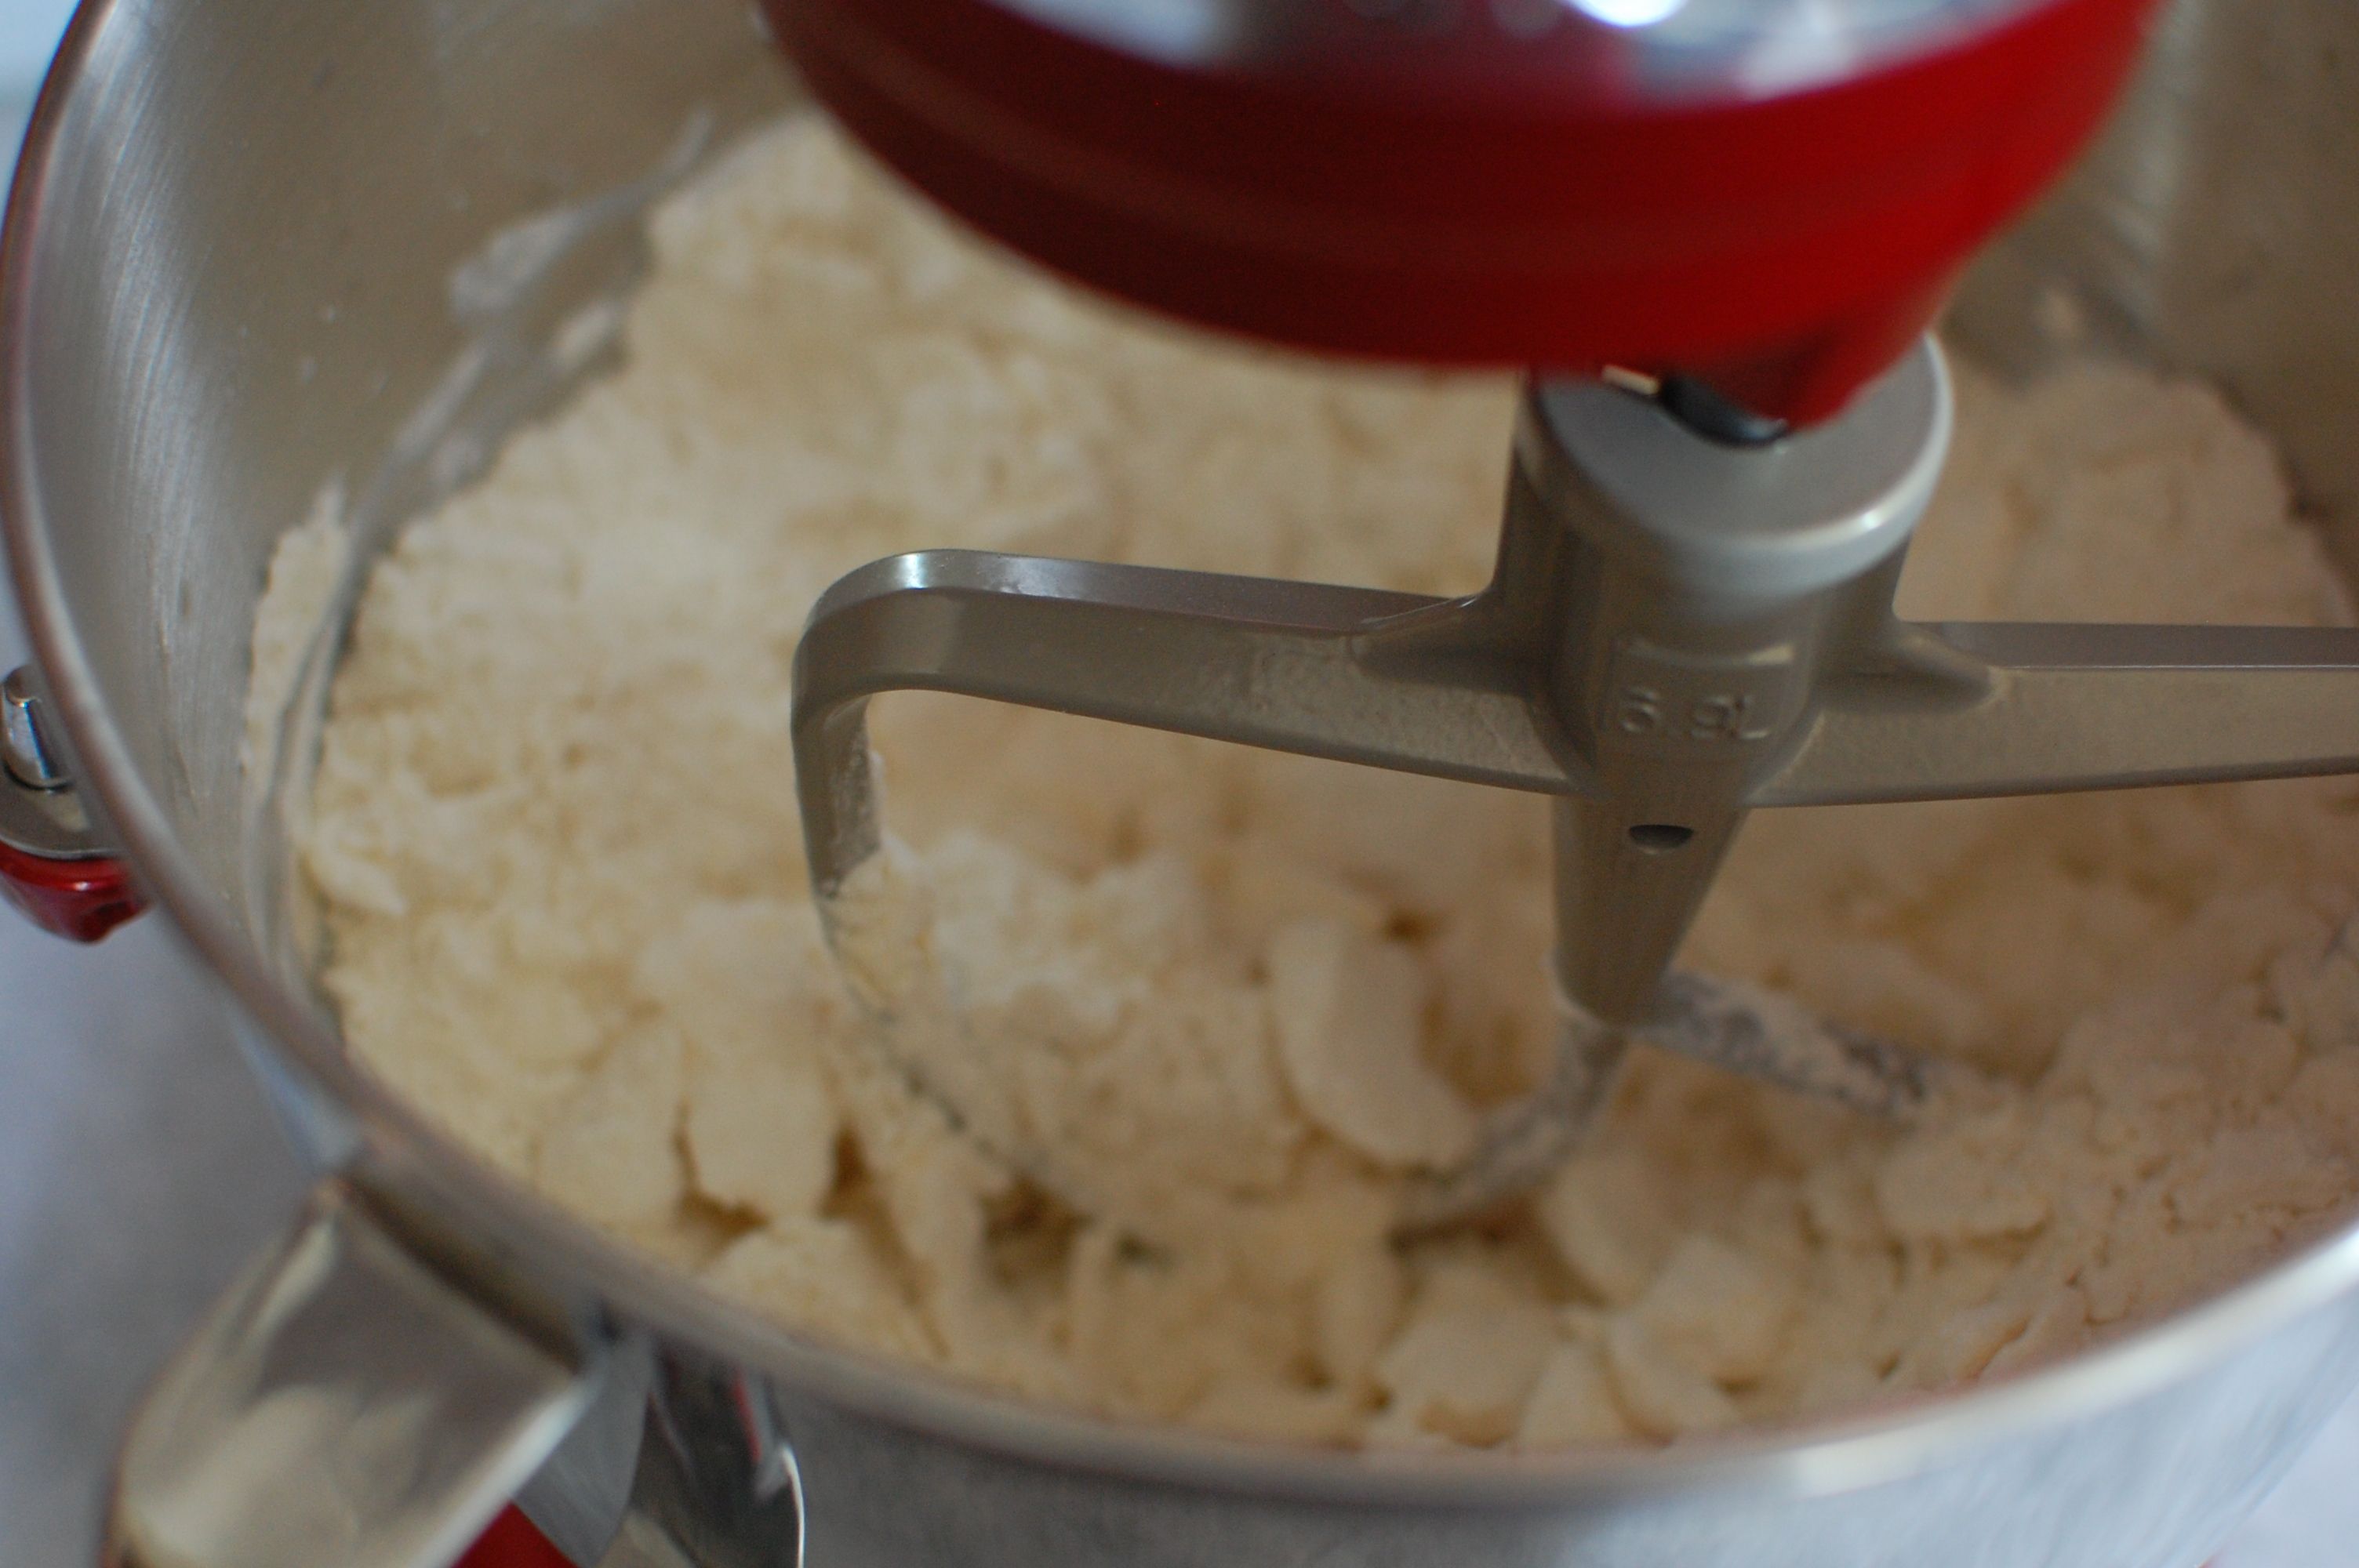
- Start mixing: Attach the bowl to the mixer and lock it in place. Turn the mixer on to the lowest speed setting to begin mixing the dough. Allow the dough hook to knead the ingredients together, gradually increasing the speed to medium-low.
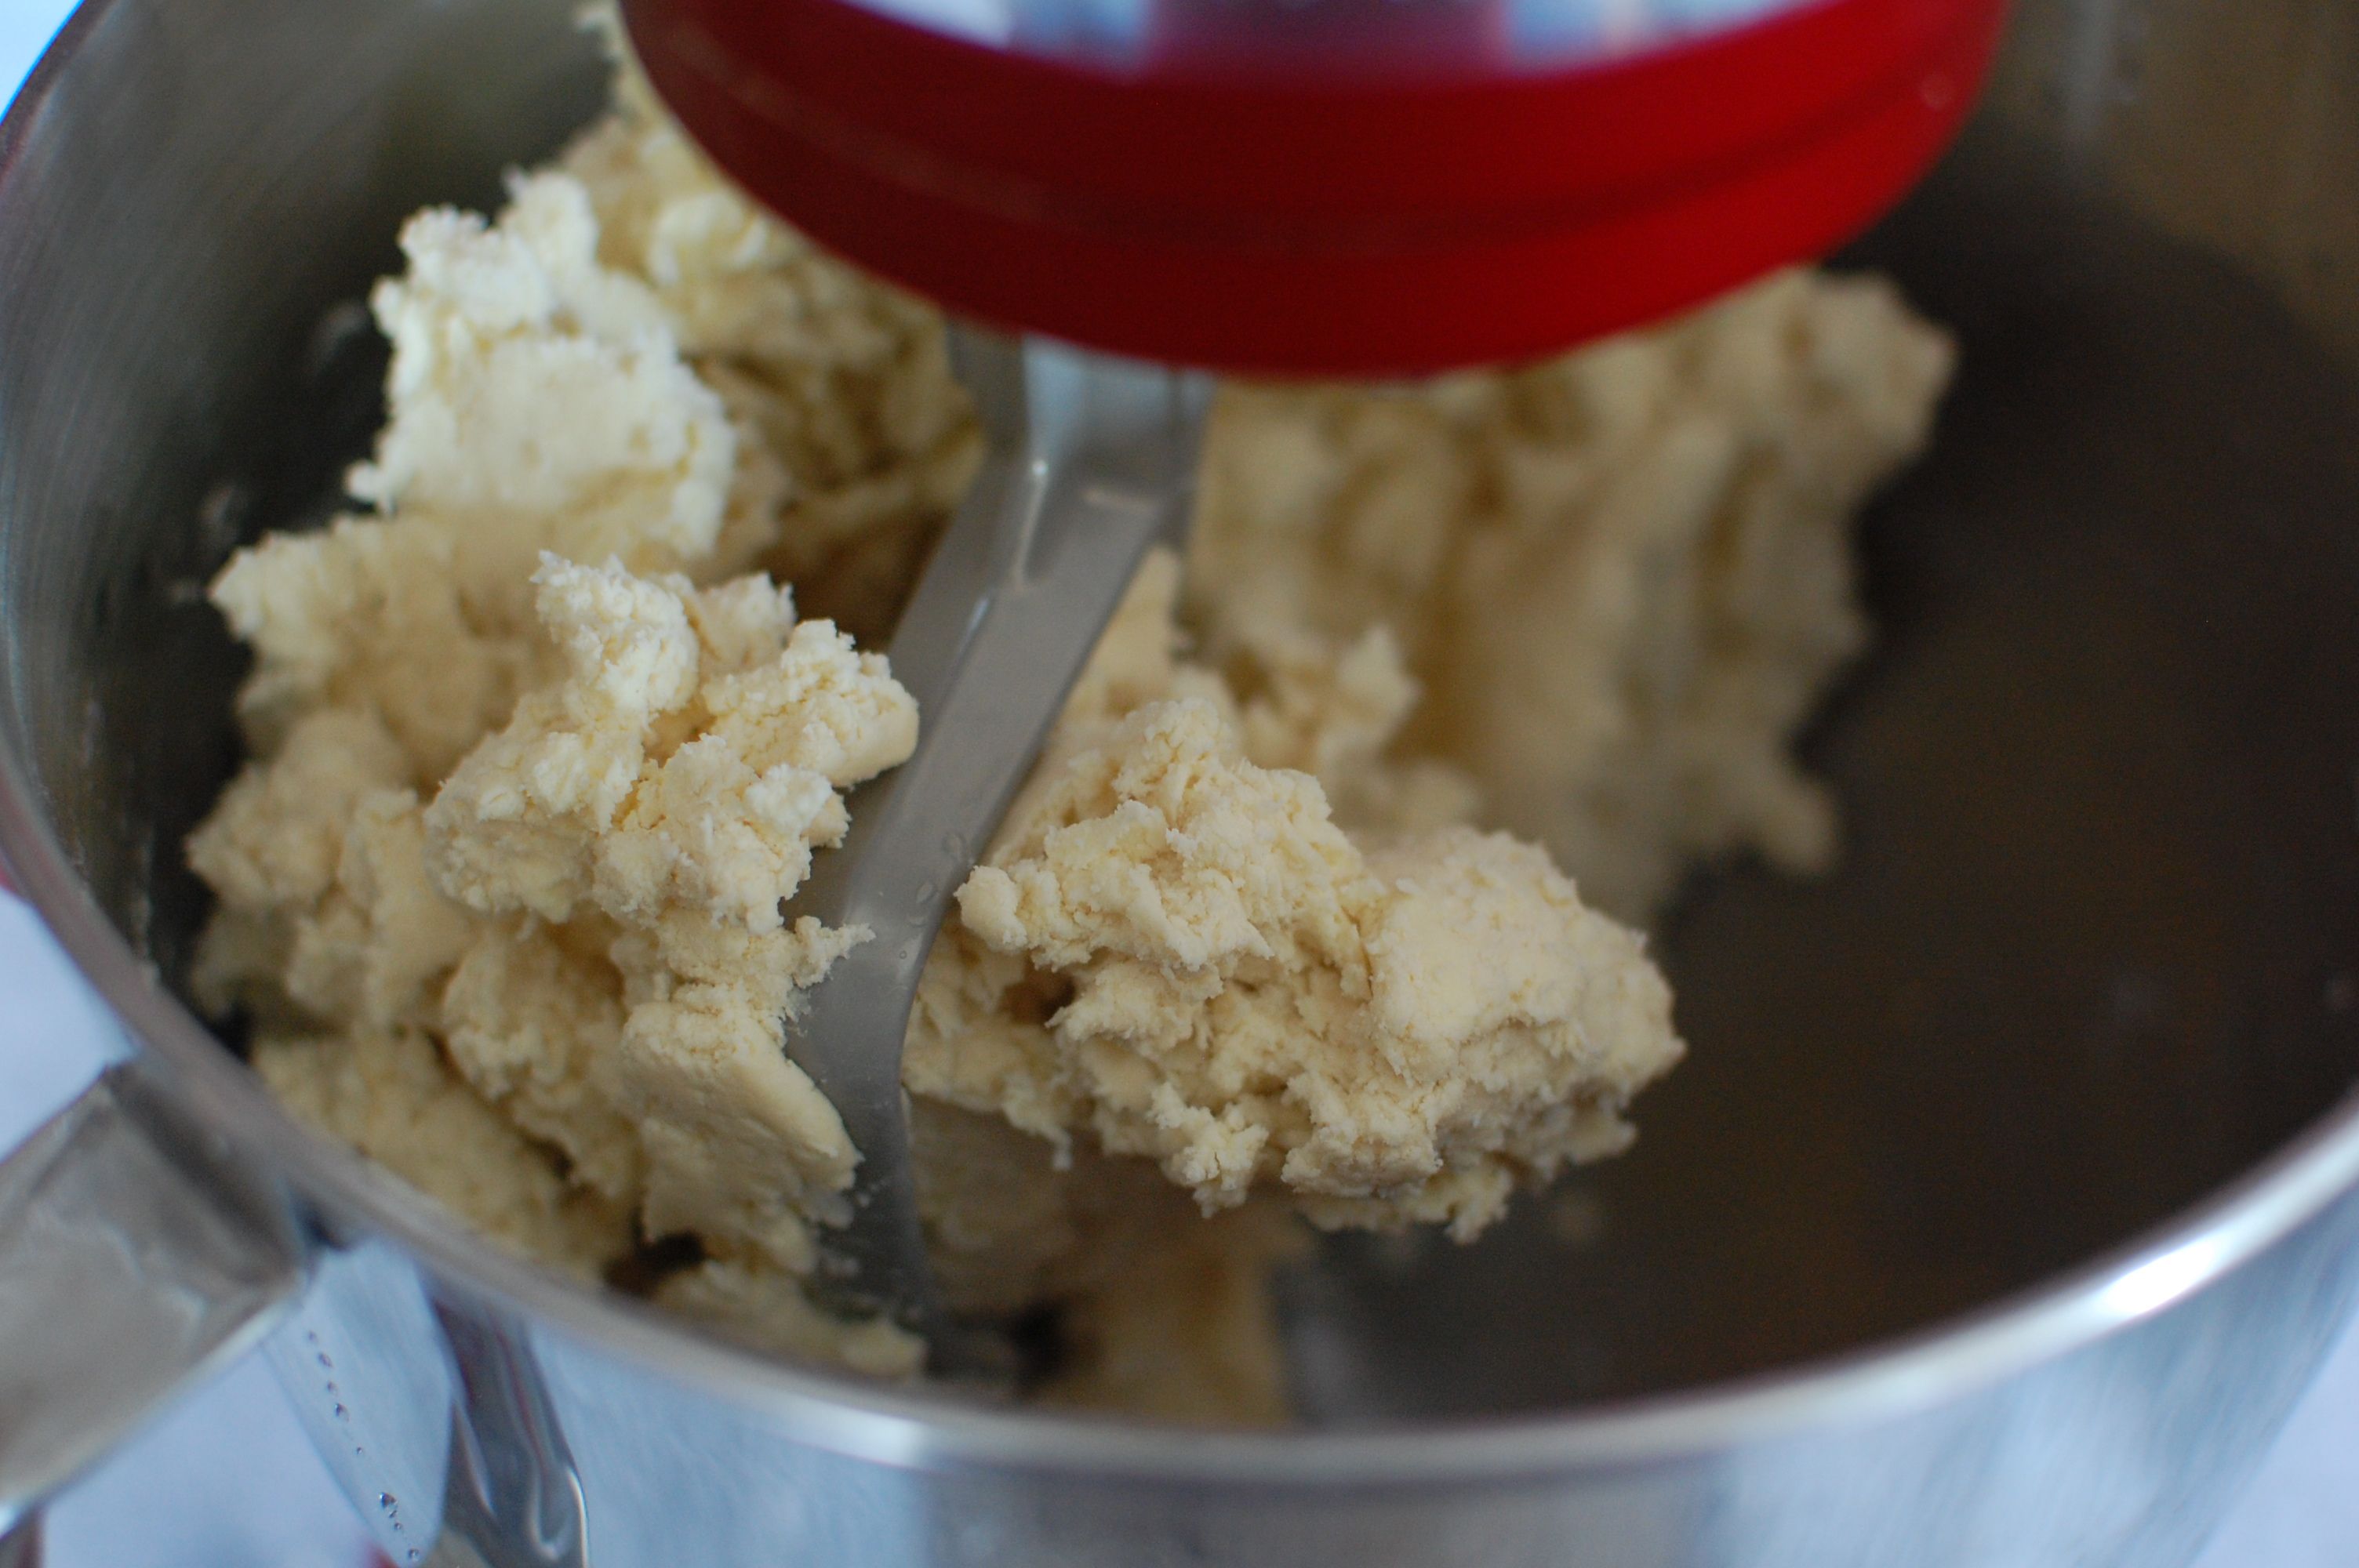
- Check the consistency: As the dough mixes, keep an eye on its consistency. The ideal dough should come together and form a smooth ball. If the dough seems too dry, add water, one tablespoon at a time, until the desired consistency is achieved. If the dough is too sticky, add a little bit of flour.
Allow the KitchenAid mixer to knead the dough for about 5-7 minutes. This will ensure that all the ingredients are well combined and the dough is properly developed. Once the dough is smooth and elastic, it’s time to move on to the next step: resting the dough.
Step 4: Rest the Dough
After the dough has been mixed, it’s important to let it rest for a period of time. Resting allows the gluten in the dough to relax, making it easier to roll out and shape. Follow these steps to rest the pasta dough:
- Remove the dough from the mixing bowl: Turn off the KitchenAid mixer and remove the dough hook. Take the dough out of the bowl and transfer it to a lightly floured surface.
- Knead the dough by hand: Using your hands, knead the dough for a few minutes to further develop the gluten and create a smooth texture. This step will also help distribute the moisture evenly throughout the dough.
- Form the dough into a ball: Shape the dough into a ball and then flatten it slightly with the palm of your hand. This will make it easier to roll out later on.
- Wrap the dough in plastic wrap: Wrap the dough tightly in plastic wrap to prevent it from drying out. Let it rest at room temperature for at least 30 minutes up to 1 hour. This resting period allows the gluten to relax, resulting in a more elastic and workable dough.
While the dough is resting, it’s a good time to clean up your workstation and prepare any sauces or toppings you plan to serve with your pasta. Once the resting time is up, you’re ready to move on to the next step: rolling out the dough.
When making pasta with a Kitchenaid mixer, be sure to use the dough hook attachment for kneading the pasta dough. This will ensure that the dough is properly mixed and kneaded for the best texture.
Read more: Kitchenaid Mixer What To Make
Step 5: Roll Out the Dough
Now that your pasta dough has rested, it’s time to roll it out and transform it into the desired shape. Follow these steps to roll out the dough:
- Unwrap the dough: Remove the plastic wrap from the rested dough and place it on a lightly floured surface. Dust the top of the dough with a little flour to prevent sticking.
- Divide the dough: If you’re making a large batch of pasta, consider dividing the dough into smaller portions. This will make it easier to handle and roll out.
- Flatten the dough: Using a rolling pin, begin flattening the dough. Roll from the center outwards, applying even pressure as you go. Rotate the dough frequently to ensure it doesn’t stick to the surface.
- Continue rolling: Gradually roll the dough into a thin, even sheet. Aim for a thickness of about 1/8 inch, but feel free to adjust according to your preference.
- Shape the pasta: Once the dough is rolled out, you can shape it into your desired pasta variety. Consider using a pasta attachment for your KitchenAid mixer to cut the dough into shapes like spaghetti, fettuccine, or lasagna sheets.
As you roll out the dough, periodically dust it with a little flour to prevent sticking. Don’t be afraid to experiment with different shapes and sizes to create unique pasta dishes. Once the dough is rolled and shaped, it’s time to move on to the next step: cutting the pasta.
Step 6: Cut the Pasta
With your rolled-out pasta dough ready, it’s time to cut it into the desired shapes. Follow these steps to cut your pasta:
- Prepare the pasta attachment: If you have a pasta attachment for your KitchenAid mixer, attach it according to the manufacturer’s instructions. These attachments make the process of cutting pasta much easier and efficient.
- Feed the dough through the attachment: Take a portion of your rolled-out pasta dough and lightly dust it with flour. Pass it through the pasta attachment, starting with the widest setting.
- Gradually adjust the settings: Run the pasta dough through the attachment, gradually narrowing the setting each time. Keep passing the dough through the attachment until you achieve the desired thickness for your pasta.
- Catch the cut pasta: As the dough passes through the attachment, you’ll see it being cut into your chosen pasta shape. Be ready to catch the freshly cut pasta with your hands or a clean, dry surface to prevent it from sticking together.
- Continue with the remaining dough: Repeat the process with the remaining dough portions, adjusting the settings as necessary, until all the pasta is cut.
Once you’ve cut all your pasta, it’s time to move on to the final step: cooking and serving your homemade creation.
Step 7: Cook and Serve
After all the hard work of making your homemade pasta with your KitchenAid mixer, it’s time to cook it to perfection and enjoy the tasty results. Follow these steps to cook and serve your pasta:
- Bring a pot of water to a boil: Fill a large pot with water and bring it to a rolling boil. Add a generous amount of salt to the boiling water to season the pasta.
- Add the pasta to the boiling water: Carefully drop the fresh pasta into the boiling water. Gently stir to prevent the pasta from sticking together.
- Cook until al dente: Cooking time may vary depending on the thickness of the pasta and your personal preference. Fresh pasta generally cooks much quicker than dried pasta. Start testing the pasta for doneness a few minutes after adding it to the water. The pasta should be firm to the bite, known as “al dente.”
- Drain the pasta: Once the pasta is cooked to your liking, carefully drain it using a colander or pasta strainer. Shake off any excess water.
- Serve with your favorite sauce: Transfer the drained pasta to a serving bowl or individual plates. Toss with your favorite sauce, such as marinara, Alfredo, or pesto. Garnish with grated cheese, fresh herbs, or any other desired toppings.
Now it’s time to savor your homemade pasta creation. Gather around the table, invite friends or family, and enjoy the fruits of your labor. With your KitchenAid mixer, you’ve created a delicious and satisfying meal that’s sure to impress.
Remember, practice makes perfect when it comes to making homemade pasta. So don’t be discouraged if your first attempt isn’t exactly as you envisioned. As you gain experience and experiment with different ingredients and techniques, you’ll become a master of pasta making with your trusty KitchenAid mixer.
So, get ready to unleash your creativity, try new flavors, and enjoy the satisfaction of making fresh pasta from scratch. Buon appetito!
Conclusion
Using a KitchenAid mixer to make pasta opens up a world of possibilities in your culinary endeavors. It simplifies the process, saves time, and allows you to create delicious, homemade pasta right in the comfort of your own kitchen.
In this article, we’ve walked you through the step-by-step process of making pasta with a KitchenAid mixer. From gathering the ingredients to rolling out the dough and cutting it into various shapes, we’ve covered all the essential steps to create perfect pasta. By following these instructions, you can experience the joy of crafting your own pasta creations, customized to your taste preferences.
With your KitchenAid mixer and a little practice, you can experiment with different flavors, shapes, and textures of pasta. Whether you prefer classic spaghetti, hearty fettuccine, or delicate ravioli, the possibilities are endless.
So, why settle for store-bought pasta when you can impress your friends, family, and even yourself with a plate of fresh, homemade goodness? Bring out your inner Italian chef, embrace the art of pasta making, and elevate your culinary skills with the help of your versatile KitchenAid mixer.
Now that you have the knowledge and guidance to embark on your pasta-making journey, it’s time to bring your KitchenAid mixer out of hibernation and get cooking. So, gather your ingredients, prepare your mixer, and let your creativity soar as you craft delicious homemade pasta that will delight your taste buds.
Remember, practice makes perfect, so don’t be discouraged if your first attempt isn’t flawless. Enjoy the process, have fun experimenting with different recipes, and soon enough, you’ll be serving up restaurant-quality pasta that will leave everyone craving for more.
So, what are you waiting for? Dust off that KitchenAid mixer, roll up your sleeves, and let the pasta-making adventure begin!
Frequently Asked Questions about How To Make Pasta With A Kitchenaid Mixer
Was this page helpful?
At Storables.com, we guarantee accurate and reliable information. Our content, validated by Expert Board Contributors, is crafted following stringent Editorial Policies. We're committed to providing you with well-researched, expert-backed insights for all your informational needs.


0 thoughts on “How To Make Pasta With A Kitchenaid Mixer”