
Articles
How To Make Soaps And Candles
Modified: August 28, 2024
Learn how to make beautiful soaps and candles with our informative articles. Discover step-by-step guides, tips, and tricks for creating your own homemade creations.
(Many of the links in this article redirect to a specific reviewed product. Your purchase of these products through affiliate links helps to generate commission for Storables.com, at no extra cost. Learn more)
Introduction
Soap making and candle making are popular hobbies that allow individuals to express their creativity while also providing practical products for personal use or gifting. Whether you have a passion for handmade crafts or are simply looking for a new hobby to explore, learning how to make soaps and candles can be a fulfilling and rewarding experience.
Both soap making and candle making share some similarities in terms of supplies and techniques. However, they each require their own unique set of skills and processes. In this article, we will guide you through the basics of soap making and candle making, providing step-by-step instructions, tips, and insights into the different types of soaps and candles you can create.
Before diving into the specific processes, let’s take a look at the supplies you’ll need to get started with soap making and candle making.
Key Takeaways:
- Unleash Your Creativity: Soap making and candle making offer endless possibilities for personalized, visually appealing, and functional products. Enjoy the process, experiment with different types, and share your unique creations with others.
- Prioritize Safety and Enjoyment: Whether crafting soaps or candles, prioritize safety while indulging in the joy of creating. Follow safety tips, troubleshoot common issues, and savor the satisfaction of handmade products.
Supplies Needed
Before venturing into the world of soap making and candle making, it’s important to gather all the necessary supplies. Here are the essential items you’ll need:
Soap Making Supplies:
- Lye (sodium hydroxide)
- Water
- Base oils (such as coconut oil, olive oil, or palm oil)
- Fragrance oils or essential oils
- Colorants (natural or synthetic)
- Additives (such as exfoliants, herbs, or clays)
- Mold or soap loaf
- Thermometer
- Mixing bowls
- Scale
- Stick blender or whisk
- Gloves and safety goggles
Candle Making Supplies:
- Wax (such as soy wax, beeswax, or paraffin wax)
- Wicks
- Fragrance oils or essential oils
- Colorants (liquid or dye chips)
- Containers or molds
- Thermometer
- Double boiler or melting pot
- Pouring pitcher
- Stirring utensil (such as a wooden spoon or metal whisk)
- Scale
- Candlewick stickers or glue dots
- Wick trimmer
These are the basic supplies you’ll need to get started, but depending on your preferences and the type of soap or candle you want to create, additional materials may be required. Now that you have your supplies ready, let’s jump into the soap making and candle making processes.
Soap Making Process
Soap making involves a chemical reaction between lye and oils or fats, known as saponification. Here is a step-by-step guide to help you create your own handmade soap:
- Protective Gear: Before you begin, ensure you are wearing gloves and safety goggles to protect yourself from any potential chemical splashes.
- Measure the Ingredients: Begin by accurately measuring the lye and water according to the recipe you’re using. It’s crucial to follow the exact measurements to maintain safety and achieve the desired results.
- Combine Lye and Water: In a well-ventilated area, slowly add the lye to the water, stirring gently until the lye is completely dissolved. This mixture will release fumes, so take caution and avoid inhaling them.
- Melt and Prepare the Oils: While the lye mixture cools down, melt the base oils in a separate container over low heat. You can customize the oils to create a soap that suits your preferences, such as combining coconut oil, olive oil, and shea butter.
- Mix the Lye and Oils: Once both the lye mixture and oils reach a similar temperature (around 100-110°F), slowly pour the lye solution into the oils while stirring continuously. Use a stick blender or whisk to thoroughly mix the ingredients until you reach a light trace, which is a thin pudding-like consistency.
- Add Fragrance and Color: If desired, add fragrance oils or essential oils to the soap batter, along with colorants. Mix well to distribute the fragrance and color evenly throughout the mixture.
- Pour into Mold: Pour the soap batter into a mold or soap loaf lined with parchment paper. Ensure the mold is properly supported and leveled.
- Curing Process: Cover the soap mold with a lid or plastic wrap, insulate it with towels or blankets, and let it sit undisturbed for 24-48 hours to allow saponification to occur. Afterward, remove the soap from the mold and cut it into bars. Place the bars on a drying rack or tray and allow them to cure for 4-6 weeks, turning them every few days to ensure even drying.
- Enjoy and Share: Once the soap has cured, it is ready to be used or gifted to others. Enjoy the nourishing and cleansing experience of your handmade soap.
This basic soap making process can be customized with various additives, such as exfoliants like oatmeal or cornmeal, herbs, or clays, to create unique soaps with different properties and benefits for the skin.
Read more: How To Make Homemade Dishwasher Soap
Candle Making Process
Candle making is a creative and enjoyable craft that allows you to make beautiful and aromatic candles. Here’s a step-by-step guide to help you get started:
- Prepare Your Workspace: Clear a clean and clutter-free area to work in, making sure it is well-ventilated. Place a protective covering on the surface to catch any spills or drips.
- Melt the Wax: If using solid wax, chop it into small pieces for easier melting. Use a double boiler or a melting pot to melt the wax over low heat. Never melt wax directly on a stovetop or open flame as it can be highly flammable.
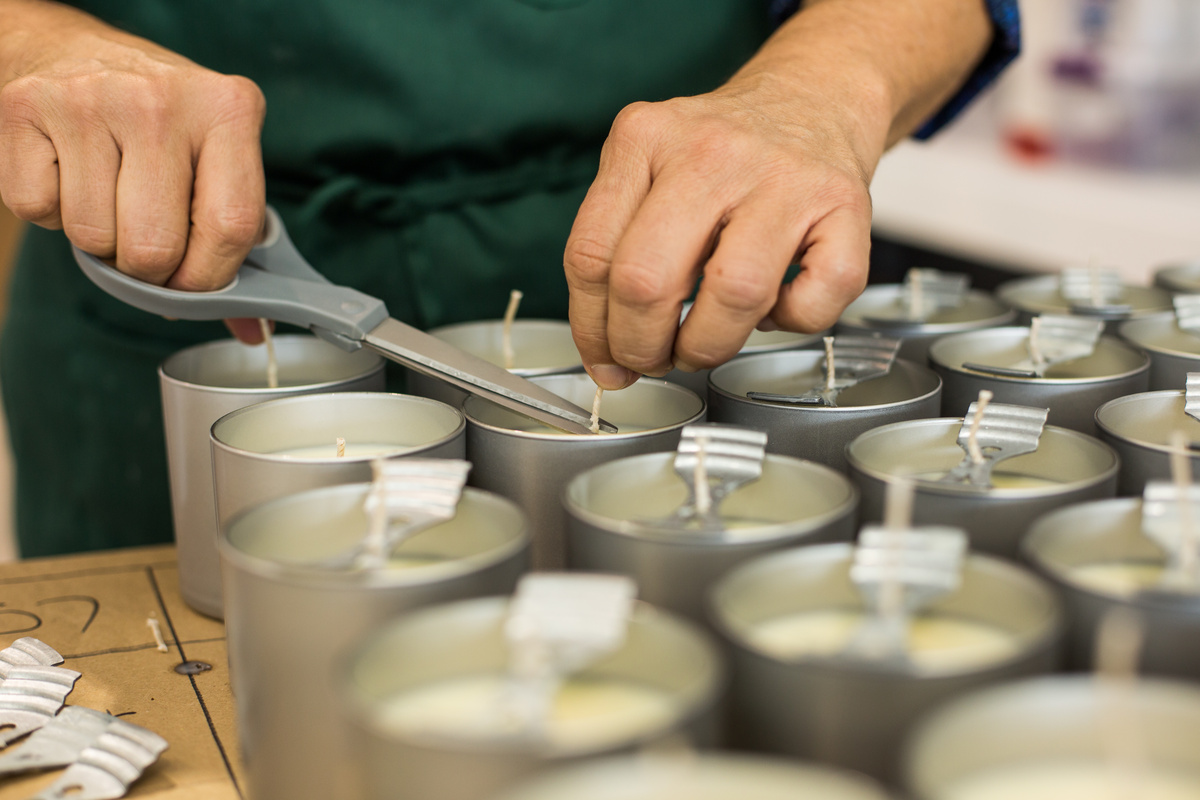
- Prepare the Container: While the wax is melting, prepare your chosen candle container by inserting the wick. Secure the wick to the bottom using a wick sticker or glue dot, ensuring it is centered in the container.
- Add Fragrance and Color: Once the wax is completely melted, remove it from the heat and add your desired fragrance oil or essential oil, following the recommended dosage. If desired, add colorants to achieve the desired hue. Stir gently to evenly distribute the fragrance and color.
- Pour the Wax: Slowly pour the melted wax into the prepared container, taking care not to disturb the wick. Leave some space at the top to allow for any shrinkage during cooling.
- Secure the Wick: To keep the wick centered and upright, you can use a wick holder or tie it around a pencil laid across the top of the container. This will prevent the wick from leaning or falling as the wax solidifies.
- Cool and Cure: Allow the candle to cool and solidify completely. This process may take several hours, depending on the size of the candle. Avoid moving or disturbing the candle during this time to ensure a smooth and even finish.
- Trim the Wick: Once the candle is fully cooled and hardened, trim the wick to a length of about ¼ inch. This will help with a clean and efficient burn when the candle is lit.
- Enjoy and Share: Your handcrafted candle is now ready to be enjoyed. Light it up and savor the warm glow and delightful fragrance it emits. You can also gift your homemade candles to friends and loved ones for special occasions.
Remember to always follow safety precautions when working with hot wax and open flames. Never leave a lit candle unattended and place it on a heat-resistant surface.
Experiment with different types of waxes, fragrances, and container designs to create personalized candles that reflect your style and preferences.
Different Types of Soaps
Soap making offers a wide range of possibilities in terms of ingredients, techniques, and designs. Here are some popular types of soaps that you can experiment with:
1. Cold Process Soap:
Cold process soap is made by combining oils and lye, allowing them to saponify naturally without the need for additional heat. This method gives you the flexibility to incorporate a variety of oils, fragrances, and colorants. The curing process for cold process soap typically takes 4-6 weeks.
2. Melt and Pour Soap:
Melt and pour soap is a beginner-friendly method that involves melting pre-made soap bases and adding fragrance, color, and additives. This process eliminates the need to work with lye, making it a safe and convenient option for beginners. The finished bars of melt and pour soap can be used immediately after they solidify.
Read more: How To Make A Foaming Soap Dispenser
3. Transparent Soap:
Transparent soap is made using a high percentage of alcohol and sugar, which helps create a clear and translucent appearance. This type of soap is known for its elegant and glossy look and can be customized with various colors, fragrances, and embeds.
4. Exfoliating Soap:
Exfoliating soaps are infused with scrubbing agents that help remove dead skin cells, leaving your skin feeling renewed and rejuvenated. Common exfoliants include ground coffee, oatmeal, sea salt, and pumice powder.
5. Gentle and Sensitive Skin Soap:
For those with sensitive skin, making gentle and nourishing soaps is essential. Choose oils and additives that are known to be soothing and mild, such as olive oil, shea butter, aloe vera, and oat milk.
6. Herbal Soap:
Herbal soaps are made by incorporating dried herbs or herbal infusions into the soap batter. Popular herbs include lavender, calendula, chamomile, and rosemary. These soaps not only provide a delightful fragrance but may also offer additional skin benefits.
These are just a few examples of the different types of soaps you can create. Feel free to experiment with various ingredients, colors, and designs to make unique and personalized soaps that suit your preferences and needs.
Read more: How To Make A Heater With Candles
Different Types of Candles
Candle making allows for a wide range of creativity, allowing you to explore different types of candles with unique designs, scents, and purposes. Here are some popular types of candles you can make:
1. Container Candles:
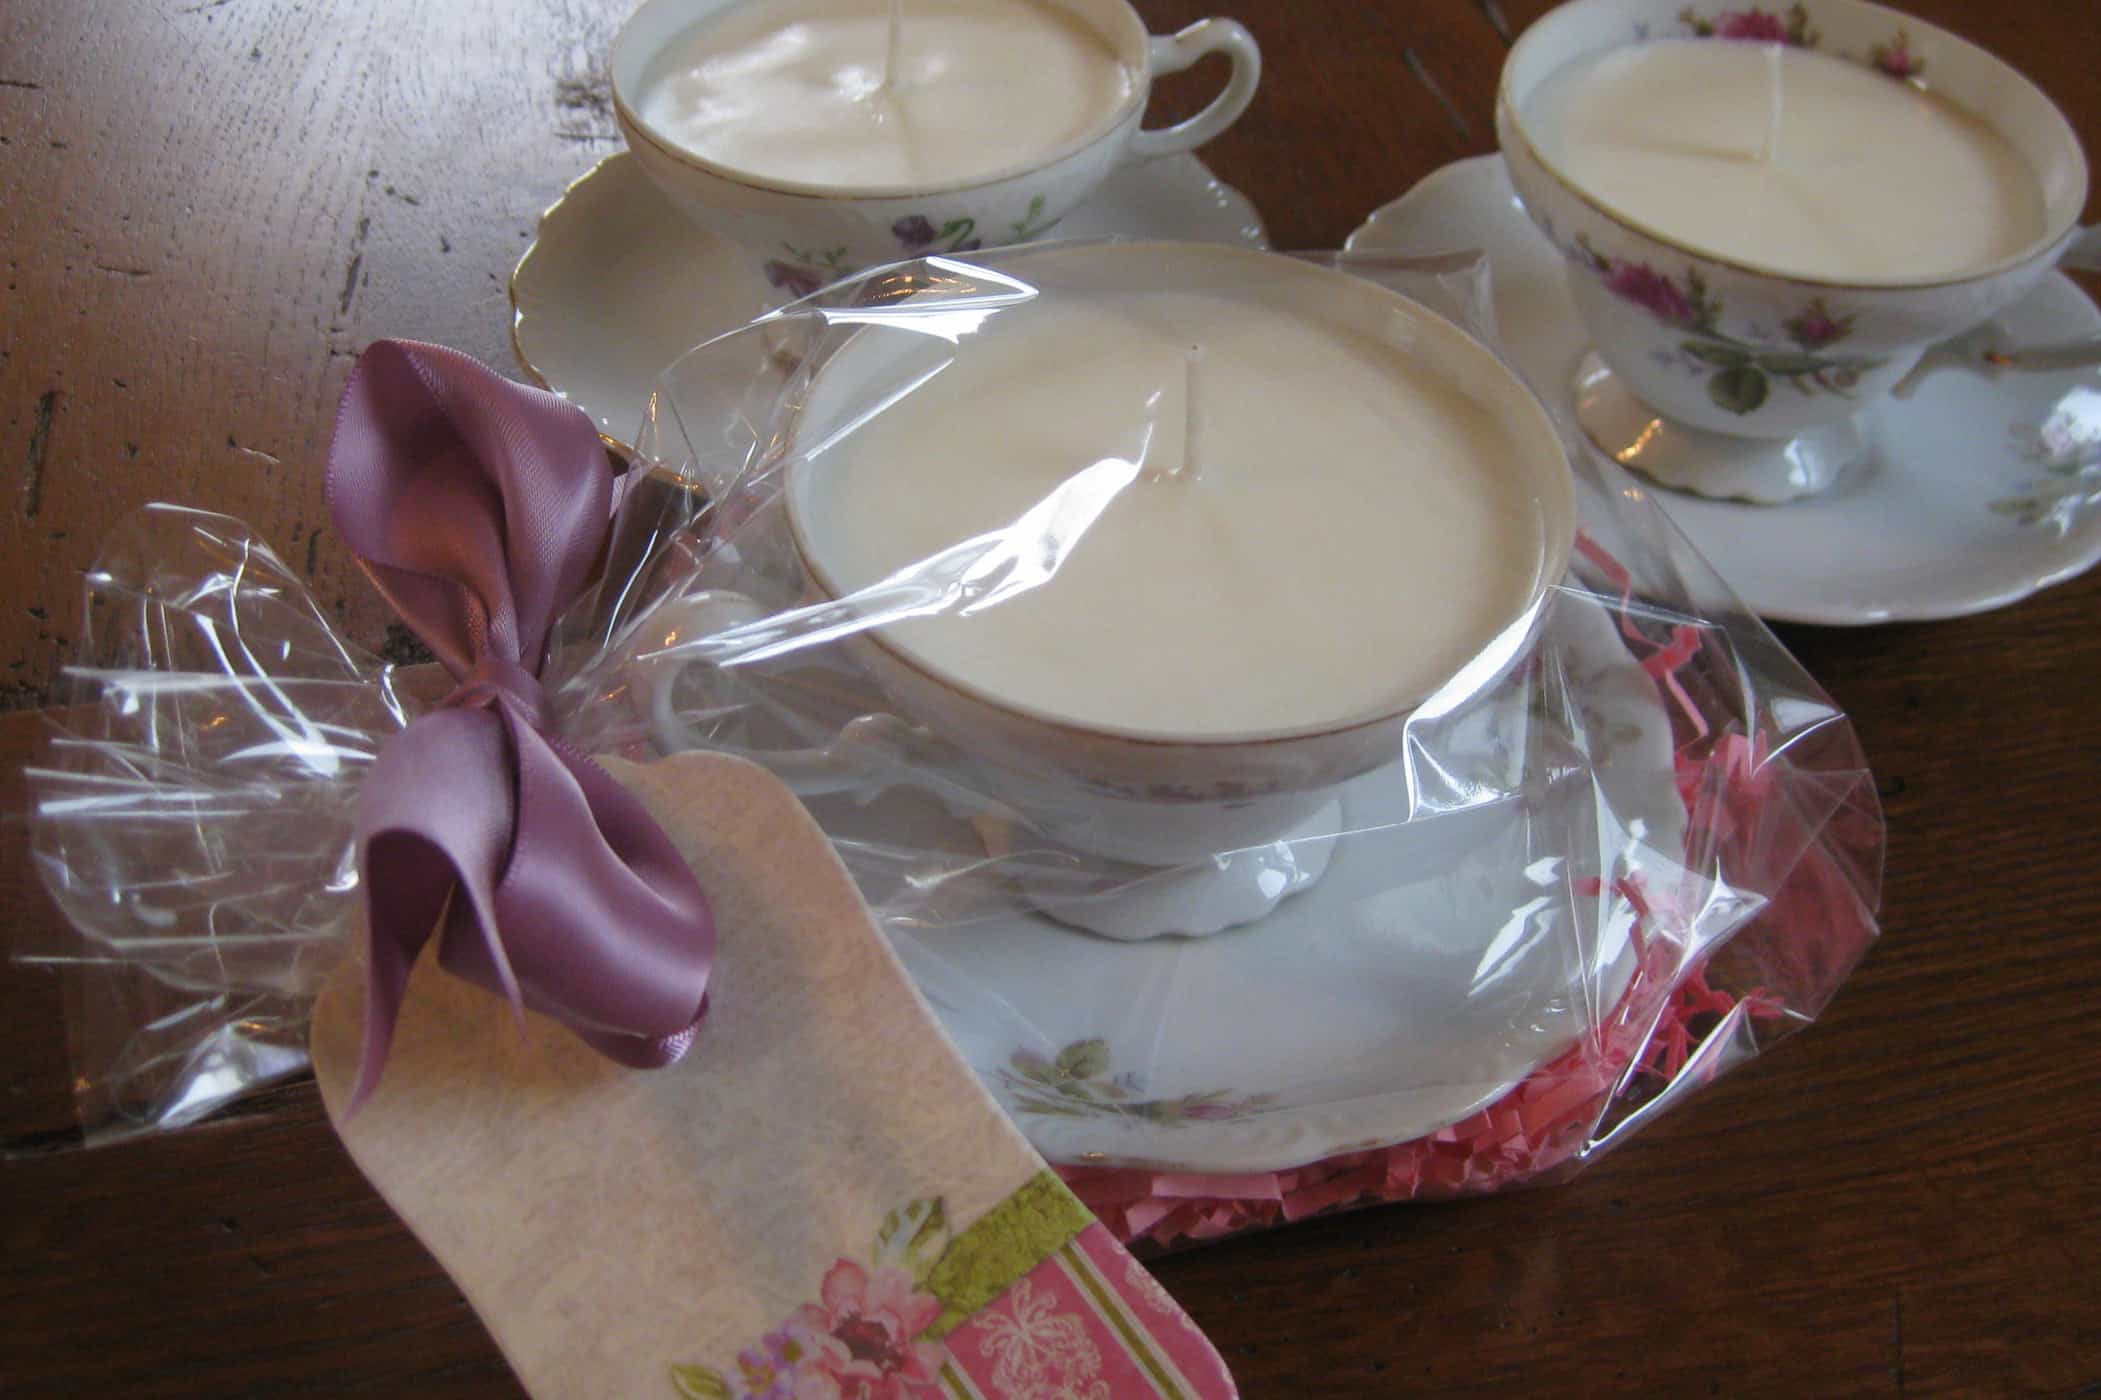
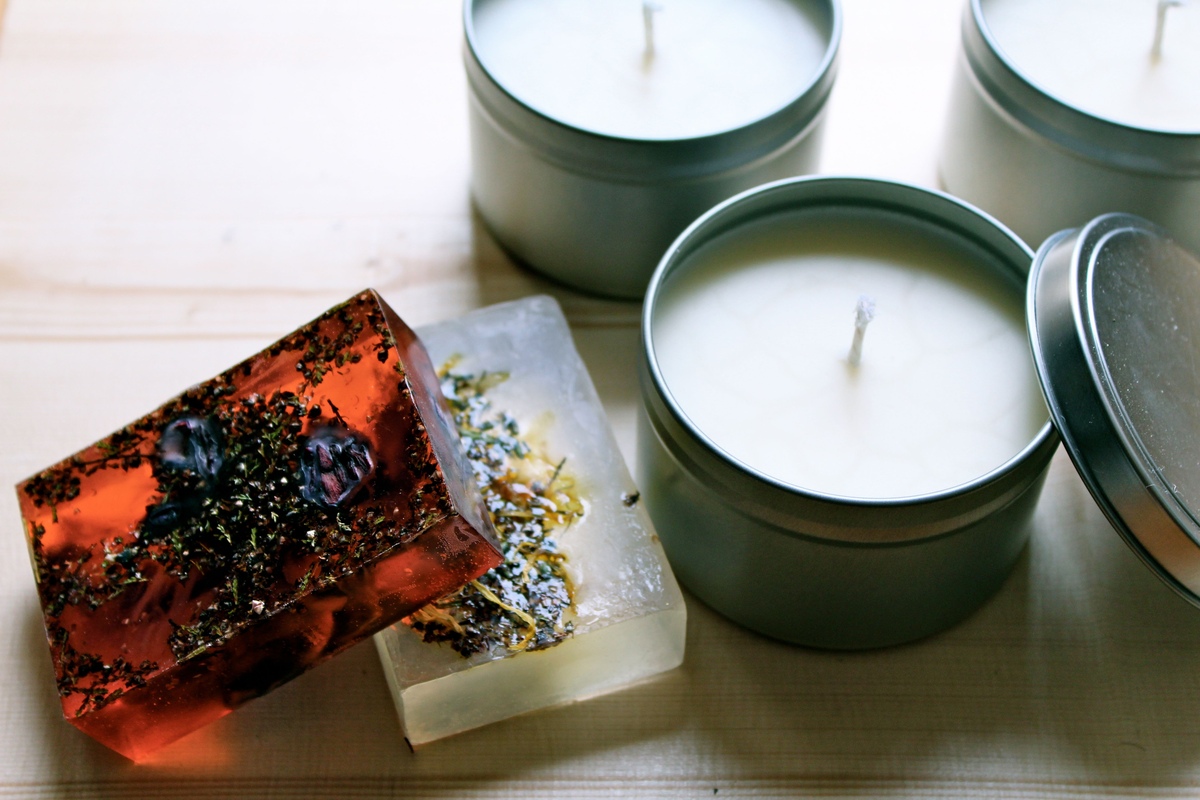
Container candles are perhaps the most common type of candles and are made by pouring melted wax into a container or jar. They are versatile and convenient, as the container holds the wax, eliminating the need for a separate holder. Container candles can be customized with various fragrances, colors, and decorative elements.
2. Pillar Candles:
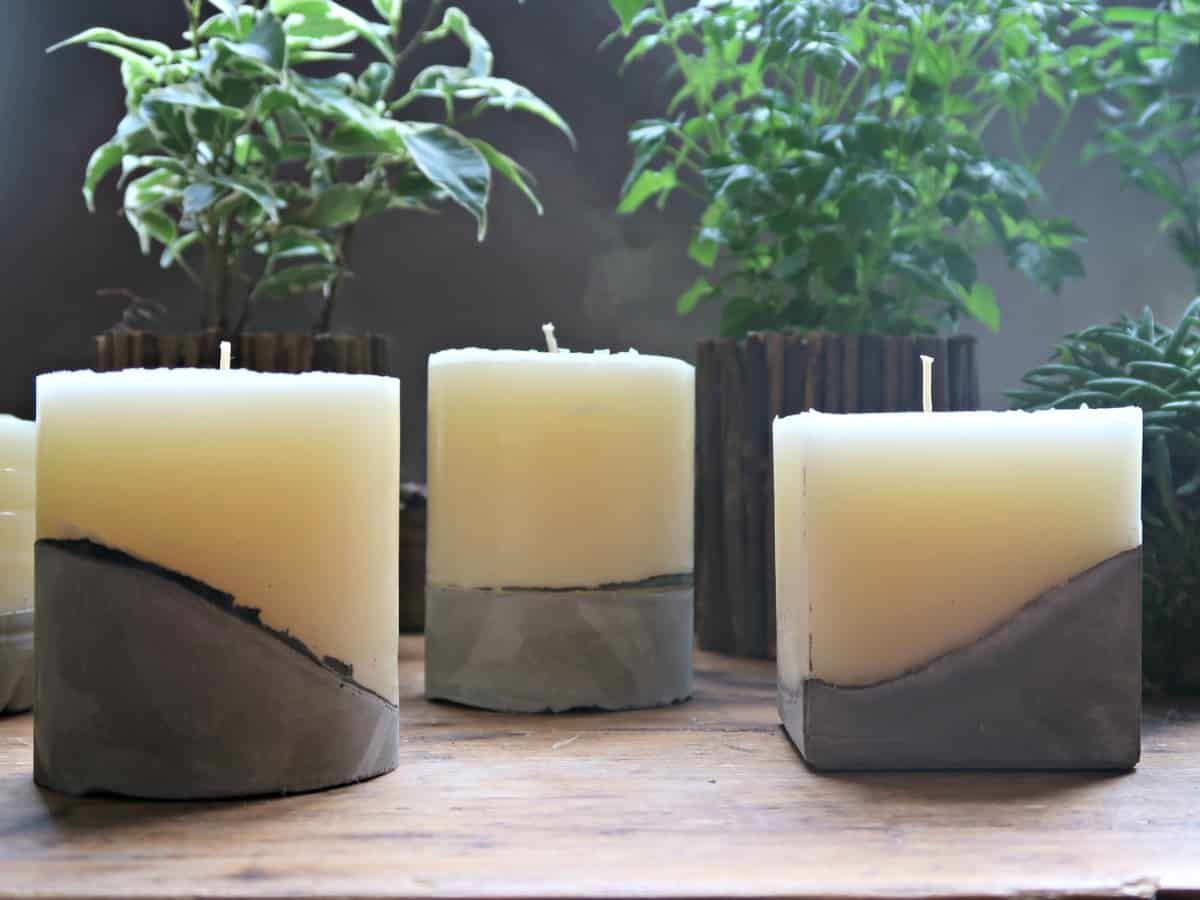
Pillar candles are stand-alone candles that are wider and thicker in size. Typically, they are poured into molds and can be made with different types of wax, such as paraffin, soy, or beeswax. Pillar candles are known for their long burn time and are often used as decorative pieces for special occasions.
3. Taper Candles:
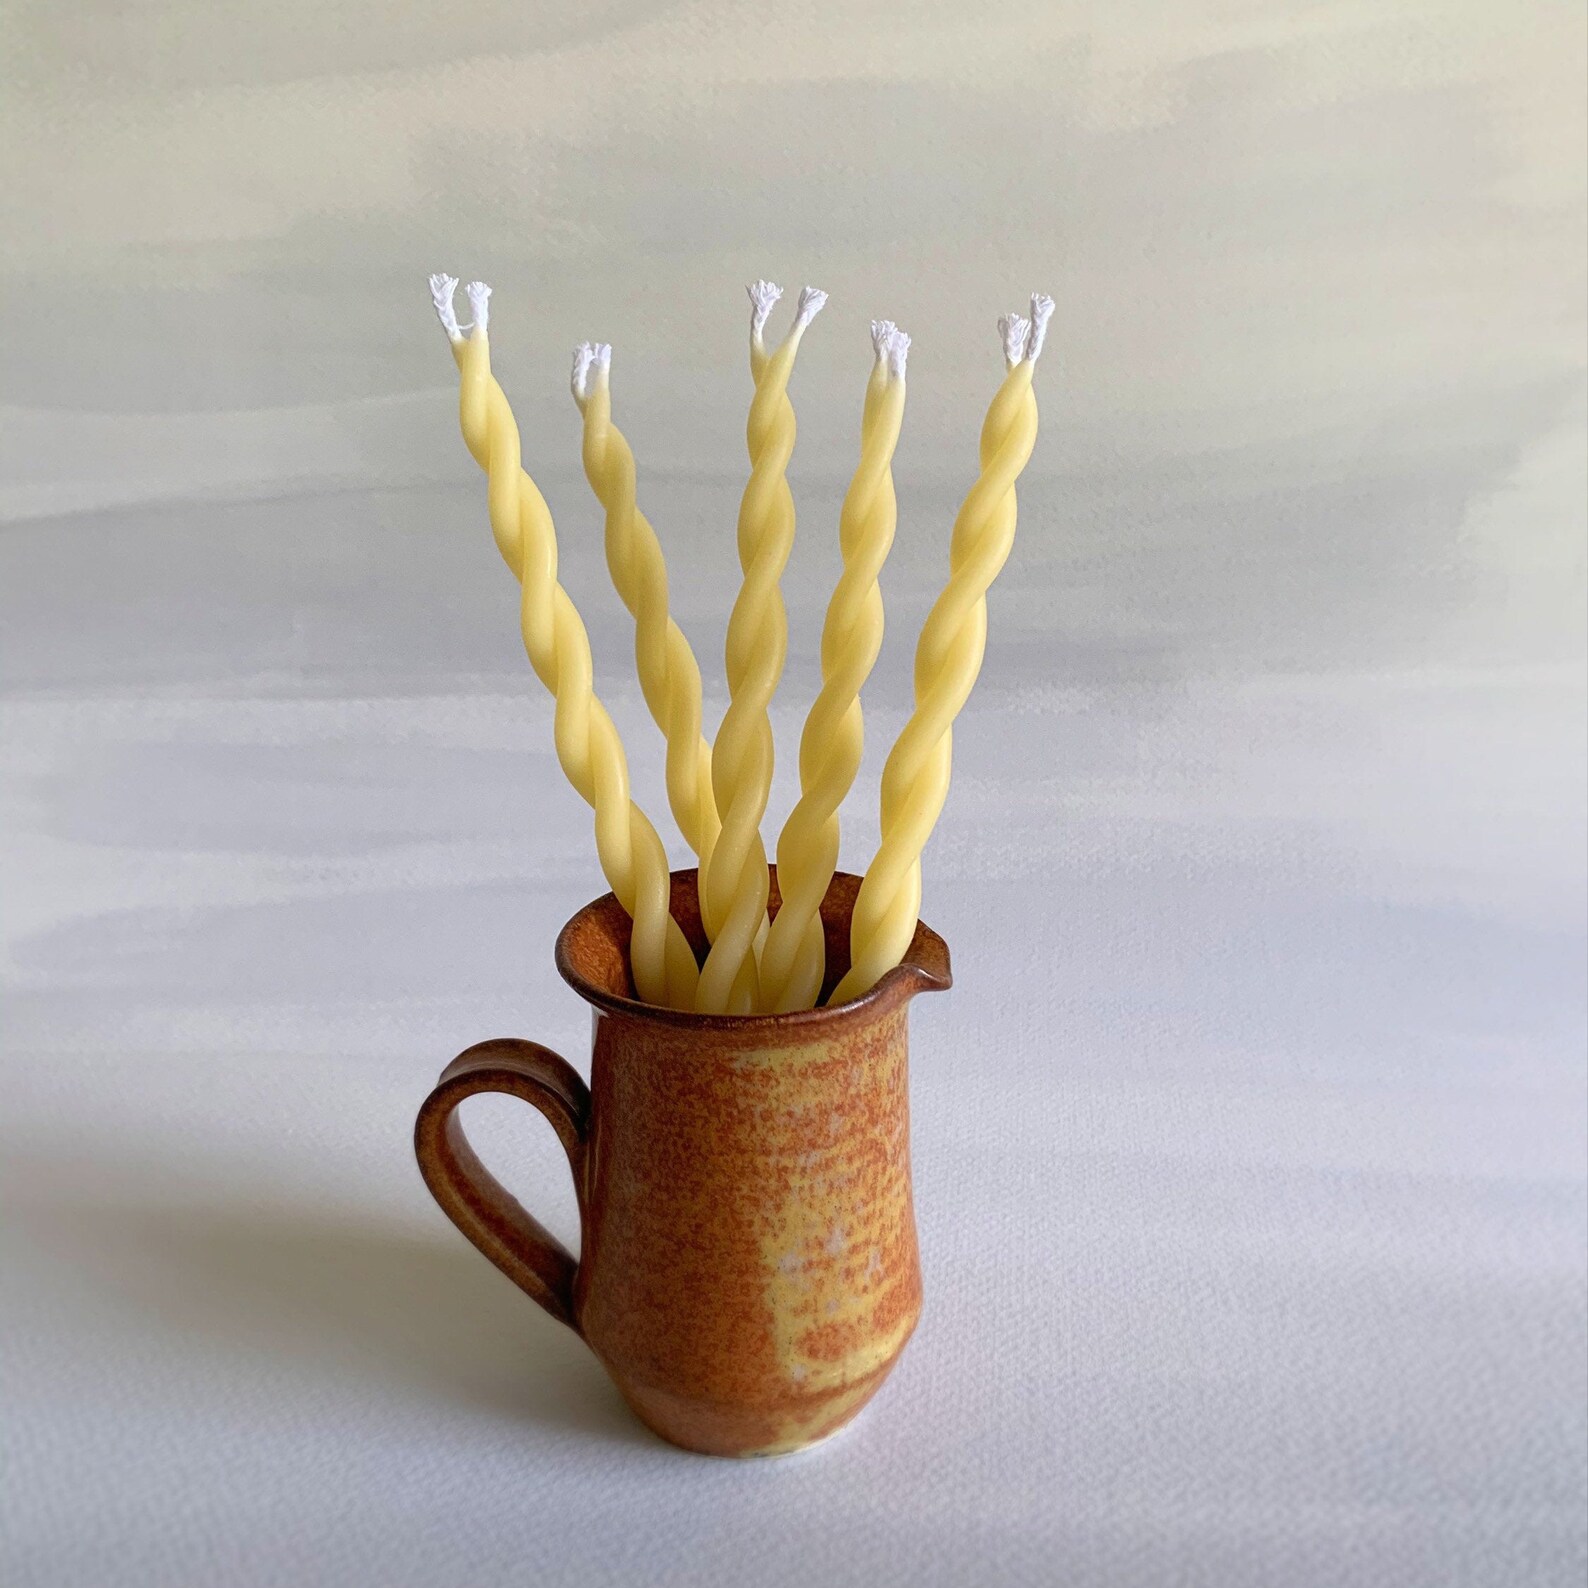
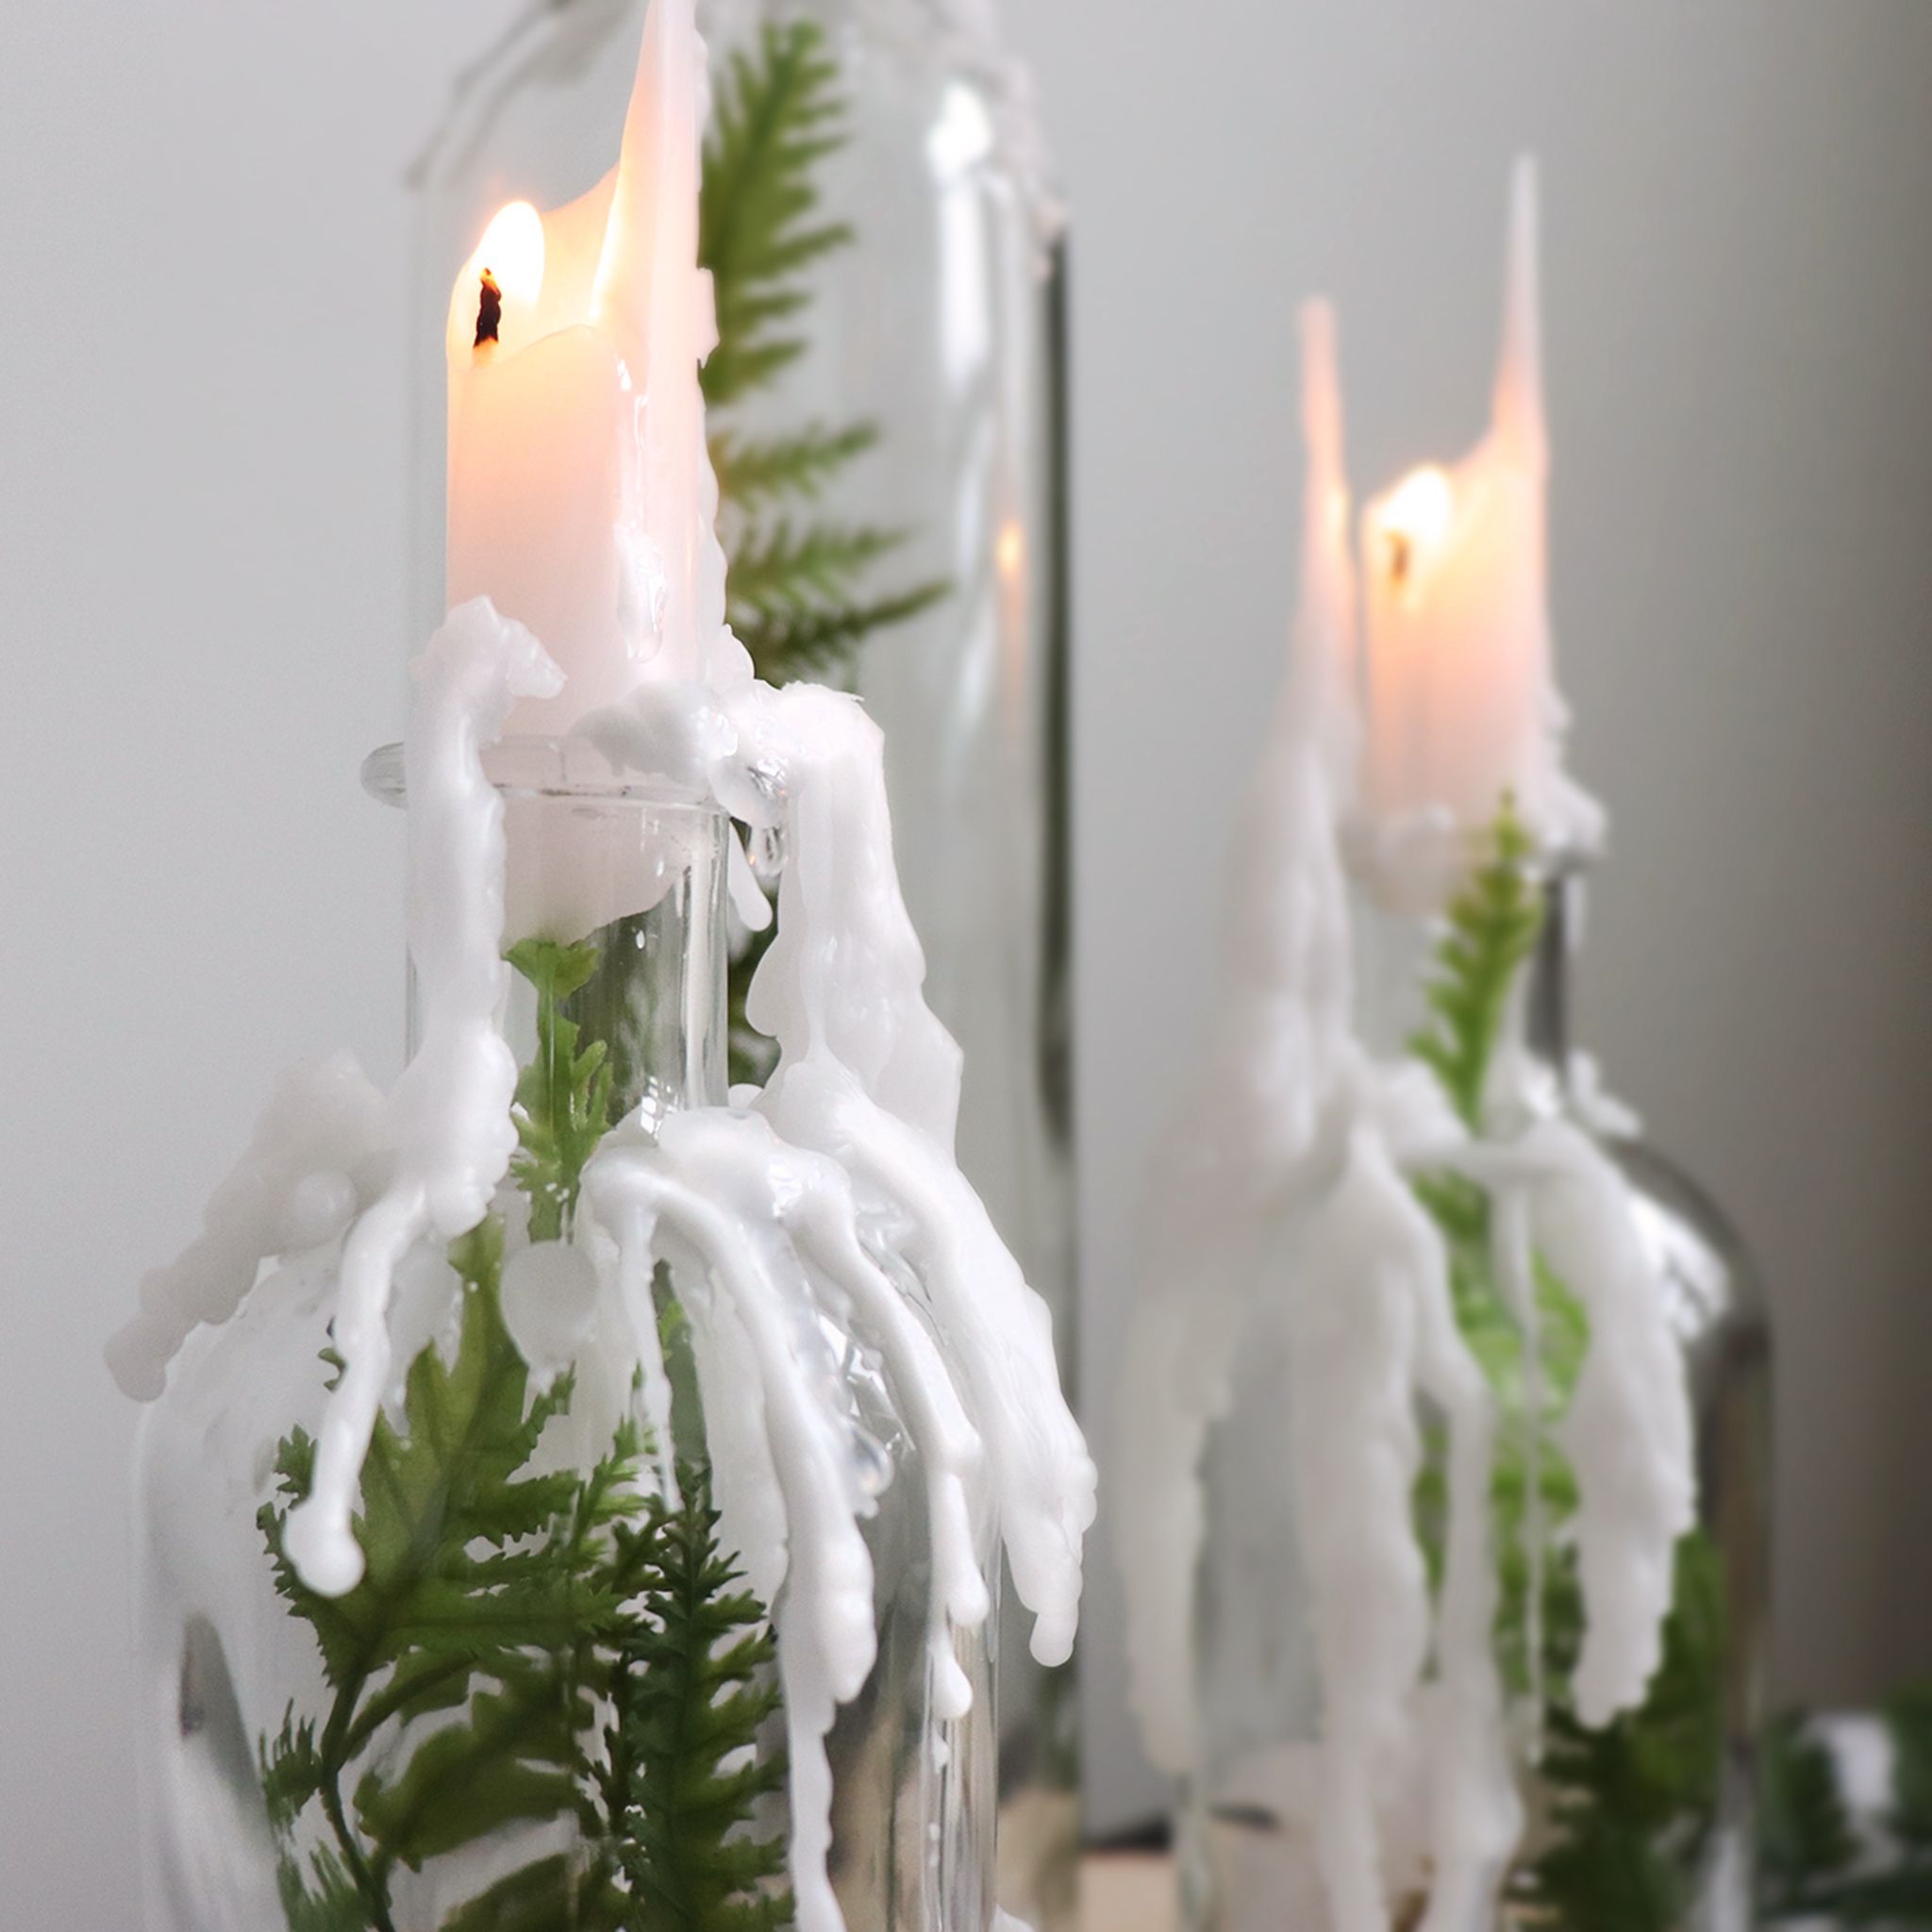
Taper candles are long, slender candles that create an elegant and dramatic atmosphere. They are often placed in candle holders or candelabras and are commonly used for formal occasions or as table centerpieces. Taper candles can be made using molds or by repeatedly dipping a wick in melted wax until the desired thickness is achieved.
Read more: How To Make Candles With Herbs
4. Tea Light Candles:
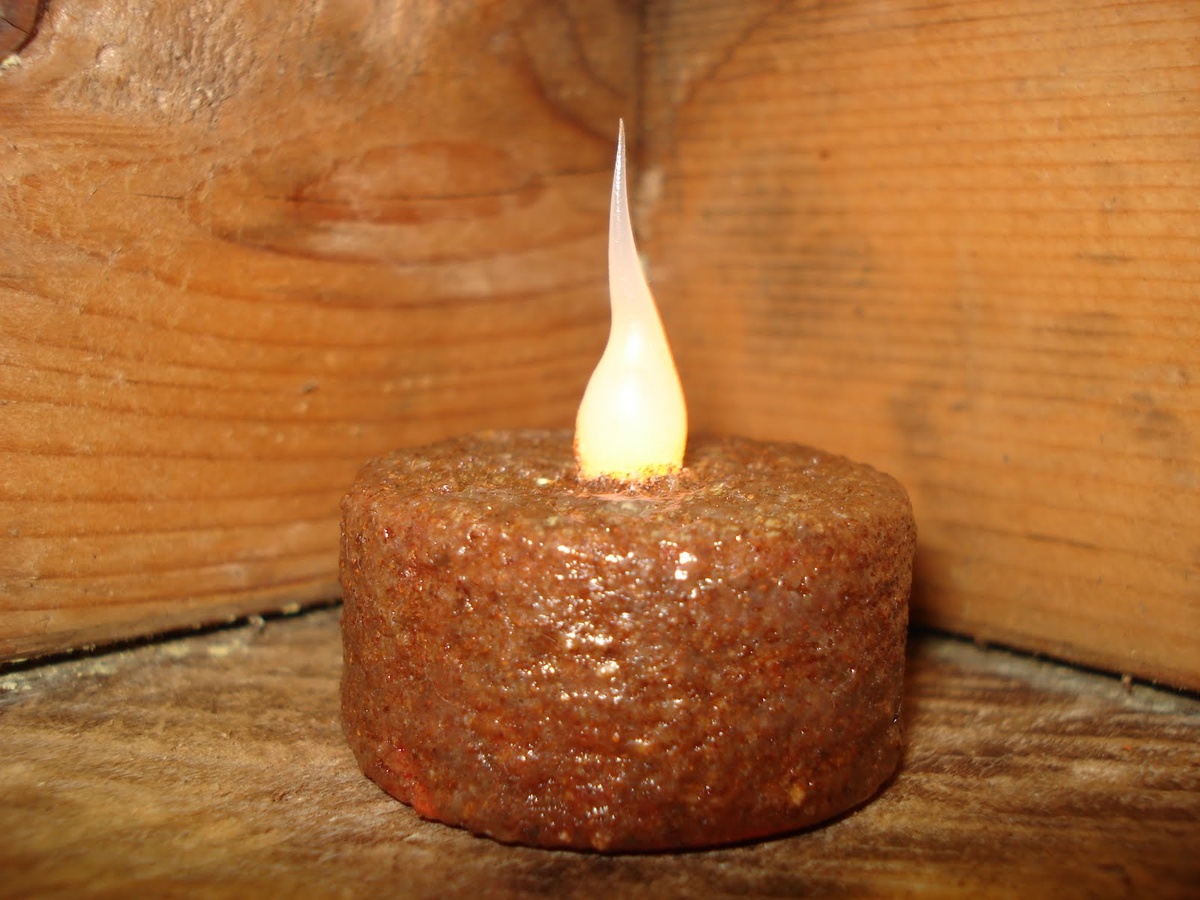
Tea light candles are small, typically aluminum or plastic cup-shaped candles that burn for a shorter period of time. They are perfect for creating a warm ambiance and are commonly used in decorative holders or as part of candle arrangements.
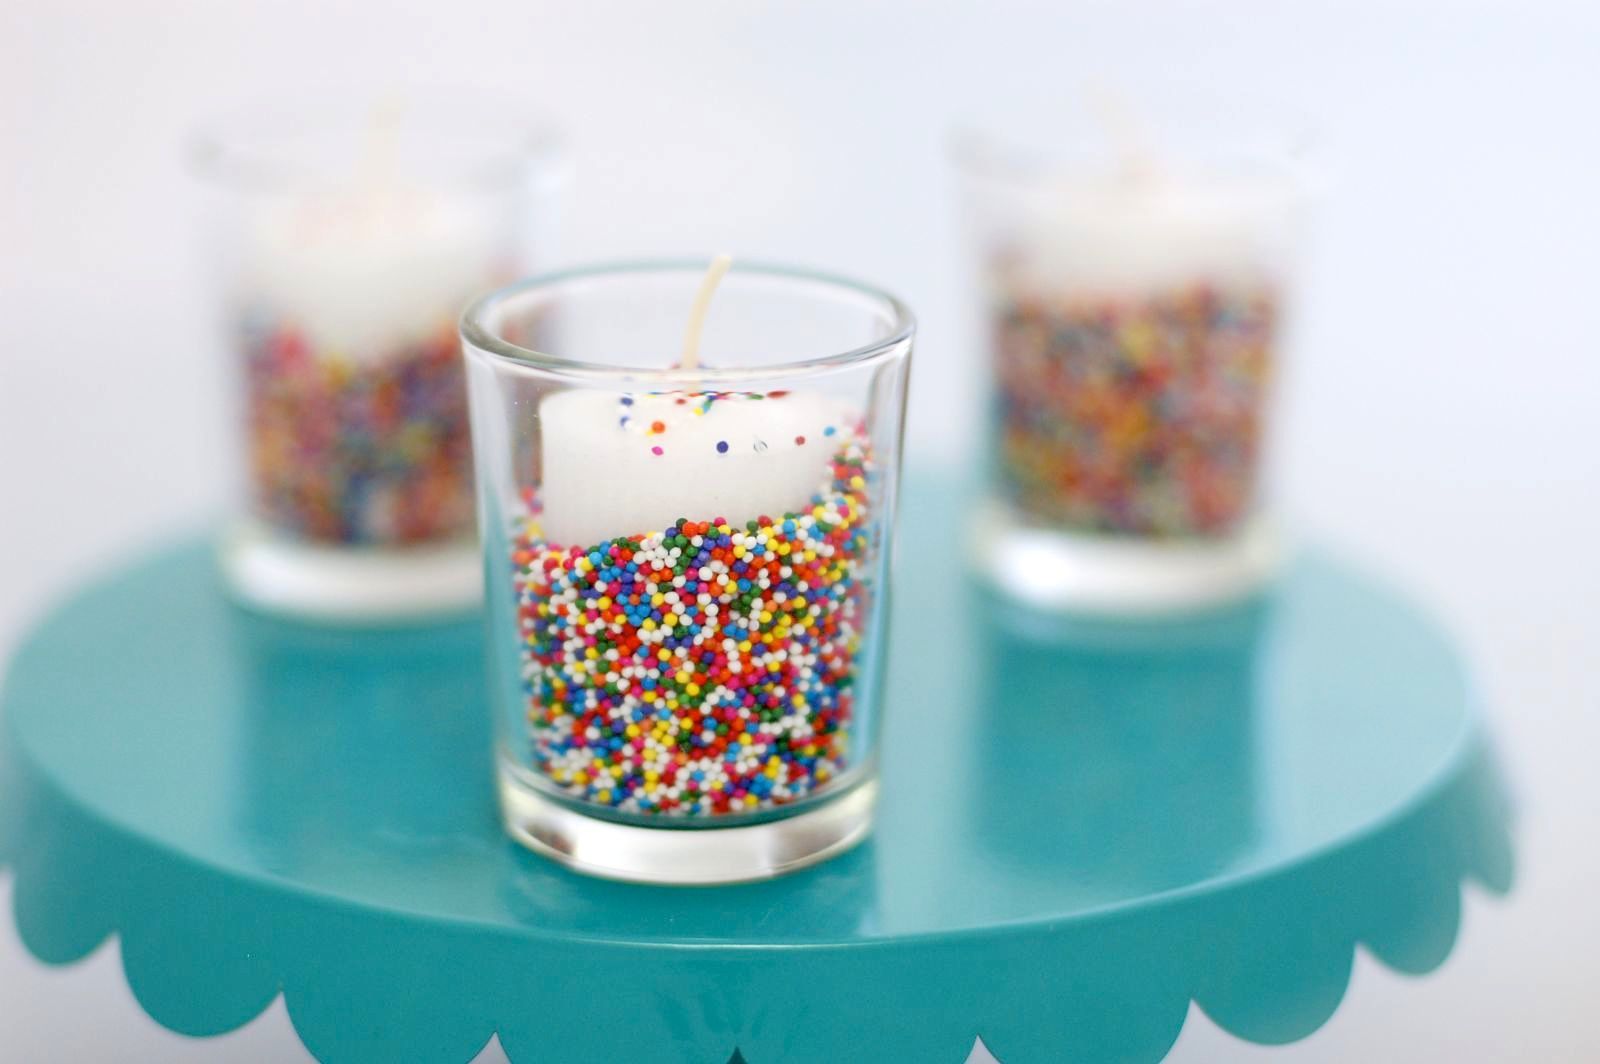
5. Votive Candles:
Votive candles are similar to tea light candles but are slightly larger and burn for a longer duration. They are often placed in votive holders and are ideal for creating a soft and comforting glow.
6. Floating Candles:
Floating candles are designed to float on water, making them ideal for creating decorative displays in bowls, ponds, or pools. They come in various shapes, such as flower petals, and can be scented or colored for added visual appeal.
With candle making, the possibilities are endless. You can experiment with different types of wax, wicks, fragrances, and colors to create unique candles that suit your style and purpose.
Safety Tips
When engaging in soap making and candle making, it is crucial to prioritize safety to protect yourself and others. Here are some important safety tips to keep in mind:
- Protective Gear: Always wear gloves and safety goggles when working with lye and hot wax to prevent chemical burns or splashes.
- Work in a Well-Ventilated Area: Ensure that your workspace is properly ventilated to avoid inhaling fumes or odors from the materials used in the process.
- Read and Follow Instructions: Before starting, thoroughly read and understand the instructions and recipes for each project. Follow them carefully to ensure safe and successful results.
- Use Heat-Resistant Containers and Utensils: When melting wax or handling hot materials, use appropriate heat-resistant containers and utensils to prevent accidents or damage from heat exposure.
- Use Caution with Lye: Lye is a corrosive substance and can cause severe burns or irritation. Always handle it with care and keep it out of reach of children and pets.
- Keep Flammable Materials Away: Ensure that flammable materials, such as paper towels or fabric, are kept away from heat sources to minimize the risk of fire.
- Work in a Clean and Organized Space: Keep your workspace clean and organized, avoiding clutter that could lead to accidents or spills.
- Never Leave Melting Wax Unattended: When melting wax, never leave it unattended to prevent the risk of fires or overheating.
- Keep a Fire Extinguisher or Safety Kit Nearby: Have a fire extinguisher or a safety kit on hand in case of any accidents or emergencies.
- Test Your Products: Always perform a small test batch or patch test to check for any adverse reactions or sensitivities before using or gifting your soap or candle.
Remember to be cautious and aware of potential hazards throughout the soap making and candle making processes. Following these safety tips will help ensure a safe and enjoyable experience.
Read more: How To Make Dipped Candles
Troubleshooting Common Issues
Soap making and candle making can sometimes come with challenges and unexpected outcomes. Here are some common issues that may arise and possible solutions to troubleshoot them:
1. Soap not Hardening:
If your soap isn’t hardening properly, it could be due to inaccurate measurements of lye and oils. Make sure you’re using the correct ratio and consider adding a small amount of additional lye to the batch. Additionally, check if your oils are reaching the correct temperature range for saponification.
2. Soft or Sticky Candle Wax:
If your candle wax is too soft or sticky, it may be due to using too much fragrance oil or not enough hardening additives. Reduce the amount of fragrance oil in your next batch and consider adding more soy or beeswax to the mixture to increase hardness.
3. Sinkholes in Candles:
If your candles have sinkholes or air pockets on the top surface, it could be a result of not properly heating and pouring the wax. Make sure to melt the wax thoroughly and pour it slowly, allowing it to cool and solidify evenly. To fix sinkholes, you can melt additional wax and pour it into the depressed areas.
Read more: How To Make Carved Candles
4. Soap or Candle Cracking:
If your soap or candle develops cracks as it cools, it may be caused by rapid temperature changes or insufficient curing time. Allow your soap or candle to cool slowly and cure for the recommended duration to prevent cracking.
5. Uneven Color or Scent Distribution:
If your soap or candle has uneven color or scent, it could be due to improper mixing. Make sure to thoroughly combine colorants or fragrance oils with the soap batter or melted wax to achieve even distribution. Mixing for a longer period of time or using a stick blender can help with this issue.
Remember that troubleshooting and making adjustments are part of the learning process. Don’t be discouraged by hiccups along the way. With practice and patience, you’ll be able to overcome these common issues and create beautiful soaps and candles.
Conclusion
Soap making and candle making are wonderful hobbies that allow you to unleash your creativity and create unique, personalized products. By following the step-by-step processes and using the necessary supplies, you can craft soaps and candles that are not only visually appealing but also functional.
Whether you prefer the art of soap making or the ambiance of candle making, both hobbies offer a wide range of possibilities. From cold process soaps to container candles, there’s something for everyone to explore and enjoy.
However, it’s important to remember that safety should always be a priority when working with lye, hot wax, and open flames. Following the safety tips provided will ensure that you can enjoy these crafts without any accidents or injuries.
If you encounter any issues along the way, don’t be discouraged. Troubleshooting common problems is a normal part of the learning process. With practice and experimentation, you’ll gain the knowledge and skills needed to overcome obstacles and achieve the desired results.
Whether you make soaps and candles for your own use or to share with others, the satisfaction of creating something with your own hands is unparalleled. The joy of seeing your finished products and knowing the effort and care that went into making them is truly rewarding.
So, gather your supplies, unleash your creativity, and embark on the exciting journey of soap making and candle making. Enjoy the process, learn from every batch, and let your imagination run wild as you bring beautiful and fragrant creations to life.
Happy soap making and candle making!
Frequently Asked Questions about How To Make Soaps And Candles
Was this page helpful?
At Storables.com, we guarantee accurate and reliable information. Our content, validated by Expert Board Contributors, is crafted following stringent Editorial Policies. We're committed to providing you with well-researched, expert-backed insights for all your informational needs.
