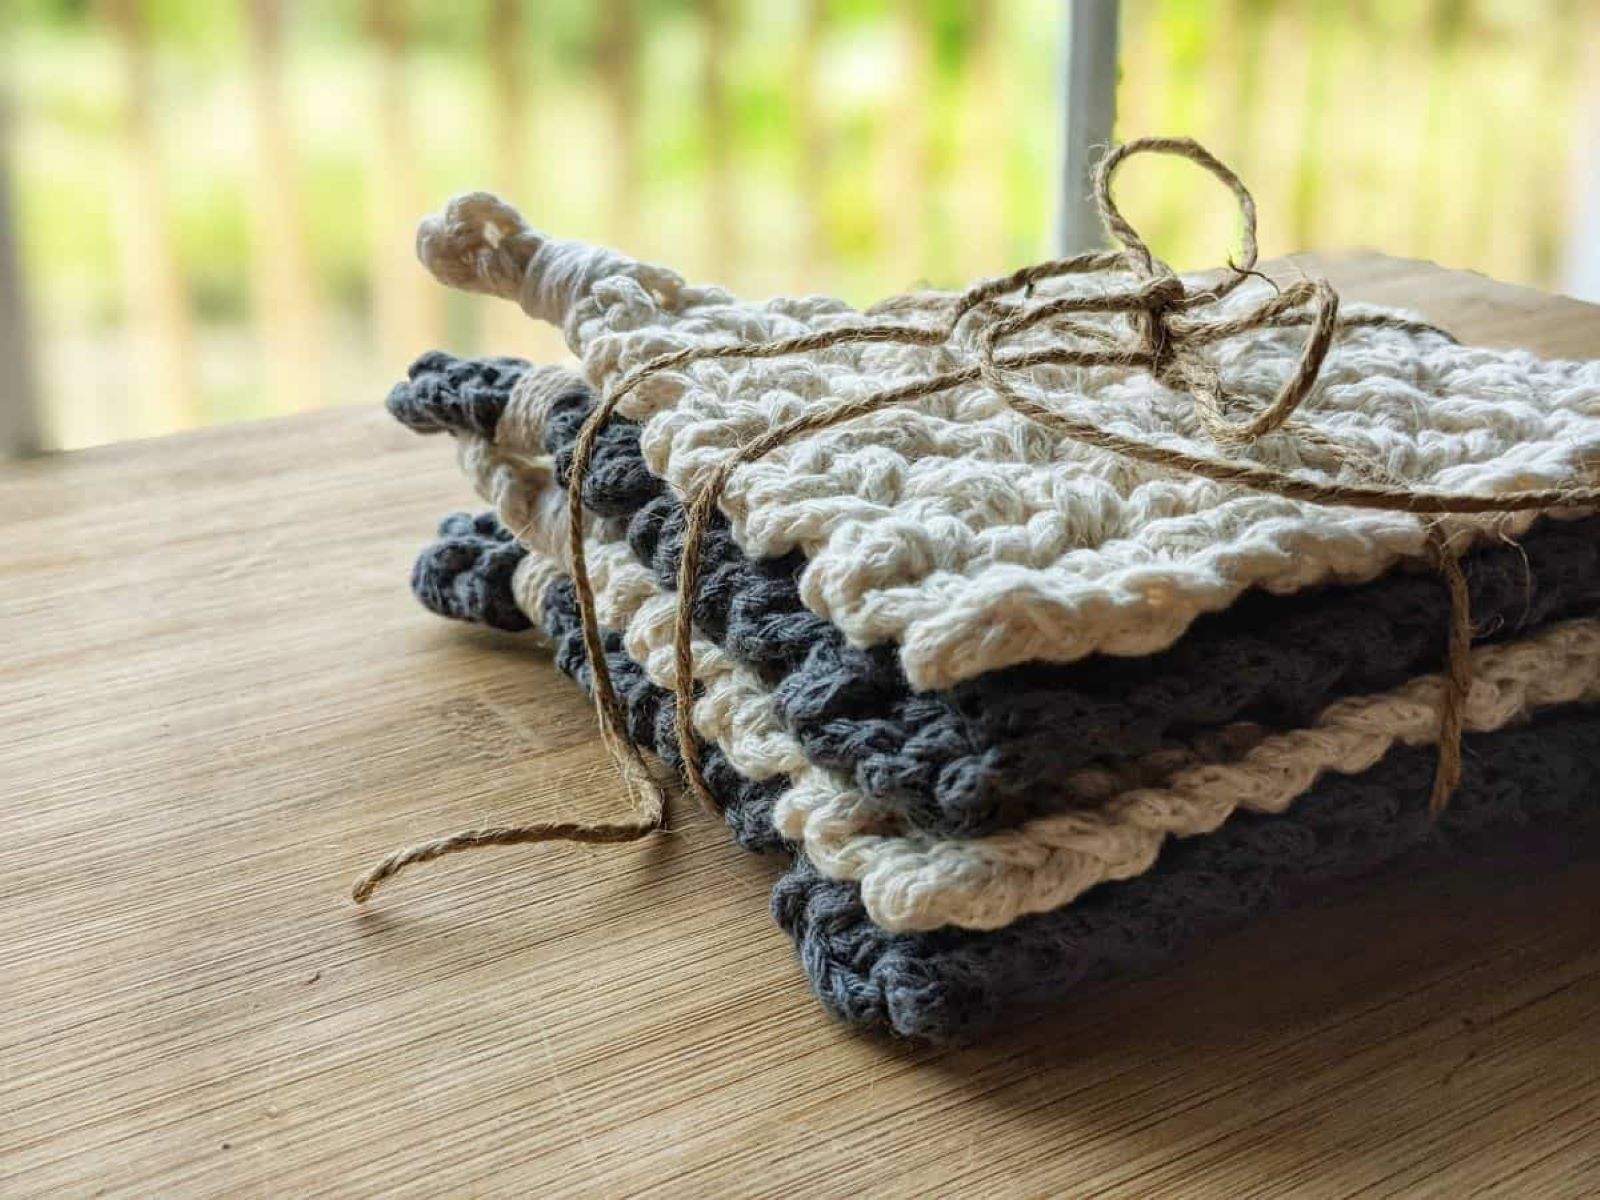
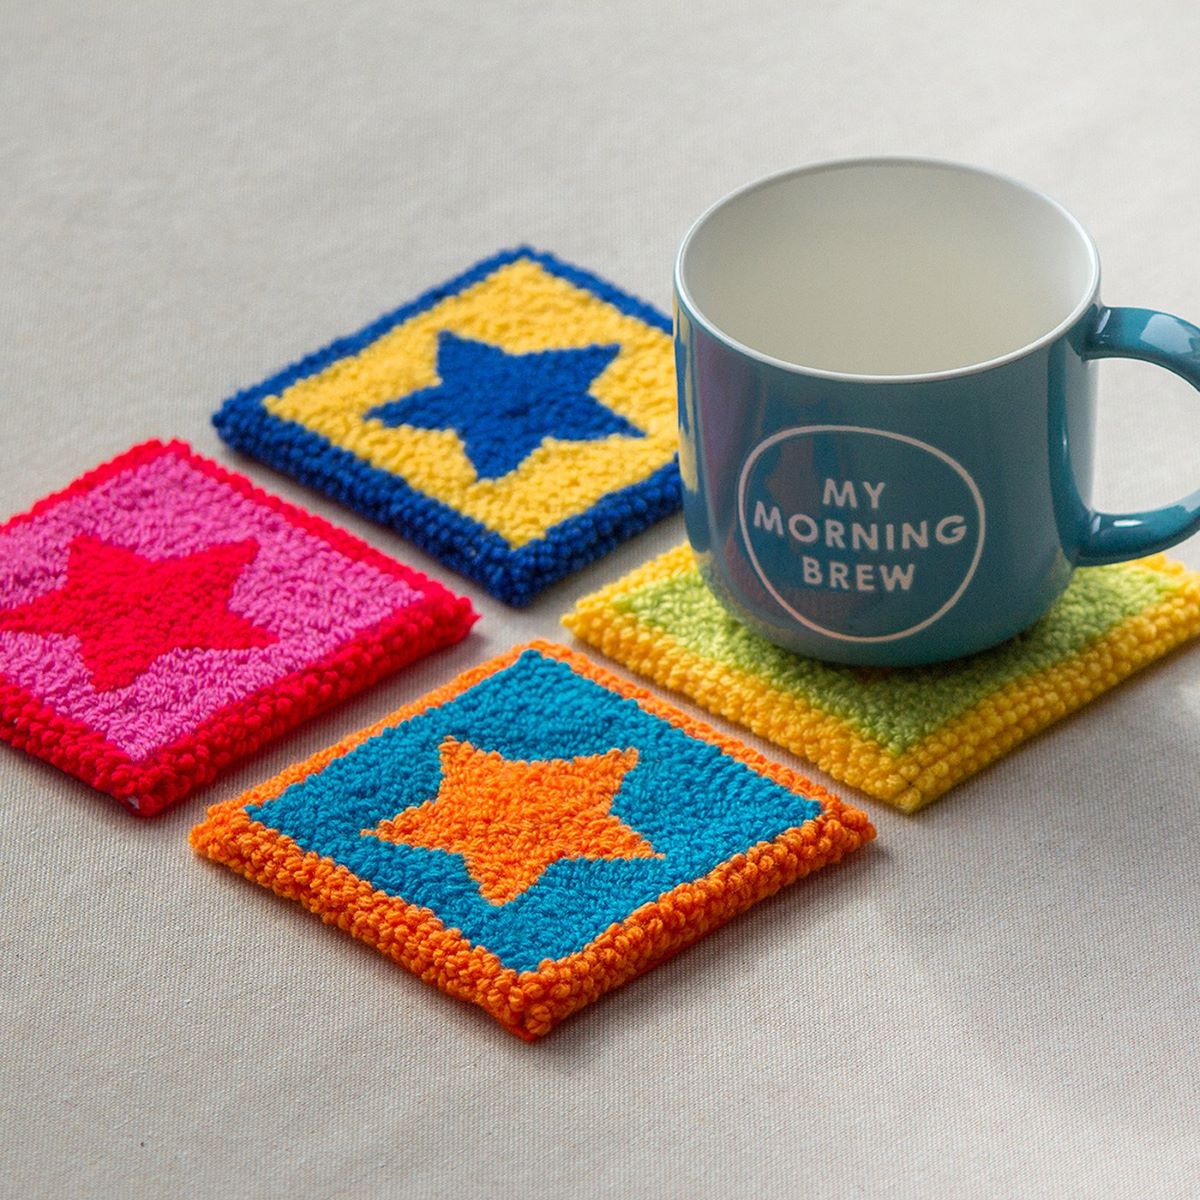
Tableware
How To Make Flower Resin Coasters
Modified: October 20, 2024
Learn how to create stunning flower resin coasters that will elevate your tableware collection. Perfect for adding a touch of elegance and beauty to any dining experience.
(Many of the links in this article redirect to a specific reviewed product. Your purchase of these products through affiliate links helps to generate commission for Storables.com, at no extra cost. Learn more)
Introduction
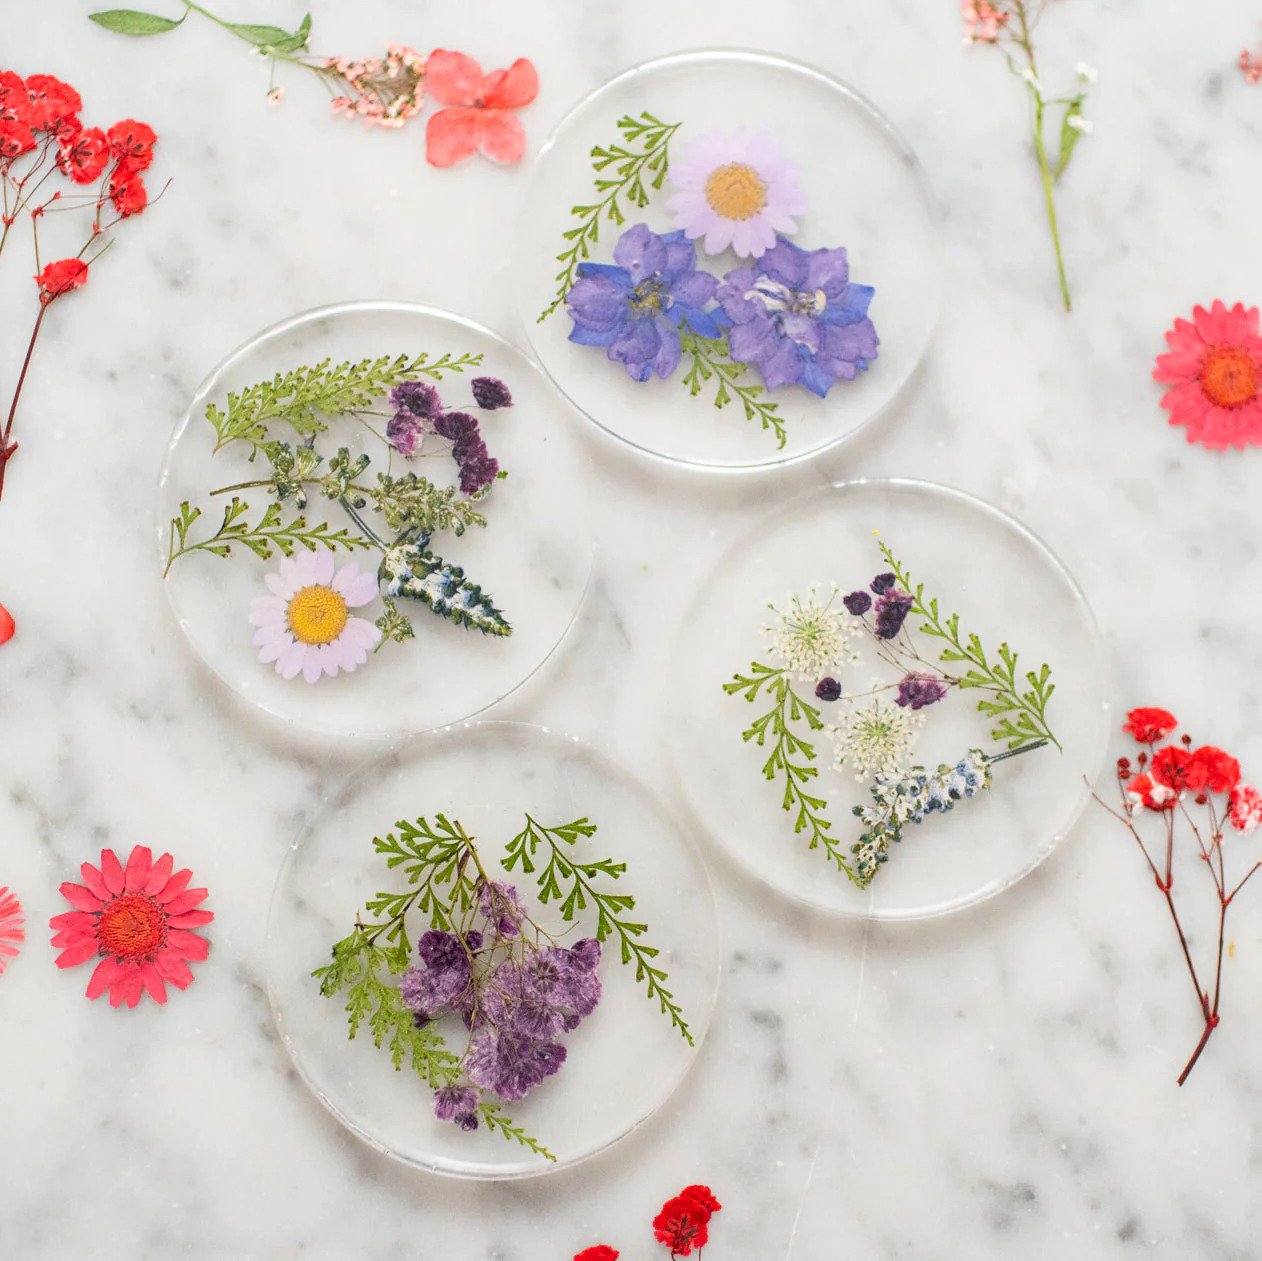
Welcome to the wonderful world of flower resin coasters! If you’re looking for a creative and unique way to showcase your favorite flowers and preserve their beauty, then this is the perfect DIY project for you. Resin coasters are not only functional and practical, but they also serve as stunning pieces of art that can add a touch of nature to your home decor.
In this step-by-step guide, we will walk you through the process of making your own flower resin coasters. From selecting the right materials to pouring and curing the resin, you’ll learn all the necessary techniques to create beautiful and personalized coasters that will surely impress your friends and family.
Not only are resin coasters a great way to showcase the natural beauty of flowers, but they also make wonderful gifts for birthdays, weddings, or any special occasion. So, let’s dive into the world of resin and flowers, and create some stunning coasters that will leave everyone in awe!
Key Takeaways:
- Create stunning flower resin coasters by carefully selecting, arranging, and preserving flowers in resin. Showcase your creativity and add a touch of nature to your home decor with personalized coasters.
- Transform simple materials into functional works of art by mixing, pouring, and refining resin. Enjoy the creative process and share the beauty of flower resin coasters with friends and family as unique and thoughtful gifts.
Read more: How To Make Beach Resin Coasters
Materials Needed
Before we start the flower resin coaster project, let’s make sure we have all the necessary materials ready. Here’s a list of items you’ll need:
- Resin: You’ll need epoxy resin, which can be found at most craft stores or online. Make sure to choose a high-quality resin specifically designed for casting.
- Hardener: The resin requires a hardener to set properly. Check the resin package for the recommended hardener ratio.
- Flowers: Select your favorite flowers or petals to use in the coasters. Fresh flowers, dried flowers, or even artificial flowers can be used.
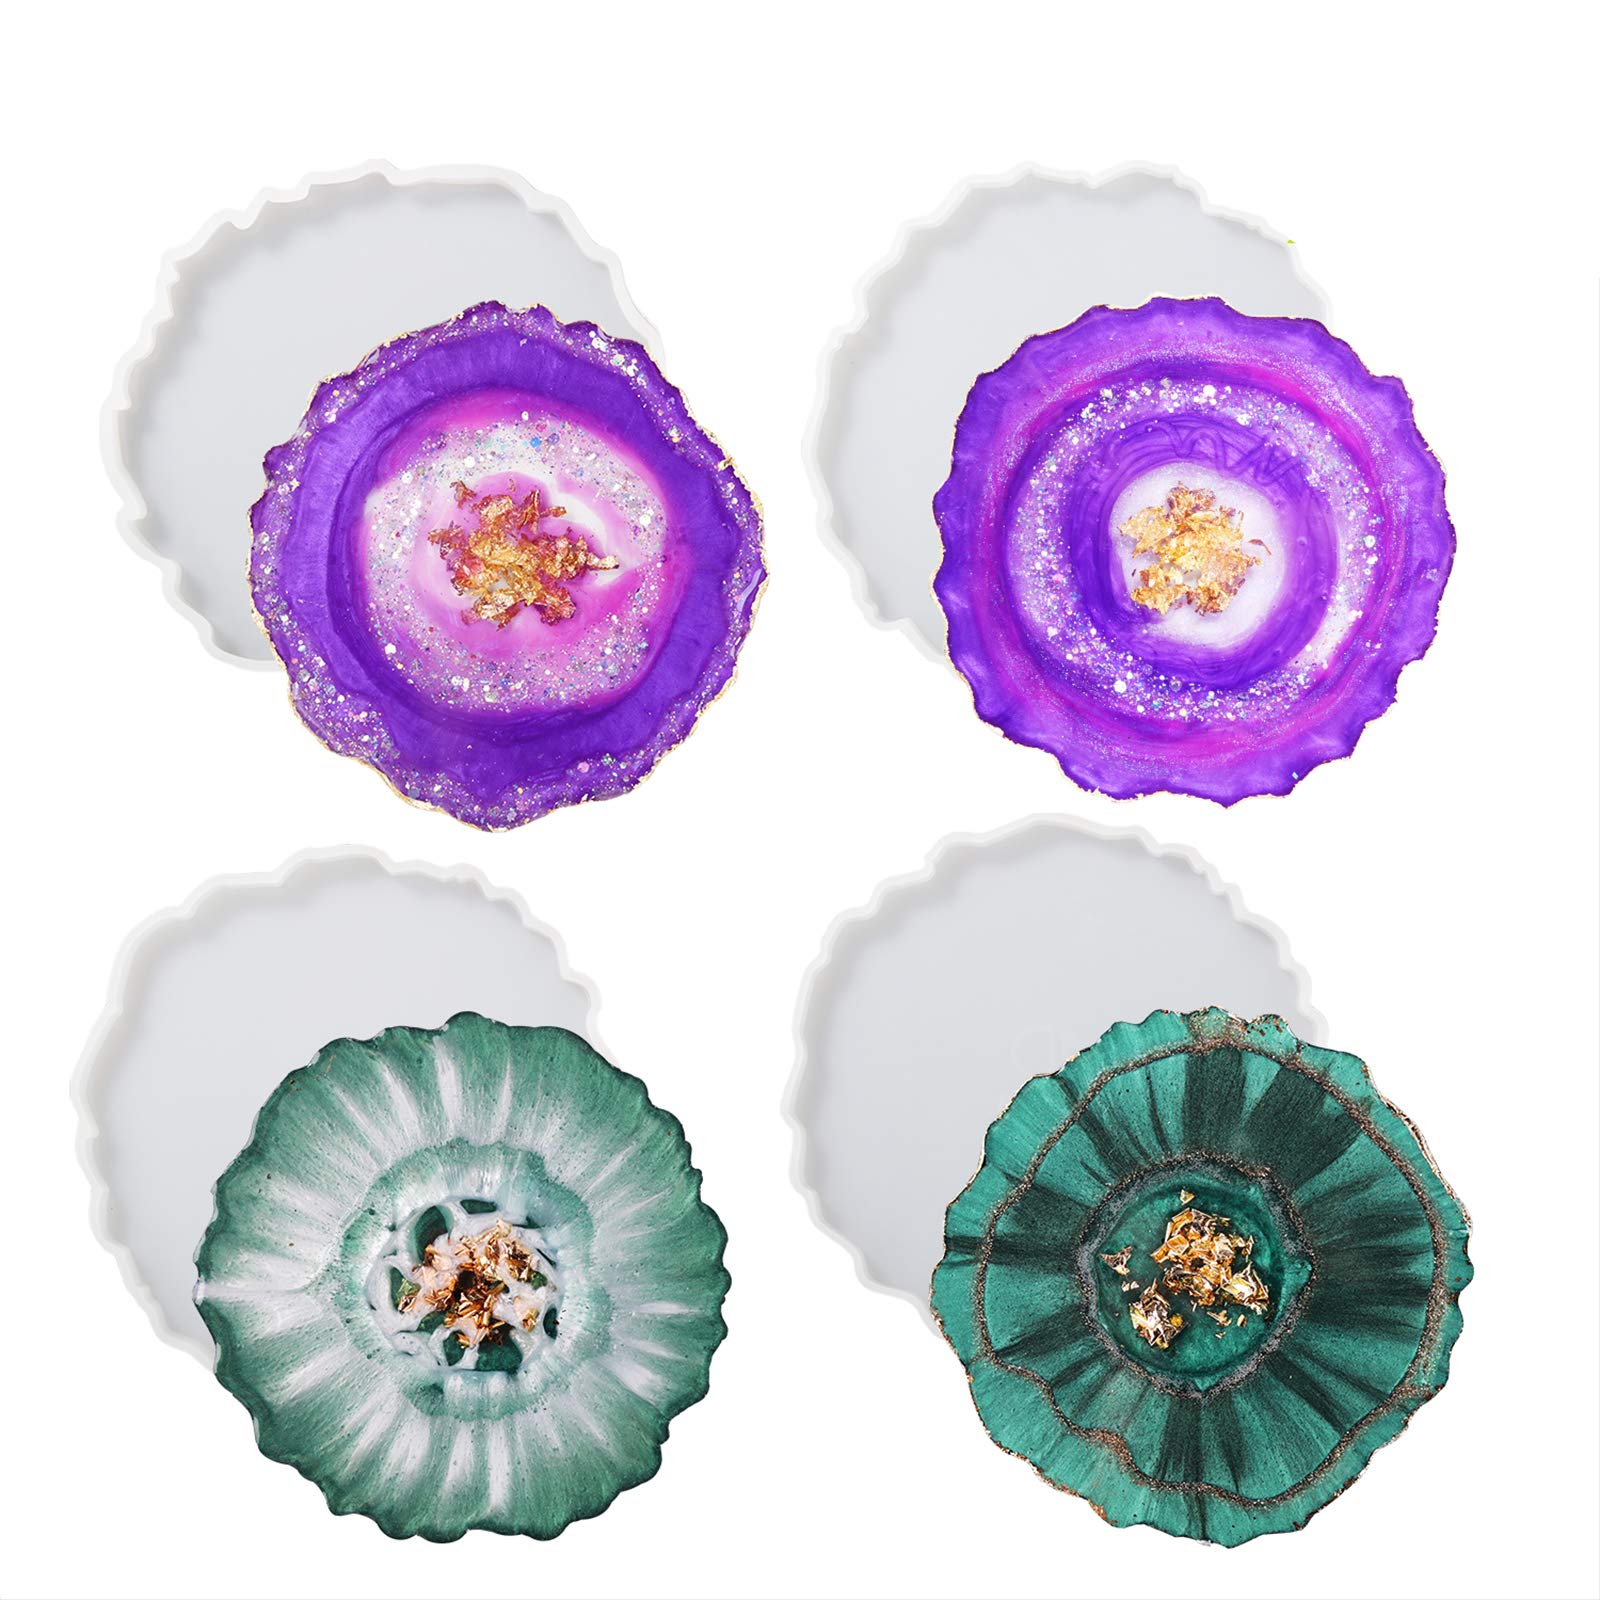
- Mold: You’ll need a silicone mold in the shape and size you desire for your coasters. Look for molds that are heat-resistant and have a smooth surface.
- Protective Gear: To ensure your safety, wear gloves, protective eyewear, and a dust mask while working with the resin. This will protect your skin and prevent inhalation of any harmful fumes.
- Measuring Cups: Get some disposable measuring cups to accurately measure the resin and hardener ratio.
- Stir Sticks: Use disposable stir sticks or popsicle sticks to mix the resin and hardener thoroughly.
- Heat Gun or Torch: A heat gun or torch can be used to remove any air bubbles trapped in the resin during the curing process.
- Sandpaper: You’ll need sandpaper in various grits to sand and polish the coasters for a smooth and glossy finish.
- Polishing Compound: A polishing compound or resin polish can be used to bring out the shine and brilliance of your coasters.
Having all these materials ready will ensure a smooth and successful resin coaster making process. Now that we have everything prepared, let’s move on to the next step: preparing the flowers!
Step 1: Prepare the Flowers
The first step in creating your flower resin coasters is to prepare the flowers you’ll be using. Whether you choose fresh flowers, dried flowers, or artificial flowers, here’s how to get them ready:
- Choose Your Flowers: Select the flowers that you want to showcase in your coasters. Consider using a variety of colors, shapes, and sizes to create an interesting and visually appealing design.
- Press or Dry the Flowers (optional): If you’re using fresh flowers, you may want to press them or dry them beforehand to remove excess moisture. This will help prevent any color bleeding or wilting when they come into contact with the resin.
- Trim and Arrange: Trim the stems of the flowers to a suitable length for your mold. Arrange them in the desired pattern or layout, keeping in mind the size and shape of your coaster mold.
- Seal the Flowers (optional): To further protect the flowers and prevent color fading, you can use a clear sealant spray or brush-on sealant to coat them. Allow the sealant to dry thoroughly before proceeding.
Remember, the beauty of resin coasters lies in the unique combination of flowers and the personal touch you bring to the design. Take your time to select and prepare your flowers carefully, ensuring they are in prime condition and ready to be preserved in resin.
Now that your flowers are prepared, it’s time to move on to the next step: mixing the resin!
Step 2: Mix the Resin
With your flowers prepared, it’s time to mix the resin. This step is crucial for achieving the desired clarity and hardness of your flower resin coasters. Here’s how to properly mix the resin:
- Read the Instructions: Read and follow the instructions provided by the manufacturer of your epoxy resin. Different resins may have slightly different mixing ratios or curing times, so it’s important to know the specifics.
- Prepare a Well-Ventilated Area: Working with resin can release fumes, so ensure that you’re in a well-ventilated area. Open windows or use a fan to provide good airflow.
- Wear Protective Gear: Put on gloves, protective eyewear, and a dust mask to protect yourself from any potential skin irritation or inhalation of fumes.
- Measure Resin: Using disposable measuring cups, carefully measure out the required amount of resin according to the instructions. Make sure to pour it slowly and steadily to avoid creating air bubbles.
- Add Hardener: Once the resin is measured, add the hardener according to the recommended ratio. Be precise and mix thoroughly to ensure proper curing.
- Mix Thoroughly: Use a stir stick or popsicle stick to mix the resin and hardener together. Stir gently but consistently until the mixture becomes clear and free of any streaks or swirls.
Remember, proper mixing is essential to ensure the resin sets correctly and provides a strong and durable finish. Take your time and be diligent in following the instructions provided by the resin manufacturer.
Now that your resin is properly mixed, it’s time to move on to the exciting part – pouring the first layer of resin into the mold!
Step 3: Pour the First Layer of Resin
Now that your resin is mixed, it’s time to pour the first layer into the mold. This initial layer will serve as the base for your flower resin coasters. Follow these steps to pour the resin:
- Prepare the Mold: Place your mold on a level surface and ensure it is clean and dry. If necessary, use mold release spray or a thin layer of petroleum jelly to help with the demolding process.
- Pour the Resin: Slowly pour the mixed resin into the mold, ensuring an even distribution. Start from the center and let the resin flow naturally to the edges. Avoid pouring too quickly to minimize the creation of air bubbles.
- Spread the Resin: Use a stir stick or popsicle stick to gently spread the resin throughout the mold, covering the bottom evenly. This will help eliminate any trapped air pockets and ensure a smooth surface for the flowers to be placed on.
- Pop Air Bubbles: If you notice any air bubbles surfacing, you can use a heat gun or torch to lightly pass over the resin. The heat will cause the bubbles to rise and pop. Be careful not to hold the heat source too close to the resin or for too long, as it could create unwanted ripples or distortions.
Remember, the first layer of resin should be poured and spread evenly to create a solid foundation for your flower arrangement. Take your time and be mindful of any air bubbles that may arise during the pouring process.
With the first layer of resin poured, it’s now time to move on to the next step: arranging the flowers!
Read more: How To Make A Resin Lamp
Step 4: Arrange the Flowers
Now comes the fun part – arranging the flowers on top of the first layer of resin. This step allows you to showcase your creativity and create a stunning visual display in your flower resin coasters. Follow these steps to arrange the flowers:
- Place the Flowers: Carefully place your prepared flowers on top of the resin layer. Gently press them down to ensure they adhere to the resin and are securely in place. Arrange them in a way that creates an appealing composition and reflects your desired design.
- Experiment with Layout: Don’t be afraid to experiment with different flower placements and layouts. Try different combinations and orientations to find the arrangement that you love the most. You can also add in additional elements such as leaves, grasses or small botanical accents to enhance the overall look.
- Press Down Gently: Once you’re satisfied with the placement of the flowers, use a stir stick or popsicle stick to press them gently into the resin. This will help ensure that they are fully embedded and won’t move during the pouring of the next layer.
Remember, the arrangement of the flowers will be the focal point of your resin coasters. Take your time to create a visually pleasing design that represents your style and taste.
Now that your flowers are beautifully arranged, it’s time to move on to the next step: pouring the second layer of resin over the flowers!
Step 5: Pour the Second Layer of Resin
With the flowers arranged on the first layer of resin, it’s time to pour the second layer to encapsulate and protect the flowers. This will give your flower resin coasters a smooth and glossy finish. Follow these steps to pour the second layer of resin:
- Mix a Fresh Batch of Resin: Prepare a new batch of resin following the same instructions as before. Depending on the size of your mold, you may need more or less resin for this layer.
- Pour the Resin: Slowly pour the newly mixed resin over the arranged flowers, starting from the center and working your way out. Pour in a circular motion to ensure even coverage and to avoid displacing the flowers.
- Spread the Resin: Use a stir stick or popsicle stick to carefully spread the resin over the entire surface of the mold, making sure to cover the flowers completely. Take your time to achieve a smooth and level surface.
- Pop Air Bubbles: As with the first layer, you may notice small air bubbles rising to the surface of the resin. Use a heat gun or torch to gently pass over the resin, removing any bubbles that appear. Be cautious not to hold the heat source too close or for too long.
Remember, pouring the second layer of resin helps to seal and protect the flowers, giving your coasters a beautiful and durable finish. Take your time and ensure even coverage to achieve the best results.
With the second layer of resin poured, it’s now time to move on to the next step: removing air bubbles!
When making flower resin coasters, ensure that the flowers are completely dry before embedding them in the resin to prevent any moisture from causing bubbles or discoloration in the final product.
Step 6: Remove Air Bubbles
After pouring the second layer of resin, there may still be some air bubbles trapped within the liquid. It’s important to remove these bubbles to ensure a clear and flawless finish on your flower resin coasters. Follow these steps to remove air bubbles:
- Use a Heat Gun or Torch: Take a heat gun or torch and hold it a few inches above the resin surface. Move the heat source in a sweeping motion across the entire surface, making sure to cover all areas. The heat will cause the air bubbles to rise and pop.
- Work in Sections: If you have a large mold, it’s best to work in smaller sections to ensure thorough bubble removal. Move the heat source across one section at a time, moving in a methodical pattern.
- Be Mindful of Heat: Avoid holding the heat source too close to the resin or for too long, as excessive heat can cause the resin to warp or create unwanted texture. Keep the heat source moving gently across the surface.
- Use a Toothpick: For stubborn bubbles that won’t pop with heat, you can gently poke them with a toothpick. This will release the trapped air and allow the resin to settle evenly.
Remember, removing air bubbles is an important step in achieving a professional-looking finish on your flower resin coasters. Take your time and be patient to ensure that all bubbles are eliminated.
Now that the air bubbles are removed, it’s time to let the resin cure and harden. Let’s move on to the next step: allowing for curing time!
Step 7: Let it Cure
After removing air bubbles, it’s crucial to allow the resin to cure and harden properly. Curing time can vary depending on the type of resin used, so refer to the manufacturer’s instructions for the recommended duration. Here are some key points to keep in mind during the curing process:
- Cover and Protect: Place a dust cover or a container over your mold to protect it from dust, debris, and any accidental disturbances. This will help ensure a smooth and flawless surface.
- Follow Curing Time: Resins typically have a curing time ranging from 24 to 72 hours. During this period, it’s important to avoid touching, moving, or disturbing the coasters to allow the resin to fully harden and cure.
- Monitor Temperature and Humidity: Ideally, the curing process should take place in an area with consistent temperature and humidity levels. Extreme temperature fluctuations or high humidity can affect the curing time and the final quality of the resin.
- Patience is Key: It’s important to be patient and resist the temptation to demold the coasters before the recommended curing time has passed. Prematurely removing the coasters from the mold can cause the resin to become sticky or result in an incomplete cure.
Remember, curing is a critical step in the resin coaster making process. Allowing the resin to cure properly will ensure that your flower resin coasters are strong, durable, and ready for the next step.
With the curing time underway, it’s time to move forward to the next step: removing the coasters from the mold!
Read more: How To Make Concrete Coasters
Step 8: Remove from Mold
Once the resin has fully cured and hardened, it’s time to remove your flower resin coasters from the mold. Follow these steps to safely and successfully take them out:
- Gently Release the Edges: Carefully peel back the edges of the mold, starting from one side. Apply gentle pressure to separate the resin from the mold. Take your time to ensure that you don’t damage the coasters or leave any residue behind.
- Flex the Mold: If the coasters are not easily releasing, gently flex the mold by pushing from the bottom. This slight flexing can help loosen the coasters and make it easier to remove them without causing any damage.
- Patience is Key: Be patient and avoid yanking or forcefully pulling the coasters out of the mold. The process may take some time, especially if the mold has intricate details or a tight fit. Take it slow and steady to prevent any mishaps.
- Demolding Aid: If you’re finding it difficult to remove the coasters, you can use a demolding aid like a thin spatula or a plastic tool to gently pry them out of the mold. Be cautious and use light pressure to avoid any unintended scratches or marks.
Remember, removing the coasters from the mold requires patience and a delicate touch. Take your time and handle them with care to preserve their beauty and avoid any damage.
With the coasters successfully removed from the mold, it’s time to move on to the next step: sanding and polishing!
Step 9: Sand and Polish
Now that your flower resin coasters are out of the mold, it’s time to refine their surface by sanding and polishing. This step will help achieve a smooth and professional finish. Follow these steps to sand and polish your coasters:
- Prepare the Work Area: Find a clean and well-ventilated area to work in. Lay down some protective covering to catch any dust or debris.
- Start with Coarse Grit Sandpaper: Begin by using a coarse grit sandpaper (around 120-200 grit) to sand the surface of the coasters. Lightly sand in circular motions, applying even pressure. This will help smooth out any imperfections or rough edges.
- Gradually Move to Finer Grits: As you sand, gradually progress to finer grit sandpapers (e.g., 400, 800, and 1200 grit). This will further refine the surface, removing any visible scratches and creating a smoother texture. Remember to sand in a gentle and controlled manner.
- Wash and Dry: After sanding, wash the coasters with warm, soapy water to remove any sanding residue. Rinse thoroughly and pat dry with a clean cloth.
- Apply Polishing Compound: Using a soft cloth or a polishing pad, apply a small amount of polishing compound to the surface of each coaster. Gently rub the compound in circular motions, working it into the resin to achieve a brilliant shine.
- Buff to a Glossy Finish: Continue buffing each coaster until you achieve a glossy and reflective finish. Take your time, and make sure to cover the entire surface evenly.
Remember, sanding and polishing your flower resin coasters will enhance their appearance and create a professional-looking finish. Take care not to apply too much pressure or sand too aggressively, as this can damage the coasters.
With the sanding and polishing complete, your coasters are looking stunning! However, if you want to add an extra layer of protection and shine, you can proceed to the optional final step: applying a top coat.
Step 10: Apply a Top Coat (Optional)
Applying a top coat to your flower resin coasters is an optional step that can provide additional protection and enhance the overall appearance. The top coat will add a glossy finish and help seal in the beauty of the flowers. Follow these steps to apply a top coat:
- Select a Clear Top Coat: Choose a clear, high-quality top coat specifically designed for use with resin. Look for one that is non-yellowing, UV-resistant, and compatible with your resin type.
- Read the Instructions: Carefully read and follow the instructions provided by the top coat manufacturer. Each product may have specific application guidelines and drying times.
- Prepare the Coasters: Ensure that the surface of your resin coasters is clean, dry, and free of dust or debris. Use a soft cloth or microfiber cloth to gently wipe the coasters, if necessary.
- Apply the Top Coat: Using a clean brush or foam applicator, apply a thin and even layer of the top coat to the surface of each coaster. Be careful to avoid any pooling or drips. Ensure that the entire surface is covered, including the edges.
- Follow Drying and Curing Time: Allow the top coat to dry and cure according to the manufacturer’s instructions. This may require leaving the coasters undisturbed for a specified period.
- Inspect and Repeat (if necessary): Once the initial coat has dried, inspect the coasters for any imperfections or areas that may need additional coverage. If desired, apply a second or even third coat, following the same application and drying process.
Remember, applying a top coat to your flower resin coasters is optional, but it can provide an extra layer of protection and enhance their overall appearance. It’s important to choose a compatible and quality top coat and follow the instructions provided to ensure the best results.
With the top coat applied, your flower resin coasters are now complete! They are ready to be used and enjoyed or gifted to someone special.
We hope you have enjoyed creating these beautiful and personalized flower resin coasters. Get ready to receive compliments and admiration for your artistic and creative skills!
Happy coaster-making!
Conclusion
Congratulations on successfully creating your own stunning flower resin coasters! Through the careful selection and arrangement of flowers, mixing and pouring resin, and the meticulous sanding and polishing process, you have transformed simple materials into functional works of art.
These flower resin coasters not only serve as practical items for protecting surfaces from beverage condensation or heat, but they also add a touch of nature and beauty to your home decor. Whether you keep them for yourself or gift them to loved ones, these coasters are sure to impress and delight.
Remember to experiment, be creative, and enjoy the process of making these coasters. Each set can be unique and personalized, reflecting your individual style and preferences. The possibilities are endless, whether you choose to use fresh flowers, dried petals, or even artificial blooms.
As you embark on this creative journey, don’t forget to take proper safety precautions when working with resin and always follow the manufacturer’s instructions. The use of protective gear, proper ventilation, and careful handling will ensure a safe and enjoyable experience.
Now it’s time to showcase your masterpiece and enjoy the compliments that will surely come your way. So go ahead, place your flower resin coasters on your coffee table, dining room table, or anywhere you desire, and let their beauty shine.
We hope you’ve had a wonderful time creating these flower resin coasters. Thank you for joining us on this artistic adventure. Happy coaster-making!
Frequently Asked Questions about How To Make Flower Resin Coasters
Was this page helpful?
At Storables.com, we guarantee accurate and reliable information. Our content, validated by Expert Board Contributors, is crafted following stringent Editorial Policies. We're committed to providing you with well-researched, expert-backed insights for all your informational needs.


0 thoughts on “How To Make Flower Resin Coasters”