Articles
How To Put A Lamp Shade On A Ceiling Light
Modified: September 2, 2024
Discover the best way to put a lamp shade on a ceiling light with our informative articles. Transform your space with ease and style.
(Many of the links in this article redirect to a specific reviewed product. Your purchase of these products through affiliate links helps to generate commission for Storables.com, at no extra cost. Learn more)
Introduction
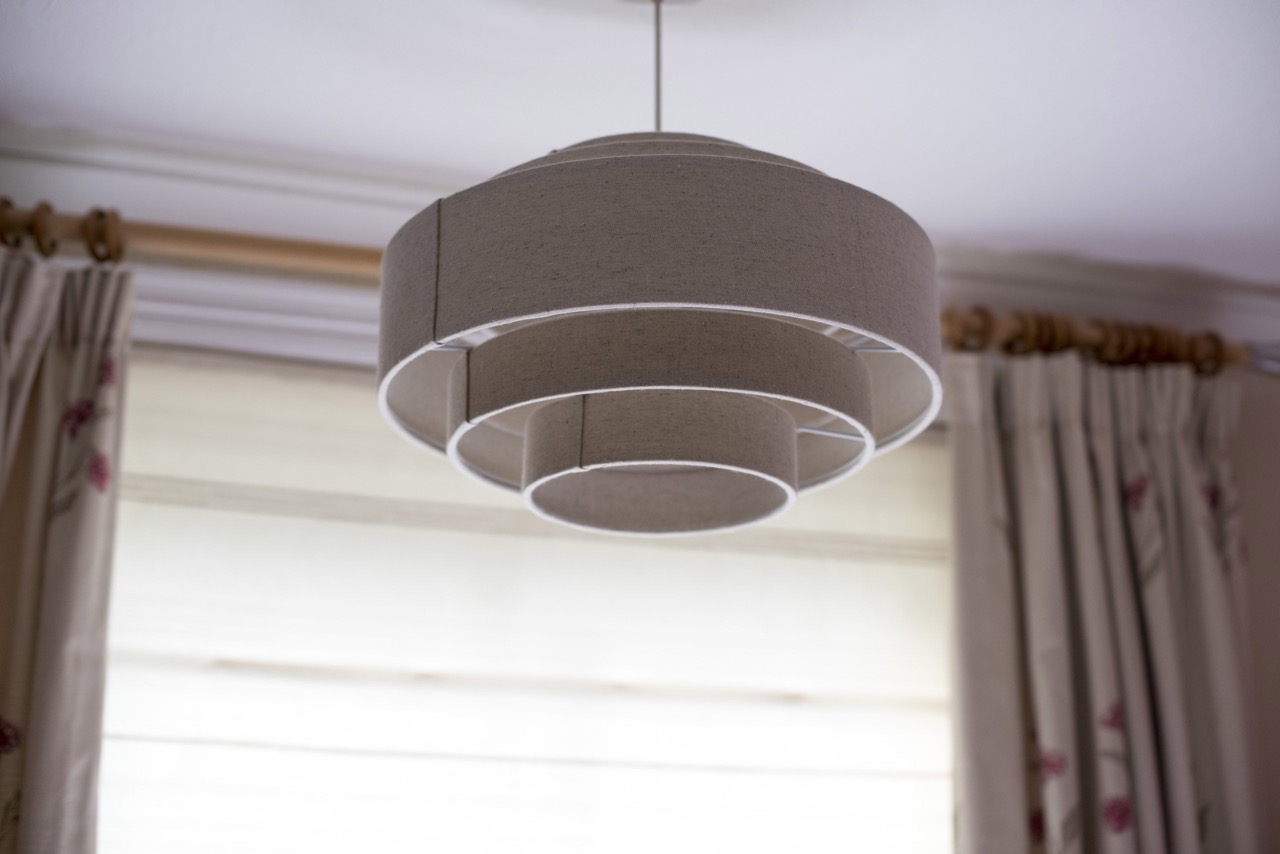
When it comes to adding a touch of style and ambiance to a room, few things are as effective as a well-chosen lampshade. Not only does a lampshade diffuse the light from a ceiling light, it also adds visual interest and personality to the space. If you’re looking to update your home’s lighting fixtures or simply want to change the look of a room, putting a lampshade on a ceiling light is a relatively easy and affordable way to do so.
In this article, we will guide you through the step-by-step process of how to put a lamp shade on a ceiling light. Whether you’re a seasoned DIY enthusiast or a novice looking to tackle your first home improvement project, this guide will provide you with the knowledge and confidence to transform your ceiling light into a stunning focal point.
Before we get started, it’s essential to gather all the necessary materials. Let’s take a look at what you’ll need:
Key Takeaways:
- Transform your room with a stylish lampshade on a ceiling light. Follow the step-by-step guide for a safe and successful installation, and enjoy the cozy ambiance it brings to your home.
- Elevate your living space with a personalized touch. Choose a complementary lampshade, secure it properly, and bask in the warm glow of your newly transformed ceiling light.
Read more: How To Put A Lamp Shade On
Materials Needed
- Lampshade
- Ceiling light fixture
- Light bulb
- Screwdriver
- Ladder or step stool
- Cloth or towel
- Gloves (optional)
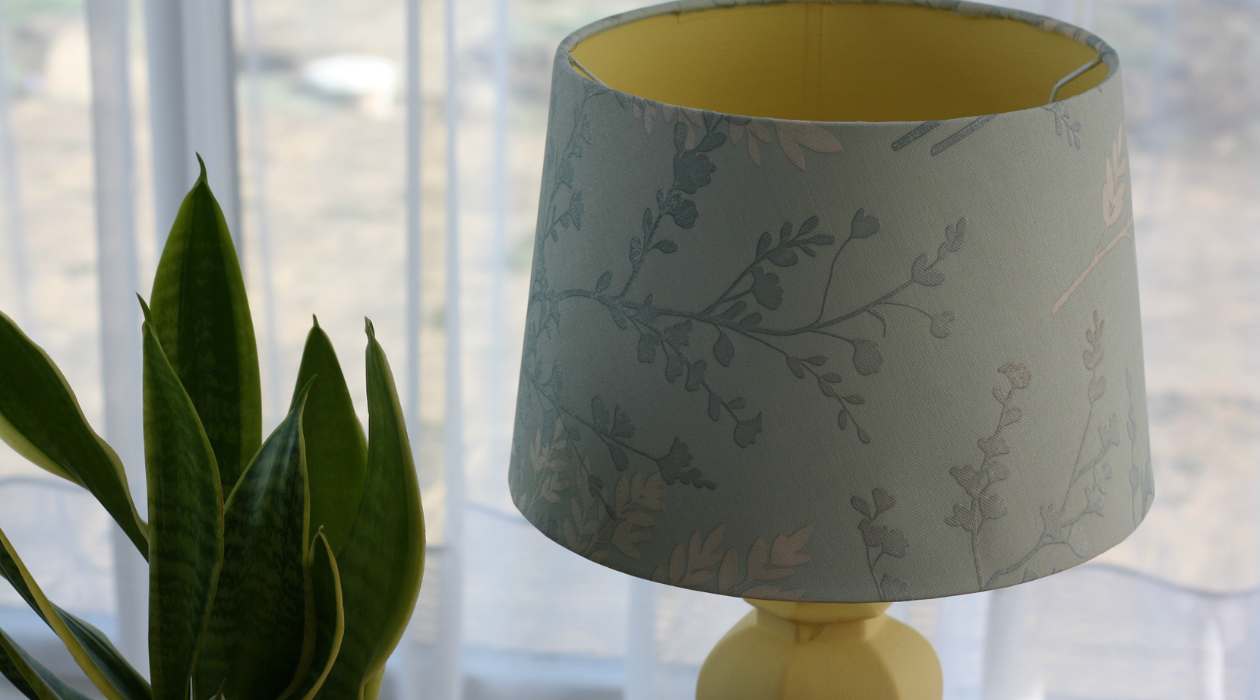
Before you begin the process of putting a lampshade on a ceiling light, gather all the required materials. The lampshade will be the centerpiece of your new lighting fixture, so choose one that complements the style and color scheme of your room. Whether you prefer a classic drum shade or a more intricate design, make sure to select a lampshade that fits the dimensions of your ceiling light fixture.
In addition to the lampshade, you’ll need a ceiling light fixture that is compatible with the lampshade. This can be an existing ceiling light fixture or a new one that you purchase specifically for this project. Ensure that the ceiling light fixture has a standardized socket that can accommodate the light bulb.
Speaking of light bulbs, don’t forget to choose the appropriate type and wattage for your ceiling light fixture. Whether you prefer warm or cool lighting, there are various options available in the market. Consider energy-efficient LED bulbs for cost savings and environmental friendliness.
To complete the project, grab a screwdriver that matches the screws on your ceiling light fixture. This will be used to secure the lampshade in place. Additionally, have a ladder or step stool on hand to access the ceiling light fixture safely. It’s also a good idea to have a cloth or towel nearby to protect the fixture from any accidental scratches.
Lastly, wearing gloves is optional but can provide added protection during the installation process. They can prevent fingerprints or smudges on the lampshade or ceiling light fixture.
Now that you have all the necessary materials, let’s dive into the step-by-step guide on how to put a lampshade on a ceiling light.
Step 1: Turn off the power
Safety should always be the first priority when working with electrical fixtures. Before you begin installing a lampshade on a ceiling light, make sure to turn off the power to the light fixture. This will help prevent any accidents or electric shocks.
To turn off the power, locate the circuit breaker or fuse box in your home. Look for the corresponding switch or fuse that controls the power to the ceiling light fixture. Flip the switch or remove the fuse to cut off the electricity supply.
It’s a good idea to double-check that the power is indeed off before you proceed. Test the ceiling light fixture by turning the light switch on and off. If the light remains off, then you can be sure that the power is safely disconnected.
Remember, never attempt to work on the ceiling light fixture when the power is still on. This can pose a serious safety risk. Take the necessary precautions and ensure that the power is completely off before moving on to the next steps.
Once you are certain that the power is turned off, you can proceed to the next step in installing a lampshade on a ceiling light.
Step 2: Remove the existing light bulb
Now that the power is safely turned off, it’s time to remove the existing light bulb from the ceiling light fixture. This step is necessary to provide easy access to the lampshade and ensure a smooth installation process.
Carefully unscrew the light bulb in a counterclockwise direction. If the bulb is stuck or difficult to remove, you may need to use a cloth or glove to get a better grip. Hold the base of the bulb firmly and twist it gently until it comes loose from the socket.
Once the bulb is removed, set it aside in a safe place. You may want to inspect the bulb for any signs of damage or wear. If you notice any issues, such as a broken filament or blackened areas, it’s a good idea to replace the bulb with a new one.
Take this opportunity to clean the socket and any surrounding areas. Use a dry cloth or a small brush to remove any dust or debris that may have accumulated over time. This will ensure a clean and secure connection when you install the new lampshade.
With the existing light bulb removed and the socket cleaned, you’re now ready to move on to the next step in the process: removing the old lampshade.
Step 3: Remove the old lampshade
With the light bulb out of the way, it’s time to remove the old lampshade from the ceiling light fixture. This step is necessary to make room for the new lampshade and ensure a fresh and updated look.
Inspect the lampshade to determine how it is attached to the fixture. Most lampshades are secured with clips or screws, while others may simply rest on top of the fixture. Carefully remove any clips or unscrew any screws that are holding the lampshade in place.
If the old lampshade is not easily removable, it’s possible that it may be glued or attached in a different way. Take your time and examine the lampshade and fixture to determine the best approach for removal.
Once the lampshade is detached, gently lift it off the ceiling light fixture and set it aside. Take note of any additional components, such as a shade holder or support ring, that may have been attached to the old lampshade. These may need to be removed or adjusted to accommodate the new lampshade.
After removing the old lampshade, take a moment to clean the ceiling light fixture. Use a cloth or gentle cleaning solution to remove any dust or dirt that may have accumulated over time. This will ensure a clean surface for installing the new lampshade.
With the old lampshade removed and the fixture cleaned, you’re now ready to move on to the next step in the process: attaching the new lampshade frame.
When putting a lamp shade on a ceiling light, make sure to turn off the power to the light fixture before starting. Carefully remove the existing shade and then attach the new shade, ensuring it is securely in place before turning the power back on.
Read more: How To Hang A Lamp Shade From The Ceiling
Step 4: Attach the new lampshade frame
Now that the old lampshade has been removed, it’s time to attach the new lampshade frame to the ceiling light fixture. This step is crucial in ensuring a secure and stable foundation for the lampshade.
Start by examining the new lampshade frame and familiarizing yourself with its components. Most lampshade frames consist of a metal or wire structure that holds the fabric or material in place. Identify any clips, hooks, or tabs on the frame that will be used to attach it to the fixture.
Position the lampshade frame over the ceiling light fixture, making sure that it is aligned properly. Take note of any notches or grooves on the fixture that are designed to hold the frame securely in place.
Depending on the design of the lampshade frame, you may need to adjust or manipulate some of the components to fit it onto the fixture. Gently bend or flex the frame as needed, ensuring that it fits snugly and securely onto the fixture.
Once the frame is properly positioned on the fixture, secure it in place using the designated clips, hooks, or tabs. Make sure that all parts of the frame are properly fastened and that it is stable and balanced on the fixture.
Take a step back and assess the placement of the lampshade frame. Ensure that it is straight and level, and adjust it if necessary. This will ensure that the finished lampshade sits correctly and enhances the overall aesthetics of the room.
With the new lampshade frame securely attached to the ceiling light fixture, you’re now ready to move on to the next step: securing the lampshade in place.
Step 5: Secure the lampshade in place
With the lampshade frame properly attached to the ceiling light fixture, the next step is to secure the lampshade in place. This is essential to ensure that the lampshade remains stable and doesn’t shift or fall off.
Check the lampshade frame for any additional attachments or mechanisms that are designed to hold the lampshade securely. These may include clips, screws, or other fastening devices.
Place the lampshade onto the frame, ensuring that it fits snugly and evenly. If the lampshade has a specific orientation or pattern, make sure it is aligned correctly before securing it.
Once the lampshade is in position, use the designated attachments or mechanisms to secure it to the lampshade frame. This may involve tightening screws, snapping clips into place, or fastening hooks onto the frame.
Make sure to check that the lampshade is securely held in place from all angles. Gently give it a slight nudge to ensure that it doesn’t wobble or come loose.
If the lampshade feels unsteady or if you’re not confident that it is securely attached, double-check the fastenings and make any necessary adjustments. It’s essential to have a stable and well-secured lampshade to prevent any accidents or damage.
Once you are satisfied that the lampshade is properly secured, take a step back and admire the new addition to your ceiling light. The lampshade will not only provide a functional lighting solution but also add a touch of style and personality to the room.
With the lampshade securely in place, you’re ready to move on to the next step: installing a new light bulb.
Step 6: Install a new light bulb
Now that the lampshade is securely attached to the ceiling light fixture, it’s time to install a new light bulb. Properly selecting and installing the right bulb will ensure that your newly adorned lampshade illuminates the room beautifully.
Refer to the manufacturer’s instructions or the specifications of your ceiling light fixture to determine the appropriate type and wattage of the light bulb. This information is crucial to ensure compatibility and prevent any issues.
Before handling the new light bulb, ensure that the power to the ceiling light fixture is still turned off. This will prevent any accidental electrical shocks or damage.
Gently hold the new light bulb by its base and align the screw threads with the socket on the ceiling light fixture. Rotate the bulb in a clockwise direction until it is snugly and securely in place.
Note that some light bulbs may have different installation instructions, such as push-and-turn or bayonet-style fittings. Refer to the manufacturer’s instructions if you encounter any difficulties or uncertainties during the installation process.
Once the new light bulb is installed, take a moment to inspect its position. Ensure that the bulb is centered and aligned properly within the lampshade.
If your lampshade has a diffuser or cover over the light bulb, carefully reattach it according to the manufacturer’s instructions. This will provide a more evenly distributed and pleasing light output.
With the new light bulb installed and any additional components reattached, you’re ready to move on to the final step: turning on the power.
Remember, do not turn on the power until all installation steps are complete and you are confident that everything is securely in place.
Step 7: Turn on the power
The final step in putting a lampshade on a ceiling light is to turn on the power. Once you have completed all the previous steps and ensured that everything is securely in place, it’s time to enjoy your newly transformed lighting fixture.
Go to the circuit breaker or fuse box and locate the switch or fuse that controls the power to the ceiling light fixture. Flip the switch or insert the fuse to restore the electricity supply.
Take a moment to observe the lampshade and the room as the light turns on. Admire the beautiful glow and the impact it has on the overall ambiance and decor.
If the lampshade is not casting the desired amount or quality of light, you may need to adjust the positioning or type of light bulb. Experiment with different bulbs or make small adjustments to the lampshade position until you achieve the desired lighting effect.
Remember to periodically check the lampshade and the ceiling light fixture for any signs of wear or damage. Clean them as needed and replace any components that may become worn or broken over time.
Congratulations! You have successfully put a lampshade on a ceiling light. Your efforts have not only improved the visual appeal of the room but also enhanced its functionality and atmosphere.
By following these steps, you can confidently make changes to your ceiling light fixtures whenever you desire, allowing you to update and personalize your home’s lighting to suit your style and preferences.
Enjoy the inviting and cozy ambiance created by your new lampshade, and revel in the knowledge that you accomplished this DIY project with skill and creativity.
Thank you for reading this guide on how to put a lampshade on a ceiling light. We hope it has been informative and inspiring. Happy decorating!
Read more: How To Put LED Lights On Ceiling
Conclusion
Putting a lampshade on a ceiling light can completely transform the look and feel of a room. With just a few simple steps, you can upgrade your lighting fixtures and add a touch of style and personality to any space in your home.
Throughout this guide, we’ve covered the step-by-step process of how to put a lampshade on a ceiling light. From turning off the power to securely attaching the lampshade and installing a new light bulb, each step is essential in ensuring a successful and safe installation.
Remember to gather all the necessary materials before you begin, including a well-chosen lampshade, a compatible ceiling light fixture, a light bulb, and the appropriate tools. Take your time to carefully follow each step, ensuring that everything is aligned, secure, and properly installed.
Whether you’re a seasoned DIY enthusiast or a beginner, putting a lampshade on a ceiling light is a relatively simple and affordable way to elevate the aesthetics of your living space. By selecting a lampshade that complements your room’s decor and utilizing the right lighting bulb, you can create a warm and inviting atmosphere that truly reflects your personal style.
As with any home improvement project, safety is paramount. Always turn off the power before working with electrical fixtures and double-check that it is fully disconnected. Take precautions and wear gloves if desired to protect your hands during the installation process.
By following this guide, you can confidently tackle the task of putting a lampshade on a ceiling light. Enjoy the satisfaction of a job well done and admire the beautiful transformation you have just made to your home’s lighting.
We hope this article has provided you with the knowledge and inspiration to embark on this exciting DIY project. So go ahead, get creative, and let your lighting fixtures shine in style!
Frequently Asked Questions about How To Put A Lamp Shade On A Ceiling Light
Was this page helpful?
At Storables.com, we guarantee accurate and reliable information. Our content, validated by Expert Board Contributors, is crafted following stringent Editorial Policies. We're committed to providing you with well-researched, expert-backed insights for all your informational needs.


0 thoughts on “How To Put A Lamp Shade On A Ceiling Light”