Articles
How To Paint Bathroom Vanity Without Sanding
Modified: September 1, 2024
Discover how to transform your bathroom vanity without the hassle of sanding. Follow our step-by-step articles to achieve a beautiful and durable finish.
(Many of the links in this article redirect to a specific reviewed product. Your purchase of these products through affiliate links helps to generate commission for Storables.com, at no extra cost. Learn more)
Introduction
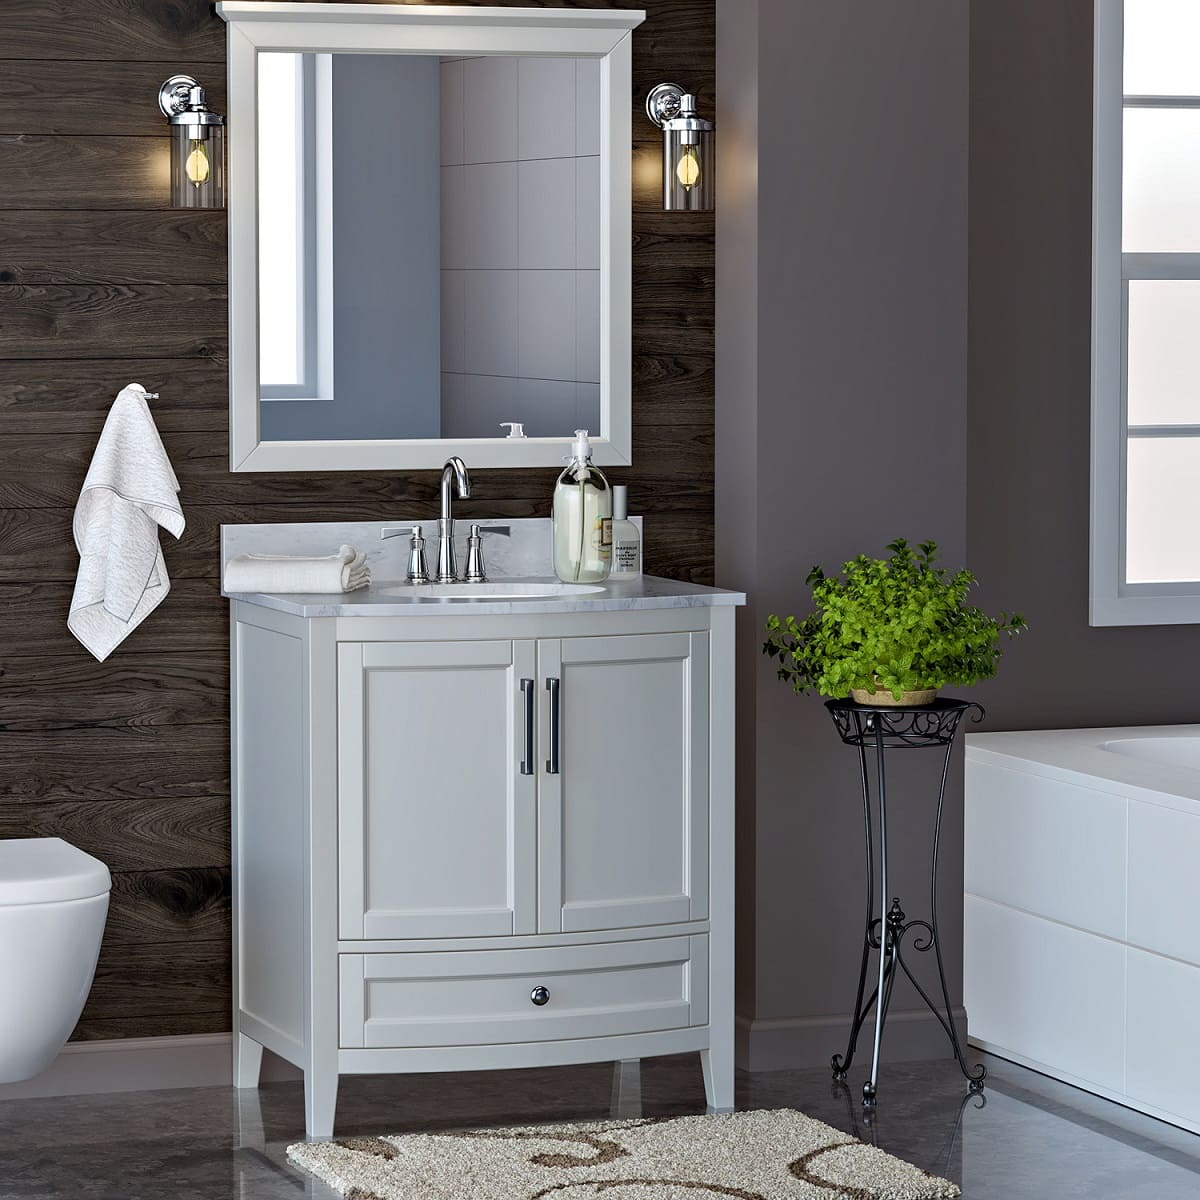
The bathroom vanity is an essential piece of furniture that not only serves a functional purpose but also adds beauty and style to the bathroom. Over time, the paint on the vanity may start to fade, chip, or become outdated, leading homeowners to consider repainting it. However, the idea of sanding the vanity before repainting can be a daunting task for many. The good news is that you can actually paint your bathroom vanity without sanding, saving you time and effort.
In this article, we will guide you through the process of painting your bathroom vanity without sanding. We will provide you with a step-by-step approach, list the materials needed, and offer some tips and tricks to help you achieve a professional-looking finish.
Before we dive into the process, it’s important to note that while sanding is often recommended to create a smooth surface for paint adherence, there are alternative methods that can yield great results. Painting without sanding is ideal for those who prefer a quicker and less labor-intensive approach, or for vanities with minor imperfections that don’t require extensive sanding.
So, whether you’re looking to update the color of your bathroom vanity, change the style, or simply freshen up the look, let’s explore how you can achieve a beautiful paint finish without the hassle of sanding!
Key Takeaways:
- Transform your bathroom vanity without the hassle of sanding by following a step-by-step process using high-quality materials and achieving a professional-grade finish.
- Enjoy a quick and easy bathroom vanity makeover with the right paints and techniques, creating a fresh and updated look without the need for extensive sanding.
Read more: How To Paint A Vanity
Materials Needed
Before getting started with the painting process, it’s important to gather all the necessary materials. Here’s a list of what you’ll need:
- Paint: Choose a high-quality paint that is specifically formulated for bathroom cabinets and vanities. Opt for a paint with a semi-gloss or satin finish for durability and easy cleaning.
- Primer: Look for a bonding primer that is designed to adhere to slick surfaces without the need for sanding. This will ensure proper paint adhesion and long-lasting results.
- Cleaner: Use a mild cleaner specifically formulated for cabinets or a mixture of warm water and mild dish soap to thoroughly clean the vanity surface.
- Lint-free cloths or paper towels: These will be used for cleaning and wiping down the vanity.
- Painter’s tape: Use painter’s tape to mask off any areas you don’t want to paint, such as the walls or countertops.
- Drop cloth: Protect the surrounding area by laying down a drop cloth or old sheets to catch any paint drips.
- Paintbrushes: Choose high-quality brushes in different sizes to ensure a smooth and even application of paint.
- Roller and tray (optional): If you prefer to use a roller for larger areas, make sure to have a small paint tray and roller cover on hand.
- Screwdriver: You may need a screwdriver to remove any hardware, such as drawer pulls or hinges, before painting.
- Protective finish (optional): To enhance the durability of the paint and protect it from moisture and everyday wear, consider applying a clear protective finish like polyurethane.
Make sure to gather all these materials before beginning the process. Having everything on hand will help you work efficiently and smoothly.
Step 1: Prepare the Vanity
Preparing the vanity is an important step to ensure a successful paint job. Here’s what you need to do:
- Remove all items: Clear out the vanity and remove any items from the drawers and cabinets. This will give you more space to work and prevent any accidental damage to your belongings.
- Protect the surrounding area: Place a drop cloth or old sheets around the vanity to protect the floor and any nearby fixtures from paint splatters.
- Remove hardware: If possible, remove any hardware, such as drawer pulls, hinges, or knobs. This will make the painting process easier and allow for a smoother finish. Keep the hardware in a safe place to avoid misplacement.
- Clean the surface: Thoroughly clean the vanity surface using a mild cleaner specifically formulated for cabinets or a mixture of warm water and mild dish soap. This will remove any dirt, grease, or residue that could affect paint adhesion. Use lint-free cloths or paper towels to dry the surface completely.
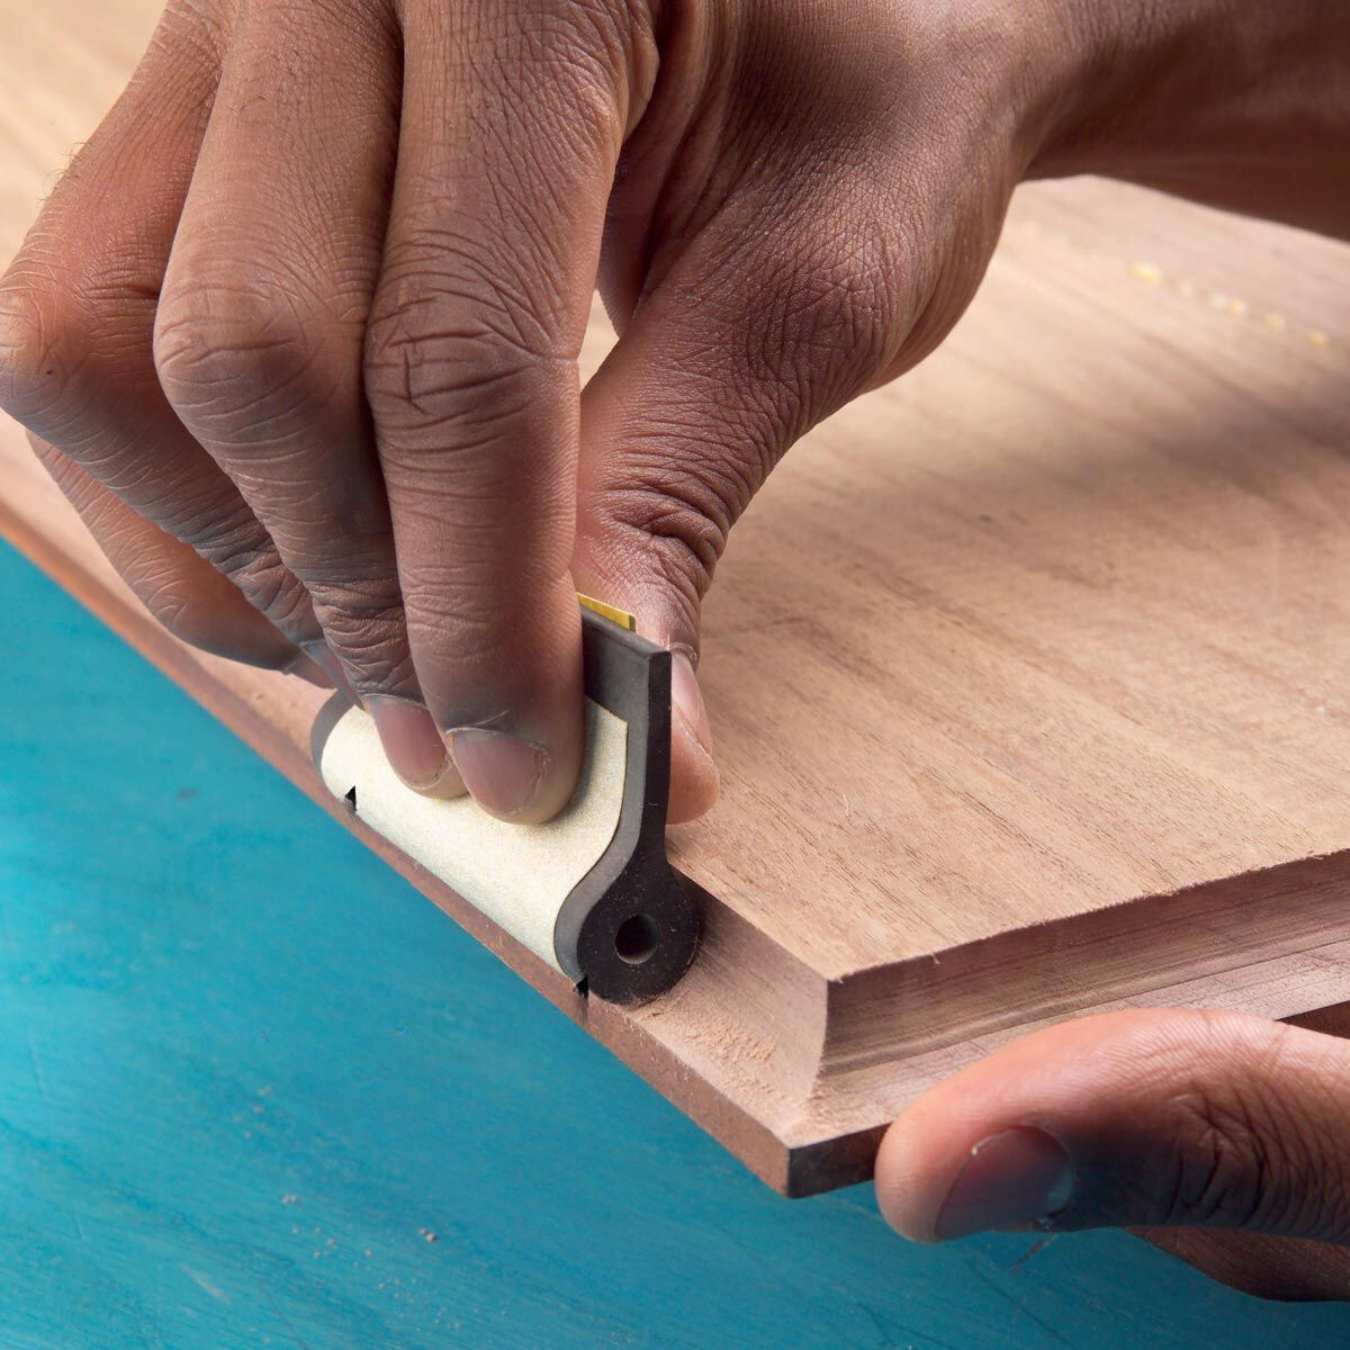
- Lightly sand (optional): While the aim of this guide is to paint without sanding, you can choose to lightly sand the surface to ensure better paint adherence. Use a fine-grit sandpaper and gently sand the vanity in a circular motion. Be careful not to over-sand or damage the surface.
By properly preparing the vanity, you create a clean and smooth canvas for the paint application. This step helps ensure that the paint adheres well and provides a long-lasting finish.
Step 2: Clean and Prime the Vanity
After preparing the vanity, the next step is to clean and prime the surface. This will help the paint adhere better and provide a smooth and even finish. Follow these steps:
- Apply primer: Using a high-quality bonding primer, apply a thin and even layer to the entire surface of the vanity. Use a brush or roller for larger areas and a brush for smaller, detailed areas. Make sure to cover all surfaces, including the top, sides, and drawers.
- Allow the primer to dry: Follow the recommended drying time mentioned on the primer’s label. Avoid touching the vanity during this time to prevent any smudges or marks on the primer.
- Sand (if necessary): After the primer has dried, check the surface for any imperfections or rough spots. If needed, lightly sand the primed surface with a fine-grit sandpaper to create a smooth canvas for the paint.
- Clean the surface again: Once you’ve sanded (if necessary), use a lint-free cloth or paper towel to wipe down the primed surface. Remove any dust or debris that may have accumulated from sanding.
Priming is an essential step to ensure proper paint adhesion and enhance the longevity of the paint finish. It also helps to cover any dark or existing colors on the vanity, providing a neutral base for the paint. By cleaning and priming the vanity, you set the stage for a successful paint job.
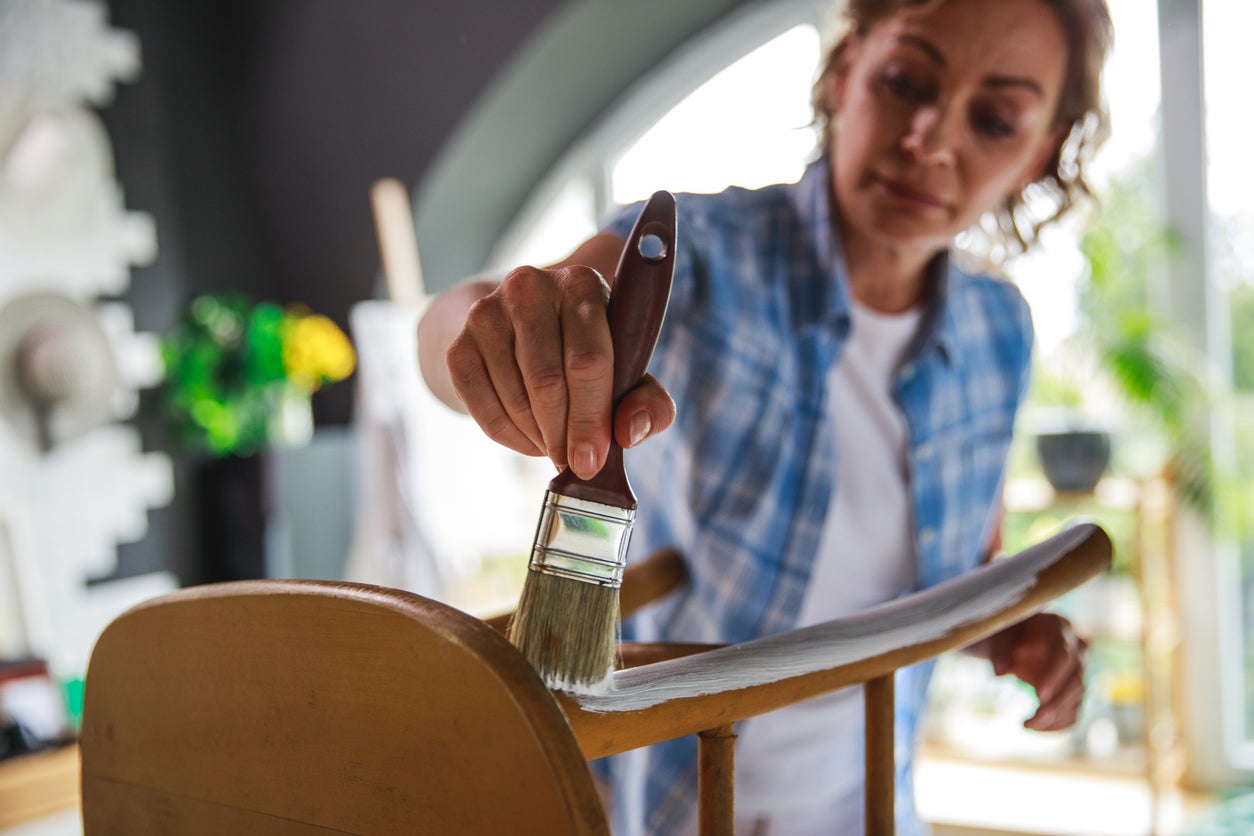
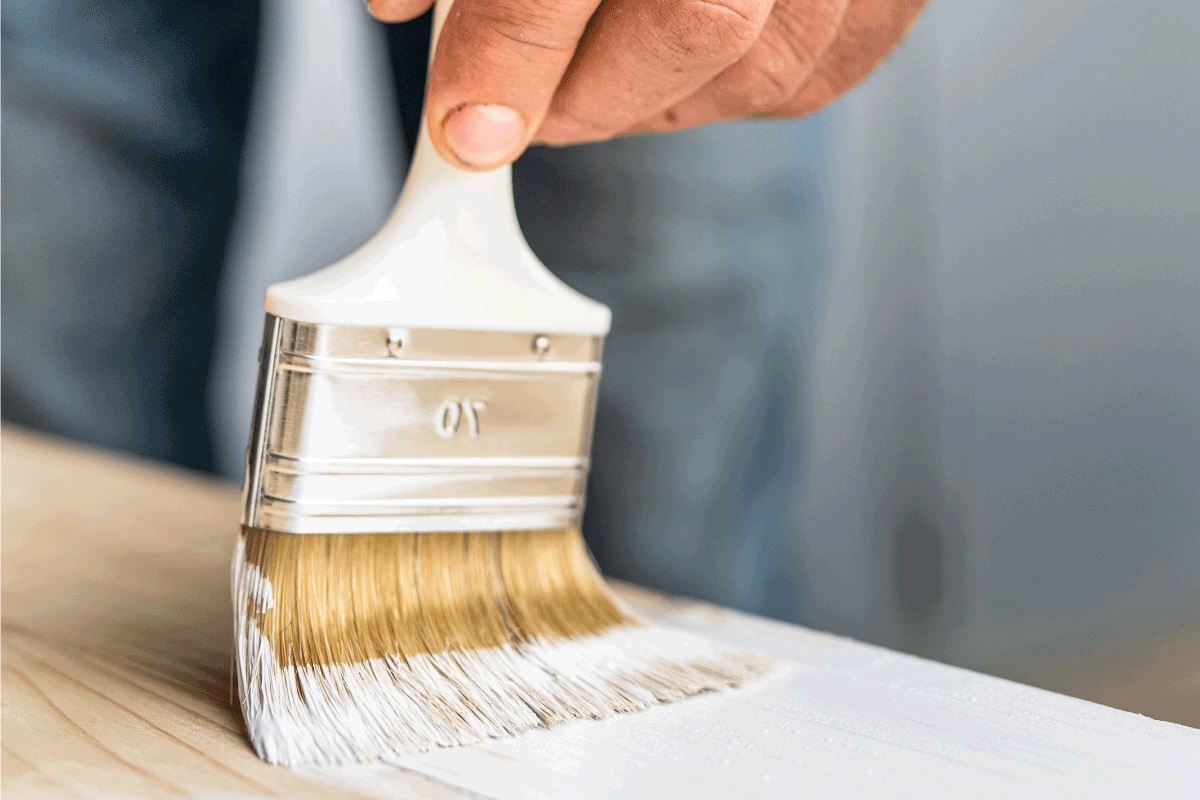
Step 3: Apply the Paint
Now that you have prepared and primed the vanity, it’s time to apply the paint. Follow these steps to achieve a smooth and even finish:
- Stir the paint: Use a stirring stick to thoroughly mix the paint before starting. This ensures that the color is evenly distributed.
- Start with the edges: Begin by painting the edges and corners of the vanity using a small brush. This allows for more precision and helps to cover any hard-to-reach areas.
- Paint the larger surfaces: Once the edges are done, use a brush or roller to apply the paint to the larger surfaces of the vanity. Work in small sections, overlapping the paint strokes slightly to prevent any visible lines or streaks.
- Apply multiple thin coats: Depending on the color and coverage desired, you may need to apply multiple thin coats of paint. Allow each coat to dry completely before applying the next one. This will help prevent any drips or uneven application.
- Watch for drips: Keep an eye out for any paint drips or pooling. If you notice any, quickly remove them with a brush or gently brush them out while the paint is still wet.
- Let the paint dry: Once you have finished applying the paint, allow it to dry completely according to the paint manufacturer’s instructions. Avoid touching or placing any objects on the painted surface during this time.
By following these steps, you can ensure a smooth and professional-looking paint finish on your bathroom vanity. Take your time and work carefully to achieve the desired result.
You can use a liquid deglosser to prep the surface of the bathroom vanity before painting, which eliminates the need for sanding. This will help the paint adhere better and give a smooth finish.
Read more: How To Paint Dresser Without Sanding
Step 4: Apply a Second Coat (if needed)
After the first coat of paint has dried, you may find that additional coverage is needed to achieve the desired color and finish. Applying a second coat can help to even out the color and enhance the durability of the paint. Follow these steps:
- Inspect the first coat: Before applying the second coat, carefully inspect the first coat of paint. Look for any areas where the coverage is uneven or where the previous color is still visible. Note these areas and plan to focus on them during the second coat.
- Prepare the surface: Ensure that the surface is clean and free from any debris or dust. If necessary, lightly sand any rough spots or imperfections to create a smooth surface.
- Paint the second coat: Using the same technique as before, apply the second coat of paint to the vanity. Start with the edges and corners, then move on to the larger surfaces. Remember to maintain a consistent paint stroke direction and overlap the previous strokes slightly.
- Allow the second coat to dry: Once the second coat has been applied, let it dry completely according to the paint manufacturer’s instructions. Avoid touching or placing any objects on the painted surface during this time.
Applying a second coat of paint will help to ensure a more even and vibrant finish. It allows you to achieve the desired coverage and enhances the overall appearance of the painted bathroom vanity.
Step 5: Apply a Protective Finish
After the paint has dried and you are satisfied with the color and coverage of your bathroom vanity, applying a protective finish is a great way to add an extra layer of durability and longevity to the paint job. Follow these steps:
- Select the protective finish: Choose a clear protective finish specifically designed for painted surfaces. Polyurethane is a popular choice as it provides a strong and durable protective layer.
- Prepare the surface: Ensure that the painted surface is clean and free from any dust or debris. Lightly sand any rough spots if needed, and wipe down the surface with a lint-free cloth or paper towel.
- Apply the protective finish: Using a brush or roller, apply a thin and even layer of the protective finish to the entire painted surface of the vanity. Work in small sections and overlap your strokes slightly for a smooth finish.
- Allow it to dry: Follow the drying time mentioned on the protective finish’s label. Avoid touching or placing any objects on the surface during this time.
- Apply additional coats (if desired): Depending on the level of protection you desire, you can apply multiple coats of the protective finish. Just make sure to let each coat dry completely before applying the next one.
Applying a protective finish will help to protect the paint from moisture, stains, and everyday wear and tear, ensuring that your newly painted bathroom vanity maintains its beauty for years to come.
Step 6: Reassemble the Vanity
Once the paint and protective finish are completely dry, it’s time to reassemble your bathroom vanity. Follow these steps to put everything back together:
- Reattach hardware: If you removed any hardware, such as drawer pulls or hinges, during the painting process, now is the time to reattach them. Make sure to tighten them securely and align them properly.
- Check for any touch-ups: Inspect the painted surface for any areas that may need touch-ups. Use a small brush or a fine-tipped paintbrush to carefully touch up any spots that require additional paint.
- Clean up: Remove the drop cloth or old sheets that were used to protect the surrounding area. Clean up any paint brushes, rollers, or trays that were used during the painting process. Dispose of any leftover paint or materials as required.
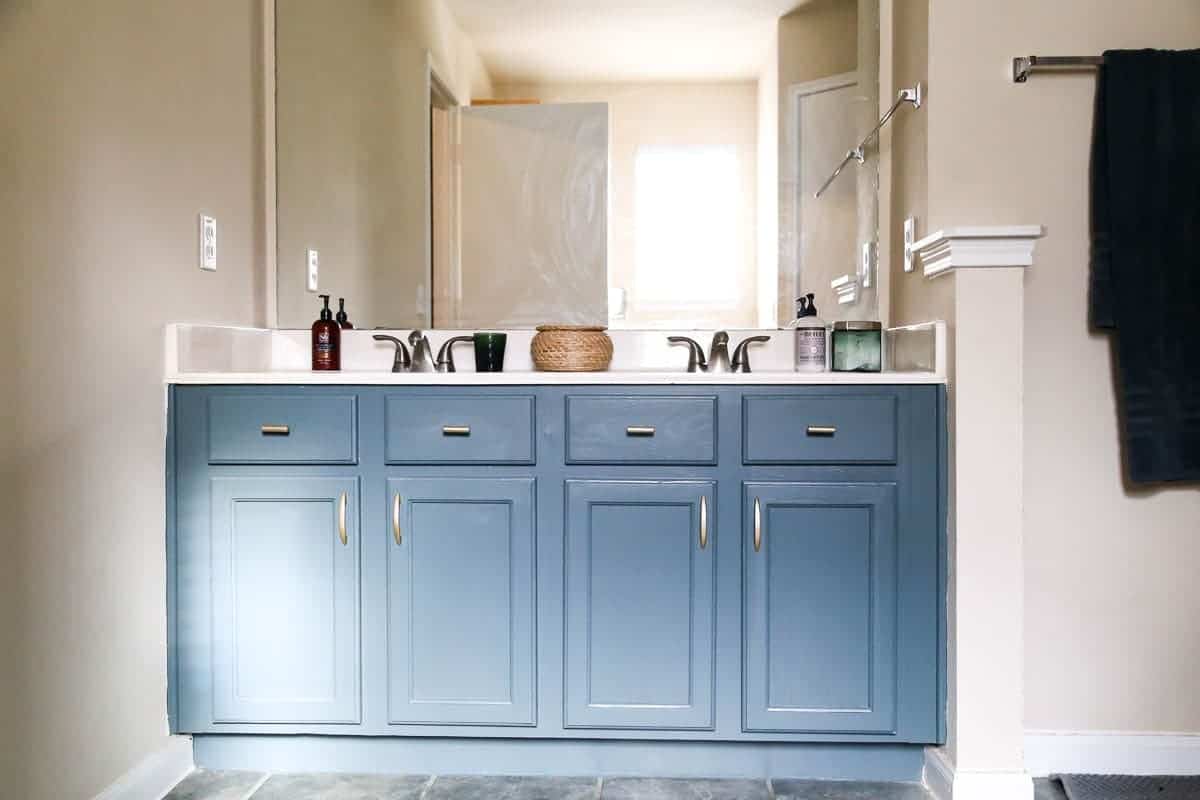
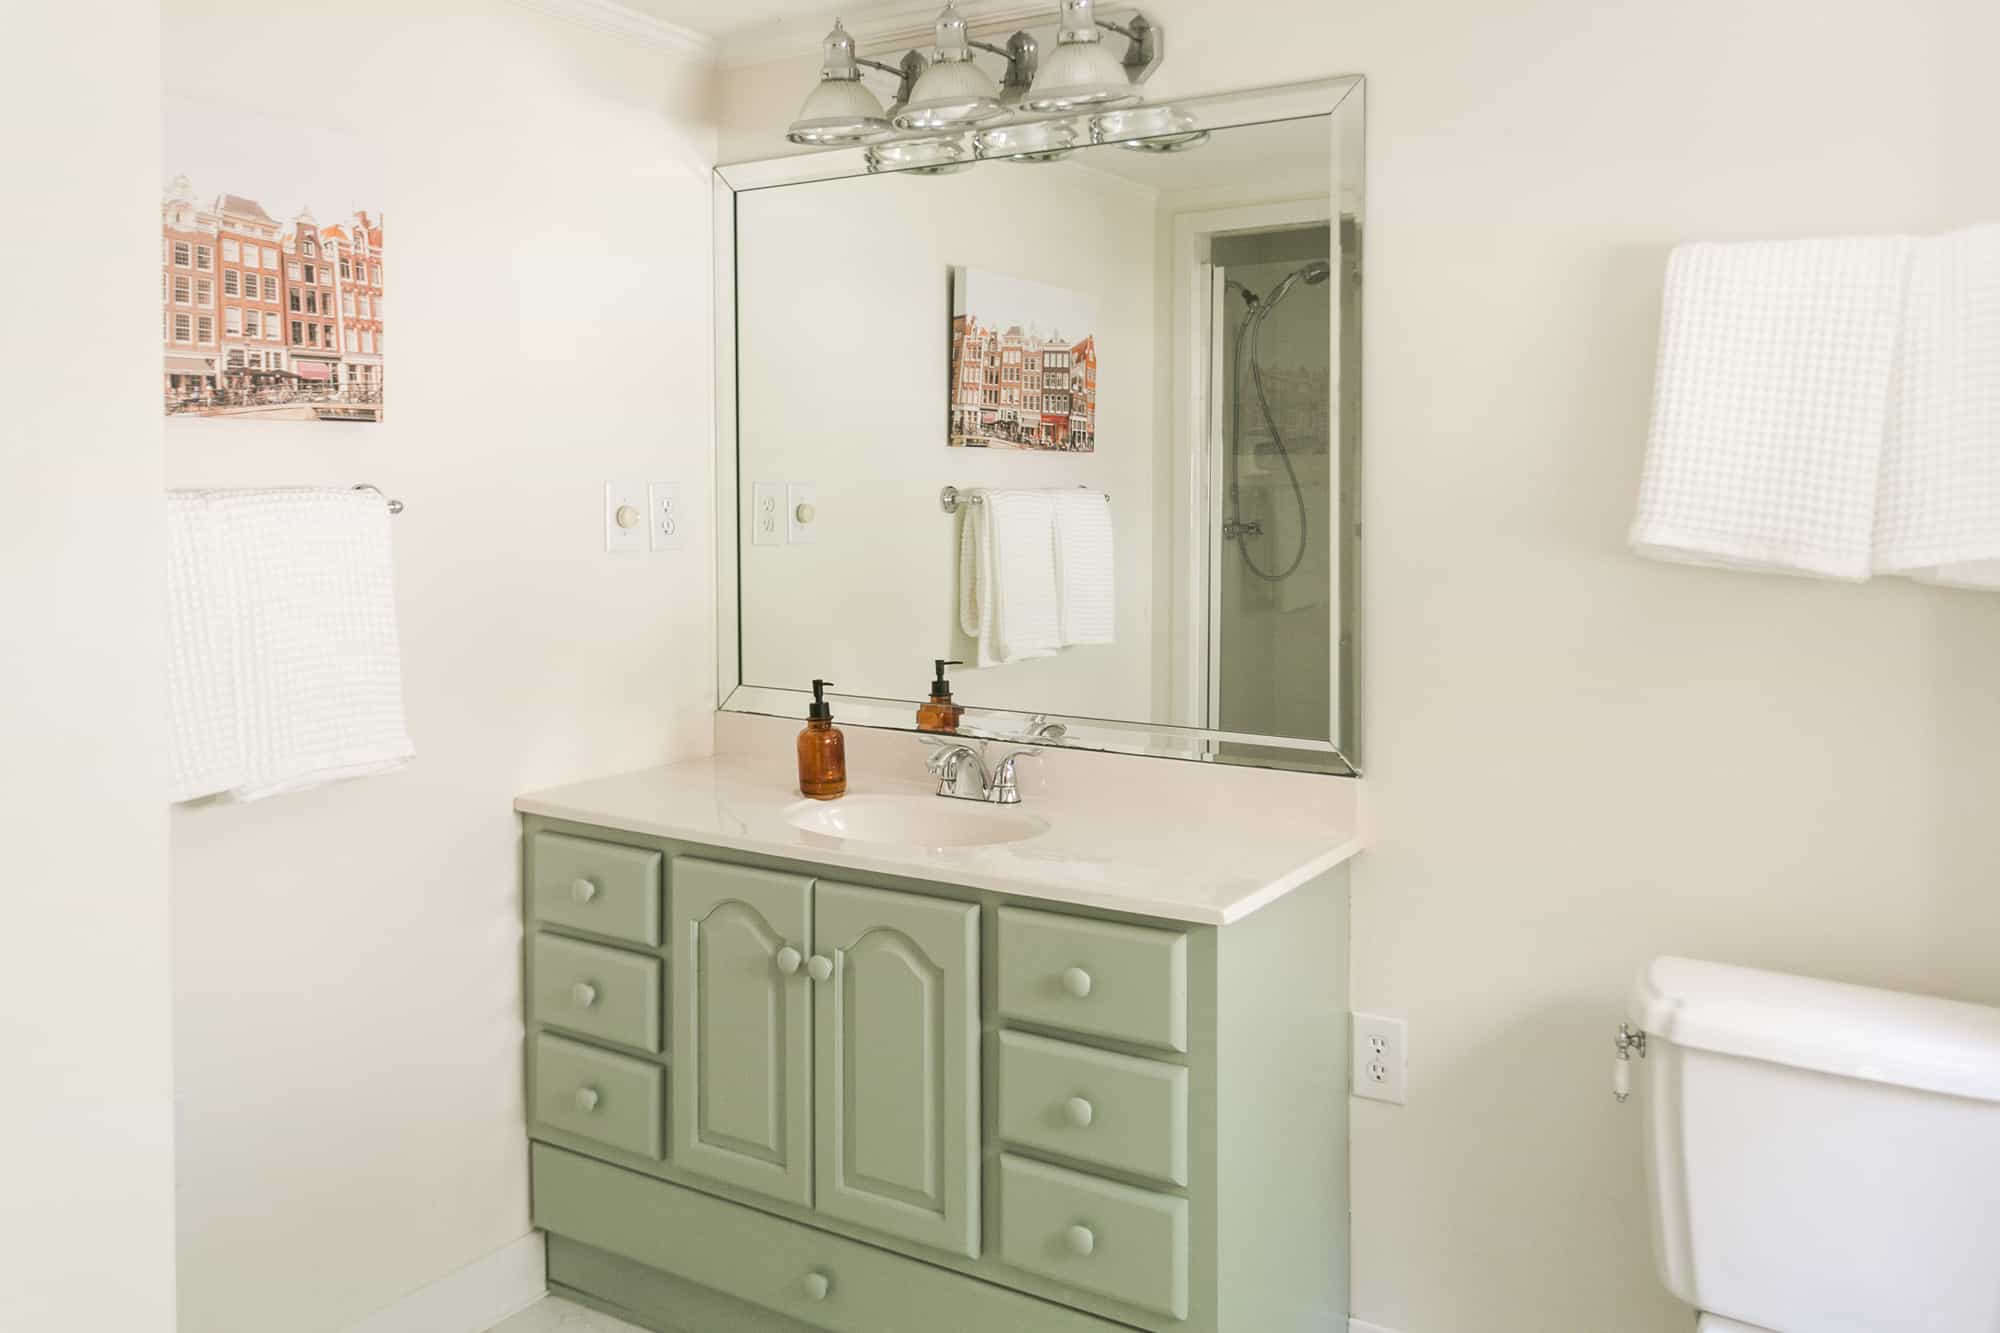
- Enjoy your refreshed vanity: With the vanity fully reassembled, take a step back and admire your newly painted bathroom vanity. It has transformed the look of your bathroom and added a fresh and updated touch.
Now that your vanity is fully reassembled, you can enjoy the results of your hard work. The painted vanity will not only enhance the overall aesthetics of your bathroom but also provide a sense of satisfaction in a job well done.
Conclusion
Painting your bathroom vanity without sanding can be a relatively quick and easy way to give your bathroom a fresh and updated look. By following the steps outlined in this guide and using the right materials, you can achieve a professional-grade paint job without the need for extensive sanding.
Remember to properly prepare the vanity by cleaning and, if desired, lightly sanding the surface. Applying a bonding primer is essential to ensure proper paint adhesion and create a smooth canvas for the paint. Then, apply the paint in thin, even coats, allowing each coat to dry completely before applying another. If needed, apply a second coat to achieve the desired color and coverage. Finally, consider applying a protective finish to enhance the durability of the paint and protect it from moisture and everyday wear.
Once the painting is complete, reassemble the vanity and take a moment to appreciate the transformation. Your newly painted bathroom vanity will not only breathe new life into the space but also provide a sense of accomplishment and satisfaction.
Remember to choose high-quality paints and materials specifically designed for bathroom cabinets and vanities. Take your time, follow the steps carefully, and enjoy the process of giving your bathroom a fresh and updated look without the hassle of sanding.
So, go ahead and unleash your creativity, give your bathroom vanity a makeover, and enjoy the beauty and style it brings to your bathroom.
Frequently Asked Questions about How To Paint Bathroom Vanity Without Sanding
Was this page helpful?
At Storables.com, we guarantee accurate and reliable information. Our content, validated by Expert Board Contributors, is crafted following stringent Editorial Policies. We're committed to providing you with well-researched, expert-backed insights for all your informational needs.


0 thoughts on “How To Paint Bathroom Vanity Without Sanding”