Articles
How To Paint Bathroom Vanity Cabinets
Modified: December 7, 2023
Learn how to paint bathroom vanity cabinets with these helpful articles. Transform your bathroom with a fresh coat of paint and give your cabinets a brand new look.
(Many of the links in this article redirect to a specific reviewed product. Your purchase of these products through affiliate links helps to generate commission for Storables.com, at no extra cost. Learn more)
Introduction
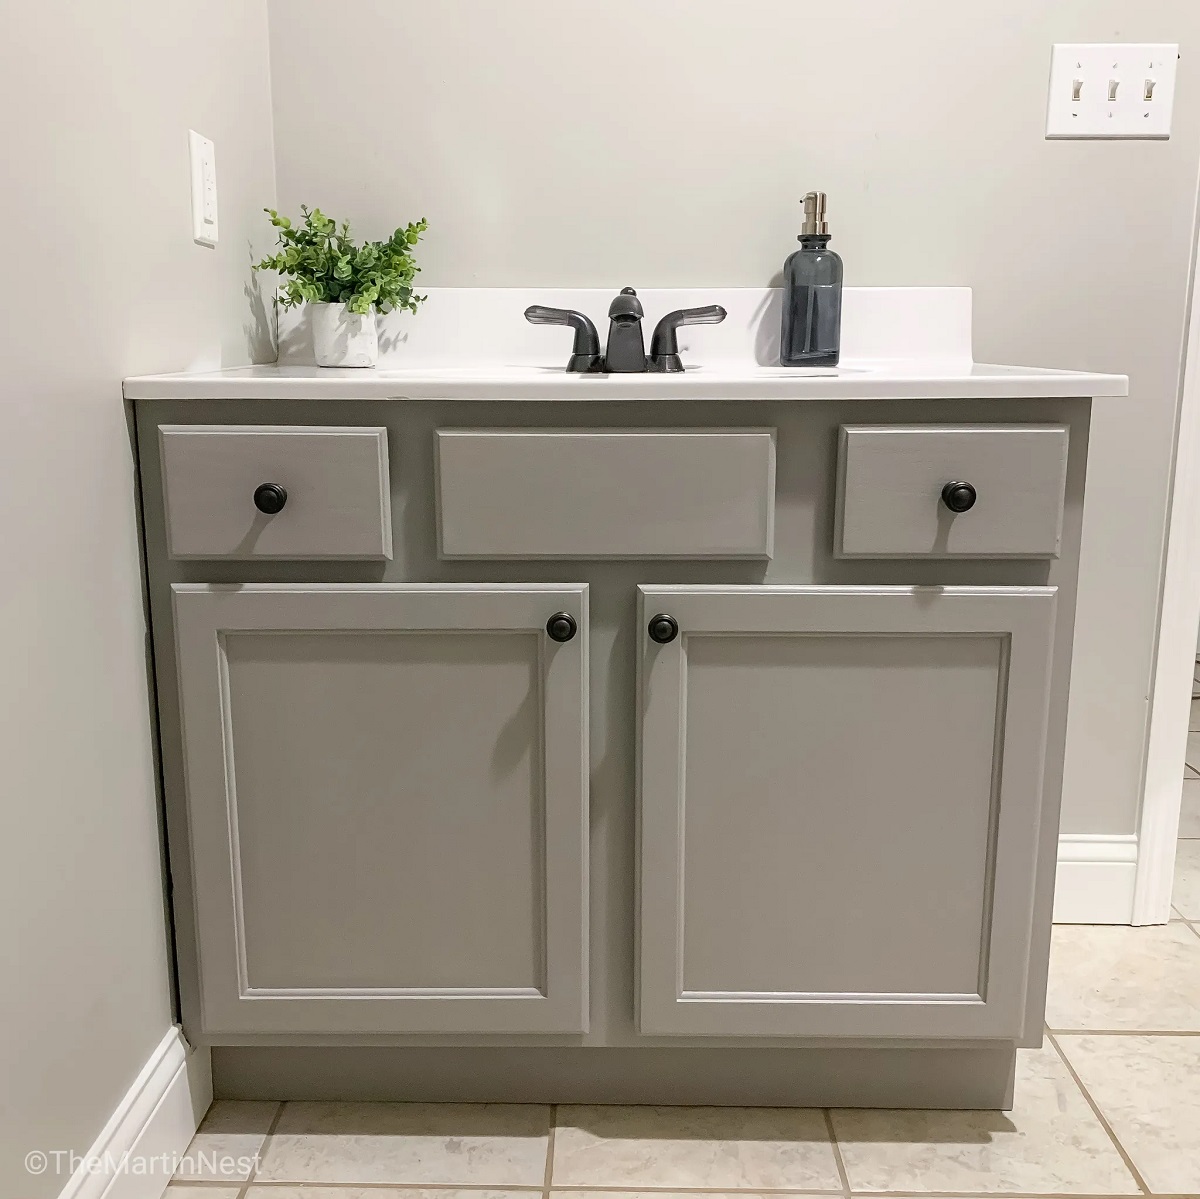
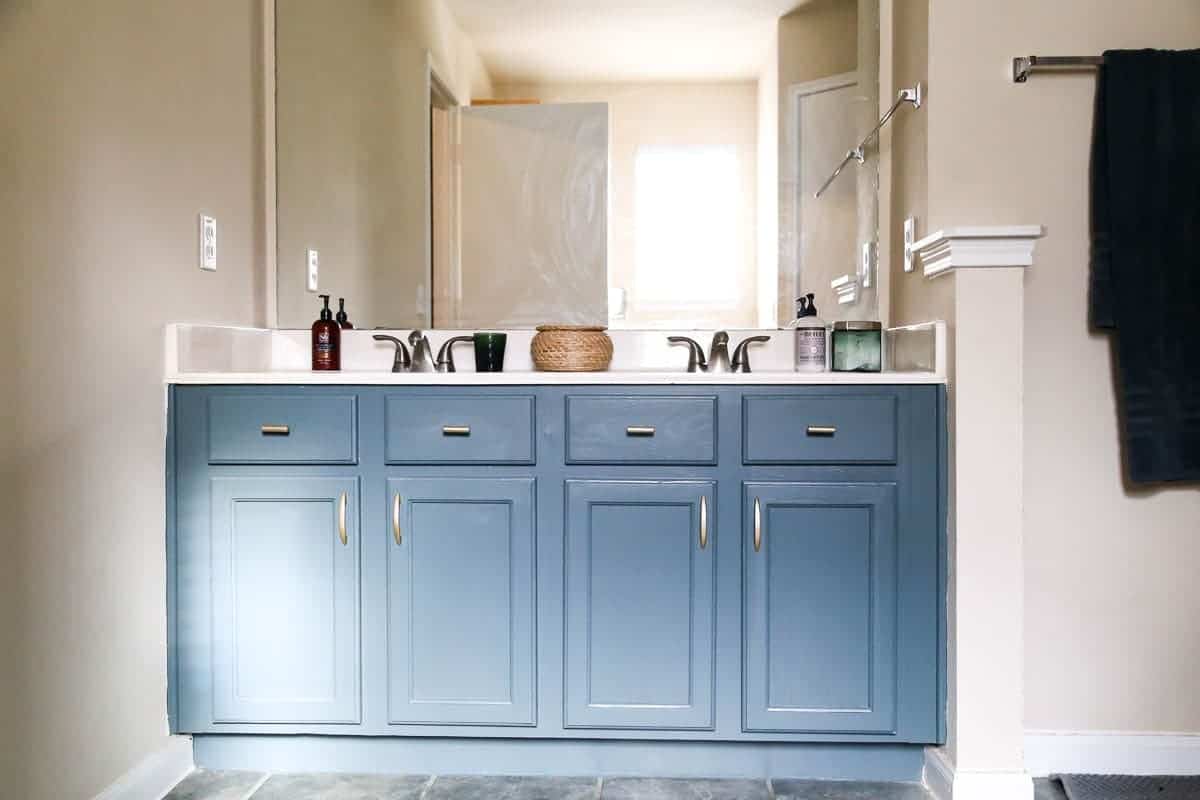
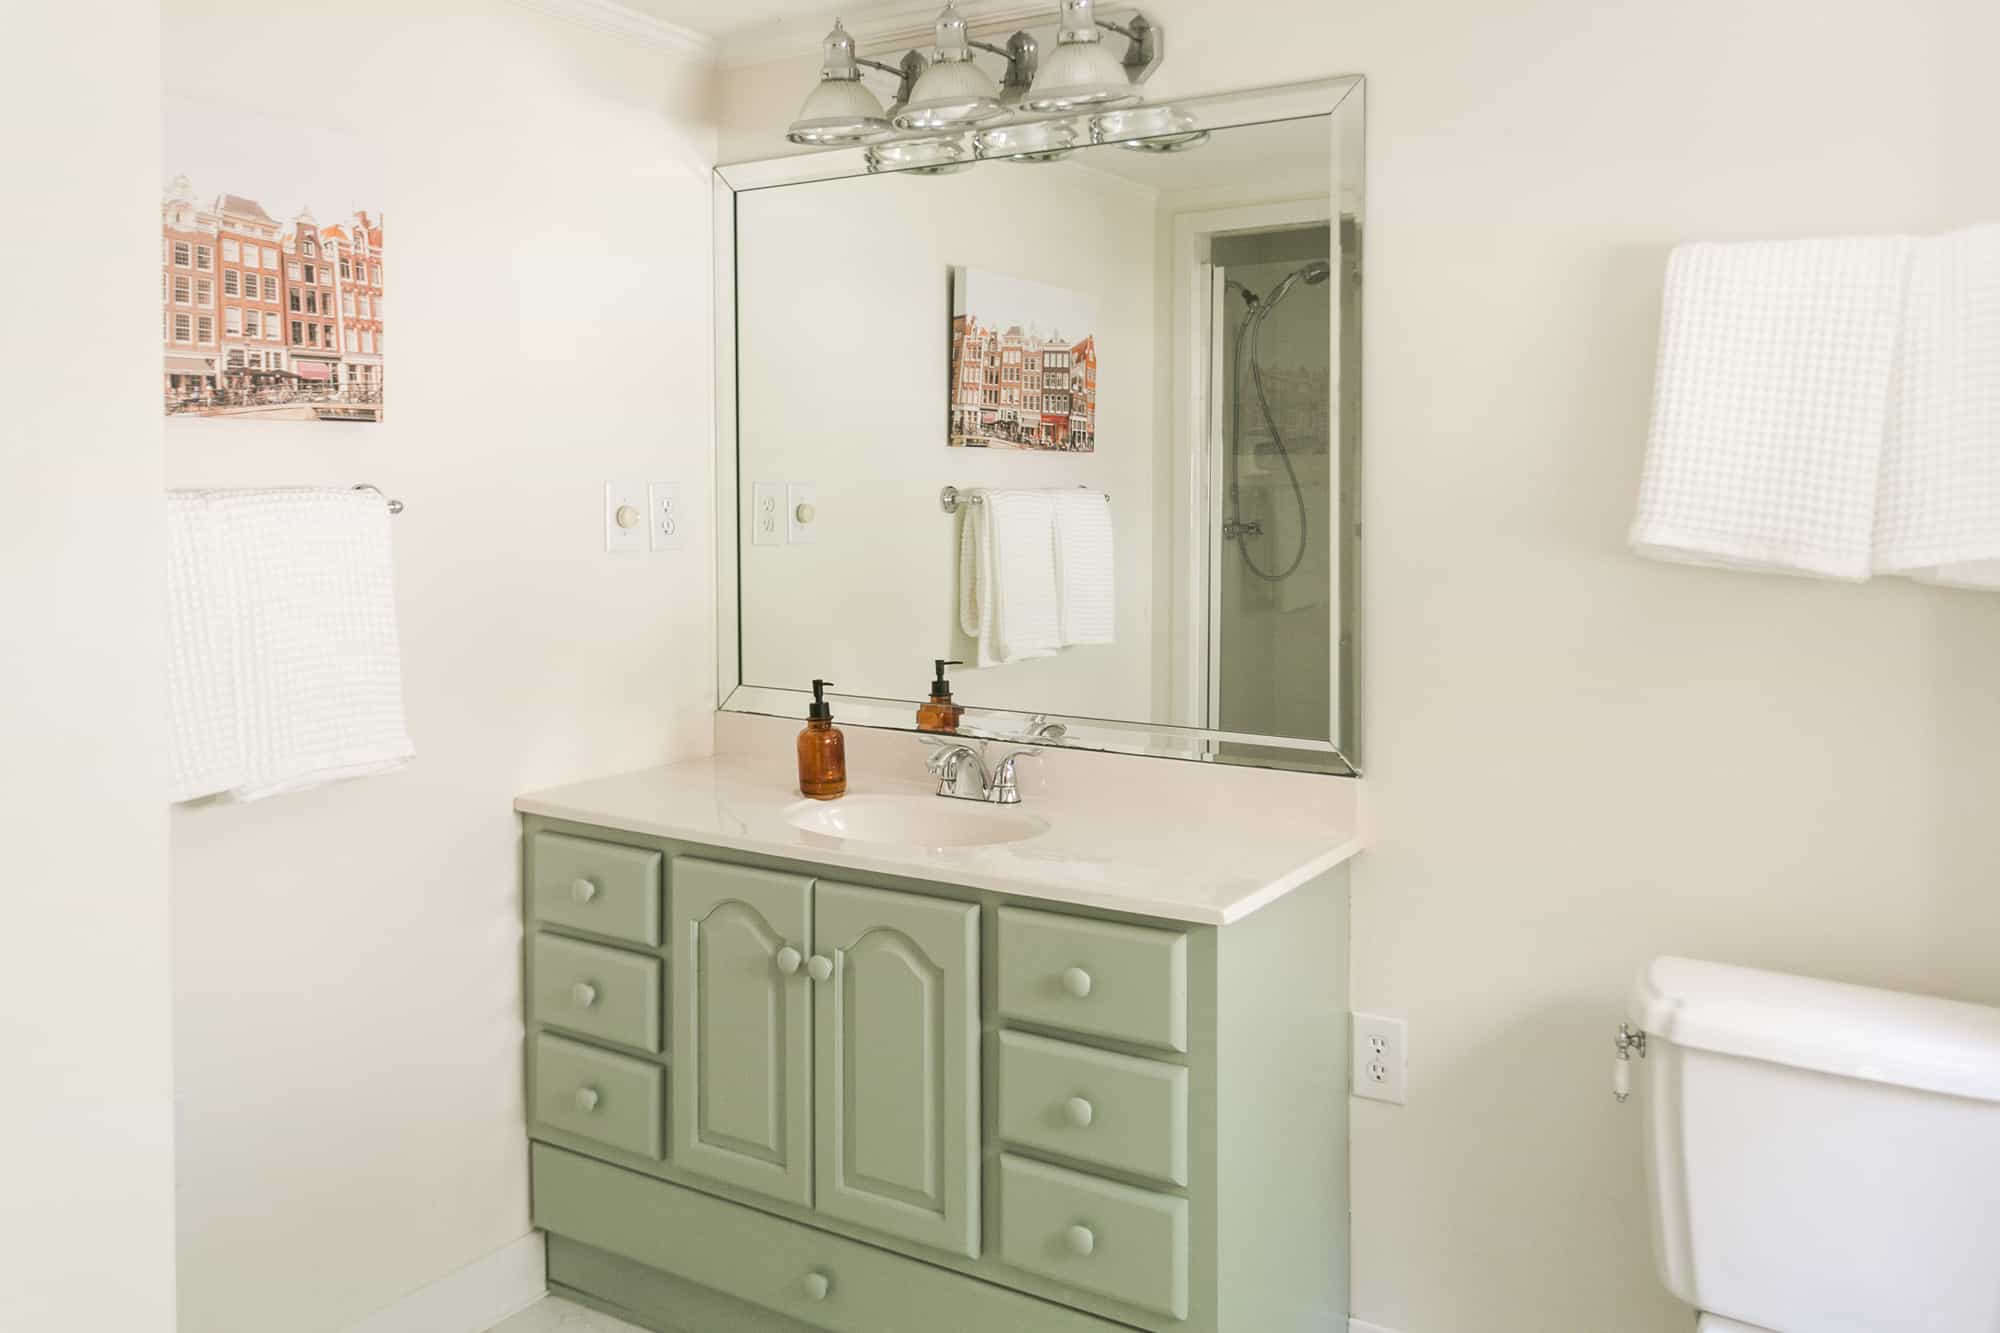
When it comes to updating your bathroom, one of the most impactful changes you can make is to paint your vanity cabinets. Whether you’re looking to breathe new life into old cabinets or want to transform the look and feel of your bathroom, painting your bathroom vanity cabinets is a cost-effective and relatively simple DIY project that can instantly refresh the space.
In this article, we’ll guide you through the step-by-step process of painting your bathroom vanity cabinets, from gathering the necessary tools and materials to reattaching hardware and letting the cabinets dry. By following these instructions, you’ll be able to achieve a professional-looking finish and create a bathroom that reflects your personal style.
Before you begin, it’s essential to decide on the color scheme you want to achieve. Consider the overall aesthetics of your bathroom and choose a color that complements the existing decor or creates a striking contrast. Whether you prefer a classic and timeless white cabinet or want to add a pop of color with a bold hue, selecting the right color will set the tone for your bathroom makeover.
Now, let’s dive into the step-by-step process of painting your bathroom vanity cabinets.
Key Takeaways:
- Transform your bathroom with a professional-looking finish by following the step-by-step process of painting your vanity cabinets. Choose the right color and paint finish to reflect your personal style and achieve a refreshed look.
- Achieve a durable and long-lasting finish by gathering the necessary tools, removing hardware, cleaning, sanding, applying primer, and painting your cabinets with attention to detail. Enjoy the transformation and embrace your newfound DIY skills.
Read more: How To Paint A Vanity
Step 1: Gather the Necessary Tools and Materials
Before you begin painting your bathroom vanity cabinets, it’s crucial to gather all the necessary tools and materials to ensure a smooth and efficient process. Here’s a list of what you’ll need:
- Paint: Choose a high-quality, paint specifically designed for cabinets. Opt for a paint finish that is durable and easy to clean, such as a semi-gloss or satin finish.
- Primer: Depending on the condition of your cabinets and the type of paint you’re using, you may need a primer to ensure better adhesion and long-lasting results.
- Sandpaper: Use fine-grit sandpaper (around 220 grit) to roughen the surface of the cabinets and create a better bonding surface for the paint.
- Degreaser or TSP (Trisodium Phosphate): Clean the cabinets thoroughly to remove any grease, dirt, or residue that can interfere with the paint’s adhesion.
- Paintbrushes: Invest in high-quality brushes in various sizes to ensure smooth and even application of the paint. Synthetic brushes are ideal for water-based paints, while natural bristle brushes are better suited for oil-based paints.
- Paint Roller and Tray: A paint roller with a foam or microfiber cover can be used for larger flat areas of the cabinets, providing a smooth, streak-free finish.
- Painter’s Tape: Use painter’s tape to protect any surfaces that you don’t want to be painted, such as the walls or countertops.
- Drop cloth or Old Sheets: Protect the floor and surrounding areas from paint splatters and drips by laying down a drop cloth or old sheets.
- Screwdriver or Drill: You’ll need a screwdriver or drill to remove the cabinet doors, hinges, knobs, and handles before painting.
- Clean Cloth or Tack Cloth: Use a clean cloth or tack cloth to wipe away dust and debris after sanding and before painting.
Make sure you have all the necessary tools and materials before you start the painting process. This will save you time and ensure a smoother workflow throughout the project.
Step 2: Remove Hardware and Clean the Cabinets
Once you have gathered all the necessary tools and materials, it’s time to prepare your bathroom vanity cabinets for painting. This involves removing any hardware and giving the cabinets a thorough cleaning. Follow these steps:
- Remove the cabinet doors and hardware: Use a screwdriver or drill to remove the cabinet doors, hinges, knobs, and handles. Place the hardware in a secure bag or container so they don’t get misplaced during the painting process.
- Clean the cabinets: Before painting, it’s essential to clean the cabinets to remove any dirt, grime, or grease that may interfere with the paint’s adhesion. Use a mild degreaser or TSP (Trisodium Phosphate) mixed with water to wipe down the surfaces thoroughly. Pay special attention to areas near the sink and stove, as they tend to accumulate more grease and residue. Rinse the cabinets with clean water and allow them to dry completely.
- Sand the cabinet surface: After cleaning, lightly sand the cabinet surfaces using fine-grit sandpaper (around 220 grit). Sanding helps to roughen the surface and remove any gloss or sheen from the previous finish, allowing the new paint to adhere better. Be sure to sand in the direction of the wood grain and wipe away any dust or debris with a clean cloth or tack cloth.
- Fill any imperfections: Inspect the cabinets for any dents, scratches, or holes. Use a wood filler to fill in these imperfections, following the manufacturer’s instructions. Once the filler has dried, sand it smooth and wipe away any excess.
By removing the hardware and thoroughly cleaning the cabinets, you create a clean and blank canvas for the painting process. This step is crucial for ensuring a smooth and long-lasting finish.
Step 3: Sand the Cabinet Surface
Now that you have removed the hardware and cleaned the cabinets, it’s time to sand the surface. Sanding helps to create a smooth and even surface for the paint to adhere to. Follow these steps:
- Select the appropriate sandpaper: Choose a fine-grit sandpaper, around 220 grit, for sanding the cabinet surface. This will be sufficient for removing any gloss or sheen and providing a good bonding surface for the paint.
- Start sanding: Begin sanding the cabinet surface using light to medium pressure. Sand in the direction of the wood grain to avoid damaging the surface. This will help to smooth out any rough patches, remove imperfections, and create a uniform surface.
- Pay attention to edges and corners: Be sure to sand the edges and corners of the cabinets thoroughly. These areas can be harder to reach and may require extra attention to ensure a consistent finish. Use a sanding block or folded sandpaper to get into tight spaces.
- Remove dust: Once you have finished sanding, use a clean cloth or tack cloth to wipe away any dust or debris from the cabinet surfaces. It’s important to remove all the dust before proceeding to the next step to ensure a clean and smooth paint application.
Sanding the cabinet surface not only helps the paint adhere better, but it also helps to create a professional-looking finish. Take your time and be thorough in this step to achieve the best results.
Step 4: Apply a Primer Coat
After sanding the cabinet surface, it’s time to apply a primer coat. Primer is important because it helps the paint adhere better and provides a smooth and even base for the final coat of paint. Follow these steps to apply the primer:
- Select the appropriate primer: Choose a primer specifically designed for use on cabinets. Look for a high-quality primer that is compatible with your chosen paint type, whether it’s water-based or oil-based.
- Prepare the primer: Mix the primer thoroughly according to the manufacturer’s instructions. If necessary, thin the primer with an appropriate thinner or water to achieve the desired consistency.
- Begin priming: Start by applying the primer to the cabinet doors. Use a high-quality paintbrush or foam roller for smooth and even application. Apply the primer in long, even strokes, following the direction of the wood grain.
- Continue with the cabinet frames: Once you have finished priming the cabinet doors, move on to the cabinet frames. Use the same technique of applying the primer in long, even strokes.
- Pay attention to details: Pay extra attention to any intricate details or areas with imperfections. Make sure the primer fully covers all surfaces, including edges and corners.
- Allow the primer to dry: Follow the manufacturer’s instructions for drying time. Typically, it takes about 1-2 hours for the primer to dry completely. Make sure the primer is fully dry before proceeding to the next step.
Applying a primer coat is crucial for achieving a professional and long-lasting finish. It helps the paint adhere better to the cabinet surfaces and provides a solid foundation for the final coat of paint. By taking the time to prime your cabinets, you’ll ensure that the paint adheres properly and that the color looks vibrant and true to your vision.
When painting bathroom vanity cabinets, be sure to thoroughly clean and sand the surface before applying primer and paint. This will help the paint adhere better and result in a smoother finish.
Read more: How To Refinish Bathroom Vanity Cabinets
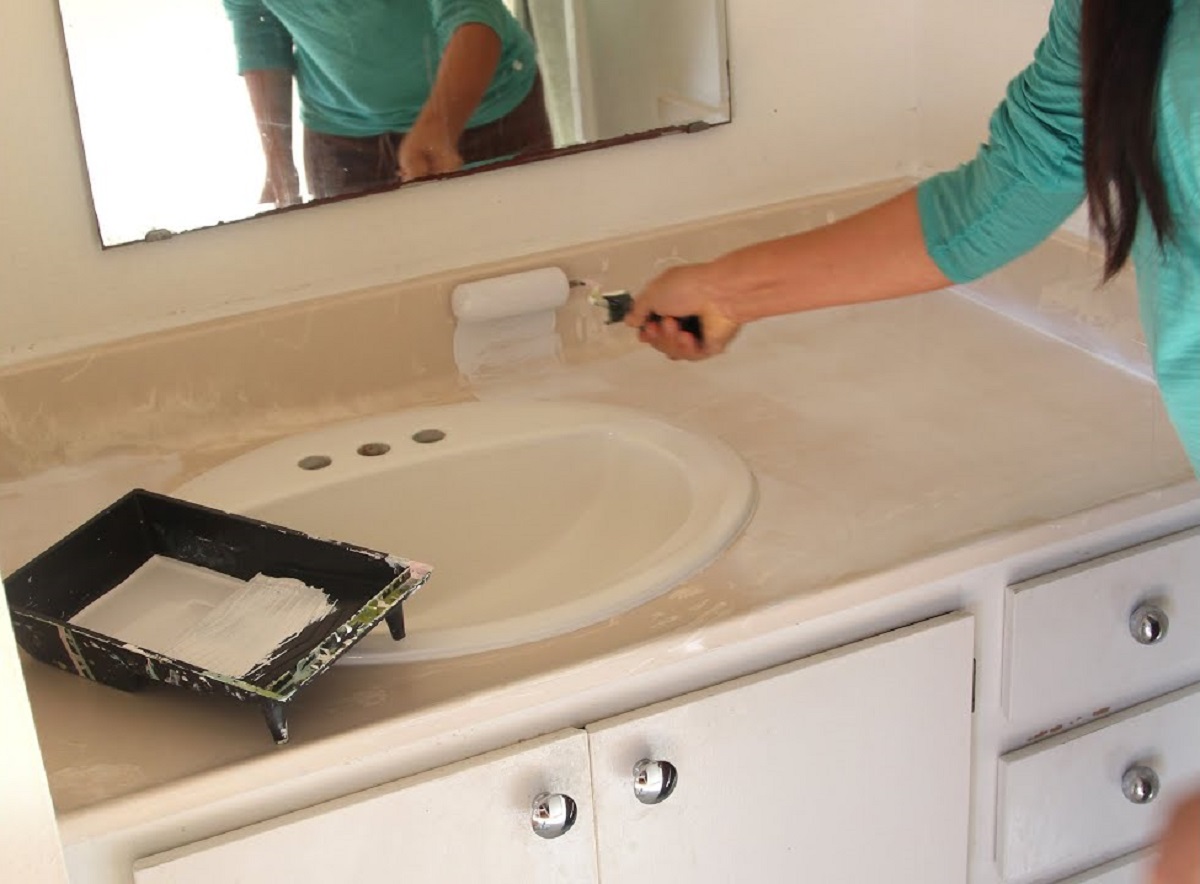
Step 5: Paint the Cabinets
With the primer coat applied and fully dried, it’s time to paint your bathroom vanity cabinets. Follow these steps to achieve a smooth and flawless paint job:
- Choose the right paint: Select a high-quality paint specifically designed for cabinets. Consider the finish you want to achieve, such as a semi-gloss or satin finish, which is durable and easy to clean.
- Mix the paint: Stir the paint thoroughly to ensure an even consistency. If necessary, thin the paint with water or an appropriate thinner according to the manufacturer’s instructions.
- Start painting: Begin by painting the cabinet doors. Use a high-quality paintbrush or foam roller for smooth and even application. Apply the paint using long, even strokes, following the direction of the wood grain.
- Paint the cabinet frames: Once you have finished painting the cabinet doors, move on to the cabinet frames. Use the same technique of applying the paint in long, even strokes. Take your time and ensure even coverage.
- Pay attention to details: Pay extra attention to any intricate details and areas with imperfections. Use a small brush or foam brush to get into tight corners and edges, ensuring thorough coverage.
- Allow the first coat to dry: Follow the manufacturer’s instructions for drying time. Typically, it takes around 2-4 hours for the paint to dry to the touch. Make sure the first coat is fully dry before applying a second coat (if necessary).
When painting your cabinets, it’s important to maintain a consistent and even application for a professional finish. Take your time and be patient throughout the process, allowing each coat to dry fully before moving on to the next step.
Step 6: Apply a Second Coat (if necessary)
After the first coat of paint has dried completely, you can assess whether a second coat is necessary. Applying a second coat will ensure a more solid and vibrant color on your bathroom vanity cabinets. Follow these steps to apply a second coat:
- Inspect the first coat: Before proceeding with the second coat, closely examine the cabinets for any areas where the paint appears thin or uneven. Look for spots that may need additional coverage.
- Prepare the paint: Stir the paint thoroughly to ensure an even consistency, just as you did before the first coat. If needed, thin the paint according to the manufacturer’s instructions.
- Apply the second coat: Begin by painting the cabinet doors once again, using the same technique as the first coat. Apply the paint in long, even strokes, ensuring full coverage.
- Continue with the cabinet frames: Move on to the cabinet frames, applying the second coat in the same manner as before. Pay attention to any areas that may need additional coverage or touch-ups.
- Allow the paint to dry: Follow the manufacturer’s instructions for drying time between coats. Typically, it takes around 2-4 hours for the second coat to dry. Make sure the cabinets are fully dry and no longer tacky before proceeding.
Applying a second coat of paint, if necessary, will provide a more polished and finished look to your bathroom vanity cabinets. It ensures a consistent color and helps to cover any missed spots or unevenness from the first coat. Assess the cabinets after the first coat has dried and make a decision based on your desired outcome.
Step 7: Reattach Hardware and Let the Cabinets Dry
After applying the final coat of paint and allowing it to dry, it’s time to reattach the hardware and let your bathroom vanity cabinets fully dry. Follow these steps to complete the painting process:
- Inspect the cabinets: Take a final look at your painted cabinets to ensure that the paint has dried evenly and that the color appears as expected. Check for any areas that may need touch-ups or additional attention.
- Reattach the hardware: Use a screwdriver or drill to reattach the cabinet doors, hinges, knobs, and handles. Ensure that they are securely fastened.
- Allow the cabinets to dry: Give the cabinets ample time to dry and cure. Follow the manufacturer’s instructions for drying time, which typically ranges from 24 to 48 hours. Avoid placing any objects or touching the cabinets during this time to prevent smudging or damage to the fresh paint.
- Clean up: Clean your brushes, rollers, and any other painting tools according to the instructions on the paint cans. Properly dispose of any leftover paint or paint-related materials in an environmentally responsible manner.
- Enjoy your newly painted cabinets: Once the cabinets have fully dried, you can enjoy the transformation of your bathroom. Admire the refreshed look and take pride in the DIY project you have accomplished.
By reattaching the hardware and allowing the cabinets to dry completely, you ensure that the paint cures properly and provides a durable finish. This step is essential for achieving the best results and ensuring the longevity of your newly painted bathroom vanity cabinets.
Conclusion
Congratulations! You have successfully painted your bathroom vanity cabinets, transforming the look and feel of your bathroom. By following the step-by-step process outlined in this article, you have achieved a professional-looking finish and created a space that reflects your personal style and taste.
Throughout this journey, you have learned how to gather the necessary tools and materials, remove hardware, clean the cabinets, sand the surface, apply a primer coat, paint the cabinets, and reattach hardware. Each step is crucial for achieving a smooth and long-lasting finish that will withstand the test of time.
Remember, choosing the right color and paint finish is key to achieving your desired outcome. Consider the overall aesthetics of your bathroom and use colors that complement the existing decor or create a striking contrast to make a statement.
Throughout the painting process, take your time and pay attention to detail. Ensure that each coat of paint is applied evenly and allow ample drying time between coats to achieve the best results. Don’t forget to clean and properly care for your painting tools to prolong their lifespan.
Now that your bathroom vanity cabinets are beautifully painted, take a step back and admire the transformation. Enjoy the fresh and updated look of your bathroom, and use this renewed space to start and end your day on a positive note.
Thank you for following along this painting journey. We hope this guide has been helpful and that you feel confident in your ability to paint bathroom vanity cabinets. Embrace your newfound skills and let your creativity shine as you continue to make your home a reflection of your unique style.
Frequently Asked Questions about How To Paint Bathroom Vanity Cabinets
Was this page helpful?
At Storables.com, we guarantee accurate and reliable information. Our content, validated by Expert Board Contributors, is crafted following stringent Editorial Policies. We're committed to providing you with well-researched, expert-backed insights for all your informational needs.


0 thoughts on “How To Paint Bathroom Vanity Cabinets”