Articles
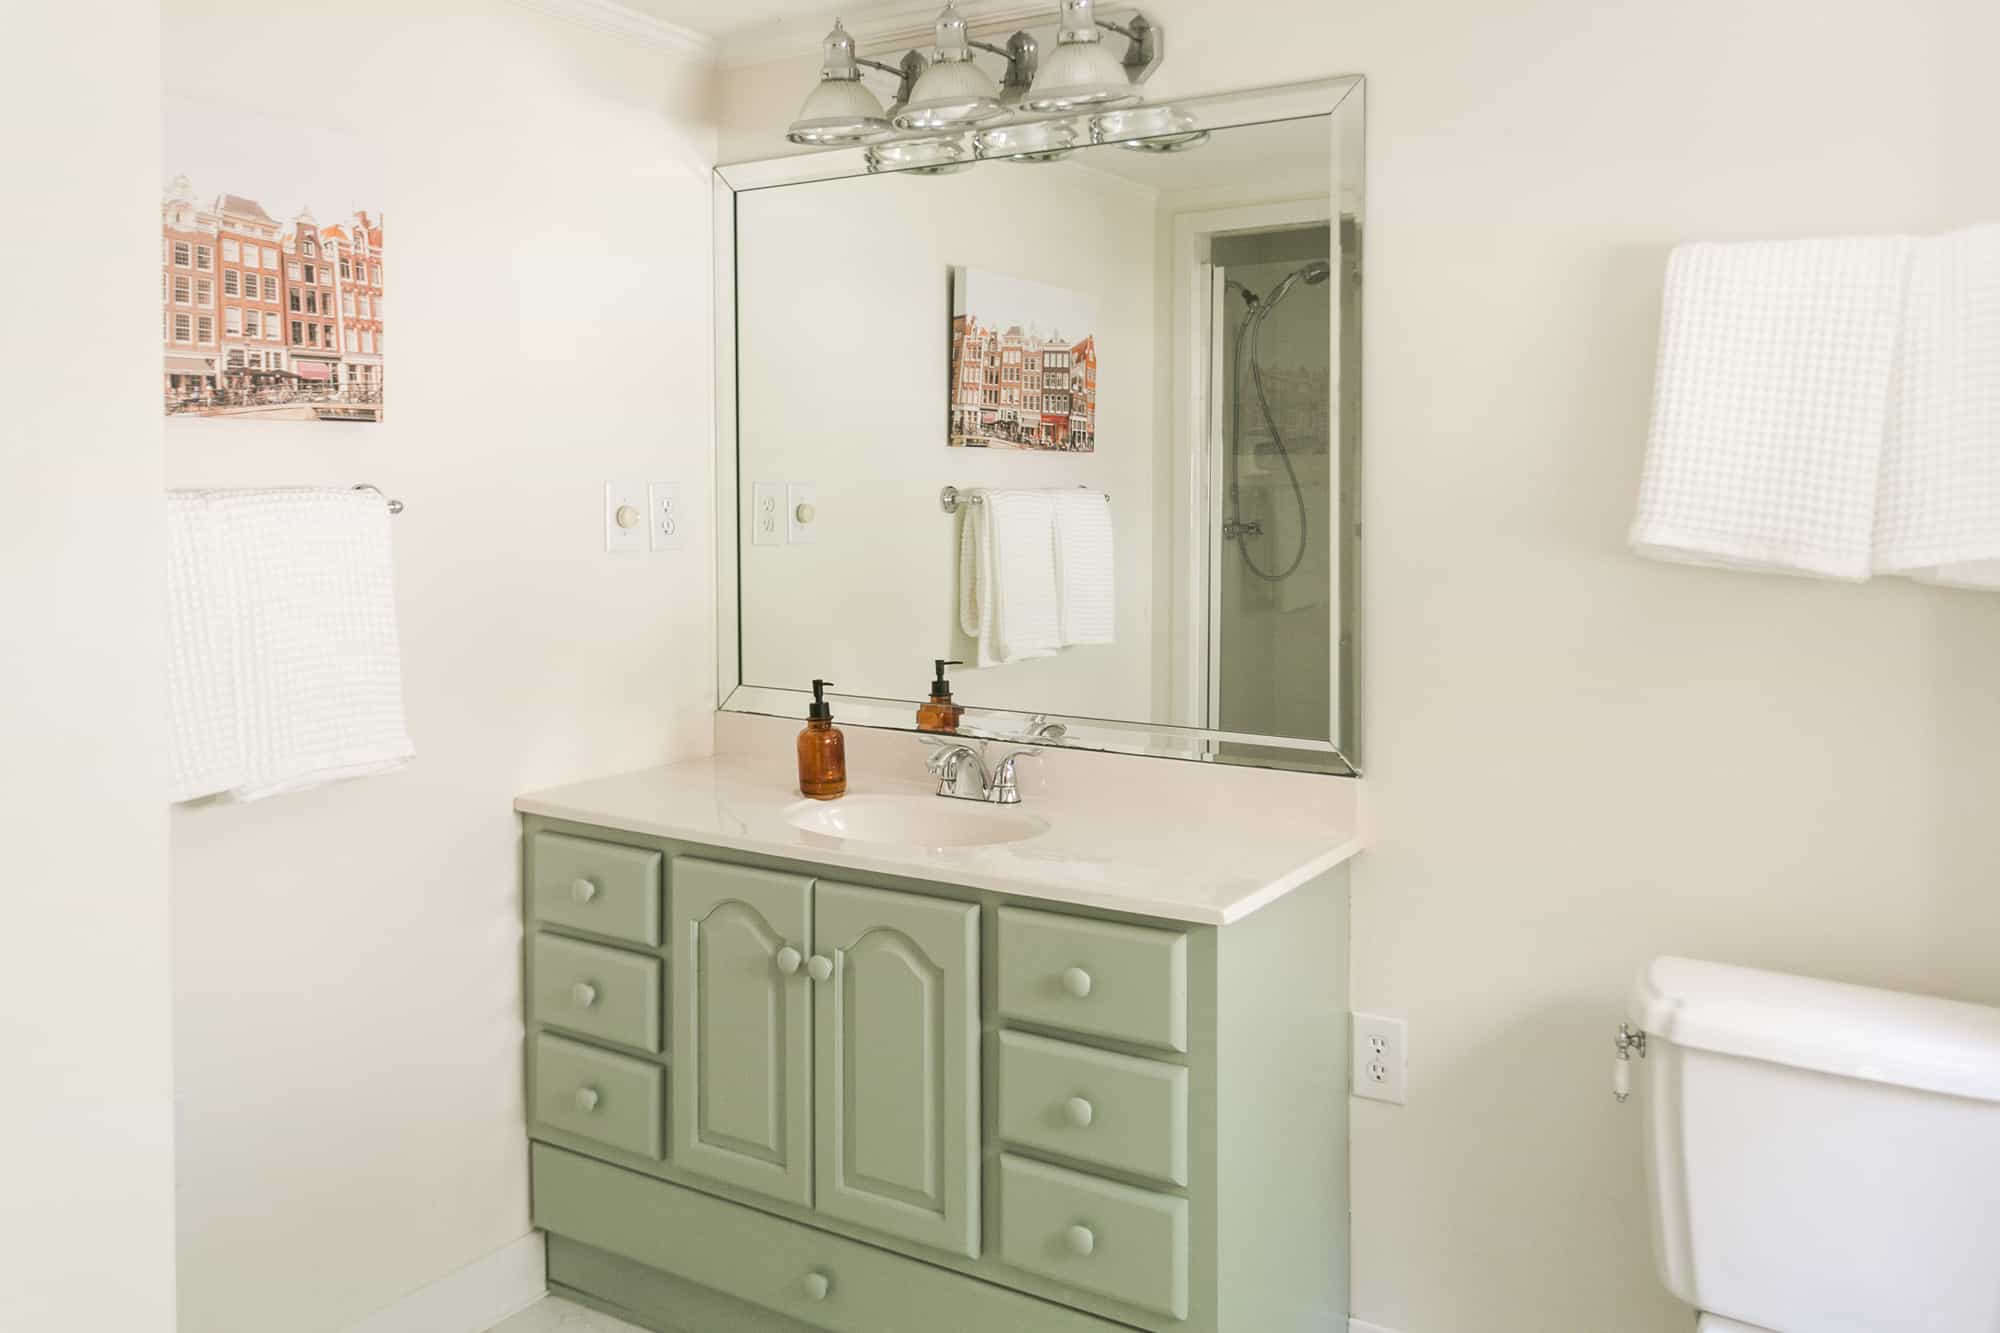
How To Paint A Bathroom Vanity Cabinet
Modified: February 22, 2024
Learn how to transform your bathroom vanity cabinet with a fresh coat of paint and achieve a stunning interior design.
(Many of the links in this article redirect to a specific reviewed product. Your purchase of these products through affiliate links helps to generate commission for Storables.com, at no extra cost. Learn more)
Introduction
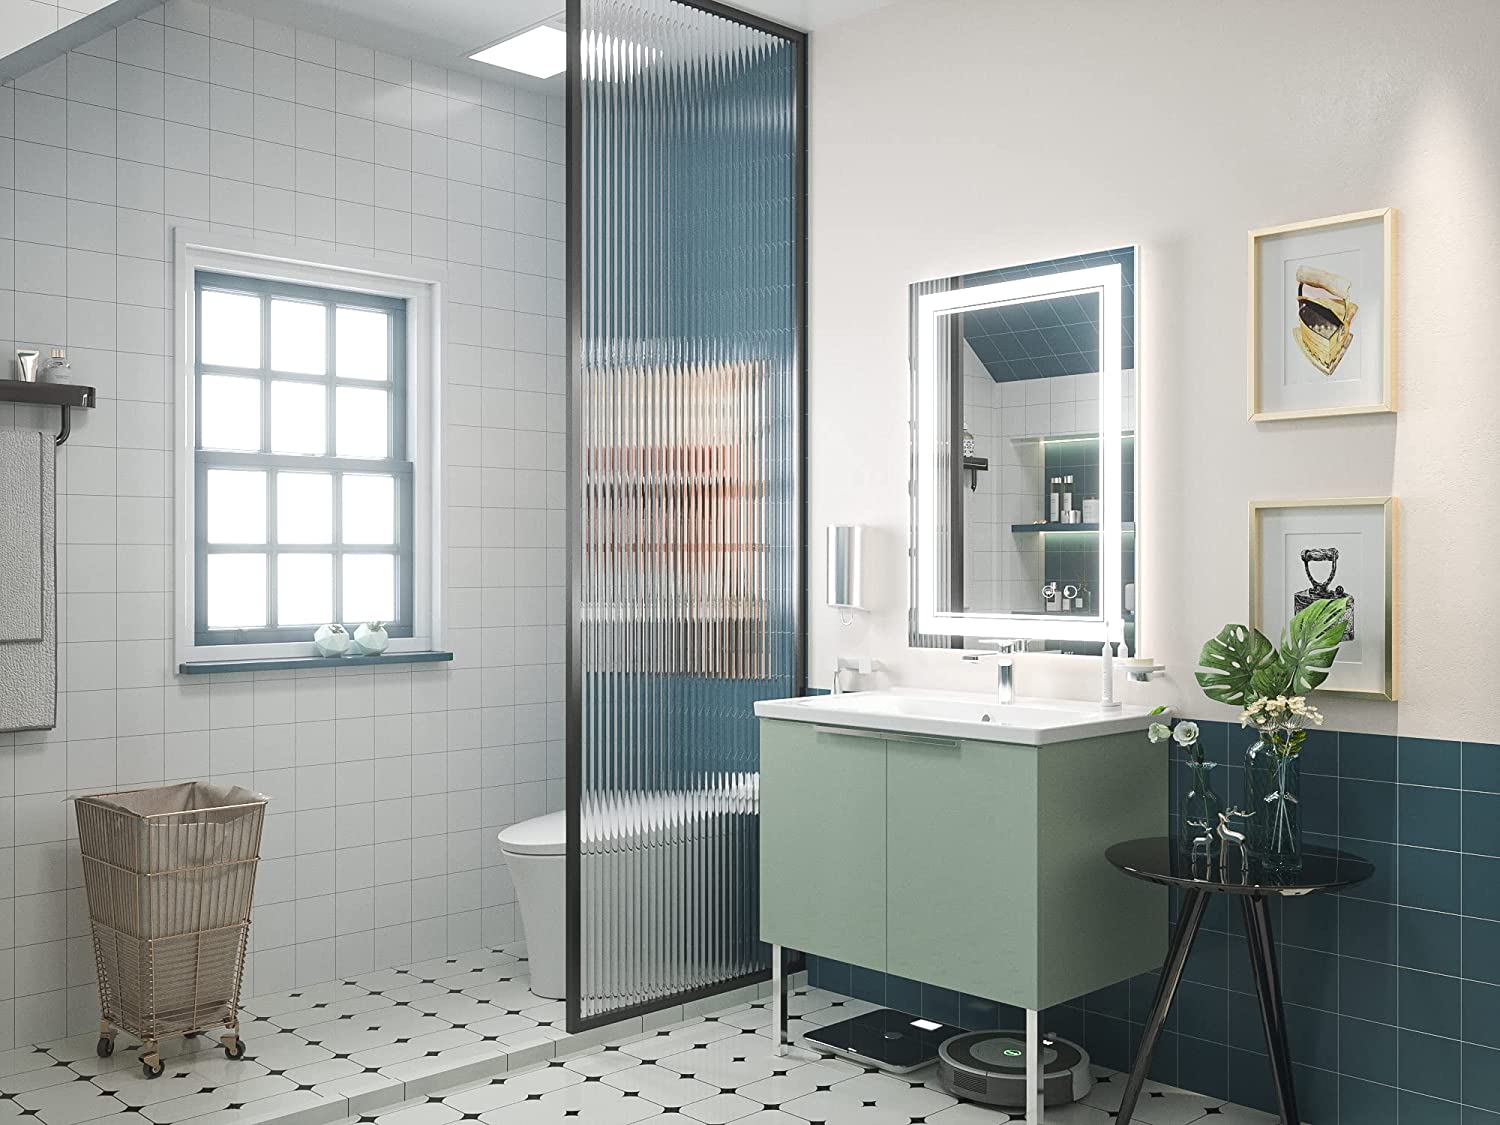
Welcome to our guide on how to paint a bathroom vanity cabinet. If you’re looking to give your bathroom a fresh new look without breaking the bank, painting your vanity cabinet can be a great option. It’s a cost-effective way to transform the appearance of your bathroom and add a personal touch to the space.
Painting a bathroom vanity cabinet is a relatively simple and rewarding DIY project that you can easily accomplish with a few basic tools and materials. Whether you want to update an outdated cabinet or customize it to match your new bathroom decor, this guide will walk you through the process step by step.
Before getting started, it’s important to gather all the necessary supplies and plan your project accordingly. This will help ensure a smooth and successful painting experience. In the following sections, we’ll cover the planning and preparation, as well as the step-by-step process of painting your bathroom vanity cabinet.
Key Takeaways:
- Transform your bathroom with a personalized touch by painting your vanity cabinet. Follow the step-by-step guide for a cost-effective and rewarding DIY project that adds beauty to your space.
- Proper planning, surface preparation, and attention to detail are essential for achieving a professional-looking finish. Choose quality materials and enjoy the process of transforming your bathroom vanity cabinet.
Read more: How To Paint Bathroom Vanity Cabinets
Planning and Preparation
Before diving into the painting process, it’s important to take some time to plan and prepare for the project. This will help you achieve the best results and avoid any unnecessary hiccups along the way.
The first step is to assess the condition of your bathroom vanity cabinet. Check for any damages, such as cracks or dents, that may need to be repaired before painting. If there are any loose or wobbly parts, tighten them or consider fixing them before proceeding.
Next, you’ll want to gather all the necessary supplies. Here’s a list of what you’ll typically need:
- Cleaning solution or mild detergent
- Sanding block or sandpaper
- Primer
- Paint (make sure it’s suitable for bathroom use)
- Paintbrushes or rollers
- Painter’s tape
- Dropsheets or newspaper to protect the surrounding area
- Screwdriver
- New hardware (optional)
Once you have gathered all the supplies, you’ll need to decide if you want to paint your vanity cabinet in its current location or if you prefer to remove it. Removing the cabinet gives you more flexibility and allows for easier access to all sides, but it may require additional effort and time.
Before starting the painting process, it’s crucial to clean the surface of your vanity cabinet thoroughly. Remove any dirt, grease, or grime using a cleaning solution or mild detergent. Make sure to dry the cabinet completely before moving on to the next step.
Now that you have completed the planning and preparation stage, you are ready to move on to the actual painting process. In the following steps, we’ll guide you through each phase to ensure that you achieve a professional-looking finish for your bathroom vanity cabinet.
Step 1: Remove Hardware and Clean the Surface
The first step in painting your bathroom vanity cabinet is to remove any hardware, such as knobs, handles, and hinges. Use a screwdriver to carefully remove these pieces, making sure to keep them in a safe place for reinstallation later.
Once you have removed the hardware, it’s time to clean the surfaces of the cabinet. Use a cleaning solution or mild detergent mixed with warm water to wipe down the cabinet thoroughly. Pay special attention to areas that may have accumulated grease or dirt over time.
After cleaning, rinse the cabinet with clean water to remove any residue from the cleaning solution. Make sure to dry the surfaces completely before moving on to the next step.
Removing the hardware and cleaning the surface not only ensures a clean canvas for painting but also allows for a smoother application of paint and a more professional-looking finish.
If there are any areas of the cabinet that require repairs, such as cracks or dents, this is the time to address them. Use wood filler or a similar product to fill in any imperfections, following the manufacturer’s instructions. Once the filler has dried, sand the repaired areas until they are smooth and blend seamlessly with the rest of the surface.
By taking the time to remove hardware, clean the surface, and address any necessary repairs, you are setting a solid foundation for the rest of the painting process. These initial steps will help ensure a long-lasting and visually appealing finish for your bathroom vanity cabinet.
Step 2: Sanding the Cabinet
After preparing the surface of your bathroom vanity cabinet, the next step is to sand it. Sanding is crucial as it helps to roughen up the surface, allowing the primer and paint to adhere better.
Start by using a sanding block or sandpaper with a medium grit (around 120 to 150) to sand the entire surface of the cabinet. Use long, even strokes and apply gentle pressure. Sanding in the direction of the wood grain will help achieve a smoother finish.
Pay extra attention to any rough or uneven areas, corners, and edges. The goal is to create a smooth and even surface, so make sure to sand out any imperfections you come across.
Once you have finished sanding with the medium-grit sandpaper, switch to a finer grit (around 220) for a final sanding. This will help further smooth the surface and provide a better base for the primer and paint.
After sanding, use a clean, dry cloth or a vacuum cleaner to remove any dust or debris from the cabinet. It’s essential to have a clean surface before moving on to the next step.
Note: If your bathroom vanity cabinet has a glossy or oil-based finish, you may need to use a liquid deglosser or a specific sanding technique to ensure proper adhesion of the primer and paint. Check the product labels or consult a professional for guidance.
Sanding the cabinet is a crucial step in the painting process as it helps create a suitable surface for the primer and paint to adhere to. By taking the time to sand properly, you’ll ensure a long-lasting and professional-looking finish for your bathroom vanity cabinet.
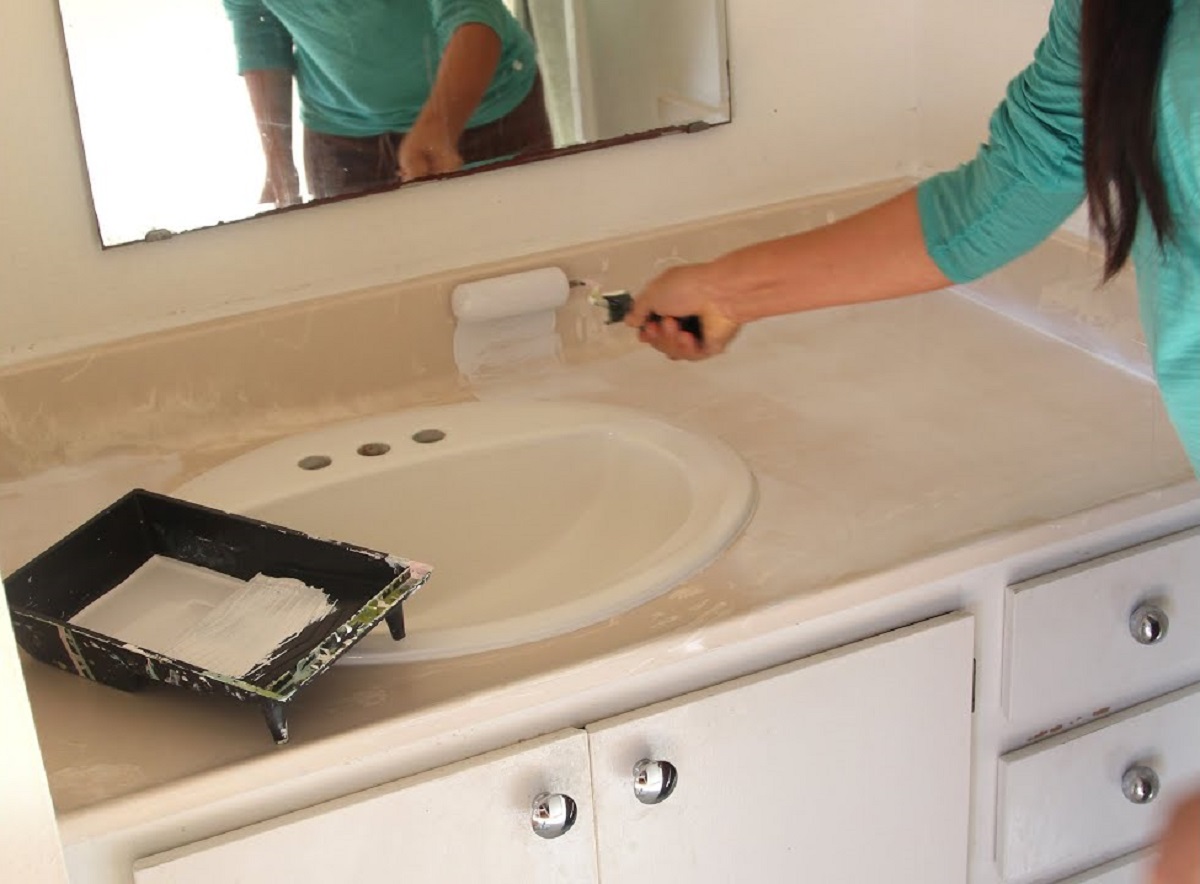
Step 3: Apply Primer
Now that you have prepared the surface of your bathroom vanity cabinet by removing hardware, cleaning, and sanding, it’s time to apply the primer. Primer is essential as it creates a smooth and uniform base for the paint, improves adhesion, and helps prevent stains or discoloration.
Before applying the primer, make sure to thoroughly read the manufacturer’s instructions and recommendations for the specific primer you are using. This will ensure that you follow the application process correctly and achieve the best results.
Begin by stirring the primer thoroughly to ensure proper consistency. Then, using a paintbrush or roller, apply the primer evenly to the entire surface of the cabinet. Work in small sections, starting from the top and moving downward.
Make sure to apply a thin and even coat, avoiding excessive brush strokes or drips. If you notice any drips or excess primer, use a clean brush or cloth to remove them before they dry.
Pay extra attention to intricate or detailed areas of the cabinet, such as molding or trim. Use a smaller brush or a foam brush to ensure that the primer reaches all the nooks and crannies.
Once you have finished applying the primer, allow it to dry completely according to the manufacturer’s instructions. This may take a few hours or overnight, depending on the product and environmental conditions.
After the primer has dried, inspect the surface for any imperfections. If necessary, lightly sand any rough spots or drips with fine-grit sandpaper and remove the dust with a clean cloth.
Priming your bathroom vanity cabinet provides a solid foundation for the paint and ensures a smoother and more durable finish. Taking the time to apply primer will help achieve professional-looking results and extend the lifespan of your painted cabinet.
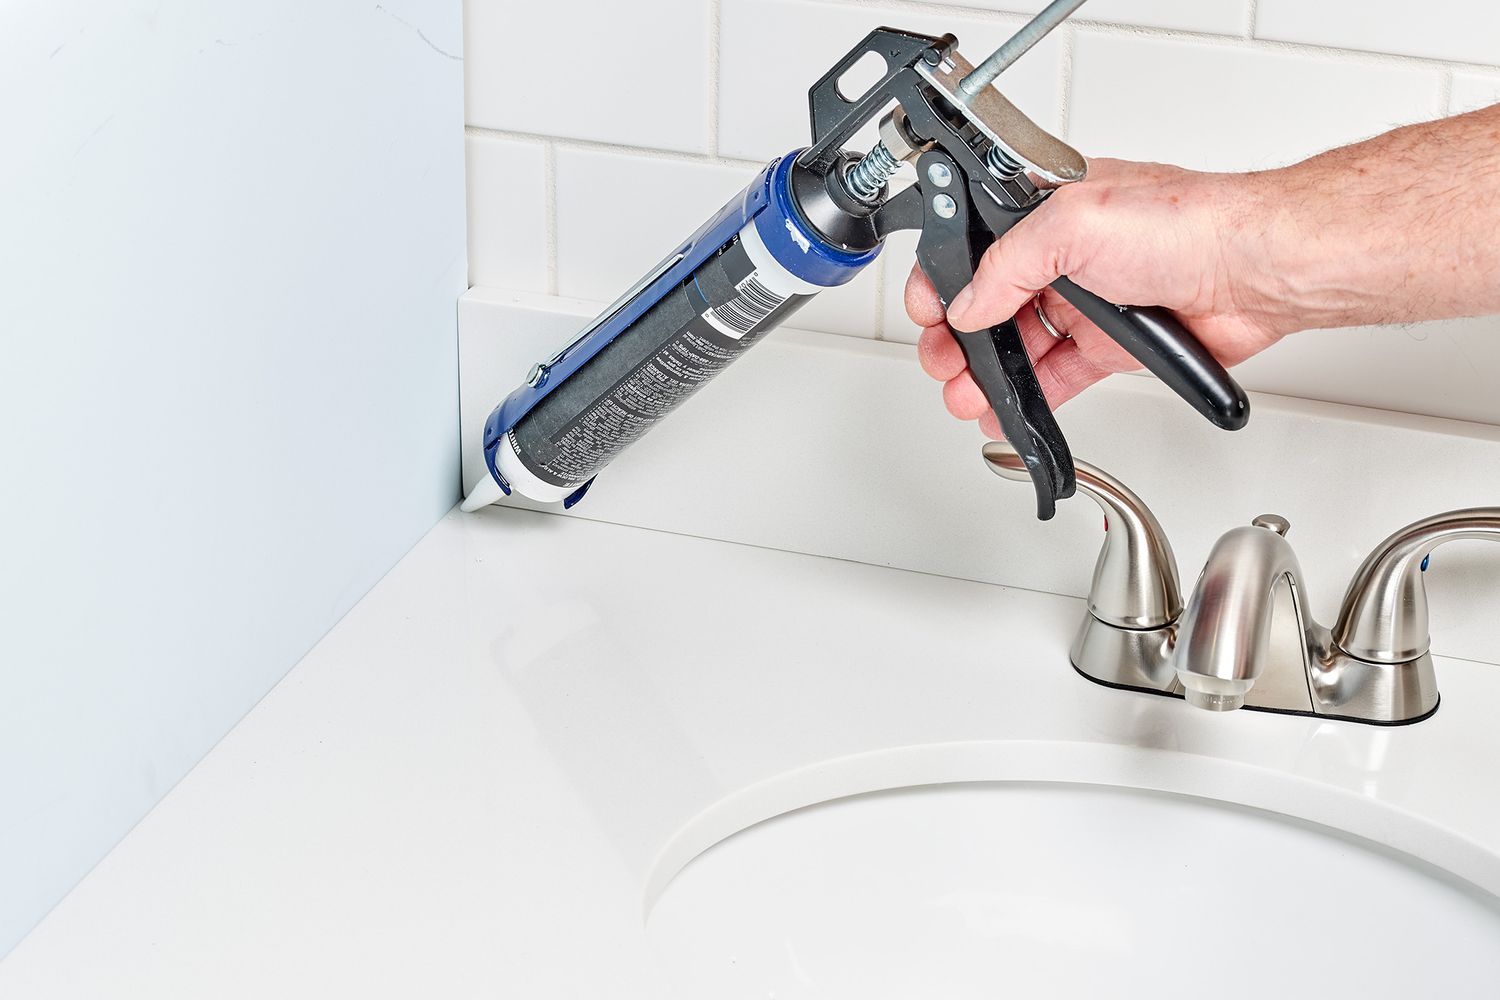
Before painting a bathroom vanity cabinet, make sure to clean and sand the surface to ensure proper adhesion of the paint. Use a high-quality primer to prevent any bleed-through of the previous finish.
Read more: How To Paint A Vanity
Step 4: Choose and Apply Paint
After applying the primer and allowing it to dry, it’s time to choose the paint color for your bathroom vanity cabinet. Consider the overall theme and color scheme of your bathroom to ensure that the paint color complements the space.
When selecting paint, make sure to choose a high-quality latex or oil-based paint that is specifically designed for painting cabinets or trim. This type of paint is more durable and resistant to moisture, ensuring it will hold up well in a bathroom environment.
Before applying the paint, stir it thoroughly to achieve a consistent color and texture. Then, using a paintbrush or roller, start applying the paint to the cabinet. Begin with the designated edges and corners, known as cutting in, and then move on to the larger surfaces.
Apply the paint in thin and even layers, ensuring complete coverage but avoiding excessive buildup or drips. If using a brush, use long, smooth strokes in the direction of the wood grain. If using a roller, apply the paint in a “W” or “M” pattern, then backroll to smooth out any lines or texture.
Pay close attention to achieving an even finish and blending any brush or roller marks. It may be necessary to apply multiple coats of paint to achieve the desired color and coverage. Allow each coat to dry completely before applying the next, following the manufacturer’s instructions for the recommended drying time.
If you prefer a more distressed or antiqued look, consider using a technique such as dry brushing or adding a glaze to create depth and texture. Experiment with different application methods to achieve the desired effect.
Once you have applied the final coat of paint and it has dried completely, inspect the cabinet for any areas that may require touch-ups. Use a fine brush to carefully address these spots and ensure a seamless finish.
Choosing the right paint color and applying it with care is key to achieving the desired look for your bathroom vanity cabinet. Take your time and enjoy the process of transforming your cabinet into a beautiful and customized piece.
Step 5: Apply a Second Coat (if necessary)
After applying the initial coat of paint to your bathroom vanity cabinet and allowing it to dry, it’s important to assess whether a second coat is necessary. While a single coat may be sufficient for some cabinets, others may benefit from an additional layer of paint for improved coverage and a more vibrant finish.
To determine if a second coat is necessary, take a close look at the cabinet’s surfaces. Check for any areas where the primer or the original color is still visible. If you notice any unevenness or areas of thin coverage, it’s a good indication that a second coat is needed.
If you decide to apply a second coat of paint, follow the same process as you did for the first coat. Stir the paint thoroughly to ensure even consistency, then start by cutting in the edges and corners before moving on to the larger surfaces.
When applying the second coat, pay extra attention to achieving a smooth and seamless finish. Use the same techniques as before, such as long brush strokes or even roller application, to ensure consistent coverage and blending with the first coat.
Allow the second coat to dry completely according to the paint manufacturer’s instructions. This may take a few hours or longer, depending on factors such as humidity and ventilation.
After the second coat has dried, inspect the cabinet for any touch-ups or areas that require additional attention. Use a fine brush to carefully address these spots, ensuring a flawless finish.
Applying a second coat, if necessary, can make a significant difference in the final appearance of your painted bathroom vanity cabinet. It ensures a consistent and uniform color, enhances durability, and provides a more polished and professional finish.
However, if you are satisfied with the coverage and finish after the first coat, and it meets your desired outcome, there is no obligation to proceed with a second coat.
Step 6: Reattach Hardware
Now that the paint has dried and you are satisfied with the overall appearance of your bathroom vanity cabinet, it’s time to reattach the hardware. Reinstalling the knobs, handles, and hinges will not only give your cabinet a finished look but also restore its functionality.
Start by gathering all the hardware that you removed in the initial steps. Ensure that you have all the necessary screws and ensure they are in good condition. If any screws are damaged or missing, replace them with new ones that match the style and size of the existing hardware.
Begin by aligning the hardware with their respective holes on the cabinet doors and drawers. Use a screwdriver to carefully screw them back in place, making sure they are securely tightened but not overly tightened to avoid damaging the cabinet or hardware.
When installing knobs or handles, it’s important to ensure they are level and evenly aligned to maintain a symmetrical appearance. Use a measuring tape or ruler to measure and mark the proper placement of each piece before screwing them in.
If you want to update the look of your bathroom vanity cabinet, consider replacing the hardware altogether. New knobs, handles, or pulls can add a fresh and modern touch or even create a personalized look. Just ensure that the new hardware aligns with the existing holes or be prepared to drill new ones.
Once all the hardware is securely reattached, give each piece a gentle tug to ensure they are properly fastened and don’t feel loose or wobbly.
Reattaching the hardware is the final step in completing your bathroom vanity cabinet painting project. It’s the finishing touch that adds functionality and aesthetics, bringing the entire piece together and giving it a polished and refreshed appearance.
Step 7: Finishing Touches and Cleaning Up
With your bathroom vanity cabinet freshly painted and the hardware reattached, it’s time to add the finishing touches and complete the project. This step involves some final details and ensuring a clean and tidy work area.
Start by inspecting the cabinet for any imperfections or touch-ups that may be needed. Use a fine brush or a small roller to address any areas where the paint may have chipped or where the coverage is not satisfactory. Take your time to achieve a seamless finish.
Next, clean any paint spills or drips that may have occurred during the painting process. Use a damp cloth or sponge to gently wipe away any excess paint from the surrounding surfaces, such as the floor, walls, or countertops. Be cautious not to damage the newly painted cabinet while cleaning.
If you used drop cloths or newspaper to protect the surrounding area during painting, carefully fold or roll them up and dispose of them properly. Clean any paint brushes, rollers, or other tools used in the project according to the manufacturer’s instructions. This will help prolong their lifespan and ensure that they are ready for future use.
Finally, take a step back and admire your newly painted bathroom vanity cabinet. Take the time to appreciate how the new color has transformed the space and added a fresh, personalized touch to your bathroom.
Consider adding some decorative elements or accessories to further enhance the look of your cabinet. This could include items like a decorative tray, stylish containers for toiletries, or even a small potted plant to bring a touch of nature to the space. Get creative and make it your own!
Regularly clean and maintain your painted bathroom vanity cabinet to preserve its fresh appearance. Use mild cleaning products and avoid any harsh chemicals that can damage the paint surface.
By completing these final touches and cleaning up, your bathroom vanity cabinet painting project will be officially finished. Sit back, relax, and enjoy the transformed appearance of your bathroom!
Read more: How To Refinish Bathroom Vanity Cabinets
Conclusion
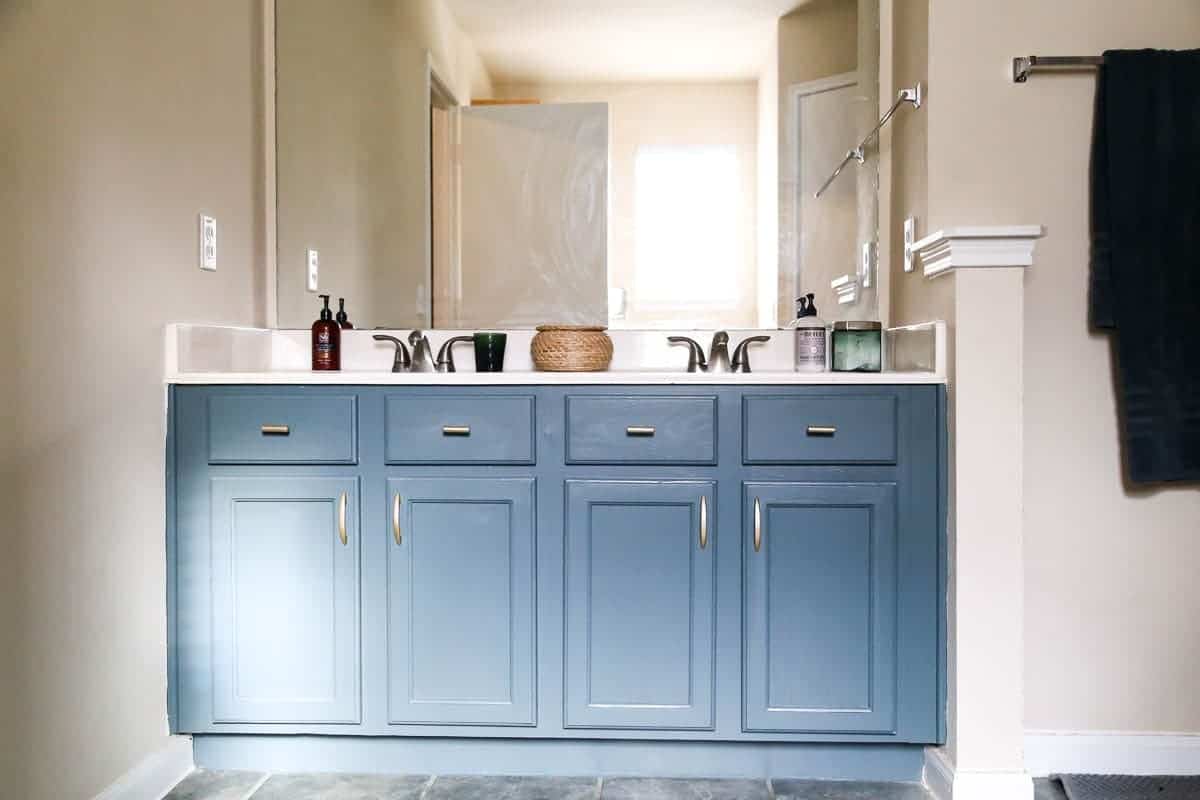
Congratulations! You have successfully learned how to paint a bathroom vanity cabinet. By following the step-by-step guide in this article, you have transformed your outdated cabinet into a stylish and customized piece that adds beauty to your bathroom.
Throughout the process, you planned and prepared, removed hardware, cleaned the surface, sanded, applied primer, chose and applied paint, and reattached hardware. These steps, when executed properly, ensure a professional-looking finish that will last for years to come.
Remember, choosing the right paint color and quality materials is essential for achieving a durable and visually appealing result, especially in a moisture-prone environment like the bathroom. Proper surface preparation, including cleaning and sanding, is key to ensuring proper adhesion and a smooth finish.
Don’t forget to pay attention to the details, such as reattaching the hardware and performing any necessary touch-ups. These details can make a significant difference in the overall appearance of your cabinet.
Lastly, take the time to enjoy and appreciate your hard work. Your newly painted bathroom vanity cabinet adds a fresh and personalized touch to your bathroom, making it a more inviting and aesthetically pleasing space.
Regular maintenance and cleaning will help preserve the beauty and longevity of your painted cabinet. Be sure to use gentle cleansers and avoid abrasive materials or harsh chemicals that can damage the paint surface.
Thank you for following our guide on how to paint a bathroom vanity cabinet. We hope you found this information helpful and that you enjoy the results of your DIY project. Happy painting!
Frequently Asked Questions about How To Paint A Bathroom Vanity Cabinet
Was this page helpful?
At Storables.com, we guarantee accurate and reliable information. Our content, validated by Expert Board Contributors, is crafted following stringent Editorial Policies. We're committed to providing you with well-researched, expert-backed insights for all your informational needs.


0 thoughts on “How To Paint A Bathroom Vanity Cabinet”