
Articles
How To Paint Antique Picture Frames
Modified: December 7, 2023
Learn how to give your picture frames an antique look with our helpful articles. Discover techniques for painting and distressing frames to achieve a vintage aesthetic.
(Many of the links in this article redirect to a specific reviewed product. Your purchase of these products through affiliate links helps to generate commission for Storables.com, at no extra cost. Learn more)
Introduction
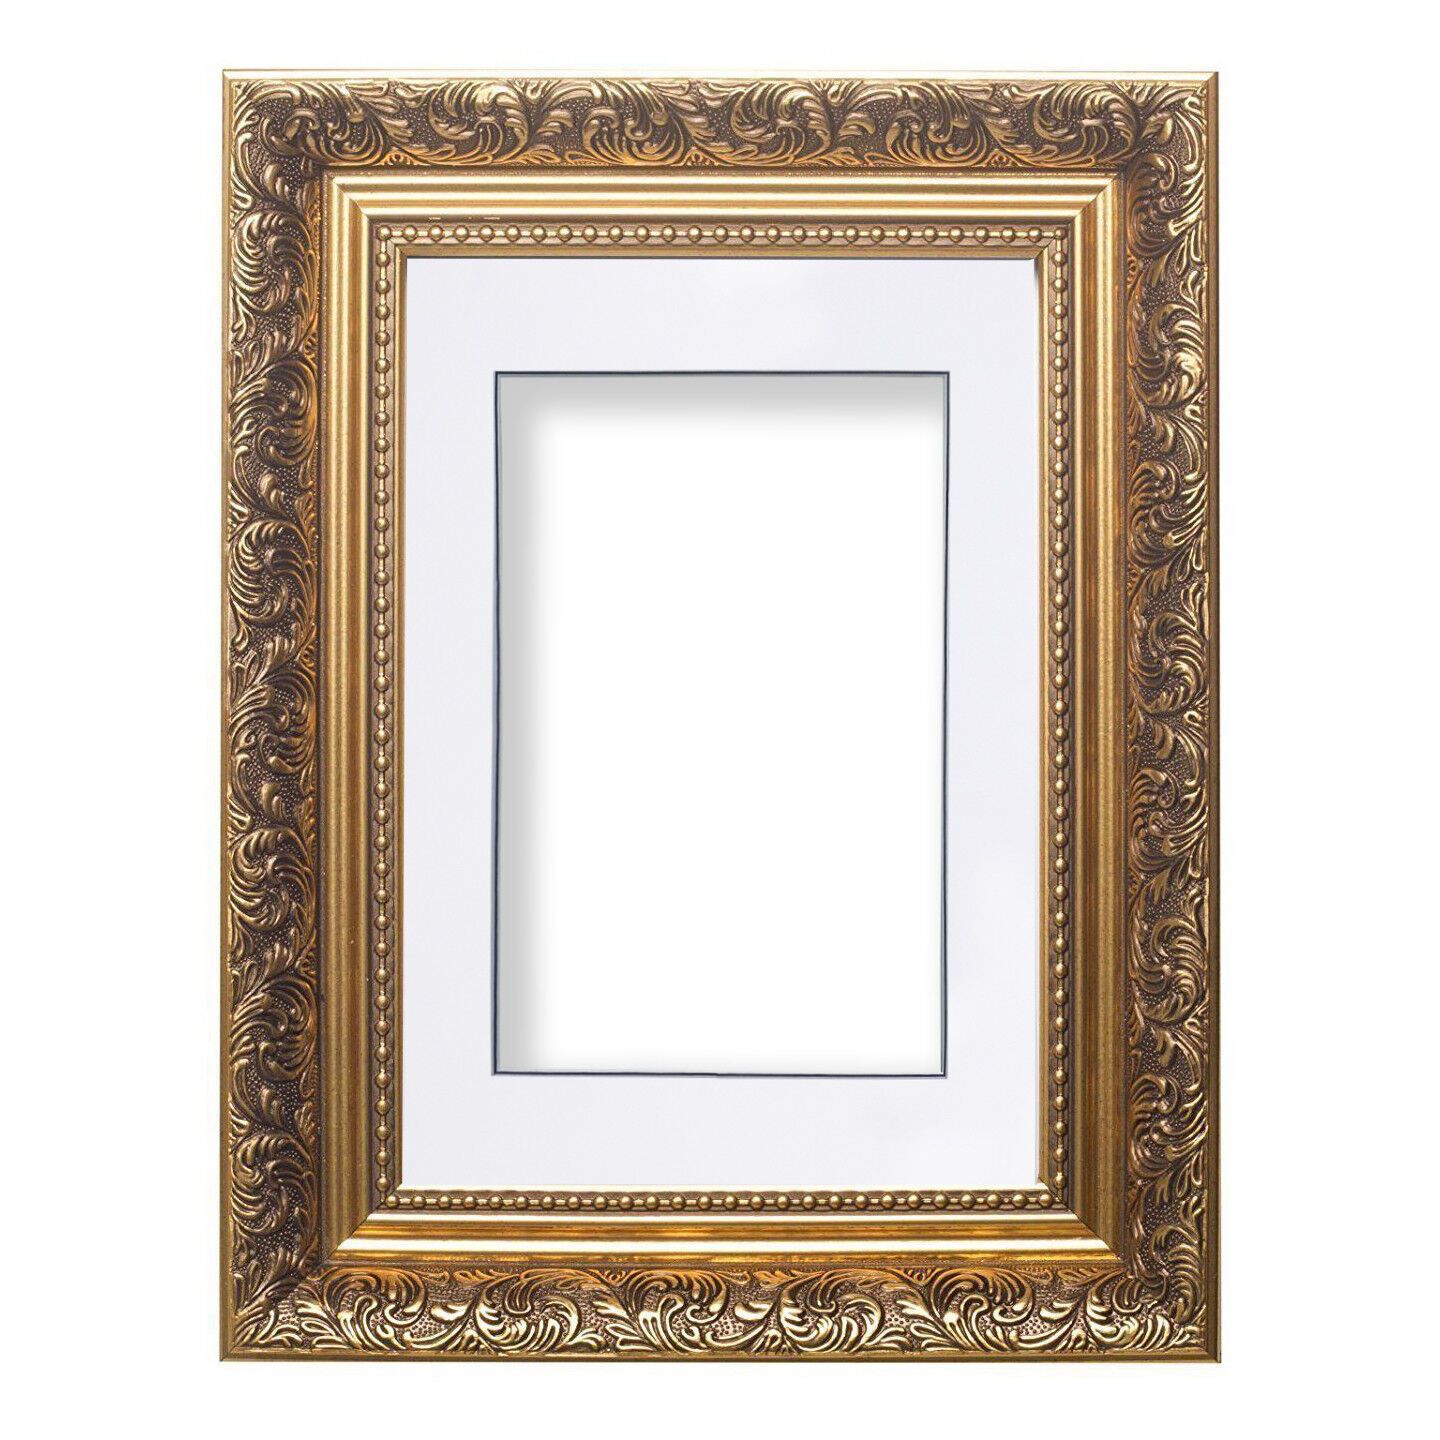
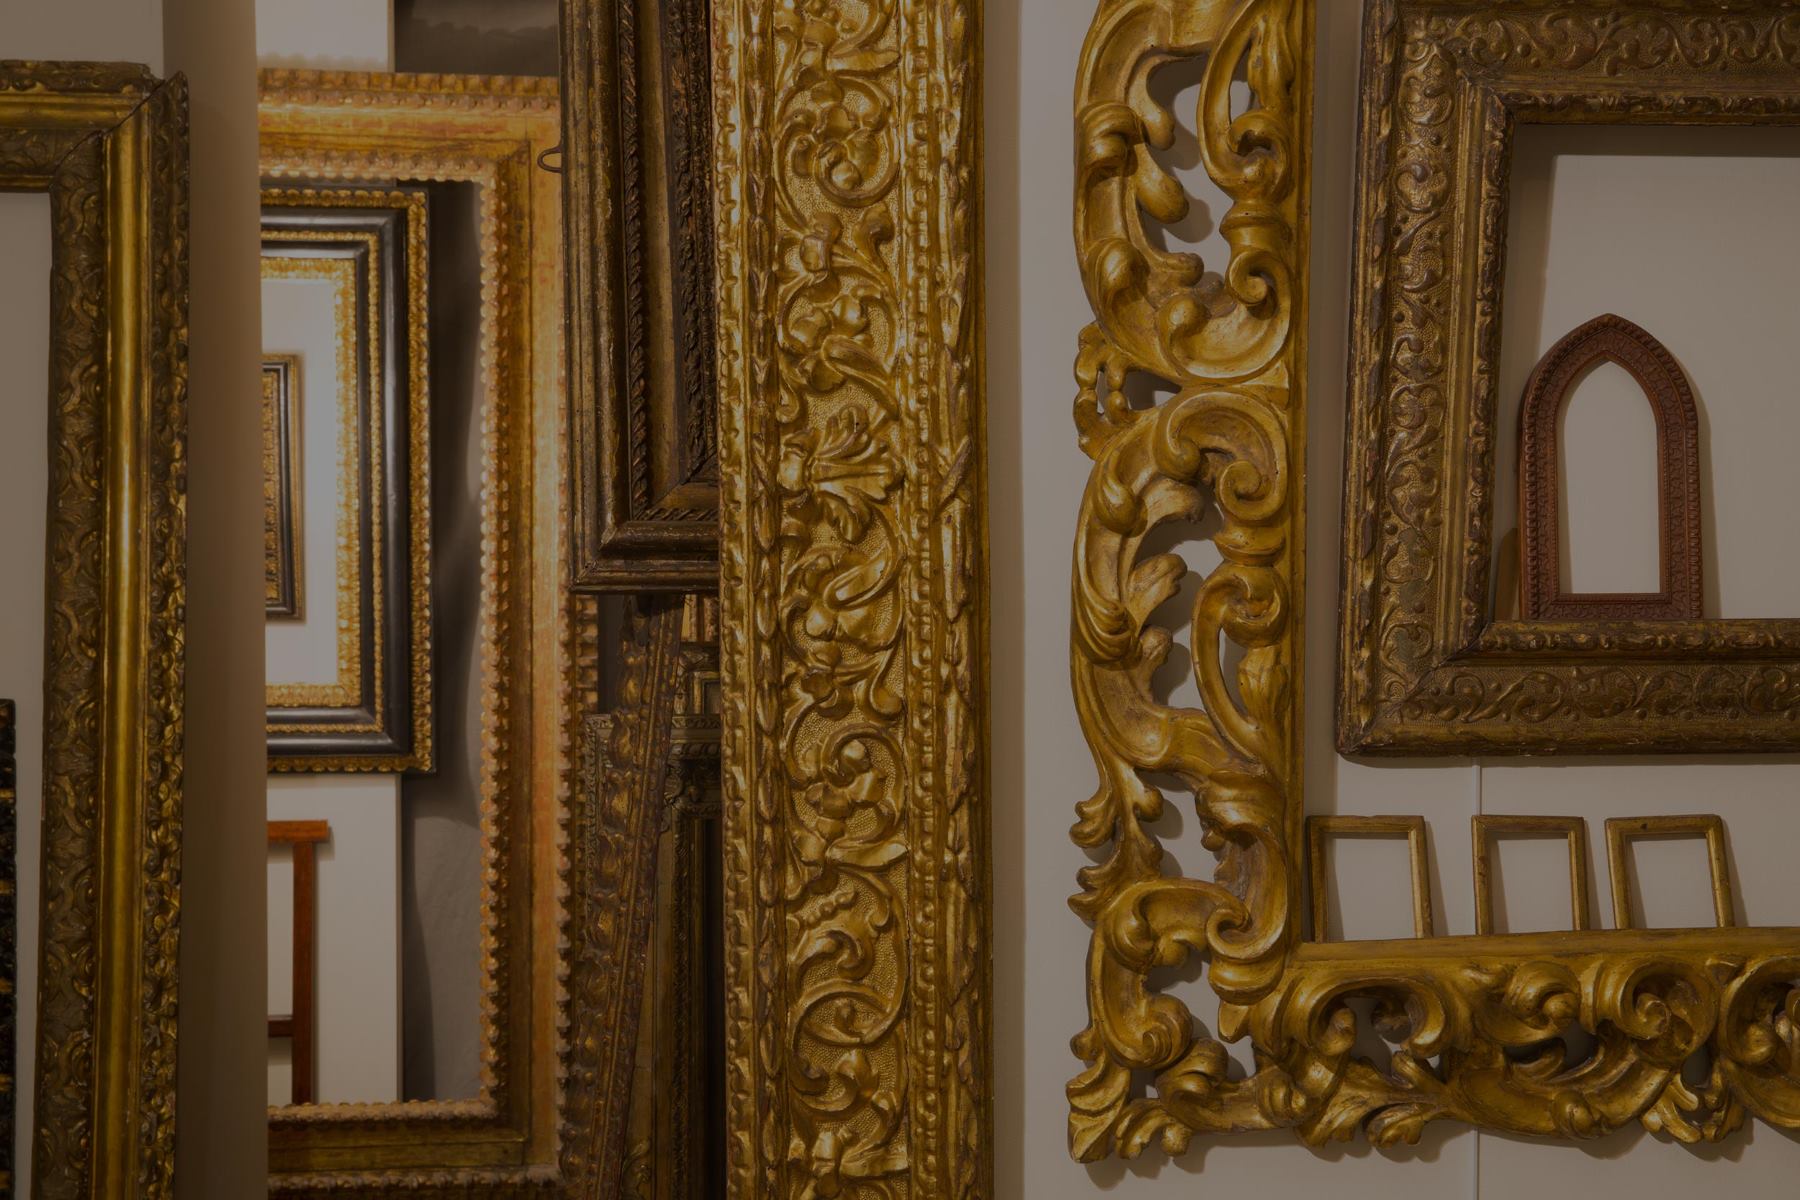
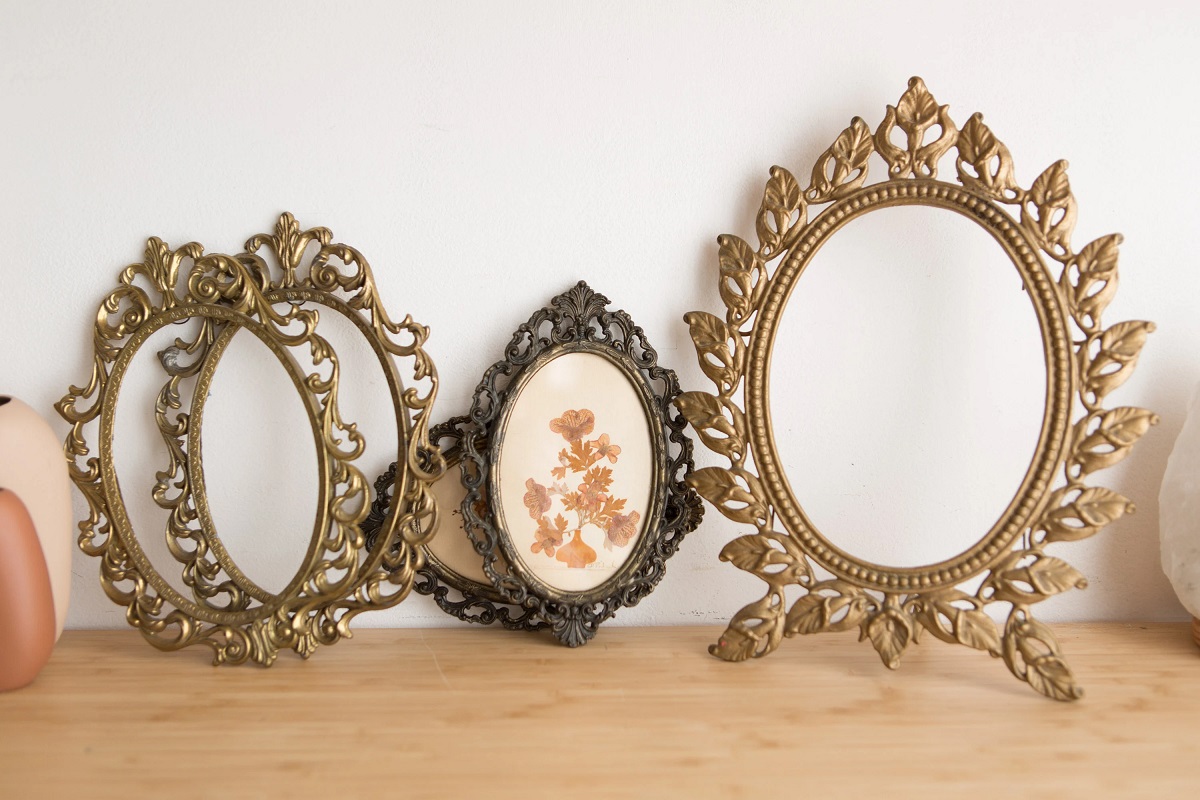
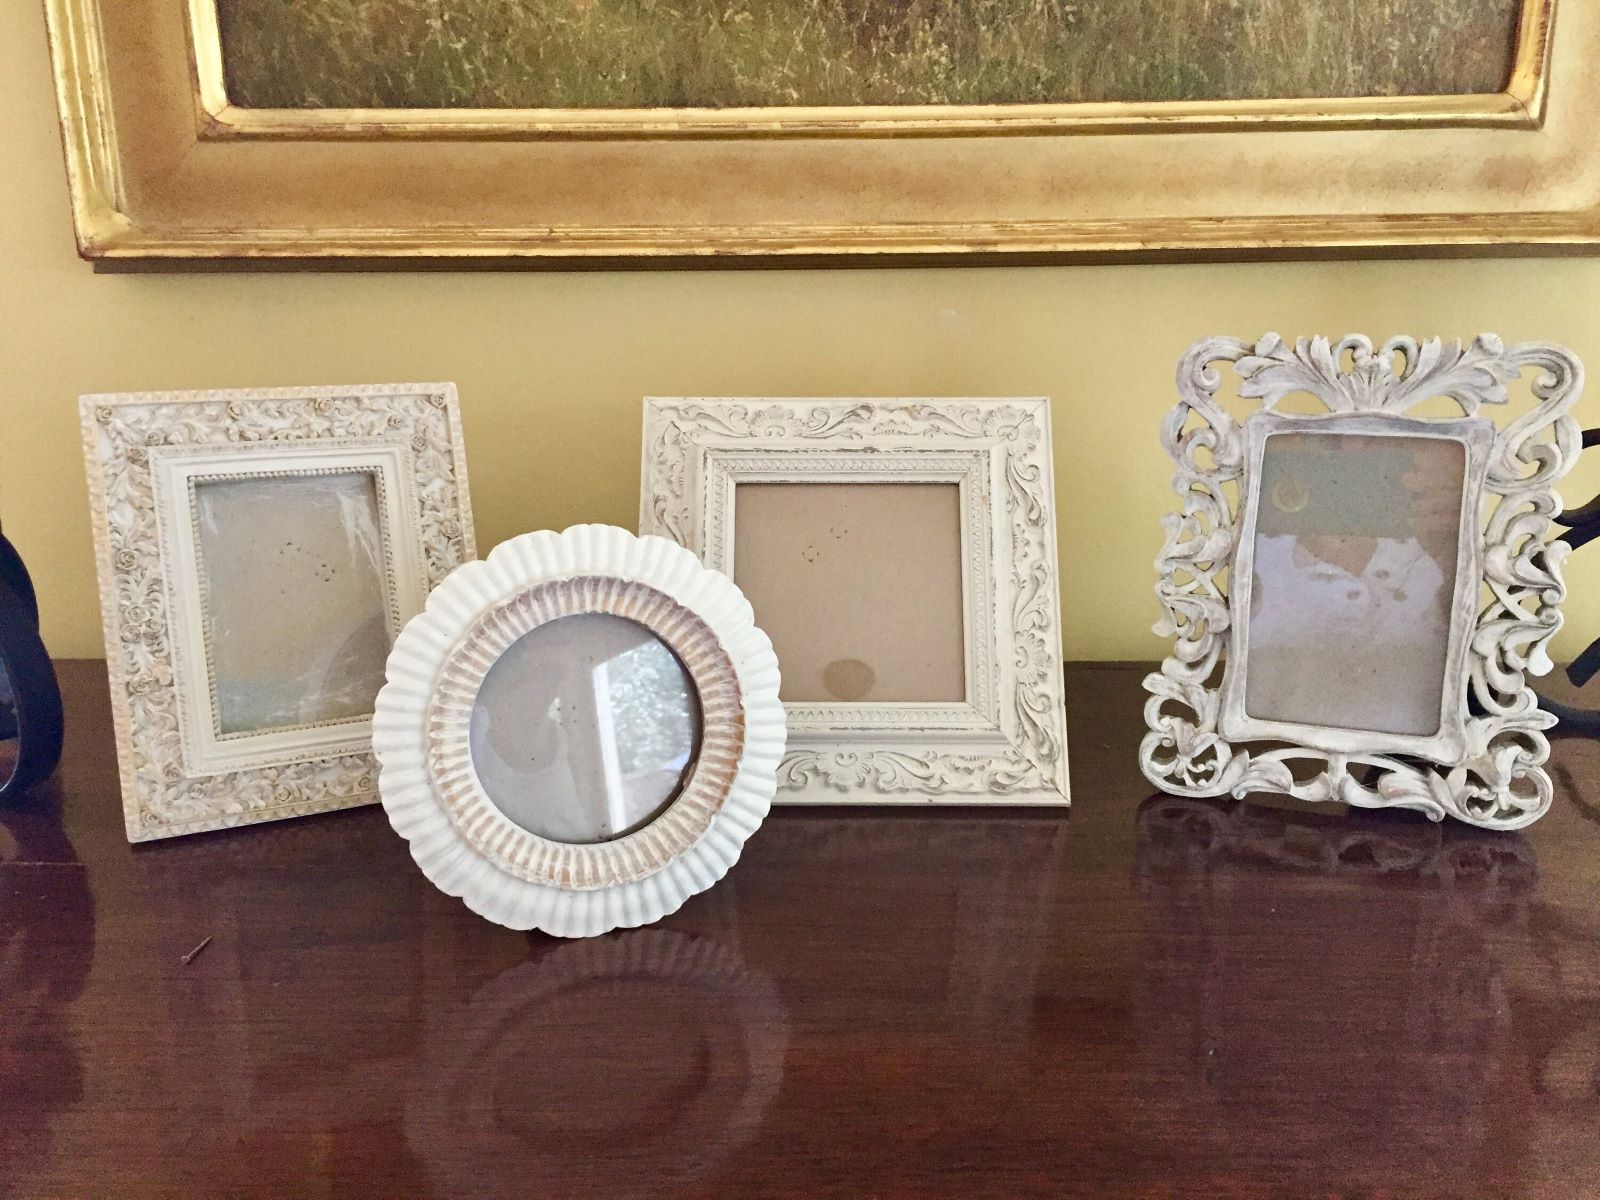
Welcome to our comprehensive guide on how to paint picture frames antique. If you have a dull or plain-looking picture frame that is in need of a makeover, painting it with an antique finish can give it a unique and vintage charm. Antique picture frames can add character and elegance to any artwork or photograph, making them stand out on your walls or displayed on a table.
In this article, we will walk you through the step-by-step process of transforming a regular picture frame into an antique masterpiece. From the supplies you will need to the techniques you will use, we have got you covered. So, grab your painting supplies and let’s get started!
Key Takeaways:
- Transform plain picture frames into vintage masterpieces with an antique finish using simple supplies like paint, glaze, and sealant. Add character and elegance to your space with unique, handcrafted antique frames.
- Enjoy the creative process of distressing, glazing, and sealing to achieve a timeless antique look for your picture frames. Unleash your imagination and experiment with different techniques to create stunning, one-of-a-kind pieces.
Read more: How To Clean Antique Picture Frames
Supplies Needed
Before you begin painting your picture frame antique, make sure you have the following supplies ready:
- Picture frame: Choose a frame that you want to transform into an antique finish. Make sure it is clean and free from any dust or debris.
- Sandpaper: You will need sandpaper with a medium grit (around 120-150) to smooth out the surface of the frame and create a good base for the paint.
- Primer: Use a high-quality primer compatible with your chosen paint to ensure better adherence and durability.
- Paint: Select a paint color for the base coat that complements the antique look you want to achieve. Opt for matte or satin finish paints as they work best for antique effects.
- Antiquing glaze: This is the secret ingredient that will give your frame that aged and weathered appearance. Look for an antiquing glaze in a shade that matches the desired antique effect.
- Sponge or brush: You will need a sponge or a brush to apply the antiquing glaze and create the distressed look on the frame.
- Sealant: To protect the finish and ensure the longevity of your antique frame, consider using a clear sealant that is suitable for the chosen paint and glaze.
- Drop cloth or newspaper: Protect your work surface from any spills or drips by laying down a drop cloth or newspaper.
- Painter’s tape: If you want to keep certain areas of the frame unpainted or protect any decorative elements, use painter’s tape to mask them off.
- Clean cloth or sponge: Keep a clean cloth or sponge handy to wipe off excess paint or glaze and to clean your brushes or sponges between steps.
- Optional accessories: Depending on the look you want to achieve, you can also consider adding decorative accessories like gilding wax, metallic paints, or distressing tools to further enhance the antique effect.
Once you have gathered all the necessary supplies, you are ready to start the transformation process.
Step 1: Preparation
Before diving into the painting process, it is crucial to prepare the picture frame properly. This will ensure that the paint adheres well and the final result is smooth and professional-looking.
Follow these steps to prepare the frame:
- Remove the glass and backing: Take apart the picture frame by carefully removing the glass and any backing or matting. This will allow you to work on the frame more easily and avoid any accidental smudging or damage to the artwork.
- Clean the frame: Use a clean cloth or sponge to wipe down the frame and remove any dust, dirt, or grease. You can also lightly sand the frame’s surface to promote better paint adhesion.
- Protect the area: Lay down a drop cloth or newspaper on your work surface to prevent any paint or glaze from getting on surrounding surfaces. This will make cleanup much easier.
- Mask or remove any unwanted parts: If there are any decorative elements on the frame that you want to keep unpainted, use painter’s tape to mask them off. If possible, remove any removable parts like hinges or hooks to ensure an even paint application.
By taking the time to properly prepare the frame, you are setting the foundation for a successful antique paint job. Once you have completed these preparation steps, you are ready to move on to the next important phase: sanding the frame.
Step 2: Sanding the Frame
Sanding the frame is a crucial step in the process of painting picture frames antique. Sanding not only helps to create a smooth surface, but it also helps the primer and paint adhere better to the frame.
Follow these steps to sand the frame:
- Select the right sandpaper: Choose sandpaper with a medium grit, around 120-150, as this will effectively remove any rough spots or imperfections on the frame’s surface.
- Sand in even strokes: Hold the sandpaper firmly and sand the entire surface of the frame in even strokes. Be sure to sand in the direction of the wood grain, as this will prevent any unsightly scratches or marks.
- Smooth out any rough areas: Pay special attention to any rough or uneven areas on the frame and sand them down until the surface feels smooth to the touch.
- Wipe away dust: After sanding, use a clean cloth or sponge to wipe away any dust or debris from the frame. This will give you a clean surface to work with during the painting process.
Remember to take your time while sanding and be gentle to avoid causing any damage to the frame. Once you have completed the sanding process, you are ready to move on to the next step: applying a base coat.
Step 3: Applying a Base Coat
Applying a base coat is an essential step in achieving a professional and long-lasting antique finish on your picture frame. The base coat not only provides a smooth and even surface for the subsequent layers of paint and glaze, but it also helps to enhance the color and adhesion of the final result.
Follow these steps to apply a base coat:
- Choose your desired base coat color: Select a paint color that complements the antique look you want to achieve. Opt for matte or satin finish paints, as they work best for antique effects.
- Prepare your workspace: Lay down a drop cloth or newspaper to protect your work surface from any accidental spills or drips.
- Shake the paint can: Shake the can of paint thoroughly to ensure that the color is well mixed.
- Apply the base coat: Using a brush or a foam roller, apply an even layer of the base coat paint to the entire surface of the frame. Start at one end and work your way across, making sure to cover all areas.
- Allow the paint to dry: Follow the manufacturer’s instructions regarding drying time. It is essential to allow the base coat to dry completely before moving on to the next steps.
- Inspect the base coat: Once the paint has dried, inspect the frame to see if you are satisfied with the coverage and color. If necessary, apply a second coat of the base paint to achieve the desired look, allowing each coat to dry fully.
Applying a well-prepared and even base coat will provide a solid foundation for the next steps in creating the antique effect. Once the base coat is dry and to your satisfaction, you can move on to the exciting part: adding antique effects.
When painting picture frames to look antique, consider using a combination of paint colors to create a distressed look. Start with a base color, then add a darker shade and lightly sand the edges for a weathered effect.
Read more: How To Repair Antique Picture Frames
Step 4: Adding Antique Effects
Adding antique effects is where the magic truly happens in transforming your picture frame into a vintage masterpiece. This step involves applying an antiquing glaze to create an aged and weathered appearance, giving your frame that distinct antique charm.
Follow these steps to add antique effects:
- Choose the right antiquing glaze: Select an antiquing glaze in a shade that matches the antique effect you want to achieve. Common shades include browns, greys, or blacks, which mimic the look of aged patina.
- Prepare your workspace: Lay down a clean drop cloth or newspaper to protect your work surface.
- Open the antiquing glaze: Carefully open the container of antiquing glaze, taking care not to spill any. If necessary, stir the glaze gently to ensure it is well mixed.
- Apply the glaze: Using a brush or a sponge, apply the antiquing glaze onto the frame in small sections at a time. Work the glaze into the nooks, crevices, and decorative details to achieve an authentic antique look.
- Wipe off the excess glaze: After applying the glaze, use a clean cloth or sponge to wipe off the excess glaze gently. This will help create a more subtle and natural-looking antique effect while leaving the glaze in the recessed areas.
- Inspect and adjust: Step back and inspect the frame to see if you are satisfied with the level of antiquing. If you want a more pronounced effect, you can always apply another layer of glaze. Similarly, you can wipe off more glaze if you feel it is too heavy in certain areas.
- Allow the glaze to dry: Follow the drying time specified by the manufacturer. Ensure that the glaze has dried completely before proceeding to the next step.
Adding antique effects with an antiquing glaze will bring depth, character, and a sense of history to your picture frame. Once the glaze is dry, it’s time to move on to the next step: distressing the frame.
Step 5: Distressing the Frame
Distressing the frame is an important step in achieving an authentic antique look. This process involves intentionally distressing the surface of the frame to create a worn, aged, and well-loved appearance. By distressing the frame, you can enhance the overall vintage charm and make it look like a treasured heirloom.
Follow these steps to distress the frame:
- Gather your distressing tools: You can use various tools and techniques to distress the frame, such as sandpaper, a wire brush, or even a hammer. Choose the tools that will achieve the desired effect for your specific frame.
- Identify areas for distressing: Look for areas on the frame that would naturally show signs of wear and tear over time, such as corners, edges, or raised details.
- Distress the frame: Use your chosen distressing tools to gently scrape, scratch, or roughen up the surface of the frame in the identified areas. Be strategic in your distressing to make it look authentic and avoid overdoing it.
- Blend the distressing: After distressing, use sandpaper or a soft cloth to blend the distressed areas with the rest of the frame. This will create a seamless transition and give the frame a cohesive antique appearance.
- Remove any dust or debris: Use a clean cloth or a soft brush to carefully remove any dust or debris left from the distressing process.
- Inspect and make adjustments: Step back and inspect the frame to ensure that you are satisfied with the level of distressing. If needed, you can distress certain areas further or add more distressing for a more pronounced effect.
Distressing the frame will add character and uniqueness to your antique picture frame. It will make it look as if it has been cherished and passed down through generations. Once you have distressed the frame to your liking, it’s time to move on to the final step: sealing the finish.
Step 6: Sealing the Finish
Sealing the finish is the final step in the process of painting picture frames antique. It is an important step that will protect the paint and glaze from chipping, fading, or damage over time. The sealant will also enhance the overall appearance of the frame, giving it a polished and finished look.
Follow these steps to seal the finish:
- Select a suitable sealant: Choose a clear sealant that is compatible with the paint and glaze you have used. Look for a sealant that offers protection against UV rays to prevent fading.
- Prepare your workspace: Ensure that your work surface is clean and free from any dust or debris.
- Apply the sealant: Using a brush or a foam roller, apply even and thin coats of the sealant to the entire surface of the frame. Start at one end and work your way across, making sure to cover all areas.
- Follow the drying time: Allow the first coat of sealant to dry completely according to the manufacturer’s instructions. Depending on the sealant, you may need to apply multiple coats for optimal protection and durability.
- Lightly sand between coats: If necessary, lightly sand the surface between each coat of sealant to ensure a smooth and even finish. Wipe away any sanding residue before applying the next coat.
- Inspect and touch up: After applying the final coat of sealant and allowing it to dry, inspect the frame to ensure that the finish is even and glossy. If you notice any imperfections or unevenness, you can touch up those areas with a small brush or sponge.
By sealing the finish, you are not only protecting your antique picture frame but also preserving its beauty for years to come. Once the sealant has dried completely, your antique picture frame is ready to be displayed and admired.
Congratulations! You have successfully transformed a plain picture frame into a stunning antique masterpiece. Step back and marvel at the vintage charm and character it brings to your space. Whether you hang it on the wall or showcase it on a shelf, your antique picture frame is sure to be a conversation starter.
Remember, this step-by-step guide provides a general overview of the process. Feel free to adapt and modify the techniques to suit your preferences and achieve the desired antique effect. Have fun and enjoy the journey of creating your own unique antique picture frames!
Conclusion
Painting picture frames antique is an enjoyable and creative way to transform ordinary frames into timeless and captivating pieces. With the right supplies and techniques, you can achieve a vintage charm that adds character and elegance to your artwork or photographs.
In this comprehensive guide, we have outlined the step-by-step process of painting picture frames antique, from preparation to sealing the finish. By following these steps and using your creativity, you can breathe new life into old frames and create stunning pieces that showcase your personal style.
Remember to gather all the necessary supplies, including sandpaper, primer, paint, antiquing glaze, and a sealant. Properly prepare the frame by cleaning it and protecting the surrounding area. Sand the frame to create a smooth surface and apply a base coat for better adhesion and color enhancement.
The real magic happens when you add antique effects using an antiquing glaze. The glaze creates an aged appearance, highlighting the intricate details of the frame. Distressing the frame further enhances its vintage charm, giving it a worn and weathered look.
Finally, sealing the finish ensures the longevity and durability of your antique picture frame. A clear sealant protects the paint and glaze from damage, while adding a beautiful sheen to the finished product.
Now that you have the knowledge and the steps to paint picture frames antique, it’s time to unleash your creativity. Explore different color combinations, experiment with distressing techniques, and make each frame a unique work of art.
Whether you want to display your cherished memories or elevate the style of your home, antique picture frames offer a timeless appeal that never goes out of fashion. So, pick up your brushes, let your imagination run wild, and enjoy the process of transforming your picture frames into stunning antique masterpieces.
Get ready to amaze yourself and others with your newfound skills in painting picture frames antique. Happy crafting!
Frequently Asked Questions about How To Paint Antique Picture Frames
Was this page helpful?
At Storables.com, we guarantee accurate and reliable information. Our content, validated by Expert Board Contributors, is crafted following stringent Editorial Policies. We're committed to providing you with well-researched, expert-backed insights for all your informational needs.





0 thoughts on “How To Paint Antique Picture Frames”