Home>Construction & Tools>Building Materials>How To Patch Holes In Brick
Building Materials
How To Patch Holes In Brick
Modified: October 20, 2024
Learn how to patch holes in brick using common building materials. Follow our step-by-step guide for a seamless repair. Ideal for DIY enthusiasts.
(Many of the links in this article redirect to a specific reviewed product. Your purchase of these products through affiliate links helps to generate commission for Storables.com, at no extra cost. Learn more)
**
Introduction
**
Welcome to the comprehensive guide on how to patch holes in brick. Whether you're a seasoned DIY enthusiast or a novice looking to tackle a home improvement project, this article will equip you with the knowledge and skills to effectively repair unsightly holes in your brick surfaces.
Brick is a timeless building material known for its durability and classic aesthetic appeal. However, over time, even the sturdiest of bricks can develop imperfections such as cracks, chips, or holes. These blemishes not only compromise the visual appeal of your property but also leave the underlying structure vulnerable to moisture and other environmental elements.
By learning the art of patching holes in brick, you can restore the integrity and beauty of your walls, pathways, or any other brick surfaces. This guide will take you through the step-by-step process, from assessing the damage to applying the finishing touches.
So, roll up your sleeves, gather your tools, and let's dive into the world of brick repair. With a little patience and the right techniques, you'll be amazed at how seamlessly you can rejuvenate your brick surfaces, adding both value and charm to your property. Let's get started!
**
Key Takeaways:
- Assessing the damage is crucial before patching holes in brick. Look for size, cause, stability of surrounding bricks, and match replacement materials for a successful repair.
- Gathering the right materials and tools is essential for patching holes in brick. Choose high-quality patching compound, use protective gear, and follow surface preparation steps for a professional-looking outcome.
Read more: How To Patch Holes In Driveway
Assessing the Damage
**
Before embarking on the patching process, it’s crucial to assess the extent of the damage to your brick surfaces. This initial step will help you determine the appropriate approach and materials required for the repair.
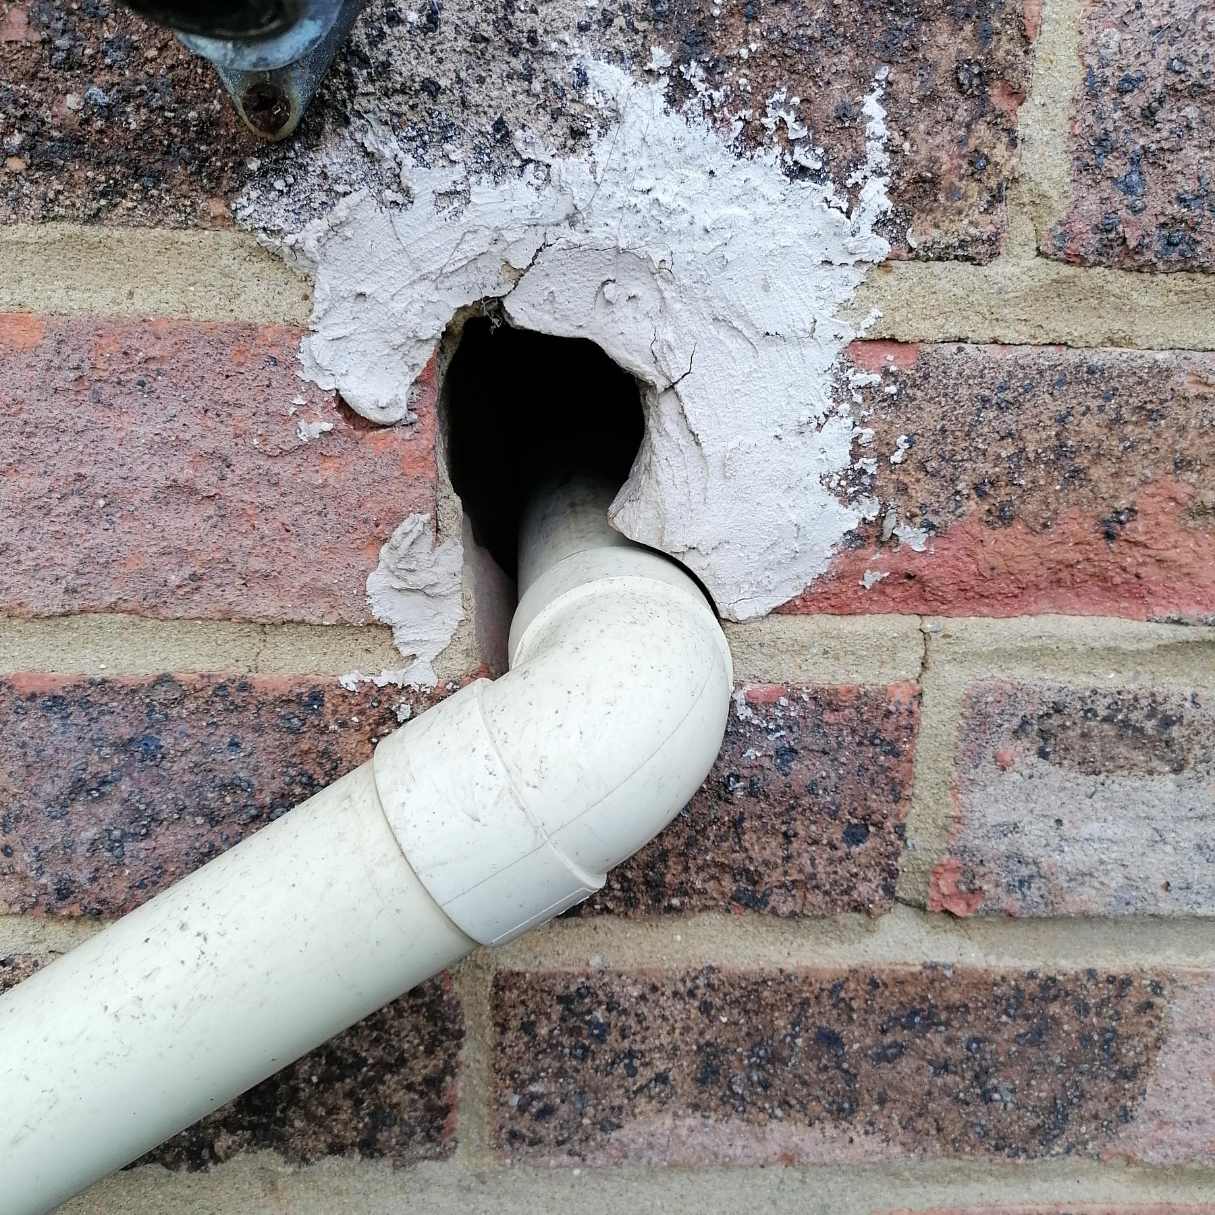
Begin by closely inspecting the affected area. Identify the size and depth of the holes or cracks, and take note of any surrounding damage, such as spalling or crumbling mortar. It’s essential to assess whether the damage is superficial or if it extends deeper into the brick substrate.
Next, consider the underlying cause of the damage. Is it the result of natural wear and tear, harsh weather conditions, or structural issues? Understanding the root cause will not only guide your repair strategy but also prevent future damage.
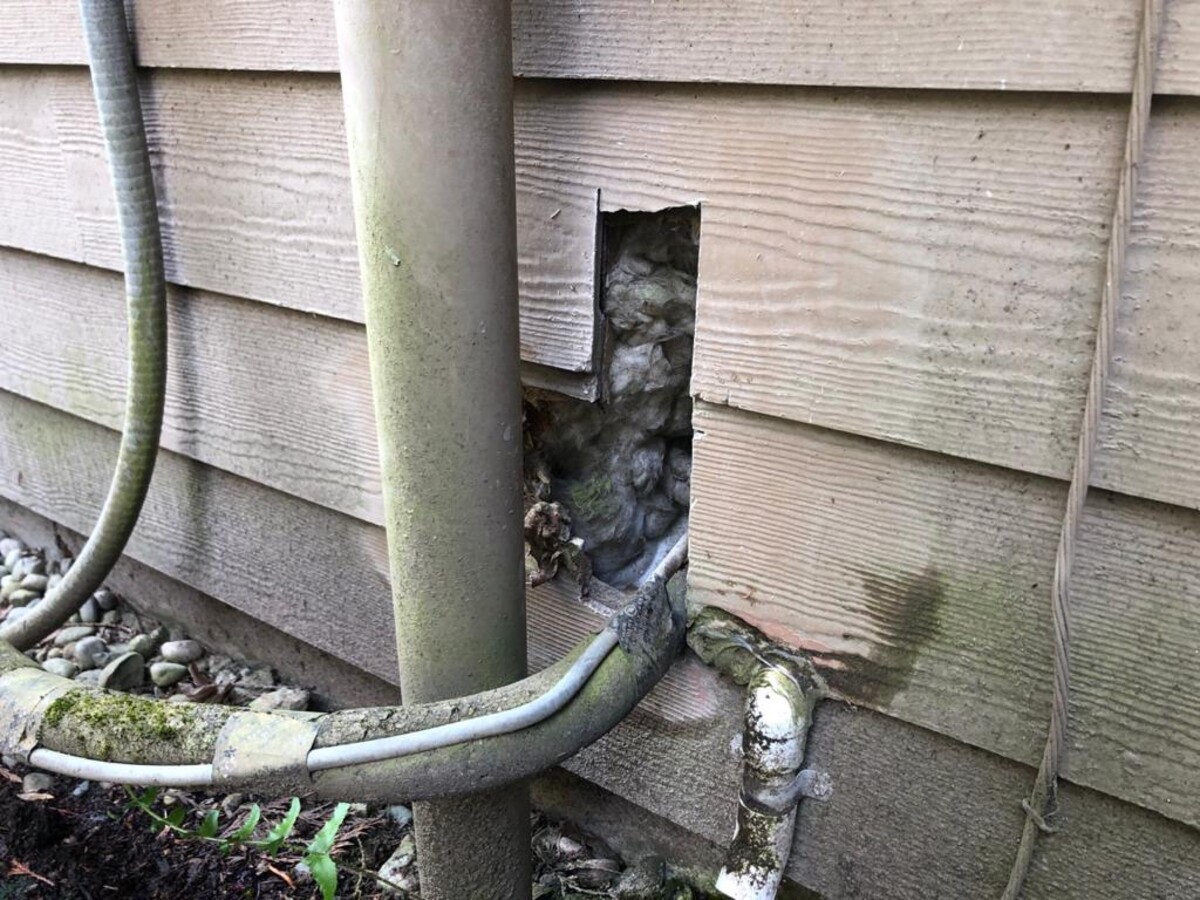
Assess the stability of the surrounding bricks. If adjacent bricks are loose or showing signs of deterioration, it may indicate a larger underlying problem that needs to be addressed before patching the holes.
Additionally, evaluate the type of brick and mortar used in the original construction. Matching the replacement materials to the existing ones is essential for achieving a seamless and visually appealing repair.
Finally, consider the location of the damage. Is it a high-traffic area, a vertical wall, or a horizontal surface? These factors will influence the type of patching material and technique best suited for the job.
By thoroughly assessing the damage, you’ll be equipped with a clear understanding of the scope of the repair, ensuring that your efforts yield lasting and aesthetically pleasing results. With a keen eye and a systematic approach, you’re ready to move on to the next steps in the patching process.
**
Gathering Materials and Tools
**
Once you’ve assessed the damage and are ready to proceed with patching the holes in your brick, it’s time to gather the essential materials and tools for the job. Having the right supplies at hand will streamline the repair process and ensure a professional-quality outcome.
Here’s a comprehensive list of materials and tools you’ll need:
- Brick patching compound: Choose a high-quality patching compound specifically formulated for repairing brick surfaces. Opt for a color that closely matches the existing brick for a seamless finish.
- Wire brush: A stiff wire brush is essential for removing loose debris, dirt, and old mortar from the damaged area. Ensure that the surface is clean and free of any loose particles before applying the patching compound.
- Masonry chisel and hammer: These tools are necessary for carefully removing any loose or deteriorated mortar from the edges of the holes, creating a clean and stable base for the patching material.
- Gloves and safety goggles: Protect your hands and eyes during the repair process by wearing heavy-duty work gloves and safety goggles.
- Trowel: A masonry or bricklaying trowel is essential for applying the patching compound with precision and control.
- Water: Have a water source nearby for mixing the patching compound to the desired consistency.
- Protective sheeting: Depending on the location of the repair, you may need to use protective sheeting to cover surrounding surfaces and prevent accidental splatter or damage.
Before purchasing or using any materials, it’s important to refer to the manufacturer’s instructions and safety guidelines. Additionally, consider the size and quantity of the repairs needed to ensure that you have an adequate supply of patching compound and other materials.
By gathering the right materials and tools, you’ll be well-prepared to tackle the next steps in the patching process, setting the stage for a successful and professional-looking repair.
**
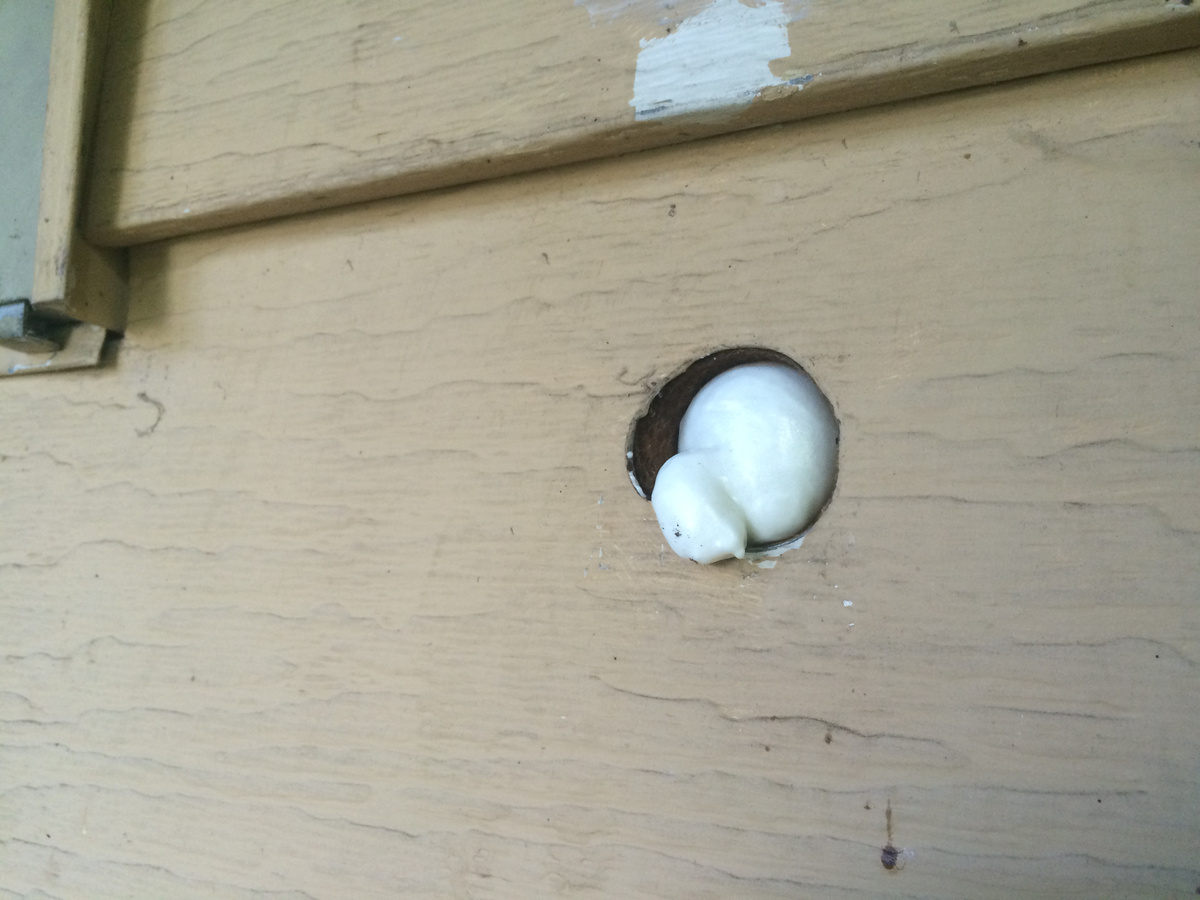
Use a wire brush to clean the area, then fill the hole with a mortar mix. Smooth the surface with a trowel and let it dry. Sand the area for a smooth finish.
Preparing the Surface
**
Before applying the patching compound, it’s essential to prepare the surface of the damaged brick to ensure optimal adhesion and a seamless repair. Proper preparation will contribute to the longevity and visual appeal of the patched area.
Follow these steps to prepare the surface:
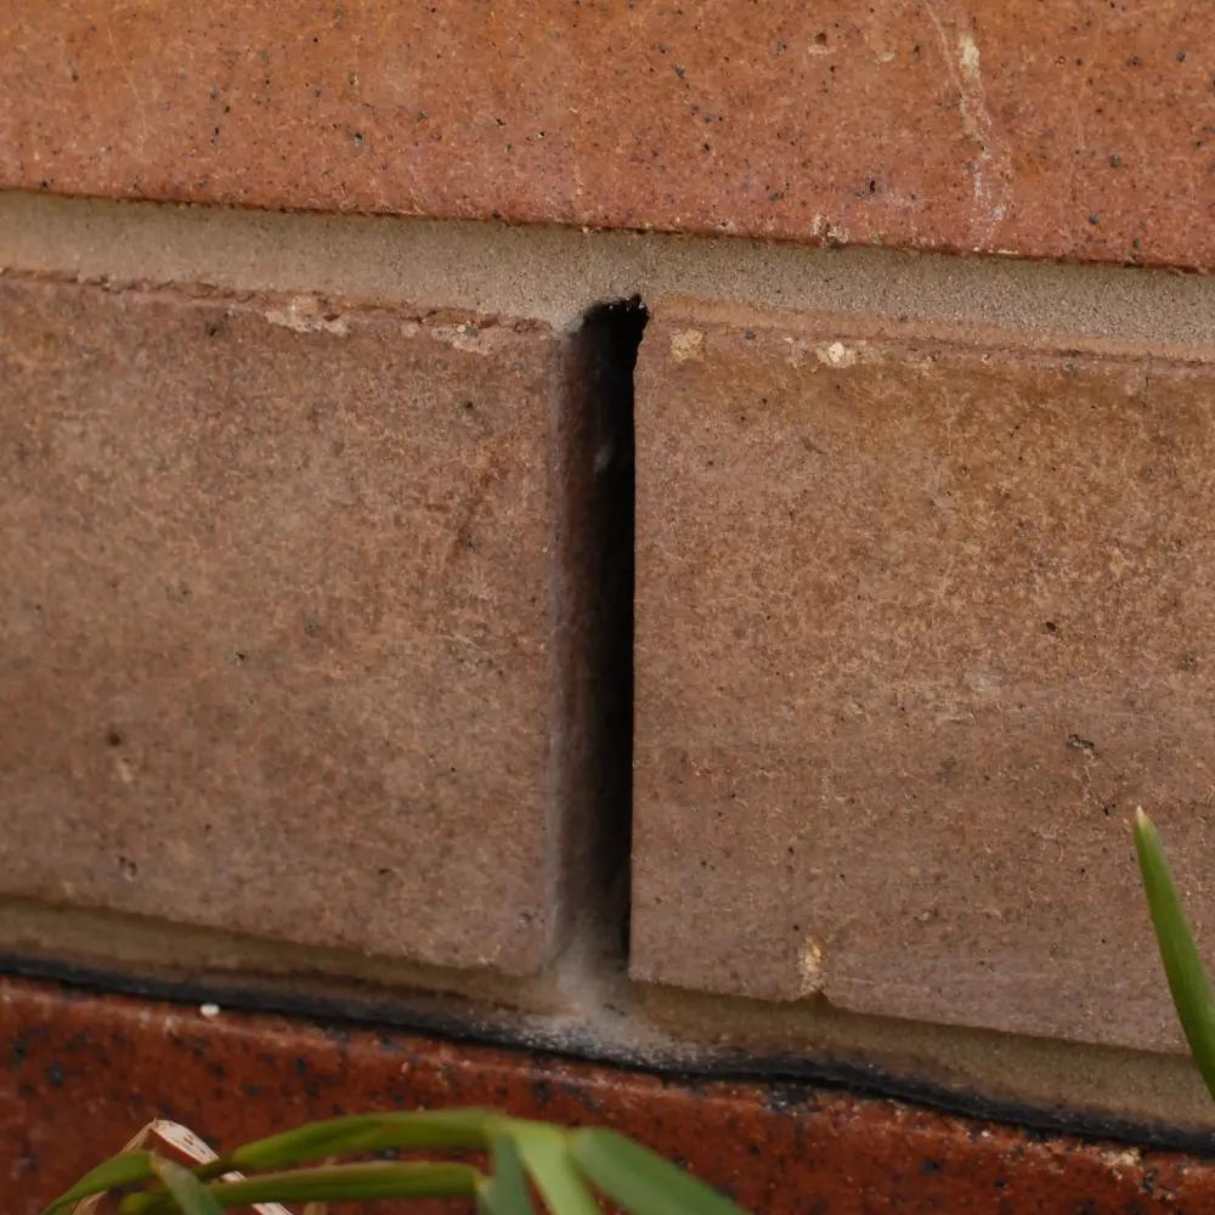
- Clean the Area: Use a stiff wire brush to thoroughly clean the damaged area, removing any loose debris, dirt, and old mortar. Ensure that the surface is free of dust and particles that could hinder the bonding of the patching compound.
- Remove Deteriorated Mortar: Carefully use a masonry chisel and hammer to remove any deteriorated or loose mortar from the edges of the holes. Create clean, well-defined edges to provide a stable base for the patching material.
- Moisten the Surface: Lightly mist the prepared area with water using a spray bottle. Moistening the surface will prevent rapid absorption of moisture from the patching compound, promoting better adhesion and curing.
- Protect Surrounding Surfaces: If the repair area is near delicate surfaces or landscaping, use protective sheeting to shield them from accidental splatter or damage during the patching process.
Proper surface preparation is a critical precursor to a successful brick repair. By investing time and attention to detail in this phase, you’ll create an optimal foundation for the application of the patching compound, ensuring a durable and visually pleasing result.
**
Filling the Holes
**
With the surface prepared, it’s time to fill the holes in the brick using the appropriate patching compound. This step requires precision and careful application to achieve a seamless and durable repair.
Follow these guidelines for filling the holes:
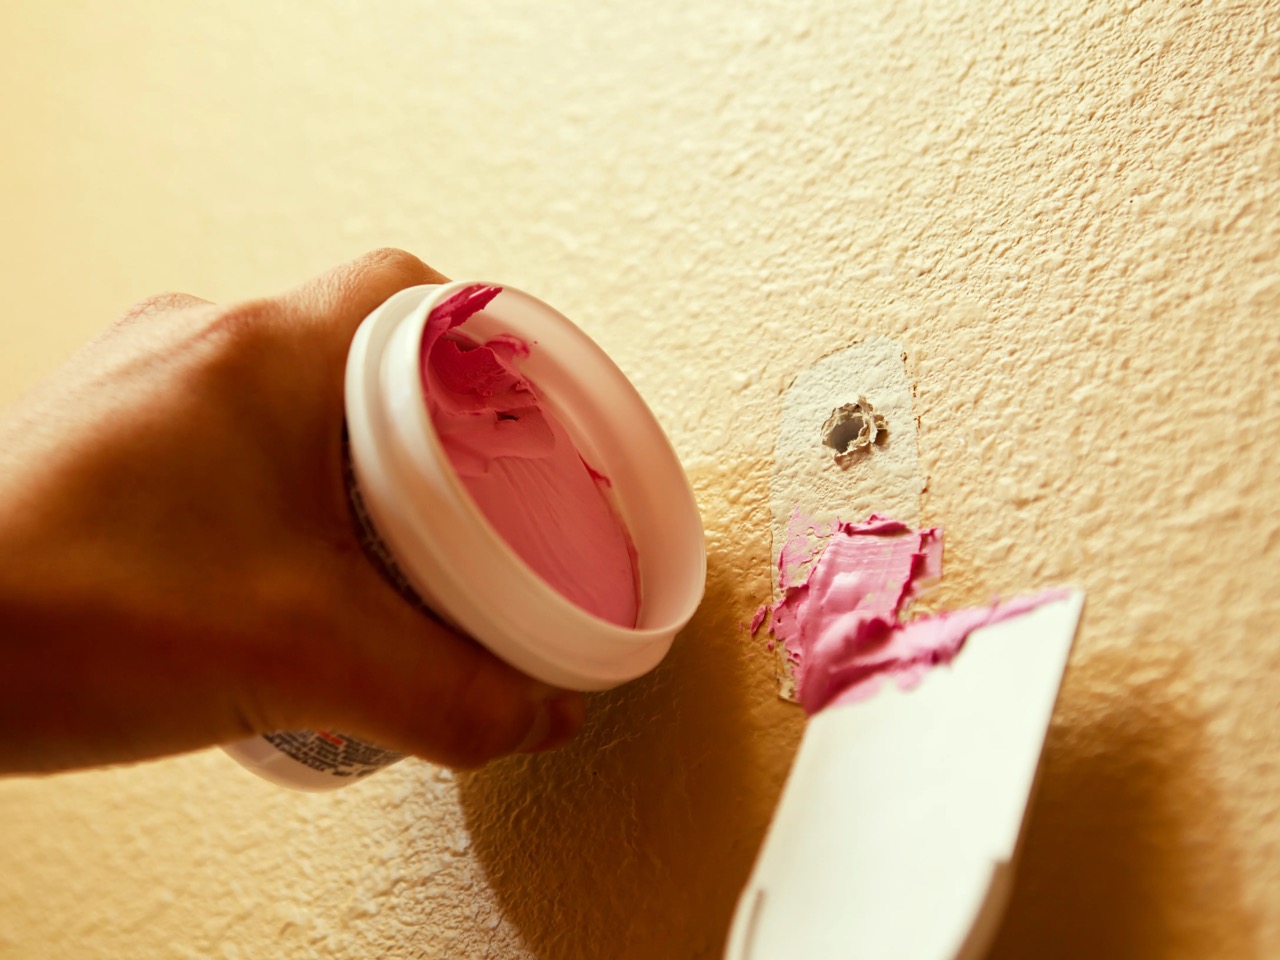
- Mix the Patching Compound: Follow the manufacturer’s instructions to prepare the patching compound to the desired consistency. Use a clean container and add water gradually, stirring until you achieve a smooth and workable paste.
- Apply the Compound: Using a masonry trowel, carefully apply the patching compound to the prepared holes, ensuring that the material fills the voids completely. Work methodically to achieve a level surface that aligns with the surrounding brick.
- Smooth and Shape: After filling the holes, use the trowel to smooth the surface of the patching compound, blending it with the surrounding brick. Pay attention to achieving a uniform texture and profile for a seamless finish.
- Allow for Curing: Follow the recommended curing time provided by the patching compound manufacturer. Ensure that the repaired area is protected from disturbances or exposure to adverse weather conditions during the curing process.
It’s important to approach the filling process with patience and attention to detail, as achieving a flush and indistinguishable repair is key to restoring the visual integrity of the brick surface. By following these steps, you’ll be well on your way to effectively filling the holes and revitalizing the appearance of your brick.
**
Read more: How To Patch A Hole In A Roof
Finishing Touches
**
As the patched areas cure, it’s time to add the finishing touches to ensure a seamless integration with the existing brickwork. These final steps will elevate the visual appeal of the repair and contribute to a polished and professional outcome.
Consider the following finishing touches:
- Texturing: If your existing brickwork features a textured surface, use a wire brush or a texture mat to mimic the surrounding pattern on the freshly patched areas. This technique will help blend the repaired sections with the rest of the brickwork for a cohesive look.
- Color Matching: Depending on the color and finish of your existing brick, you may need to apply a suitable brick stain or tinted sealer to the patched areas. This step ensures that the repaired sections harmonize with the surrounding brick, achieving a uniform appearance.
- Sealing: Consider applying a protective masonry sealer to the entire repaired surface once the patching compound has fully cured. This will safeguard the patched areas from moisture penetration and enhance the overall longevity of the repair.
- Cleaning: After completing the patching and finishing process, give the entire repaired area a thorough cleaning to remove any residual dust or debris. This final touch will reveal the full visual impact of your meticulous repair work.
By attending to these finishing touches, you’ll ensure that the patched areas seamlessly blend with the existing brickwork, creating a cohesive and visually appealing surface. With a keen eye for detail and a commitment to quality, your finished brick repair will stand as a testament to your craftsmanship and dedication to preserving the beauty of your property.
Frequently Asked Questions about How To Patch Holes In Brick
Was this page helpful?
At Storables.com, we guarantee accurate and reliable information. Our content, validated by Expert Board Contributors, is crafted following stringent Editorial Policies. We're committed to providing you with well-researched, expert-backed insights for all your informational needs.


0 thoughts on “How To Patch Holes In Brick”