Home>Home Appliances>Laundry Appliances>How To Remove The Rubber Seal On A Washing Machine
Laundry Appliances
How To Remove The Rubber Seal On A Washing Machine
Modified: August 27, 2024
Learn how to safely remove the rubber seal on a washing machine with our expert tips. Keep your laundry appliances in top condition with our step-by-step guide.
(Many of the links in this article redirect to a specific reviewed product. Your purchase of these products through affiliate links helps to generate commission for Storables.com, at no extra cost. Learn more)
Introduction
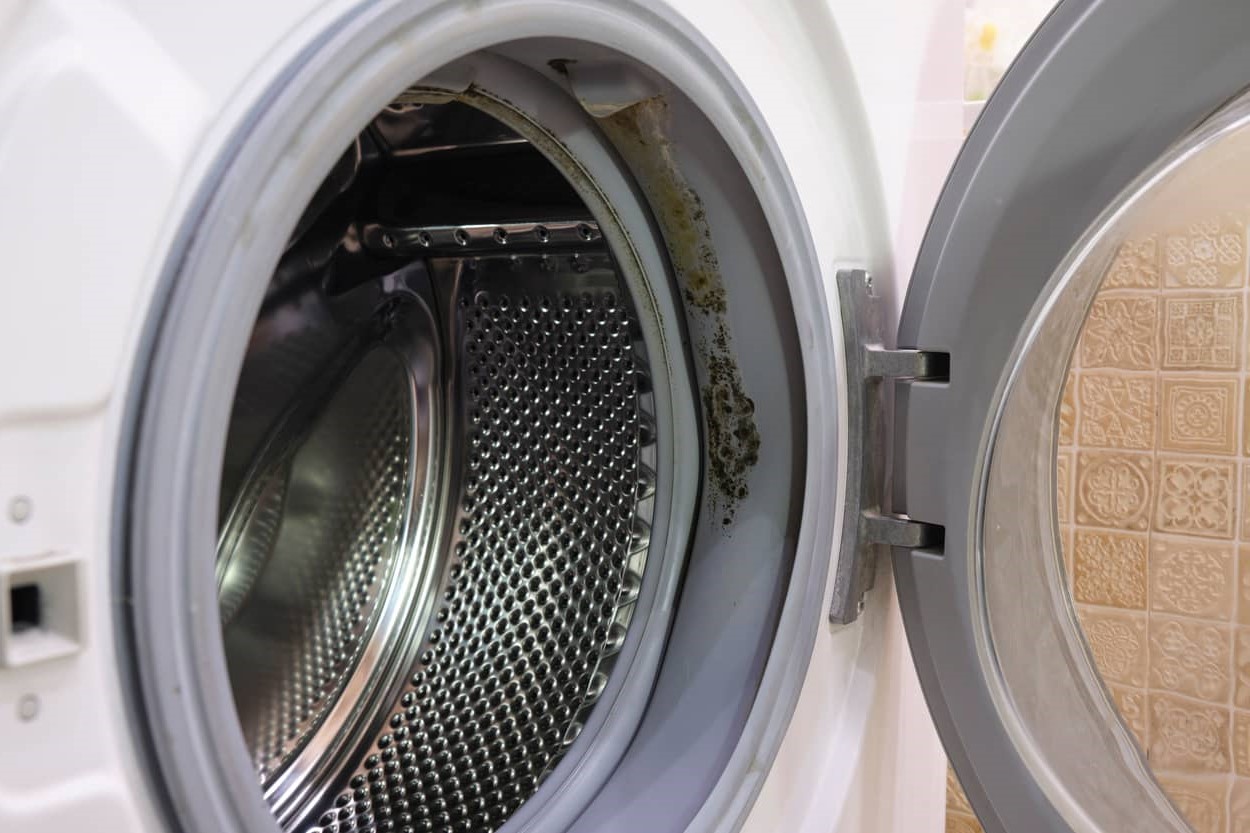
Removing the rubber seal on a washing machine may seem like a daunting task, but it's a crucial part of maintaining your appliance. Over time, the rubber seal can accumulate dirt, grime, and even mold, which can affect the cleanliness of your laundry and the overall performance of the machine. By learning how to safely and effectively remove the rubber seal, you can ensure that your washing machine continues to function optimally.
Whether you're dealing with a front-loading or top-loading washing machine, the rubber seal plays a vital role in preventing water from leaking out during the wash cycle. However, this seal can also trap moisture and detergent residue, creating an environment where mold and mildew can thrive. As a result, it's essential to periodically remove the rubber seal for thorough cleaning and maintenance.
In this guide, we'll walk you through the process of removing the rubber seal on your washing machine, providing you with the knowledge and confidence to tackle this task. Additionally, we'll share valuable tips on cleaning and maintaining the rubber seal to ensure that your washing machine remains in top condition.
By taking the time to understand and perform these maintenance tasks, you can extend the lifespan of your washing machine, improve the cleanliness of your laundry, and create a healthier environment for your household. Let's dive into the essential tools needed and the step-by-step process for removing the rubber seal on your washing machine.
Key Takeaways:
- Regularly inspect and clean the rubber seal on your washing machine to prevent mold and maintain cleanliness. Use mild cleaning solutions and ensure proper ventilation for a hygienic laundry environment.
- By following simple maintenance steps and using the right tools, you can remove, clean, and reinstall the rubber seal, ensuring optimal washing machine performance and fresh laundry every time.
Tools Needed
Before you begin the process of removing the rubber seal on your washing machine, it's important to gather the necessary tools to ensure a smooth and efficient experience. Having the right tools at your disposal will not only make the task easier but also help prevent any damage to the rubber seal or other components of the machine. Here's a comprehensive list of the tools you'll need:
-
Rubber Seal Removal Tool: This specialized tool is designed to safely and effectively remove the rubber seal from the washing machine. It typically features a slim, curved design that allows you to access and detach the seal without causing any damage.
-
Cleaning Solution: A mild cleaning solution or detergent specifically formulated for washing machine maintenance is essential for thoroughly cleaning the rubber seal. Look for a product that can effectively remove dirt, grime, and mold without causing any harm to the rubber material.
-
Soft Bristle Brush or Cloth: To scrub away any accumulated residue or mold from the rubber seal, a soft bristle brush or cloth is indispensable. This gentle cleaning tool will help you achieve a deep clean without scratching or damaging the rubber.
-
Gloves: It's advisable to wear protective gloves while working with cleaning solutions and handling the rubber seal. This will protect your hands from any potential skin irritation caused by the cleaning agents and ensure a hygienic cleaning process.
-
Towel or Absorbent Cloth: Having a towel or absorbent cloth on hand is essential for wiping down the rubber seal and the surrounding areas after cleaning. This will help remove excess moisture and ensure that the seal is completely dry before reinstallation.
-
Flashlight: In some cases, the area around the rubber seal may be poorly lit, making it difficult to spot hidden dirt or mold. A flashlight will come in handy for illuminating the interior of the washing machine and ensuring that you don't miss any areas during the cleaning process.
By assembling these essential tools, you'll be well-prepared to tackle the task of removing the rubber seal from your washing machine. With the right tools and a methodical approach, you can effectively maintain the cleanliness and functionality of your appliance, promoting a hygienic laundry environment for you and your family.
Steps to Remove the Rubber Seal
-
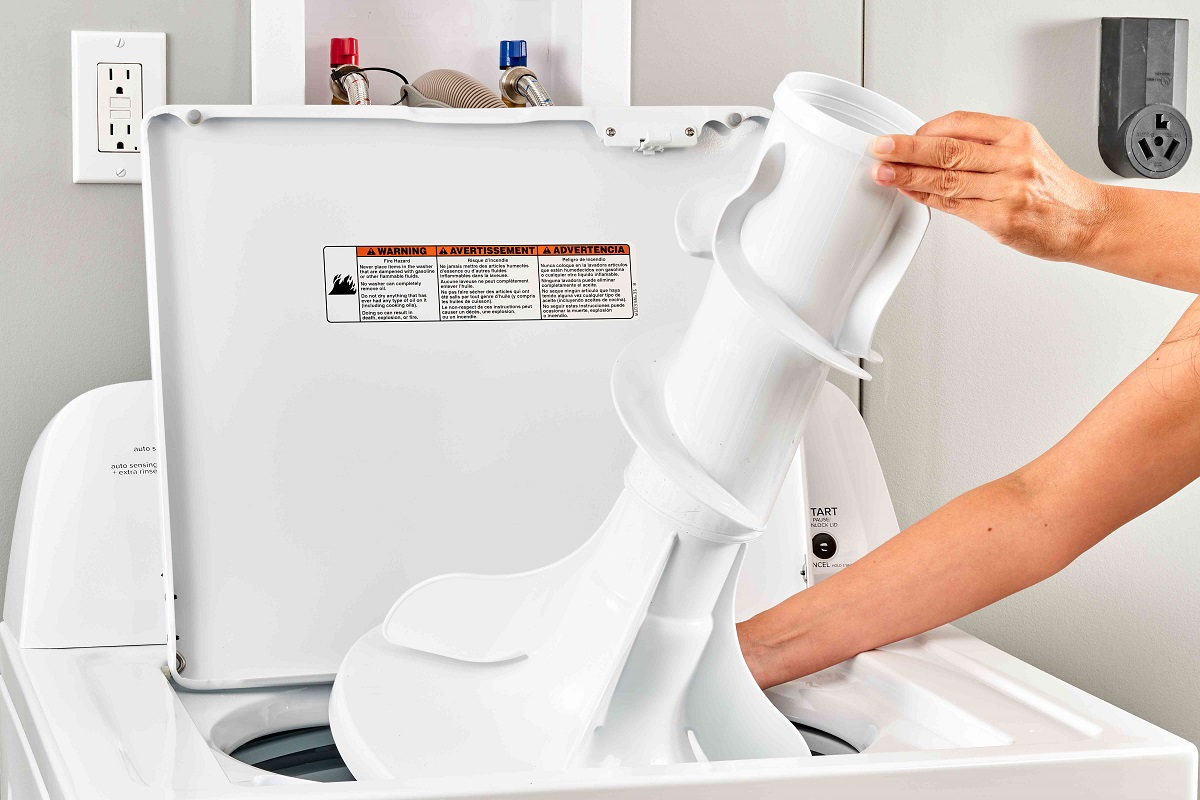
Prepare the Washing Machine: Start by unplugging the washing machine from the power source to ensure safety during the removal process. If your washing machine has a front-loading door, open it to access the rubber seal. For top-loading machines, lift the lid to expose the seal around the drum.
-
Inspect the Seal: Take a close look at the rubber seal to identify any visible dirt, grime, or mold. This initial inspection will help you understand the extent of cleaning required and ensure that no debris is left behind after the seal is removed.
-
Use the Rubber Seal Removal Tool: Carefully insert the rubber seal removal tool between the edge of the seal and the drum of the washing machine. Gently work the tool around the circumference of the seal, gradually loosening it from the drum. Take your time to avoid damaging the seal or the machine.
-
Detach the Seal: As you continue to maneuver the removal tool, the rubber seal will gradually detach from the drum. Be patient and gentle, ensuring that the seal comes off evenly without any excessive force. Once the seal is completely loosened, carefully pull it away from the drum and set it aside.
-
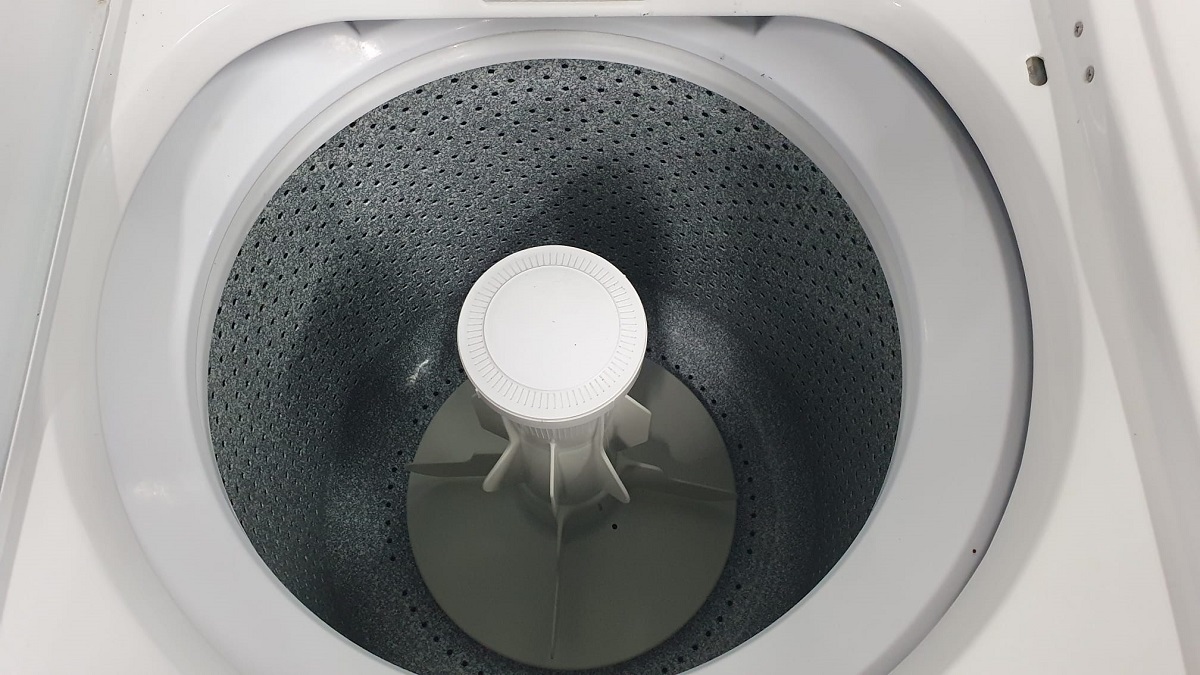
Inspect the Interior: With the rubber seal removed, take a moment to inspect the interior of the washing machine, particularly the area where the seal was attached. Use a flashlight to illuminate any hidden areas and check for accumulated dirt, mold, or residue that may require cleaning.
-
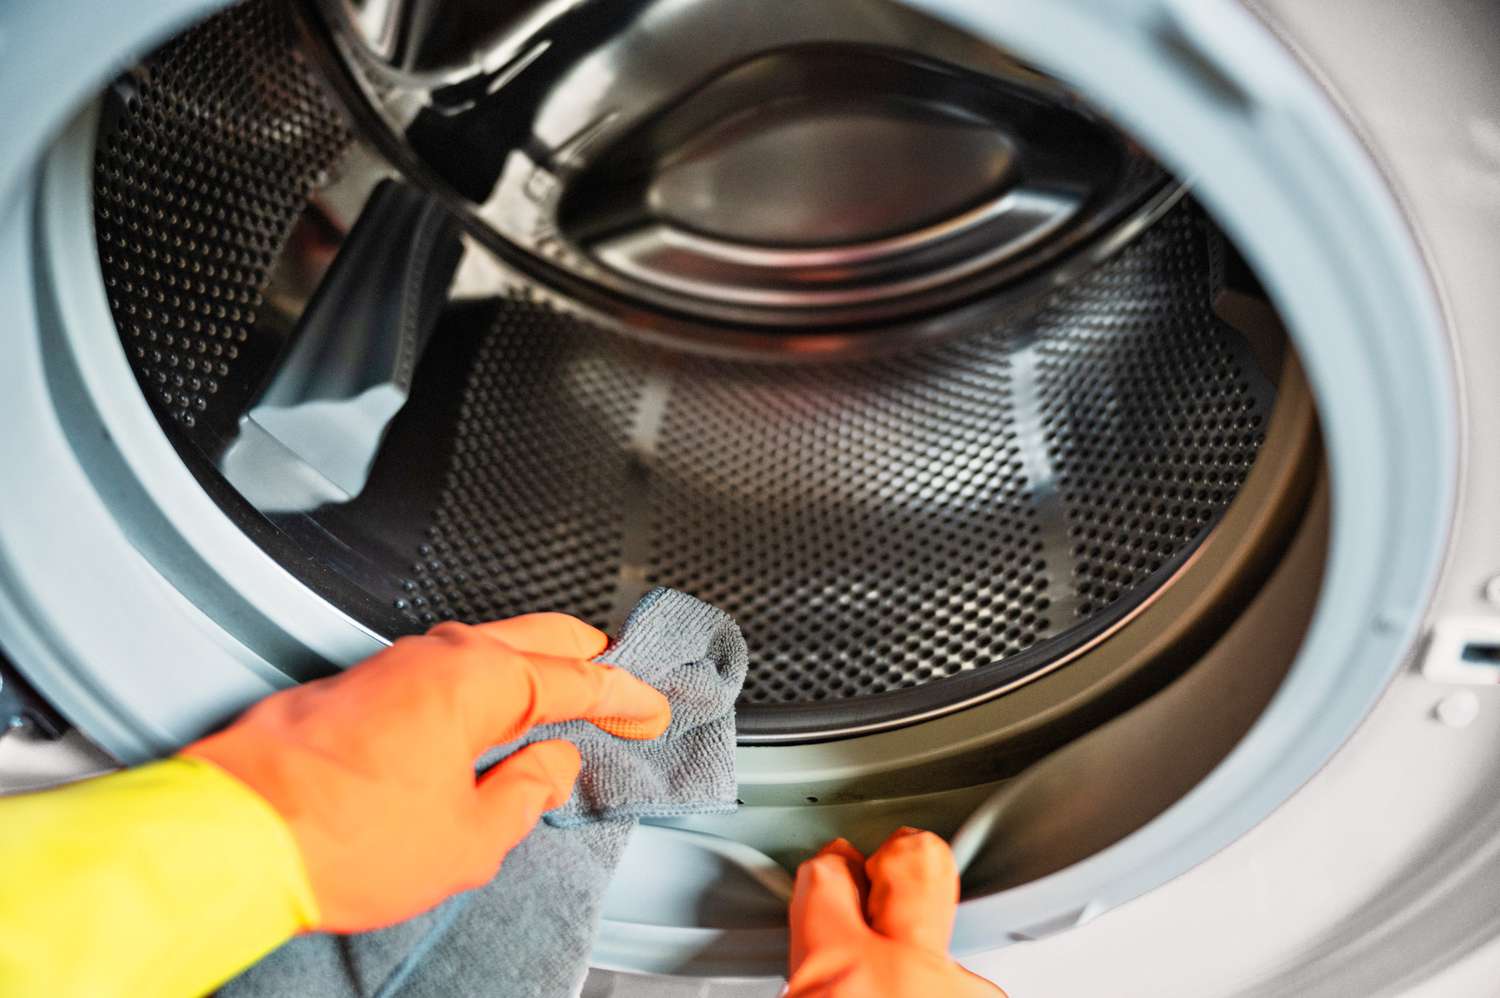
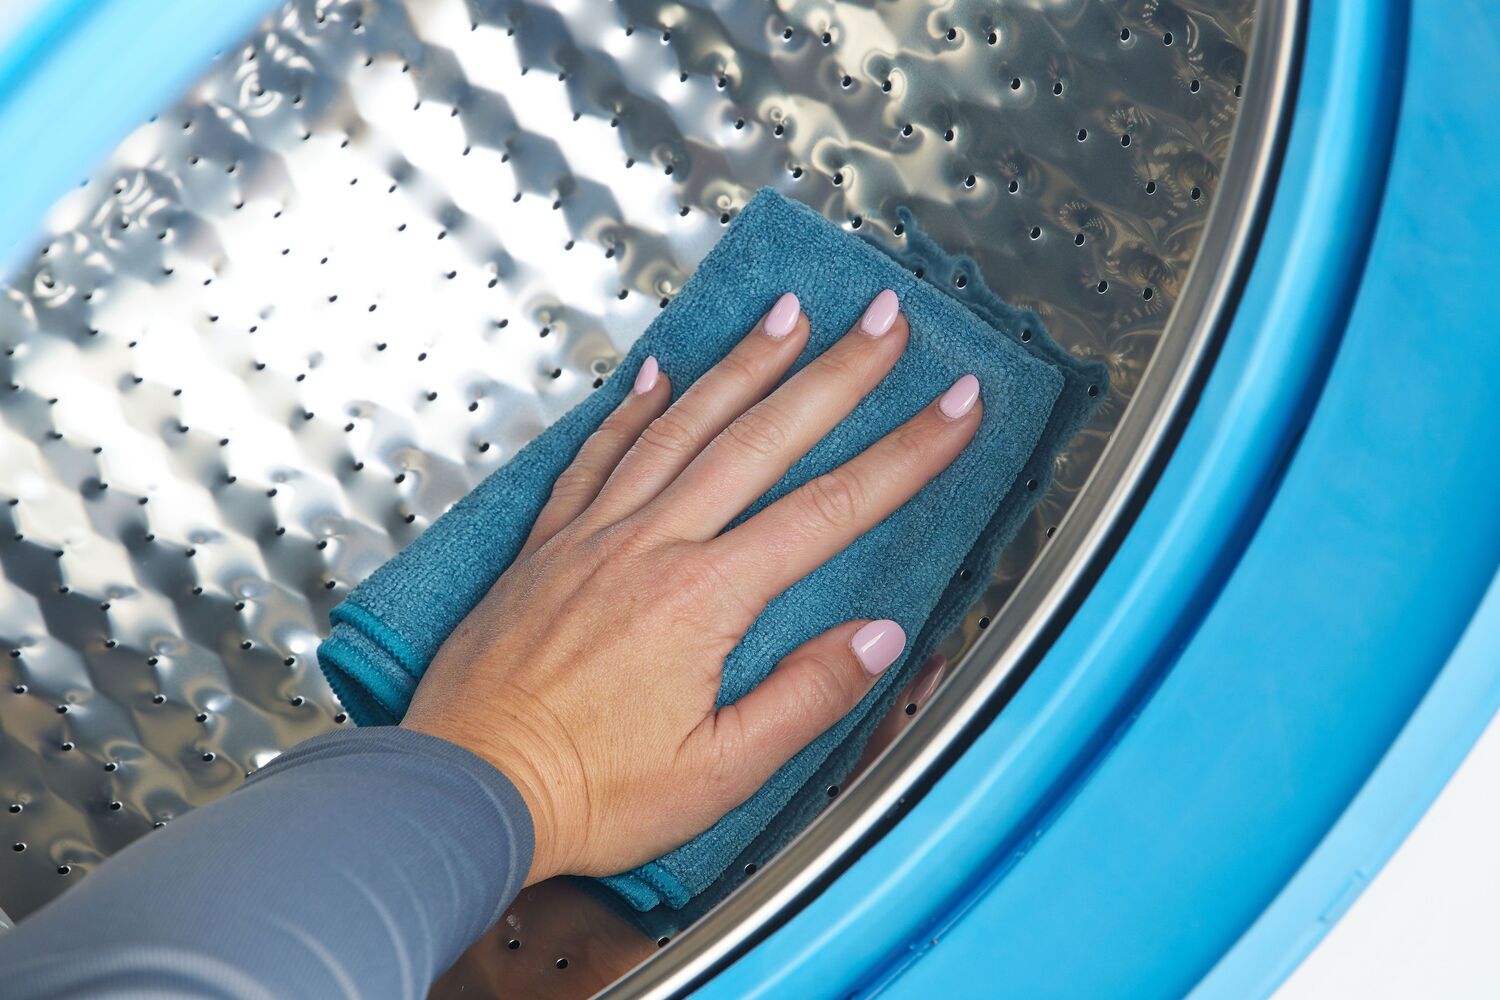
Clean the Rubber Seal: Now that the seal is detached, it's time to focus on cleaning it thoroughly. Prepare a mild cleaning solution or use a detergent specifically formulated for washing machine maintenance. Apply the solution to a soft bristle brush or cloth and gently scrub the entire surface of the rubber seal, paying special attention to any areas with visible dirt or mold.
-
Rinse and Dry the Seal: After cleaning, rinse the rubber seal with clean water to remove any remaining cleaning solution. Once rinsed, use a towel or absorbent cloth to dry the seal completely. Ensuring that the seal is dry will prevent mold or mildew from reoccurring once it's reinstalled.
-
Reinstall the Seal: With the rubber seal thoroughly cleaned and dried, carefully position it back onto the drum of the washing machine. Press the seal firmly into place, ensuring that it is securely attached and properly aligned. Take your time to avoid any wrinkles or misalignment that could compromise the seal's effectiveness.
By following these step-by-step instructions, you can successfully remove the rubber seal from your washing machine, clean it thoroughly, and reinstall it with confidence. This maintenance task will contribute to the overall efficiency and hygiene of your washing machine, ensuring that it continues to deliver clean and fresh laundry with every cycle.
Cleaning and Maintenance Tips
Proper cleaning and maintenance of the rubber seal on your washing machine are essential for preserving its functionality and preventing the buildup of mold and mildew. By incorporating the following tips into your regular laundry appliance care routine, you can ensure that the rubber seal remains clean, hygienic, and effective in preventing leaks.
Regular Inspection:
Regularly inspect the rubber seal for any signs of dirt, grime, or mold accumulation. By catching these issues early, you can address them before they become more challenging to clean. A quick visual check after each laundry cycle can help you stay ahead of any potential problems.
Thorough Cleaning:
When cleaning the rubber seal, use a mild cleaning solution or a detergent specifically designed for washing machine maintenance. Avoid harsh chemicals that could damage the rubber material. A soft bristle brush or cloth should be used to gently scrub the seal, paying close attention to any visible dirt or mold. Ensure that all areas of the seal are thoroughly cleaned to prevent the growth of mold and maintain optimal performance.
Drying After Each Use:
After completing a laundry cycle, wipe down the rubber seal with a dry cloth to remove any moisture or detergent residue. This simple step can help prevent the accumulation of moisture, which creates an environment conducive to mold growth. Keeping the seal dry after each use is crucial for maintaining its cleanliness and prolonging its lifespan.
Ventilation:
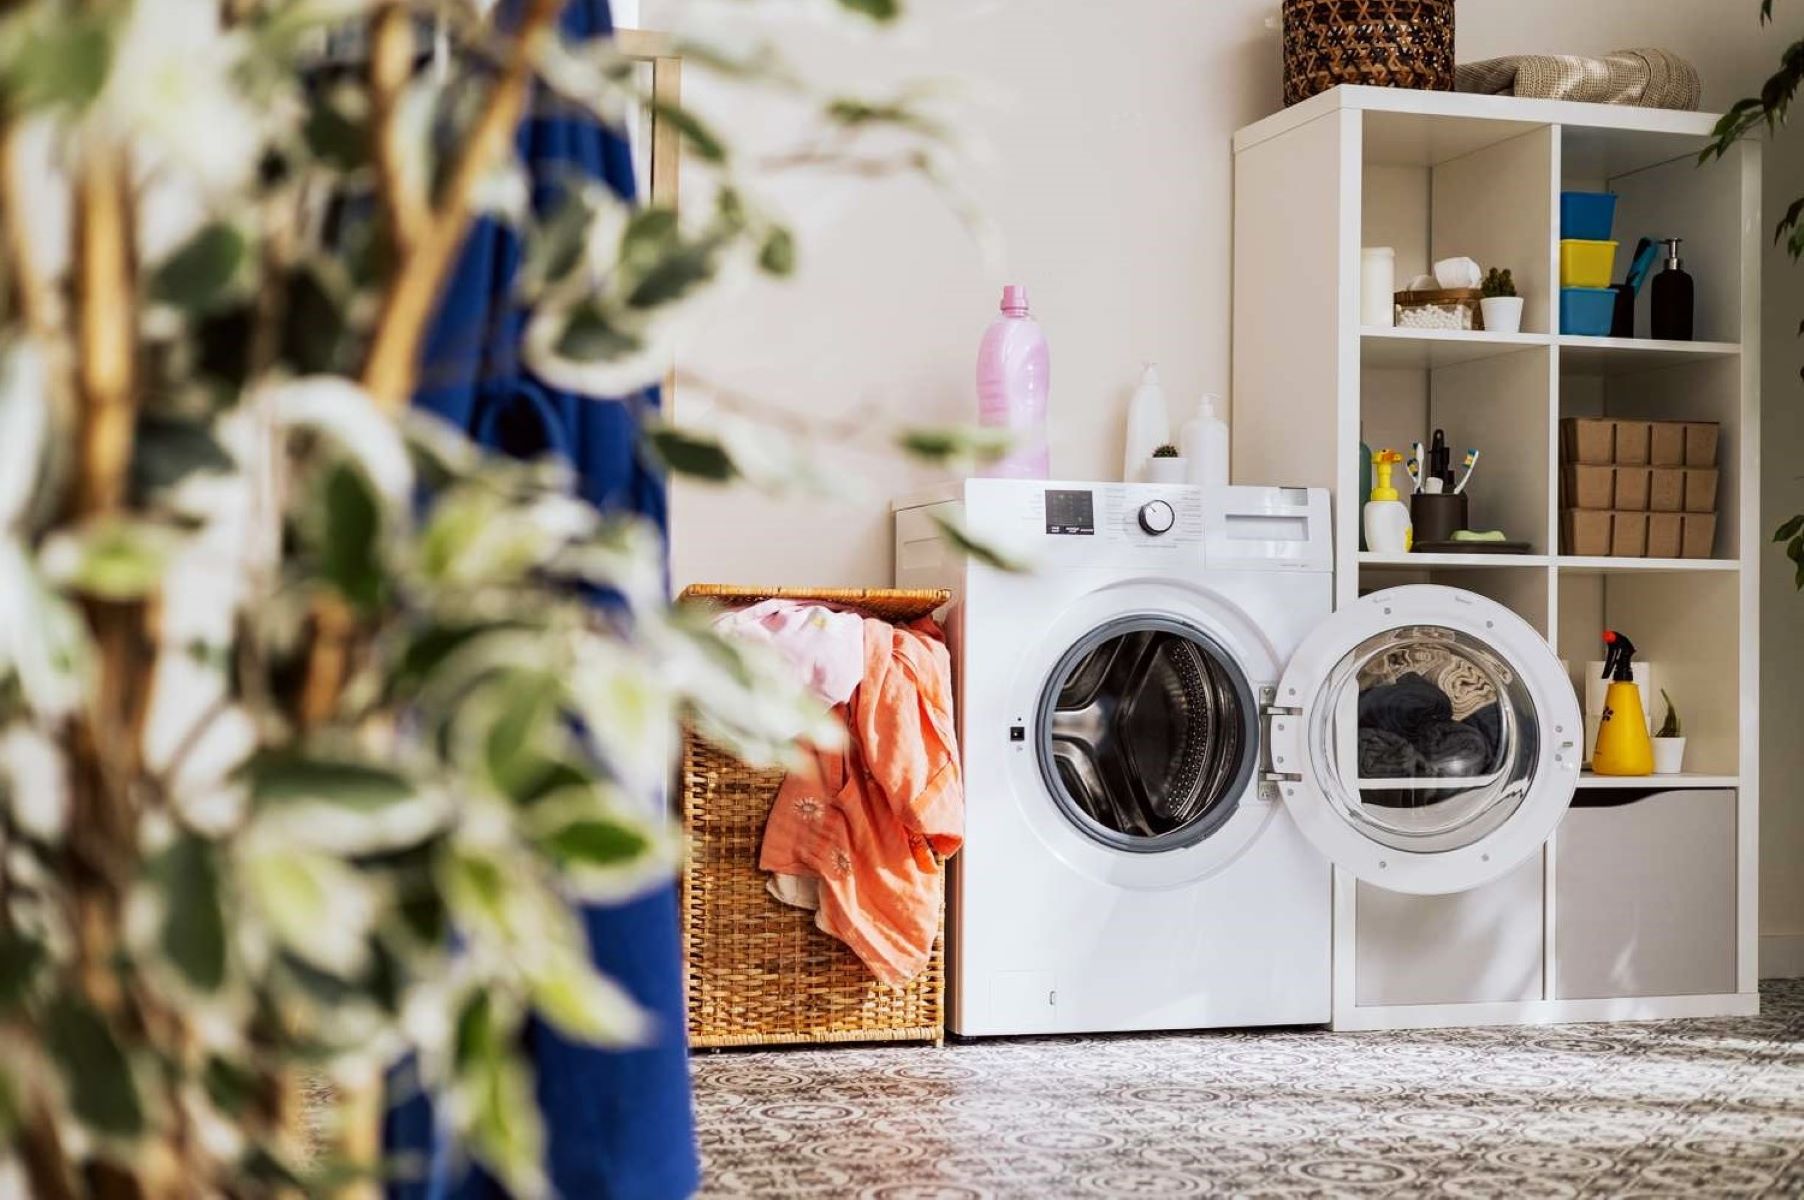
Proper ventilation in the laundry area can significantly impact the condition of the rubber seal. Ensure that the washing machine door or lid is left open between uses to allow air to circulate and dry out any residual moisture. Adequate ventilation can help prevent the development of mold and mildew, promoting a healthier environment inside the washing machine.
Professional Maintenance:
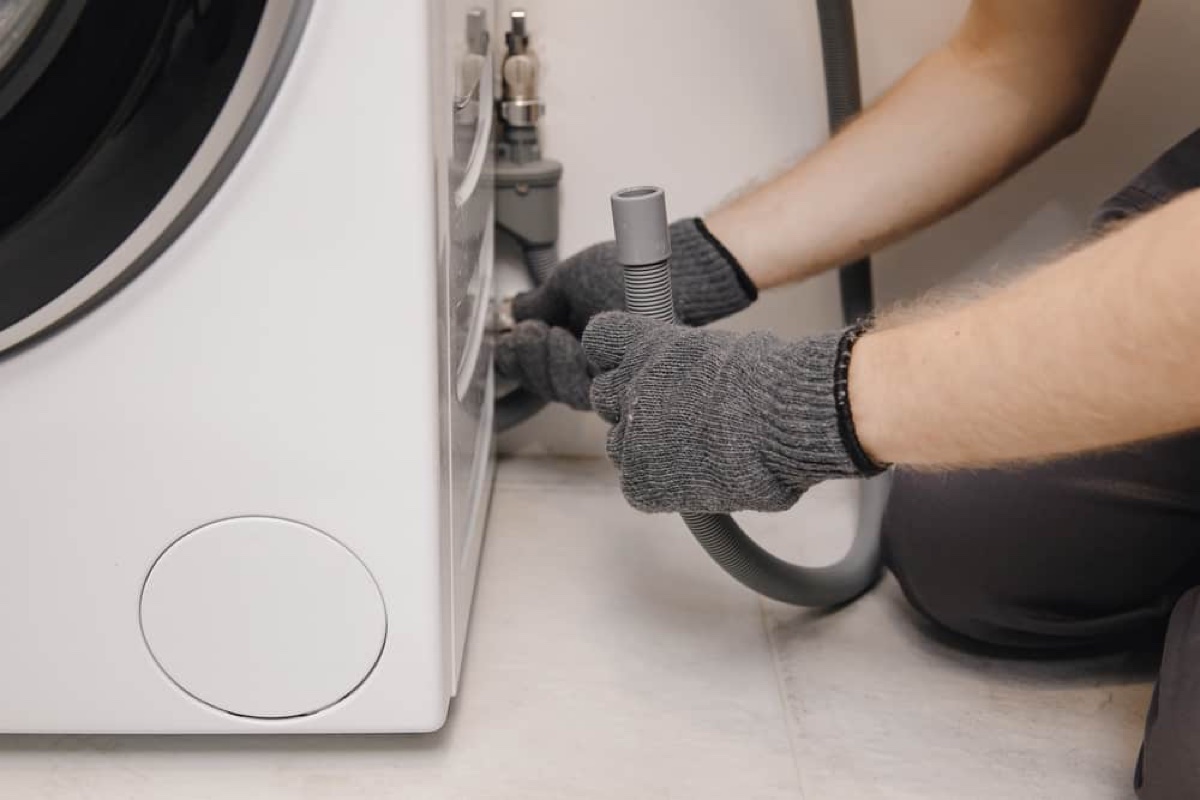
Consider scheduling professional maintenance for your washing machine, including a thorough inspection of the rubber seal. A qualified technician can identify any potential issues and provide expert cleaning and maintenance to keep the seal in optimal condition. Professional maintenance can also address any underlying issues that may contribute to mold growth or seal deterioration.
By integrating these cleaning and maintenance tips into your washing machine care routine, you can uphold the cleanliness and functionality of the rubber seal, ultimately contributing to the overall performance and longevity of your appliance. Regular attention to the rubber seal will not only ensure clean and fresh laundry but also promote a hygienic environment for your household.
Conclusion
In conclusion, the rubber seal of a washing machine plays a critical role in maintaining the appliance's functionality and preventing water leakage during the wash cycle. By understanding the process of removing, cleaning, and maintaining the rubber seal, you can ensure that your washing machine operates efficiently and delivers clean, fresh laundry with every use.
Regular inspection and thorough cleaning of the rubber seal are essential practices to prevent the accumulation of dirt, grime, and mold. By incorporating these maintenance tasks into your laundry appliance care routine, you can prolong the lifespan of the rubber seal and mitigate the risk of mold-related issues.
Additionally, the proper drying of the rubber seal after each use, along with ensuring adequate ventilation in the laundry area, can significantly contribute to the prevention of mold and mildew growth. These simple yet effective measures promote a hygienic environment inside the washing machine, ultimately enhancing the cleanliness of your laundry.
It's important to remember that professional maintenance, including periodic inspections and expert cleaning of the rubber seal, can further safeguard the optimal performance of your washing machine. Seeking the assistance of a qualified technician can address any underlying issues and ensure that the rubber seal remains in top condition.
By following the steps outlined in this guide and implementing the recommended cleaning and maintenance tips, you can take proactive measures to preserve the cleanliness and functionality of the rubber seal on your washing machine. This not only contributes to the appliance's longevity but also promotes a healthier and more hygienic laundry environment for you and your family.
In essence, the proper care and maintenance of the rubber seal are integral to the overall performance and longevity of your washing machine. By prioritizing these maintenance practices, you can enjoy the benefits of consistently clean and fresh laundry while ensuring that your appliance operates at its best for years to come.
Frequently Asked Questions about How To Remove The Rubber Seal On A Washing Machine
Was this page helpful?
At Storables.com, we guarantee accurate and reliable information. Our content, validated by Expert Board Contributors, is crafted following stringent Editorial Policies. We're committed to providing you with well-researched, expert-backed insights for all your informational needs.


0 thoughts on “How To Remove The Rubber Seal On A Washing Machine”