Articles
How To Patch A Hole In A Roof
Modified: August 28, 2024
Learn how to patch a hole in a roof with our informative articles. Get step-by-step instructions and expert tips to repair your roof effectively.
(Many of the links in this article redirect to a specific reviewed product. Your purchase of these products through affiliate links helps to generate commission for Storables.com, at no extra cost. Learn more)
Introduction
A hole in the roof can be a homeowner’s worst nightmare. Not only does it lead to water damage and potential structural issues, but it can also make your home vulnerable to pests and the elements. However, fear not! Patching a hole in a roof is a task that can be accomplished with the right materials, tools, and techniques.
In this article, we will guide you through the step-by-step process of patching a hole in your roof. Whether the damage is caused by a fallen tree branch, severe weather, or simply wear and tear over time, these instructions will help you restore the integrity of your roof and protect your home.
Before we dive into the details, it’s important to note that roof patching can be a dangerous task. It’s always recommended to prioritize your safety and, if necessary, consult with a professional roofer. If you feel confident in your abilities and choose to proceed, let’s get started!
Key Takeaways:
- Patching a hole in your roof requires careful assessment, thorough preparation, and proper sealing to ensure a durable and effective repair. Prioritize safety, gather the necessary tools, and follow each step meticulously for a successful outcome.
- Regular inspection and maintenance of your roof, along with timely patching of any damage, can save you from more extensive repairs in the future. By taking the time to address issues promptly, you can protect your home and ensure the longevity of your roof.
Read more: How To Patch Holes In Driveway
Materials Needed
Before you begin the process of patching a hole in your roof, it’s essential to have all the necessary materials on hand. Here’s a list of items you’ll need:
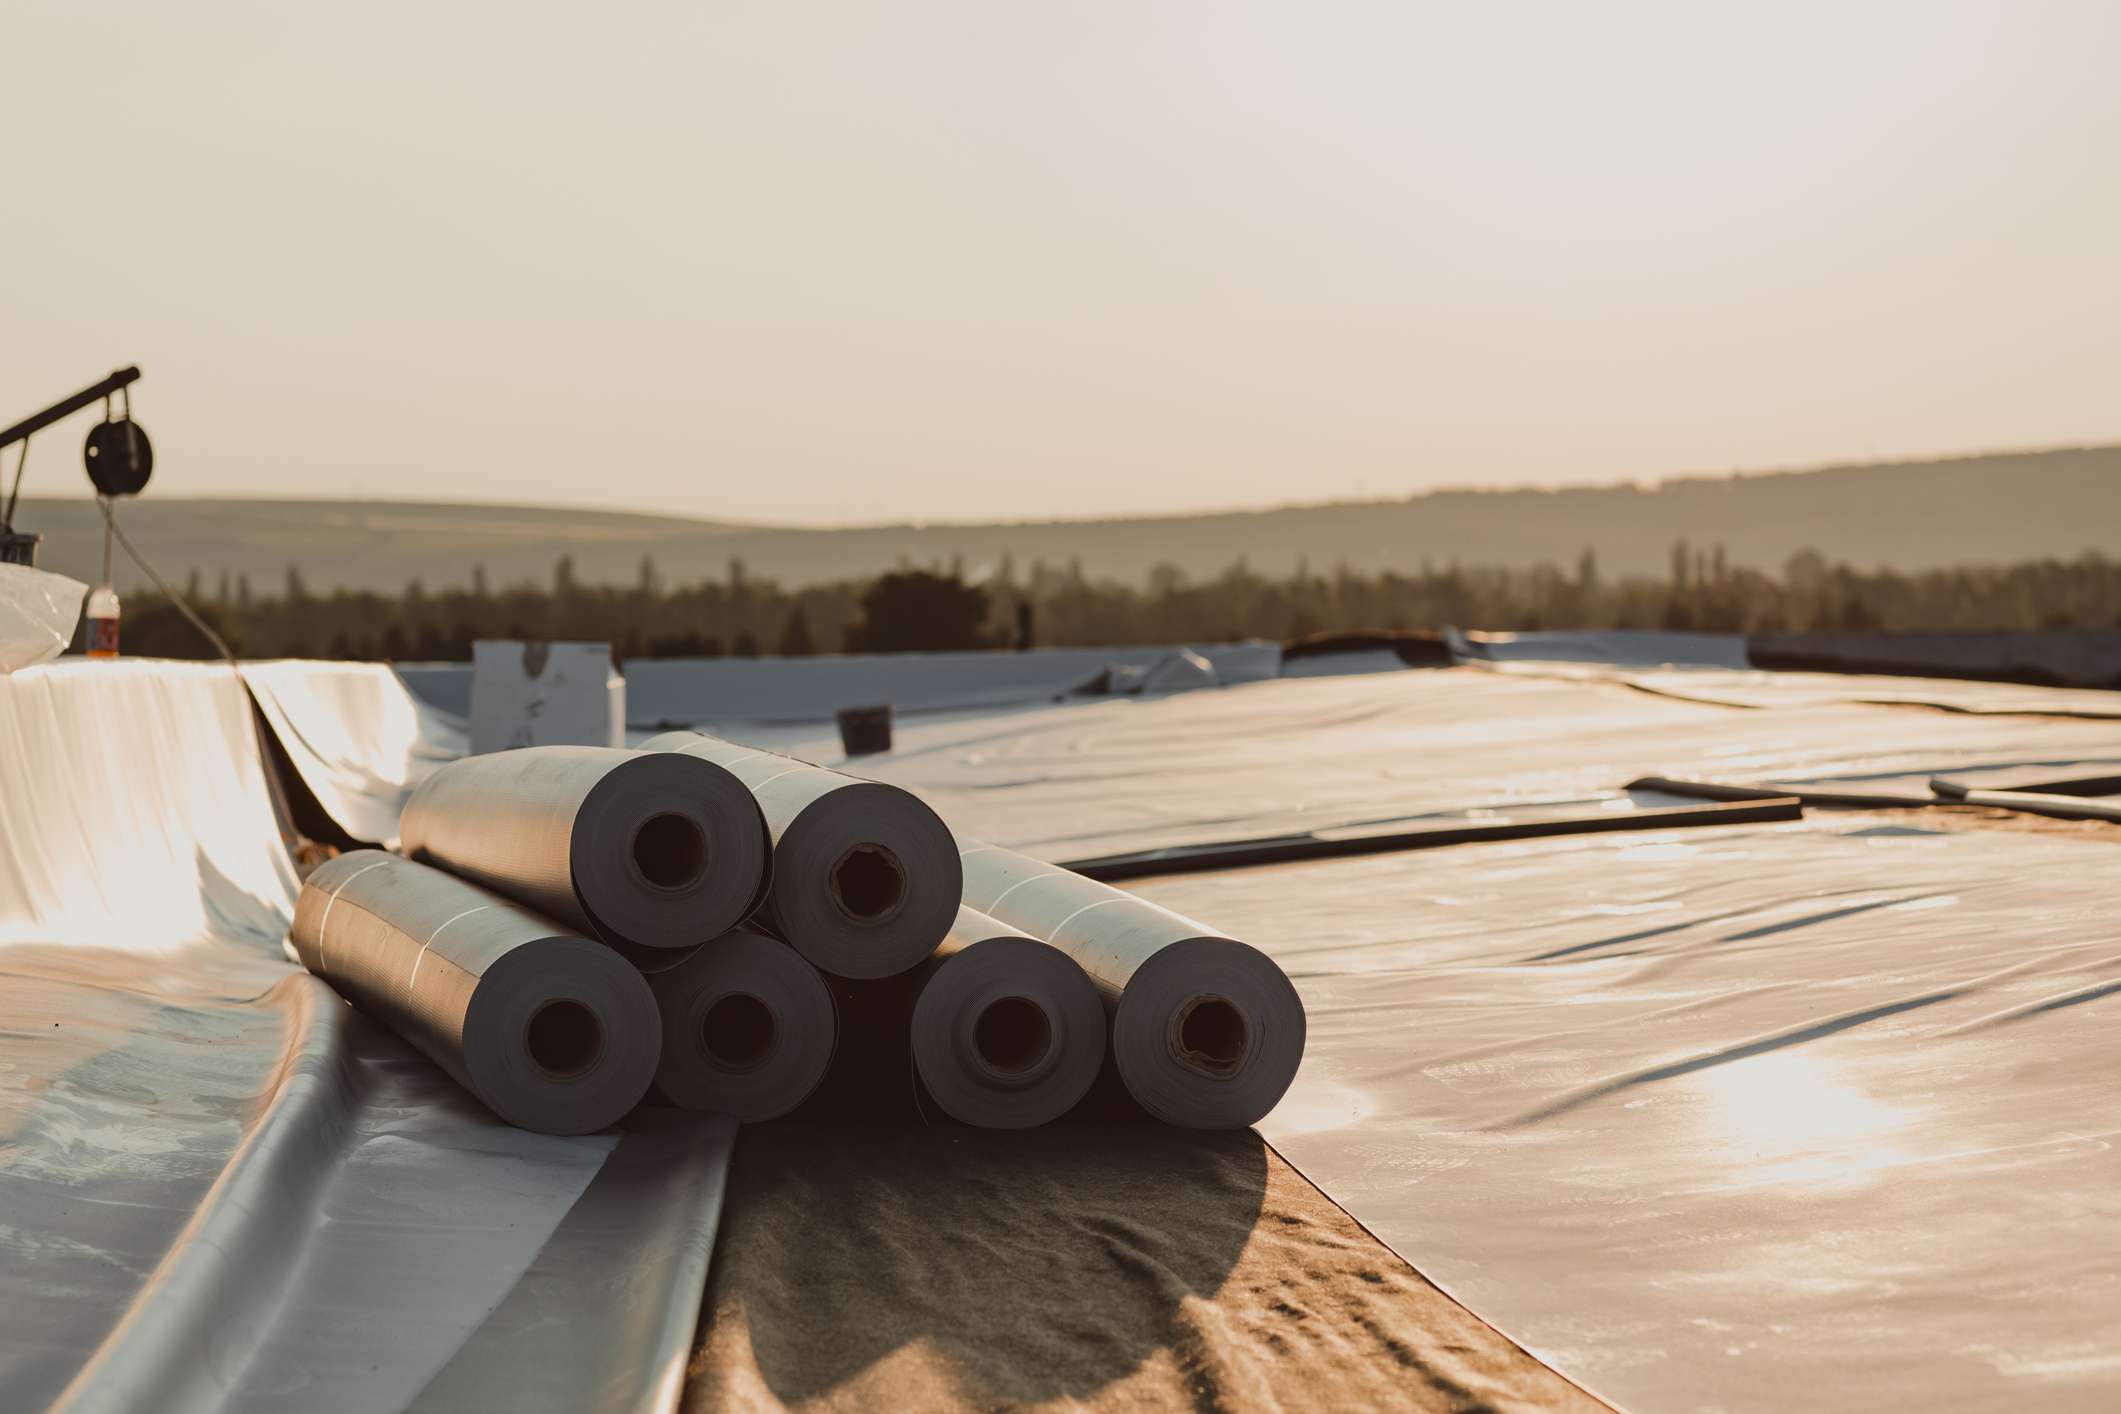
- Roofing material: Depending on the type of roof you have, you’ll need either asphalt shingles, metal panels, or another suitable roofing material to match the existing roof.
- Roofing cement: This is a sticky substance used to adhere the patching material to the roof surface. Make sure to choose a roofing cement that is compatible with your specific roof material.
- Nails or screws: These will be used to secure the patching material in place. Select nails or screws that are appropriate for your roof type and size.
- Roofing adhesive: If your patching material requires additional adhesive, such as a self-adhesive membrane, make sure to have it on hand.
- Hammer or drill: You’ll need a hammer or a drill, depending on whether you’ll be using nails or screws to secure the patch.
- Measuring tape: Accurate measurements are crucial to ensure the patch fits properly. A measuring tape will help you measure and cut the patching material to the right size.
- Roofing knife or shears: You’ll need a sharp roofing knife or shears to trim the patching material to the desired shape and size.
- Safety gear: Safety should always come first when working on your roof. Be sure to wear protective goggles, gloves, and sturdy footwear to prevent any accidents.
Having all these materials ready before you start will help make the process smoother and ensure that you don’t have to interrupt your work to gather missing items.
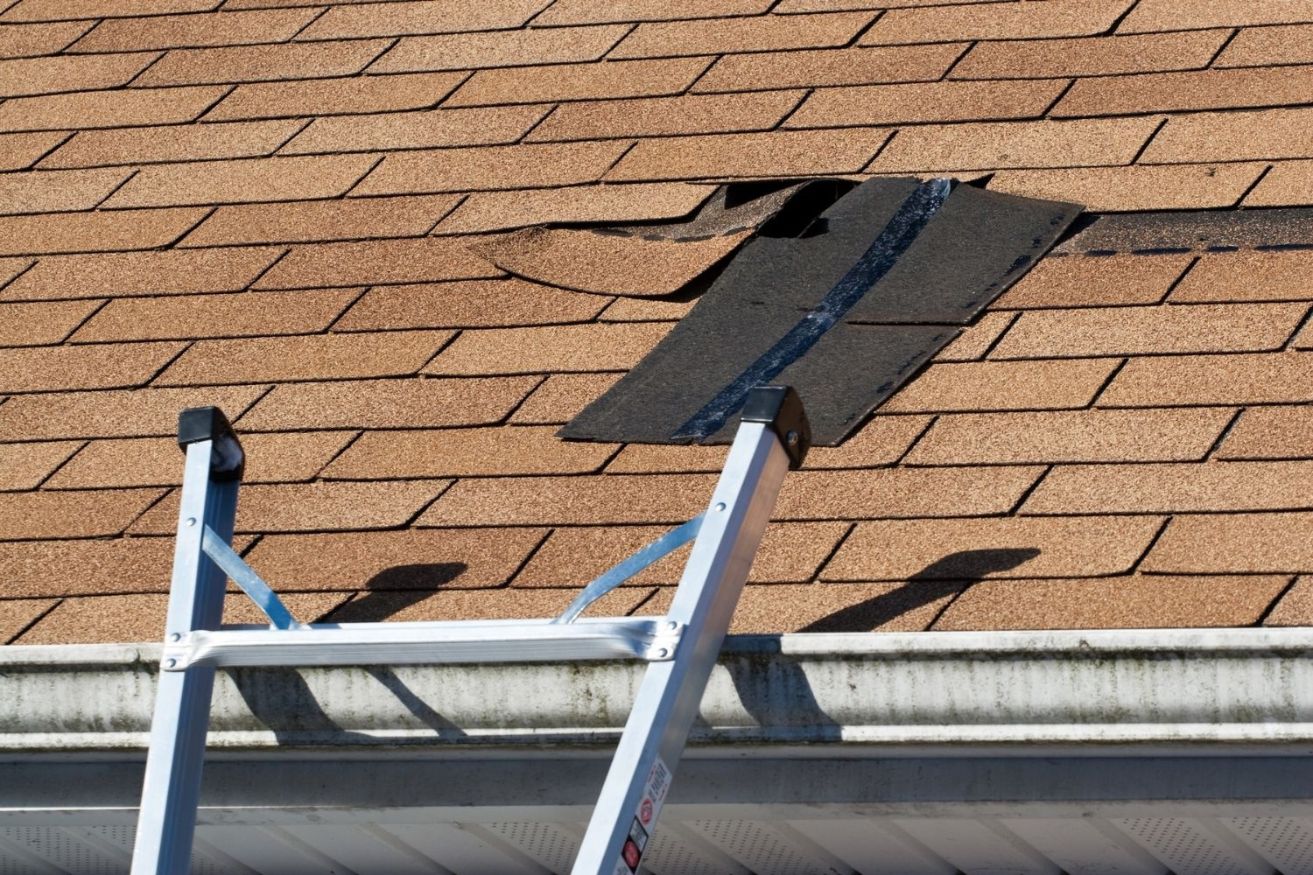
Step 1: Assess the Damage
Before you can begin patching a hole in your roof, it’s crucial to assess the extent of the damage. This will help you determine the necessary materials and the best approach for the repair.
Carefully inspect the area surrounding the hole to identify any underlying issues. Look for signs of water damage, such as discoloration or mold growth, as these may indicate additional problems that need to be addressed.
Next, measure the size of the hole using a measuring tape. This measurement will be crucial in determining the size of the patching material needed.
Consider the cause of the damage. If it was due to a falling branch or debris, check for any remaining debris or loose shingles that may need to be removed before proceeding with the repair.
Assessing the damage will give you a clearer understanding of the scope of the repair and allow you to gather the necessary materials to carry out the patching process effectively.
Step 2: Gather Necessary Tools
Before you can begin patching the hole in your roof, it’s important to gather all the necessary tools to ensure a smooth and efficient repair process. Here are the essential tools you’ll need:
- Roofing cement applicator: This can be a trowel, putty knife, or caulking gun, depending on the consistency of the roofing cement you’ll be using.
- Ladder: A sturdy ladder will be necessary to access the damaged area on your roof. Make sure the ladder is in good condition and securely positioned.
- Roofing nails or screws: Depending on the type of patching material and the recommendations for your specific roof, gather the appropriate roofing nails or screws.
- Hammer or drill: You’ll need a hammer or a drill along with the appropriate attachments to secure the patching material to the roof.
- Measuring tape: Accurate measurements are vital for cutting the patching material to the correct size. Have a measuring tape handy to ensure precise dimensions.
- Roofing knife or shears: These tools are used to cut the patching material to fit the hole accurately. A sharp roofing knife or shears will make the job easier and more precise.
- Safety equipment: Safety should always be a priority when working on your roof. Wear protective gear such as gloves, safety goggles, and sturdy work boots.
Gather these tools before starting the repair process to avoid delays or interruptions. Having everything on hand will allow you to work efficiently and comfortably.
It’s also worth noting that different roofing materials may require specific tools or equipment. Consult the manufacturer’s guidelines or seek professional advice if needed to ensure you have all the necessary tools for your specific roof type.
Step 3: Prepare the Area
Preparing the area is an important step in the roof patching process. By properly preparing the area, you’ll ensure a clean and smooth surface to work on, which will lead to a more effective and long-lasting repair.
Here’s how to prepare the area:
- Clear debris: Remove any loose debris, dirt, or leaves from the surrounding area of the hole. This will prevent unwanted materials from interfering with the patching process and ensure a clean working environment.
- Secure loose shingles: If you notice any loose shingles around the damaged area, secure them back in place using roofing cement or nails. This will ensure stability and prevent further damage to the roof.
- Trim damaged shingles: If the hole has caused damage to nearby shingles, use a roofing knife or shears to trim off any frayed or damaged edges. This will create a neat and even surface for the patching material.
- Remove excess roofing cement: If there is any excess roofing cement or adhesive in the surrounding area, carefully scrape it away using a putty knife or similar tool. This will ensure a smooth surface for the patching material to adhere to.
It’s important to take the time to properly prepare the area before moving on to the next steps. By doing so, you’ll create an optimal surface for the patching material to bond with, increasing the effectiveness and longevity of the repair.
Read more: How To Patch Holes In Brick
Step 4: Clean the Surface
Before applying the patching material, it’s crucial to thoroughly clean the surface around the hole. Cleaning the surface will ensure proper adhesion and maximize the effectiveness of the repair.
Follow these steps to clean the surface:
- Remove loose debris: Use a broom or a brush to sweep away any loose debris, dirt, or dust from the area around the hole. Clearing the surface will prevent these particles from interfering with the patching process.
- Use a mild detergent solution: Mix a small amount of mild detergent with water to create a gentle cleaning solution. Use a sponge or a soft-bristle brush to scrub the surface of the damaged area. This will remove any dirt, grime, or algae that may be present.
- Rinse with water: After scrubbing, thoroughly rinse the area with clean water to remove any soap residue or remaining debris. A hose with a gentle spray attachment can be useful for this step.
- Allow the surface to dry: Give the cleaned surface ample time to dry completely before proceeding to the next step. This will ensure optimal adhesion of the patching material.
Keep in mind that depending on the nature of the surface and the extent of the cleaning required, you may need additional tools such as a pressure washer or a specialized cleaning agent. Consult the manufacturer’s guidelines for your specific roof type to determine the most appropriate cleaning method.
By taking the time to clean the surface, you’ll create a clean and smooth foundation for the patching material, resulting in a more durable and effective repair.
When patching a hole in a roof, be sure to clean the area around the hole thoroughly before applying any patching material. This will ensure a strong and long-lasting repair.
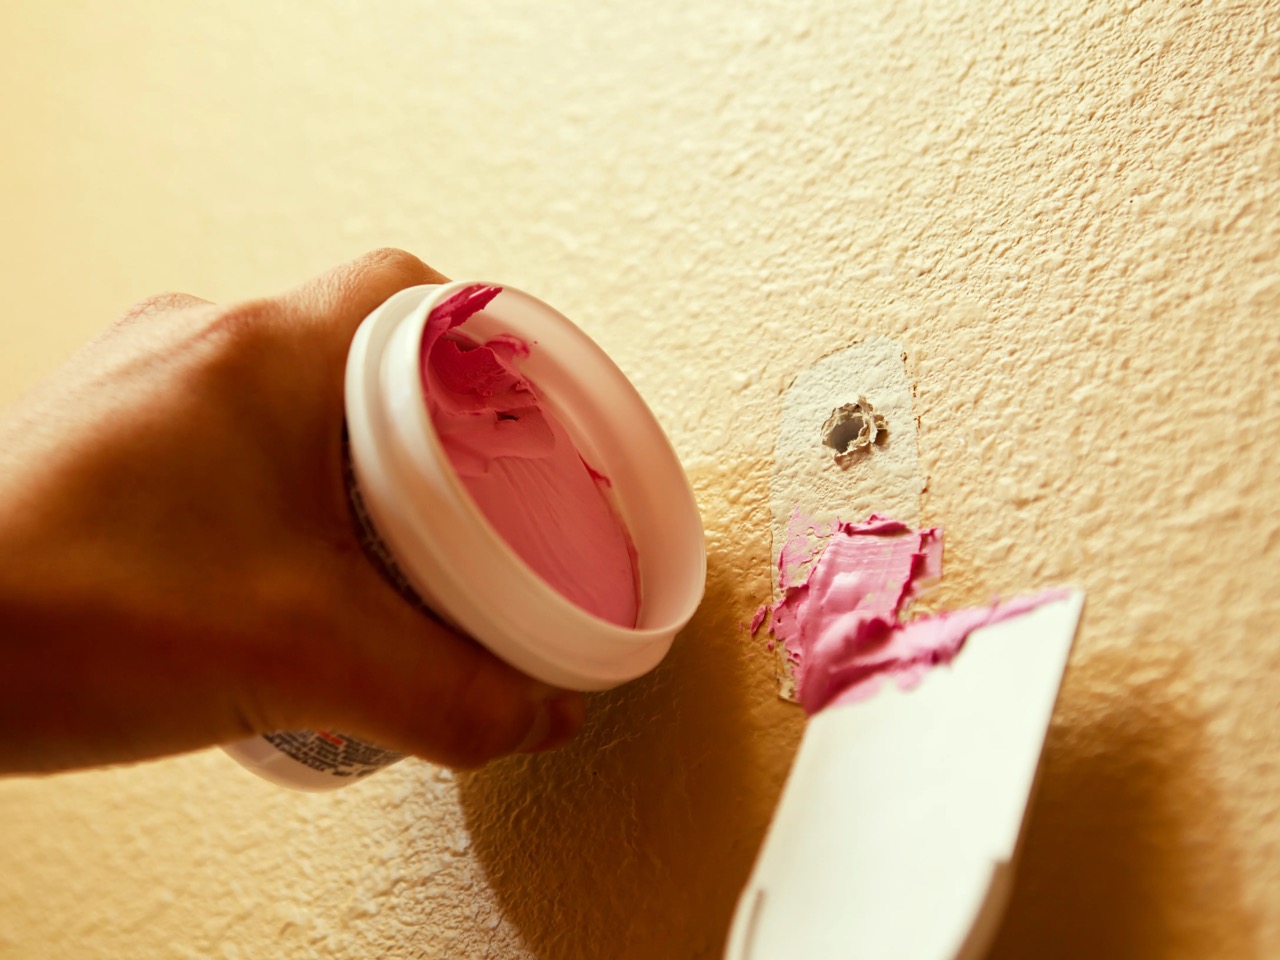
Step 5: Apply Patching Material
Now it’s time to apply the patching material to the hole in your roof. The patching material will help seal the hole and prevent water or other elements from entering your home. Follow these steps to apply the patch:
- Read the instructions: Before applying the patching material, carefully read the instructions provided by the manufacturer. Different patching materials may have specific application methods or drying times.
- Spread roofing cement: Using a roofing cement applicator, spread a layer of roofing cement around the perimeter of the hole. Make sure the layer is even and covers the entire area that will be covered by the patch.
- Place the patching material: Carefully place the patching material over the hole, aligning it with the surrounding roof surface. Gently press down on the patch to ensure it adheres to the roofing cement.
- Smooth out any air bubbles: Smooth out any air bubbles or wrinkles in the patching material using your hand or a roofing roller. This will help create a tight seal and prevent water from seeping through.
- Apply additional roofing cement: Apply a layer of roofing cement over the top of the patching material, extending beyond the edges to create a secure bond. Smooth and level the roofing cement to blend it with the surrounding roof surface.
It’s important to apply the patching material carefully and evenly to ensure a strong and watertight seal. Take your time during this step to ensure proper adhesion and a clean finish.
Keep in mind that the specific instructions for applying the patching material may vary depending on the type of roof and patching material you are using. Make sure to follow the manufacturer’s guidelines and recommendations for the best results.
Step 6: Secure the Patch
Securing the patch in place is a crucial step to ensure its stability and longevity. By properly securing the patch, you’ll prevent it from coming loose or shifting over time. Follow these steps to securely fasten the patch:
- Use roofing nails or screws: Depending on the recommendations for your specific roof and patching material, use roofing nails or screws to secure the patch in place. Place the nails or screws along the edges of the patch, ensuring they penetrate both the patching material and the underlying roof surface.
- Drive the fasteners flush: Drive the nails or screws flush with the surface of the patching material using a hammer or drill. This will ensure a smooth and even surface, preventing any protrusions or potential hazards.
- Space the fasteners evenly: Space the nails or screws evenly along the edges of the patch, approximately 6-8 inches apart. This will provide adequate support and prevent any gaps or weak points.
- Check for tightness: Once all the fasteners are in place, check for tightness and ensure that the patch is securely attached. Give the patch a gentle tug or push to test its stability. If it feels loose, reinforce it with additional fasteners.
Properly securing the patch will provide the necessary strength and stability to withstand environmental factors and maintain the integrity of your roof. Take the time to ensure that the patch is firmly attached to prevent any potential issues in the future.
If you’re unsure about the appropriate fastening method for your specific roof and patching material, consult with a professional roofer for expert advice and guidance.
Step 7: Check for Proper Sealing
After applying the patching material and securing it in place, it’s essential to check for proper sealing. Ensuring that the patch is effectively sealed will prevent any water or moisture from infiltrating your roof and causing further damage. Follow these steps to check for proper sealing:
- Inspect the patch visually: Take a close look at the patching area to see if there are any visible gaps, cracks, or areas where the patching material may not be fully adhered. Check the edges of the patch and any seams for any signs of weakness.
- Perform a touch test: Run your hand over the patching area to feel for any irregularities or protrusions. The surface should be smooth and even without any loose or raised sections.
- Check for leaks: On a dry day, observe the patched area from inside your home. Look for any signs of water leaks or discoloration on the ceiling or walls. If you notice any moisture or water stains, there may be an issue with the sealing that needs to be addressed.
- Verify during a rainstorm: If possible, wait for a rainy day to observe the patched area. Look for any signs of water intrusion or leaks around the patch. If water is getting through, additional sealing measures may be required.
If you discover any issues with the sealing, such as gaps or leaks, you may need to reapply roofing cement or use additional sealing materials recommended by the manufacturer.
Checking for proper sealing is crucial to ensure the effectiveness of the patching process and to protect your home from potential water damage. If you’re uncertain about the sealing or want professional assurance, consider consulting a roofing expert.
Read more: How To Patch A Shed Roof
Step 8: Clean up and Final Inspection
Once you have completed the patching process and ensured proper sealing, it’s time to clean up the job site and perform a final inspection. This step will ensure that everything is in order and that the repair has been successfully completed. Follow these steps to wrap up the project:
- Clean up any debris: Remove any leftover materials, tools, and debris from the work area. Collect and dispose of them properly to maintain a clean and safe environment.
- Inspect the patch: Take a final close look at the patched area to ensure that it looks neat and well-blended with the rest of the roof. Check for any loose nails, screws, or roofing cement that may need to be cleaned up or secured in place.
- Verify the stability of the patch: Give the patch a gentle push or tug to confirm that it is securely in place. Ensure that the patching material and fasteners are holding up well without any signs of movement or weakness.
- Check for any signs of leaks: During a rainstorm or with the use of a hose, monitor the patched area for any signs of leaks or water intrusion. If there are no leaks, it is a strong indication that the repair has been successful.
- Document the repair: Take photos or notes to document the repair process and the final results. This documentation may be useful for future reference or if you need to provide information to a professional roofer or insurance company.
Completing a thorough clean-up and final inspection will give you peace of mind, knowing that the repair has been completed successfully and that your roof is protected. It is also important to continue monitoring the patched area periodically to ensure its long-term durability and performance.
If you have any doubts or concerns about the final inspection, or if you notice any issues with the repair, consider seeking advice from a professional roofer to address any potential problems.
Conclusion
Patching a hole in your roof can feel like a daunting task, but with the right materials, tools, and techniques, it is definitely manageable. By following the step-by-step process outlined in this article, you can restore the integrity of your roof and protect your home from further damage.
Remember to prioritize safety throughout the entire process and consult with a professional roofer if you’re unsure or uncomfortable with any aspect of the repair.
From assessing the damage to gathering the necessary tools, preparing the area, cleaning the surface, applying the patching material, securing the patch, checking for proper sealing, and conducting a final inspection, each step plays a crucial role in the success of your repair.
By taking the time to properly patch a hole in your roof, you can save yourself from more extensive (and expensive) repairs down the line. Regular inspection and maintenance of your roof will help prevent future issues and ensure its longevity.
Remember, always prioritize safety, proceed with caution, and consult a professional if needed. A well-maintained roof provides peace of mind, protects your home from the elements, and contributes to the overall well-being and value of your property.
So, roll up your sleeves, gather your materials, and get ready to tackle that hole in your roof. You can do it! Your home deserves a sturdy and reliable roof that will keep you safe for years to come.
Frequently Asked Questions about How To Patch A Hole In A Roof
Was this page helpful?
At Storables.com, we guarantee accurate and reliable information. Our content, validated by Expert Board Contributors, is crafted following stringent Editorial Policies. We're committed to providing you with well-researched, expert-backed insights for all your informational needs.


0 thoughts on “How To Patch A Hole In A Roof”