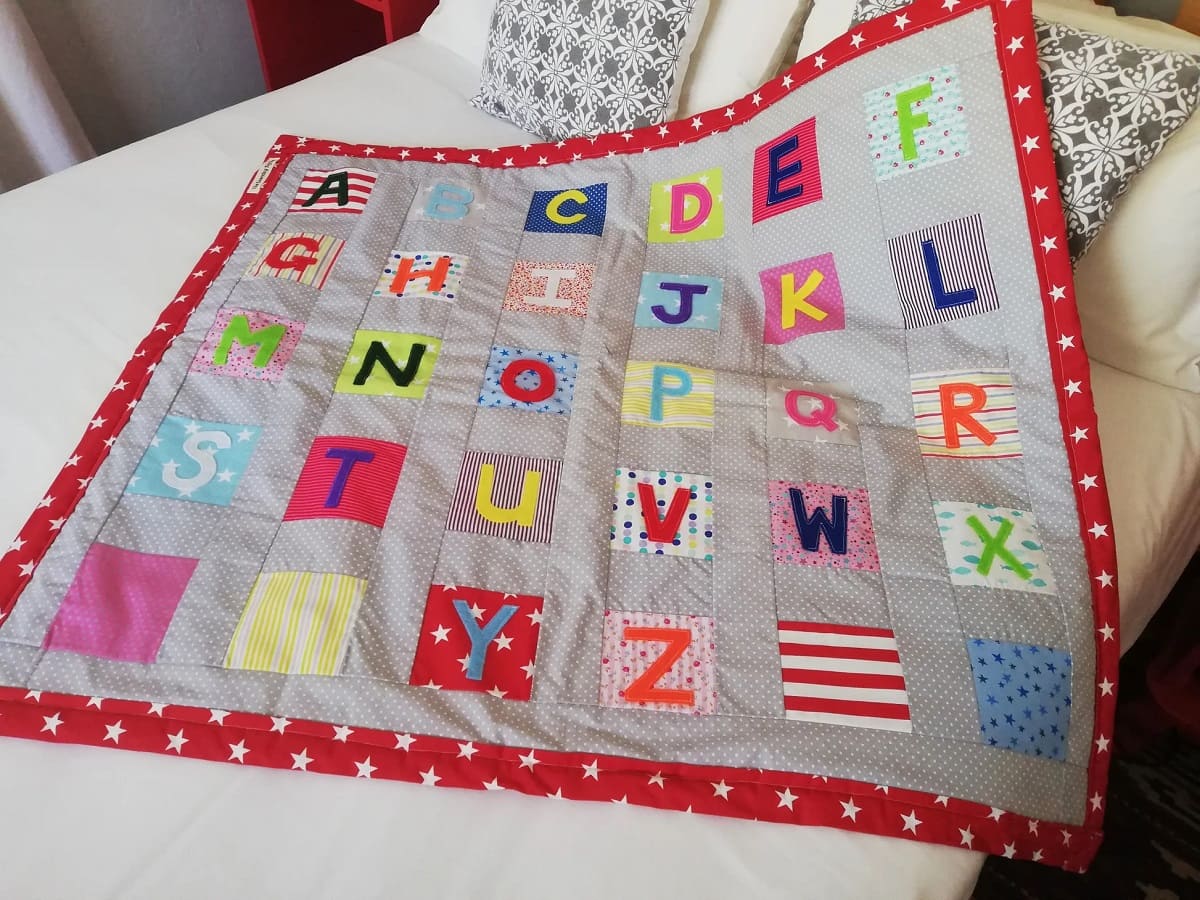

Articles
How To Quilt Letters
Modified: August 28, 2024
Learn the art of quilting letters with our informative articles. Discover tips, techniques, and step-by-step guides to create beautiful letter designs on your quilts.
(Many of the links in this article redirect to a specific reviewed product. Your purchase of these products through affiliate links helps to generate commission for Storables.com, at no extra cost. Learn more)
Introduction
Welcome to the world of quilting letters! Quilting is not only a timeless craft but also a creative way to express yourself. From quilting intricate patterns to designing personalized gifts, quilting allows you to showcase your skills and showcase your own unique style. In this article, we will explore the process of quilting letters, giving you the tools and techniques needed to create stunning letter designs in your quilts.
Quilting letters can be a fun and rewarding project, whether you’re making a quilt for yourself or as a gift for someone special. Incorporating letters into your quilt design adds a personal touch, allowing you to spell out names, messages, or even inspiring quotes. It’s a great way to make a quilt more meaningful and memorable.
Before diving into the process of quilting letters, it’s important to gather the necessary materials. Having the right tools and supplies on hand will not only make the quilting process smoother but also ensure the quality of your finished work. Let’s take a look at what you’ll need:
Key Takeaways:
- Personalize your quilts with stunning letter designs by carefully selecting fabric, creating precise templates, and skillfully piecing together your quilted letters for a meaningful and creative expression.
- Transform simple quilts into personalized works of art by infusing your creativity, embracing the quilting process, and adding finishing touches to create beautiful and cherished quilted letters.
Read more: How To Store Cards And Letters
Materials Needed
Before you start quilting letters, it’s important to gather all the materials you’ll need for the project. Here’s a list of the essential items you’ll want to have on hand:
- Fabric: Choose a variety of fabrics in different colors and patterns. Opt for high-quality quilting cottons that are easy to work with and durable.
- Thread: Select a thread that matches or complements the color of your fabric. A high-quality thread specifically made for quilting is recommended.
- Quilting Needles: Invest in a pack of quilting needles, as they are designed to glide easily through multiple layers of fabric.
- Sharp Scissors or Rotary Cutter: Having a sharp pair of scissors or a rotary cutter will make cutting your fabric much easier and more precise.
- Quilting Ruler: Use a clear quilting ruler to ensure accurate measurements and straight lines.
- Template Material: You’ll need a sturdy material, such as plastic or cardboard, to create your letter templates.
- Pins or Clips: Use pins or clips to hold your fabric pieces together while sewing.
- Iron and Ironing Board: Pressing your fabric at various stages of the quilting process is crucial for achieving crisp and professional-looking results.
- Quilting Batting: This is the padding that goes between your quilt top and backing. Choose a batting that is appropriate for your desired level of warmth and loft.
- Backing Fabric: Select a fabric for the back of your quilt. It should complement the colors and style of your quilt top.
- Quilt Binding: This is the fabric strip that finishes off the edges of your quilt. Choose a fabric that coordinates with your quilt top.
- Sewing Machine: While hand quilting is an option, using a sewing machine will save you time and make the process more efficient.
- Quilting Presser Foot: If available, use a quilting presser foot on your sewing machine for better control and accuracy.
By having these materials ready and easily accessible, you’ll be prepared to dive into the exciting world of quilting letters and create beautiful and personalized quilts.
Choosing the Right Fabric
When it comes to quilting letters, selecting the right fabric is essential for achieving a visually appealing and cohesive result. Here are some considerations to keep in mind:
- Color: Choose colors that complement each other and the overall design of your quilt. Consider the mood you want to convey with your letters. For a bold and striking look, go for contrasting colors. For a more subtle and harmonious appearance, opt for colors within the same color family.
- Pattern: Decide whether you want your letters to be made from solid fabrics or patterned fabrics. Both options have their own charm and can contribute to the overall aesthetic of your quilt. Mixing different patterns can add visual interest and texture to the letters.
- Texture: Consider the texture of the fabrics you’re using. Some fabrics have a smooth finish, while others have a more textured surface. Play around with different textures to create dimension and add interest to your letters.
- Scale: Pay attention to the scale of the print or pattern on your fabric. If your letters are small, choose fabrics with small-scale prints or solids so that the letters remain clearly visible. For larger letters, fabrics with larger prints can make a statement.
- Contrast: Ensure there is enough contrast between the background fabric and the letter fabric so that the letters stand out. If using patterned fabrics for your letters, make sure they are distinct from the background fabric to avoid visual confusion.
- Fabric Quality: Opt for high-quality quilting cottons that are easy to sew and durable. Fabrics specifically designed for quilting will hold up better over time and resist fraying.
It’s also worth noting that pre-washing your fabrics before quilting can help prevent any shrinkage or color bleeding. Follow the instructions on the fabric labels to ensure proper care.
Ultimately, the fabric choices you make will depend on your personal preferences and the overall vision for your quilt. Experiment with different combinations and trust your intuition to create a stunning and visually appealing letter design.
Creating a Template
Before you can start cutting out your letters from fabric, you’ll need to create a template. This template will serve as a guide for tracing and cutting out your letters accurately. Here’s how you can create a template:
- Choose a font: Select a font that you like and that complements the style of your quilt. Print out the letters of the alphabet in the desired size, or use a stencil if available.
- Trace the letters: Place the printed letters on a sturdy material, such as plastic or cardboard, and trace them using a pen or fine-point marker. Make sure to leave enough space between the letters for seam allowances.
- Cut out the template: Use scissors or a craft knife to carefully cut out the traced letters, following the lines as closely as possible. Smooth out any rough edges for clean and precise templates.
- Label the templates: To avoid confusion later on, label each template with the corresponding letter. This will make it easier to keep track of the templates as you work on your quilt.
Alternatively, if you’re confident in your artistic skills, you can hand-draw the letters directly onto the template material. This allows for more customization and unique letter designs.
Creating a template is an important step as it ensures consistency in the size and style of each letter. Having well-made templates will make it easier to accurately trace and cut out your letters from the fabric.
Once you have your templates ready, you’re now prepared to move on to the next step: cutting out the letters from your chosen fabric.
Cutting out the Letters
Now that you have your letter templates ready, it’s time to cut out the letters from your chosen fabric. Follow these steps to ensure clean and precise cuts:
- Prepare your fabric: Iron your fabric to remove any wrinkles or creases. This will ensure you have a smooth surface to work with.
- Place the templates: Take your letter templates and place them onto the fabric. Align them according to your desired letter placement and orientation.
- Secure the templates: Use pins or fabric clips to secure the templates to the fabric. This will prevent the templates from shifting while you’re cutting.
- Trace the letters: Use a fabric marker or tailor’s chalk to trace around the edge of the letter templates. Be sure to trace along the inner and outer edges for accurate cutting.
- Cut out the letters: Carefully cut along the traced lines to remove the fabric letters from the larger piece of fabric. Take your time to ensure clean and accurate cuts.
- Repeat for each letter: Repeat the tracing and cutting process for each letter in your design. Make sure to label the fabric letters to keep them organized as you move forward in the quilting process.
It’s important to note that you should cut slightly outside the traced lines to account for seam allowances. This will ensure that the letters fit together properly when pieced together in the next step.
If you’re working with patterned fabric, pay special attention to the placement of the letters to showcase the most visually appealing sections of the pattern. Consider the orientation of the letters and how they will interact with each other once pieced together.
Once you have all your letters cut out, it’s time to move on to the exciting part: piecing the letters together to bring your quilt design to life.
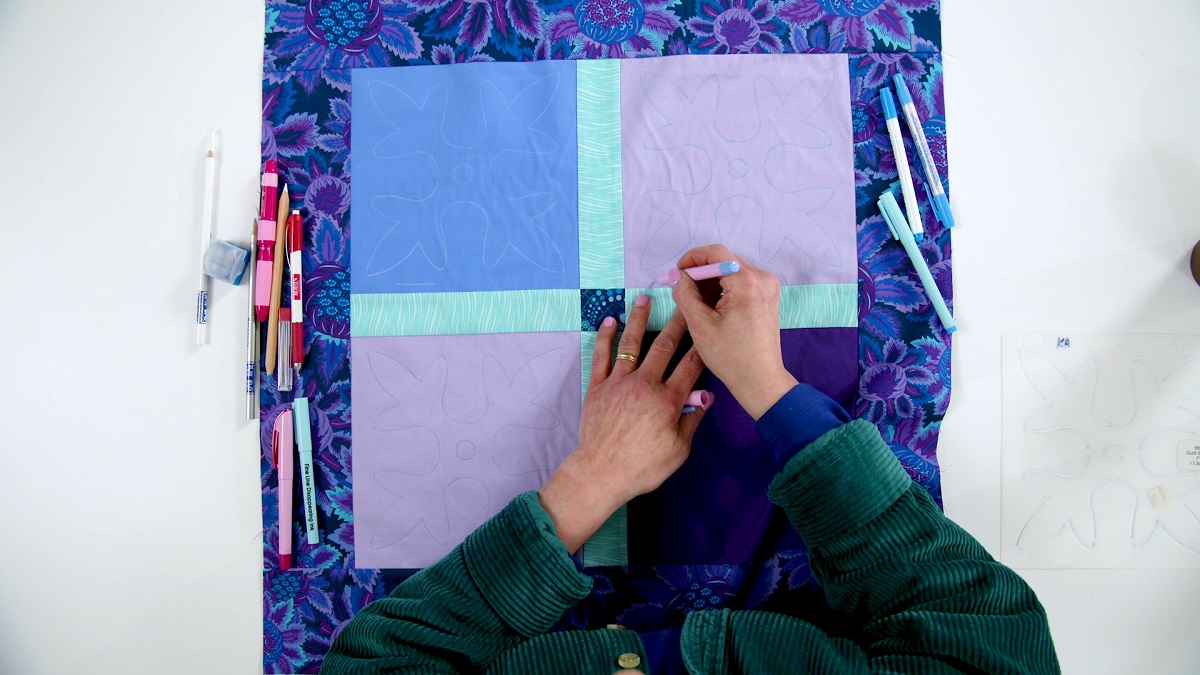
When quilting letters, use a fabric marker to lightly sketch the letters onto the fabric before stitching. This will help ensure the letters are evenly spaced and sized correctly.
Read more: How To Crochet A Letter Into A Blanket
Piecing the Letters Together
Now that you have your fabric letters cut out, it’s time to piece them together to create your letter design. Follow these steps to bring your quilted letters to life:
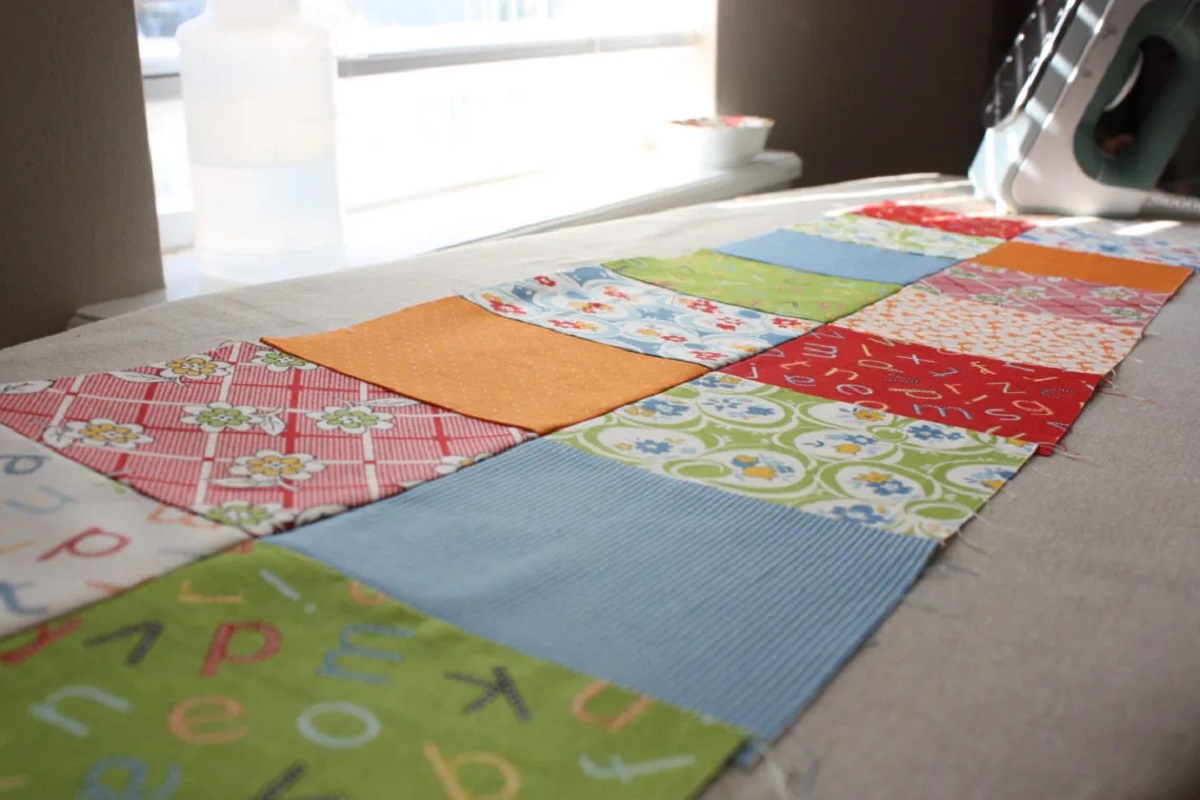
- Arrange the letters: Lay out your fabric letters on a flat surface, arranging them in the desired order and orientation. Take this opportunity to experiment with different layouts and find the arrangement that appeals to you.
- Join the letters: Starting with the first letter in your design, carefully place the second letter on top, right sides together. Align the edges and pin or clip them in place. Then, sew along the pinned edge using a 1/4-inch seam allowance. Continue joining the letters one by one until your entire letter design is pieced together.
- Press the seams: After sewing each seam, press the seam allowance to one side using an iron. This will help the letters lie flat and create a smooth and professional finish.
- Trim any excess fabric: Once your letter design is pieced together, trim any excess fabric or uneven edges to ensure that your letters are symmetrical and neat.
If your letter design includes curves or intricate angles, you may need to use techniques such as clipping the seams or adding small darts to ensure a smooth and precise fit. Take your time and make adjustments as needed to achieve the desired outcome.
It’s important to note that precision and accuracy are key when piecing the letters together. Taking the time to align the edges properly and sew with care will result in a more cohesive and professional-looking quilt design.
Once your letters are pieced together, it’s time to move on to the next step: adding borders and backing to complete your quilted letters.
Adding Borders and Backing
Now that your quilted letters are pieced together, it’s time to add borders and backing to complete your quilt design. Follow these steps to finish off your quilted letters:
- Measure and cut the borders: Measure the dimensions of your letter design and determine the desired width of your borders. Cut fabric strips to the appropriate length and width for your borders. The width of the borders is a personal preference, but a common recommendation is around 2-3 inches.
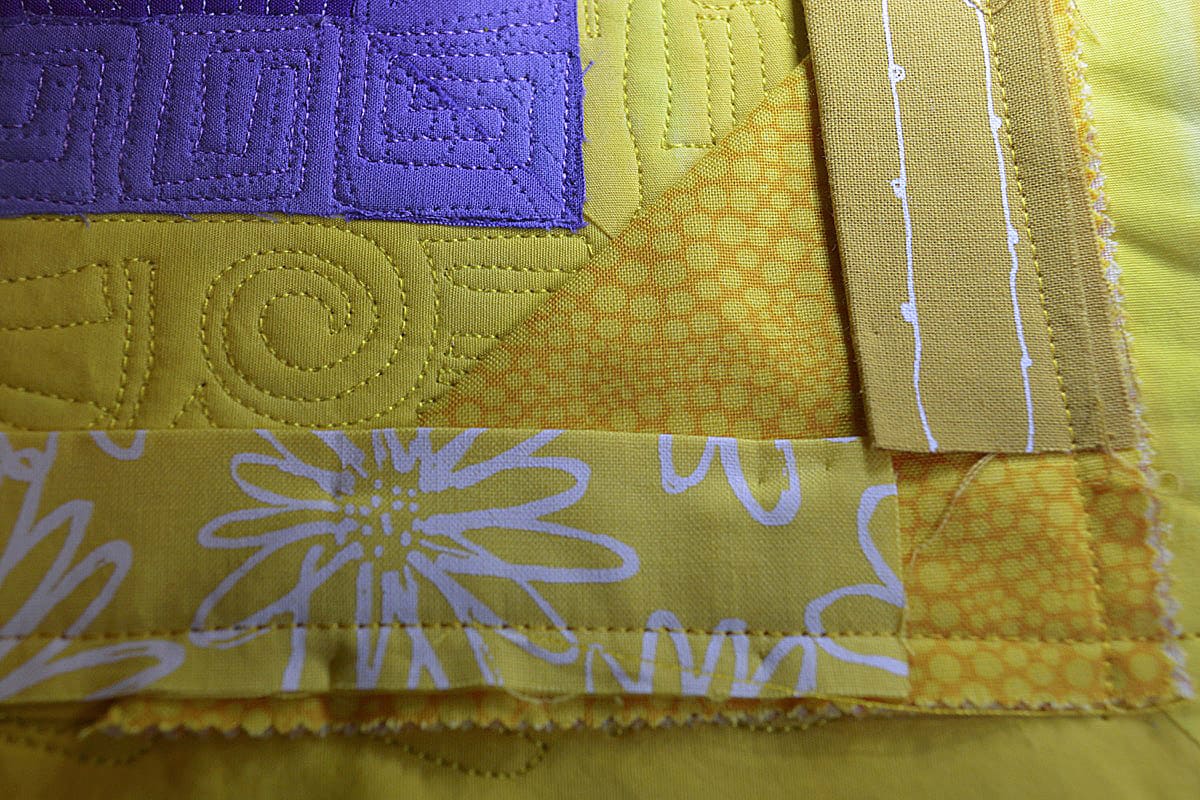
- Attach the borders: Align one border strip with one side of your letter design, right sides together. Pin or clip it in place, then sew along the edge using a 1/4-inch seam allowance. Repeat this process for the remaining sides of your letter design, adding borders to each side.
- Press the seams: After attaching each border strip, press the seam allowances away from the letter design using an iron. This will help the borders lay flat and create a neat finish.
- Prepare the backing: Measure and cut your backing fabric to the desired size, leaving a few extra inches on all sides to accommodate for any shifting during the quilting process.
- Layer and baste the quilt: Lay the backing fabric right side down, followed by the quilt batting, and finally the quilted letters with the borders right side up. Smooth out any wrinkles and ensure even layering. Use safety pins or basting spray to secure the layers together.
At this point, your quilted letters are ready for the final step: quilting the layers together.
Note that the addition of borders and backing not only adds stability and structure to your quilted letters but also provides a finished look to your design. Choose border fabrics and backing that complement your letter design and overall aesthetic.
With the borders and backing in place, your quilted letters are ready for the next phase: quilting.
Quilting the Letters
When it comes to quilting the letters, there are various approaches you can take. The goal is to secure the three layers of your quilt (the quilted letters, batting, and backing) together while adding texture and visual interest. Here are a few quilting techniques you can consider:
- Stitch in the ditch: One popular quilting method for letter designs is stitch-in-the-ditch. This involves quilting along the seams of the letters, following the existing lines. This technique helps define and accentuate the letter shapes while keeping the focus on the overall design.
- Free-motion quilting: If you enjoy more artistic freedom, free-motion quilting allows you to create unique patterns and designs by moving the fabric freely under the sewing machine needle. This technique can be used to quilt around the letters, fill in negative space, or add decorative elements like swirls, loops, or stippling.
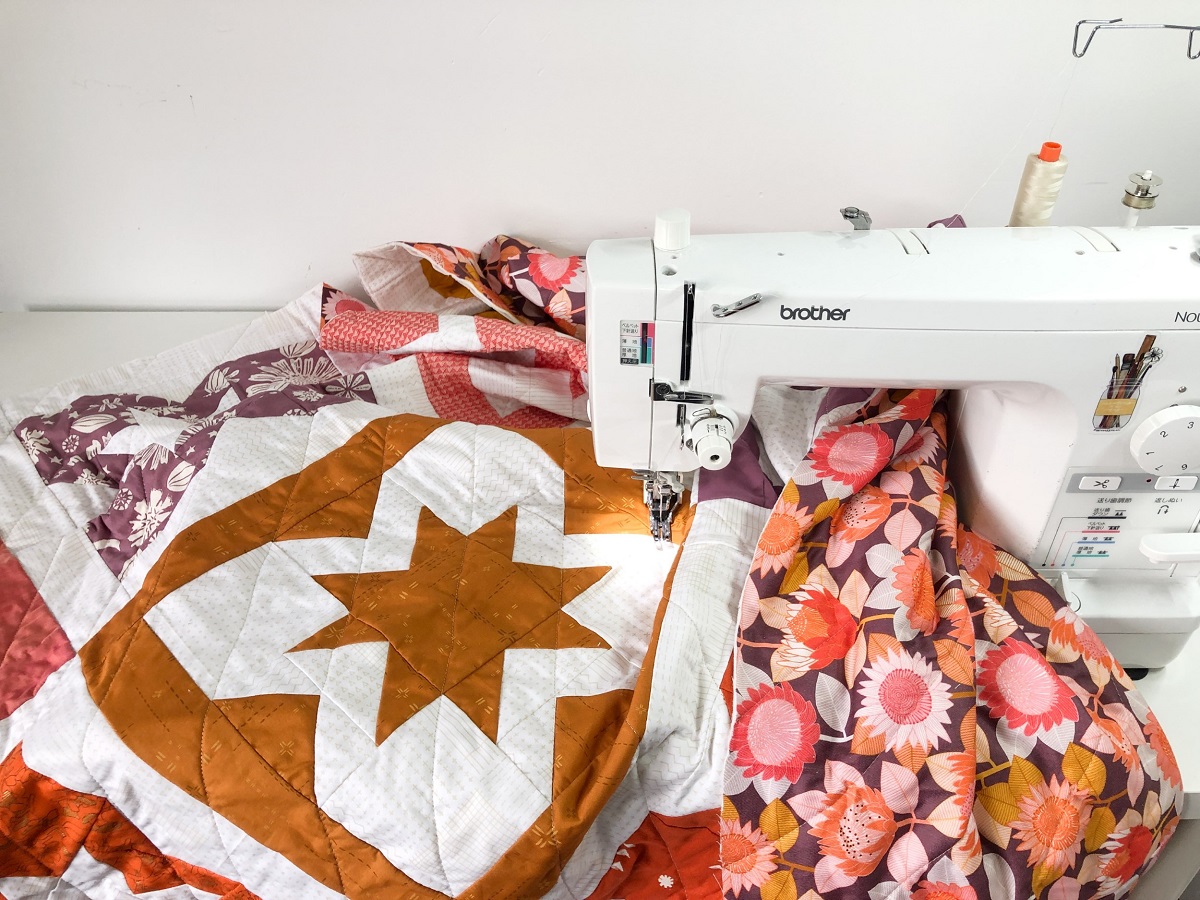
- Straight-line quilting: For a clean and modern look, consider straight-line quilting. Use a walking foot or a quilting guide to create evenly spaced lines of stitching across the quilted letters. This technique can give a geometric and structured feel to your design.
- Custom quilting: Depending on your skill level and desired outcome, you can experiment with custom quilting. This involves using different quilting motifs, such as feathers, flowers, or geometric shapes, to enhance the overall look of your quilted letters. Custom quilting may require more time and practice but can result in stunning and intricate designs.
As you quilt, make sure to secure the layers together with even stitching. Start quilting from the center of your quilt and work your way outwards, smoothing out any wrinkles or puckering as you go.
Remember to take breaks and step back to assess your progress. This allows you to make any necessary adjustments and maintain consistency in your quilting stitches.
Once you have finished quilting the letters, trim any excess batting and backing fabric to match the size of your quilted letters.
With the quilting complete, it’s time to give your quilted letters the finishing touches.
Finishing Touches
Now that your quilted letters are complete, it’s time to add the finishing touches to your quilt. These final steps will bring your project together and ensure a polished and professional-looking result:
- Trim the edges: Use a ruler and rotary cutter to trim the edges of your quilted letters, ensuring they are straight and even. This step will give your quilt a clean and polished appearance.
- Add binding: Binding is the fabric strip that finishes off the edges of your quilt. Cut fabric strips to the desired width, usually 2.5 inches, and sew them together to create a continuous strip. Attach the binding to the raw edges of your quilt, folding it over to the back and hand stitching or machine stitching it in place.
- Label your quilt: Consider adding a label to your quilt that includes your name, the date, and any other details you want to include. This serves as a personal touch and adds a sense of ownership to your quilted letters.
- Finish the back: If desired, add a label or personal message to the back of your quilt. This can be a special dedication or a note about the inspiration behind your quilted letters.
- Final pressing: Once all the finishing touches are complete, give your quilted letters a final pressing with an iron. This will ensure all seams are flat and the quilt is free from wrinkles.
After completing these finishing touches, take a step back and admire your quilted letters. You’ve put your time, effort, and creativity into this project, and now you have a beautiful and meaningful piece to cherish or share with loved ones.
Remember to relax and enjoy the process of quilting letters. Let your creativity guide you and don’t be afraid to try new techniques or designs along the way.
Congratulations on completing your quilted letters project! Now it’s time to find the perfect place to display or gift your masterpiece.
Read more: How To Store Old Letters
Conclusion
Quilting letters can transform a simple quilt into a personalized work of art. Through careful fabric selection, precise cutting, skillful piecing, and thoughtful quilting, you can create stunning letter designs that hold meaning and express your creativity.
Throughout this article, we’ve explored the step-by-step process of quilting letters. From gathering the necessary materials to adding the finishing touches, each stage has its own significance in creating a beautifully crafted quilt.
Choosing the right fabric sets the tone for your quilted letters, while creating a template ensures consistency in size and style. Cutting out the letters with precision produces clean and accurate shapes, and piecing them together brings your design to life. Adding borders and backing adds stability and structure, and quilting adds texture and visual interest.
Through the finishing touches of trimming, binding, labeling, and pressing, your quilted letters will truly shine as a completed project that you can cherish or gift with pride.
Quilting letters is not only a creative outlet, but also a way to create meaningful and personalized pieces. Whether you’re making a quilt for yourself, a loved one, or for a special occasion, the process of quilting letters allows you to infuse your own style and sentiment into the design.
So, gather your materials, embrace your creativity, and embark on the journey of quilting letters. Enjoy the process, celebrate your accomplishments, and create beautiful quilted letters that will be cherished for years to come.
Frequently Asked Questions about How To Quilt Letters
Was this page helpful?
At Storables.com, we guarantee accurate and reliable information. Our content, validated by Expert Board Contributors, is crafted following stringent Editorial Policies. We're committed to providing you with well-researched, expert-backed insights for all your informational needs.


0 thoughts on “How To Quilt Letters”