Articles
How To Set Up Nest Doorbell
Modified: August 31, 2024
Learn how to set up your Nest Doorbell with our step-by-step guide. Our articles provide detailed instructions and troubleshooting tips for a seamless installation process.
(Many of the links in this article redirect to a specific reviewed product. Your purchase of these products through affiliate links helps to generate commission for Storables.com, at no extra cost. Learn more)
Introduction
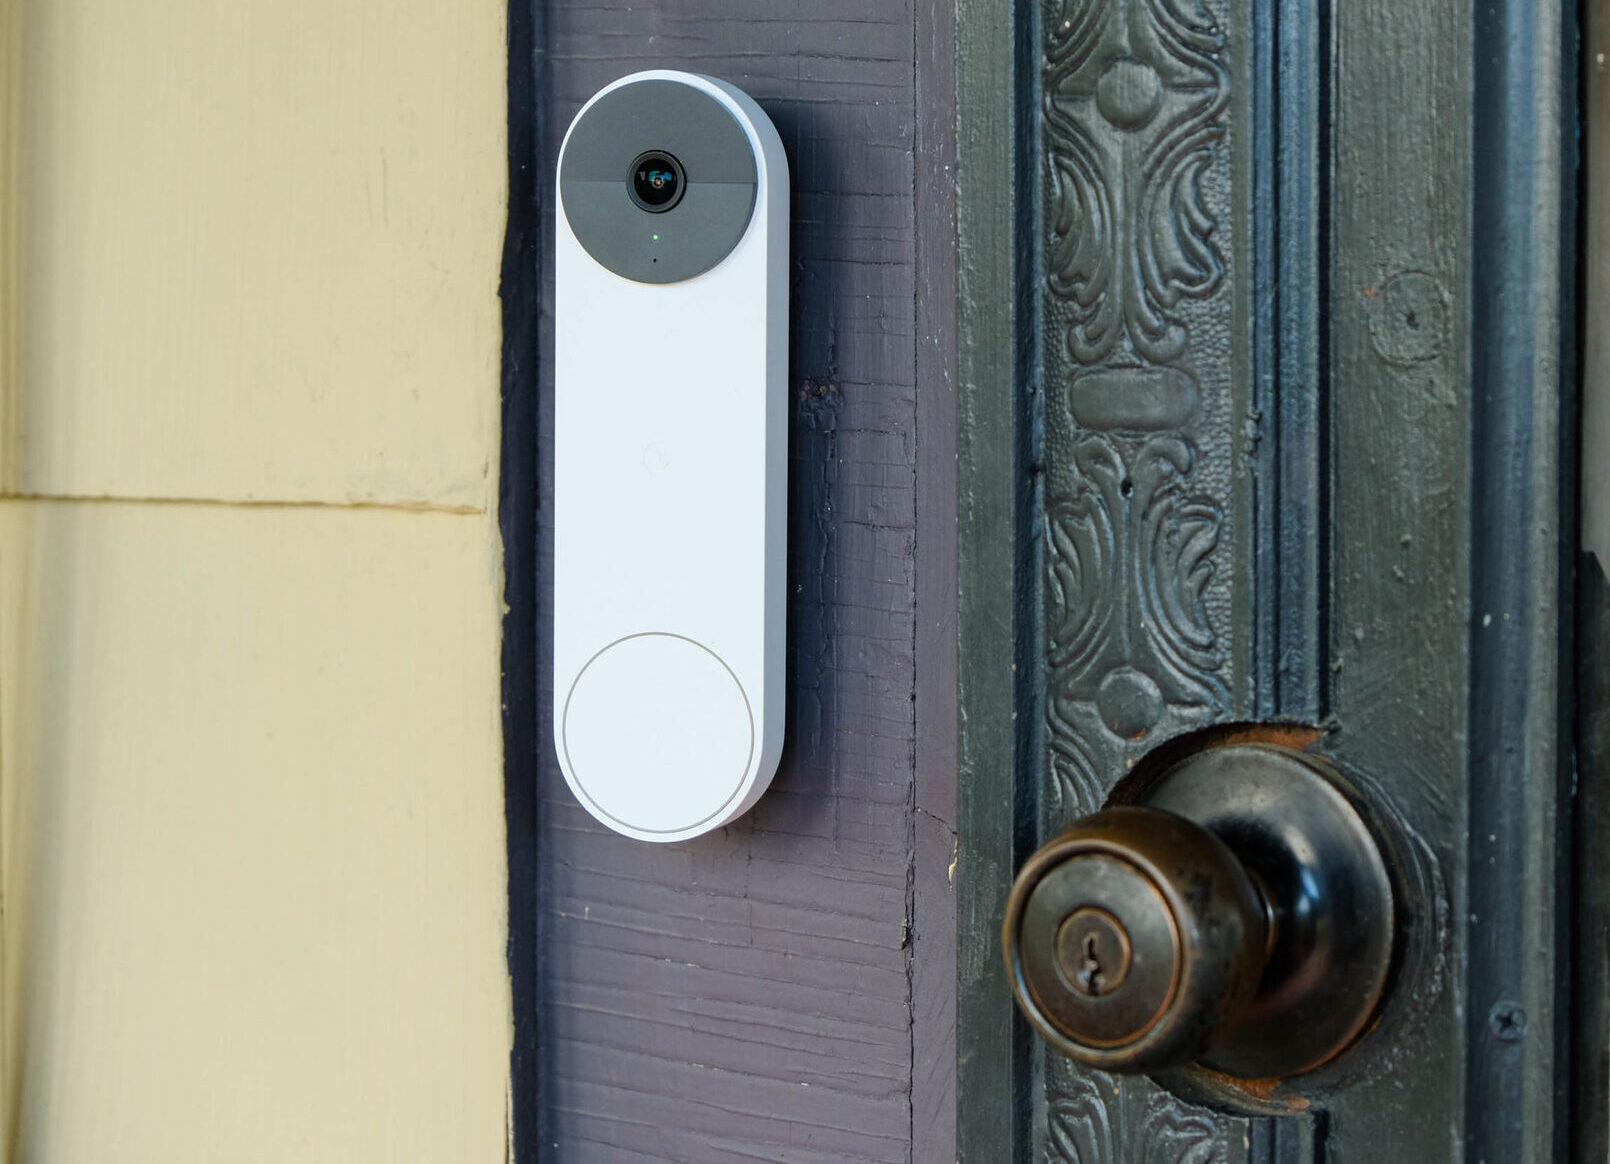
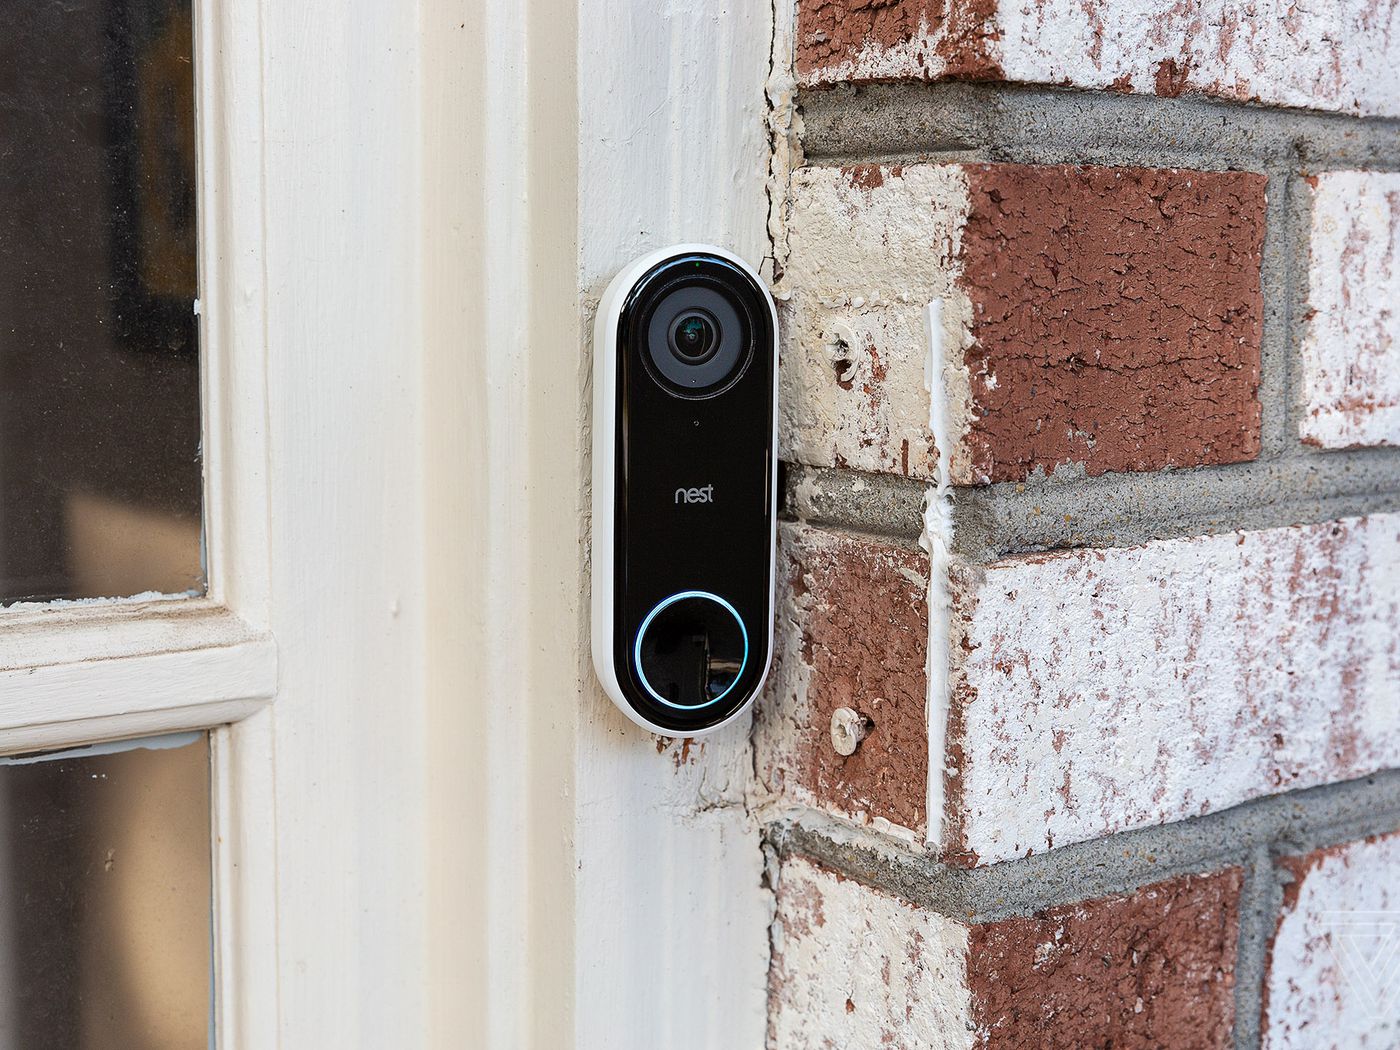
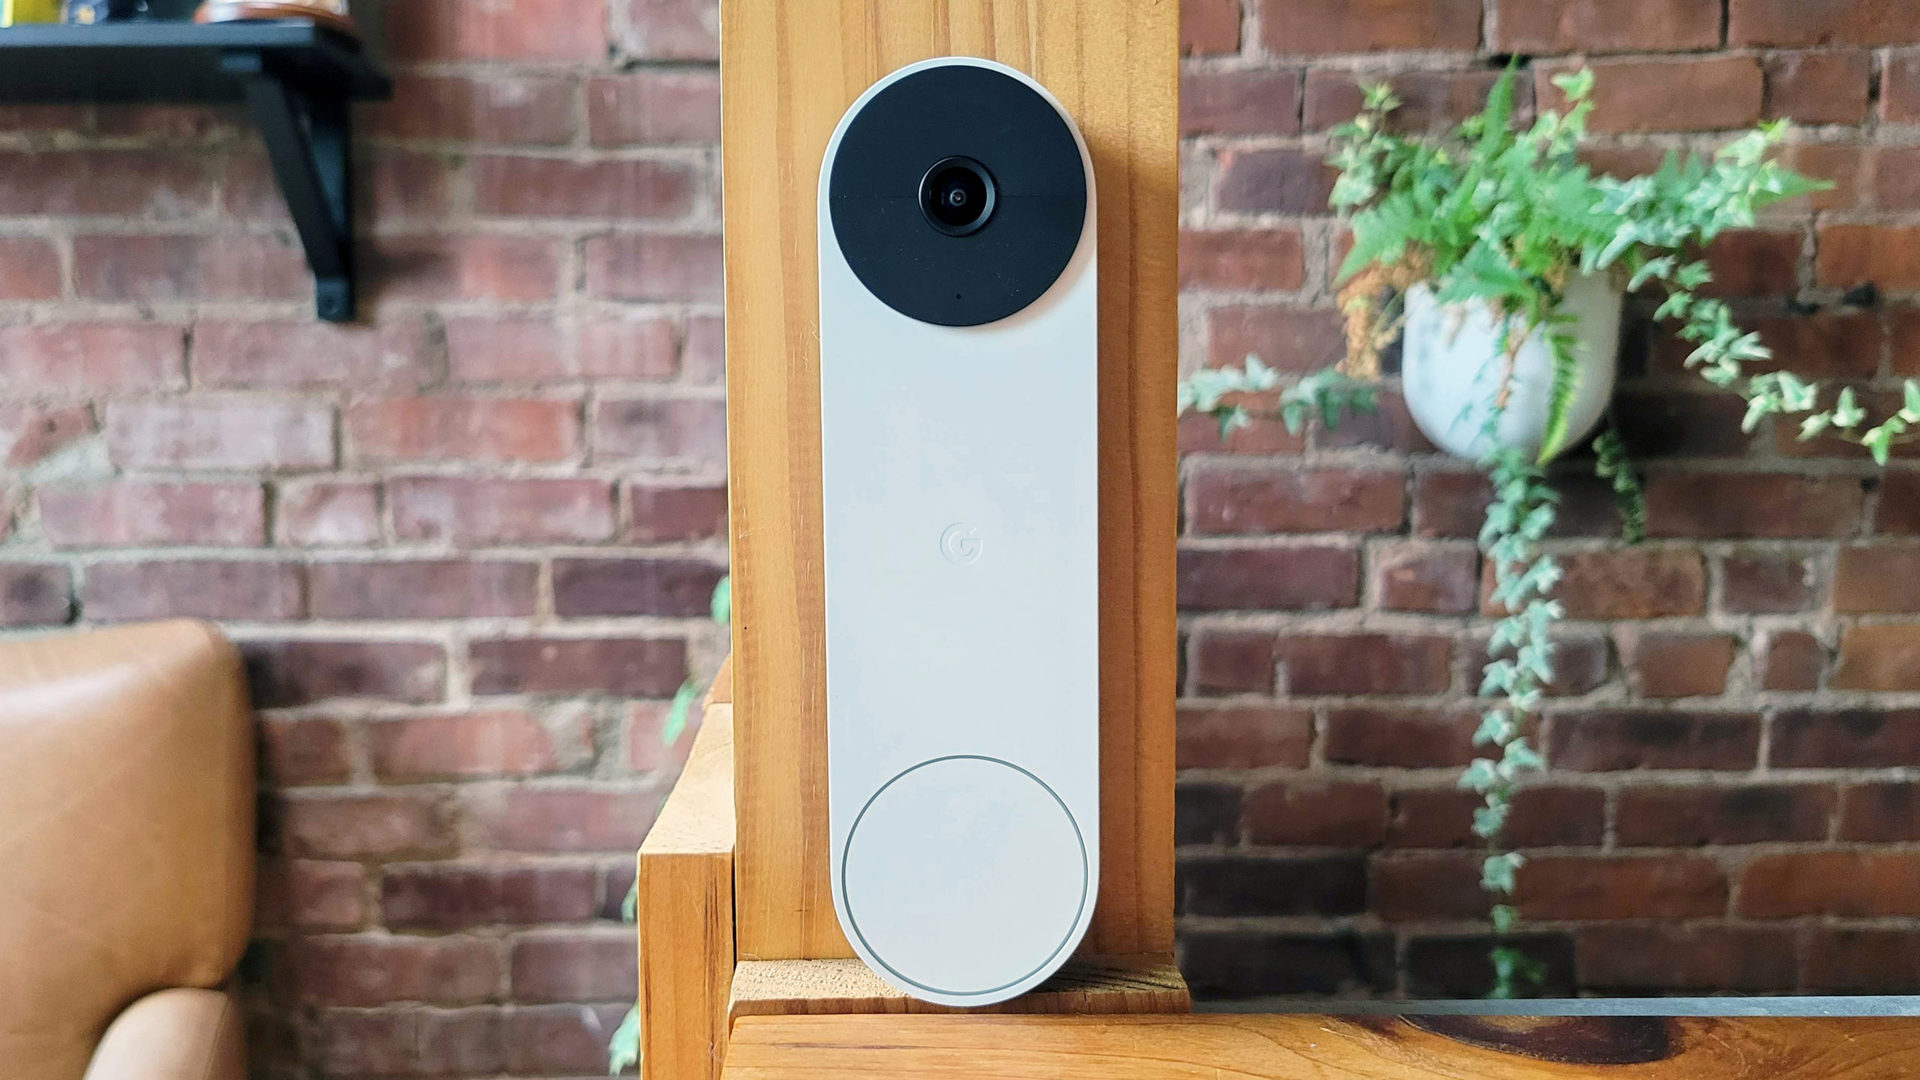
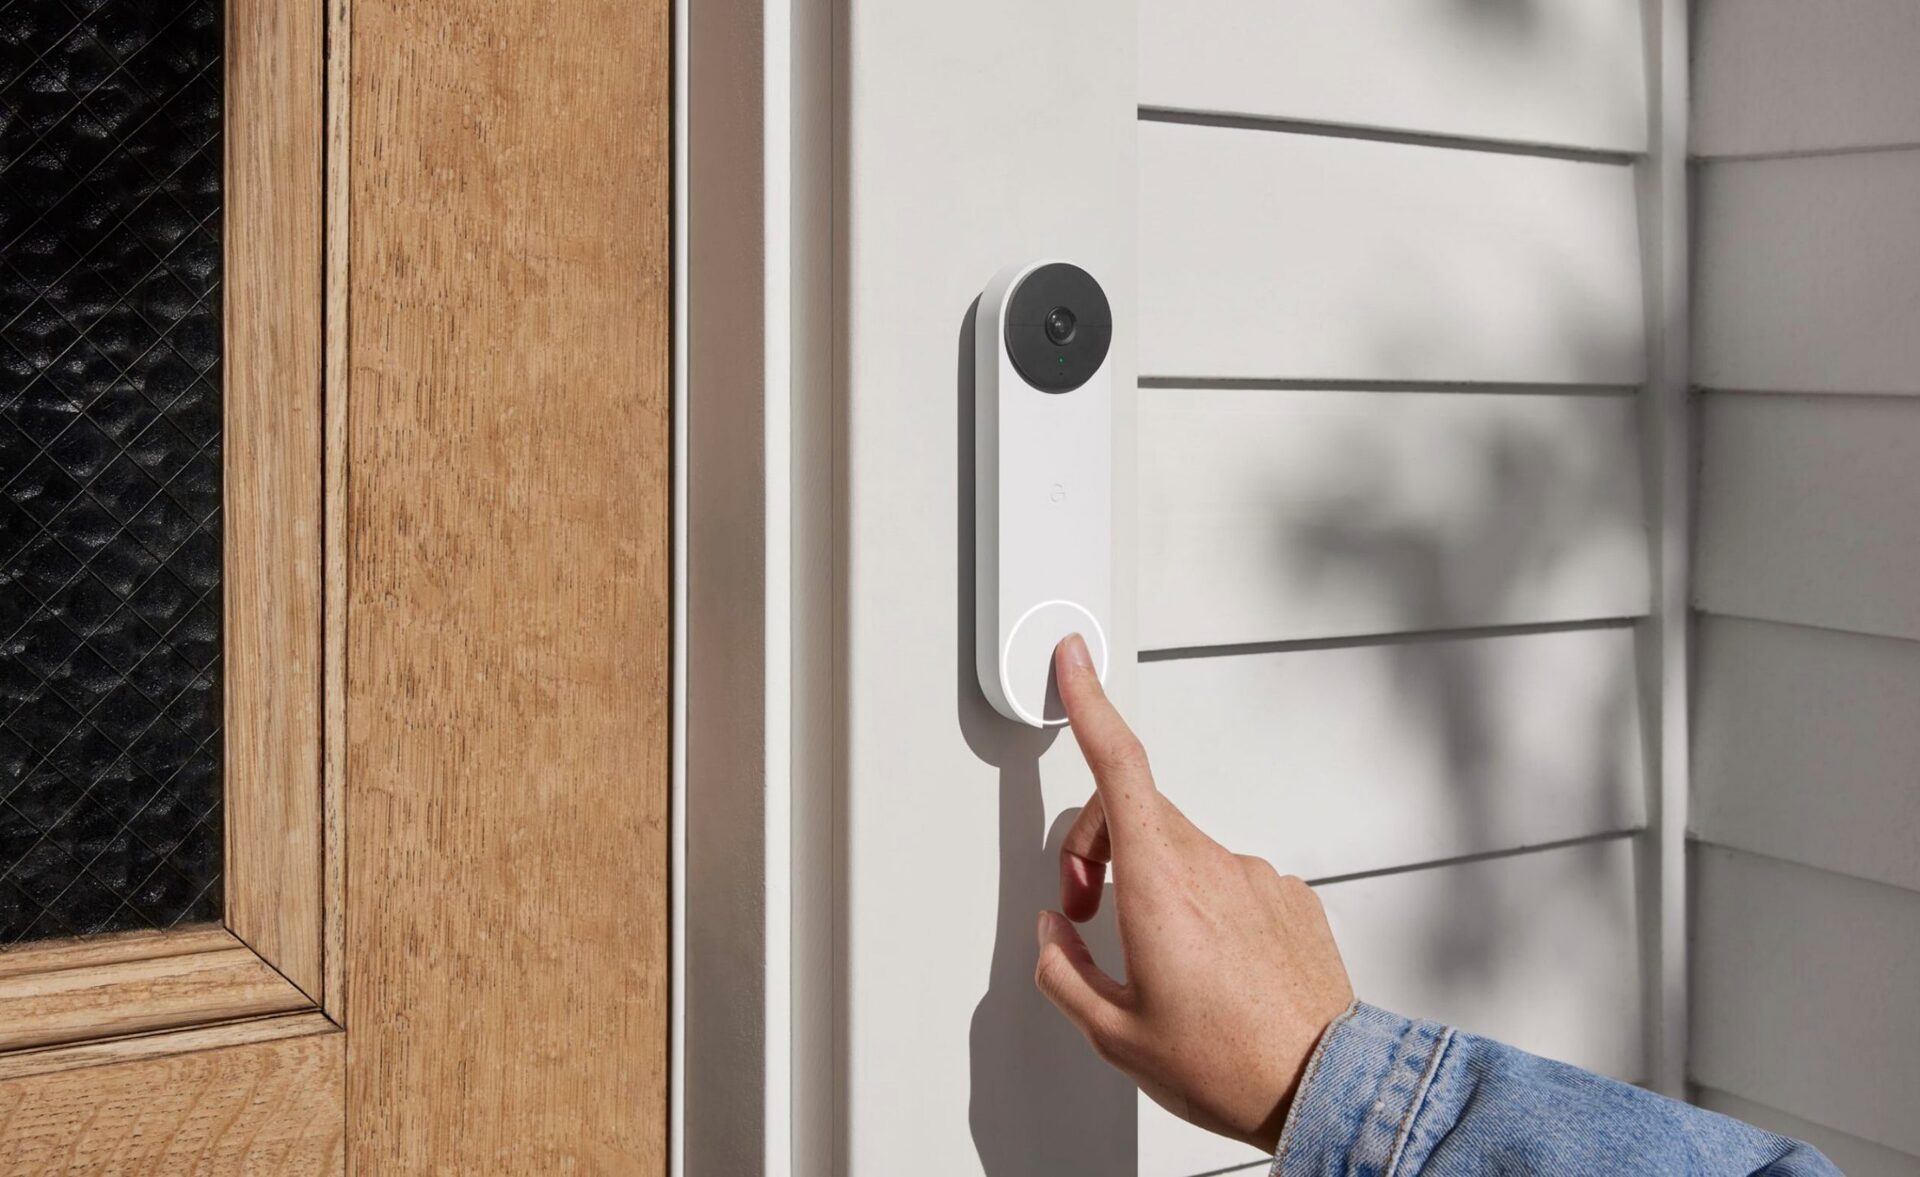
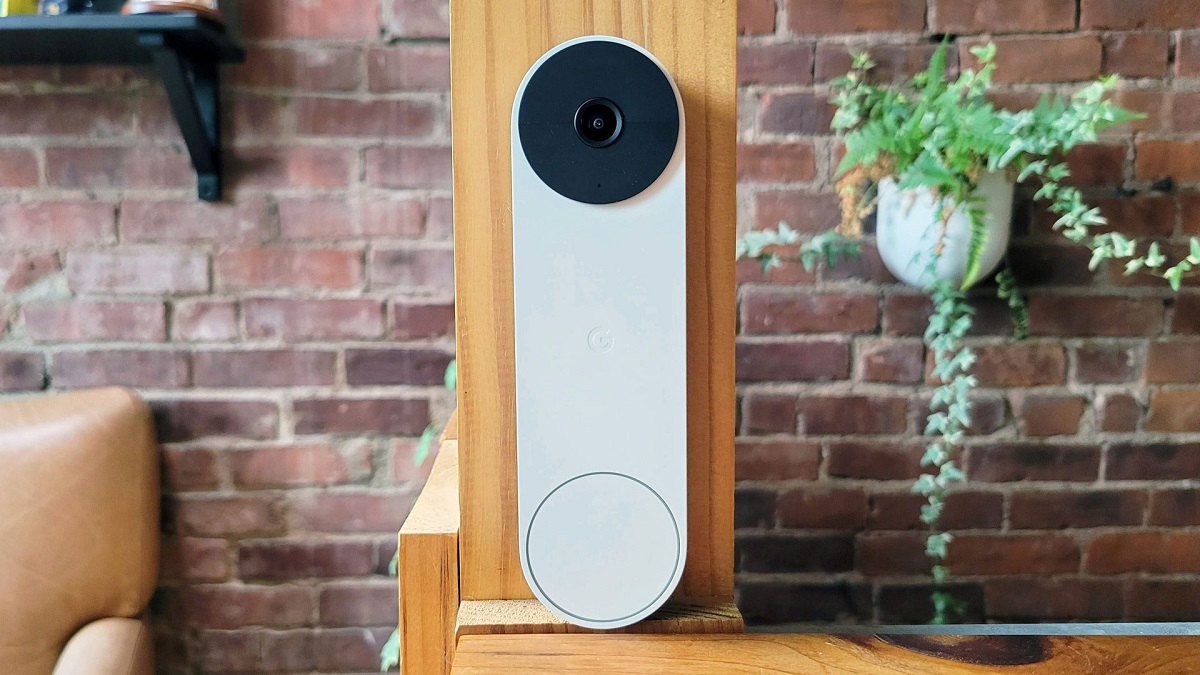
Welcome to the world of smart home technology, where even your doorbell has become smarter and more advanced. The Nest Doorbell is a game-changer in home security and convenience, allowing you to monitor your front door and communicate with visitors, whether you’re at home or away. In this article, we will guide you through the step-by-step process of setting up your Nest Doorbell, ensuring that you can make the most of its features and enjoy peace of mind.
Before we dive into the installation process, let’s take a moment to understand what makes the Nest Doorbell so special. Equipped with a high-definition camera, motion sensors, and two-way audio capabilities, this smart doorbell enables you to see and speak to anyone at your front door from your smartphone or tablet. Whether it’s a delivery person, a neighbor, or a potential intruder, you will have the ability to monitor and interact with them from wherever you are.
Additionally, the Nest Doorbell integrates seamlessly with the Nest app, allowing you to receive real-time notifications when the camera detects motion or when someone rings the doorbell. You can also review recorded video footage and access other advanced features, such as facial recognition and custom activity zones. With the Nest Doorbell, you can ensure the safety of your home and loved ones while enjoying the convenience of remote access and control.
Now that you understand the capabilities of the Nest Doorbell, let’s get started with the installation process. Keep in mind that while we will provide a comprehensive guide, it is important to carefully follow the manufacturer’s instructions that come with your specific model of the Nest Doorbell. This will ensure a successful installation and optimal performance.
Are you ready to embark on this journey to upgrade your home security? Let’s unbox, set up, and configure your Nest Doorbell, step by step.
Key Takeaways:
- Upgrade your home security and convenience by setting up the Nest Doorbell, allowing you to monitor and communicate with visitors from anywhere using your smartphone or tablet.
- Follow the step-by-step guide to unbox, install, connect to the Nest app, customize settings, and troubleshoot for optimal performance and peace of mind.
Step 1: Unboxing and Inspecting the Nest Doorbell
Congratulations on purchasing the Nest Doorbell! Before we begin the installation process, let’s start by unboxing the package and inspecting the contents to ensure everything is in order.
When you open the box, you will find the Nest Doorbell unit, a baseplate, a power adapter, a mounting bracket, screws, a security screw, a screwdriver, and an installation guide. Take a moment to carefully inspect each item to make sure nothing is damaged or missing.
Inspect the Nest Doorbell unit for any visible physical defects or scratches. Make sure that the camera lens is clean and free from any obstruction that may affect the quality of the video feed. Check the back of the unit for the QR code, which will be used during the setup process to connect the device to the Nest app.
Next, examine the baseplate and ensure that it is intact and without any cracks or damage. The baseplate is used to attach the Nest Doorbell to your wall, providing a secure and stable foundation for the device.
Inspect the power adapter to ensure that it is in good working condition. Check the cable for any signs of fraying or wear, as this can impact the performance and safety of the device. If you notice any damage, contact Nest customer support for assistance.
Take a look at the mounting bracket, screws, and security screw. These components are used to securely mount the Nest Doorbell onto your wall or doorframe. Verify that all the necessary screws and components are included in the package.
Finally, check the screwdriver that is included in the box. Make sure it is the appropriate size for the screws provided and that it is in good condition. You will need this tool during the installation process, so ensuring its functionality is important.
By taking the time to inspect the contents of the package, you can identify any potential issues or discrepancies before starting the installation. If you notice any problems or missing components, reach out to the retailer or contact Nest support to resolve the issue.
Now that you have thoroughly inspected the Nest Doorbell and all its accompanying parts, it’s time to move on to the next step: gathering the required tools and materials for the installation process.
Step 2: Gathering the Required Tools and Materials
Before you begin installing your Nest Doorbell, it’s important to gather all the necessary tools and materials to ensure a smooth and successful installation process. Here are the items you will need:
- Power drill: You will need a power drill to create holes for the screws during the installation. Make sure the drill is charged and equipped with the appropriate drill bits.
- Screwdriver: The screwdriver provided in the Nest Doorbell package may be sufficient for the installation. However, if you prefer using your own screwdriver, ensure that it is compatible with the screws included.
- Level: A level will help you ensure that the Nest Doorbell is mounted straight and aligned properly. This will prevent any issues with the camera angle and overall functionality.
- Tape measure: Use a tape measure to accurately measure the distance between your doorbell’s current location and the nearest power source. This will help you confirm if the provided power adapter cord is long enough or if you need to make alternative arrangements for power supply.
- Pencil or marker: Marking the placement of the baseplate and drilling holes requires precise measurements. Use a pencil or marker to mark these spots on your wall or doorframe.
- Power source: The Nest Doorbell requires a power source to operate. Make sure you have access to a nearby power outlet or determine if you need to install a transformer or a compatible doorbell power supply if your existing doorbell is not connected to a power source.
- Wi-Fi network: To connect and control your Nest Doorbell from your smartphone or tablet, you will need a Wi-Fi network available at your installation location. Ensure that you have a stable and reliable Wi-Fi connection to ensure proper functionality.
By gathering these tools and materials ahead of time, you will be well-prepared and equipped to successfully install your Nest Doorbell. Double-check that you have everything on the list before proceeding to the next step.
Now that you have your tools and materials ready, it’s time to move on to Step 3: preparing the doorbell installation location.
Step 3: Preparing the Doorbell Installation Location
Now that you have gathered the necessary tools and materials, it’s time to prepare the installation location for your Nest Doorbell. Proper preparation will ensure a secure and optimal placement for optimal functionality. Here’s how to get started:
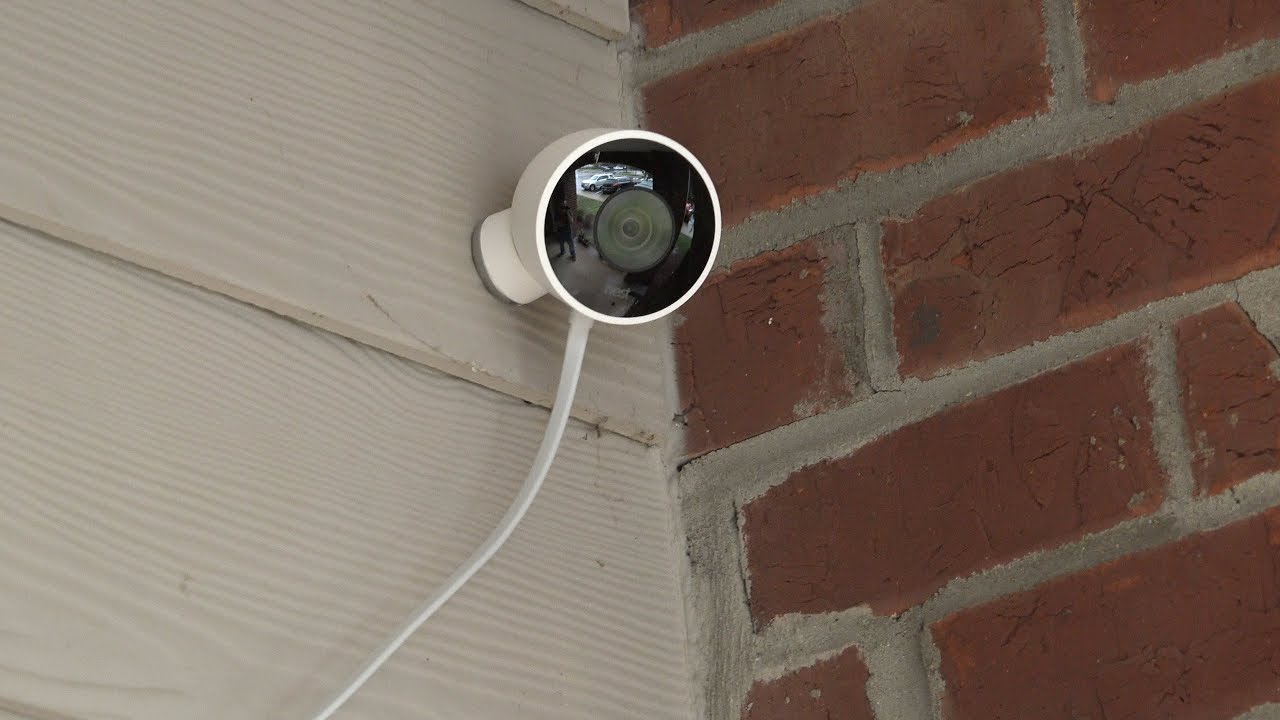
- Selecting the installation location: Choose a suitable location for your Nest Doorbell. Ideally, it should be near your front door and provide a clear view of the area you want to monitor. Look for a flat surface, such as a wall or doorframe, that is easy to access and doesn’t obstruct the door’s swinging motion.
- Checking the doorbell’s compatibility: Ensure that the existing doorbell wiring at your selected installation location is compatible with the Nest Doorbell. If you have a traditional doorbell system, it should have a low-voltage transformer (usually 16-24 volts) and the wiring should be in good condition. If you are unsure about the compatibility, consult with a professional electrician.
- Preparing the power source: If your existing doorbell is not connected to a power source or if the wiring is incompatible, you may need to install a transformer or a compatible doorbell power supply. Consult the Nest Doorbell installation guide for detailed instructions on connecting the power source.
- Clearing the area: Remove any debris, obstructions, or decorations from the installation location. This will ensure a clean and smooth surface for mounting the Nest Doorbell. Clean the area if necessary to improve adhesion for the baseplate.
- Marking the drilling spots: Place the baseplate against the installation location and use a pencil or marker to mark the spots for drilling holes. The baseplate should be level and aligned properly with the mounting surface. Use a level to ensure accuracy.
- Verifying the Wi-Fi signal: Check the Wi-Fi signal strength at the chosen installation location. The Nest Doorbell requires a stable and reliable Wi-Fi connection to function properly. If the signal is weak, consider improving the Wi-Fi coverage in the area before proceeding.
By following these steps, you will have a well-prepared installation location for your Nest Doorbell. Taking the time to ensure compatibility, cleanliness, and proper alignment will result in a smooth installation process and optimal performance. Once you have completed these preparations, you can move on to Step 4: installing the baseplate and power adapter.
Step 4: Installing the Baseplate and Power Adapter
Now that you have prepared the installation location for your Nest Doorbell, it’s time to install the baseplate and power adapter. These components will provide the foundation and power supply for your doorbell. Follow these steps to ensure a successful installation:
- Positioning the baseplate: Place the baseplate against the wall or doorframe, aligning it with the marked drilling spots. Ensure that the baseplate is level and straight. Use a level tool to confirm its alignment.
- Marking the screw locations: With the baseplate in position, use a pencil or marker to mark the screw locations on the wall or doorframe. These marks will guide you during the drilling process.
- Drilling pilot holes: Using a power drill with an appropriate drill bit, carefully drill pilot holes at the marked locations. Be sure to select a drill bit that matches the size of the screws provided with the Nest Doorbell. The pilot holes will make it easier to insert the screws during the installation.
- Attaching the baseplate: After drilling the pilot holes, align the baseplate with the holes and attach it to the wall or doorframe using the screws provided. Tighten the screws securely but avoid overtightening, as it may damage the baseplate or the mounting surface.
- Connecting the power adapter: Once the baseplate is securely attached, locate the power adapter cable and connect it to the Nest Doorbell unit. Ensure that the connection is tight and secure. If necessary, use the provided cable clips to secure the cable along the wall or doorframe to keep it neat and organized.
- Confirming the power connection: Check if the power adapter is properly connected to a power source or transformer. Ensure that the power is flowing to the Nest Doorbell by verifying the LED indicator on the unit. It should light up or blink to indicate a successful power connection.
By following these steps, you will have successfully installed the baseplate and power adapter for your Nest Doorbell. Take your time to ensure that the baseplate is level, the screws are secure, and the power connection is properly established. Once these components are in place, you can proceed to Step 5: connecting the wires and mounting the doorbell.
When setting up your Nest Doorbell, make sure to check your Wi-Fi signal strength at the installation location to ensure a stable connection. A strong Wi-Fi signal is essential for reliable performance.
Read more: How To Reboot Nest Doorbell
Step 5: Connecting the Wires and Mounting the Doorbell
Now that the baseplate and power adapter are installed, it’s time to connect the wires and mount your Nest Doorbell. This step will ensure the doorbell is securely attached and properly powered. Follow these instructions to complete this step:
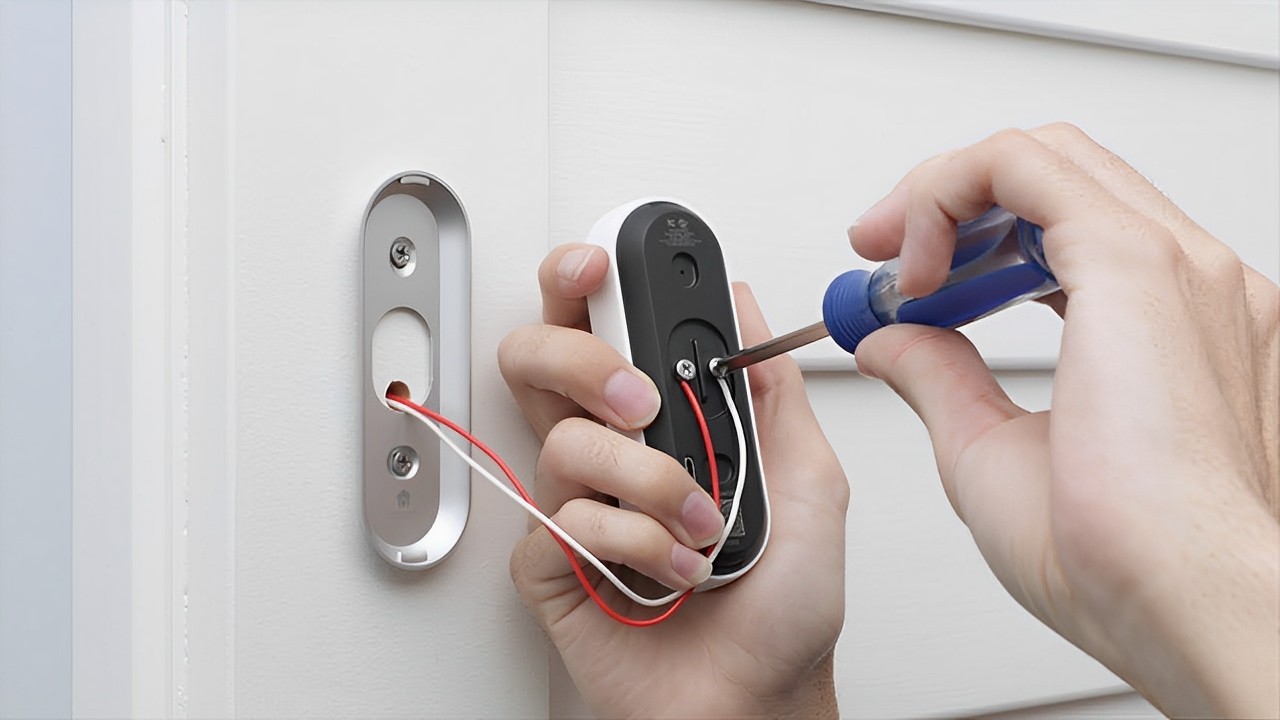
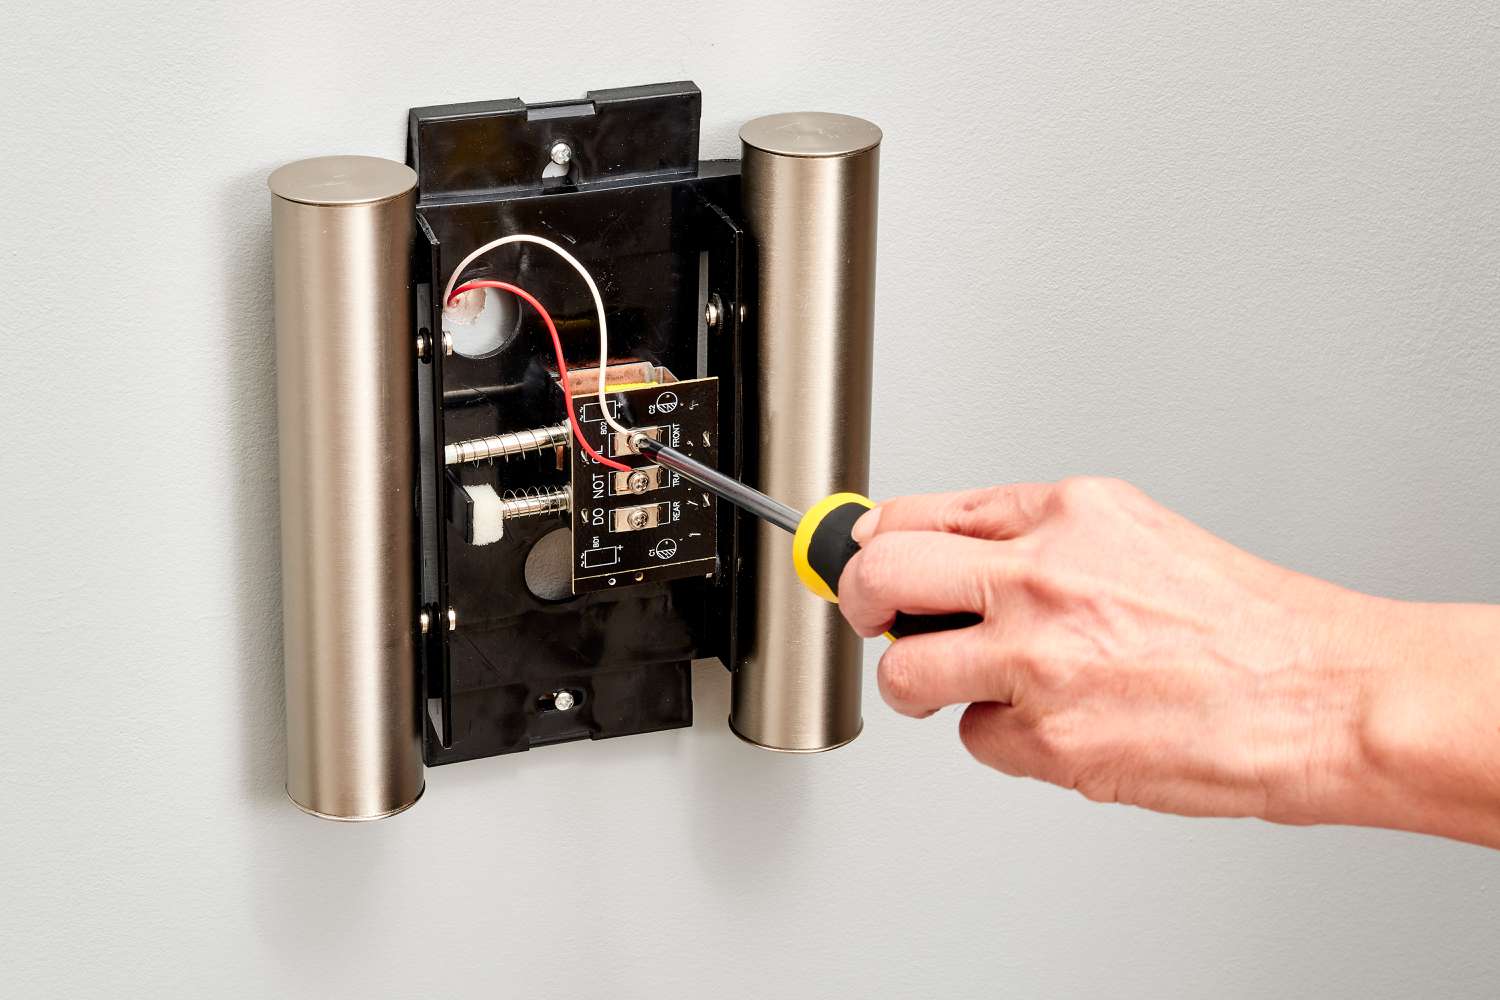
- Identifying the wires: Locate the doorbell wires that are connected to your existing doorbell system. These wires are typically colored and labeled “Front” or “Transformer.” It’s important to ensure that the power to your existing doorbell system is turned off before proceeding with this step.
- Preparing the wires: Strip the ends of the doorbell wires to expose a small portion of the copper wiring. This will allow for a proper connection to the Nest Doorbell.
- Connecting the wires: Match the labeled wires from your existing doorbell system to the corresponding labeled terminals on the Nest Doorbell. Insert the stripped end of each wire into the designated terminal and ensure a tight and secure connection.
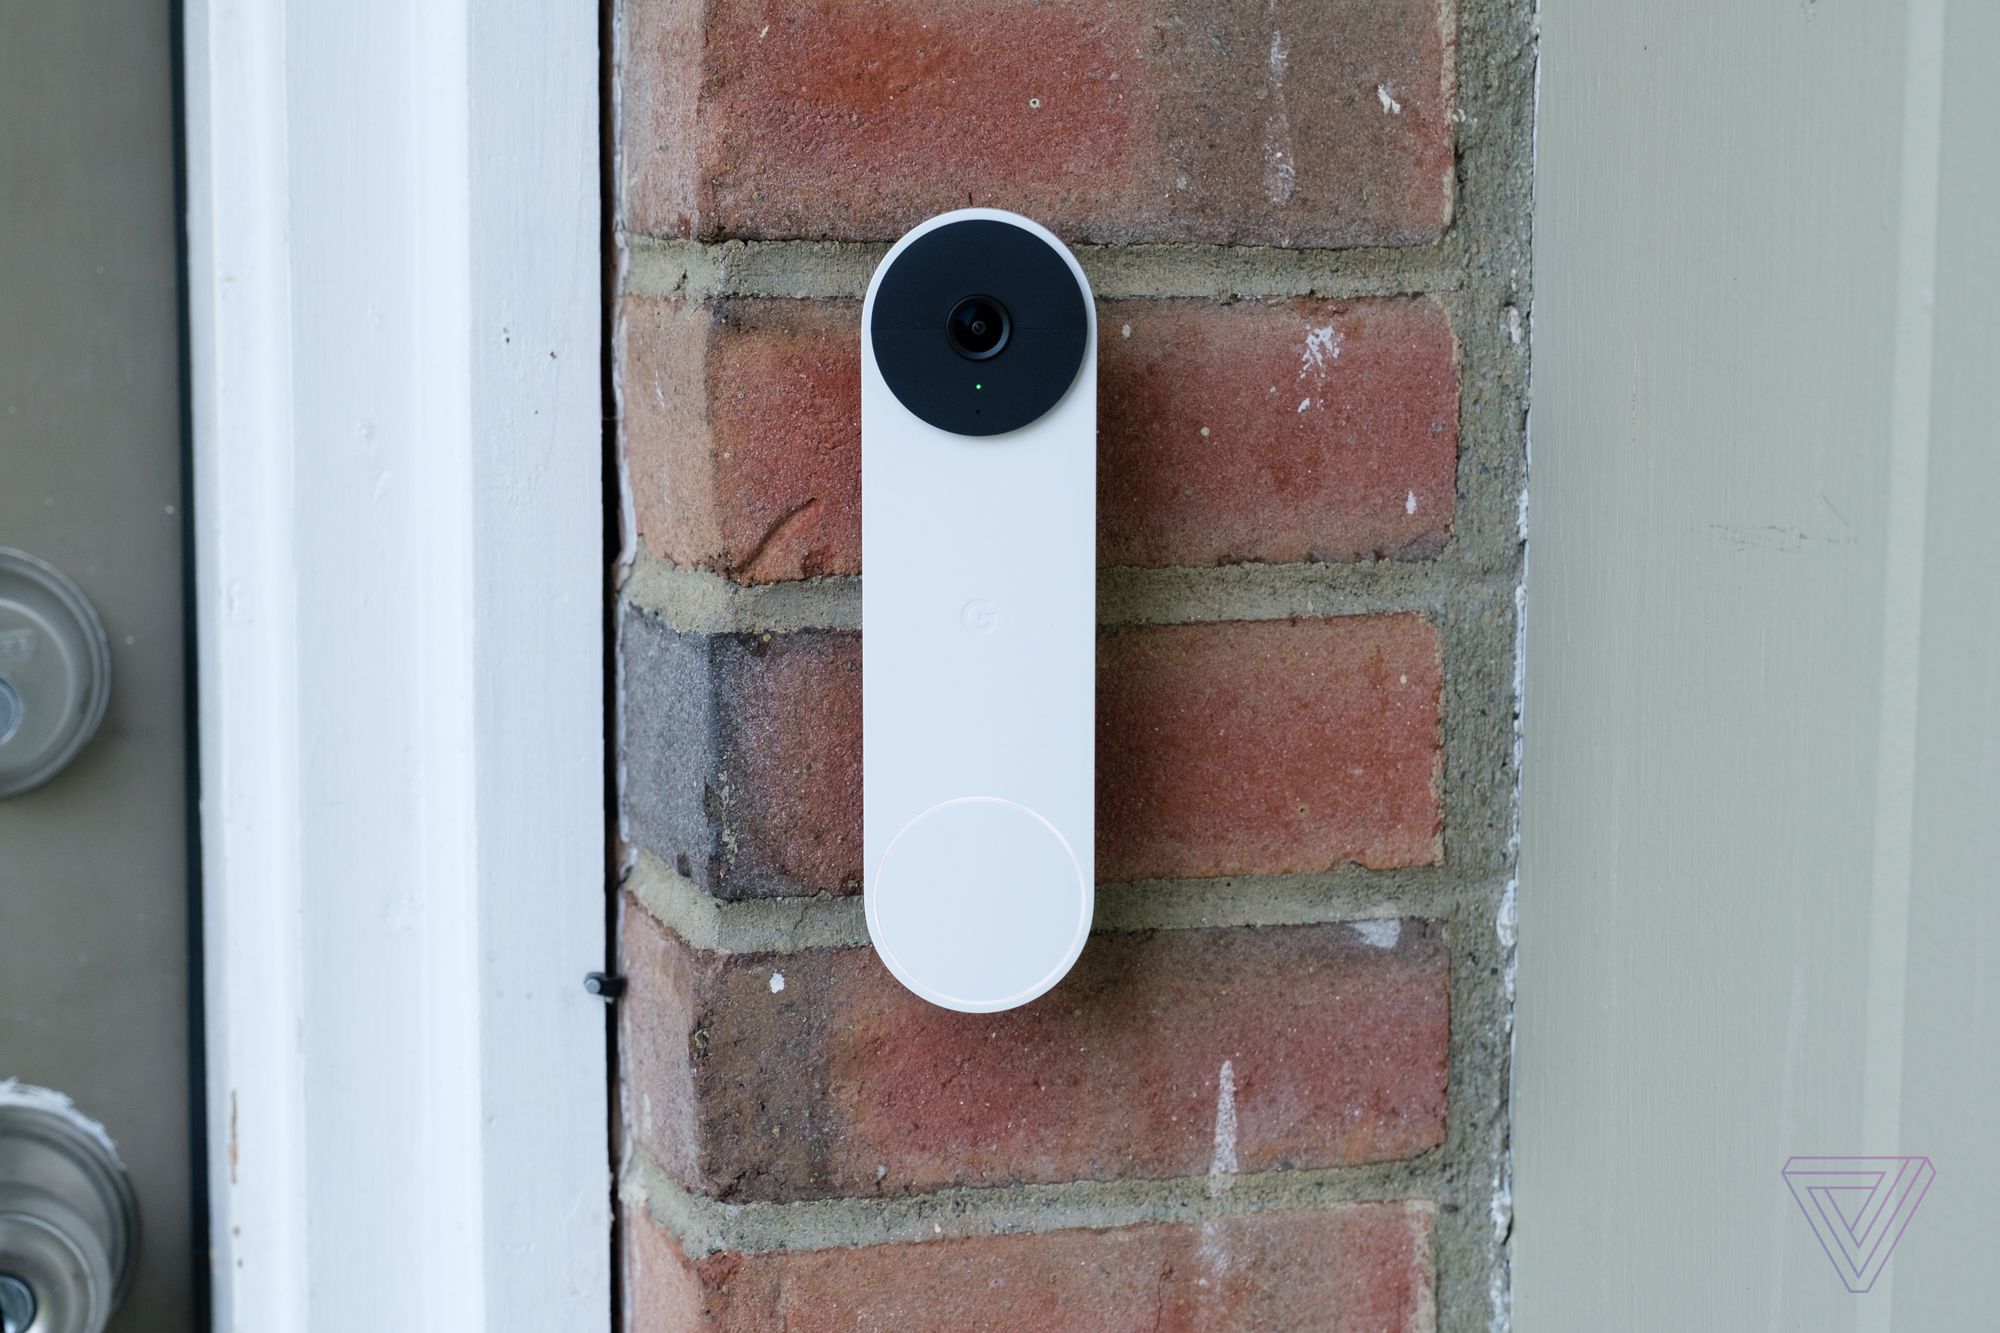
- Making a secure mount: Line up the Nest Doorbell unit with the baseplate and gently push down until it clicks into place. Ensure that the doorbell is securely mounted and aligned with the baseplate.
- Verifying the connection: Confirm that the Nest Doorbell is properly connected and receiving power by checking the LED indicator. The LED should light up or blink, indicating a successful connection.
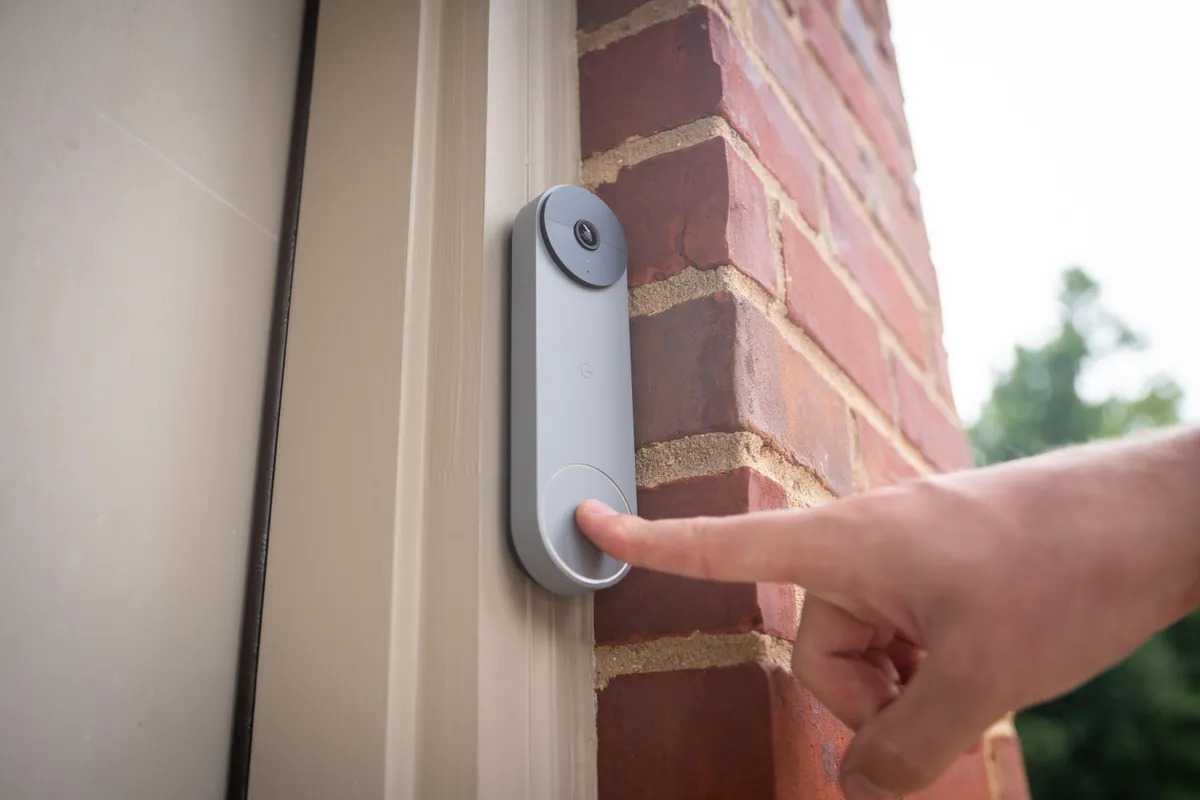
- Testing the doorbell: Before proceeding to the next step, test the functionality of the doorbell by pressing the button or activating the motion sensor. You should hear a chime or receive a notification on the Nest app, indicating that the doorbell is working as expected.
By following these steps, you will have successfully connected the wires and mounted your Nest Doorbell. Double-check the wire connections and ensure that the doorbell is securely attached to the baseplate. Once these steps are complete, you can move on to Step 6: connecting the doorbell to the Nest app.
Step 6: Connecting the Doorbell to the Nest App
With your Nest Doorbell installed and wired, it’s time to connect it to the Nest app. This will allow you to access and control your doorbell from your smartphone or tablet. Follow these steps to complete the connection:
- Download the Nest app: If you haven’t already, download the Nest app from the App Store or Google Play Store. Ensure that you have a compatible device and a stable internet connection.
- Create a Nest account: Open the Nest app and follow the on-screen instructions to create a Nest account. If you already have a Nest account, simply sign in using your credentials.
- Add a new product: In the Nest app, tap on the “+” icon to add a new product. Select “Doorbell” from the list of available devices.
- Scan the QR code: Using your device’s camera, scan the QR code located on the back of the Nest Doorbell unit. This will automatically identify and pair your doorbell with the Nest app.
- Connect to Wi-Fi: Follow the prompts on the app to connect your Nest Doorbell to your Wi-Fi network. Ensure that you have the correct Wi-Fi credentials and a strong signal in the installation location.
- Configure doorbell settings: Customize the settings for your Nest Doorbell, such as motion detection sensitivity, notifications, and sound preferences. These settings can be adjusted in the app to suit your preferences and needs.
- Test the connection: Once the setup is complete, test the connection by pressing the doorbell button or triggering the motion sensor. Ensure that you receive notifications and can view the live video feed from your doorbell in the Nest app.
By following these steps, you will have successfully connected your Nest Doorbell to the Nest app. This will allow you to monitor your front door, receive notifications, and access advanced features and settings. With the doorbell now connected to the app, you can move on to Step 7: setting up doorbell settings and features.
Step 7: Setting Up Doorbell Settings and Features
Now that your Nest Doorbell is connected to the Nest app, it’s time to set up the doorbell settings and explore the various features available. This will allow you to customize your experience and make the most out of your doorbell’s capabilities. Follow these steps to configure the settings and features:
- Access the Nest app: Open the Nest app on your smartphone or tablet and navigate to the doorbell section. You should see a live video feed from your Nest Doorbell, along with various settings and options.
- Adjust motion detection settings: Customize the motion detection settings based on your preferences. You can adjust the sensitivity level, create custom activity zones, and choose how and when you receive motion notifications.
- Enable facial recognition: If your Nest Doorbell supports facial recognition, you can enable this feature in the settings. This allows the doorbell to recognize familiar faces and send specific notifications or alerts.
- Set up activity zones: Use the activity zone feature to define specific areas within the camera’s view where you want to receive motion alerts. This can help reduce unnecessary notifications triggered by motion in non-relevant areas.
- Configure notification settings: Customize the notification settings to receive alerts and notifications in a way that suits you best. You can choose to receive push notifications, email alerts, or both, and specify the frequency and urgency of notifications.
- Explore advanced features: Take some time to explore and experiment with the advanced features of your Nest Doorbell. This might include features such as continuous recording, enhanced video quality, and integration with other smart home devices.
- Review and update settings: Regularly review and update your doorbell settings to ensure they align with your needs and preferences. As your usage and requirements change, you can always revisit the app and adjust the settings accordingly.
By following these steps, you will be able to customize your Nest Doorbell settings and take advantage of the various features available. Tailoring the settings to your specific requirements will enhance your doorbell experience and provide you with the level of security and convenience you desire.
Now that you have set up the doorbell settings and features, you can move on to Step 8: testing and troubleshooting the Nest Doorbell to ensure it is functioning correctly.
Step 8: Testing and Troubleshooting the Nest Doorbell
After setting up your Nest Doorbell and configuring the desired settings, it’s crucial to test its functionality and troubleshoot any potential issues. This will ensure that your doorbell is working correctly and that you can rely on its performance. Follow these steps to test and troubleshoot your Nest Doorbell:
- Test the doorbell button: Press the doorbell button to check if it activates the appropriate chime or sound in your home. Make sure the sound is audible and clear. If the doorbell does not produce any sound, verify the wiring connections and ensure that the chime settings are properly configured in the Nest app.
- Trigger the motion sensor: Walk in front of the Nest Doorbell or simulate motion to test the motion detection feature. The doorbell should capture a video recording and send you a motion alert on your device. If you do not receive motion alerts, review the motion settings and ensure that the activity zones are properly defined.
- Check the video quality: Open the Nest app and view the live video feed from your Nest Doorbell. Ensure that the video quality is clear, with no distortions or obstructions. If the video quality is poor, verify the Wi-Fi signal strength in the installation location and consider repositioning the router or adding a Wi-Fi range extender for better connectivity.
- Review recorded footage: Access the recorded video footage in the Nest app and verify that it is properly captured and stored. Check if the timestamps are accurate and that you can access the footage without any issues. If there are problems with recorded footage, ensure that the Nest Doorbell is connected to a stable internet connection and that you have sufficient storage space in your Nest account.
- Monitor notifications: Pay attention to the notifications you receive from the Nest app. Check if you are receiving push notifications or email alerts for doorbell events such as motion detection or when someone rings the doorbell. If you are not receiving notifications, ensure that the app’s notification settings are properly configured and that your device’s notification settings allow for notifications from the Nest app.
By performing these tests and troubleshooting any issues that arise, you can ensure that your Nest Doorbell is functioning properly and providing the level of security and convenience you expect. If you encounter any persistent issues or problems that you cannot resolve, consult the Nest support website or reach out to their customer support for further assistance.
With Step 8 completed, you have successfully tested and troubleshooted your Nest Doorbell. Now you can enjoy the benefits of enhanced home security and convenience provided by your smart doorbell.
Remember to periodically check and update your Nest Doorbell’s firmware and settings to ensure optimal performance and take advantage of any new features or improvements released by Nest.
Congratulations! You have successfully completed the installation and setup process for your Nest Doorbell. Enjoy your new level of home security and convenience!
Disclaimer: The instructions provided in this article are for general guidance purposes only. Always refer to the manufacturer’s instructions and guidelines for your specific model of the Nest Doorbell.
Read more: How To Get My Nest Doorbell Back Online
Conclusion
Congratulations! By following the step-by-step guide in this article, you have successfully set up and installed your Nest Doorbell. Now, you can enjoy the convenience and security that this smart home device provides. With its high-definition camera, motion detection, and two-way audio capabilities, the Nest Doorbell allows you to monitor and communicate with visitors at your front door from anywhere, using your smartphone or tablet.
Throughout the installation process, you unboxed the Nest Doorbell, gathered the necessary tools and materials, prepared the installation location, installed the baseplate and power adapter, connected the wires, and mounted the doorbell securely. You then connected the doorbell to the Nest app and customized the settings and features according to your preferences.
Testing and troubleshooting the Nest Doorbell ensured that it was functioning correctly, allowing you to confidently rely on its performance for your home security needs. By following these steps, you have maximized the benefits and functionality of your Nest Doorbell.
Remember to periodically check for software updates and revisit the settings in the Nest app to optimize your experience and take advantage of any new features or enhancements that Nest may release.
Thank you for investing in smart home technology and taking the time to follow this guide. With your Nest Doorbell installed and set up, you now have an enhanced level of security and convenience for your home. Enjoy the peace of mind that comes with being able to monitor your front door and communicate with visitors no matter where you are. Stay safe and enjoy your smart home journey!
Disclaimer: The instructions provided in this article are for general guidance purposes only. Always refer to the manufacturer’s instructions and guidelines for your specific model of the Nest Doorbell.
Frequently Asked Questions about How To Set Up Nest Doorbell
Was this page helpful?
At Storables.com, we guarantee accurate and reliable information. Our content, validated by Expert Board Contributors, is crafted following stringent Editorial Policies. We're committed to providing you with well-researched, expert-backed insights for all your informational needs.

0 thoughts on “How To Set Up Nest Doorbell”