
Articles
How To Redo Stairs That Had Carpet
Modified: October 20, 2024
Looking for articles on how to redo stairs that had carpet? Find step-by-step guides and expert tips to transform your staircase into a stunning focal point.
(Many of the links in this article redirect to a specific reviewed product. Your purchase of these products through affiliate links helps to generate commission for Storables.com, at no extra cost. Learn more)
Introduction
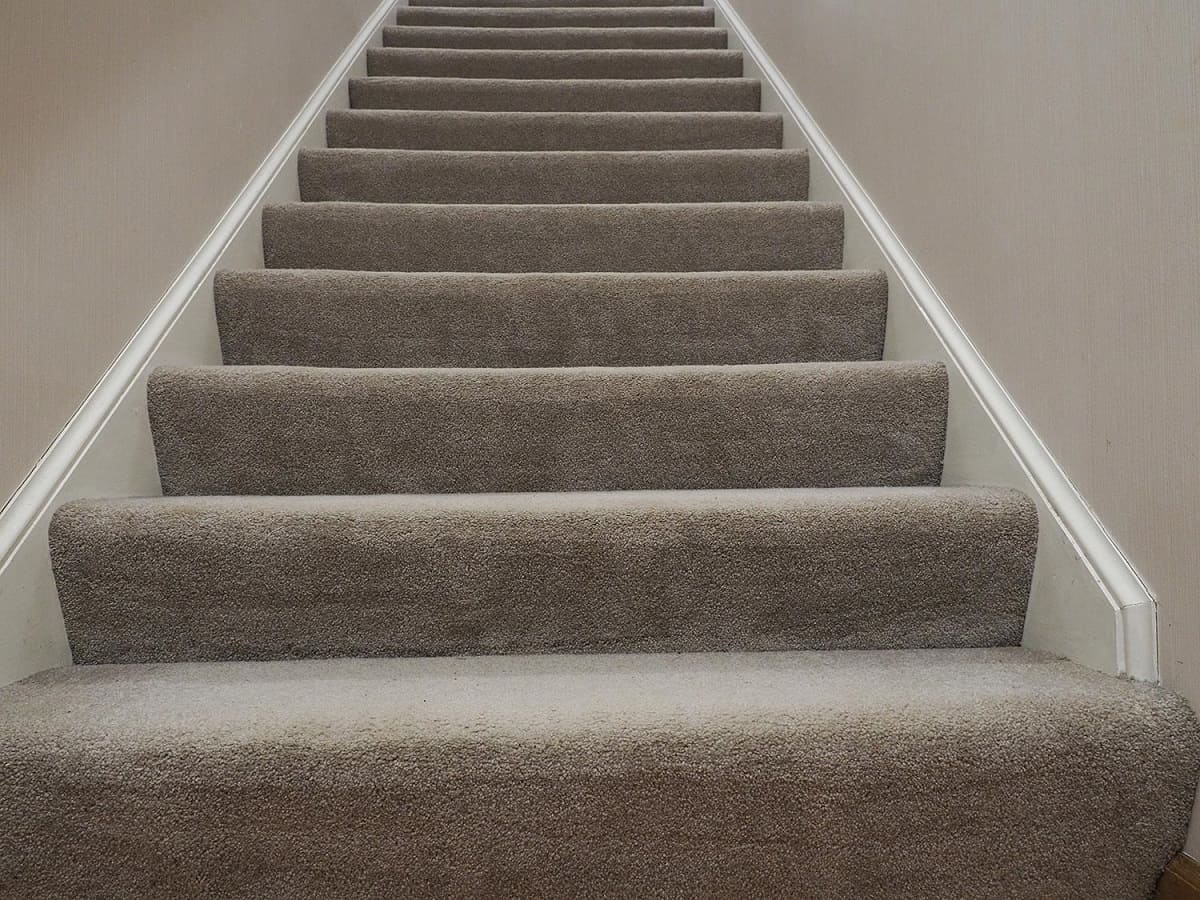
Are you tired of looking at your old, worn-out carpeted stairs? Do you want to give them a fresh new look? Redoing stairs that have carpet can be a rewarding DIY project that adds value and beauty to your home.
Removing the carpet and refurbishing the stairs can transform the entire staircase, giving it a modern and stylish appearance. It allows you to showcase the natural wood underneath, which adds warmth and sophistication to any space. Whether you plan to paint, stain, or re-carpet the stairs, this comprehensive guide will walk you through the steps to successfully redo your stairs.
Before you dive into the project, it’s important to gather the necessary tools and supplies. You will need a utility knife, pliers, pry bar, hammer, sandpaper, wood filler, paint or stain, primer, protective finish, paintbrushes, and carpet or non-slip tread covers, depending on your desired outcome.
Keep in mind that safety should always be your top priority when working on any home improvement project. Wear protective gear such as safety goggles, gloves, and a dust mask to prevent injuries and reduce exposure to dust and fumes.
Now, let’s get started on transforming your carpeted stairs into a stunning focal point in your home!
Key Takeaways:
- Transform your old, carpeted stairs into a stunning focal point by following these steps to remove, repair, sand, and refinish. Add new carpet or non-slip tread covers for safety and style.
- Prioritize safety, attention to detail, and creativity to achieve a successful DIY stair renovation. Enjoy the sense of accomplishment and the renewed aesthetic appeal of your transformed staircase.
Read more: How To Redo Stairs From Carpet To Wood
Step 1: Remove the Carpet
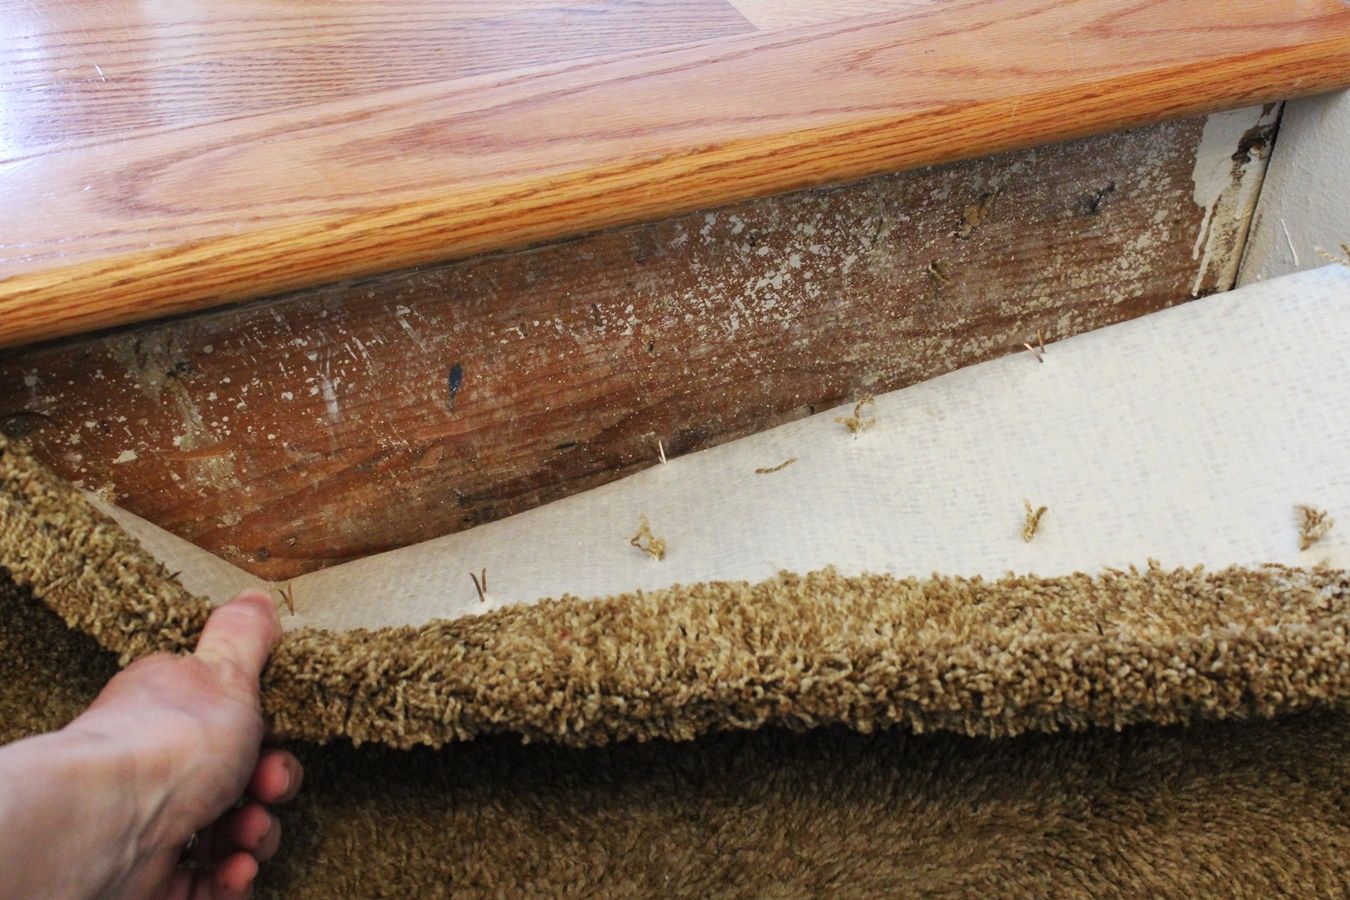
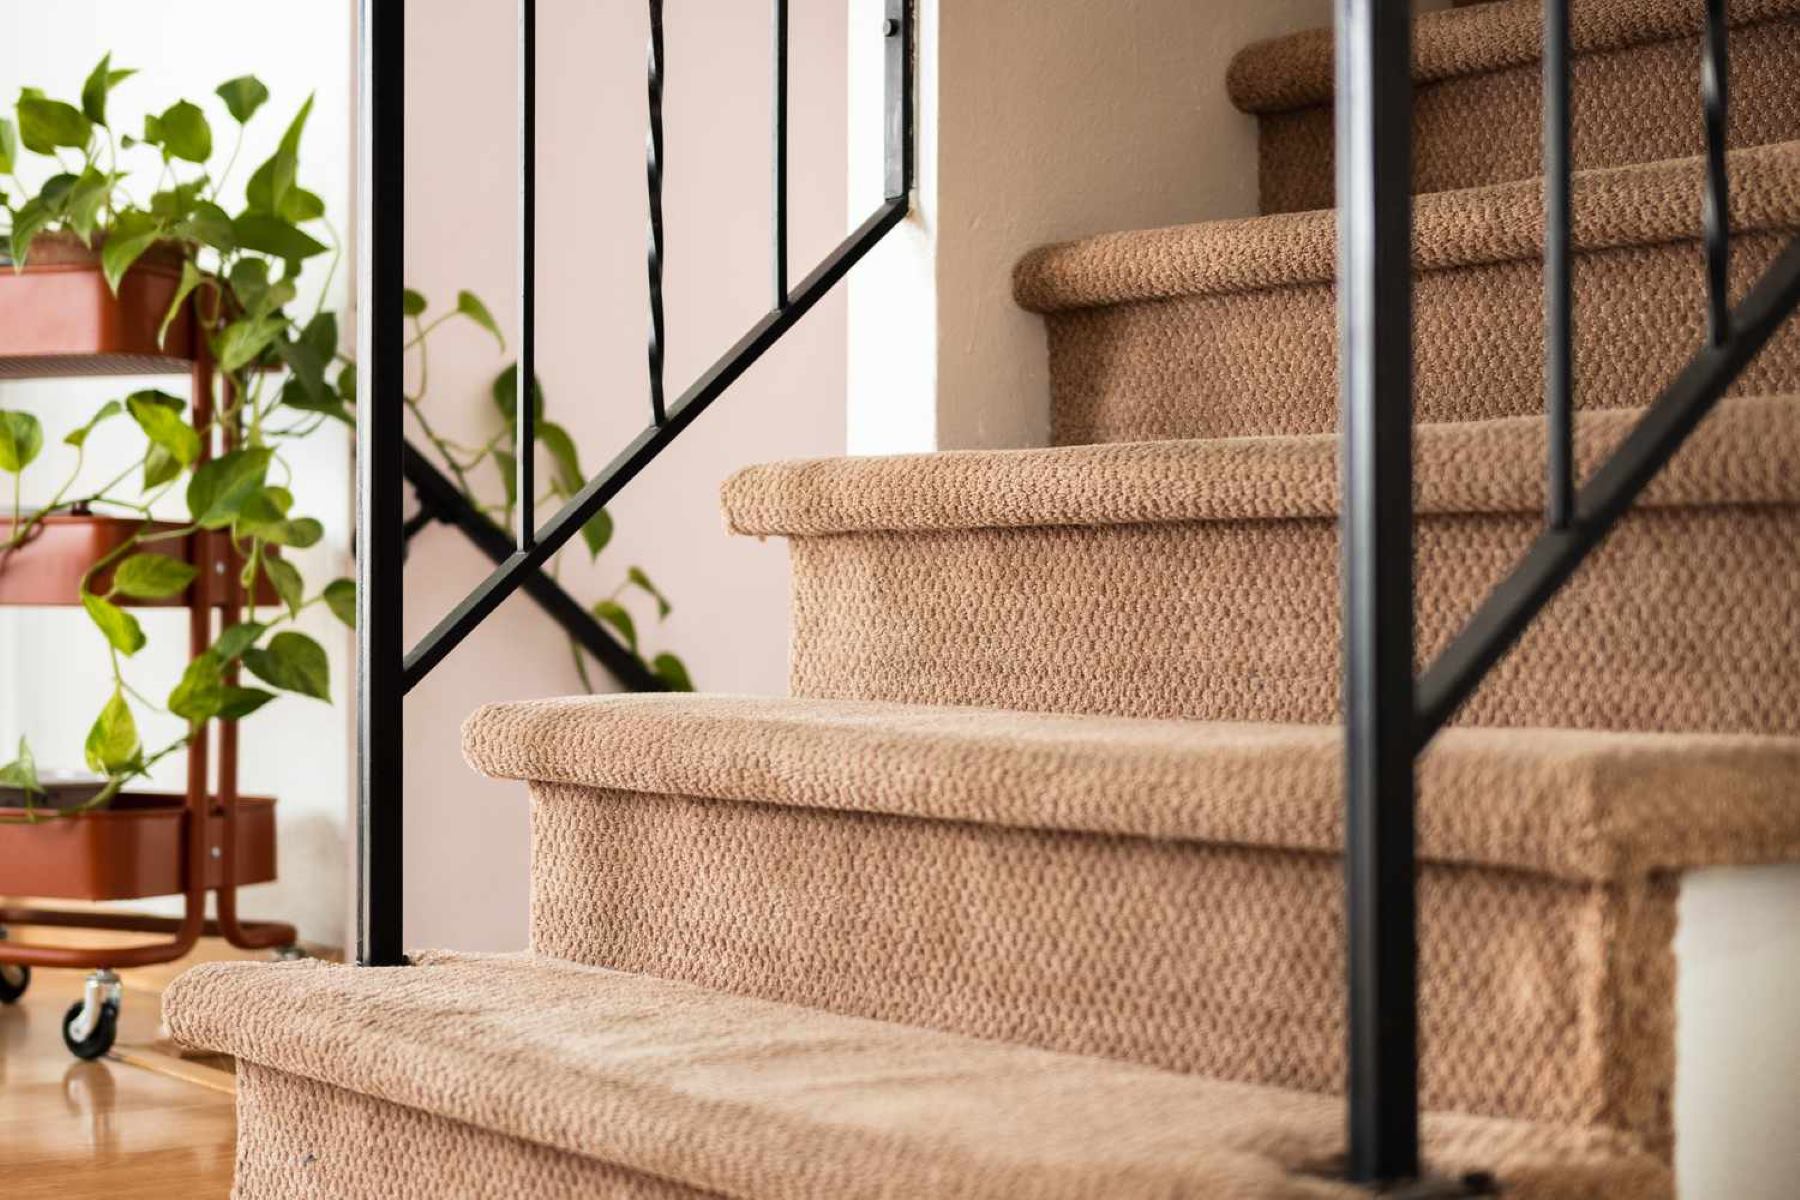
The first step in redoing stairs that have carpet is to remove the existing carpet. Begin by using a utility knife to cut a small section of the carpet near the edge of the stairs. Once you have a starting point, grip the carpet with pliers and pull it up, gradually removing it from the stairs. Be careful to avoid any sharp nails or staples that may be holding the carpet in place.
After removing the carpet, inspect the stairs for any remaining adhesive or tack strips. Use a pry bar and hammer to carefully remove these remnants, ensuring a clean surface for the next steps. Be cautious not to damage the underlying wood while removing the adhesive or tack strips.
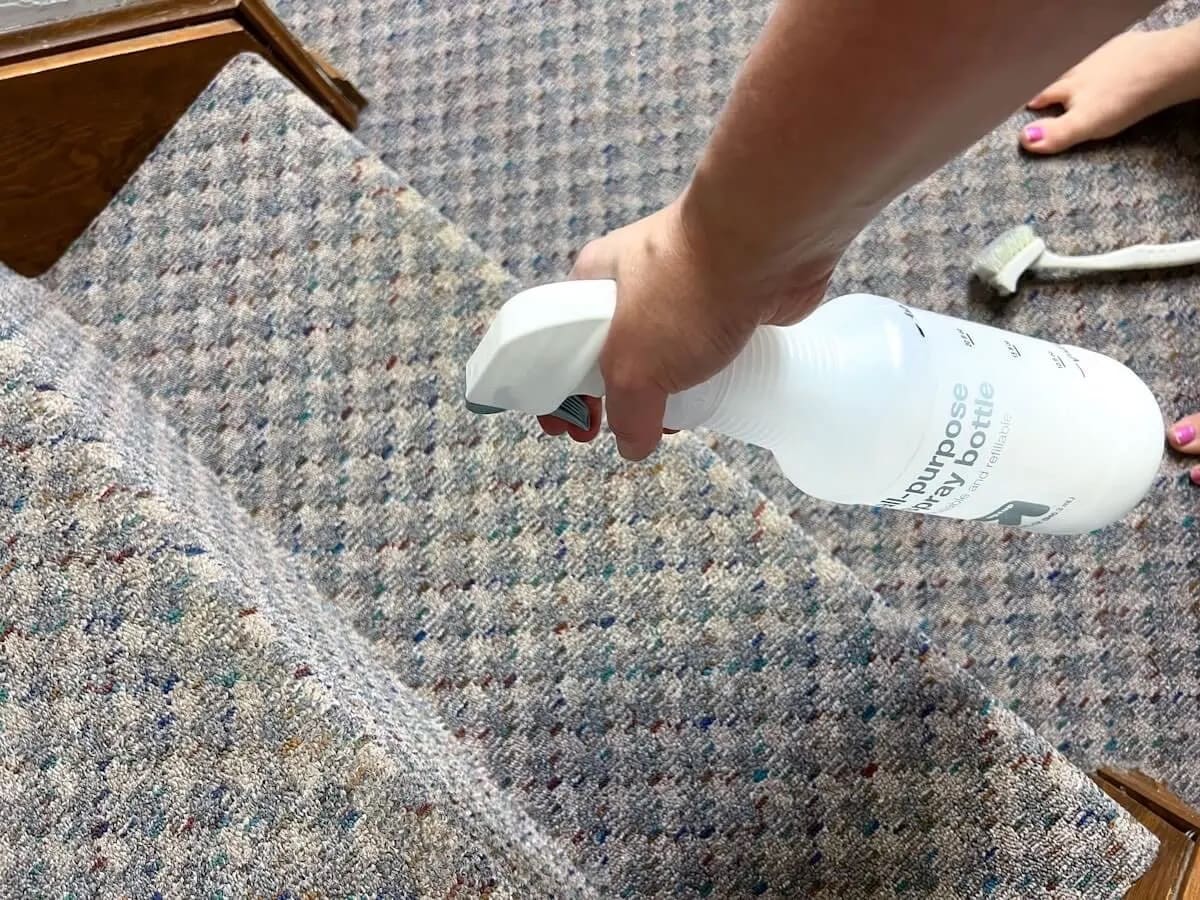
If you come across any stubborn adhesive residue, you can use a commercial adhesive remover or a mixture of warm water and mild soap to help dissolve it. Use a sponge or cloth to apply the solution and gently scrub away the residue. Make sure to thoroughly rinse the stairs and allow them to dry completely before moving on to the next step.
Removing the carpet not only reveals the true condition of the stairs but also allows you to inspect for any damages or repairs that may be needed. Take this opportunity to carefully examine each tread and riser for any signs of wear or damage. If you discover any cracks, holes, or loose components, address them before proceeding with the next steps. Repairing or replacing damaged treads will ensure a safe and durable staircase.
By removing the carpet, you are one step closer to rejuvenating your stairs and achieving a fresh, updated look. Now that the surface is prepared, it’s time to move on to the next step: inspecting the stairs.
Step 2: Inspect the Stairs
Once you have removed the carpet and any adhesive residue, it’s crucial to thoroughly inspect the stairs to assess their condition. This step will help you identify any structural issues or damages that need to be addressed before moving forward with the renovation.
Start by closely examining each tread and riser for signs of wear, cracks, or warping. Look for any loose or squeaky components that may need tightening or replacement. Additionally, check the integrity of the stringers, which are the diagonal support pieces that run along the sides of the stairs.
If you notice any significant damage, such as rot or structural issues, it’s essential to consult a professional to determine the best course of action. They can provide guidance on whether the stairs need to be repaired or replaced entirely to ensure safety and durability.
For minor damages, such as small cracks or chips, you can use wood filler to repair them. Apply the wood filler according to the manufacturer’s instructions, filling in the damaged areas and smoothing it out with a putty knife. Allow it to dry completely before moving on to the next step.
Inspecting the stairs allows you to address any underlying issues and make necessary repairs, ensuring a solid foundation for the next steps. Once you have assessed and fixed any damages, you can proceed to the next stage of the stair renovation process: repairing or replacing damaged treads.
Step 3: Repair or Replace Damaged Treads
After inspecting the stairs and identifying any damaged treads, it’s time to repair or replace them. This step is crucial to ensure the stability and safety of your staircase.
If you have minor damage, such as small chips or cracks, you can repair the treads using wood filler. Begin by cleaning the damaged area, removing any loose debris or dust. Then, apply the wood filler, following the manufacturer’s instructions. Use a putty knife to spread the filler evenly, filling in the damaged portions. Allow the wood filler to dry completely before moving on to the next step.
If the damage is more severe or the treads are beyond repair, it may be necessary to replace them. Start by removing the damaged tread using a pry bar and hammer. Be cautious to avoid damaging the surrounding stairs during the removal process.
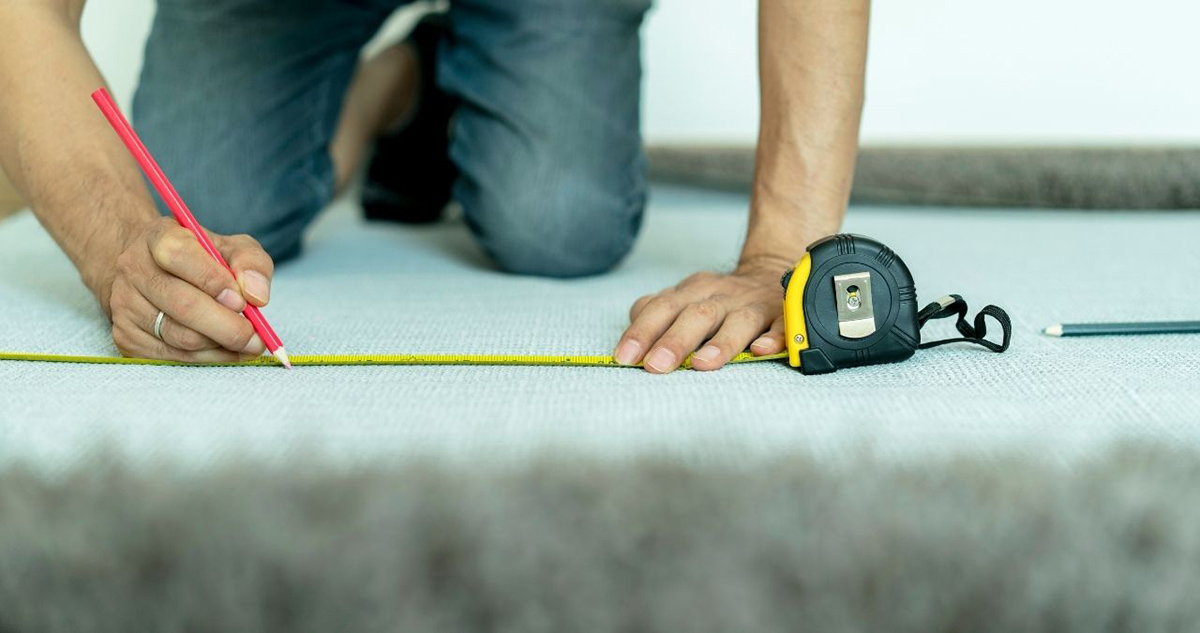
Measure the dimensions of the removed tread and use these measurements to cut a replacement piece of wood to the appropriate size. Ensure that the replacement tread is made of a material that matches the rest of the stairs for a cohesive look. Sand the edges of the replacement tread to smooth them out before installation.
To install the replacement tread, apply a construction adhesive to the underside of the tread, then carefully position it in place. Use a nail gun or screws to secure the tread to the stringers, making sure it is securely attached. Fill any gaps or holes with wood filler, then sand the tread once again to create a smooth surface.
Repeat the repair or replacement process for any additional damaged treads until all the stairs are in good condition. This step ensures that your stairs are structurally sound and ready for the next phase of the renovation: sanding.
Step 4: Sand the Stairs
Now that you have repaired or replaced any damaged treads, it’s time to prepare the stairs for the next stages of the renovation by sanding them. Sanding helps to smooth out imperfections, removes any remaining adhesive or finish, and prepares the surface for painting, staining, or applying a protective finish.
Start by choosing the appropriate type and grit sandpaper for your project. For wooden stairs, it’s generally recommended to use medium-grit sandpaper (such as 120 or 150 grit) for the initial sanding. This will remove any roughness and prepare the surface for a finer sanding later on.
Begin at the top of the staircase and work your way down, sanding each tread and riser in a consistent motion. Make sure to sand in the direction of the wood grain to avoid causing any unnecessary damage. Use a sanding block or a power sander with a sanding attachment to expedite the process and achieve an even result.
Pay extra attention to any corners, edges, or intricate details on the stairs. These areas may require hand sanding or using a smaller sanding tool to reach tight spots. Take your time and be thorough to ensure a smooth and uniform surface.
After the initial sanding, move on to a finer grit sandpaper, such as 220 grit. Repeat the sanding process, focusing on smoothing out any scratches or inconsistencies left from the previous round of sanding. This step will help achieve a polished finish and prepare the stairs for the next stage of the renovation.
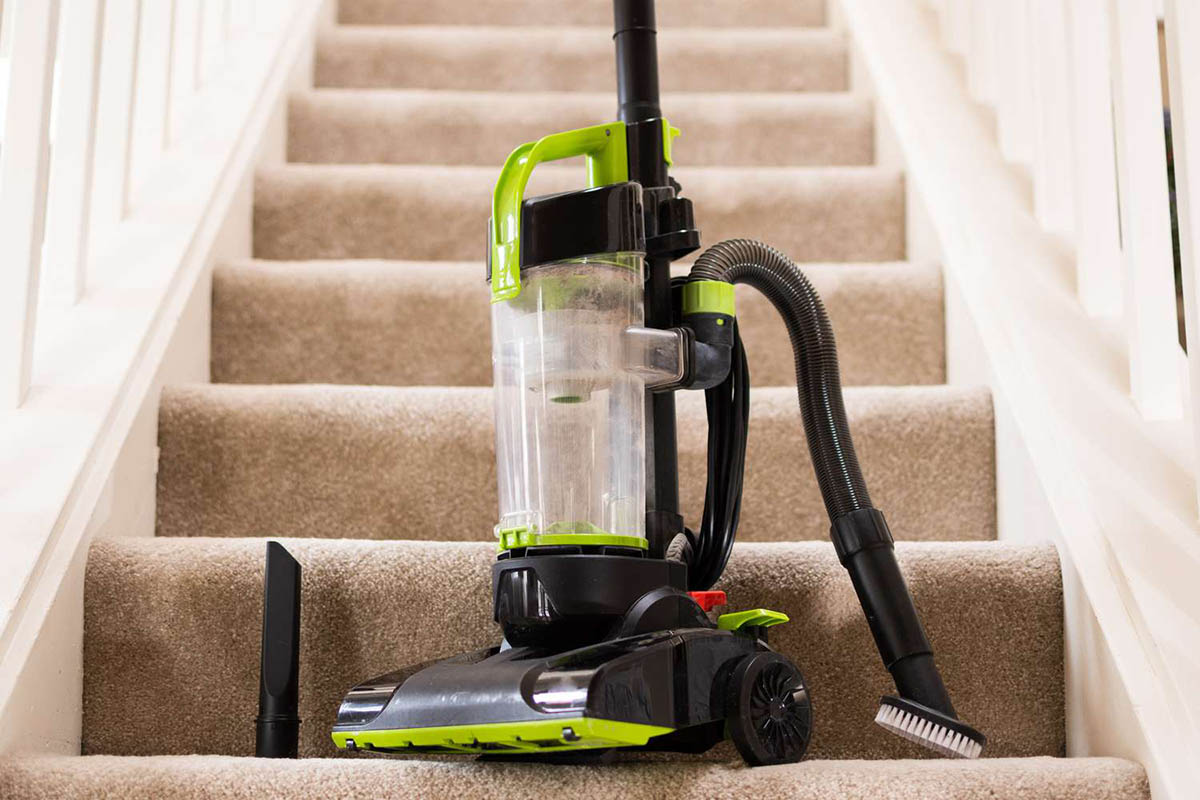
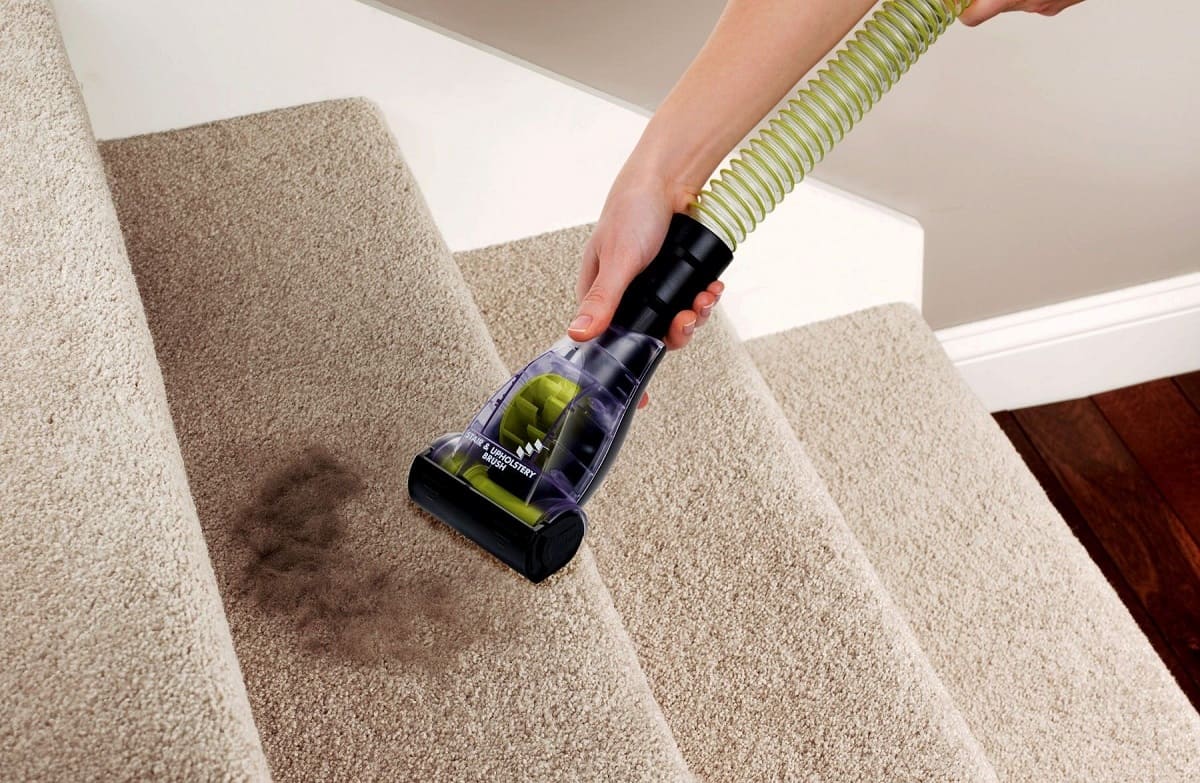
Once you have finished sanding, use a vacuum or a damp cloth to remove any dust or debris. It’s essential to have a clean surface before proceeding with the next steps. Sanding is a crucial part of the stair renovation process as it creates a smooth and even base for the next phase: applying a primer.
Before installing new flooring on stairs that previously had carpet, make sure to thoroughly clean and sand the stairs to remove any adhesive residue and create a smooth surface for the new flooring.
Read more: How To Redo Carpet
Step 5: Apply a Primer
After sanding the stairs, it’s time to apply a primer. Priming the surface provides several benefits, including better adhesion for the paint or stain, improved durability, and a smoother finish. It also helps to seal the wood, preventing it from absorbing too much paint or stain and resulting in a more even and consistent color.
Before starting, ensure that the stairs are clean and free of any dust or debris from the sanding process. Use a vacuum or a damp cloth to remove any remaining particles. Allow the stairs to dry completely before moving on to the next step.
Choose a high-quality primer suitable for the type of paint or stain you plan to use. If you’re painting the stairs, opt for a primer specifically designed for wood surfaces. If you’re staining, look for a wood primer that enhances the natural wood grain.
Start by applying the primer to the risers, using a paintbrush or a roller. Work in sections, ensuring even coverage and avoiding any drips or pooling of the primer. Continue to apply the primer to each riser, working your way up or down the staircase.
Next, move on to the treads, applying the primer in the same manner as the risers. Make sure to coat the entire surface evenly, including the edges and corners of each tread. If you prefer a smoother finish, you can lightly sand the primed surface once it has dried to remove any brushstrokes or imperfections.
Allow the primer to dry completely according to the manufacturer’s instructions. This typically takes a few hours, but it’s best to wait overnight to ensure a fully cured and stable surface.
Applying a primer is an essential step in the stair renovation process as it provides a solid foundation for the subsequent paint or stain application. It helps to improve the longevity and appearance of the finish, resulting in a professional and polished look for your staircase.
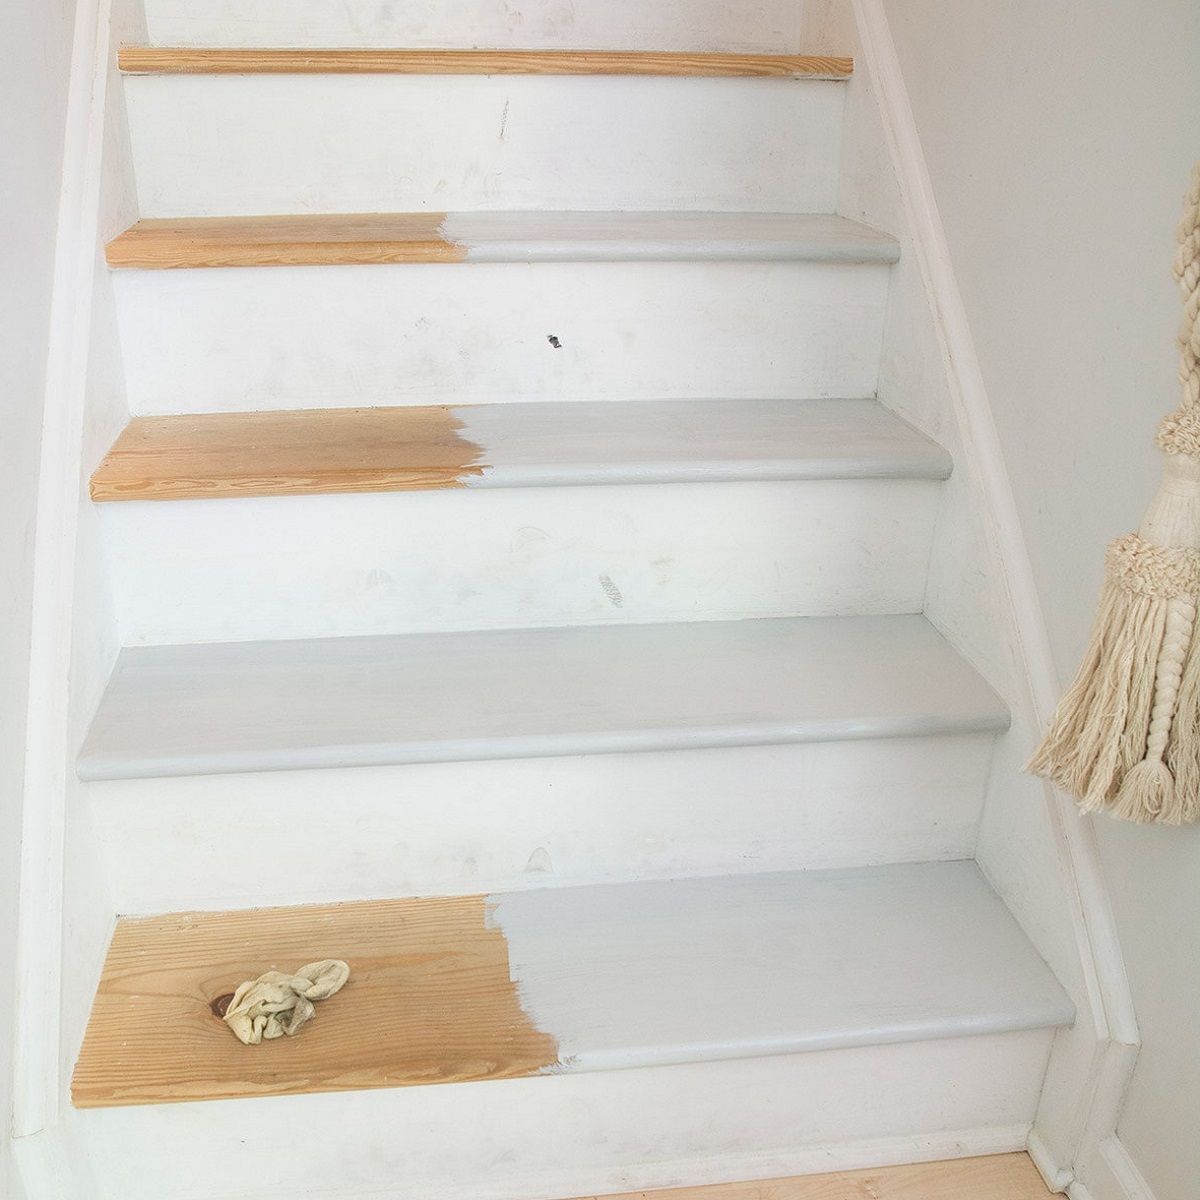
Step 6: Paint or Stain the Stairs
Now that you have applied the primer and allowed it to dry, it’s time to bring your vision to life by painting or staining the stairs. This step will add color and personality to your staircase, transforming it into a stunning focal point in your home.
Before you begin, choose the type of finish you desire for your stairs. If you prefer a bold and vibrant look, painting the stairs is an excellent option. On the other hand, if you want to enhance the natural beauty of the wood and showcase its grains, staining is the way to go. Consider the overall aesthetic of your space and personal preferences when making this decision.
If you decide to paint the stairs, select a high-quality paint specifically designed for high-traffic areas. Opt for a semi-gloss or satin finish, as these provide durability and are easier to clean. Choose a color that complements your interior decor and creates the desired ambiance in your home.
If staining is your preferred choice, select a stain that matches your desired shade and enhances the natural beauty of the wood. Ensure that the stain is appropriate for interior use and is compatible with the type of wood on your stairs. Consider testing the stain on a small, inconspicuous area before applying it to the entire staircase.
When painting or staining, start at the top of the staircase and work your way down, completing one tread and riser at a time. Use a high-quality paintbrush or roller to apply an even coat of paint or stain, following the manufacturer’s instructions for drying time between coats. Pay attention to any drips or streaks and correct them immediately for a smooth and professional finish.
If you’re using paint, two coats are usually sufficient to achieve full coverage and enhance durability. For staining, the number of coats will depend on the desired depth of color. Allow each coat to dry completely before proceeding with the next one.
Once the final coat is applied and dried, step back and admire your beautifully painted or stained stairs. The transformation is remarkable, and your staircase is now ready for the next step: adding a protective finish.
Step 7: Add a Protective Finish
After painting or staining the stairs, it is essential to apply a protective finish to preserve the color and ensure the longevity of your hard work. The protective finish acts as a barrier against wear and tear, daily foot traffic, and potential spills or scratches.
There are various options for protective finishes, including polyurethane, varnish, or lacquer, depending on your preferred level of sheen and durability. Choose a finish that is specifically designed for interior wood surfaces and is compatible with the type of paint or stain you applied.
Before you begin, ensure that the painted or stained surface is clean and free of any dust or debris. Use a soft cloth or brush to remove any particles that may have settled on the stairs. Make sure the surface is completely dry before applying the protective finish.
Using a clean paintbrush or roller, evenly apply the protective finish to the treads and risers. Follow the manufacturer’s instructions for the appropriate drying time between coats. Typically, two to three coats of finish are recommended to achieve optimal protection.
While applying the protective finish, pay attention to any drips or uneven coverage. Work in small sections, making sure to smooth out the finish as you go. Watch for any air bubbles, and if necessary, lightly sand the surface between coats to ensure a smooth and flawless finish.
Allow the protective finish to dry completely, typically for 24 hours or as per the manufacturer’s instructions. Keep in mind that the drying time may vary depending on factors such as humidity and temperature. Avoid walking on the stairs or placing any objects on them until the finish is fully cured.
Once the protective finish is completely dry, your stairs are now not only beautiful but also well-protected. The finish adds an extra layer of durability and maintains the vibrancy of the paint or stain. Now, all that’s left is to add the finishing touches to further enhance the safety and aesthetic appeal of your newly redone stairs.
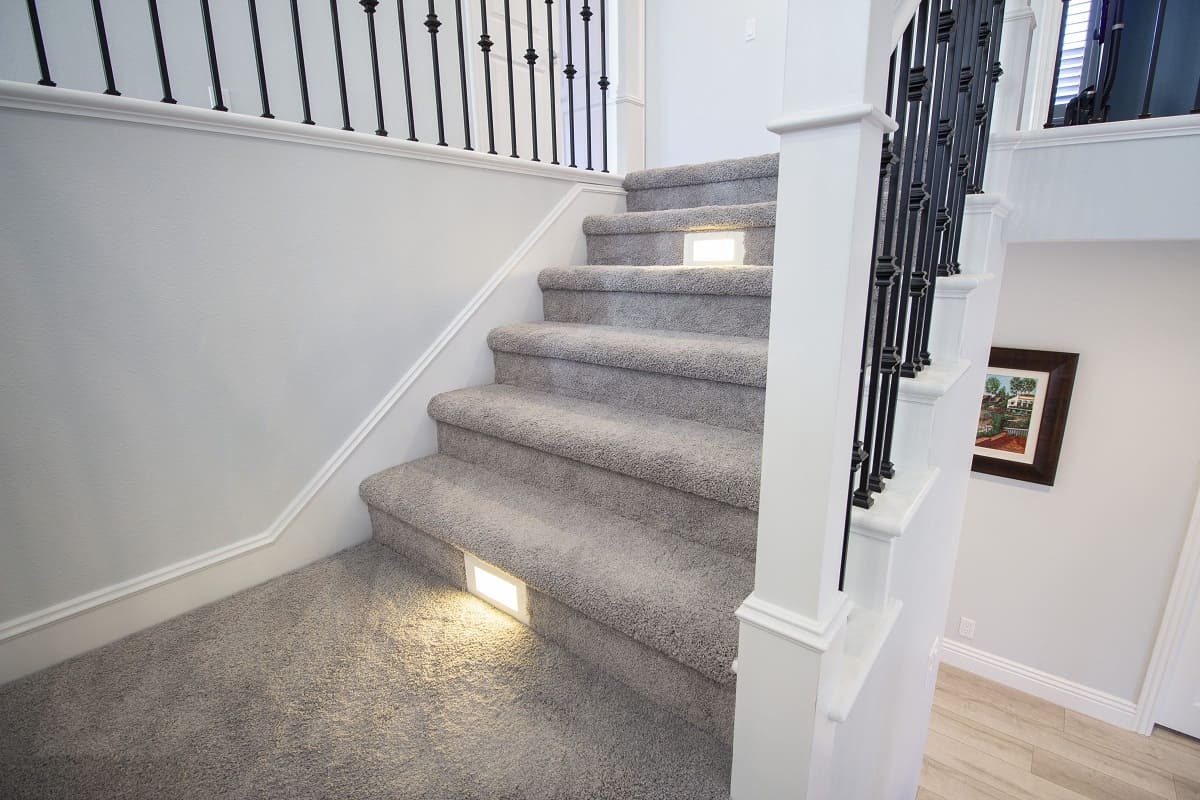
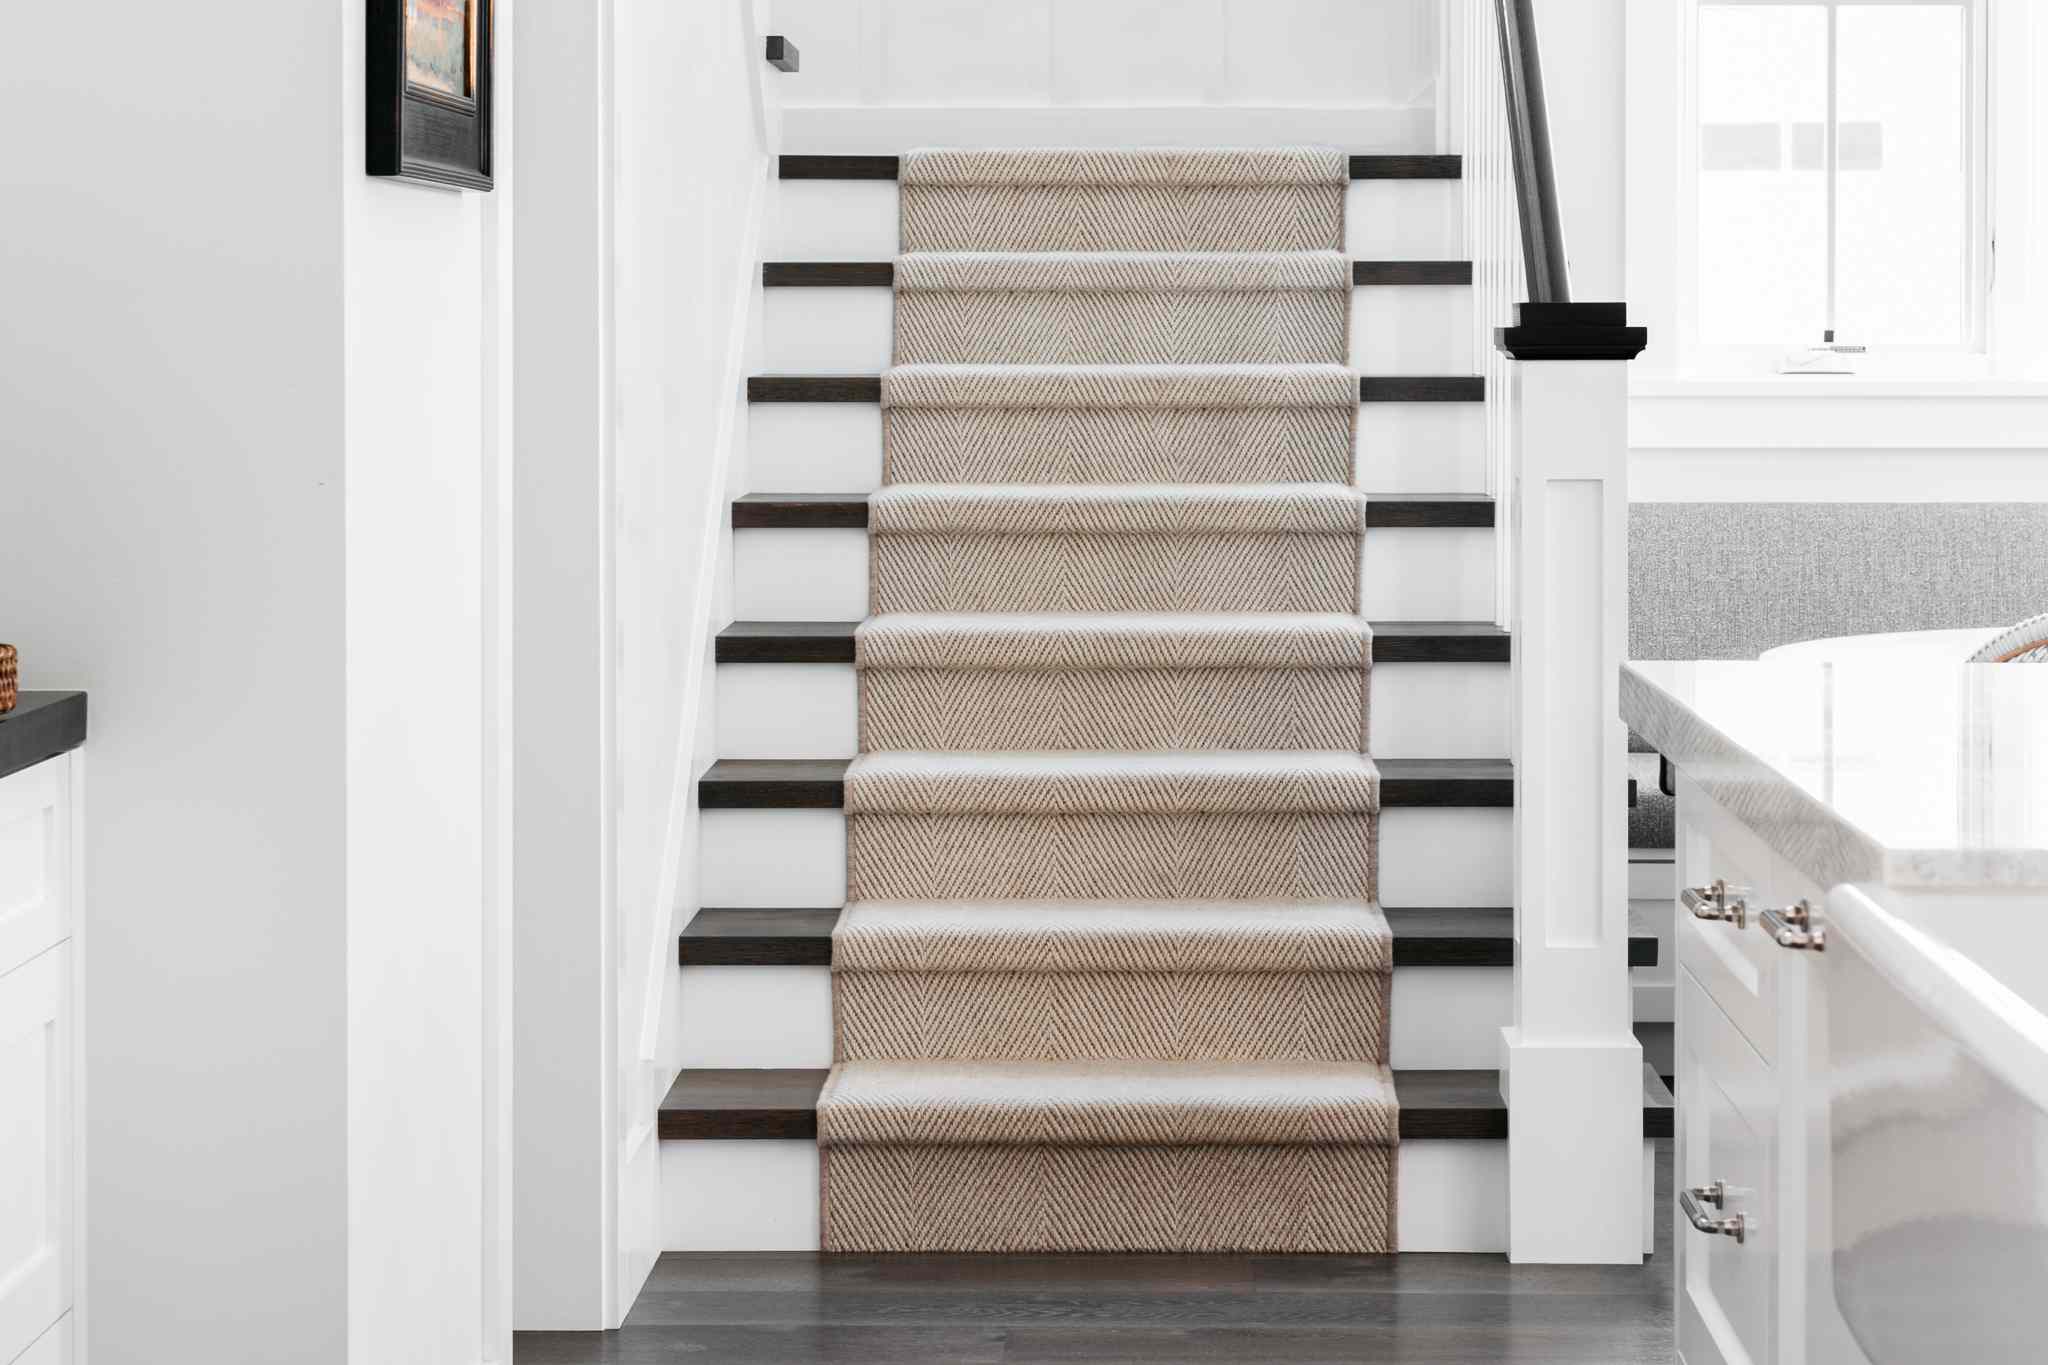
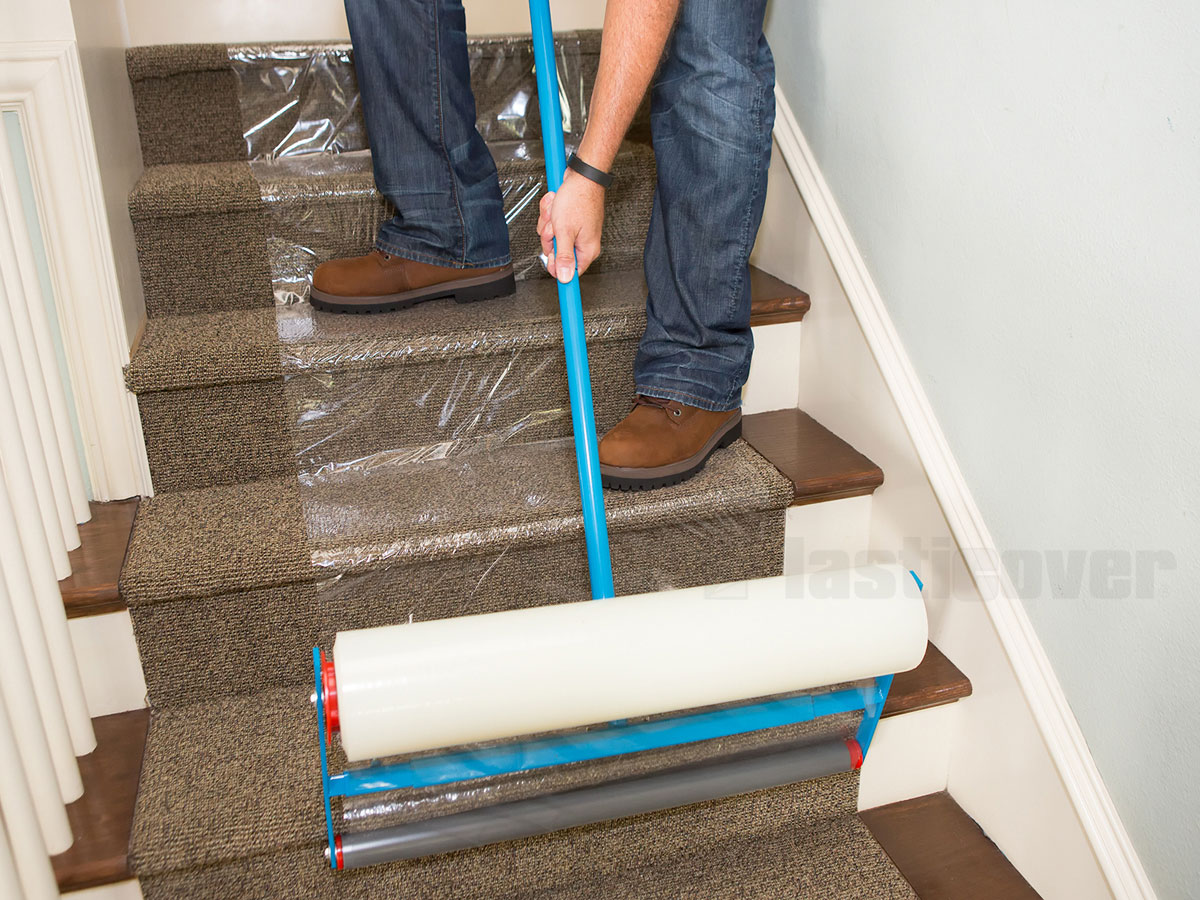
Step 8: Install New Carpet or Non-Slip Tread Covers
In the final step of redoing stairs that previously had carpet, you have the option to either install new carpet or non-slip tread covers. This step is crucial for enhancing safety, providing comfort, and adding a finishing touch to your stairs.
If you prefer the warmth and softness of carpet, measure the dimensions of each tread and riser to ensure accurate fitting. Choose a high-quality carpet that is specifically designed for stairs to ensure durability and longevity. Consider the style and color that will best complement your overall interior design.
Start the installation process by cleaning the stairs thoroughly, ensuring there is no dust or debris left behind. Use a vacuum cleaner or a brush to remove any particles.
If you choose to install carpet, apply a double-sided carpet tape or adhesive to the back of the carpet or directly to the stair tread. Begin at the bottom of the staircase, align the edge of the carpet with the riser, and press it firmly into place. Continue this process, making sure each piece is securely fixed. Trim any excess carpet if necessary.
Alternatively, non-slip tread covers are another popular option for stair renovation. These covers provide additional safety and grip, preventing slips and falls on the stairs. Non-slip tread covers are typically made of materials like rubber or vinyl, with textured surfaces for added traction.
Installation of non-slip tread covers is relatively simple. Start by cleaning the stairs thoroughly, ensuring they are free of dust and any adhesive residue. Apply a strong adhesive or double-sided tape to the back of each tread cover, then position them on the stair treads, ensuring a secure fit. Press firmly to ensure proper adhesion.
Whether you choose carpet or non-slip tread covers, make sure all edges are secured properly and there are no loose corners or edges that could pose a tripping hazard.
By adding new carpet or non-slip tread covers, you not only enhance the beauty and comfort of your stairs but also provide an additional level of safety to protect you and your loved ones.
Congratulations! You have successfully transformed your carpeted stairs into a fresh, updated staircase that adds value and style to your home. Take a moment to appreciate your hard work and enjoy your newly redone stairs.
Remember, proper maintenance and regular cleaning will keep your stairs looking their best for years to come. Stay proactive in addressing any spills or stains to preserve the quality and appearance of your newly renovated stairs.
Now sit back, relax, and admire the stunning transformation you have achieved. Your redone stairs are sure to be a standout feature in your home.
Read more: How To Redo Your Stairs
Conclusion
Redoing stairs that were previously carpeted is a rewarding and transformative project that can breathe new life into your staircase. By following these steps, you can create a visually appealing and safe staircase that adds value and charm to your home.
Starting with the removal of the carpet and inspecting the stairs for any necessary repairs, you set the foundation for a successful renovation. Sanding the stairs creates a smooth surface, preparing it for painting or staining. Applying a primer ensures better adhesion and a more even finish, while adding a protective finish helps preserve the beauty and durability of your stairs.
Finally, whether you choose to install new carpet or non-slip tread covers, the last step adds the final touch of comfort and safety to your staircase. Both options provide their own benefits, so consider your preferences and the style of your home when making a decision.
Throughout this process, remember to prioritize safety by using appropriate protective gear and following manufacturer’s instructions for all products and tools. Take your time to complete each step meticulously, as attention to detail will result in a stunning outcome.
With your newly redone stairs, you have transformed a previously outdated and worn carpeted staircase into a stylish and attractive focal point in your home. Enjoy the renewed aesthetic appeal and the sense of accomplishment that comes with a successful DIY project.
Regular maintenance and cleaning will help preserve the quality and longevity of your newly redone stairs. Stay proactive in addressing any spills or stains and be sure to follow recommended care instructions for the specific materials you have chosen.
Now, let your beautifully redone stairs stand as a testament to your creativity and dedication to improving your living space. Whether you’re admiring them yourself or impressing guests, your stairs will surely leave a lasting impression.
Frequently Asked Questions about How To Redo Stairs That Had Carpet
Was this page helpful?
At Storables.com, we guarantee accurate and reliable information. Our content, validated by Expert Board Contributors, is crafted following stringent Editorial Policies. We're committed to providing you with well-researched, expert-backed insights for all your informational needs.


0 thoughts on “How To Redo Stairs That Had Carpet”