Articles
How To Remove Kenmore Ice Maker
Modified: August 19, 2024
Learn how to remove the Kenmore ice maker easily with our step-by-step articles. Say goodbye to ice maker problems and keep your fridge running smoothly.
(Many of the links in this article redirect to a specific reviewed product. Your purchase of these products through affiliate links helps to generate commission for Storables.com, at no extra cost. Learn more)
Introduction
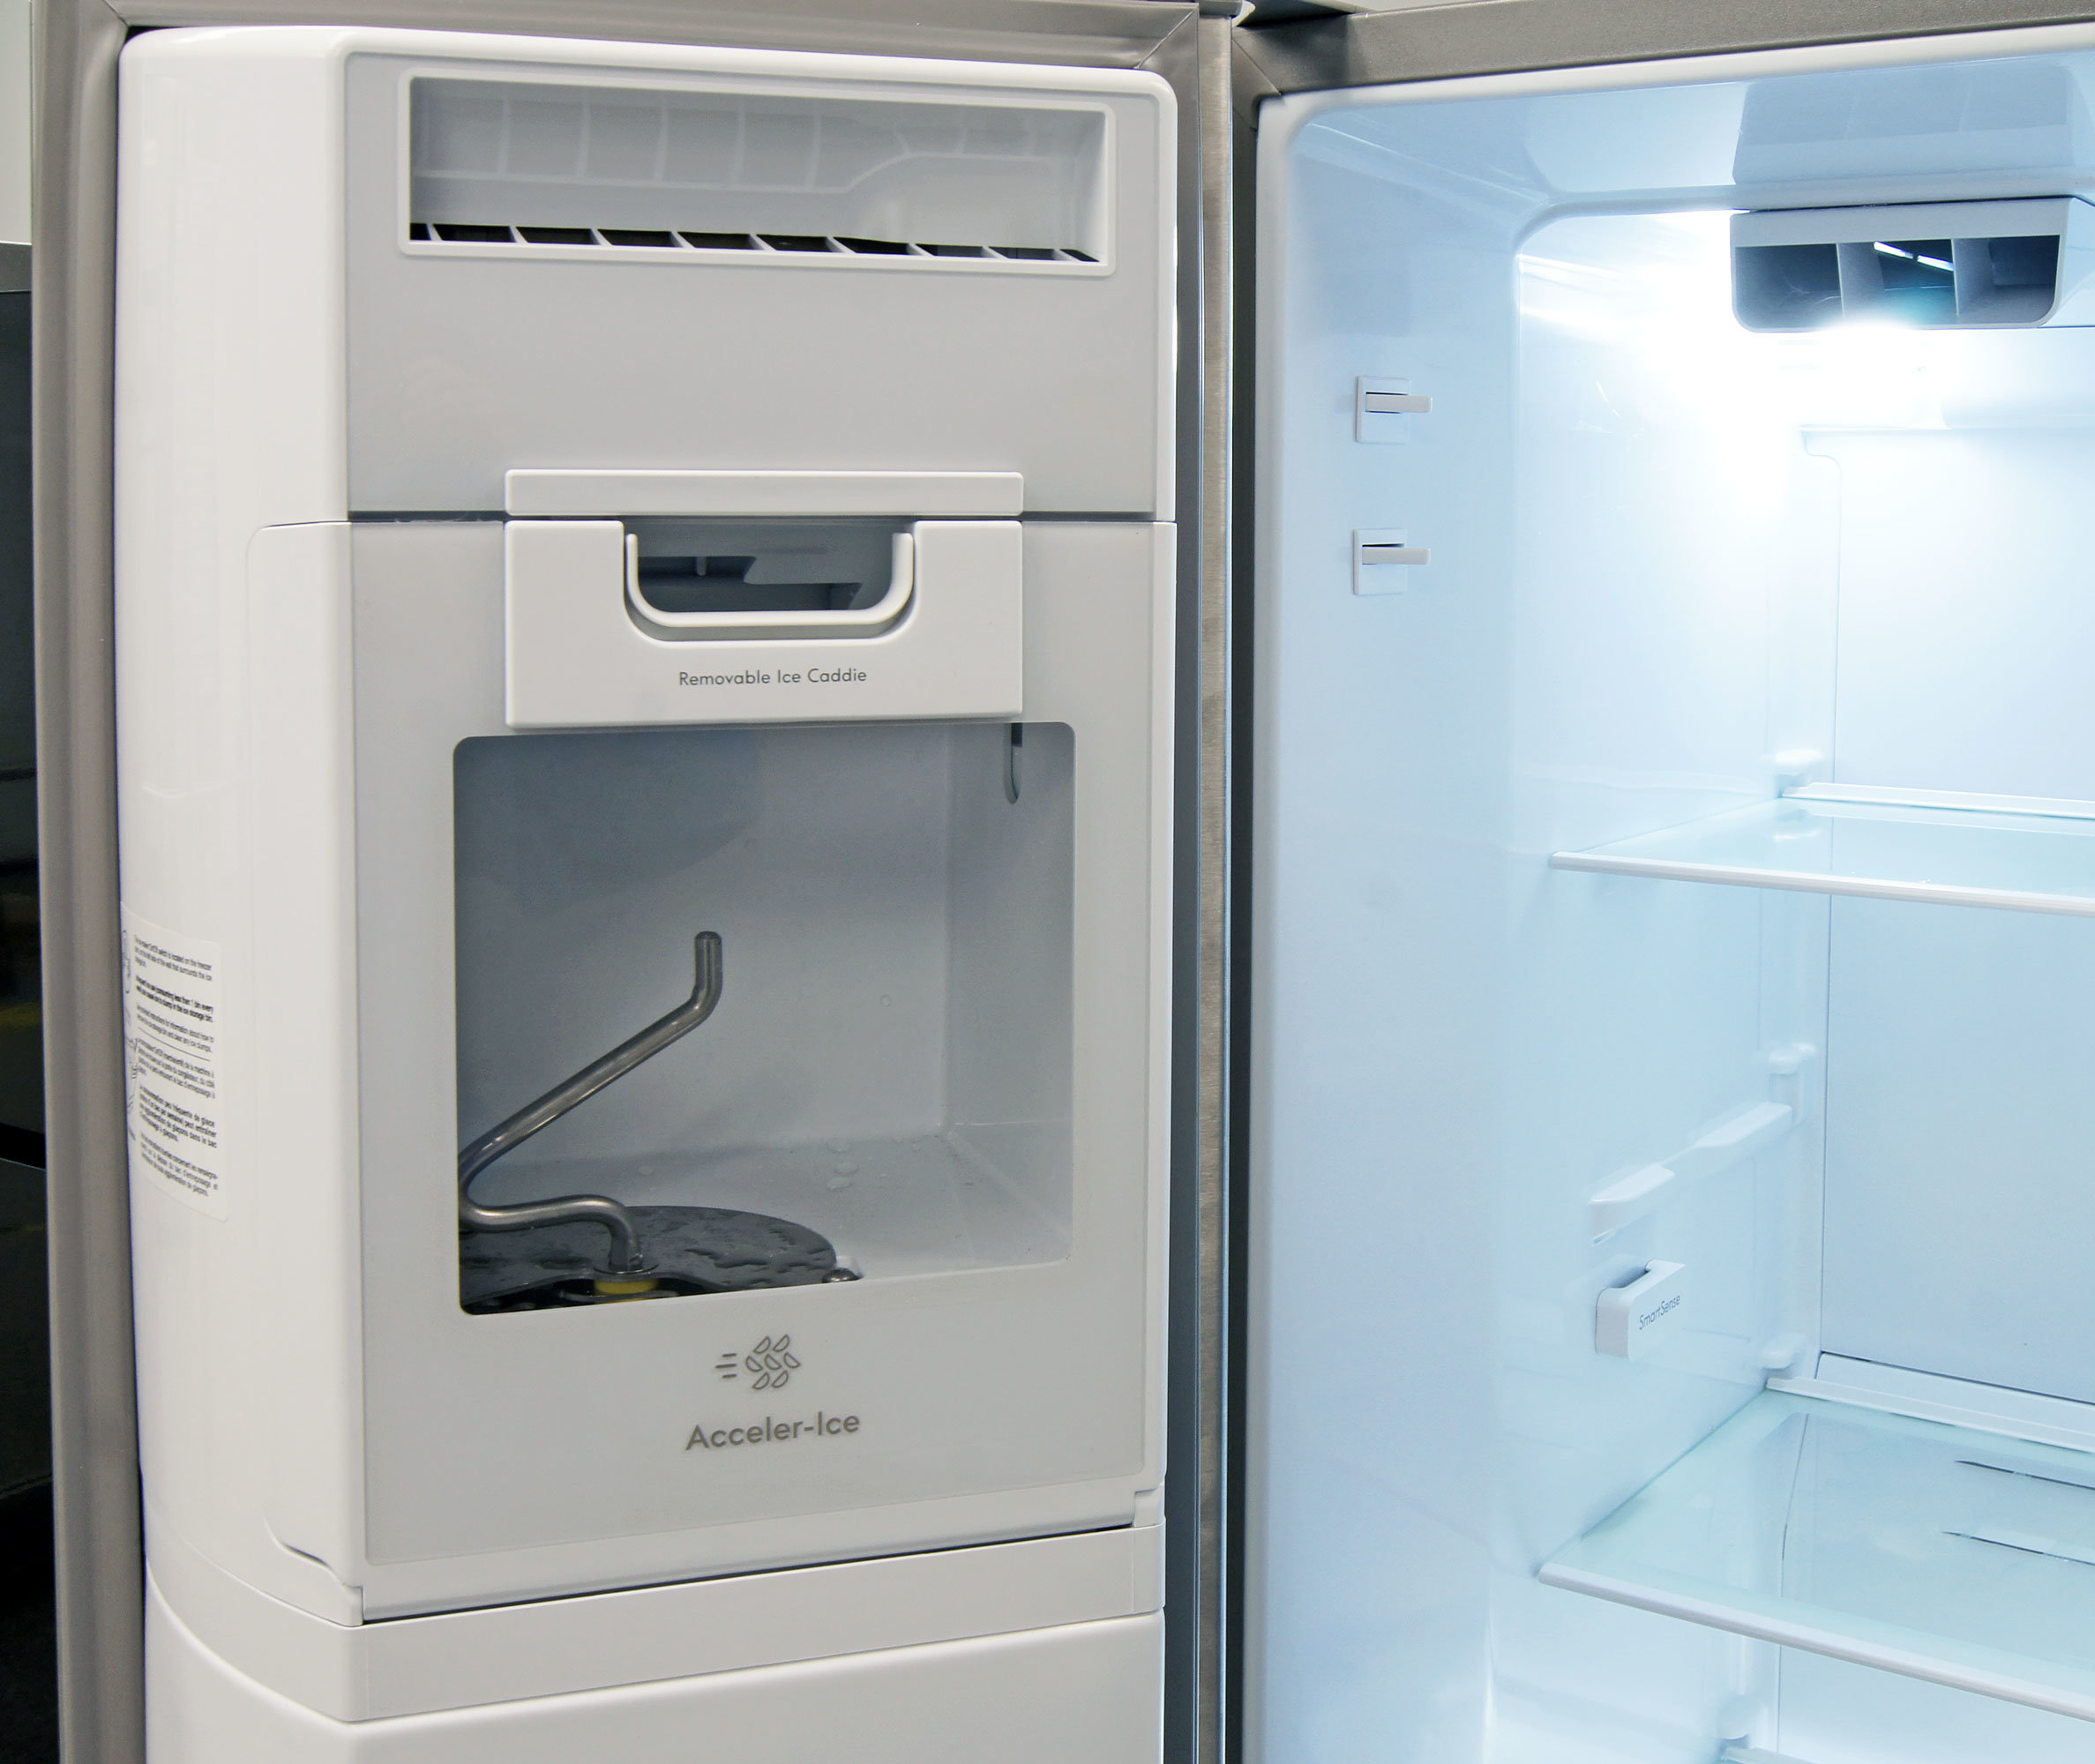
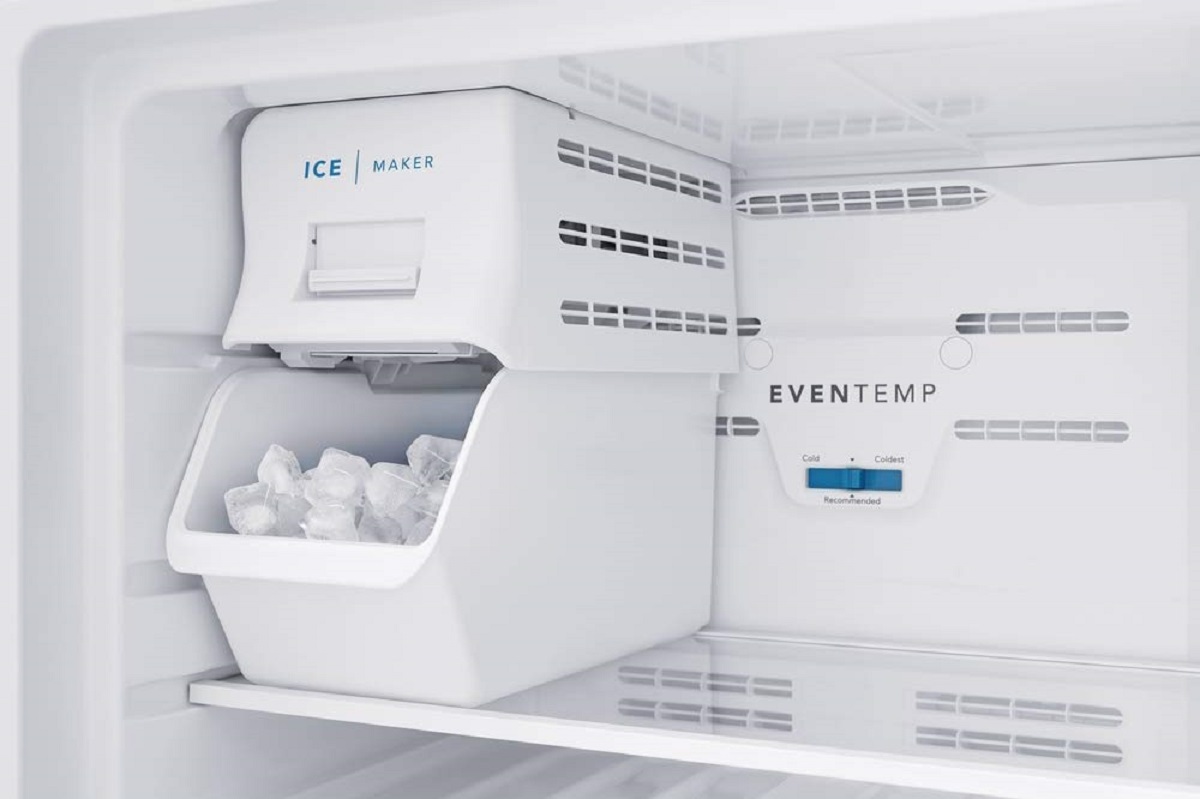
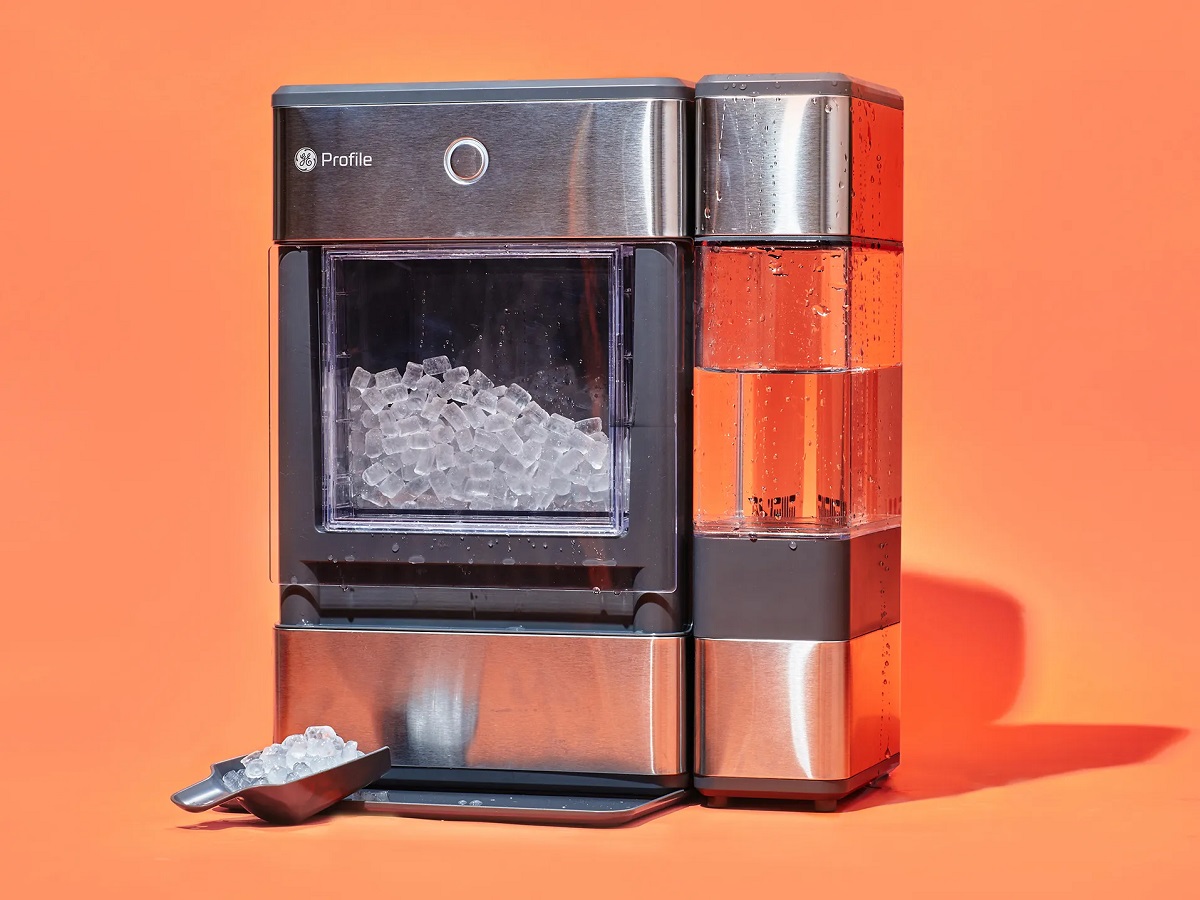
Having an ice maker in the kitchen can be a convenient feature, providing you with a steady supply of ice cubes whenever you need them. However, there may come a time when you need to remove or replace your Kenmore ice maker. Whether it’s due to a malfunction or you simply want to upgrade to a newer model, the process of removing the ice maker can seem daunting at first. But fear not, with the right tools and a bit of know-how, you can easily remove your Kenmore ice maker and either clean and reinstall it or replace it altogether.
In this article, we will take you through a step-by-step guide on how to remove a Kenmore ice maker. We will discuss the tools you’ll need, how to turn off the ice maker, uninstall the assembly, disconnect the water supply line, remove the mounting screws, take out the ice maker unit, clean and reinstall or replace the ice maker, reconnect the water supply line, and finally, turn on the ice maker.
Whether you’re a seasoned DIY enthusiast or someone looking to tackle a household project for the first time, this guide will provide you with the knowledge and confidence to successfully remove your Kenmore ice maker. So let’s get started!
Key Takeaways:
- Removing a Kenmore ice maker is a manageable DIY project with the right tools and guidance. Following the step-by-step process ensures a successful removal, cleaning, and reinstallation or replacement of the ice maker.
- Prioritize safety, handle the ice maker with care, and consult the manufacturer’s instructions for specific model requirements. Enjoy the convenience of a well-functioning Kenmore ice maker in your kitchen.
Read more: How To Fix Ice Maker Kenmore
Step 1: Gather the necessary tools
Before you begin the process of removing your Kenmore ice maker, it’s important to gather all the necessary tools. Having the right tools on hand will ensure a smoother and more efficient removal process. Here are the tools you’ll need:
- Phillips screwdriver
- Adjustable wrench or pliers
- Bucket or towels
- Masking tape
- Marker or pen
Make sure you have these tools readily available before you start the removal process. This will save you time and frustration by avoiding interruptions to search for missing tools.
The Phillips screwdriver will be used to remove the mounting screws that secure the ice maker to the freezer. The adjustable wrench or pliers will come in handy for disconnecting the water supply line and any other connections. The bucket or towels will help catch any water that may spill during the removal process. The masking tape and marker or pen are optional but can be useful for labeling and organizing the various components as you remove them.
Once you have gathered all the necessary tools, place them in a convenient location near the ice maker. This will allow for easy access throughout the removal process. Additionally, it’s always a good idea to wear protective gloves and safety goggles when working with tools, especially if there is a risk of water exposure or sharp edges.
With your tools prepared, you’re now ready to move on to the next step: turning off the ice maker.
Step 2: Turn off the ice maker
Before you can start removing the Kenmore ice maker, you need to turn it off to avoid any potential accidents or water leaks. Here’s how you can do it:
- Locate the control panel or switch for your Kenmore ice maker. It is usually found on the front or side of the unit.
- If you have a control panel, look for the power button or switch and turn it off. This will typically be labeled as “Ice Maker” or “Off.”
- If there is no control panel, you may need to unplug the ice maker from the electrical outlet. Make sure to do this with caution and ensure the outlet is easily accessible.
It’s important to note that turning off the ice maker will stop the production and dispensing of ice cubes, but it may not completely shut off the water supply. To prevent any water leakage, it’s recommended to also turn off the water supply to the ice maker. This can usually be done by shutting off the water valve connected to the ice maker’s water supply line.
Once the ice maker is turned off and the water supply is shut off, it’s time to move on to the next step: uninstalling the ice maker assembly.
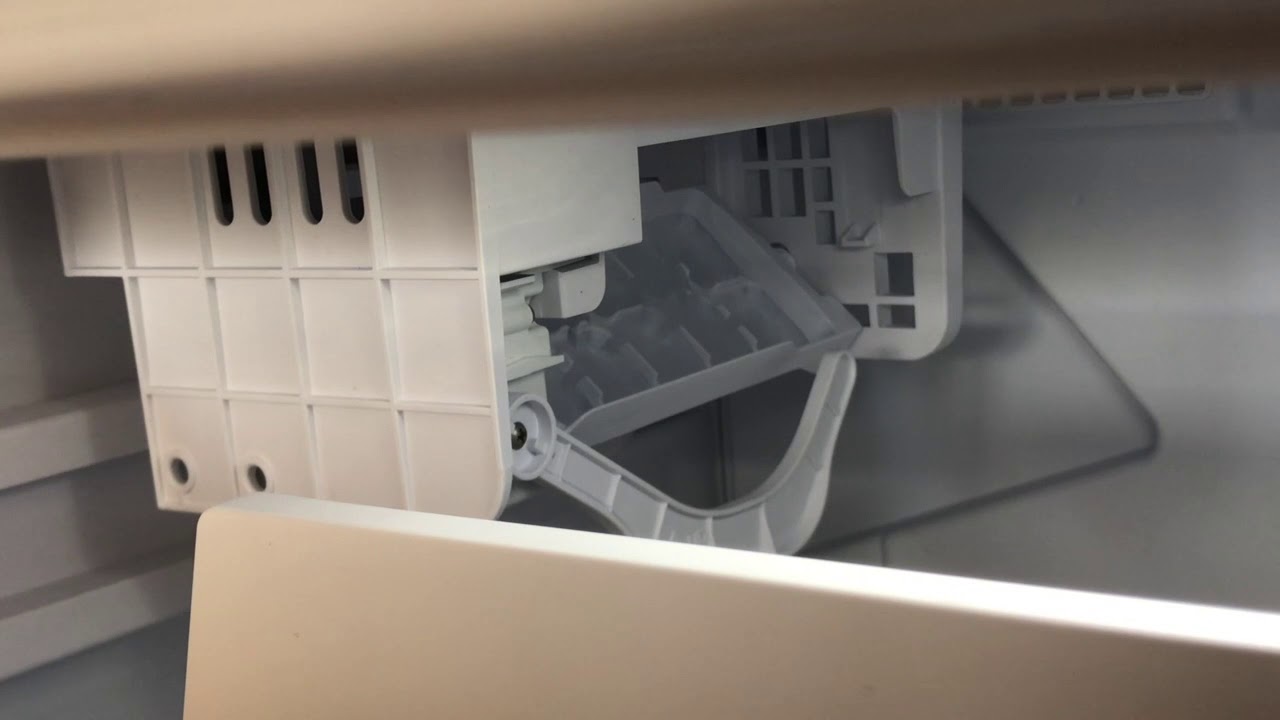
Step 3: Uninstall the ice maker assembly
Now that you have turned off the Kenmore ice maker and shut off the water supply, it’s time to begin the process of uninstalling the ice maker assembly. Follow these steps:
- Locate the mounting screws that secure the ice maker assembly to the freezer wall or ceiling. These screws are typically located on the sides or top of the assembly.
- Using a Phillips screwdriver, carefully remove the mounting screws by turning them counterclockwise. Place the screws in a safe location to avoid losing them.
- Once the screws are removed, gently pull the ice maker assembly away from the wall or ceiling of the freezer. Be cautious of any wires or hoses that may be attached to the assembly.
- Inspect the back of the assembly for any additional mounting screws or brackets holding it in place. If there are any, remove them as well.
- If there are any electrical connections attached to the ice maker assembly, carefully disconnect them by unplugging the wires. If there are any water supply lines connected, use an adjustable wrench or pliers to loosen and disconnect them.
- As you disconnect the wires and water supply lines, be prepared for any residual water or moisture that may be released. Have a bucket or towels ready to catch any drips.
Once the ice maker assembly is completely free from the freezer wall or ceiling and all connections are disconnected, carefully lift it out of the freezer. Place it on a stable surface or table to proceed with cleaning or replacement, which we will cover in the next steps.
Remember to handle the ice maker assembly with care to avoid any damage or injury. Always follow the manufacturer’s instructions and safety guidelines during the removal process.
With the ice maker assembly successfully uninstalled, it’s time to move on to the next step: disconnecting the water supply line.
Step 4: Disconnect the water supply line
In order to remove the Kenmore ice maker completely, you’ll need to disconnect the water supply line. Here are the steps to follow:
- Locate the water supply line that is connected to the back of the ice maker assembly. This line is usually made of flexible tubing or copper piping.
- Using an adjustable wrench or pliers, grip the nut that is securing the water supply line to the ice maker assembly.
- Gently turn the wrench or pliers counterclockwise to loosen the nut. Be careful not to apply too much force, as this may cause damage to the tubing or pipes.
- Once the nut is loosened, continue to unscrew it by hand until the water supply line is disconnected from the ice maker assembly.
- Be prepared for any residual water that may be present in the water supply line. Have a bucket or towels handy to catch any drips or spills.
- Inspect the disconnected end of the water supply line for any signs of damage or wear. If necessary, replace the tubing or piping before reconnecting it to a new ice maker.
It’s important to note that some ice makers may have a separate shut-off valve directly on the water supply line. If this is the case, you can simply turn off the valve to disconnect the water supply, rather than having to loosen and remove the nut. Refer to your specific ice maker model’s manual for guidance on how to access and operate the shut-off valve.
Once the water supply line is successfully disconnected, you can proceed with removing the mounting screws that secure the ice maker assembly to the freezer walls. We will cover this step in the next section.
Remember to exercise caution when working with water supply lines, and always turn off the water supply before disconnecting any connections to avoid leaks or water damage.
With the water supply line disconnected, we can now move on to the next step: removing the mounting screws.
Read more: How Do I Reset My Kenmore Ice Maker
Step 5: Remove the mounting screws
Now that the water supply line is disconnected, it’s time to remove the mounting screws that secure the Kenmore ice maker to the freezer walls. Follow these steps:
- Locate the mounting screws that hold the ice maker in place. These screws are typically located on the sides or top of the ice maker assembly.
- Using a Phillips screwdriver, carefully loosen and remove the mounting screws by turning them counterclockwise. Place the screws in a safe location where they won’t get lost.
- Once all the screws are removed, gently pull the ice maker assembly away from the freezer wall. Be cautious of any remaining wires or hoses that may still be attached.
- If there are any additional brackets or screws securing the ice maker assembly, remove them as well.
- Label or take note of the location of any wires or hoses that are still connected to the ice maker. This will make it easier for reinstallation or replacement.
As you remove the mounting screws, be mindful of the weight and stability of the ice maker assembly. Depending on the model, it may be heavy or require some maneuvering to safely remove it from the freezer.
Once all the mounting screws are removed and the ice maker assembly is free from the freezer walls, you can set it aside for cleaning or replacement. We will cover these options in the next steps.
Remember to keep the mounting screws in a safe place to ensure that they are easily accessible when it’s time to reinstall the ice maker or install a new one.
With the mounting screws removed, we are ready to move on to the next step: taking out the ice maker unit.
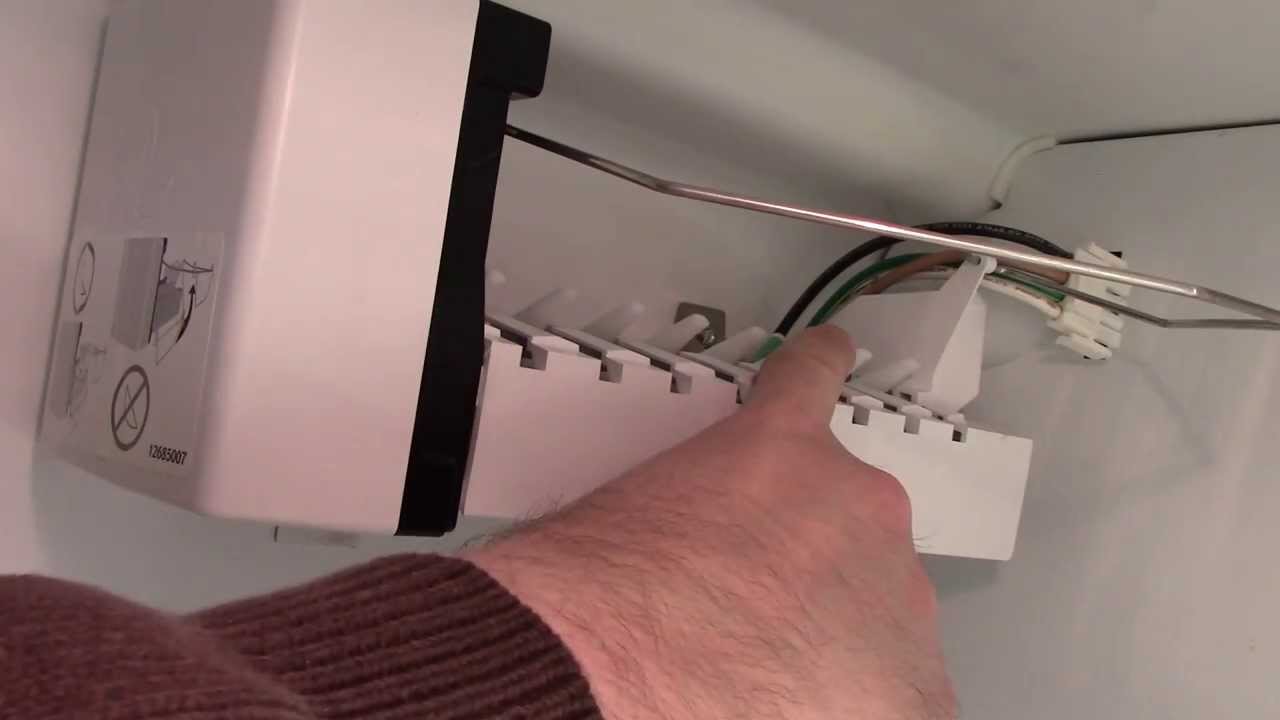
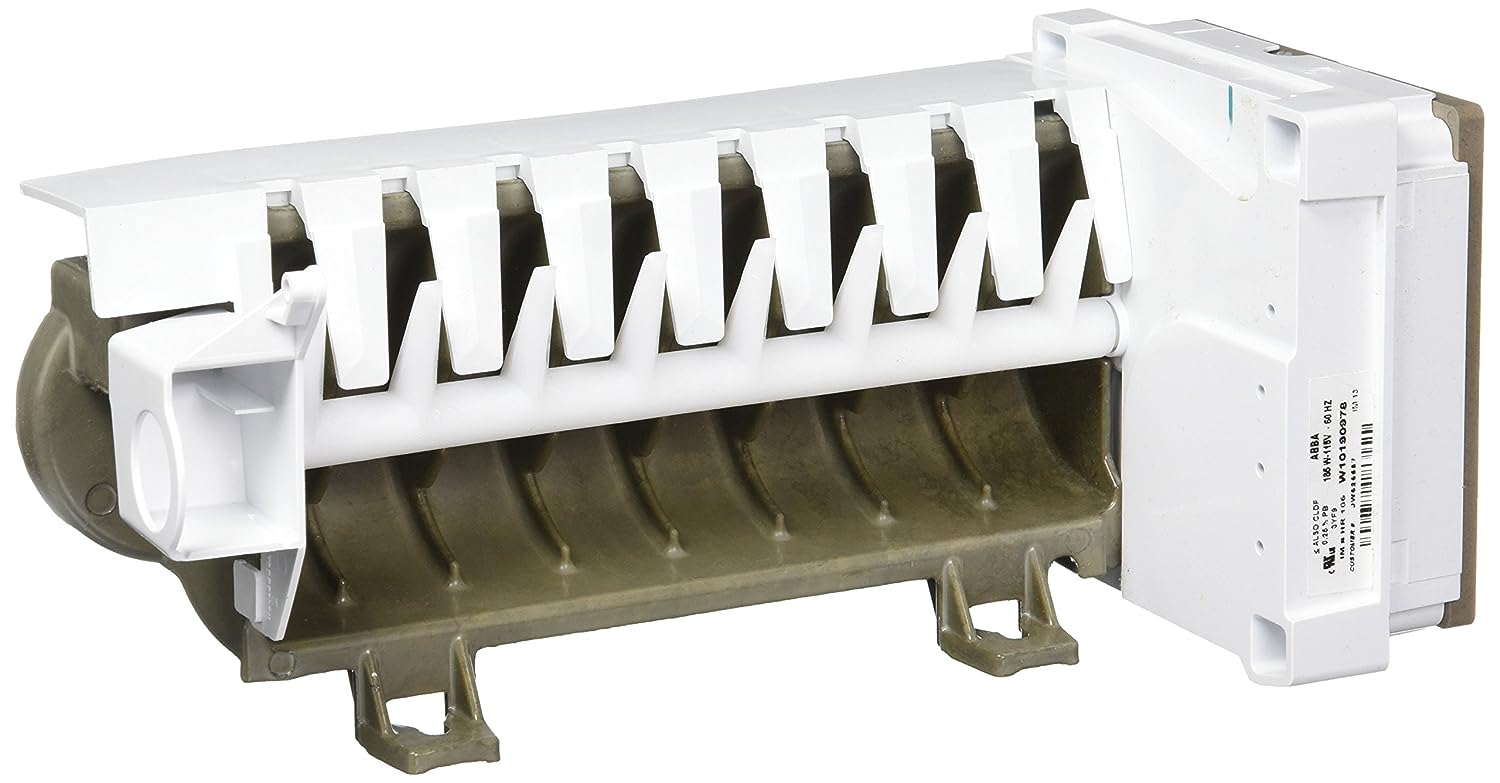
Step 6: Take out the ice maker unit
Now that the Kenmore ice maker assembly is detached from the freezer walls, it’s time to take out the ice maker unit itself. Follow these steps:
- Inspect the ice maker assembly and locate the ice maker unit. It is usually located towards the front or middle section of the assembly.
- Depending on the model, the ice maker unit may be held in place with additional screws or brackets. If you see any, carefully remove them using a Phillips screwdriver.
- Gently lift the ice maker unit out of the ice maker assembly. Be cautious of any remaining connections that may still be attached.
- If there are any electrical connectors or wires still connected to the ice maker unit, carefully disconnect them. Use caution and refer to the manufacturer’s instructions if needed.
- Label or take note of the location of any connections that are still attached. This will make it easier for reinstallation or replacement.
As you remove the ice maker unit, it’s important to handle it with care to avoid any damage. Depending on the model and age of the ice maker, it may be fragile or have delicate components.
Once the ice maker unit is completely detached, you can set it aside for cleaning or replacement, depending on the condition and your intentions.
Remember to keep any additional screws or brackets in a safe place for later use, especially if you plan on reassembling the ice maker assembly or installing a new ice maker.
With the ice maker unit removed, we can now proceed to the next step: cleaning and reinstalling or replacing the ice maker.
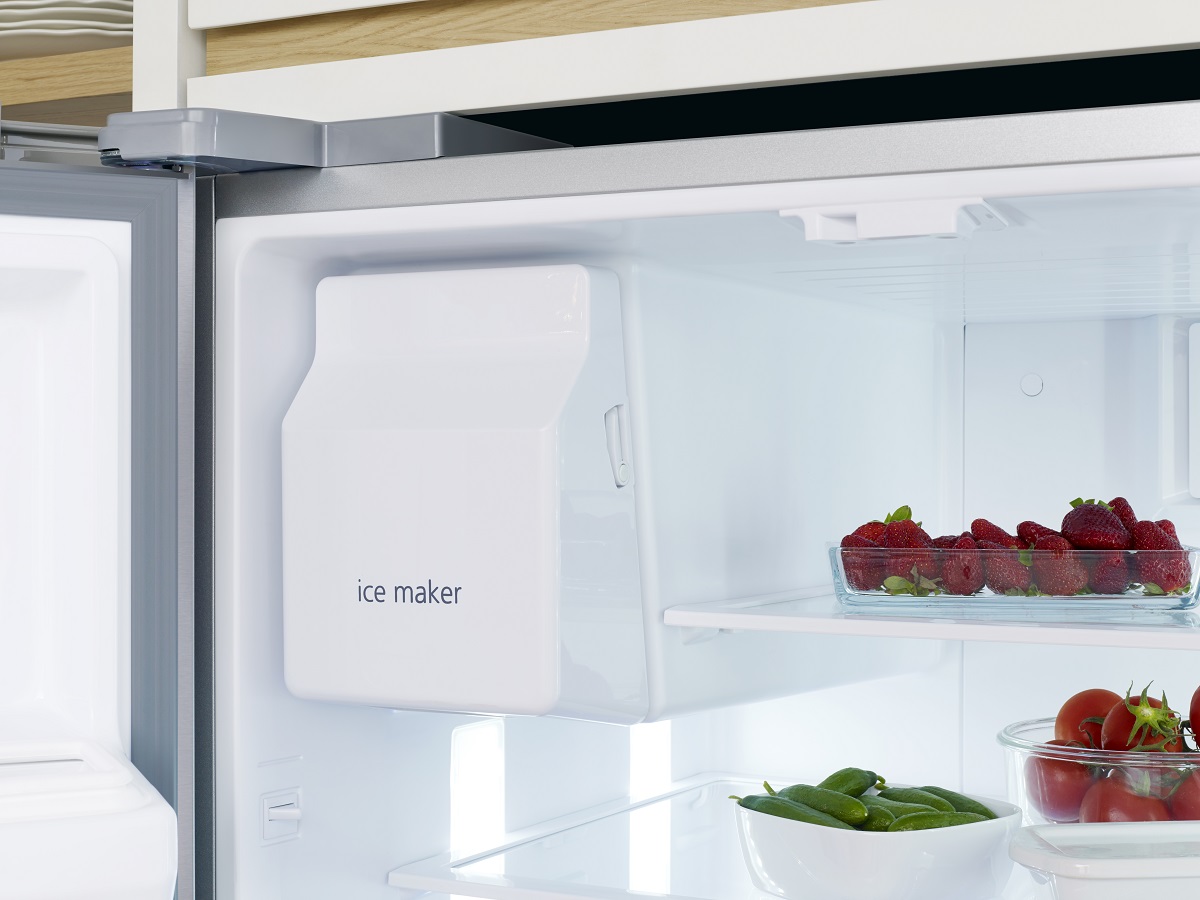
Before removing the Kenmore ice maker, make sure to disconnect the power and water supply. Use a screwdriver to remove the mounting screws and gently pull the ice maker out. Be careful not to damage the water line.
Step 7: Clean and reinstall or replace the ice maker
Now that you have removed the ice maker unit from the Kenmore ice maker assembly, it’s time to decide whether you want to clean and reinstall the existing ice maker or replace it with a new one. Here are the steps for both options:
Cleaning and Reinstalling the Ice Maker:
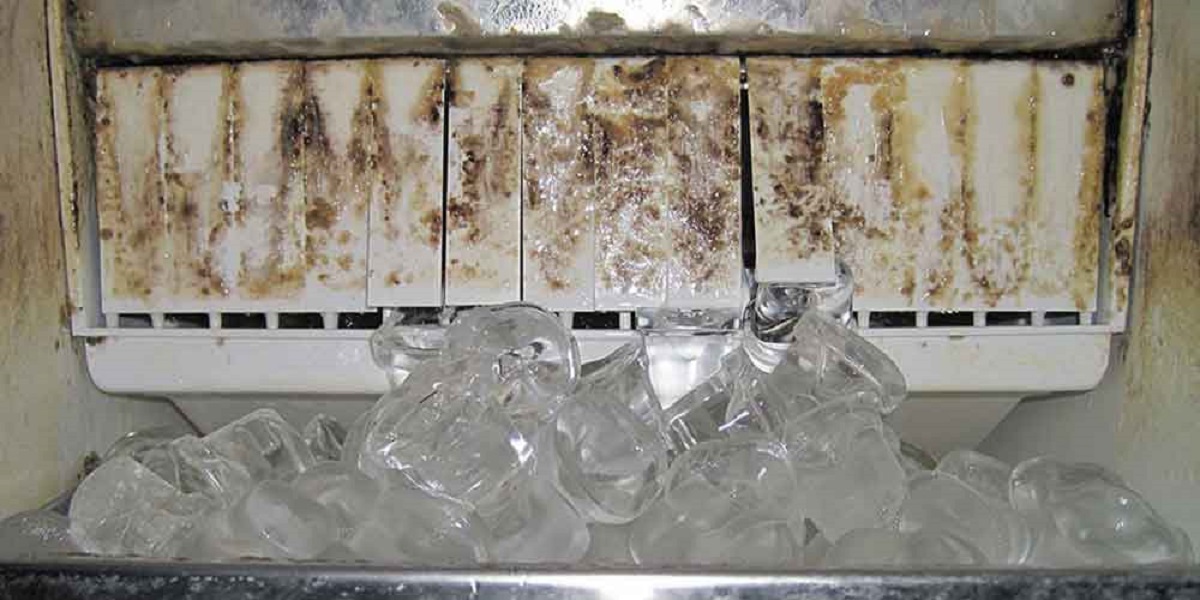
- Inspect the ice maker unit for any signs of dirt, residue, or debris. If it appears dirty, use a soft brush or cloth to gently clean the exterior and interior surfaces.
- Pay special attention to the ice mold, water supply lines, and any other components that may have become clogged or contaminated. Use warm water and mild soap to clean these areas, ensuring that no soap residue remains.
- Rinse the ice maker unit thoroughly with clean water to remove any cleaning solution.
- Allow the ice maker unit to dry completely before proceeding with the reinstallation. This will prevent any moisture from interfering with the operation of the ice maker.
- Once the ice maker unit is dry, carefully align it with the corresponding slots or brackets in the ice maker assembly.
- Reattach any electrical connectors or wires that were previously disconnected. Make sure they are securely connected.
- If applicable, reattach any additional screws or brackets that hold the ice maker unit in place. Use a Phillips screwdriver to tighten them securely.
Read also: 9 Amazing Kenmore Elite Ice Maker for 2025
Replacing the Ice Maker:
- If you have decided to replace the ice maker, find a compatible replacement unit that matches the specifications of your Kenmore ice maker assembly.
- Follow the manufacturer’s instructions for installing the new ice maker. Each model may have specific steps or requirements.
- Align the new ice maker unit with the corresponding slots or brackets in the ice maker assembly.
- Connect any electrical connectors or wires according to the manufacturer’s instructions. Ensure they are securely connected.
- If provided, attach any additional screws or brackets that hold the new ice maker unit in place. Use a Phillips screwdriver to tighten them securely.
Whether you choose to clean and reinstall the existing ice maker or replace it with a new one, it’s essential to follow the manufacturer’s instructions and guidelines. This will ensure proper functionality and performance of the ice maker.
With the ice maker cleaned and reinstalled or a new ice maker unit in place, we can now proceed to the next step: reconnecting the water supply line.
Step 8: Reconnect the water supply line
Now that you have cleaned and reinstalled the ice maker or replaced it with a new unit, it’s time to reconnect the water supply line. Follow these steps:
- Take the water supply line that you disconnected earlier and inspect it for any damage. If it appears to be in good condition, proceed with the reconnection.
- Align the end of the water supply line with the water inlet on the back of the ice maker assembly.
- Using an adjustable wrench or pliers, tighten the nut on the water supply line clockwise to secure it to the ice maker assembly. Be careful not to overtighten, as this could cause damage to the connection.
- Inspect the connection to ensure that it is tight and there are no signs of leakage or drips.
- If you have a separate shut-off valve on the water supply line, turn it on to allow water flow to the ice maker. If not, proceed to the next step.
- Turn on the water supply to the entire kitchen or house to restore water flow to the ice maker.
- Check the water inlet on the ice maker assembly for any leakage. If you notice any leaks, immediately tighten the nut further or consider replacing the water supply line.
It’s essential to ensure a proper and secure connection between the water supply line and the ice maker assembly to prevent any leaks or water damage. Always double-check the tightness of the connection and monitor for any signs of leakage after restoring the water supply.
With the water supply line reconnected and the connection checked, we can move on to the next step: turning on the ice maker.
Step 9: Turn on the ice maker
After completing the previous steps of cleaning or replacing the ice maker, reconnecting the water supply line, and ensuring a secure connection, it’s time to turn on the Kenmore ice maker. Follow these steps:
- Locate the control panel or switch for your Kenmore ice maker. It is usually found on the front or side of the unit.
- If you have a control panel, look for the power button or switch and turn it on. This may be labeled as “Ice Maker” or “On.”
- If there is no control panel, simply plug the ice maker back into the power outlet to turn it on.
- Wait for the ice maker to power up and start its cycle. This may take a few minutes.
- Depending on the model, you may need to select specific settings for the ice maker, such as ice cube size or desired production rate. Consult the manufacturer’s instructions to ensure proper configuration.
- Monitor the ice maker to ensure that it is functioning properly. Listen for the sound of water filling the ice mold and observe the ice production process.
- Allow the ice maker to run a full cycle, typically 24 to 48 hours, to reach optimal ice production.
While the ice maker is running, keep an eye out for any unusual sounds, leaks, or malfunctions. If you notice any issues, consult the manufacturer’s troubleshooting guide or contact customer support for assistance.
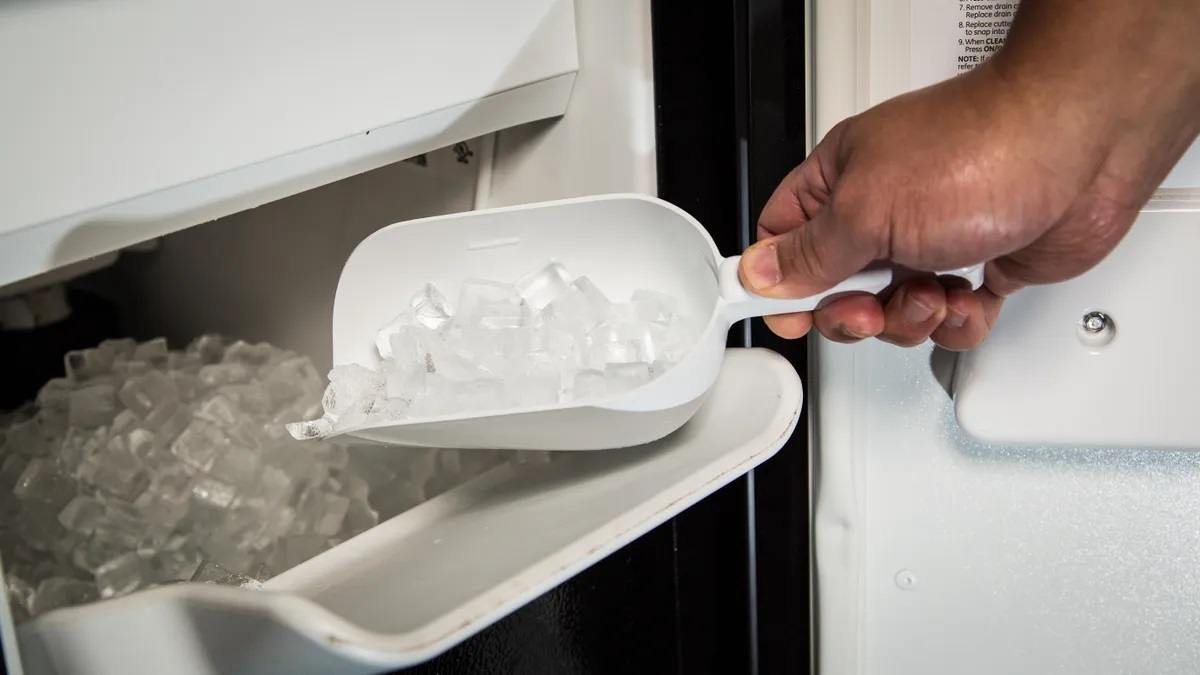
Congratulations! You have successfully removed, cleaned, and reinstalled or replaced the Kenmore ice maker, and now it’s up and running. Enjoy the convenience of having a functional ice maker in your kitchen once again!
Remember to regularly maintain and clean your ice maker to ensure its longevity and optimal performance. Refer to the manufacturer’s guidelines for specific maintenance instructions.
With the ice maker turned on and functioning properly, you have completed the process of removing and reinstalling or replacing a Kenmore ice maker. Well done!
Conclusion
Removing and reinstalling or replacing a Kenmore ice maker may seem like a daunting task, but with the right tools and guidance, it can be a manageable DIY project. In this step-by-step guide, we have discussed how to remove a Kenmore ice maker, from gathering the necessary tools to turning it off, uninstalling the assembly, disconnecting the water supply line, removing the mounting screws, taking out the ice maker unit, cleaning and reinstalling or replacing the ice maker, reconnecting the water supply line, and finally, turning on the ice maker.
By following these steps and exercising caution throughout the process, you can successfully remove and reinstall or replace your Kenmore ice maker. Whether you choose to clean and reinstall the existing unit or opt for a new ice maker, it’s important to handle the process with care to avoid any damage to the appliance or potential water leaks.
Remember to always consult the manufacturer’s instructions and guidelines for your specific ice maker model, as the steps and requirements may vary. Additionally, it’s essential to prioritize safety by wearing protective gloves and goggles when working with tools.
Having a functioning ice maker can greatly enhance the convenience of your kitchen. So, whether you’re hosting a party, enjoying a refreshing drink, or simply need ice cubes for everyday use, your Kenmore ice maker will be ready to serve you.
Thank you for following this guide, and we hope it has been helpful in your ice maker removal process. Enjoy the benefits of a well-functioning ice maker, and have a cool and refreshing experience every time!
Now that you've mastered removing your Kenmore ice maker, keeping that appliance in top shape is next on your to-do list. Don't miss our detailed guide on how to clean a refrigerator ice maker, essential for ongoing refrigerator maintenance. If you're facing challenges with the machine's functionality, our comprehensive article on repairing an ice maker offers valuable tips and troubleshooting steps for a smooth, efficient fix. Dive into these resources to ensure your ice maker remains a reliable source of cool refreshment.
Frequently Asked Questions about How To Remove Kenmore Ice Maker
Was this page helpful?
At Storables.com, we guarantee accurate and reliable information. Our content, validated by Expert Board Contributors, is crafted following stringent Editorial Policies. We're committed to providing you with well-researched, expert-backed insights for all your informational needs.

0 thoughts on “How To Remove Kenmore Ice Maker”