
Articles
How To Repair Masonite Siding
Modified: August 20, 2024
Learn how to repair Masonite siding with our comprehensive articles. Get step-by-step guidance and expert tips for fixing your siding on your own.
(Many of the links in this article redirect to a specific reviewed product. Your purchase of these products through affiliate links helps to generate commission for Storables.com, at no extra cost. Learn more)
Introduction
Welcome to the ultimate guide on how to repair Masonite siding. Masonite siding is a popular choice for homeowners due to its durability and aesthetic appeal. However, over time, it may experience wear and tear or sustain damage from external factors such as weather conditions or accidents. Instead of replacing the entire siding, which can be costly and time-consuming, repairing the damaged areas can be a more practical solution.
In this article, we will walk you through the step-by-step process of repairing Masonite siding, from inspecting the damage to installing the replacement siding. Whether you have small cracks, holes, or rotten sections on your siding, this guide will help you restore its integrity and maintain the beauty of your home.
Before we dive into the repair process, it’s important to have a basic understanding of what Masonite siding is and why it is a popular choice among homeowners. Masonite siding is made from a blend of wood fibers and resin, which are compressed under high pressure and heat to create a strong and durable material. It is known for its resistance to moisture, insects, and rot, making it a long-lasting option for exterior cladding.
Now that you have a brief overview of Masonite siding, let’s move on to the tools and materials you will need for the repair process. Gathering the necessary items beforehand will ensure a smooth and efficient repair job.
Key Takeaways:
- Repairing Masonite siding is a manageable DIY project that can save you money and preserve your home’s appearance and value. Follow the step-by-step process to restore the integrity and beauty of your siding.
- Regular inspection and maintenance of Masonite siding are essential for preventing future damage and ensuring its longevity. By understanding the repair process and using the right tools, you can successfully restore and protect your home’s exterior.
Read more: What Is Masonite Siding Made Of
Understanding Masonite Siding
Masonite siding is a popular choice for exterior cladding due to its durability, versatility, and aesthetic appeal. It is made from a combination of wood fibers and resin, which are compressed under high pressure and heat. This manufacturing process results in a strong and durable material that can withstand various weather conditions and resist moisture, insects, and rot.
One of the standout features of Masonite siding is its versatility. It can be manufactured to resemble various types of wood, allowing homeowners to achieve the desired look without the expense and maintenance requirements of real wood siding. Whether you prefer the rustic charm of cedar or the sleek elegance of mahogany, there is a Masonite option available to suit your taste.
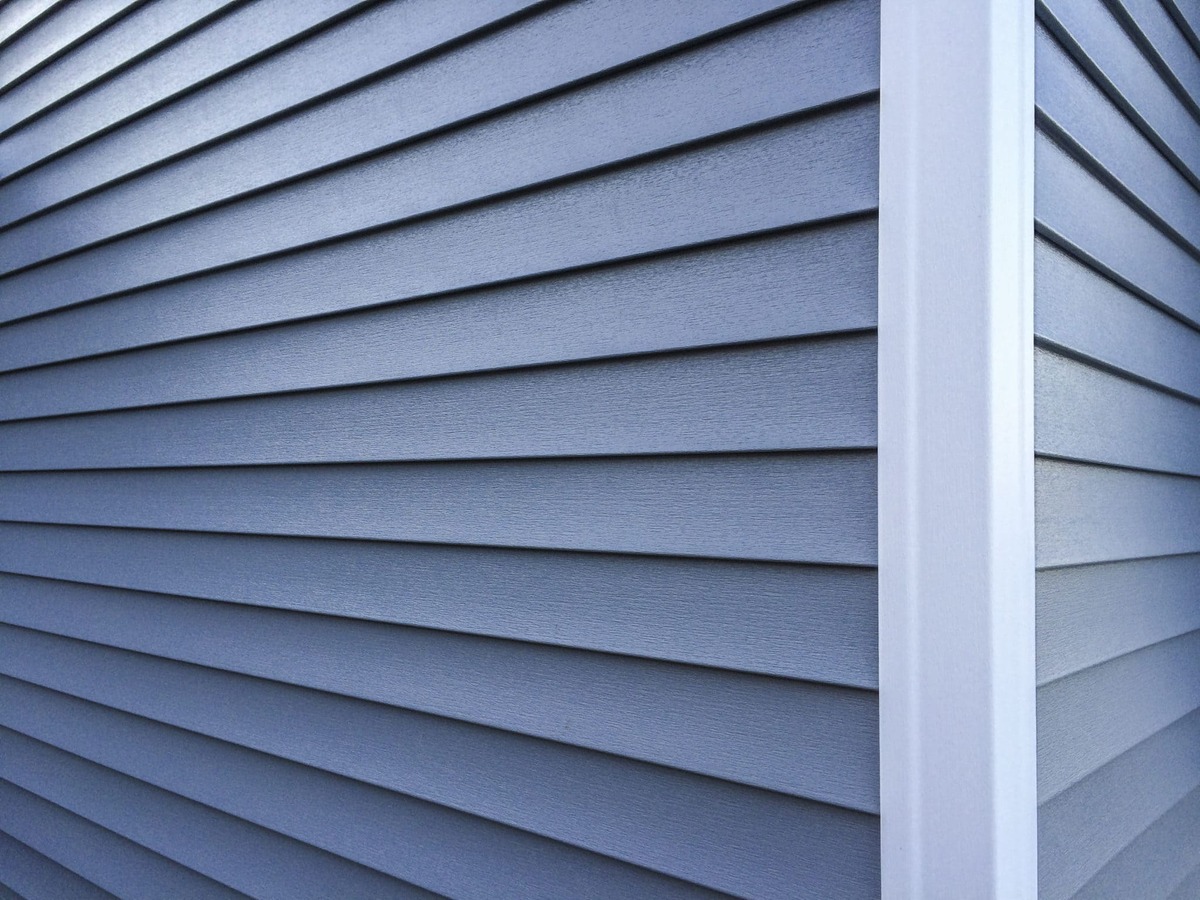
Additionally, Masonite siding comes in a range of finishes and textures, including smooth, embossed, and stucco-like surfaces. This versatility allows homeowners to customize their homes’ exteriors to reflect their personal style and match the architectural aesthetics of their property.
Another advantage of Masonite siding is its ease of installation. It comes in standard board sizes and can be easily cut and shaped to fit specific dimensions. This simplifies the installation process, saving time and effort for both professional contractors and DIY enthusiasts.
It is important to note that while Masonite siding offers many benefits, it is not without its maintenance requirements. Like any exterior cladding material, Masonite siding needs to be regularly inspected and maintained to ensure its longevity. Routine cleaning, painting, and sealing may be necessary to protect the siding from UV rays, moisture, and other external elements.
Now that you have a better understanding of Masonite siding and its characteristics, let’s move on to the tools and materials you will need to repair any damage that may occur over time.
Tools and Materials Needed
Before you begin the process of repairing your Masonite siding, it is essential to gather the necessary tools and materials. Having everything prepared beforehand will ensure a smooth and efficient repair job. Here is a list of the items you will need:
Tools:
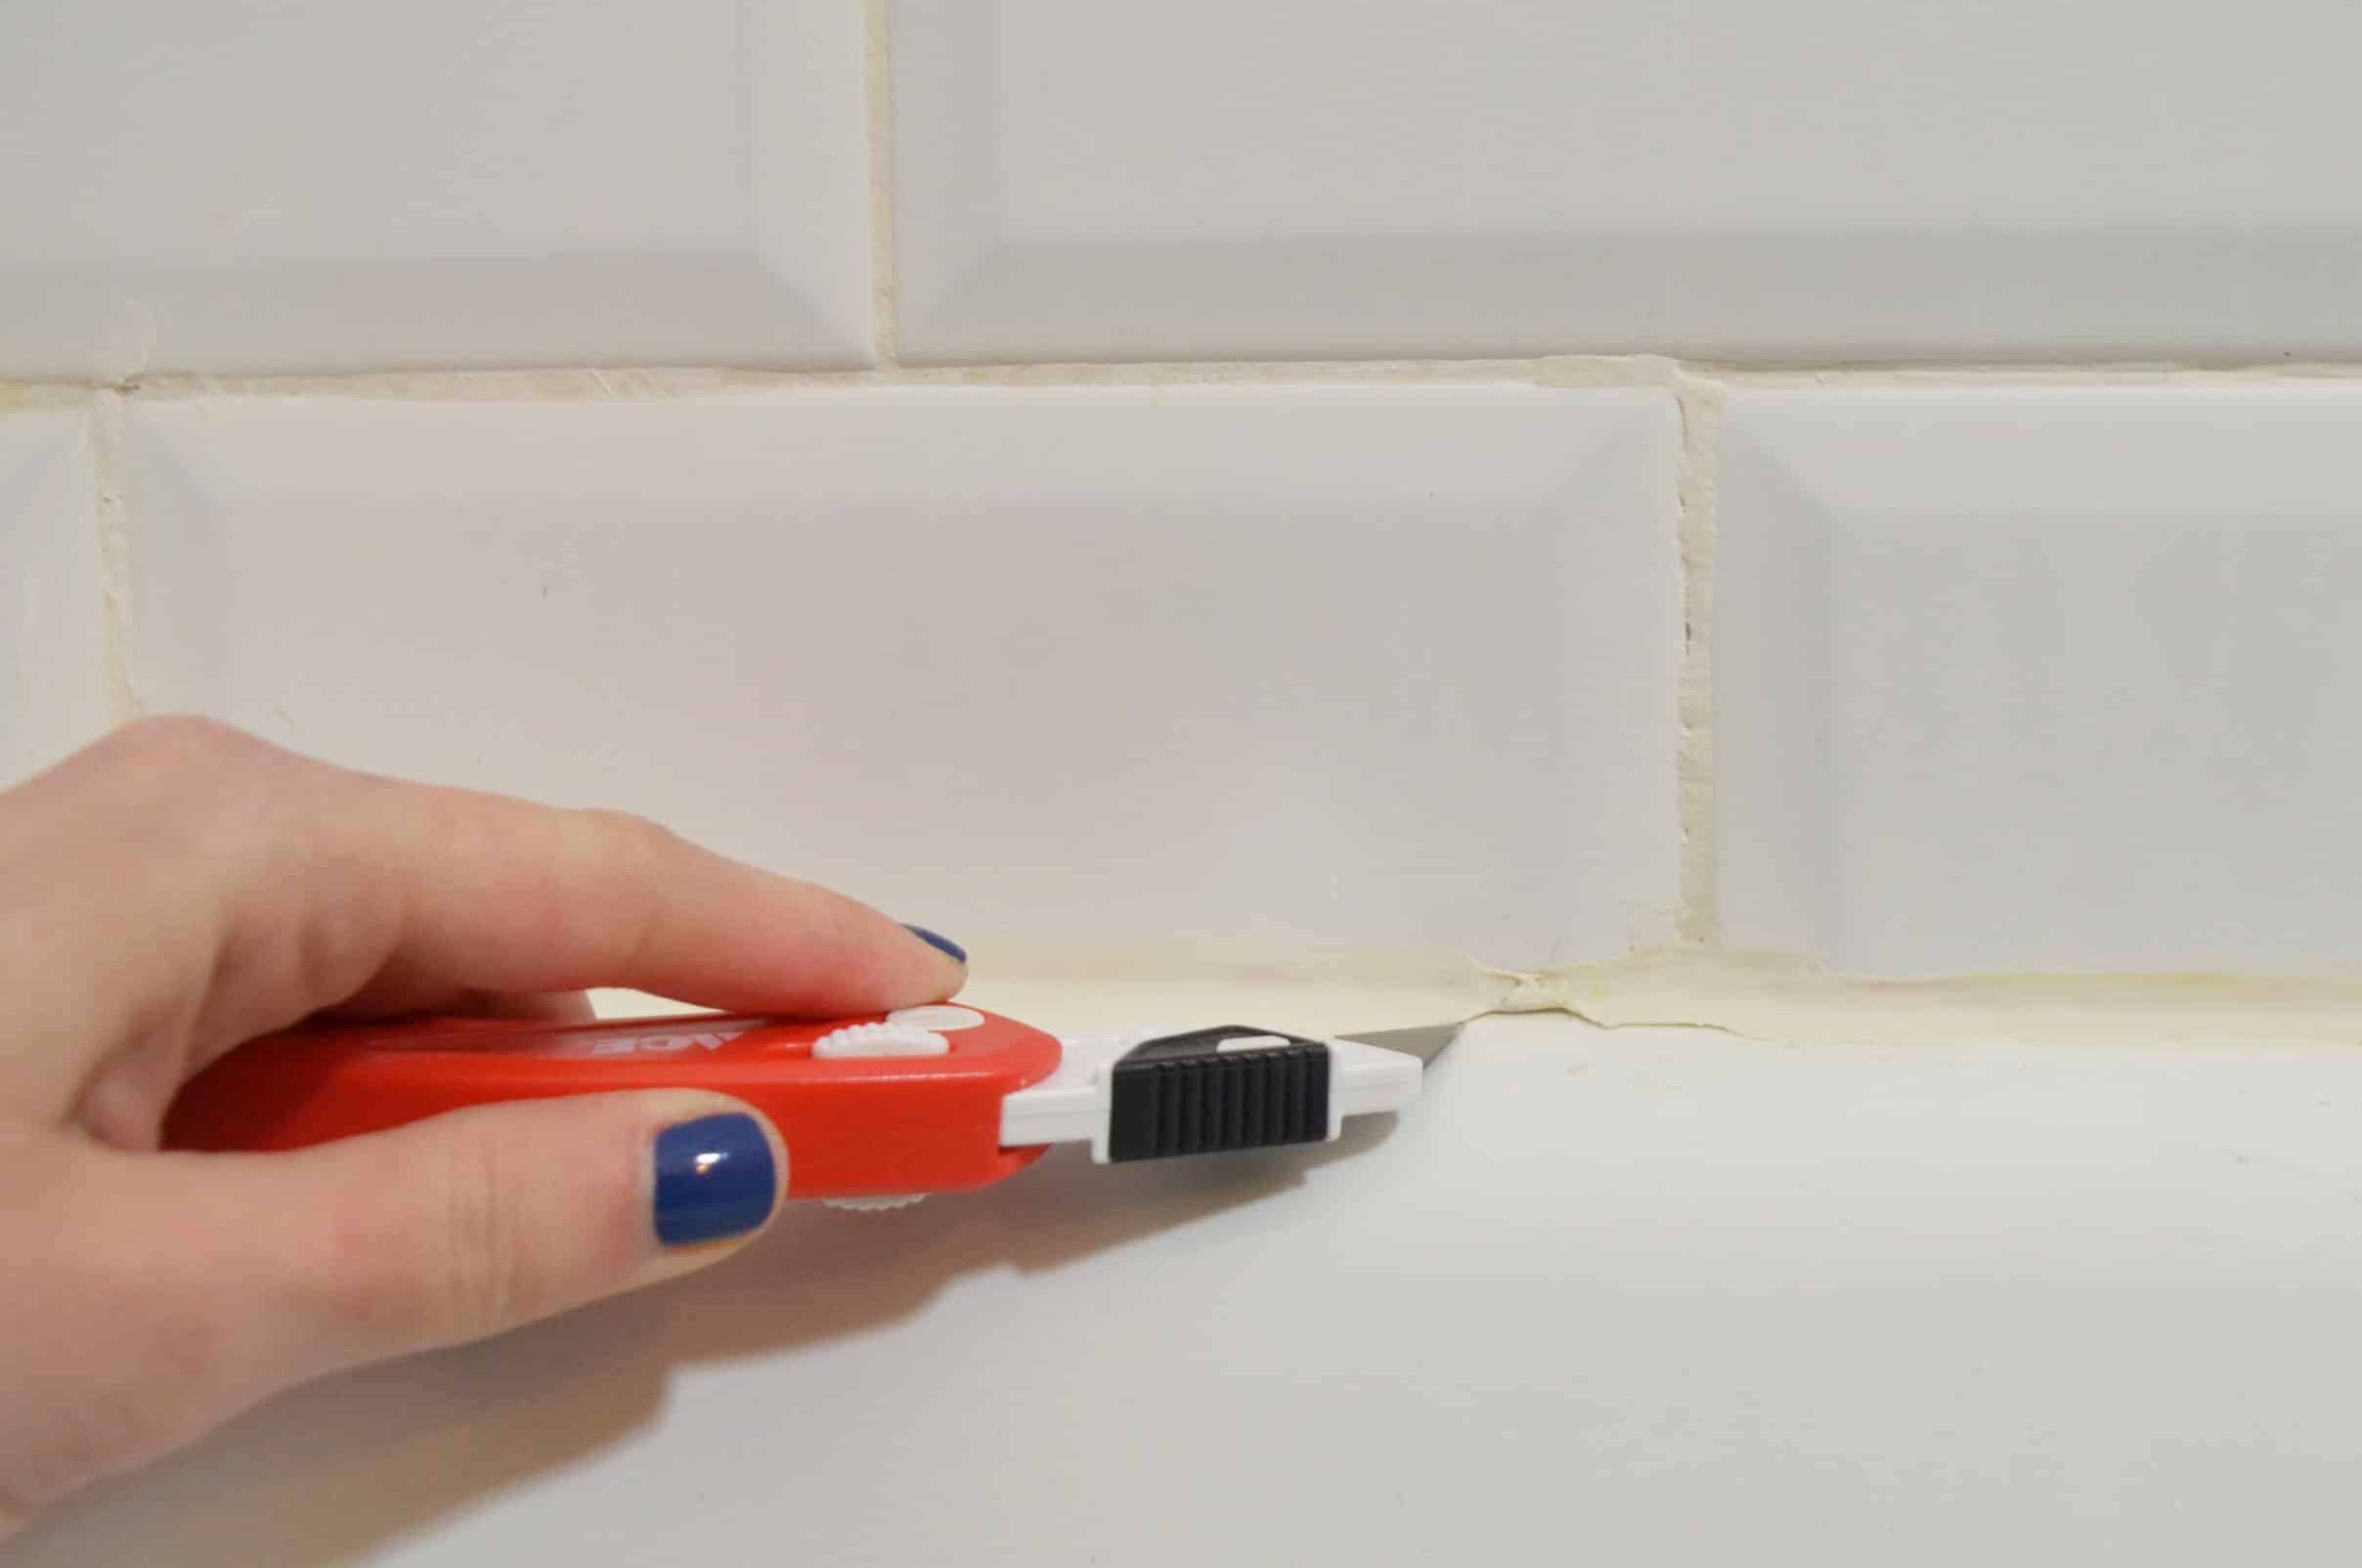
- Utility knife or siding removal tool
- Hammer
- Pry bar
- Circular saw
- Jigsaw
- Tape measure
- Caulk gun
- Clamps
- Screwdriver
- Nail gun
- Level
Materials:
- Replacement Masonite siding boards
- Adhesive or caulk
- Nails or screws
- Exterior paint or stain
- Primer
- Plywood or sheathing (if needed for structural support)
- Weatherproofing sealant
- Safety glasses
- Gloves
These tools and materials will enable you to effectively remove damaged siding, prepare the replacement siding, and ensure a secure and visually appealing repair.
It is essential to prioritize safety while working on any home repair project. Make sure to wear safety glasses and gloves to protect your eyes and hands throughout the process. In addition, follow manufacturer instructions and safety guidelines when using power tools.
Now that you have all the necessary tools and materials ready, let’s move on to the step-by-step process of repairing your Masonite siding.
Read more: Where Can I Buy Masonite Siding
Step 1: Inspecting the Damage
Before you can start repairing your Masonite siding, it is crucial to first inspect the damaged areas thoroughly. This step will help you determine the extent of the damage and plan the necessary repairs accordingly. Here’s how to inspect the damage:
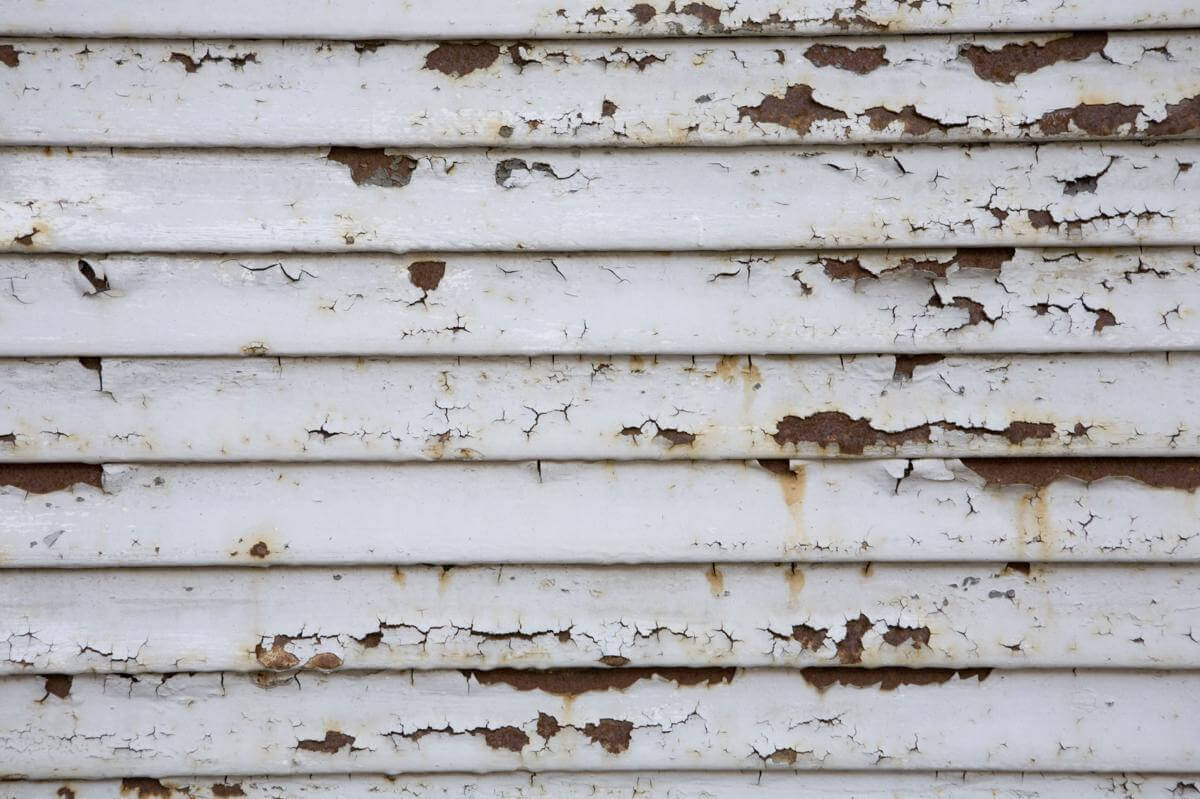
- Begin by visually inspecting the siding from a distance. Look for any visible signs of damage, such as cracks, holes, rot, or warping.
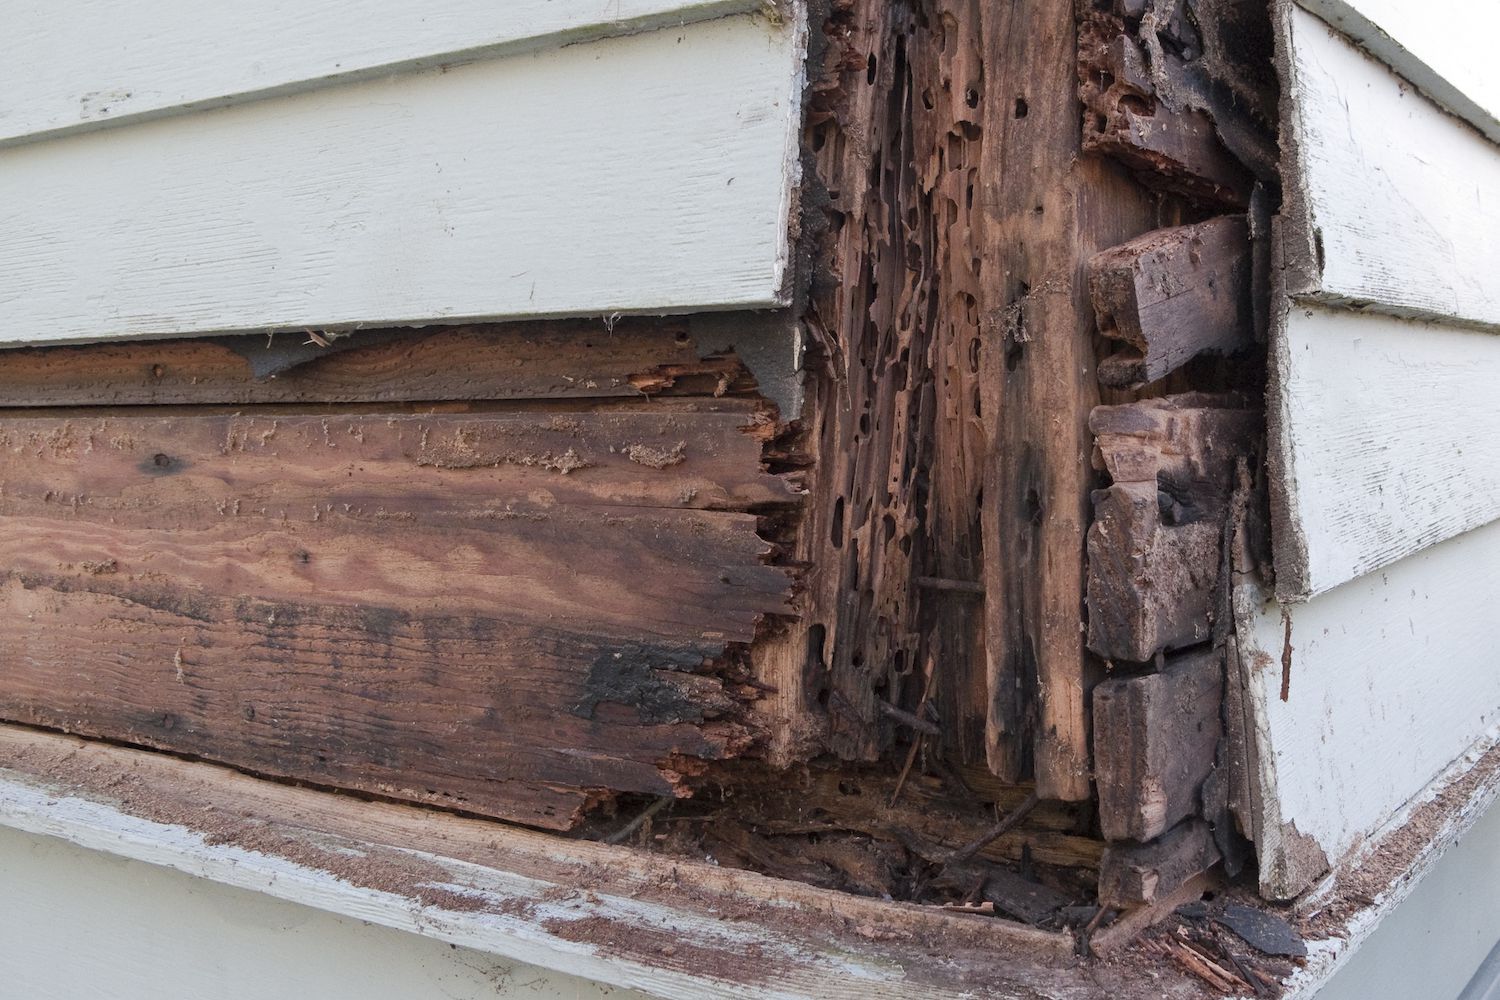
- Get closer to the siding and carefully examine it using your hands. Feel for any soft or spongy areas, which may indicate moisture damage or rotten sections.
- Tap on the siding with a hammer or the handle of a screwdriver. Listen for any hollow sounds, which could indicate decay or an underlying issue.
- Check for any signs of pest infestation, such as termite or carpenter ant damage. Look for tunnels or chewed wood fibers.
- Inspect the surrounding areas of the damaged siding. Check for any signs of water leaks or moisture intrusion, as these issues may need to be addressed before proceeding with the repair.
By thoroughly inspecting the damage, you will have a clear understanding of the scope of the repair work required. It will also guide you in deciding whether a simple patch-up or full replacement of the damaged sections is necessary.
In some cases, the damage may be minor, such as small cracks or holes, which can be easily filled and repaired. However, if the damage is extensive, with large sections of rot or warping, it may be necessary to replace the entire section of siding for a long-lasting and aesthetically pleasing repair.
Once you have assessed the damage and determined the appropriate course of action, you can move on to removing the damaged Masonite siding in the next step.
Step 2: Removing the Damaged Masonite Siding
Once you have inspected the damage and determined that the affected Masonite siding needs to be replaced, it’s time to remove the damaged sections. Follow these steps to remove the siding:
- Start by locating the nails or screws that secure the damaged siding to the underlying structure.
- Using a pry bar, gently pry away the trim or molding that covers the edges of the siding. Be careful not to damage the surrounding siding or trim.
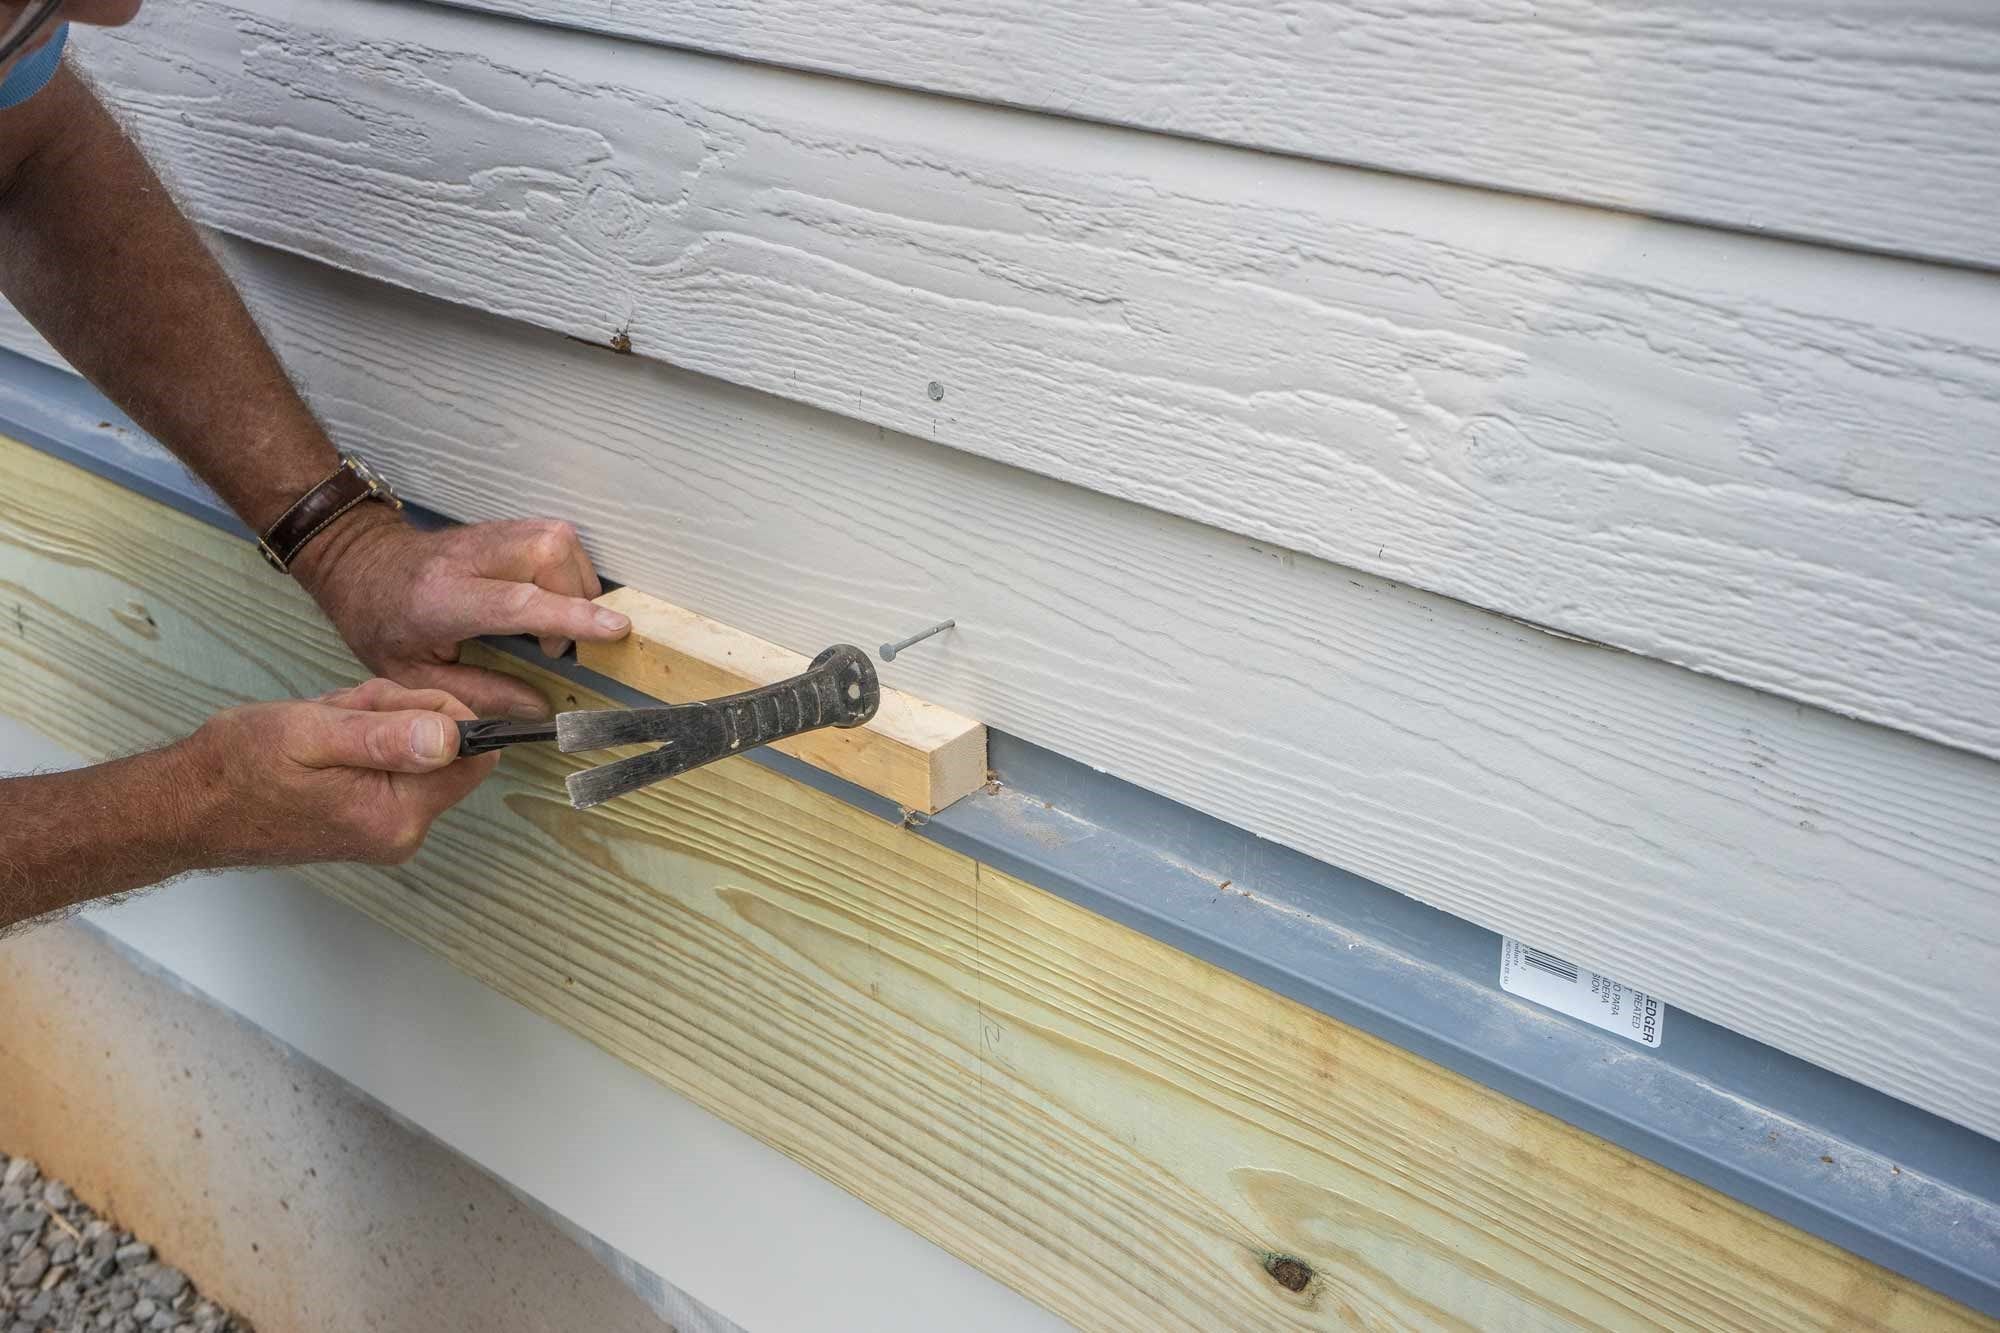
- Once you have removed the trim, use a pry bar or a hammer and a block of wood to carefully loosen and remove the nails or screws holding the siding in place. Begin at one end of the damaged section and work your way to the other end.
- If the damaged section is large, you may need to cut the siding into smaller pieces for easier removal. Use a circular saw or a jigsaw to make straight cuts along the edges of the damaged area.
- Continue removing the damaged siding by prying or cutting it away until all the affected sections have been fully detached.
- Inspect the underlying sheathing or plywood for any signs of damage or decay. If necessary, replace or repair the underlying structure to ensure a solid foundation for the new siding.
While removing the damaged Masonite siding, it is crucial to exercise caution to avoid causing additional damage to the surrounding areas. Take your time and work patiently to ensure a clean and precise removal process.
Once you have successfully removed the damaged siding, you can move on to the next step of the repair process: choosing the right replacement siding.
Step 3: Choosing the Right Replacement Siding
After removing the damaged Masonite siding, it’s time to choose the appropriate replacement material. When selecting the replacement siding, consider the following factors:
Type of Siding:
Masonite siding comes in various styles and finishes, so try to find a replacement that closely matches the existing siding. If an exact match is not available, choose a similar style and finish to maintain a cohesive look for your home’s exterior.
Read more: How To Remove Siding
Material:
Consider the material options available for replacement siding. Masonite siding can be replaced with other materials, such as fiber cement, vinyl, or wood composite siding. Each material has its own benefits and drawbacks, so choose one that fits your needs in terms of durability, maintenance, and aesthetic appeal.
Size and Dimensions:
Measure the dimensions of the damaged section to ensure you choose a replacement siding that fits accurately. Take accurate measurements of the length, width, and depth to find the proper size and thickness for the new siding.
Color and Texture:
If the damaged section is in a visible area, select a replacement siding that matches the color and texture of the existing siding. This will help maintain a seamless appearance and prevent the repaired section from standing out.
Budget:
Consider your budget when choosing the replacement siding. Different materials and brands have varying costs, so factor this into your decision-making process.
Once you have weighed these factors, visit your local home improvement store or contact a siding supplier to find the ideal replacement siding. Consult with an expert if you need assistance in selecting the most suitable material for your repair project.
With the replacement siding in hand, you are ready to move on to the next step: cutting and preparing the replacement siding.
Read more: How To Patch Metal Siding
Step 4: Cutting and Preparing the Replacement Siding
Now that you have chosen the right replacement siding, it’s time to cut and prepare it for installation. Follow these steps to ensure the replacement siding fits accurately and securely:
- Measure the dimensions of the damaged section using a tape measure. Transfer these measurements onto the replacement siding, marking the areas that need to be cut.
- Using a circular saw or a jigsaw, carefully cut along the marked lines to create the appropriate-sized replacement pieces. Make sure to wear safety glasses and follow proper safety precautions when using power tools.
- If necessary, cut any additional trim or molding pieces to match the original design of the siding. This will help create a seamless transition between the replacement siding and the existing siding.
- Smooth any rough edges or imperfections on the cut pieces using sandpaper. This will ensure a clean and professional-looking finish once the siding is installed.
- If the replacement siding requires any additional treatment or preparation, such as priming or staining, follow the manufacturer’s instructions and complete these steps before proceeding with the installation.
It is crucial to take accurate measurements and cut the replacement siding with precision to ensure a proper fit. Double-check your measurements before making any cuts, and trim the siding in small increments if necessary to avoid cutting off too much.
After cutting and preparing the replacement siding, you are ready to move on to the next step: installing the replacement siding.
Step 5: Installing the Replacement Siding
Now that you have prepared the replacement siding, it is time to install it and restore the integrity of your Masonite siding. Follow these steps to ensure a secure and professional installation:
- Begin by applying a layer of adhesive or caulk to the back of the replacement siding piece. This will help create a strong bond between the siding and the underlying structure.
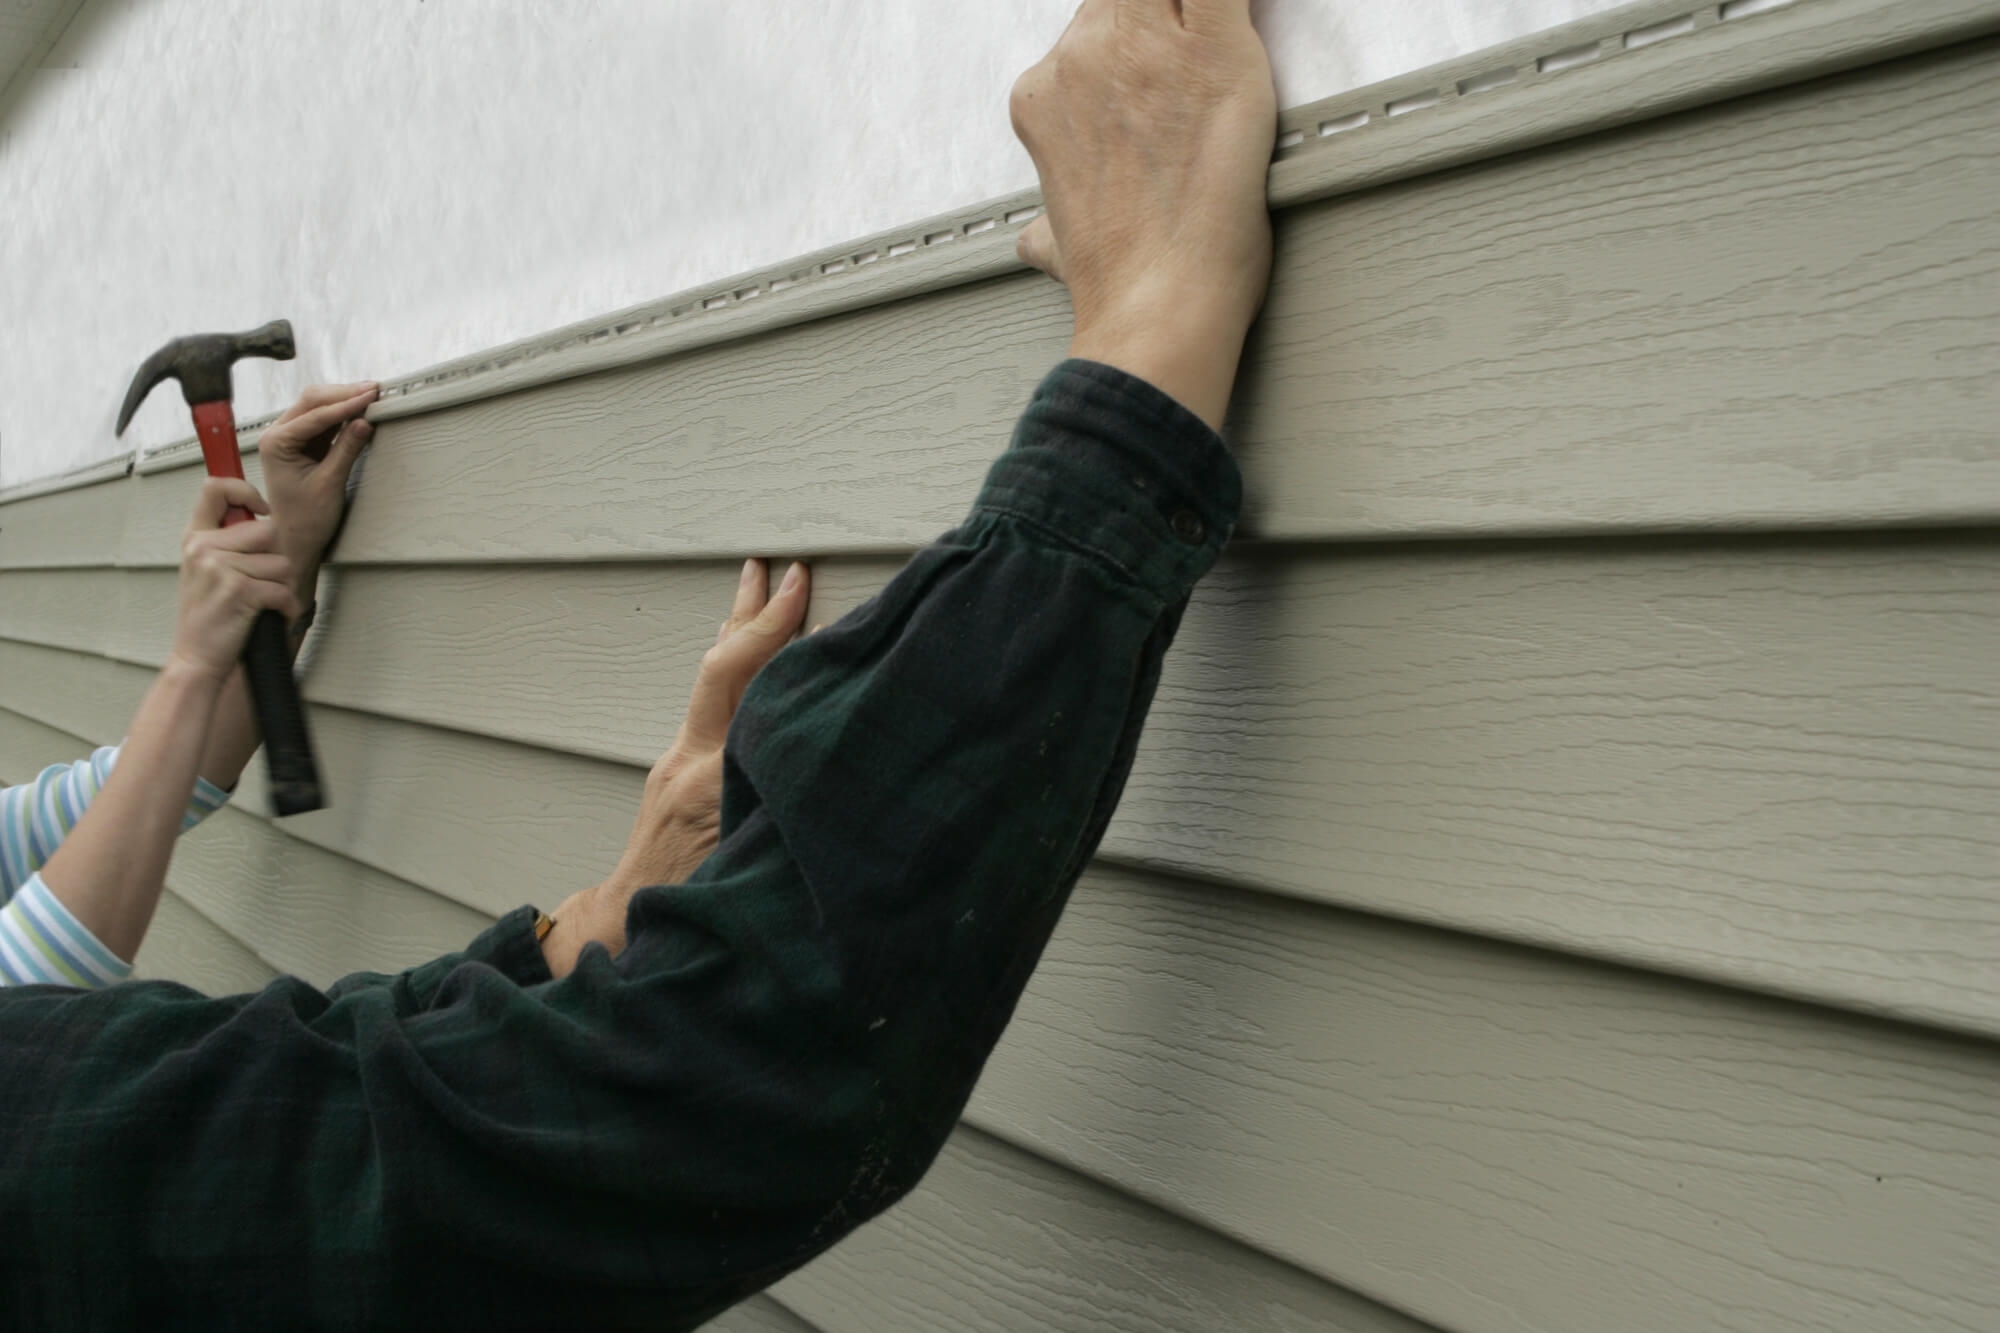
- Position the replacement siding in place, aligning it with the surrounding siding and ensuring a consistent gap between each piece.
- Secure the replacement siding by using a nail gun or screws. Place the fasteners along the top and bottom edges, as well as in the center of the siding board. Make sure the fasteners penetrate into the underlying structure for a secure attachment.
- Check the level of the installed replacement siding to ensure it is straight and even. Adjust the siding as needed before proceeding to the next piece.
- Repeat the installation process for each replacement siding piece, making sure to maintain consistent spacing and alignment.
- If necessary, install any additional trim or molding to cover the edges of the replacement siding and create a finished look. Use a nail gun or screws to secure the trim in place.
As you install the replacement siding, take your time to ensure a precise and professional installation. Double-check the level and alignment of each piece before securing it to the structure, as this will contribute to the aesthetic appeal and longevity of the repair.
Once you have installed all the replacement siding pieces, you are one step away from completing the repair process. Continue to Step 6 to learn how to properly seal and finish the repaired Masonite siding.
Step 6: Sealing and Finishing
After installing the replacement siding, it’s essential to properly seal and finish the repaired Masonite siding. This will protect it from moisture, UV rays, and other external elements, ensuring its longevity. Follow these steps to complete the sealing and finishing process:
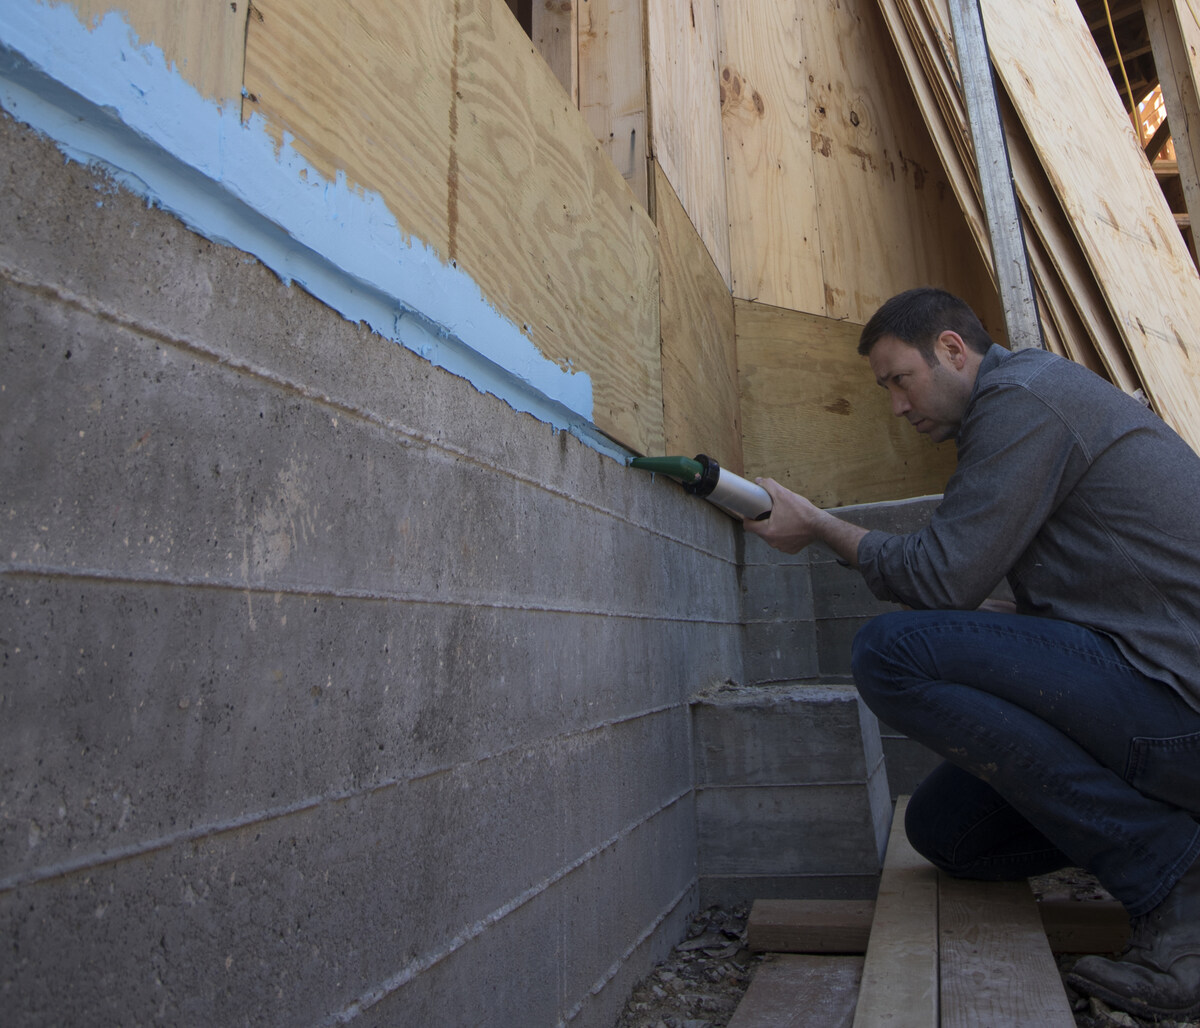
- Inspect the seams and gaps between the replacement siding pieces. Apply a bead of weatherproofing sealant along these areas to create a watertight barrier and prevent water infiltration.
- Examine the entire repaired section of the siding for any gaps, cracks, or imperfections. Fill these areas with caulk or wood filler, smoothing it with a putty knife for a seamless finish.
- Allow the sealant and filler to dry according to the manufacturer’s instructions. Sand down any rough spots or excess material until the surface is smooth and even.
- Apply a coat of primer to the repaired section of the siding. This will help the paint adhere properly and promote a long-lasting finish.
- Once the primer is dry, apply a high-quality exterior paint or stain to the repaired section. Choose a color that matches or complements the existing siding for a cohesive appearance.
- Apply a second coat of paint or stain if necessary, following the manufacturer’s recommended drying times between coats.
By sealing and finishing the repaired Masonite siding, you will not only enhance its appearance but also protect it from the elements. This step will contribute to the overall durability and longevity of your siding repair.
Finally, allow the paint or stain to fully dry and cure before subjecting the repaired section to any harsh treatment or exposure. This will ensure that the finish sets properly and provides a durable and attractive surface for your newly repaired Masonite siding.
Congratulations! You have successfully completed the process of repairing your Masonite siding. By following these steps and using the right tools and materials, you have restored the integrity and beauty of your siding, enhancing the overall appearance of your home.
Remember to regularly inspect and maintain your Masonite siding to prevent future damage and prolong its lifespan. With proper care, your repaired siding will continue to protect and enhance your home for years to come.
Thank you for reading this comprehensive guide on how to repair Masonite siding. We hope you found it helpful and informative.
When repairing Masonite siding, make sure to thoroughly clean the damaged area before applying any patching material. This will ensure a strong and long-lasting repair.
Conclusion
Repairing Masonite siding may seem like a daunting task, but with the right knowledge and guidance, it can be a manageable DIY project. By following the step-by-step process outlined in this guide, you can successfully restore the integrity and beauty of your siding without the need for expensive replacements.
Throughout this article, we covered the importance of understanding Masonite siding and its characteristics. We explored the tools and materials needed for the repair process, ensuring you are well-prepared before starting the project. We then walked you through the steps of inspecting the damage, removing the damaged siding, choosing the appropriate replacement, cutting and preparing the replacement siding, installing it with precision, and finally, sealing and finishing the repaired section.
Remember, safety should always be a top priority, and if you feel unsure or uncomfortable about any step in the repair process, it is always wise to consult with a professional contractor or siding specialist.
By taking the time to repair your Masonite siding, you not only save money but also preserve the overall appearance and value of your home. Regularly inspecting and maintaining your siding will help prevent future damage and ensure its longevity.
We hope this comprehensive guide has provided you with the knowledge and confidence to take on the task of repairing your Masonite siding. Embrace the challenge, follow the steps carefully, and you will soon have a beautifully restored exterior that will protect and enhance your home for years to come.
Frequently Asked Questions about How To Repair Masonite Siding
Was this page helpful?
At Storables.com, we guarantee accurate and reliable information. Our content, validated by Expert Board Contributors, is crafted following stringent Editorial Policies. We're committed to providing you with well-researched, expert-backed insights for all your informational needs.


0 thoughts on “How To Repair Masonite Siding”