Articles
How To Use A Siding Removal Tool
Modified: October 28, 2024
Learn how to use a siding removal tool effectively with our informative articles. Step-by-step instructions and expert tips to make your siding removal project a breeze.
(Many of the links in this article redirect to a specific reviewed product. Your purchase of these products through affiliate links helps to generate commission for Storables.com, at no extra cost. Learn more)
Introduction
Welcome to our comprehensive guide on how to use a siding removal tool effectively. Whether you are a seasoned DIY enthusiast or a professional contractor, having the right tools is essential for every project. When it comes to removing siding, a siding removal tool is an invaluable asset that can save you time, effort, and ensure a smooth and efficient process.
In this article, we will delve into the world of siding removal tools, exploring their benefits, how to use them properly, and important safety precautions to consider. Whether you are replacing an entire section of siding or just making a few repairs, this guide will equip you with the knowledge to tackle the task with confidence.
So, let us dive into the world of siding removal tools and discover how they can make your siding projects much more manageable and efficient.
Key Takeaways:
- Using a siding removal tool saves time, preserves siding panels, and minimizes structural damage. It’s a practical and efficient way to achieve professional-quality results in your siding projects.
- Prioritize safety by wearing protective gear, using proper technique, and being mindful of your surroundings when using a siding removal tool. Following safety precautions ensures a successful and safe siding removal project.
Read more: How To Remove Siding
What is a Siding Removal Tool
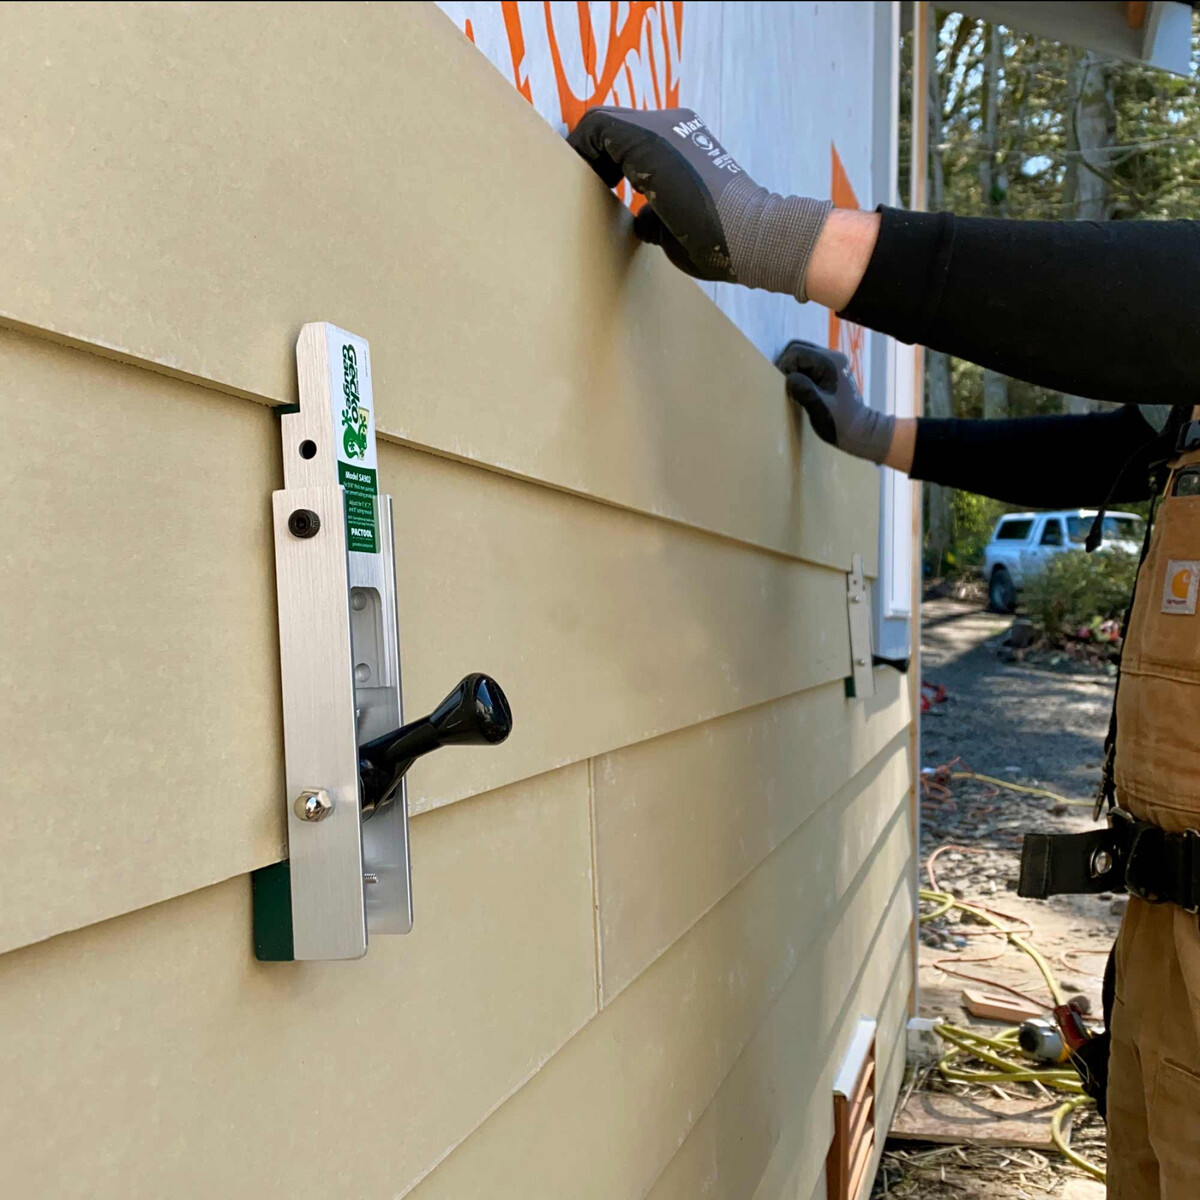
A siding removal tool, also known as a siding removal tool or a siding pry bar, is a specialized tool designed to remove siding panels without damaging them or the surrounding structure. It is specifically designed to fit into the seams between siding panels and safely pry them away.
Siding removal tools come in various shapes and sizes, but they typically consist of a long handle with a curved or hooked end. The curved end is designed to fit under the edge of the siding panel, allowing you to apply leverage and gently lift it away from the wall.
These tools are usually made from durable materials such as steel or aluminum to withstand the pressure and force required for siding removal. Some siding removal tools may also feature a textured grip handle or a rubberized grip to provide better control and comfort during use.
While traditional methods of removing siding involved using crowbars or utility knives, a dedicated siding removal tool offers several advantages. Firstly, it provides greater precision and control, allowing you to remove siding panels with minimal effort and without causing any structural damage. Secondly, it reduces the risk of injury by eliminating the need for excessive force or awkward hand positions. Lastly, it speeds up the siding removal process, enabling you to complete your project more efficiently.
Now that we understand what a siding removal tool is, let’s explore the benefits of using one in your siding projects.
Benefits of Using a Siding Removal Tool
Using a siding removal tool offers numerous benefits and advantages for both DIY enthusiasts and professional contractors alike. Let’s take a closer look at some of the key benefits:
- Saves Time and Effort: A siding removal tool enables you to remove siding panels quickly and efficiently, saving you valuable time and effort. The precision and leverage provided by the tool allow you to easily and smoothly pry away the panels without causing damage or delays.
- Preserves Siding Panels: Unlike other methods that may result in damage or bending of the siding panels, a siding removal tool ensures that the panels remain intact and can be reused or reinstalled. This not only saves you money in replacement costs but also maintains the aesthetic appeal of your siding.
- Minimizes Structural Damage: Siding removal can be a delicate process, and using improper tools or techniques may lead to damage to the underlying structure of your home. A siding removal tool is designed to minimize the risk of causing structural damage, allowing you to remove siding panels safely and without compromising the integrity of your home.
- Increases Efficiency: With a siding removal tool, you can work more efficiently and complete your siding projects in a timely manner. The ease of use and control provided by the tool enable you to remove panels quickly, helping you stay on schedule and move on to the next phase of your project.
- Enhances Safety: Removing siding panels can be a physically demanding task, but using the right tool can significantly improve safety. A siding removal tool reduces the risk of injuries by providing better grip, control, and leverage. It eliminates the need for excessive force or awkward positions, minimizing the chances of accidents.
- Versatile and Easy to Use: Siding removal tools are designed to be user-friendly, even for beginners. They come in various sizes and styles, allowing you to choose the one that best suits your needs. Most tools have a straightforward design with a comfortable grip, making them easy to handle and control.
Overall, using a siding removal tool is a wise investment that can save you time, effort, and money while ensuring a safe and smooth siding removal process. Whether you are a seasoned professional or a DIY enthusiast, having this specialized tool in your arsenal will undoubtedly improve the efficiency and quality of your siding projects.
Getting Started with the Siding Removal Tool
Before you begin using a siding removal tool, it’s essential to gather all the necessary materials and prepare the work area. Here are a few steps to help you get started:
- Gather Your Tools: In addition to the siding removal tool, you may need a ladder, safety goggles, work gloves, and a dust mask. Proper safety equipment is essential to protect yourself from potential hazards during the siding removal process.
- Prepare the Work Area: Clear the area around the section of siding you will be working on by removing any obstacles or debris. This will ensure a safe and unobstructed workspace.
- Inspect the Siding: Before you begin removing the siding, carefully inspect it for any signs of damage or wear. Make note of any panels that may need to be replaced or repaired.
- Identify the Fasteners: Take the time to locate and identify the fasteners holding the siding panels in place. This may include nails, screws, or other types of fasteners. Understanding how the siding is secured will help you determine the most effective approach for removal.
- Test the Siding Removal Tool: Familiarize yourself with the siding removal tool by testing it on a small, inconspicuous area of siding. This will allow you to get a feel for the tool and determine the amount of force required for proper use.
By following these steps, you will be well-prepared and ready to start using the siding removal tool effectively and safely.
Step-by-step Guide on How to Use a Siding Removal Tool
Now that you are prepared and familiar with the siding removal tool, let’s dive into a step-by-step guide on how to use it effectively:
- Select the Starting Point: Begin by identifying the starting point for removing the siding. This is typically at the bottom of the wall or near a corner. Look for a loose or damaged panel that can serve as your starting point.
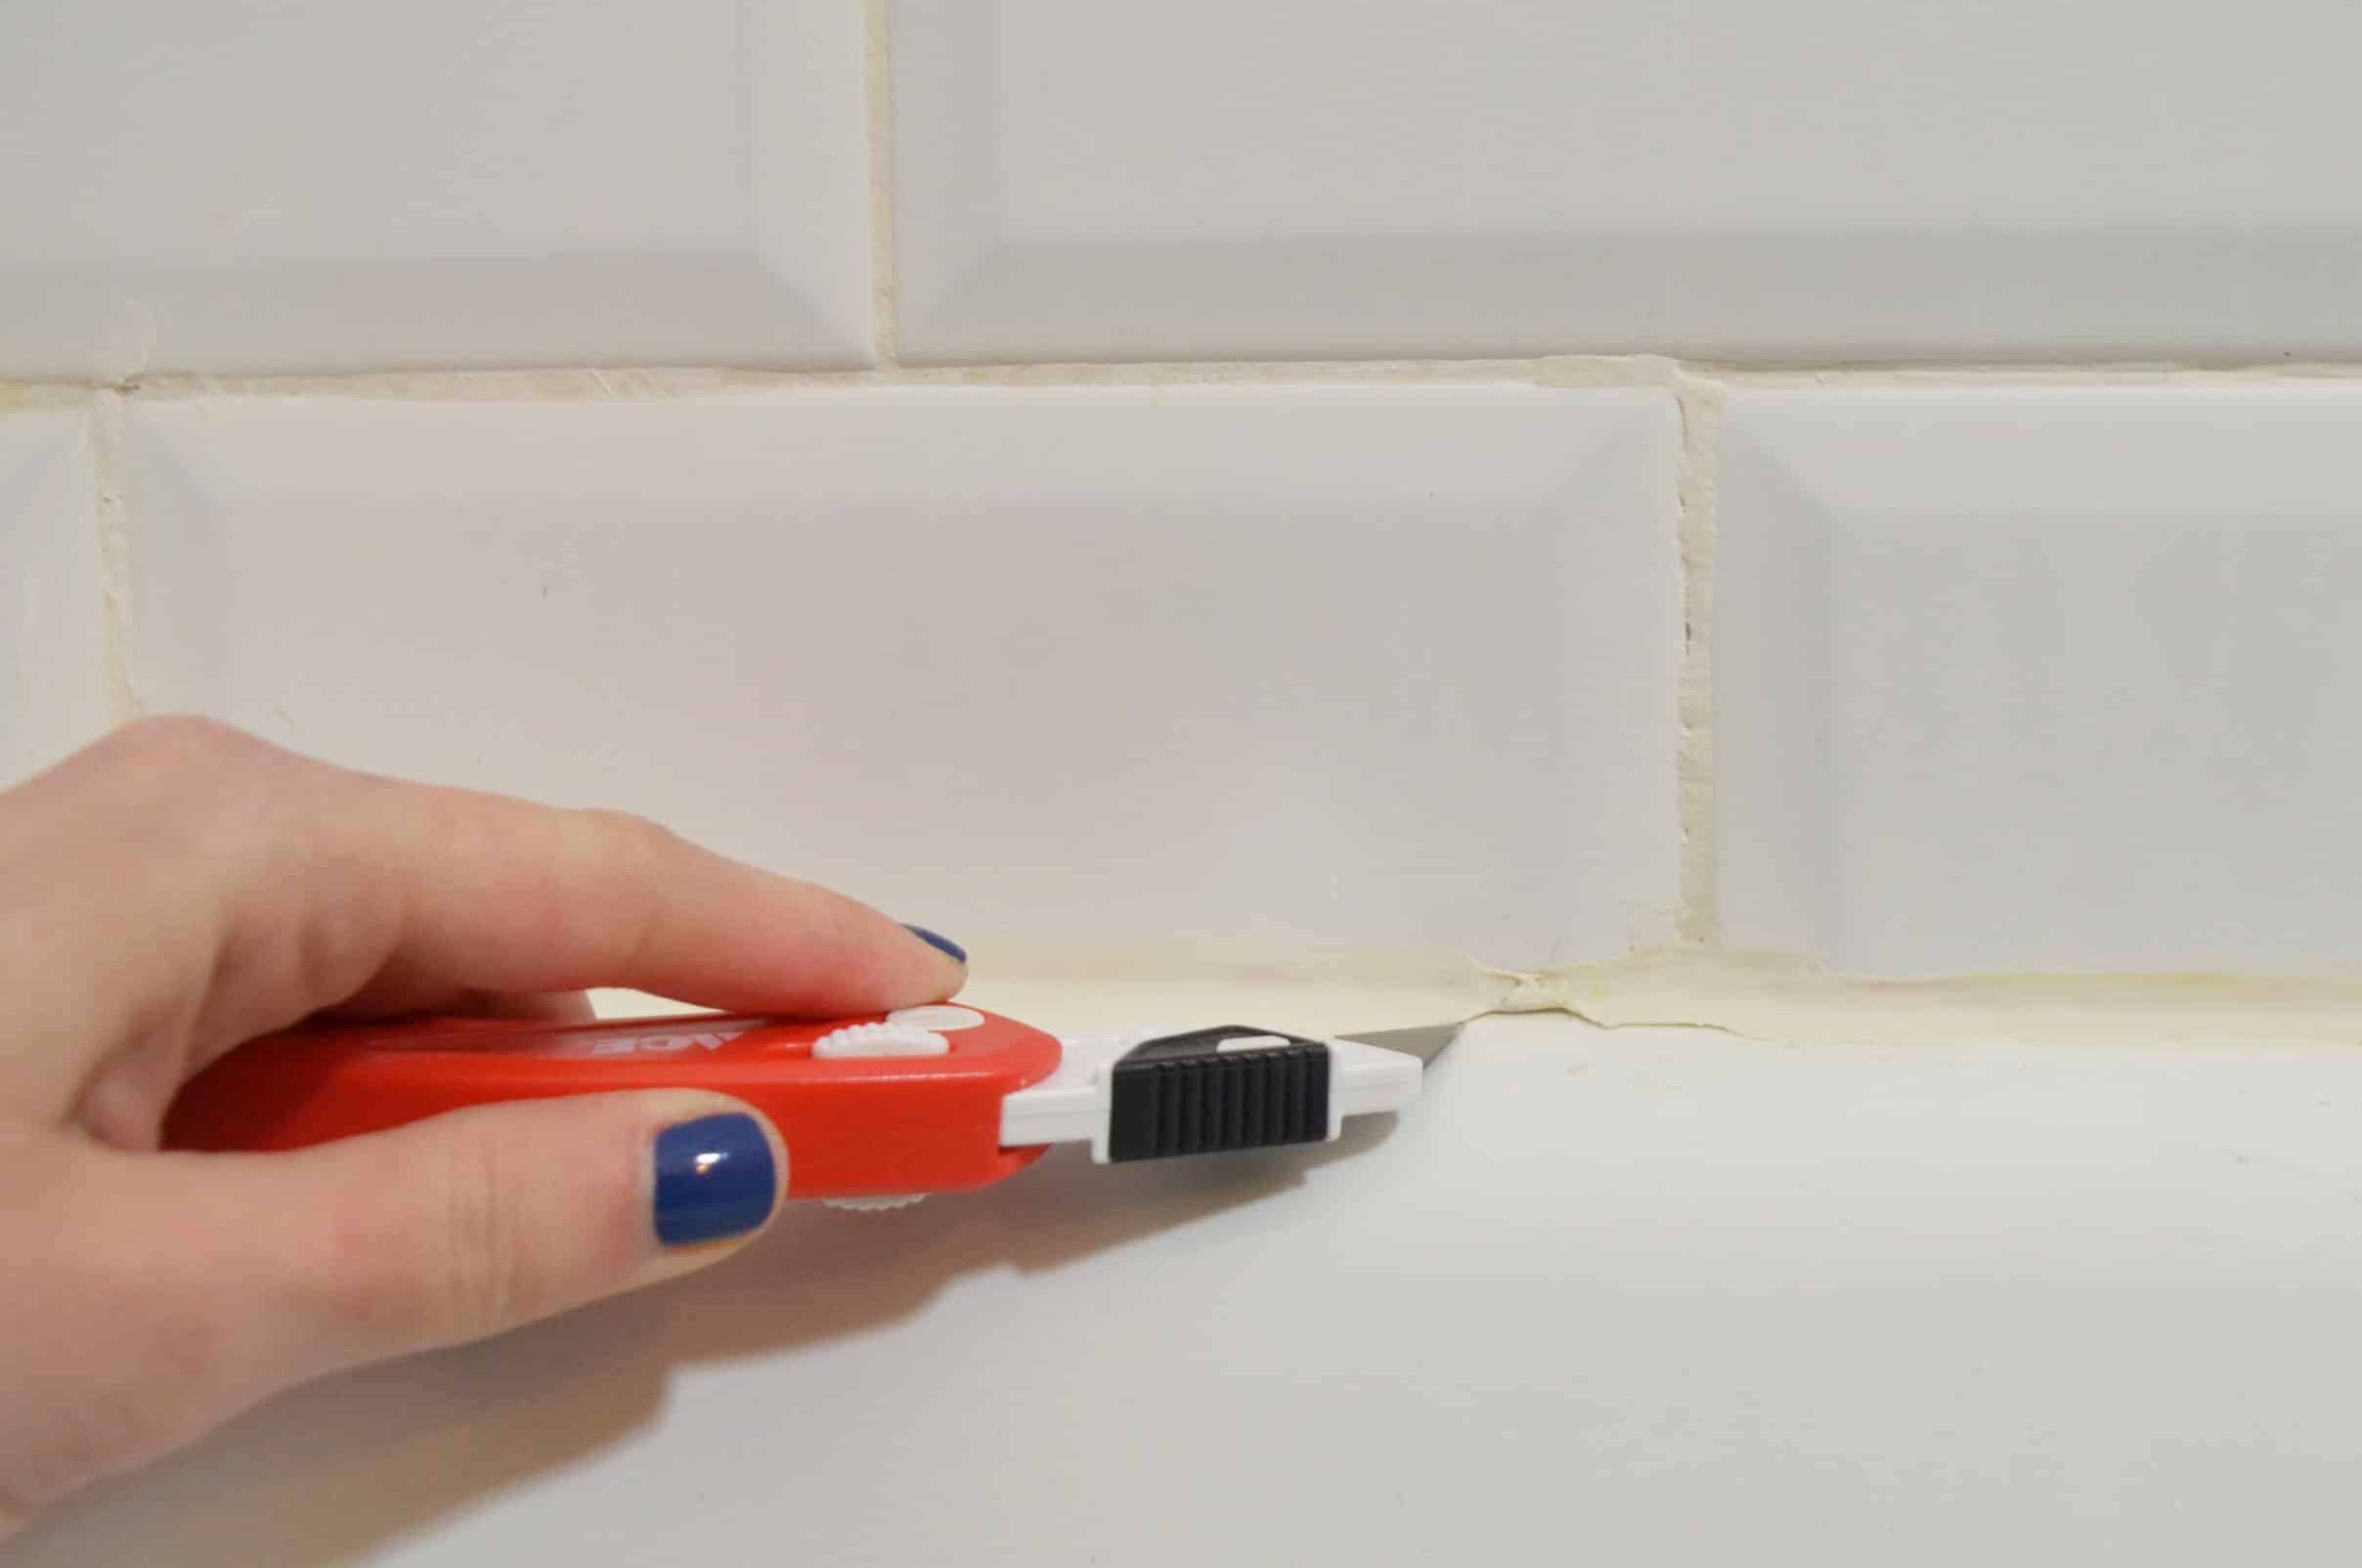
- Position the Tool: With the curved or hooked end of the siding removal tool, position it under the bottom edge of the siding panel. Slide it along the seam until you feel it securely catch on the lip or fastener.
- Apply Pressure: Using the grip handle of the tool, apply gentle but firm leverage to lift the siding panel away from the wall. Be careful not to use excessive force, as this can cause damage to the panel or surrounding structure.
- Continue Removing Panels: Once the first panel is successfully lifted, move along the seam and repeat the process for the remaining panels. Remember to work methodically and carefully, ensuring proper removal of each panel.
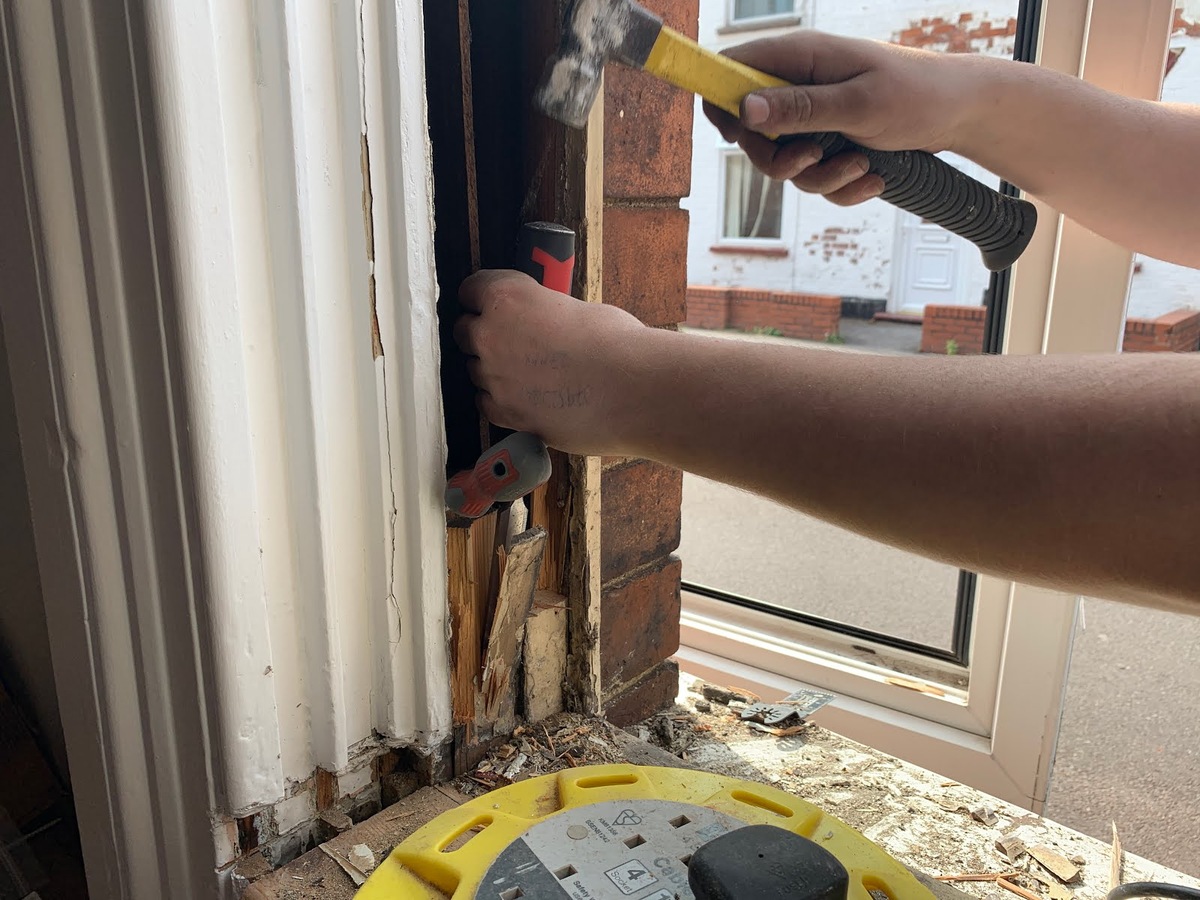
- Remove Fasteners if Necessary: In some cases, you may encounter fasteners that prevent easy removal of the siding panel. Use a screwdriver or pry bar to carefully remove any nails, screws, or other fasteners that are securing the panel in place.
- Inspect and Repair: As you remove each panel, inspect them for any signs of damage or wear. Replace or repair any panels as needed to maintain the integrity and appearance of your siding.
- Clean Up: Once all the desired panels have been removed, clean up any debris or leftover fasteners from the work area. This will ensure a safe and tidy environment for the next phase of your siding project.
Remember to take breaks as needed and work at a comfortable pace. Rushing or using excessive force can lead to accidents or damage to your siding. By following this step-by-step guide, you will be able to use a siding removal tool efficiently and achieve excellent results.
When using a siding removal tool, start at the bottom of the siding and work your way up. Use a hammer to gently tap the tool under the siding to avoid damaging the material.
Read more: How To Remove Hardie Board Siding
Tips and Tricks for Efficient Use of a Siding Removal Tool
When it comes to using a siding removal tool, there are several tips and tricks that can help you improve your efficiency and achieve better results. Here are some valuable insights to keep in mind:
- Start at the Bottom: Begin removing the siding from the bottom and work your way up. This allows the upper panels to overlap the lower ones, providing a more secure and weather-resistant installation.
- Work in Small Sections: Instead of trying to remove all the siding at once, divide the work into manageable sections. This will ensure that you can maintain control and avoid damaging the panels or surrounding structure.
- Use Proper Technique: When using the siding removal tool, apply gradual and even pressure to avoid bending or warping the siding panels. Remember that patience and control are key to successful removal.
- Protect Your Hands: Wear protective gloves to prevent injuries and ensure a better grip on the siding removal tool. This will also protect your hands from sharp edges or splinters on the siding panels.
- Inspect for Hidden Fasteners: Before attempting to remove a siding panel, inspect the panel above it for hidden fasteners. These may be hidden behind overlapping panels or trim pieces and may require additional steps for removal.
- Have Replacement Panels Ready: If you are removing damaged or worn-out siding panels, it’s helpful to have replacement panels on hand. This will allow you to quickly install the new panels without delaying your project.
- Keep the Work Area Clean: As you remove the siding, make sure to clear away any debris or loose nails. This will prevent tripping hazards and ensure a clean work area for the next steps of your project.
- Practice Safety Precautions: Always prioritize safety while using a siding removal tool. Wear safety goggles to protect your eyes from flying debris, and use a dust mask if the siding material is dusty or contains harmful particles.
By incorporating these tips and tricks into your siding removal process, you can maximize your efficiency, minimize the risk of damage or accidents, and achieve professional-quality results.
Safety Precautions when Using a Siding Removal Tool
While using a siding removal tool can make your siding projects easier and more efficient, it’s crucial to prioritize safety throughout the process. Here are some important safety precautions to keep in mind:
- Wear Protective Gear: Always wear appropriate safety gear, including safety goggles, work gloves, and a dust mask. This will protect your eyes, hands, and respiratory system from any potential hazards such as flying debris or dust.
- Use Proper Technique: Follow the manufacturer’s instructions and use the siding removal tool as intended. Apply steady and controlled force while avoiding excessive use of force or sudden movements, as this can lead to accidents or damage to the siding.
- Secure Your Work Area: Remove any obstacles or debris from the work area to ensure a safe and unobstructed space. This will help prevent tripping hazards and allow you to move freely while using the siding removal tool.
- Avoid Hitting Electrical Wiring or Pipes: Take extra caution to avoid hitting any electrical wiring or pipes hidden behind the siding. Use a stud finder or consult a professional if you are unsure about the location of these utilities.
- Be Mindful of Surroundings: Pay attention to your surroundings and avoid working near power lines or other hazardous areas. Stay clear of any potential hazards to ensure your safety throughout the siding removal process.
- Take Breaks: Removing siding can be physically demanding, so it’s important to take regular breaks to avoid fatigue or strain. Listen to your body and rest when needed to prevent accidents or injuries.
- Dispose of Debris Safely: Dispose of removed siding panels and any other debris in a safe and responsible manner. Use designated waste containers or consult local regulations for proper disposal methods.
- Ask for Help if Needed: If you’re working on a large or complex siding removal project, don’t hesitate to ask for assistance. Having an extra pair of hands can make the process easier and safer.
Remember, your safety is of utmost importance when using a siding removal tool. By following these safety precautions, you can minimize the risk of accidents or injuries and ensure a successful and safe siding removal project.
Frequently Asked Questions (FAQs)
Here are some common questions that people often have about using a siding removal tool:
- Q: Can I use a regular pry bar or utility knife instead of a siding removal tool?
A: While a regular pry bar or utility knife can be used for siding removal, they may not provide the same level of precision and control as a dedicated siding removal tool. Using a proper siding removal tool is recommended for the best results. - Q: Can I reuse the siding panels after removing them with a siding removal tool?
A: In most cases, yes. Siding panels removed with a siding removal tool can often be reused, as the tool minimizes the risk of damage during removal. However, it’s important to inspect the panels for any signs of wear or damage and replace them if necessary. - Q: Do I need any special skills or experience to use a siding removal tool?
A: No, using a siding removal tool does not require any special skills or experience. However, it is essential to follow proper techniques and safety precautions to ensure efficient and safe use. - Q: How long does it take to remove siding with a siding removal tool?
A: The time it takes to remove siding depends on several factors, such as the size of the project, the condition of the siding, and your experience level. With a siding removal tool, the process is generally faster compared to using other methods, but the exact time can vary. - Q: Can I use a siding removal tool for all types of siding?
A: Yes, a siding removal tool can be used for various types of siding, including vinyl, wood, fiber cement, and aluminum. However, it’s important to adjust your technique based on the specific characteristics of the siding material. - Q: Can a siding removal tool damage the underlying structure of my home?
A: When used properly, a siding removal tool should not cause damage to the underlying structure of your home. However, it’s important to exercise caution and apply controlled force to avoid any potential damage.
If you have any additional questions or concerns about using a siding removal tool, consult the manufacturer’s guidelines or seek advice from a professional in the field.
Conclusion
Using a siding removal tool is a practical and efficient way to remove siding panels without causing damage or delays. Whether you’re a seasoned DIY enthusiast or a professional contractor, having the right tools can make a significant difference in the success of your siding projects.
In this comprehensive guide, we explored what a siding removal tool is and its benefits. We learned that using a siding removal tool saves time and effort, preserves the siding panels, and minimizes structural damage. Additionally, we provided a step-by-step guide on how to use the tool effectively, along with some handy tips and safety precautions.
By following the proper techniques and safety precautions, you can remove siding panels smoothly and efficiently, allowing you to complete your projects with confidence. Remember to always wear protective gear, use the siding removal tool correctly, and work in small, manageable sections.
Whether you’re replacing damaged siding or making repairs, a siding removal tool will streamline the process and help you achieve professional-quality results. So, equip yourself with this essential tool and take on your next siding project with ease.
If you have any questions or need further assistance, consult the manufacturer’s guidelines or seek advice from a professional in the field. Happy siding removal!
Frequently Asked Questions about How To Use A Siding Removal Tool
Was this page helpful?
At Storables.com, we guarantee accurate and reliable information. Our content, validated by Expert Board Contributors, is crafted following stringent Editorial Policies. We're committed to providing you with well-researched, expert-backed insights for all your informational needs.


0 thoughts on “How To Use A Siding Removal Tool”